
If you’re a fan of cookie dough ice cream, this easy homemade version is about to become a freezer staple! This no-churn cookie dough ice cream features a velvety no-churn vanilla ice cream base with soft chocolate chip cookie dough chunks in every bite. The homemade cookie dough is made with heat-treated flour to make it completely safe to eat, and the ice cream base comes together with just four ingredients and no ice cream maker – you’ll be shocked at how simple it is!
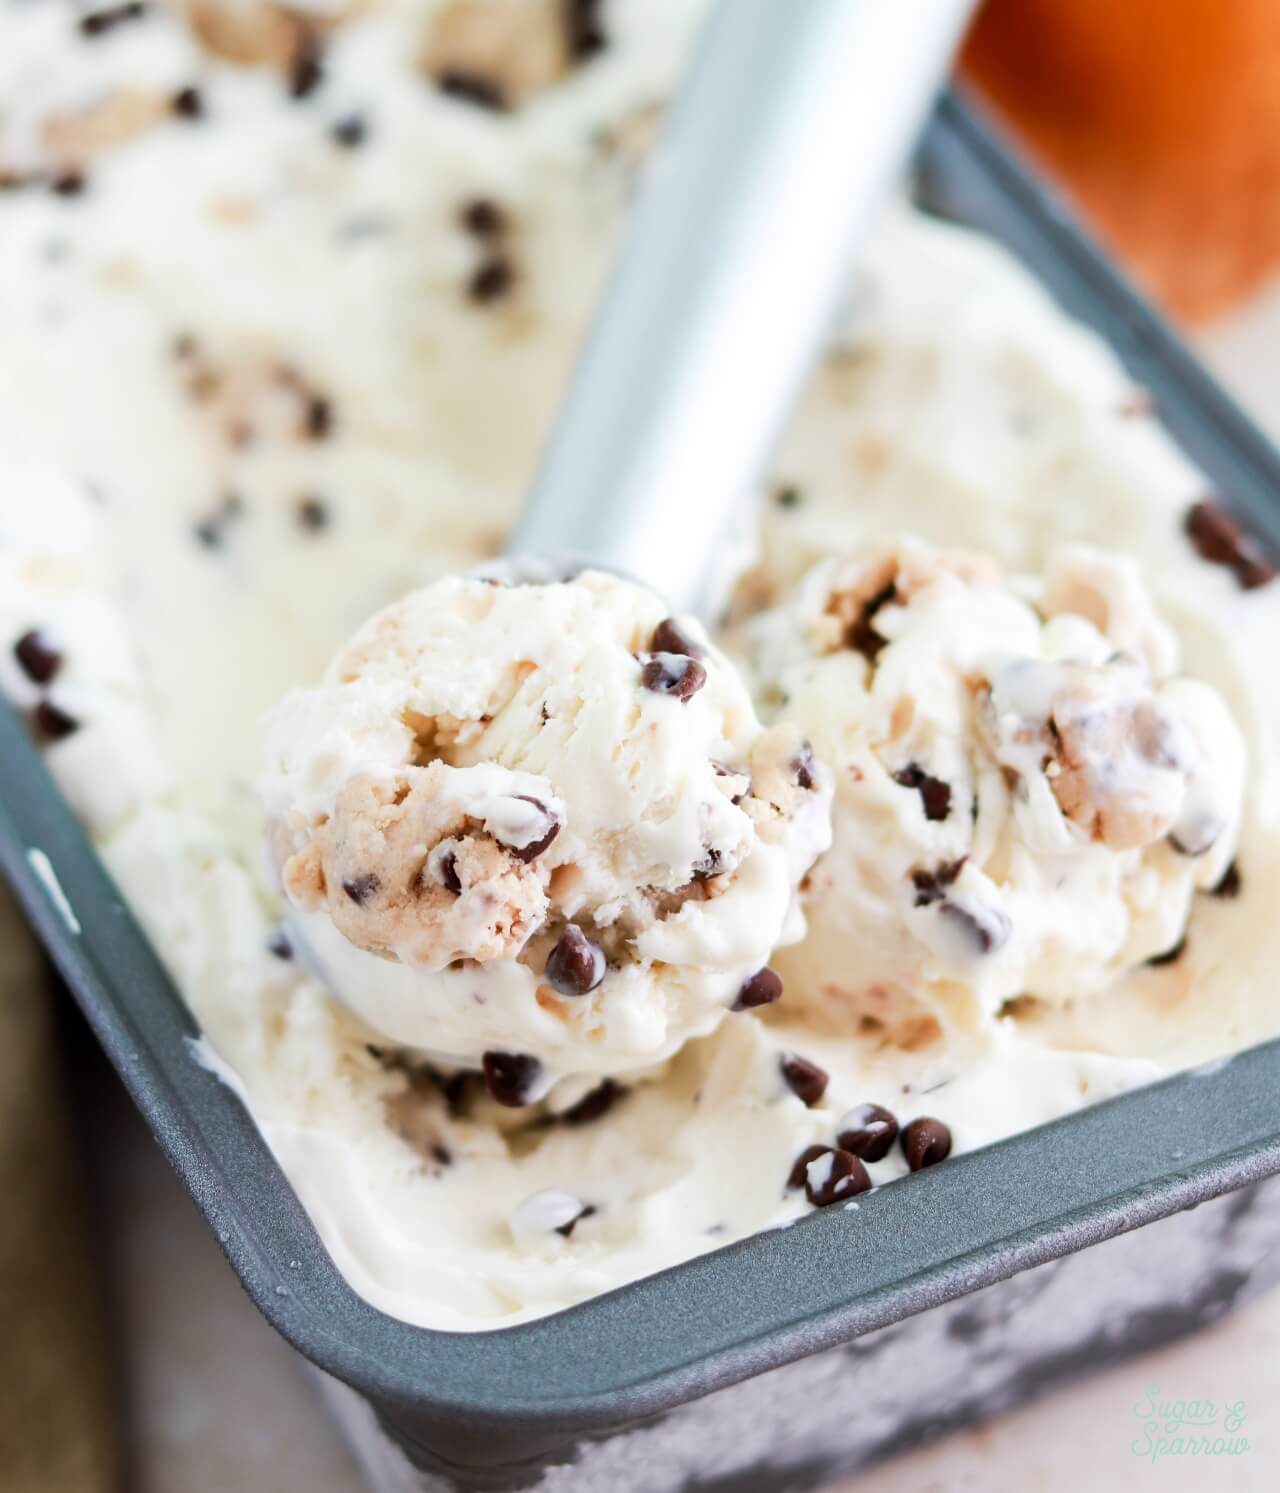

Why You’ll Love No-Churn Cookie Dough Ice Cream
- No Ice Cream Maker Needed. Using the no-churn method, you’ll have the ideal creamy-yet-scoopable ice cream that comes together easily without any fancy equipment or techniques!
- Packed with Homemade Cookie Dough Bites. There’s nothing worse than buying cookie dough ice cream and finding all the cookie dough chunks at the bottom, or worse, not finding enough cookie dough. Making the cookie dough ice cream from scratch ensures every bite has the perfect amount of cookie dough!
- Perfect Make-Ahead Dessert. This cookie dough ice cream sets overnight, but lasts in the freezer for up to 2 months (if you can resist it for that long)! This way you can make it a day, weeks, or months ahead of serving. TBH it’s a good idea to always have a little bit tucked away for those days when you really need it.
- Easy to Customize. Replace some of the cookie dough chunks with brownie chunks, add ribbons of hot fudge sauce, toss in some rainbow sprinkles – this ice cream can be as versatile as you want!
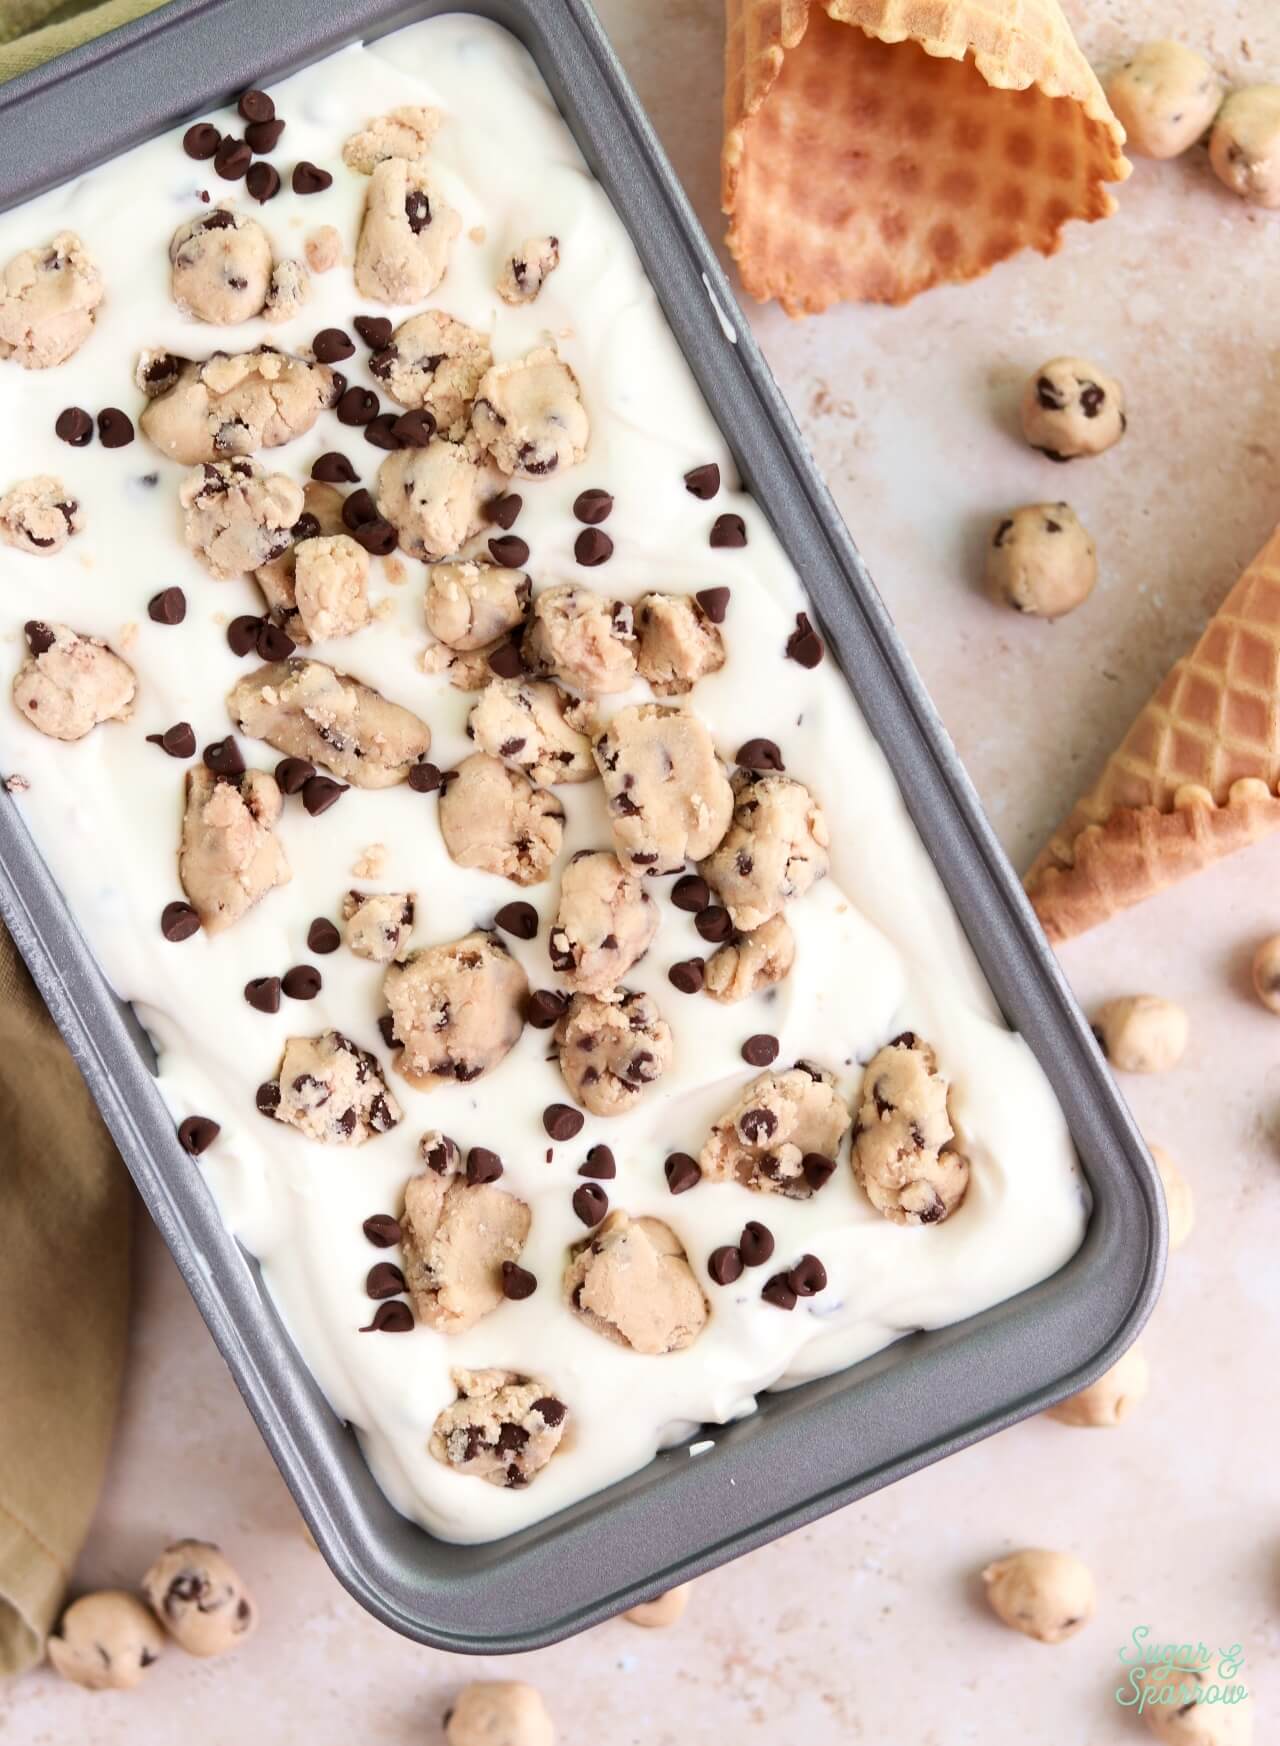
No-Churn Cookie Dough Ice Cream Ingredients
- Heavy Whipping Cream. After beating to stiff peaks, the heavy whipping cream is folded together with the rest of the ingredients to add structure and create that creamy, velvety texture.
- Sweetened Condensed Milk. Not only sweetens the ice cream but also acts as the foundation for the ice cream flavor.
- Vanilla. You can use vanilla extract, vanilla bean paste, or a vanilla bean for flavoring this ice cream! I used vanilla bean paste for ice cream pictured and love seeing the little vanilla bean flecks.
- Pinch of Salt. To balance the sweetness beautifully.
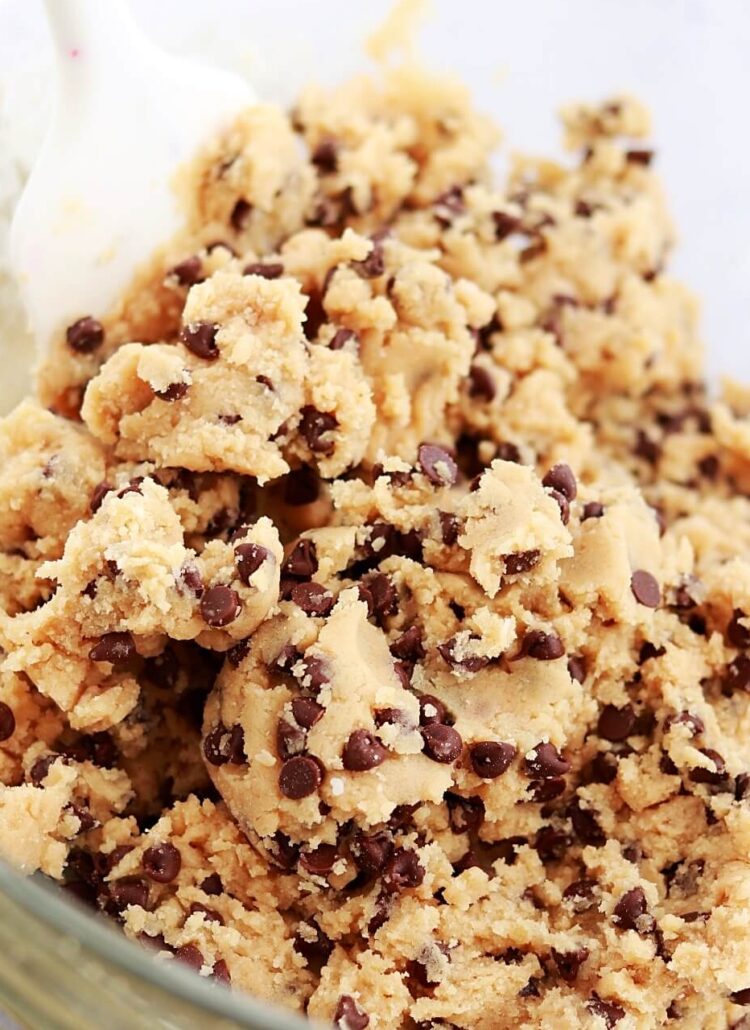
- Cookie Dough Chunks. You can either use store bought cookie dough chunks or easily make your own. I’m obsessed with my edible chocolate chip cookie dough recipe so that’s what I used. It’s essentially most of the ingredients you’d use for normal cookie dough (no eggs or baking soda), with heat-treated flour to make it completely safe to eat.
- Mini Chocolate Chips. Tossing some mini chocolate chips into the mix gives this ice cream a little extra crunch and decadence.
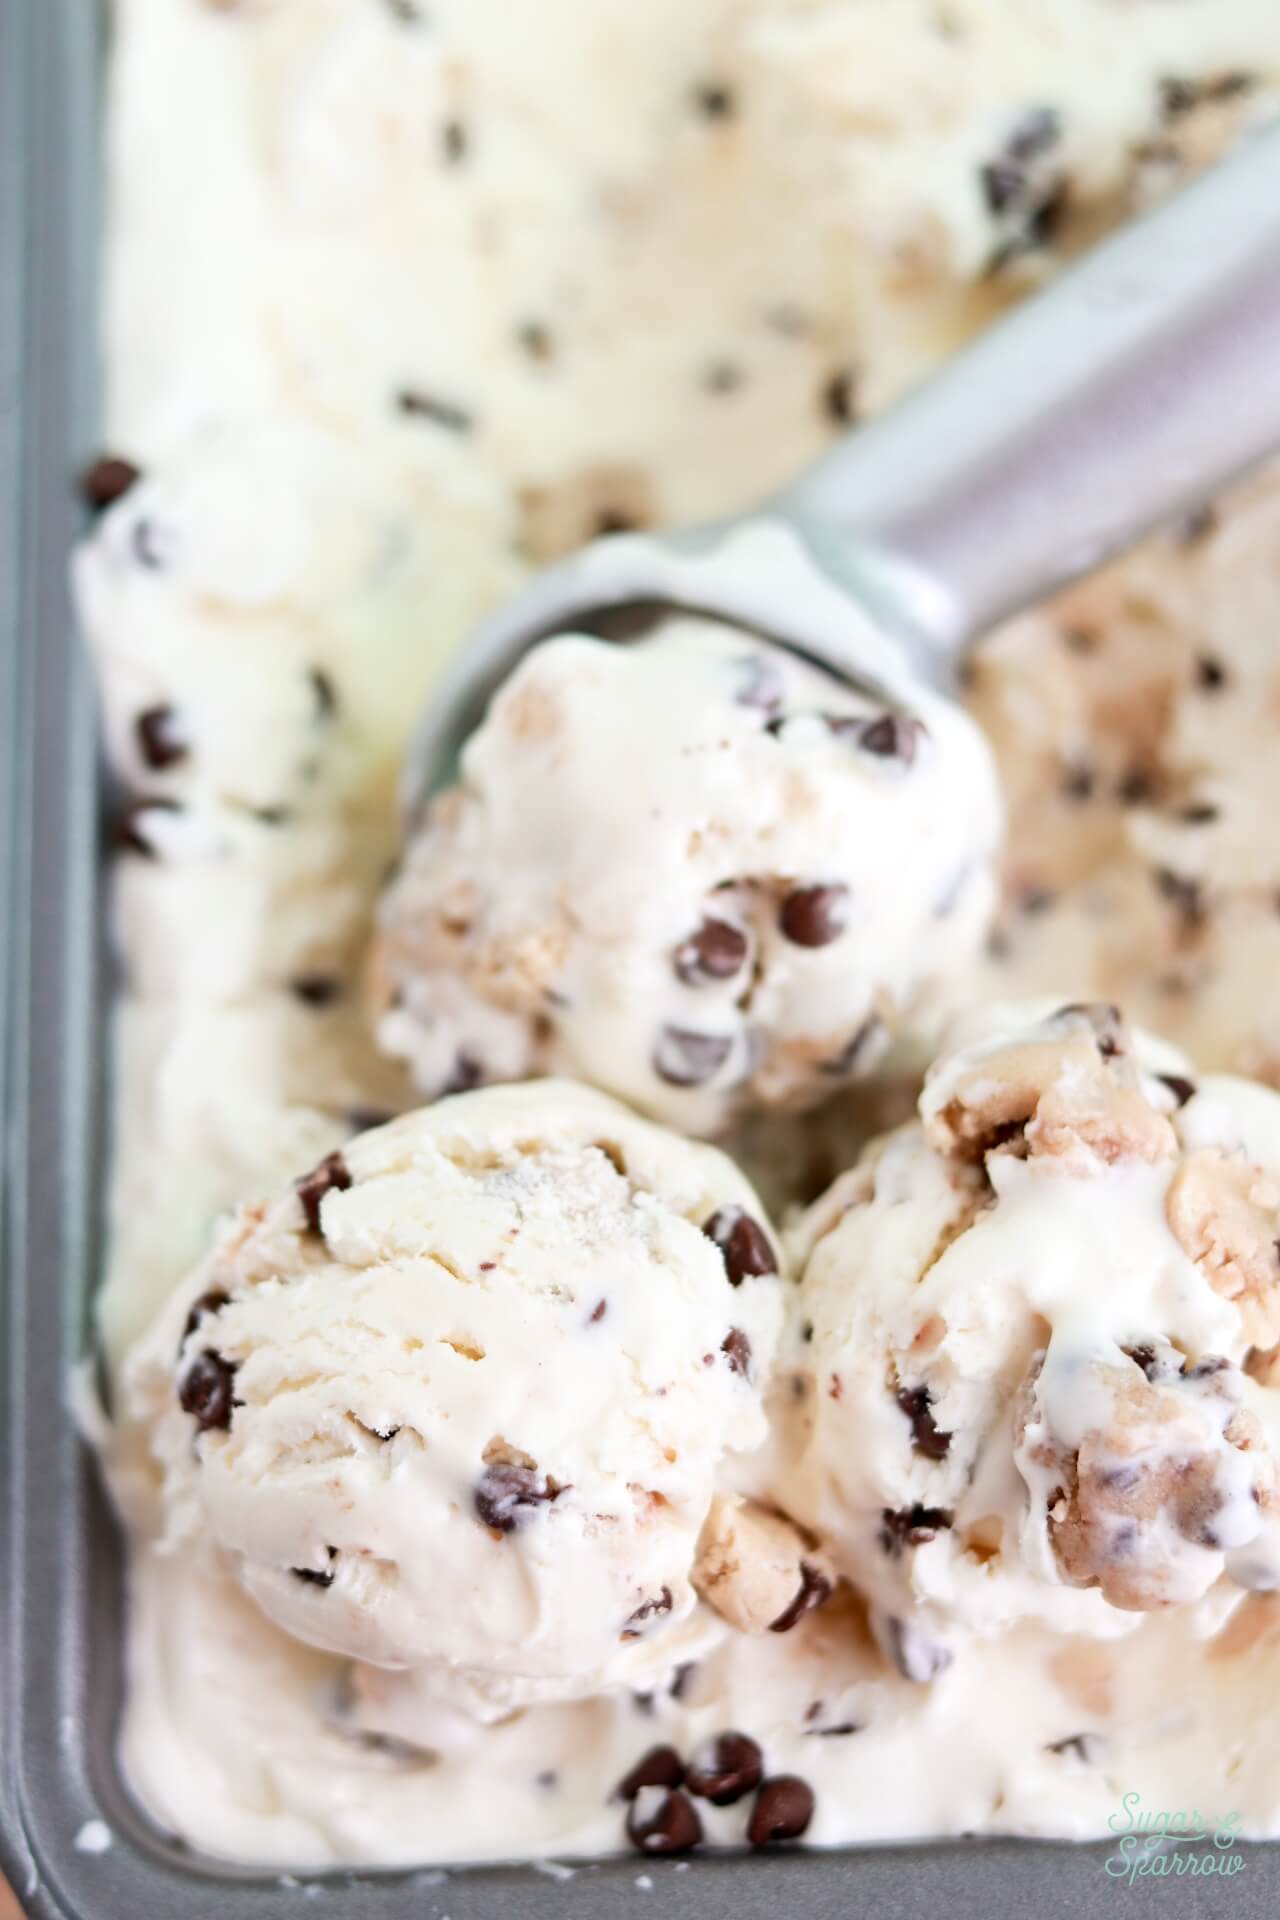
How to Make No-Churn Cookie Dough Ice Cream
Here’s how to make this homemade cookie dough ice cream from start to finish:
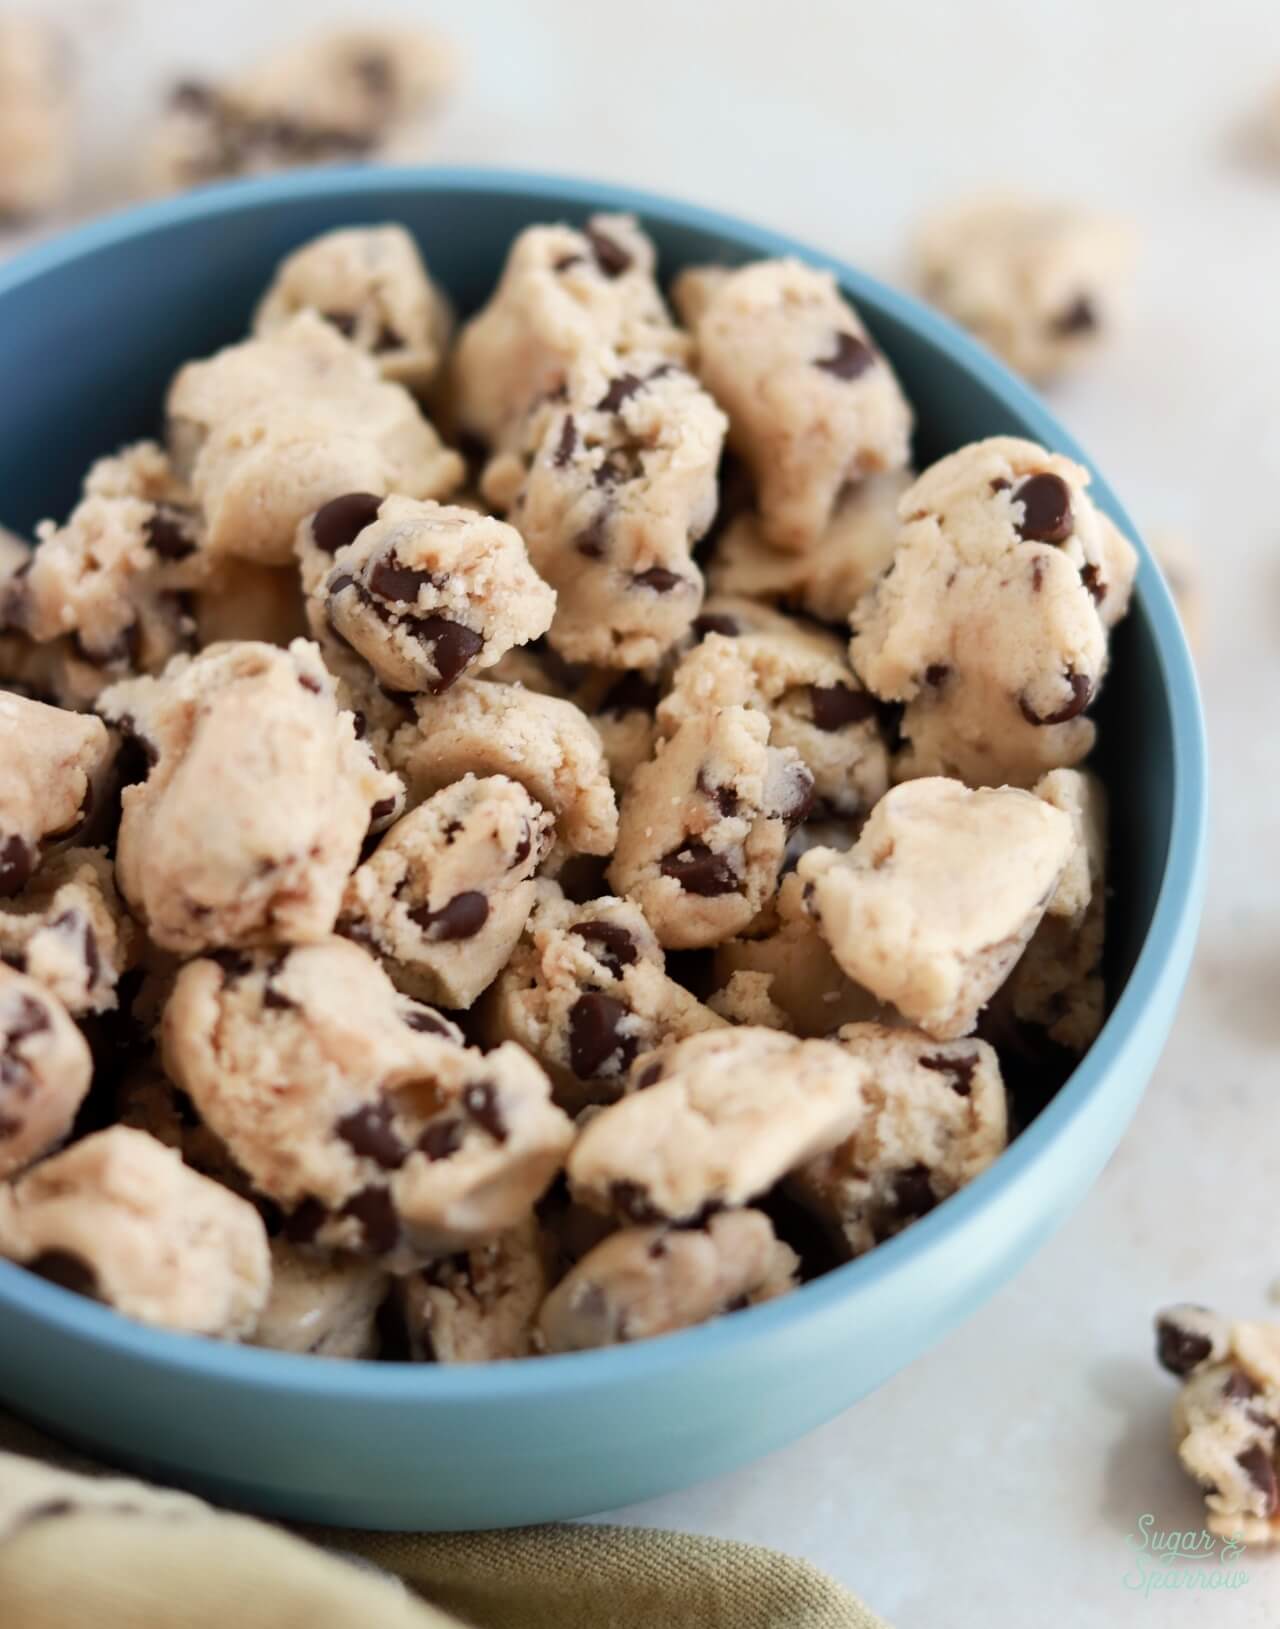
Make the Cookie Dough Bites
Prepare the edible cookie dough, portion it into bite-sized pieces, and refrigerate while making the ice cream.
Make the No-Churn Vanilla Ice Cream
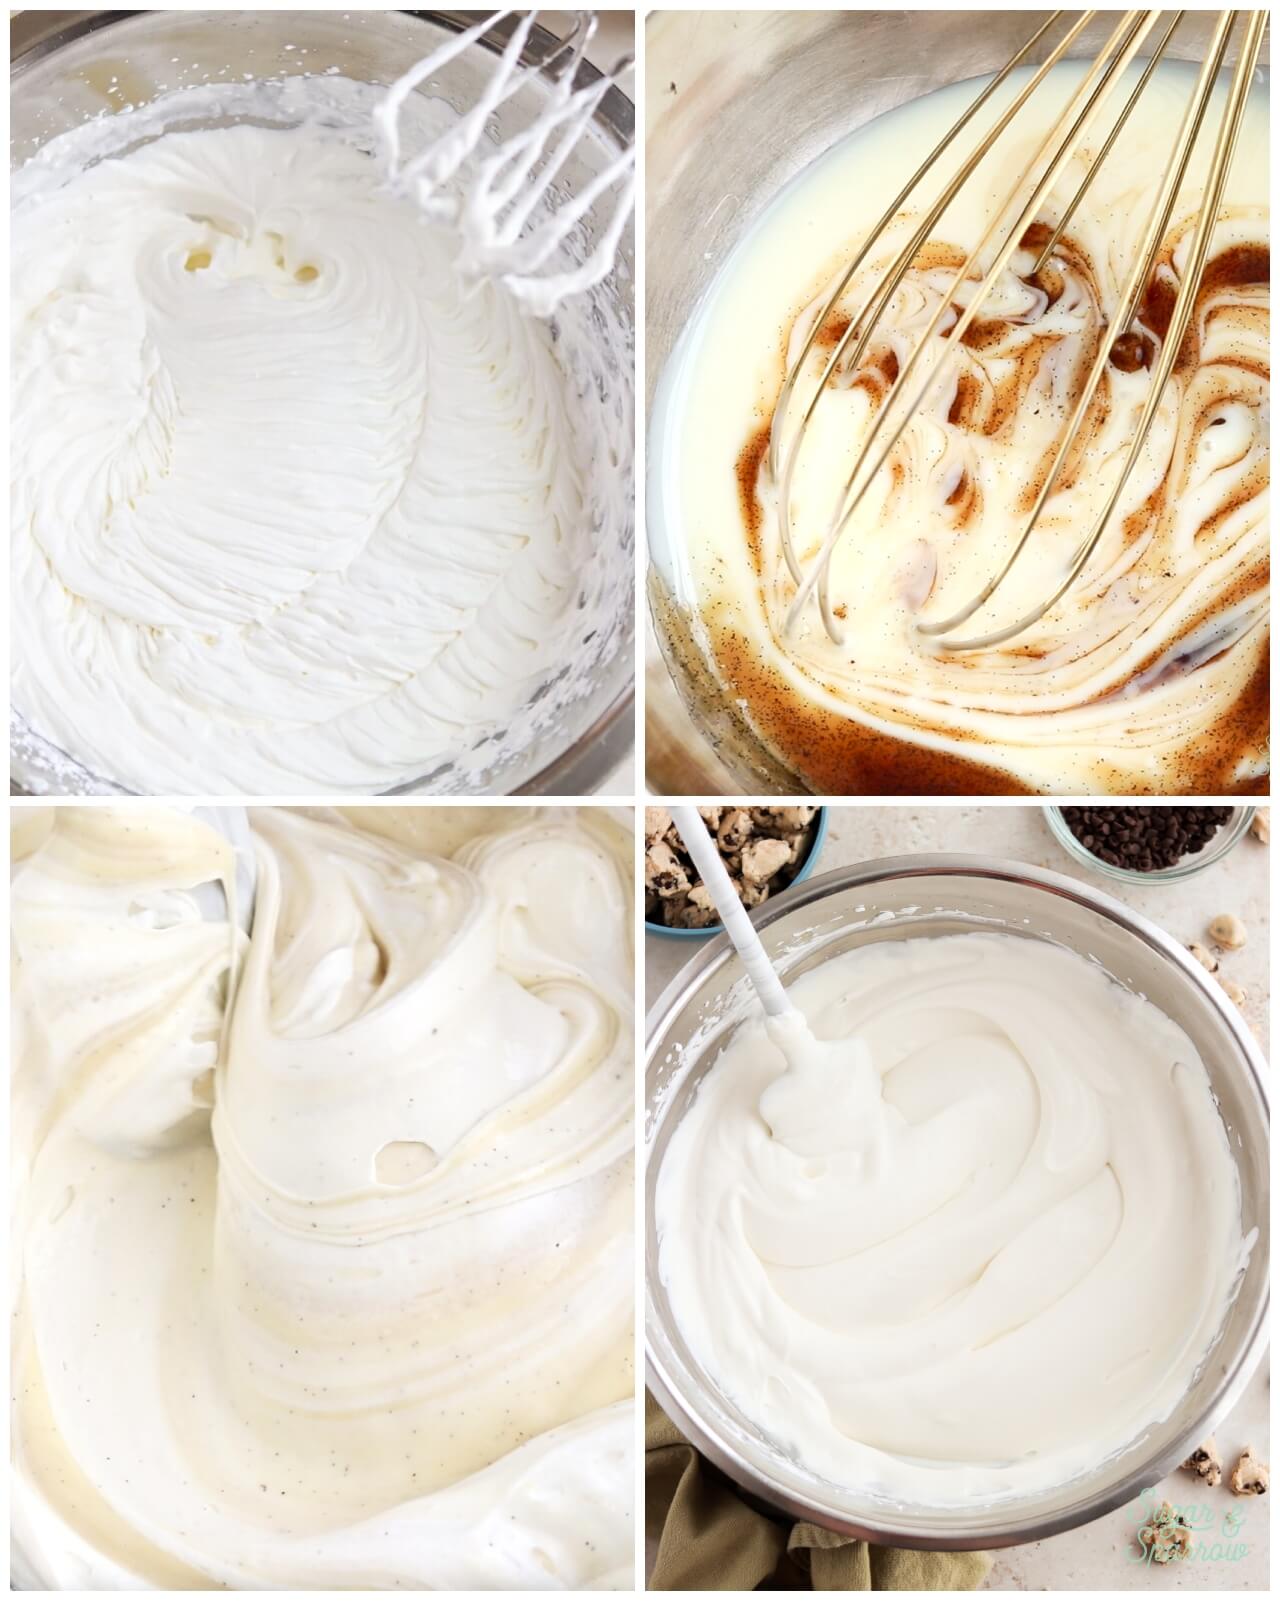
Beat the heavy whipping cream to stiff peaks. In a separate medium bowl, combine the sweetened condensed milk, vanilla, and salt. Fold the sweetened condensed milk mixture into the heavy whipping cream until combined.
Add the Cookie Dough and Mini Chocolate Chips
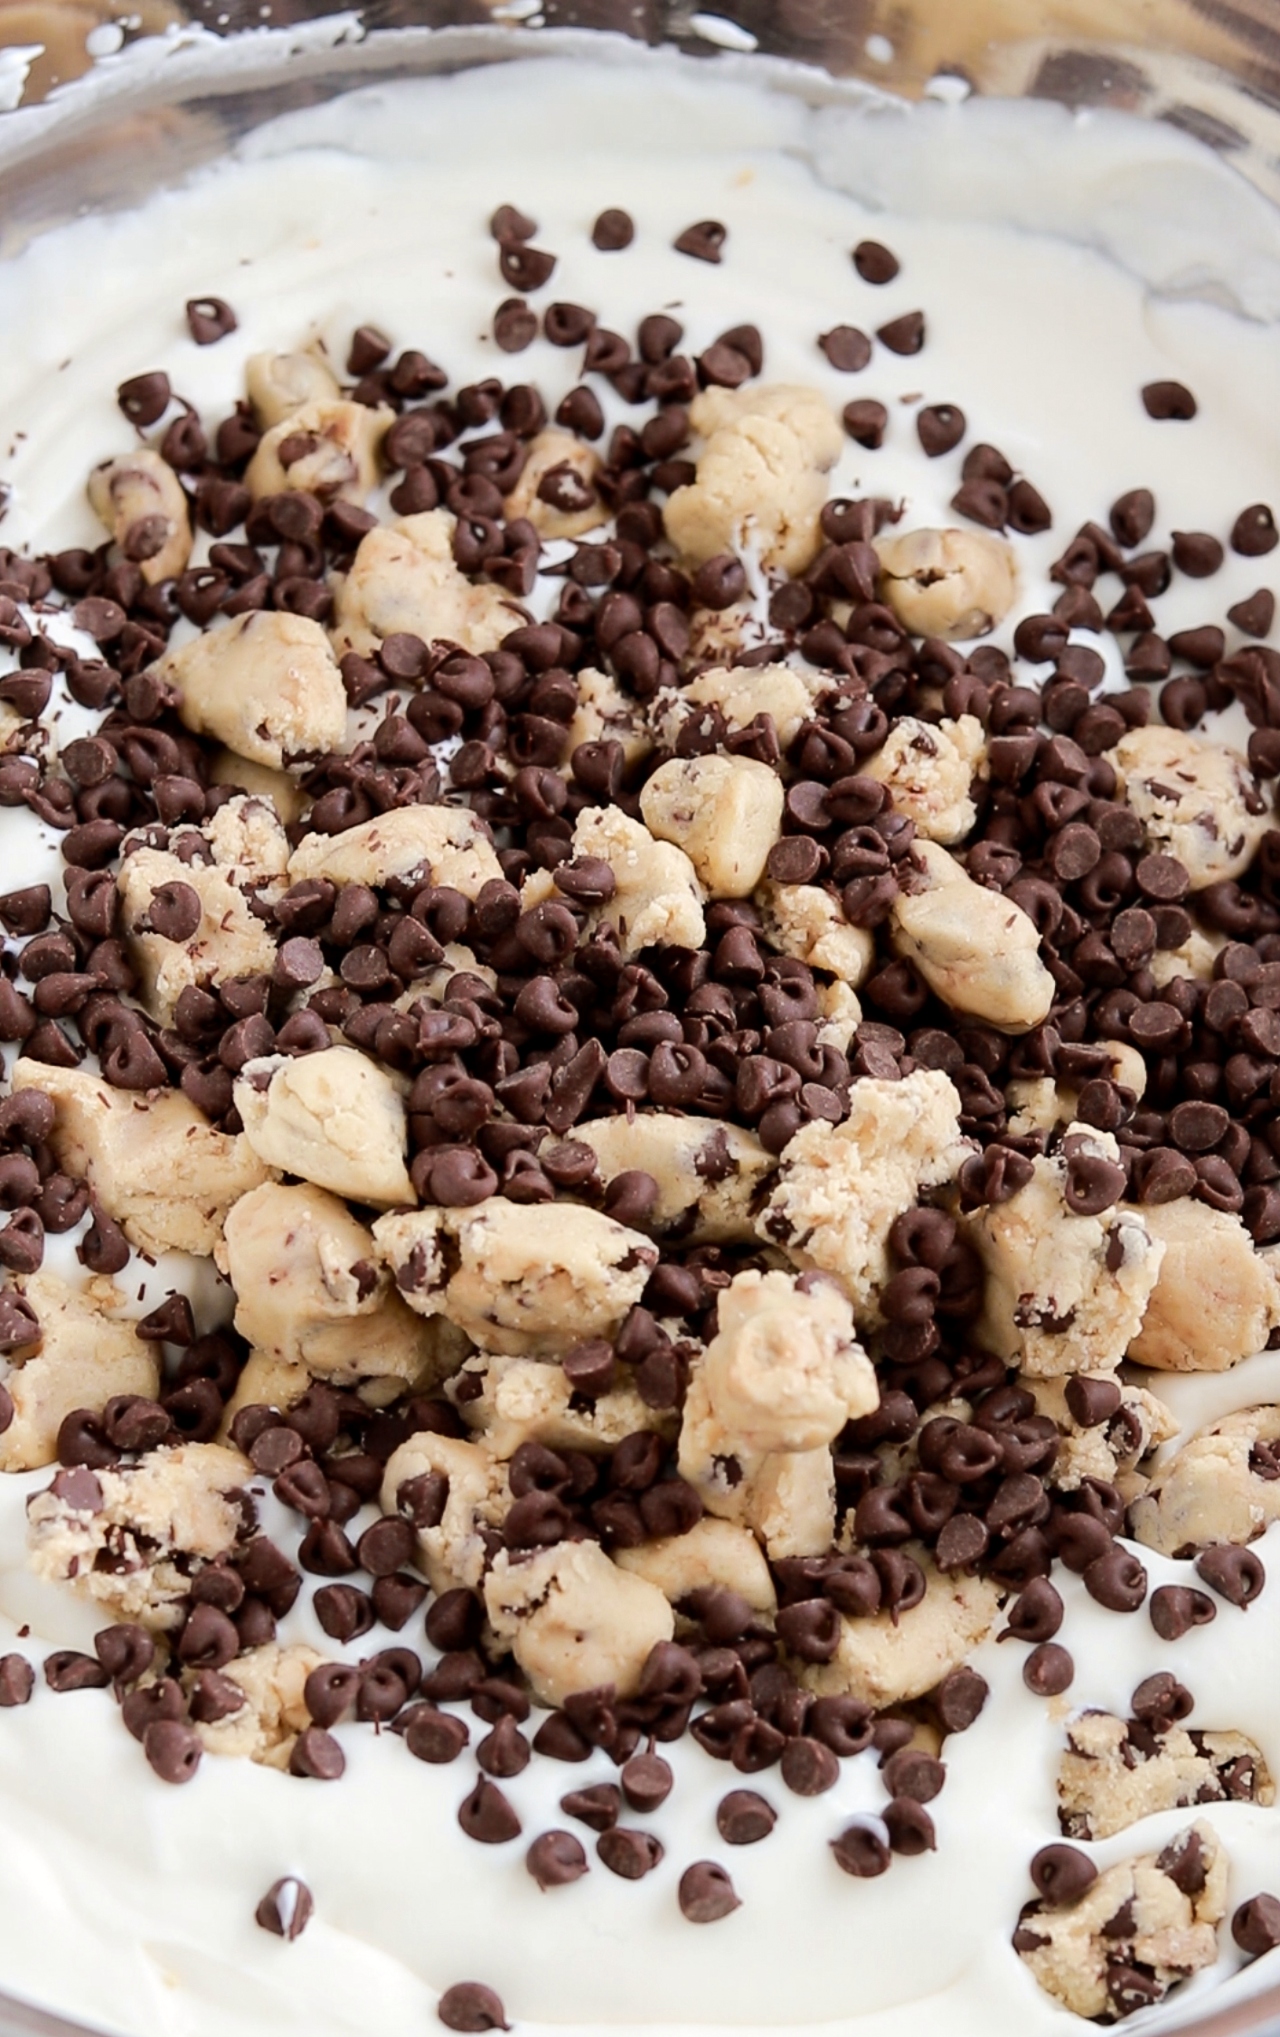
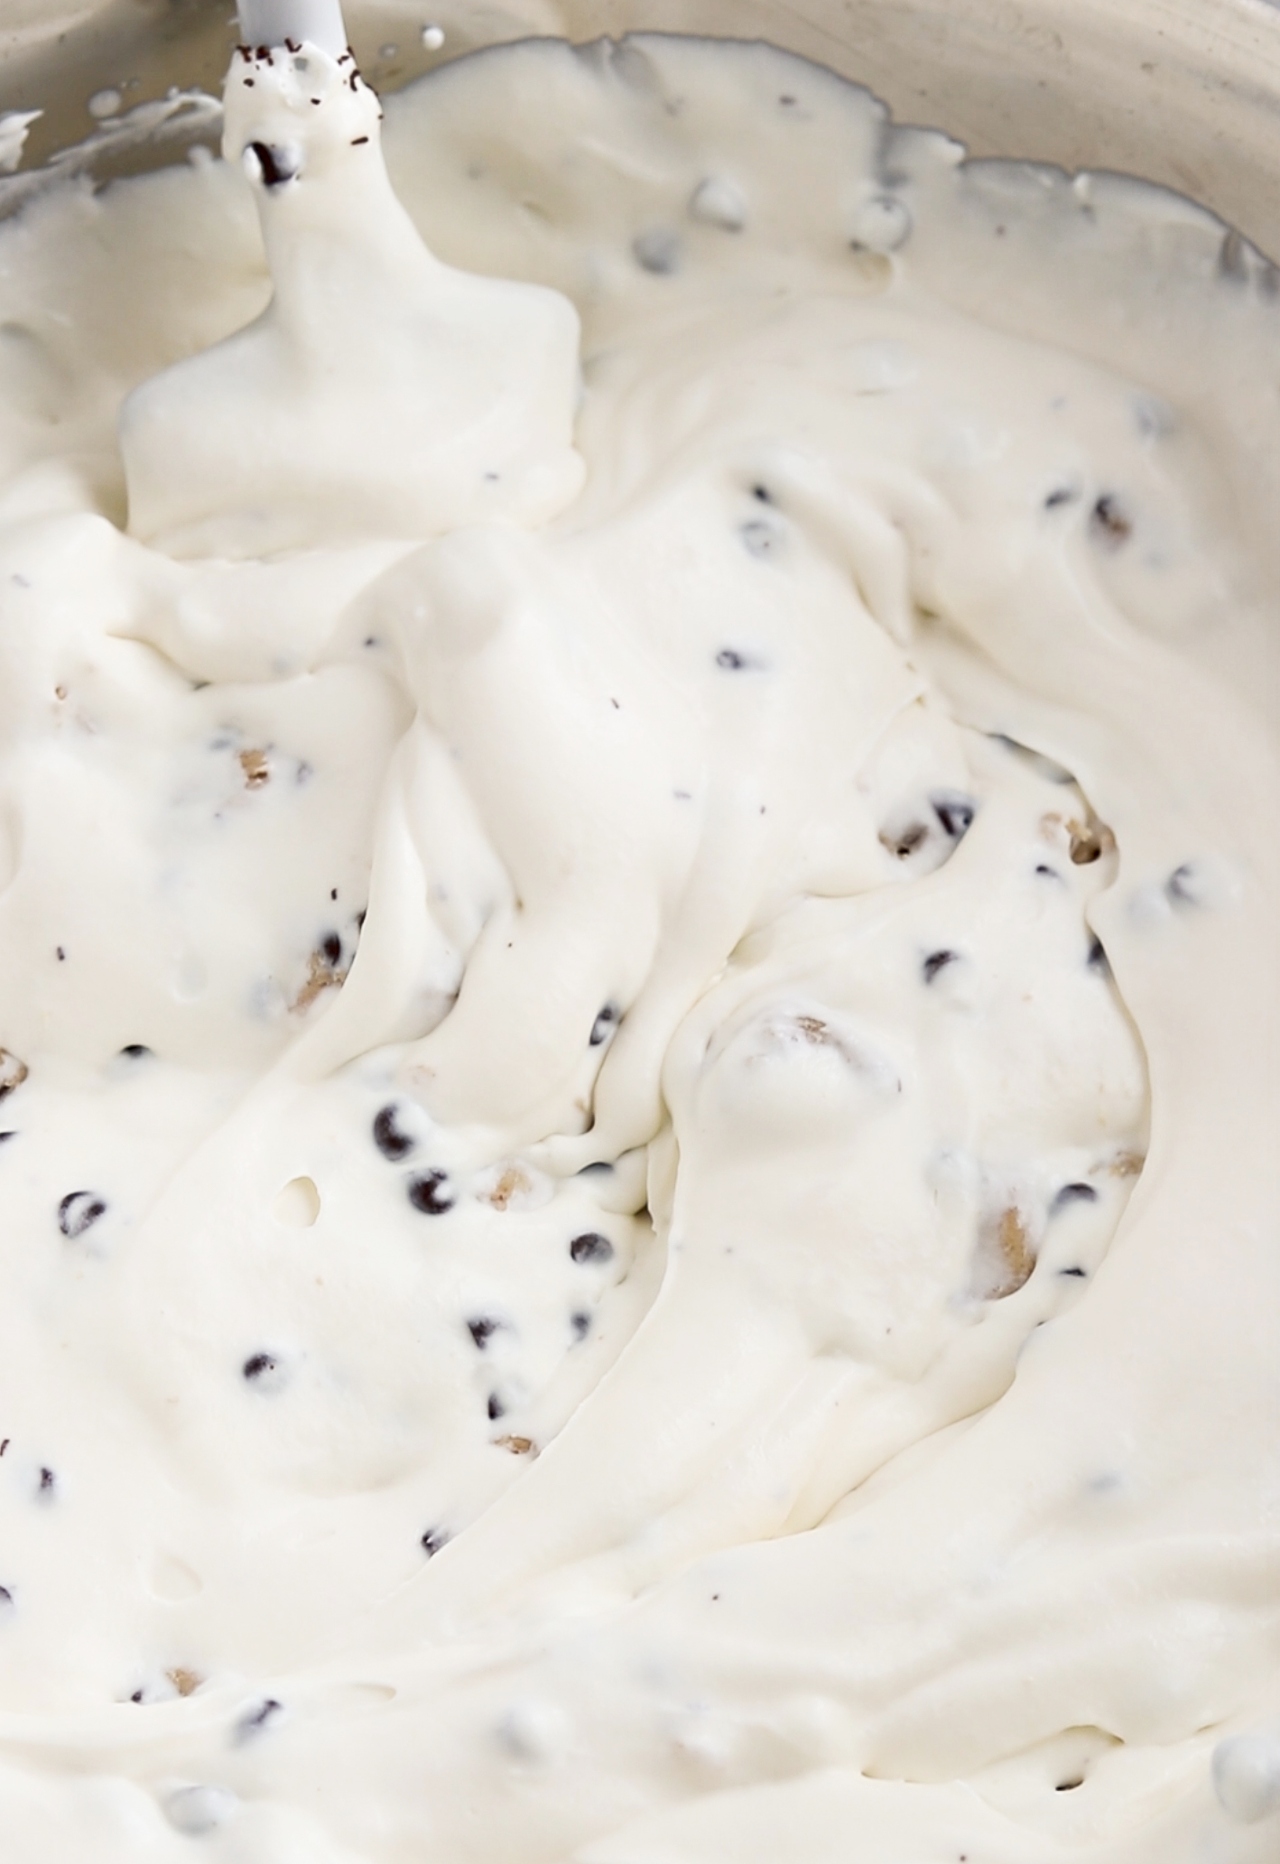
Reserve some of the cookie dough and mini chocolate chips for topping the ice cream, then add the rest to the vanilla ice cream mixture and fold until combined.
Freeze Until Firm
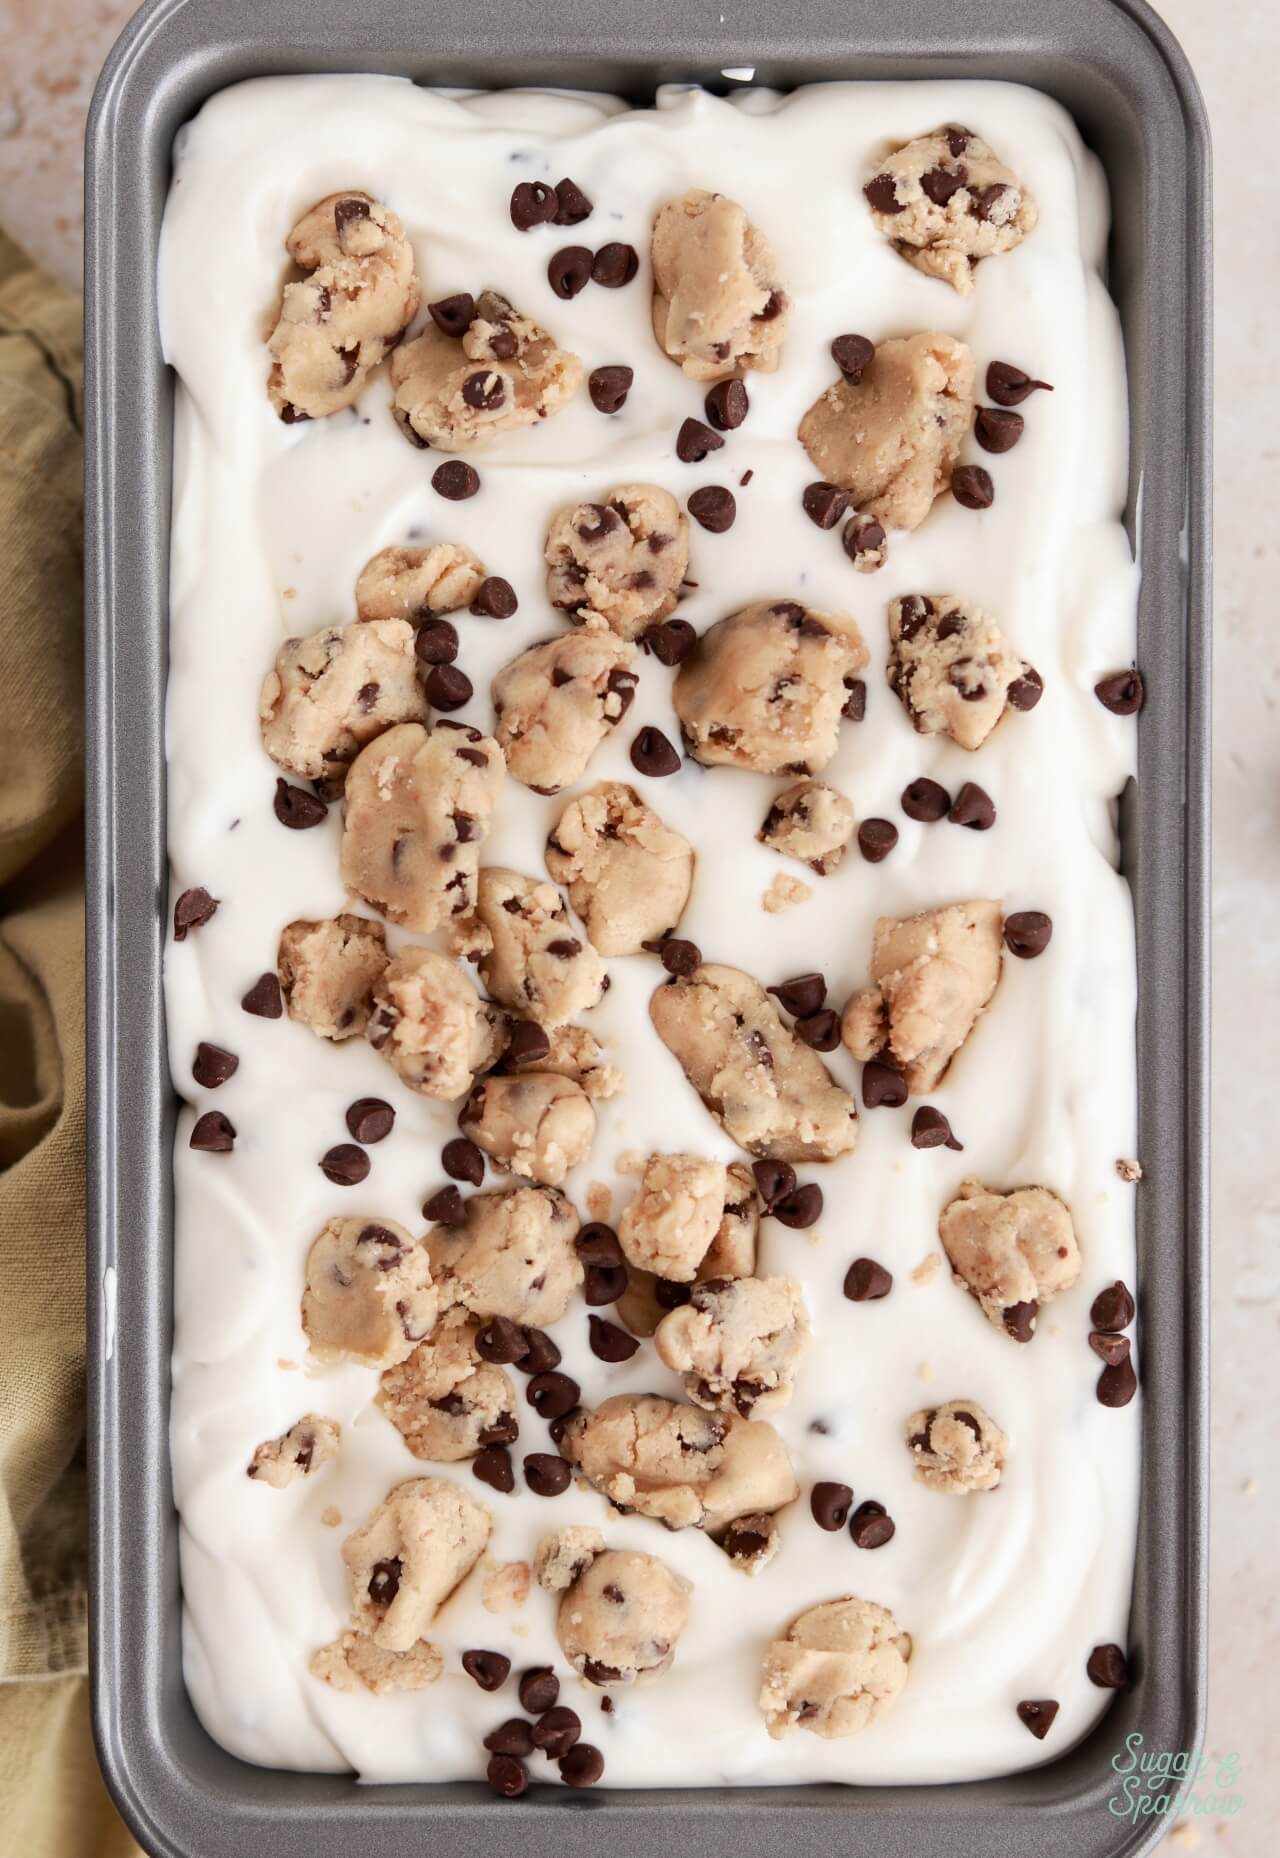
Scoop all of the cookie dough ice cream mixture into a 9×5 loaf pan (or other freezer-friendly container), then top with the reserved cookie dough chunks and mini chocolate chips. Cover and freeze for at least 6-8 hours, until solid and perfectly scoop-able.
Cookie Dough Ice Cream FAQs
- Is the cookie dough safe to eat? This edible cookie dough recipe is specially formulated to be completely safe to eat. Heat-treating the flour to 160ºF (71ºC) ensures that it won’t contain bacteria, and the dough is also egg-free.
- Do I have to make the cookie dough from scratch? Not necessarily! You may be able to find cookie dough chunks at your local grocery store. I’ve heard that Ben & Jerry’s sells theirs in the frozen foods section (probably right next to their ice cream)!
- How does it work without an ice cream machine? Whipping the heavy cream to stiff peaks adds just the right amount of air to make the ice cream structured and smooth, and the sweetened condensed milk lowers the freezing point so it stays creamy and velvety.
- Can I use evaporated milk instead of sweetened condensed milk? No. While the cans look similar and they’re often sold right next to each other, evaporated milk and sweetened condensed milk are entirely different and will not work the same.
- How do I make a dairy-free no-churn cookie dough ice cream? For the cookie dough, substitute the butter for vegan butter sticks, swap the milk for a dairy-free milk, and use dairy-free mini chocolate chips. Then for the ice cream, swap the heavy whipping cream for full-fat coconut cream (refrigerated until cold) and the sweetened condensed milk for sweetened condensed coconut milk.
- How do I store no-churn ice cream? I always make mine in a loaf pan and cover it with aluminum foil or plastic wrap initially. If you’re planning on storing it for longer than a few days (mine never lasts that long!), add it into an airtight plastic container and it will keep in the refrigerator for up to 2 months.

Try these Recipes Next
If you’re a no-churn ice cream fan now, here are some more recipes from my blog to add to your baking list:
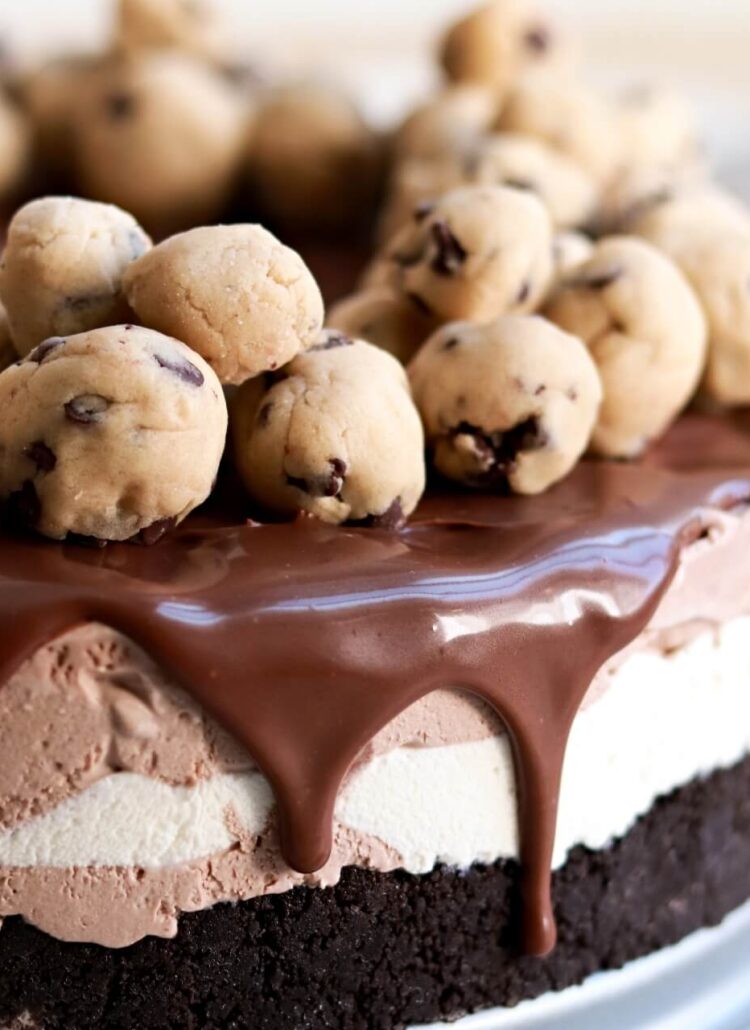
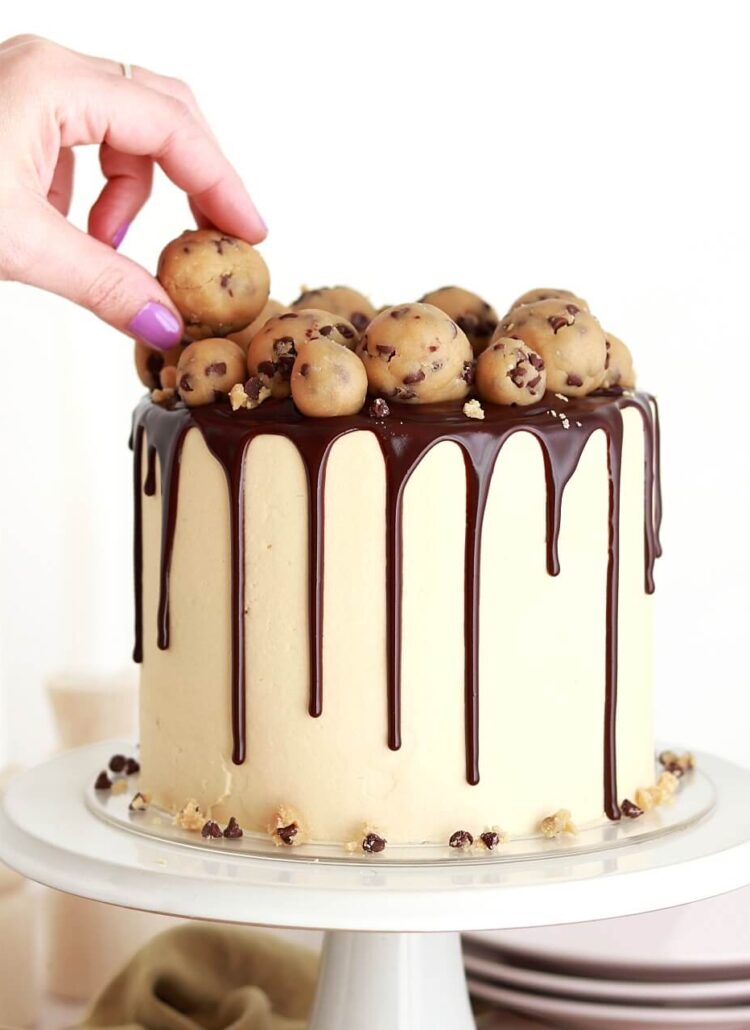
- Cookie Dough Ice Cream Cake
- No-Churn S’mores Ice Cream
- No-Churn Fudge Brownie Ice Cream
- No-Churn Samoa Ice Cream
- No-Churn Mint Chocolate Chip Ice Cream

I hope you love this homemade cookie dough cream recipe as much as I do! Let me know if you make it in the comments below (be sure to leave a star rating!) and feel free to tag @sugarandsparrowco on Instagram to show me if you post a photo. I love to see what you create with my recipes!

No-Churn Cookie Dough Ice Cream
Equipment
Ingredients
Edible Chocolate Chip Cookie Dough Bites
- 1 Cup (132g) all-purpose flour heat treating instructions below
- 1/4 Cup (57g) unsalted butter, room temperature
- 1/4 Cup (50g) granulated sugar
- 1/3 Cup (67g) packed light brown sugar
- 1 tsp pure vanilla extract
- 2 Tbsp (30ml) whole milk
- 1/4 tsp salt
- 1/2 Cup (90g) mini semi-sweet chocolate chips
No-Churn Vanilla Ice Cream
- 2 Cups (480ml) heavy whipping cream
- 14 Oz sweetened condensed milk
- 1 Tbsp vanilla bean paste OR 2 tsp vanilla extract OR 1 vanilla bean, scraped
- pinch of salt
Additional Mix-Ins
- 1/2 Cup (90g) mini semi-sweet chocolate chips
Instructions
Make the Edible Chocolate Chip Cookie Dough Bites
- Heat treat the flour: Preheat the oven to 350ºF (177ºC) and line a cookie sheet with parchment paper. Add the flour on top of the parchment in an even layer, then bake for 5 minutes. Using a digital food thermometer, check to see that the temperature of the flour has reached 160ºF (71ºC). If it hasn't, stir the flour around and continue baking in one minute intervals until it reaches this temperature. Transfer the heat treated flour into a medium bowl and set it aside to cool to room temperature, about 20 minutes.
- In the bowl of your stand mixer fitted with the paddle attachment (or a large bowl with a hand mixer), add the butter, granulated sugar, and brown sugar. Cream these ingredients together on medium-high speed until uniform and fluffy, 2-3 minutes. Scrape down the bowl and paddle and add the vanilla, milk, and salt. Continue mixing on medium speed until combined.
- Add the (cooled) heat treated flour, then mix on low speed until combined. Then, mix in the mini chocolate chips.
- Line a baking sheet with parchment paper (or re-use the one you used for heat-treating the flour). Use 1/2 teaspoon to measure out the cookie dough and either roll it into balls or keep it in imperfect chunks, adding them to the parchment-lined baking sheet as you go. Once you've added all the cookie dough balls/chunks, refrigerate them on the baking sheet while you make the ice cream.
Make the No-Churn Ice Cream
- Place a large metal bowl into the refrigerator to chill for at least 20 minutes.
- Remove the large chilled metal bowl from the refrigerator and add the heavy whipping cream into it. Beat with a hand mixer (or using the whisk attachment on your stand mixer) until stiff peaks form, about 2-4 minutes. Place the whipped cream into the refrigerator while you move on.
- In a separate medium bowl, add the sweetened condensed milk, vanilla, and salt. Whisk together until combined.
- Pour the vanilla condensed milk mixture into the large bowl of whipped cream and use a silicone spatula to fold together until fully combined.
- Reserve about 1/4 cup of the cookie dough bites and a few tablespoons of the mini chocolate chips, then fold the rest to the vanilla ice cream mixture with a silicone spatula. Add the cookie dough ice cream into a loaf pan, then sprinkle the reserved cookie dough bites and mini chocolate chips on top. Cover with plastic wrap or aluminum foil, then freeze for 6-8 hours, after which the ice cream should be semi-firm, scoop-able, and ready to enjoy!

Leave a Reply