
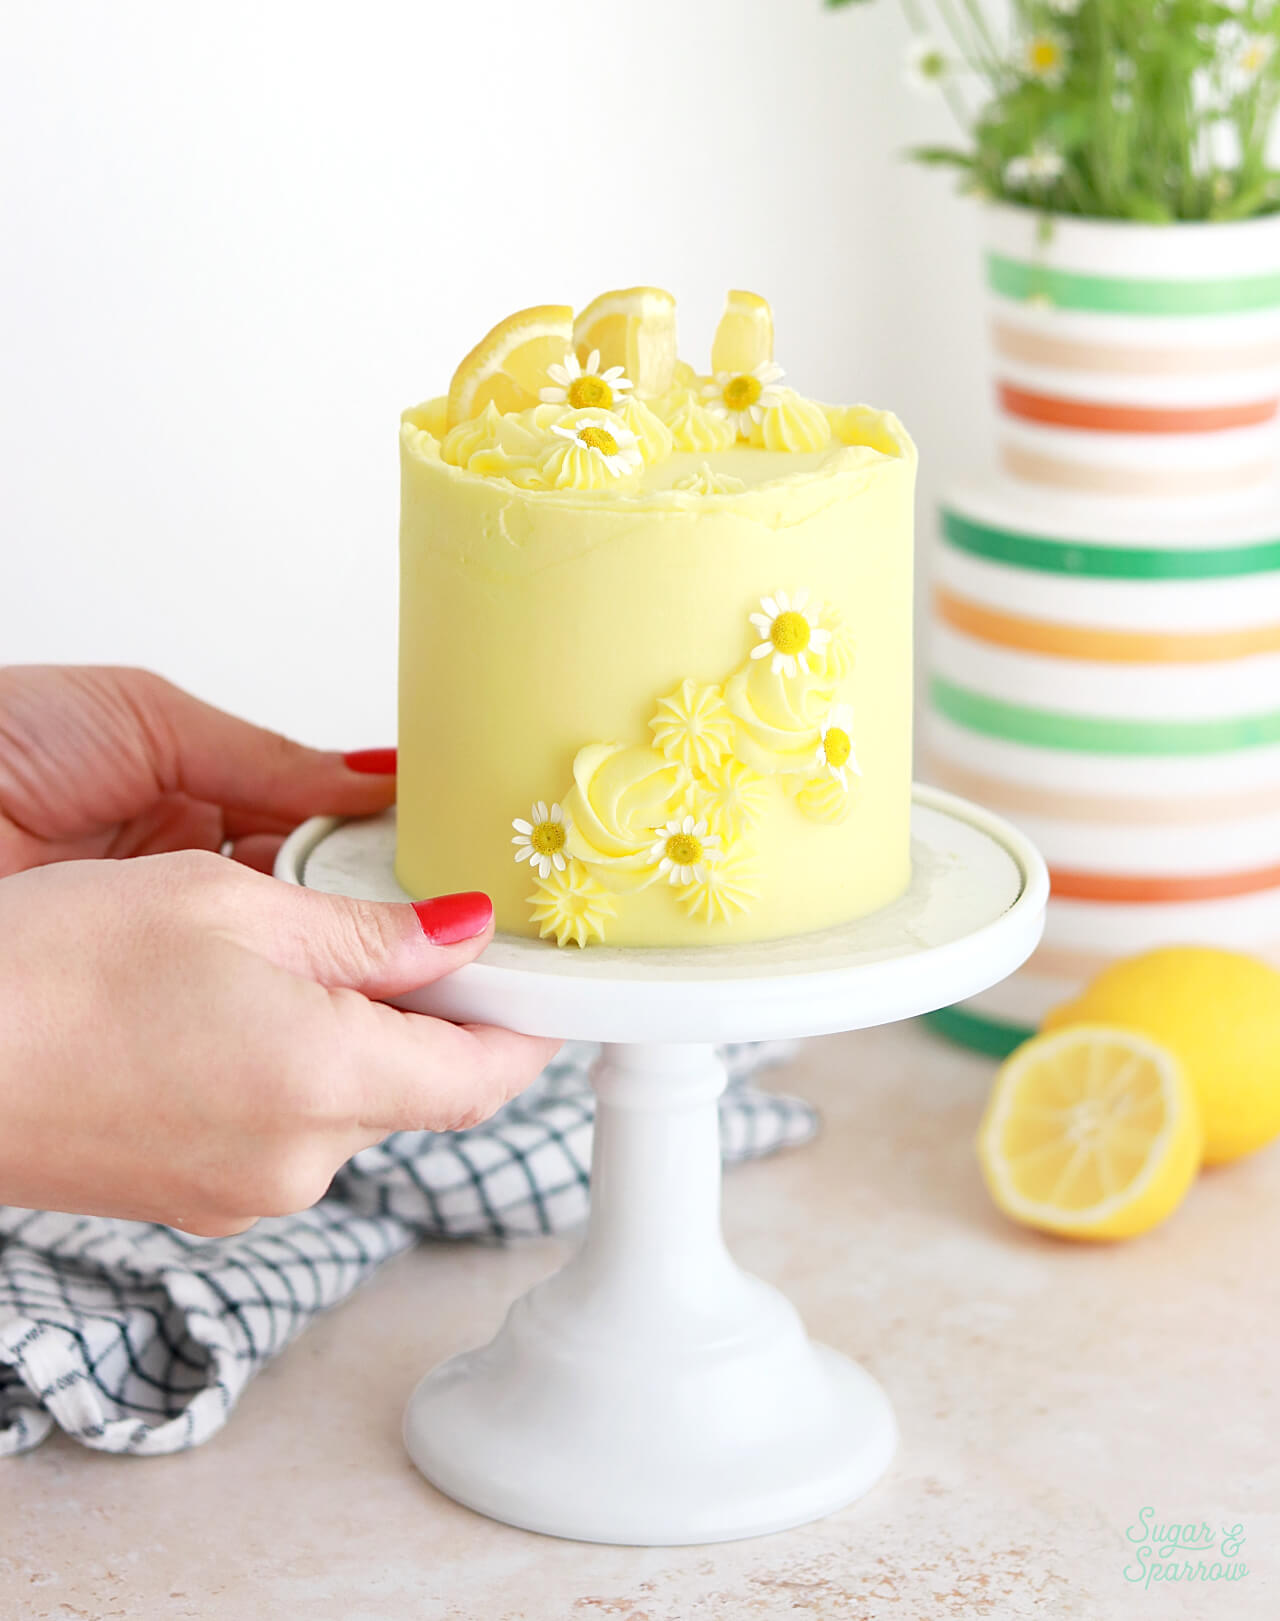
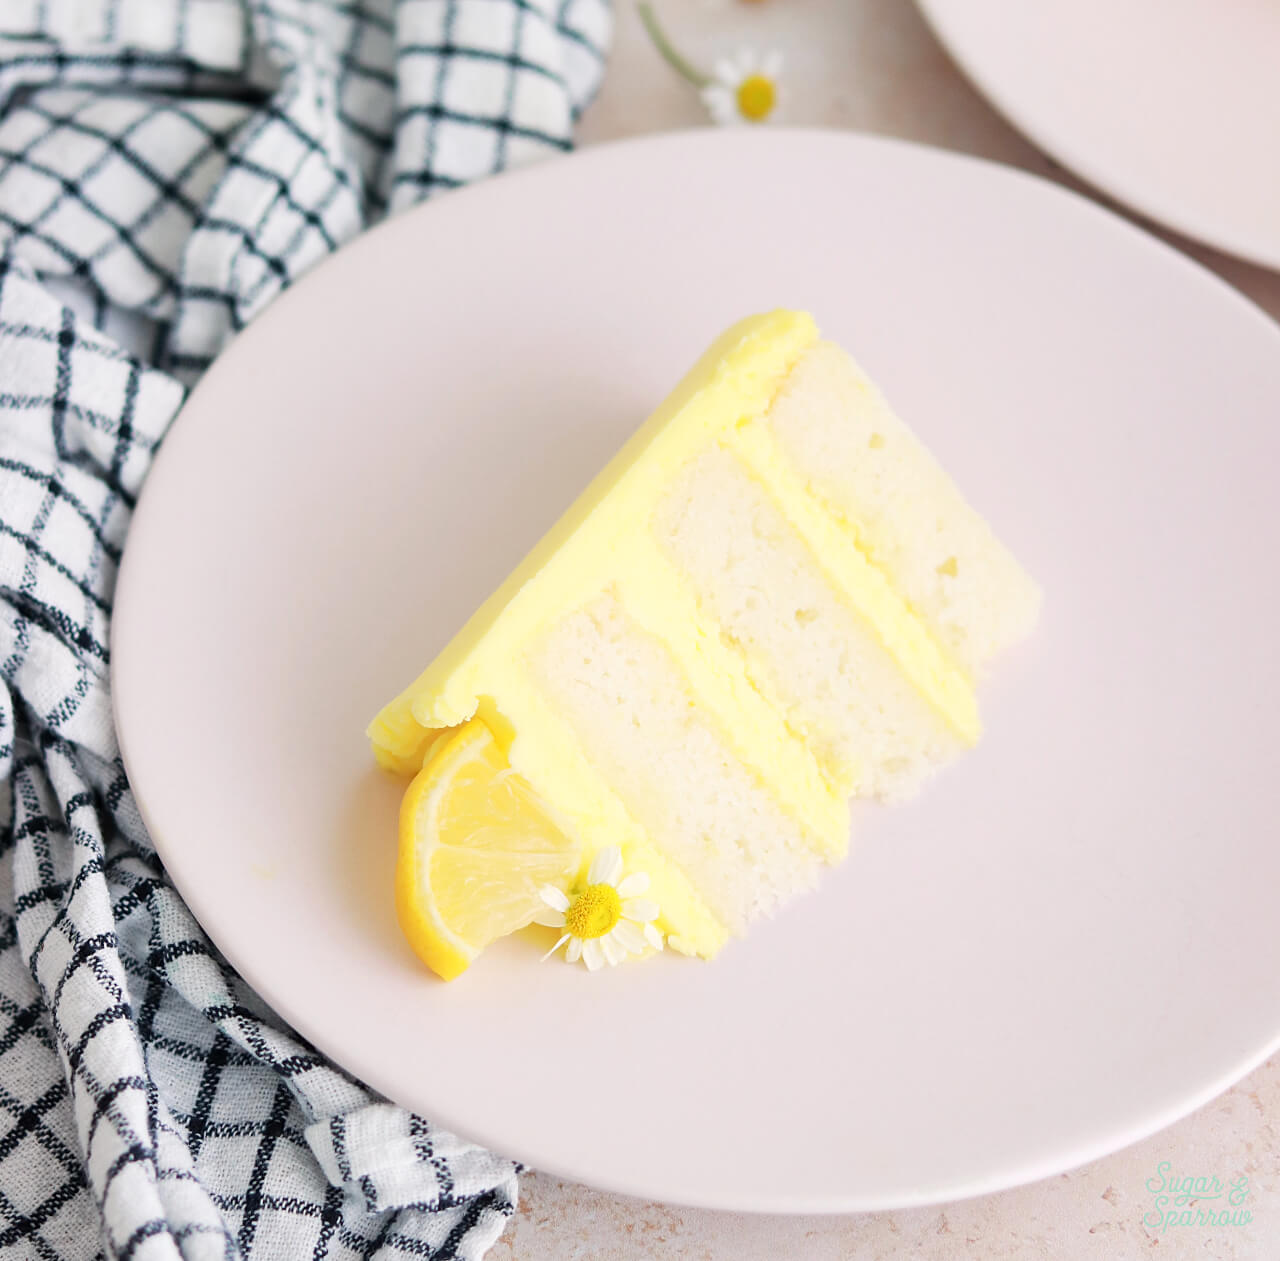
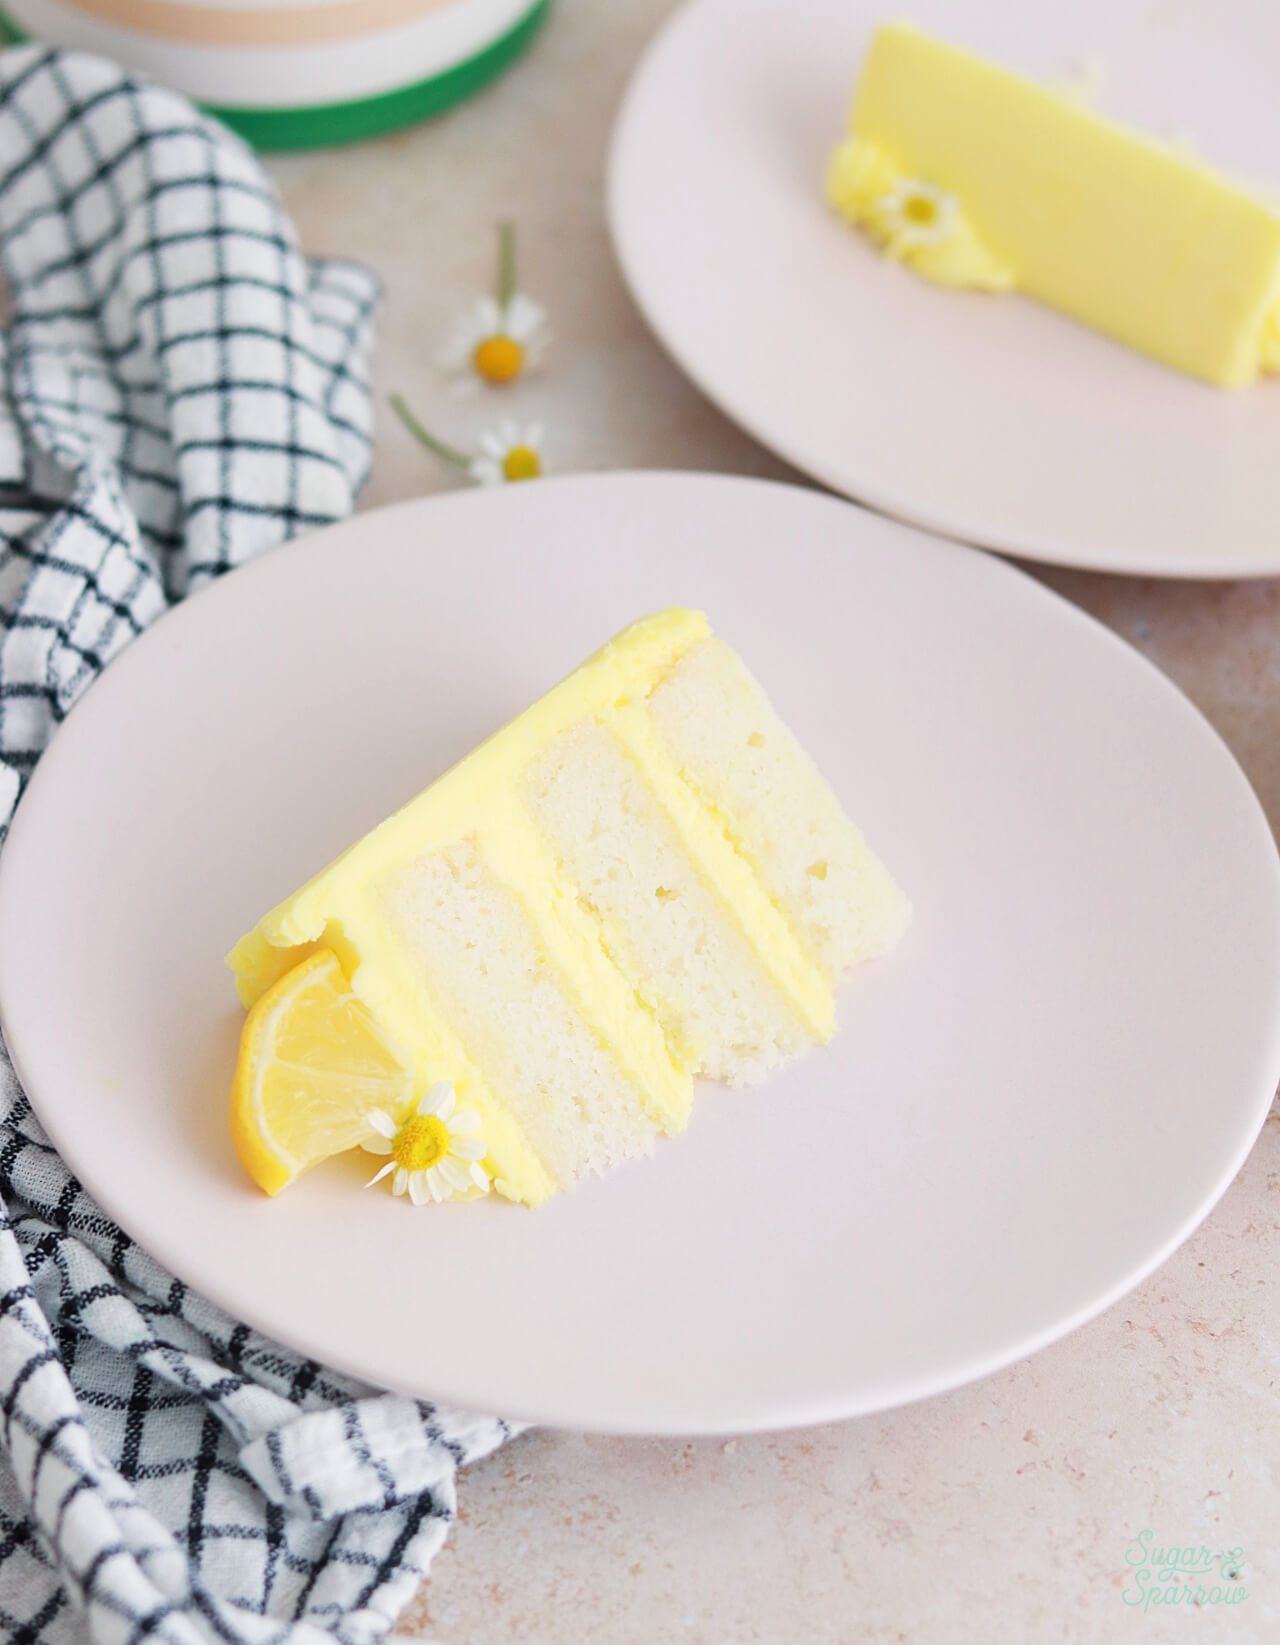
This small batch lemon layer cake is a mini version of my all-time favorite lemon cake and makes just enough to serve 2-4 people. It has a super soft and fluffy texture, is extra moist, and packed with fresh lemon flavor. You can bake it as a 4-inch layer cake like the one pictured here or as a single layer 6-inch cake. Either way, it’s the perfect lemon cake for a small gathering, smash cake, date night, or to satisfy a cake craving!
Small Batch Lemon Cake Ingredients & Substitutes
People have been asking for a small batch version of my lemon layer cake for quite awhile, so I was really excited to scale it down to the perfect mini size with three 4-inch cake pans. Just like the original recipe, this small batch lemon cake has the perfect soft and moist crumb, superb lemon flavor, and is easy to make. Here are some of the key ingredients that make it so special:
- Cake flour. This makes the cake extra soft since cake flour has a much lower protein content than all-purpose flour. If you can’t find cake flour locally, there are instructions for homemade cake flour in the notes of the recipe.
- Granulated sugar. This not only sweetens the cake, it also makes the texture super soft.
- Lemon zest. The zest of the lemon is where the majority of the flavor comes from. To give this cake the perfect lemon flavor, I mix the lemon zest and sugar together until the zest infuses the sugar with essential oils. This really amplifies the lemon flavor from the very beginning of the recipe.
- Unsalted butter. This is the main fat used in this cake, which gives it a rich texture. If you only have salted butter on hand you can use that, but be sure to omit the salt from the recipe if you do.
- One large egg white. Using just the white of the egg keeps the cake extra light and soft.
- Vegetable oil. A few tablespoons of vegetable oil help boost the moisture in this cake.
- Lemon extract. Since lemon extract is made from lemon zest, it’s really potent and concentrated. I like to add just a little bit to take the lemon flavor to the next level. You only need a few drops of lemon extract for the small batch version of this recipe, and if you don’t have it on hand you can substitute this with 2 teaspoons of fresh squeezed lemon juice.
- Buttermilk. Since buttermilk has the highest fat percentage of any milk, it yields a rich and moist texture. I recommend using full-fat buttermilk in this recipe, but if you don’t have it on hand you can create a homemade version with whole milk and white vinegar or lemon juice. The instructions are in the notes section of the recipe below.
The Best Ways to Flavor a Cake with Lemon
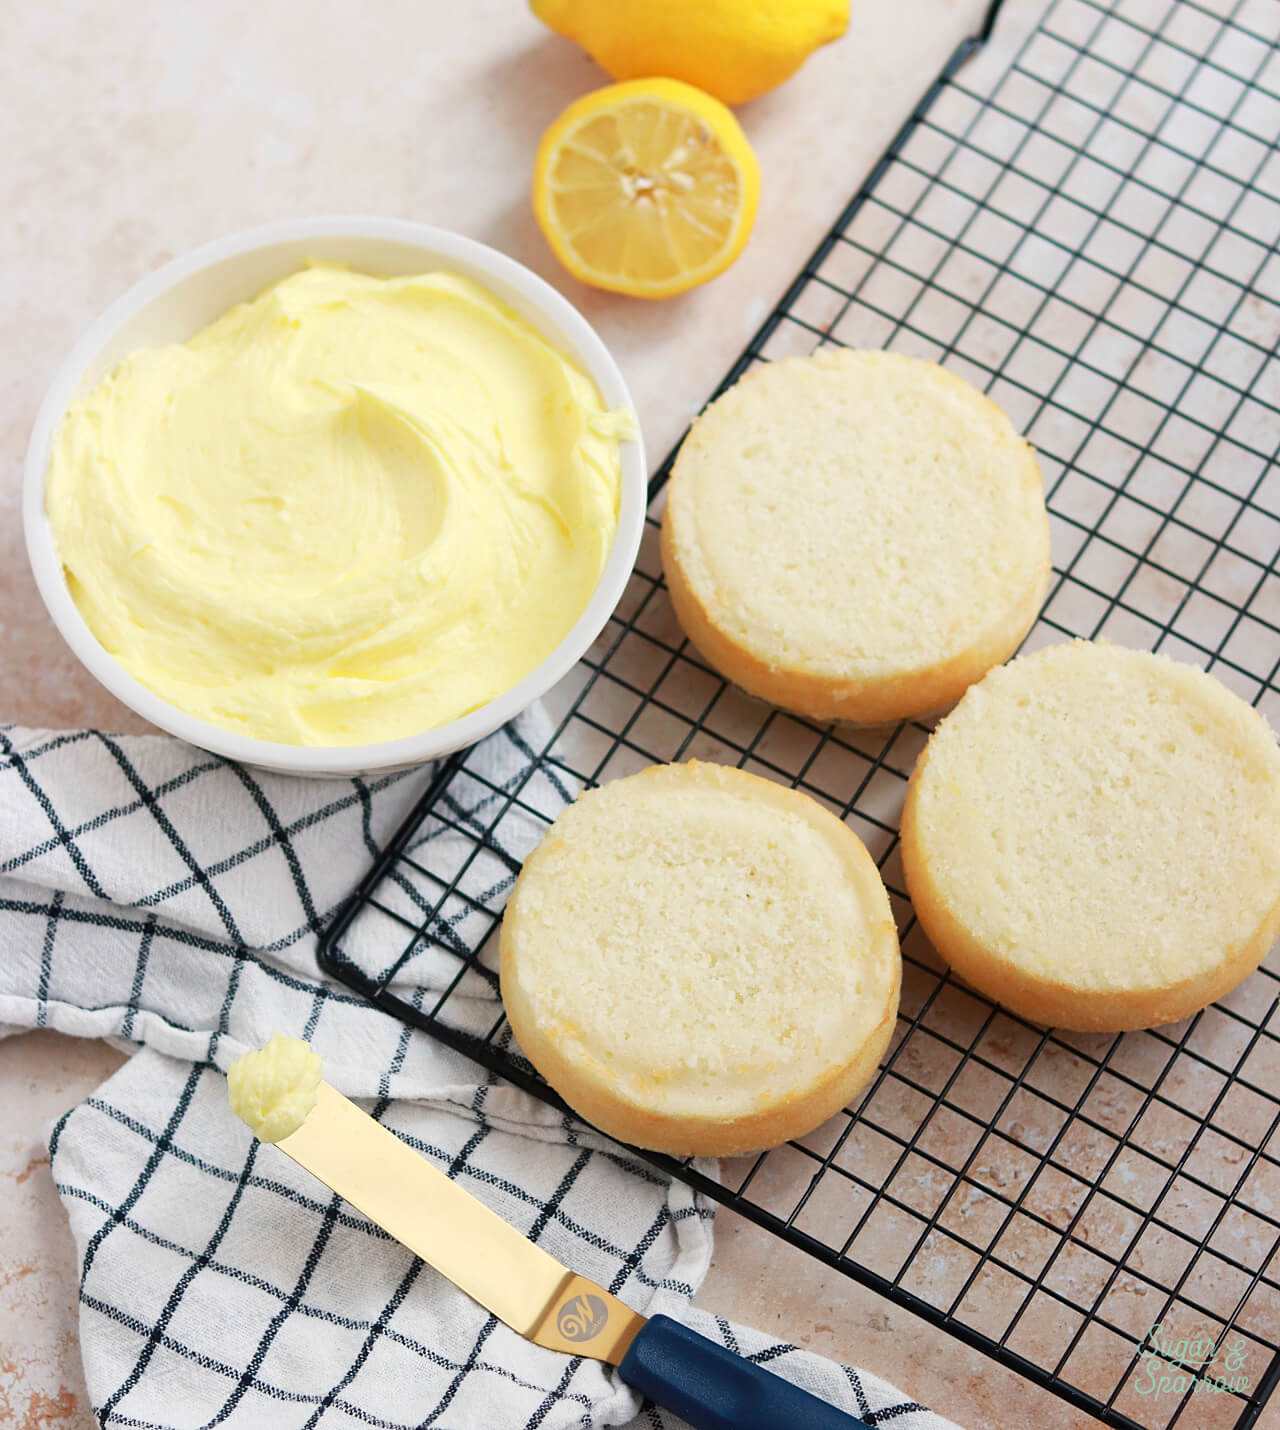
Like I mentioned previously, the most flavorful part of a lemon (or any citrus) is the zest. In my recipe testing I’ve found that it’s important to add lemon zest in the very beginning of the recipe to allow all of the essential oils to infuse the batter the entire time. So the first step of this recipe is to zest the lemon right into the sugar, then mix the two ingredients together until those essential oils from the zest start to release.
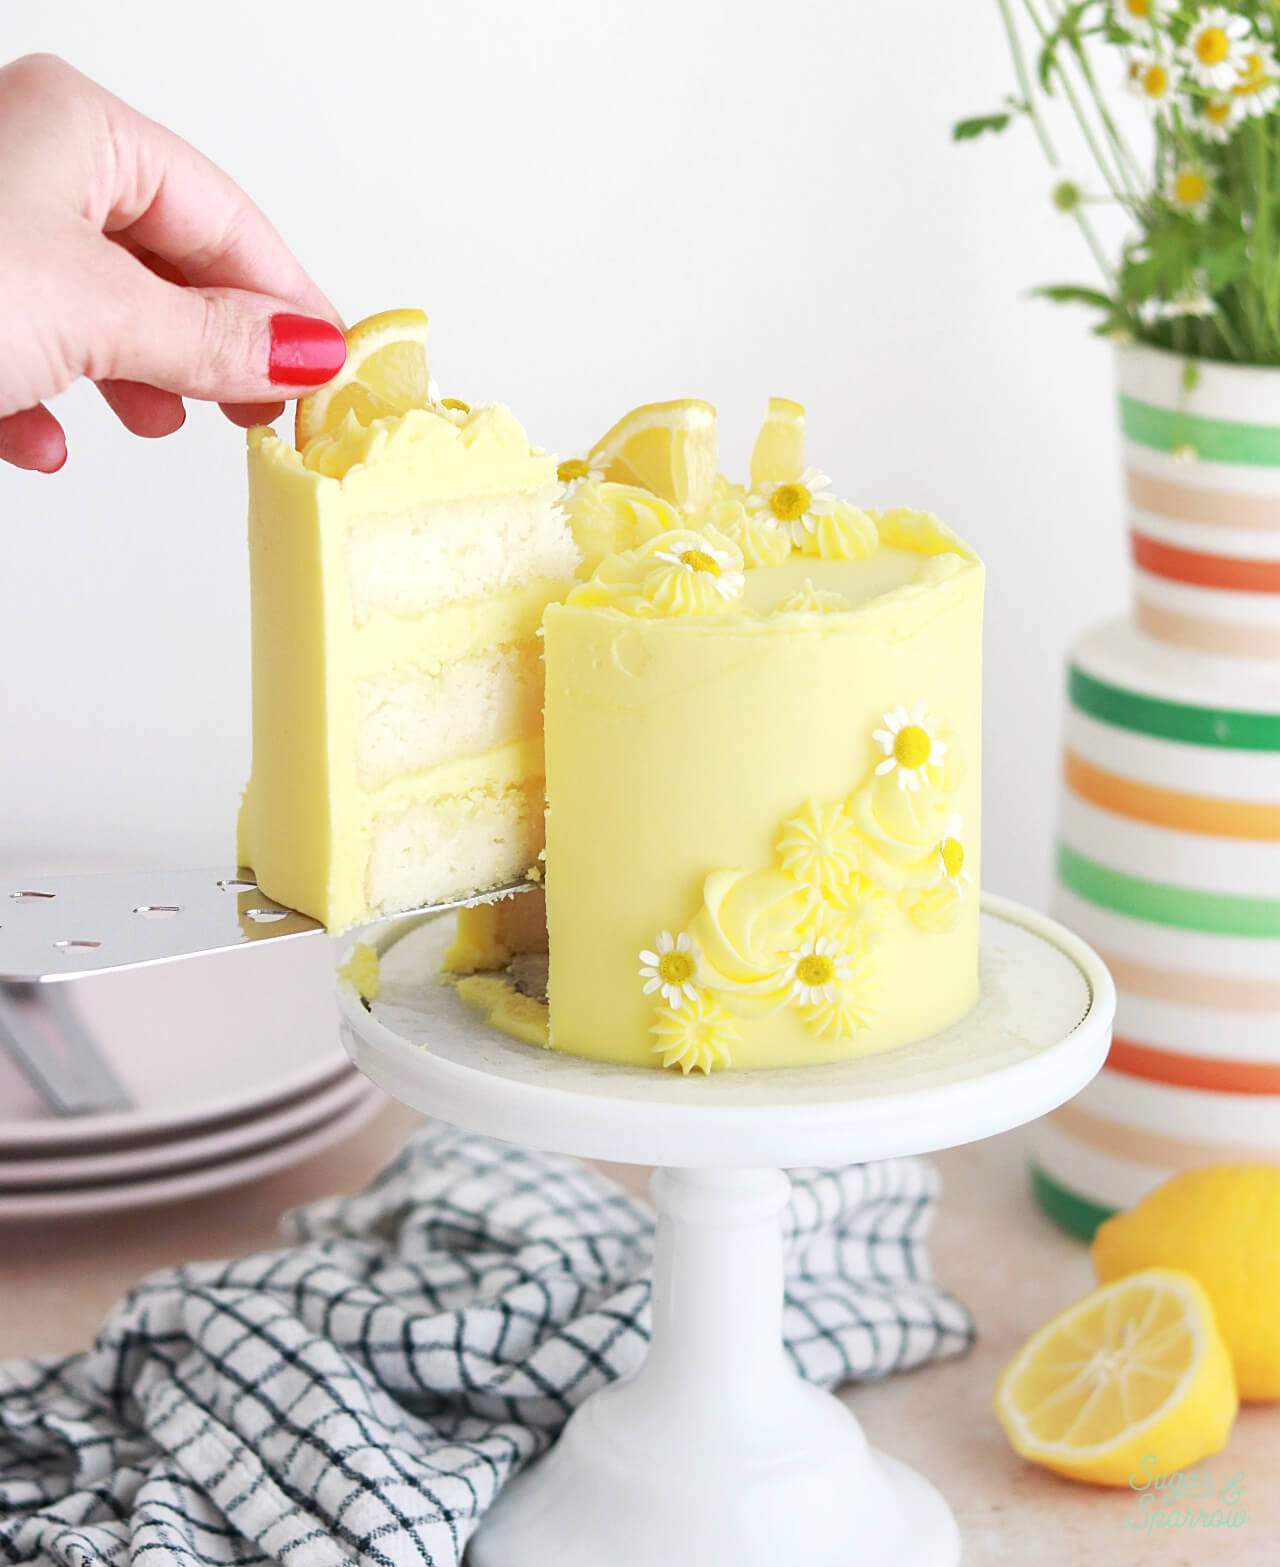
The juice of the lemon isn’t as concentrated and tends to cook off in the baking process. In other words, it doesn’t add a ton of flavor. Instead, to take the lemon flavor up another level, a little bit of lemon extract is a wonderful addition. Lemon extract is made from lemon zest and is ultra concentrated, so you don’t need to add a lot. If you can’t find lemon extract locally, fear not. You can always add a few teaspoons of fresh lemon juice to round the flavor out. Even though it’s not as potent it will still contribute some to the overall flavor.
How to Decorate a Mini Lemon Cake
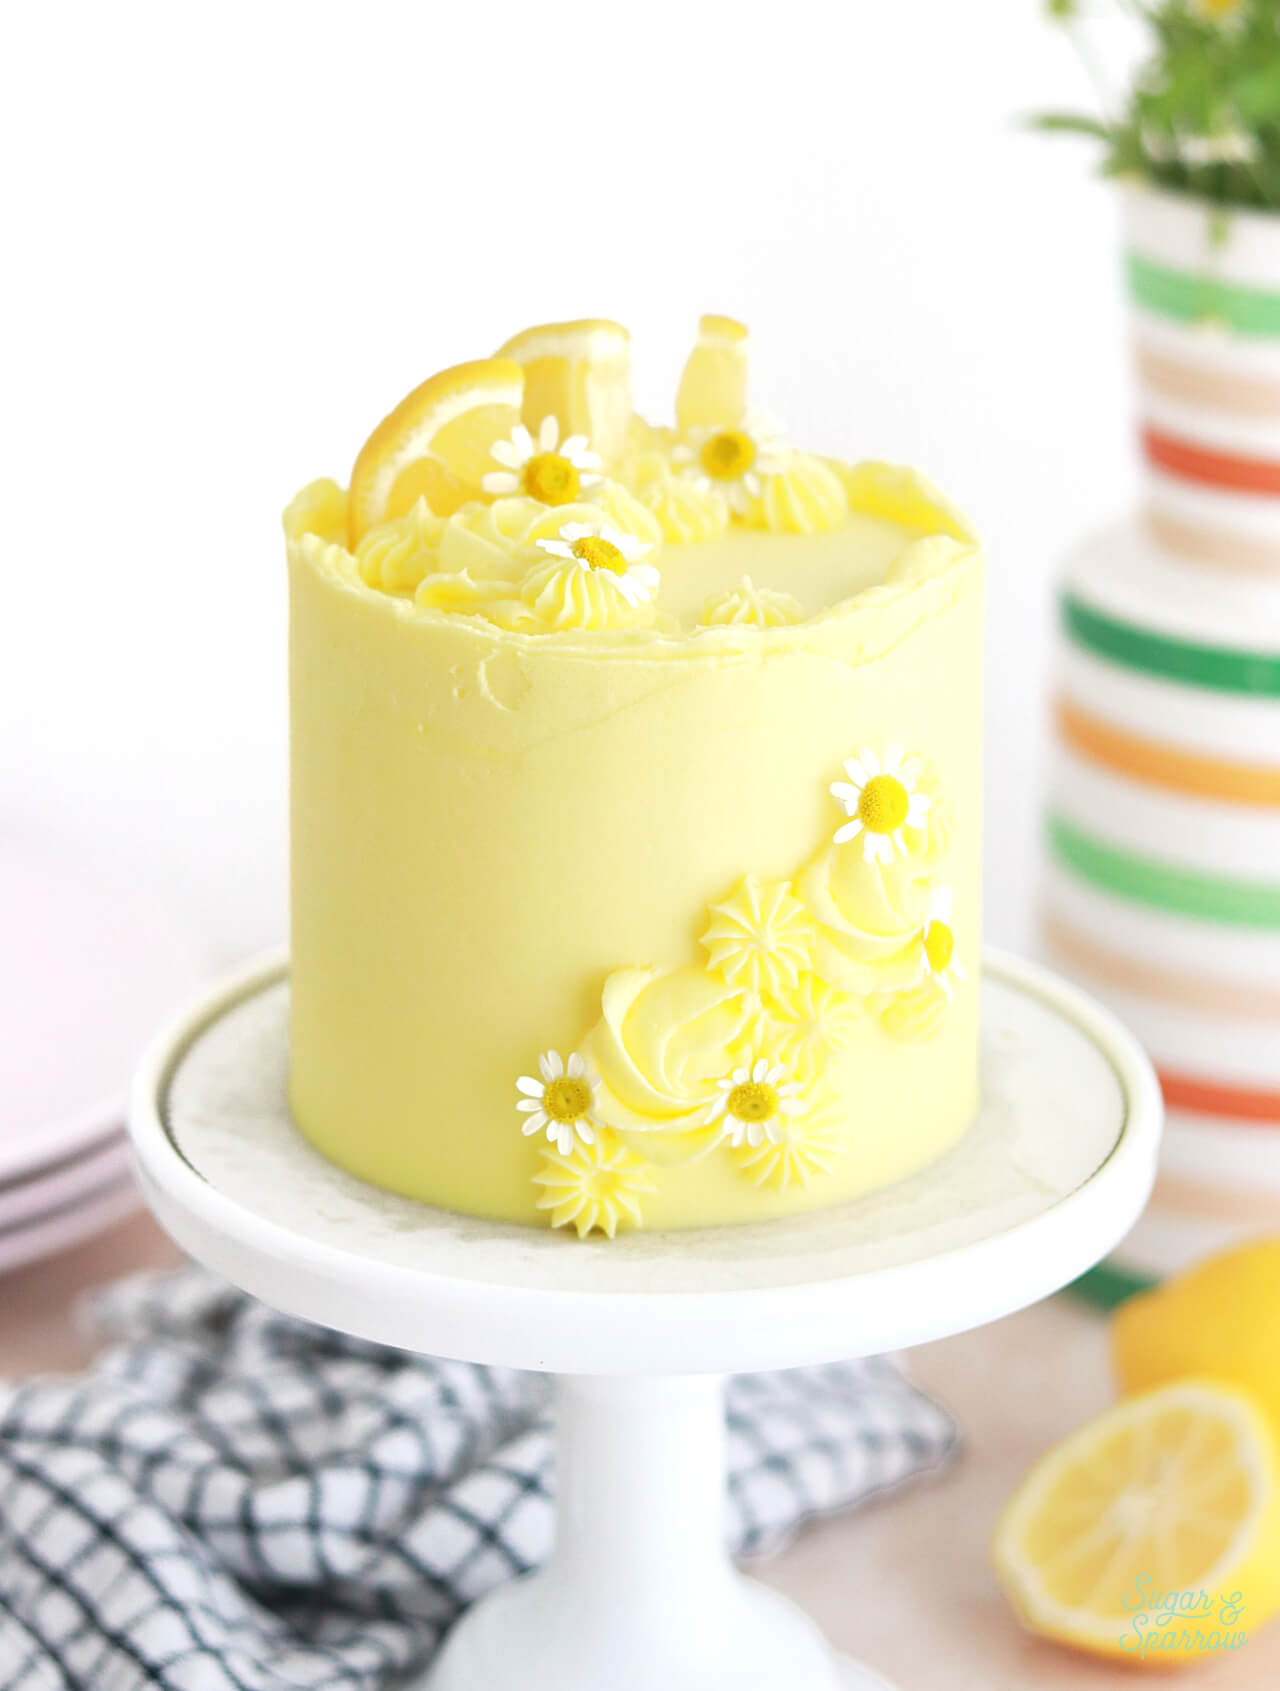
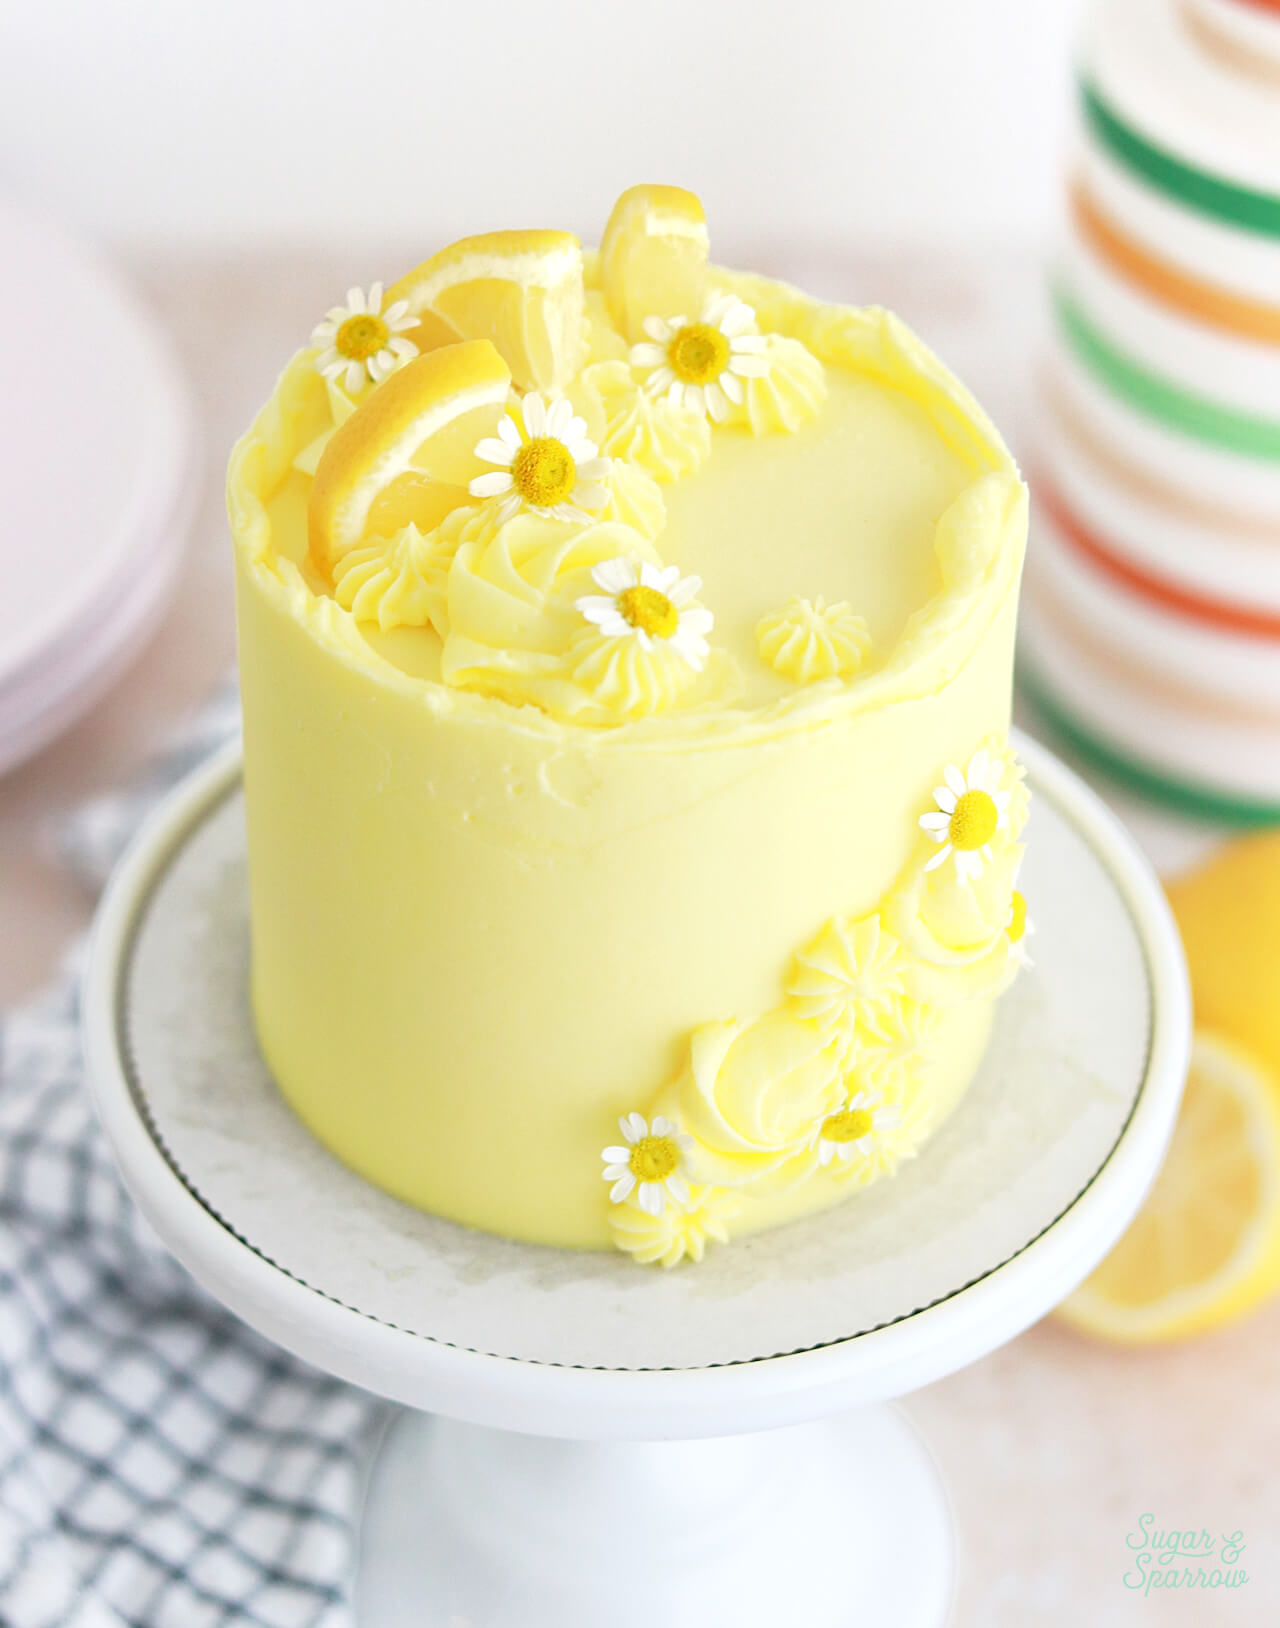
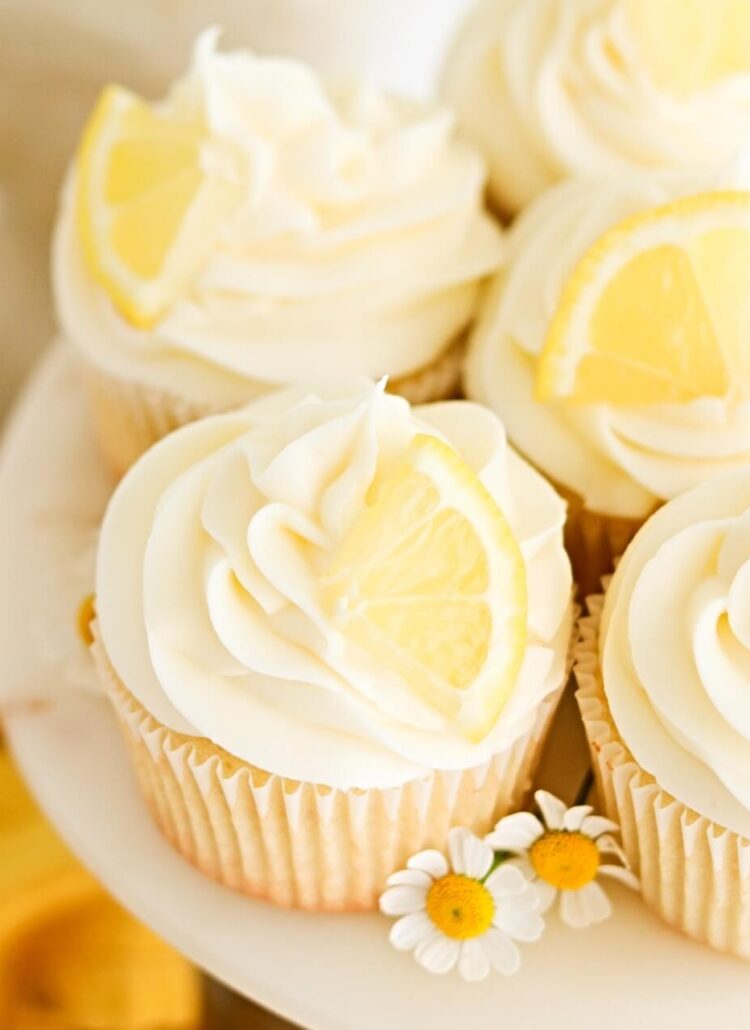
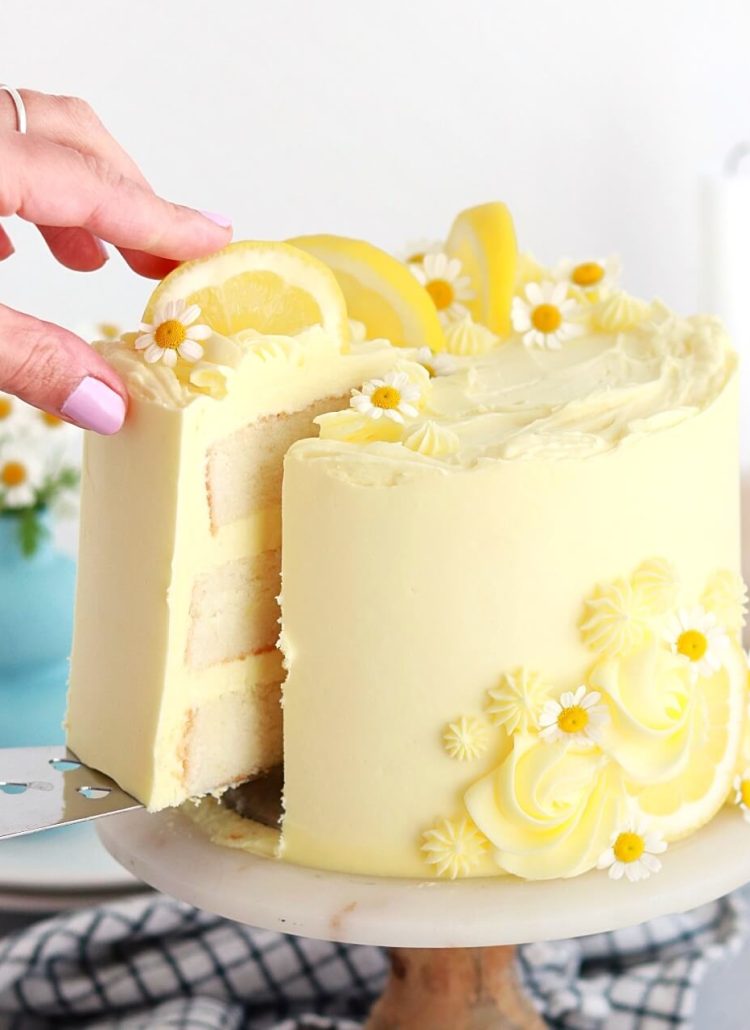
I paired this small batch lemon cake with my favorite lemon buttercream recipe, so it’s basically like sunshine in mini cake form. I really had my mind set on making a tiny version of the original lemon layer cake recipe, so that is how I decorated: I frosted a smooth buttercream finish with a raw edge, then used Wilton Tip 1M to pipe a few rosettes and Wilton Tip 32 to pipe stars. I garnished with quarters of fresh lemon and chamomile flowers.
Since it’s so tiny, this cake would look cute any way you decorate! You can take a look at some of my other small batch cake recipes for design inspiration. And if you’d rather pair this lemon cake with a different frosting, here are a few recommendations:
- Lavender Buttercream
- Strawberry Buttercream
- Vanilla Buttercream
- Raspberry Buttercream
- Blueberry Buttercream
- Cream Cheese Buttercream
However you decorate and whatever you’re celebrating, I hope you love this small batch lemon layer cake recipe as much as I do!
Small Batch Lemon Cake
Equipment
- 3 4-inch cake pans OR
Ingredients
- 3/4 Cups (79g) sifted cake flour* DIY recipe in notes
- 1 tsp baking powder
- 1/8 tsp salt
- 1/2 Cup (100g) granulated sugar
- 2 tsp grated lemon zest about 1/2 medium lemon
- 3 Tbsp (42g) unsalted butter, room temperature
- 1 large egg white
- 2 Tbsp (30ml) vegetable oil
- 1/8 tsp pure lemon extract or 2 tsp fresh lemon juice
- 1/2 Cup (120ml) full-fat buttermilk** DIY recipe in notes
Lemon Buttercream
- 1 Cup (226g) unsalted butter, room temperature
- 3 1/2 Cups (420g) powdered sugar
- 2 Tbsp (30ml) fresh lemon juice
- 2 tsp whole milk, room temperature
- 1/4 tsp salt, or to taste
- 1 drop yellow food color gel optional
Garnish
- 1 lemon slice, quartered
- fresh chamomile flowers
Instructions
Make the Lemon Layer Cake
- Preheat the oven to 350°F/177ºC. Prepare three 4-inch cake pans or one 6-inch cake pan by spraying the sides with baking spray and lining the bottom with parchment paper.
- Add the sifted cake flour, baking powder, and salt into a bowl and whisk to combine. Set aside.
- Using a stand mixer fitted with the paddle attachment, mix together the sugar and lemon zest until fragrant and well combined, about 1 minute. Add the butter and cream it together with the lemon-sugar mixture on medium speed until light and fluffy, 2-3 minutes.
- With the mixer on low, add the egg white and mix until combined. Add the vegetable oil and lemon extract (or lemon juice) and beat at high speed for one minute.
- Turn the mixer off and add the cake flour mixture all at once. Mix on low speed until just combined, then slowly pour in the buttermilk. Mix until smooth and fully combined, about 30 seconds.
- Pour the batter evenly between the prepared 4-inch cake pans (or all into one 6-inch cake pan). If using 4-inch cake pans, bake for 18-22 minutes. If using a 6-inch cake pan bake for 24-28 minutes. The cake is done when it springs back to the touch and a toothpick inserted comes out clean. Cool completely before assembling and decorating.
Make the Lemon Buttercream
- In a stand mixer fitted with the paddle attachment, whip the butter on high speed until creamy and light in color, about 5 minutes.
- Add the powdered sugar in two additions, mixing thoroughly for a minute and scraping down the bowl and paddle after each addition.
- Add the lemon juice, whole milk and salt and mix on low until the buttercream is well incorporated and smooth, 1-2 minutes. Mix in the yellow food color gel, if using.
Assembly
- Once the lemon cake is completely cooled, frost and decorate with the lemon buttercream and optional garnishes. To create the mini layer cake pictured, level the cake layers to your desired height. Add a swipe of lemon buttercream onto a cardboard cake circle and place the first cake layer on top. Fill and stack the cake with lemon buttercream. Crumb coat the cake with lemon buttercream, then place it in the refrigerator for at least 20 minutes to let the buttercream set firm.
- For the design pictured, frost a smooth buttercream finish onto the sides of the cake but keep the top edge raw, meaning don’t swipe it inward to create sharp edges. Fit one piping bag with Wilton Tip 1M and another with Wilton Tip 32, then divide the remaining lemon buttercream between them. On the top of the cake, use the bag fitted with Tip 1M to pipe a few rosettes and the bag with Tip 32 to pipe a few stars in a crescent shape. Garnish with lemon slices and chamomile flowers. Pipe more rosettes and stars on the side of the cake before adding more chamomile accents.
Notes
- The lemon cake layer(s) can be made ahead and stored at room temperature, covered tightly in plastic wrap, for up to two days. Alternatively, you can cover with plastic wrap and store in the freezer for up to two months before thawing to room temperature.
- The lemon buttercream can be made ahead and stored in an airtight container in the refrigerator for up to two weeks. When you’re ready to use it, bring it back to room temperature and re-whip in your stand mixer to bring back to smooth buttercream consistency.
I hope you love making this small batch lemon cake recipe! Let me know who you made it for in the comments below + be sure to tag @sugarandsparrowco on Instagram to show me. I love to see what you create!
Can you make this if you only have a hand mixer?
Hi Gayle! Yes you can! Just follow the timing and speeds listed in the recipe with your hand mixer. Enjoy!
When it says for the small batch cakes to spray and line the cake pan does it mean just line the bottom of the pan with parchment paper? I tried to line the whole pan, which was extremely difficult and made the cake sides. Come out bumpy.
Hi Maureen! Yes, line the bottom only with parchment paper. I’ll be sure to add that detail in the instructions.
Hey, I love baking your recipes! Always a hit. I know it calls for cake flour. Have you used gf flour instead?
Hi Mandy! I’m so happy you’ve been loving my recipes! I haven’t tried this one with GF flour but I know many people who sub 1:1 GF baking flour in my recipes with success. My hunch is that an equal amount of GF baking flour will work. You’ll want to measure it in volume (cups) instead of going by the weight of the flour listed though – cake flour weighs a lot less than other kinds of flours. Hope that helps!
Hi Michelle. I’m so sorry that this didn’t turn out for you! It will definitely be a little more dense with the DIY cake flour, as it’s made from all purpose flour. I can’t be exactly sure what went wrong but my only recommendation if you try this again is to use store bought cake flour.
Hi Shaira! That’s definitely concerning, I’ve never had a cake come out jelly like! Was it underbaked? That’s the only thing I can think of that would make the cake turn out that consistency.
Can I use the whole egg instead of just the white for this recipe?
Hi Meaghan! I haven’t tried adding the whole egg to this recipe so I’m not sure if it would weigh down the final results. I use the egg white for this recipe to keep it light and fluffy. You are welcome to try the whole egg though!
Made this for Fathers Day and it was a hit!