• Cake
  • Frosting
  • YouTube
  • My Favorite Tools
  • Nav Social Icons

  • Skip to primary navigation
  • Skip to main content
  • Skip to primary sidebar
  • Skip to footer
  • Recipes
    • Cake
    • Cupcakes
    • Frosting
    • Ice Cream
    • Vegan
  • Cake Basics
  • Tutorials
  • Blog
  • About
  • Mobile Menu Widgets

    Connect

    Search

Sugar & Sparrow logo in script font

Sugar & Sparrow

Lifestyle and Cake from Portland Oregon

  • Cake Basics
  • Recipes
    • Cake
    • Cupcakes
    • Cookies & Bars
    • Filling
    • Frosting
    • Ice Cream
    • No-Bake
    • Small Batch
    • Vegan
  • Tutorials
  • Book
  • Blog
  • About

Ruby Chocolate Buttercream Recipe

February 6, 2020 · In: Featured, Frosting, Recipes, Seasonal, Spring, Valentines

Jump to Recipe

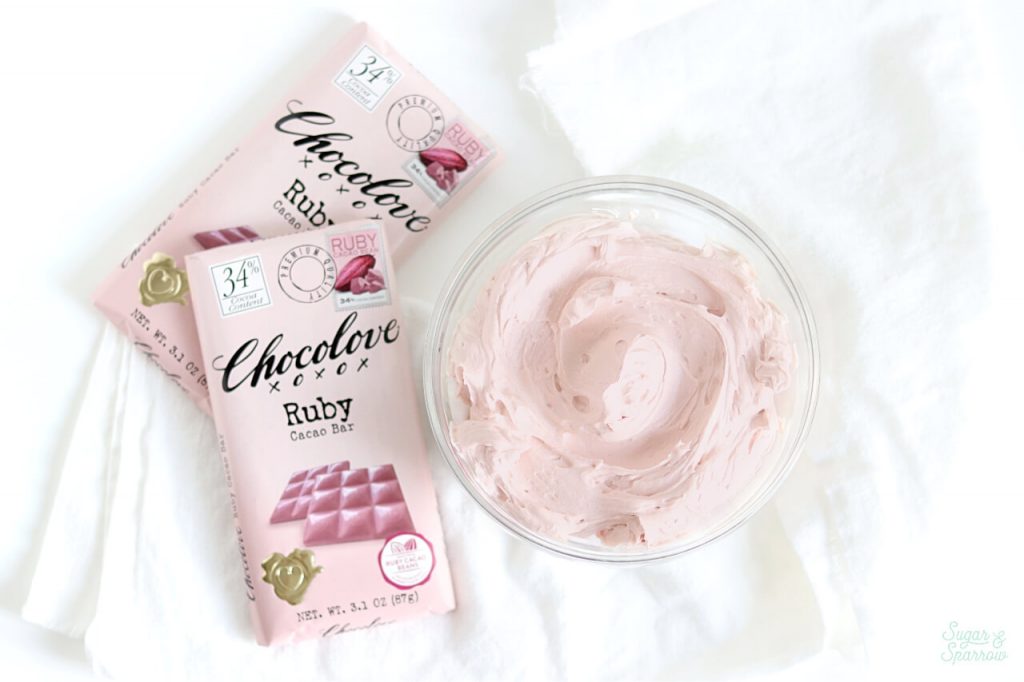
I’ve been curious about ruby chocolate for awhile now, mostly because of its gorgeous, all-natural mauve coloring. So when I saw these Chocolove Ruby Cacao bars at my local New Season’s, I almost squealed! I thought it was a super rare find but it turns out you can find ruby chocolate bars at most grocery stores now, especially around Valentine’s Day. It’s the latest chocolate confection since the invention of white chocolate, only it’s made from the ruby cocoa bean with no added flavoring or food coloring. 
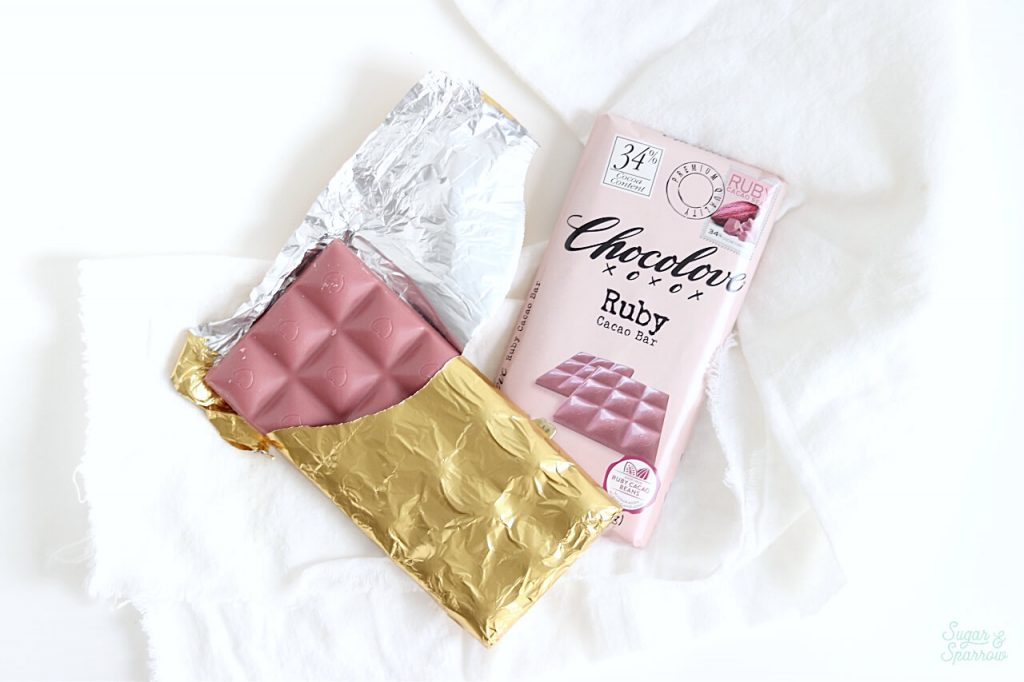
Chocolove Ruby Cacao Bar

I was totally (pleasantly!) surprised at the all-natural flavor of this Ruby Cacao bar – it tastes mostly like raspberry with a hint of chocolate. It’s a total pleasure to eat, not too sweet or bitter at all, but a perfect balance of fruit and chocolate flavor. I knew I had to try making it into a buttercream because I imagined it would pair perfectly with my favorite chocolate cake (spoiler alert: it is a match made in heaven). Plus I had to find out what color the buttercream would end up! 
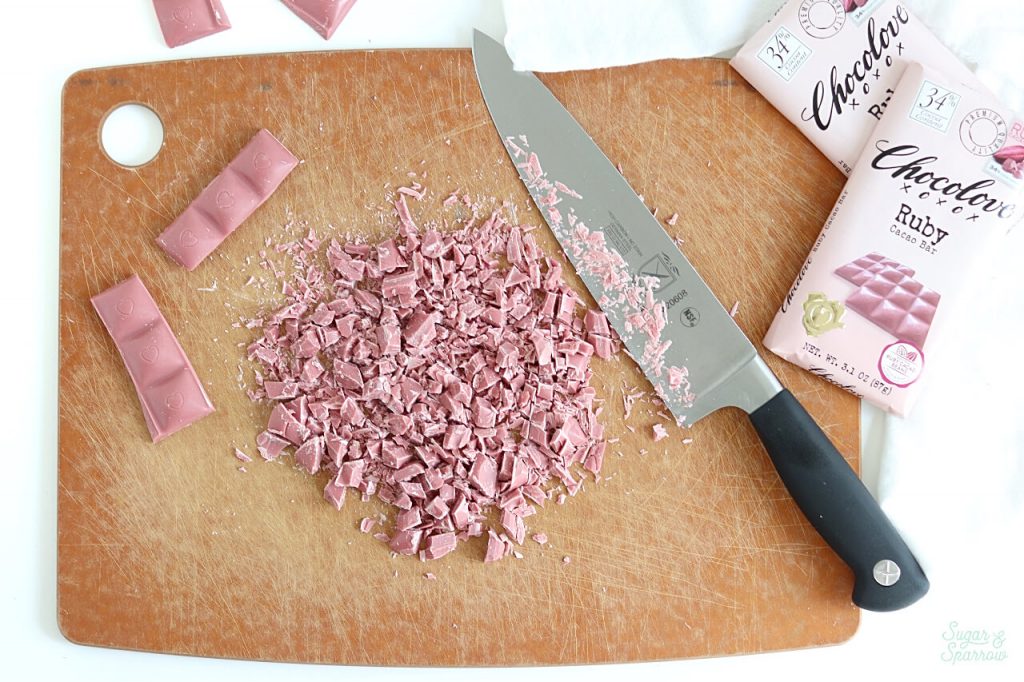
Ruby Chocolate recipes

To make this ruby chocolate buttercream, I used the method as my white chocolate buttercream recipe: melt the chocolate, cool it to room temp, and add it after creating the butter/powdered sugar mixture. You’ll notice that this buttercream doesn’t have a lot of powdered sugar in it, but trust me. There’s some sort of magic that happens after you add the melted chocolate and whip it all together. It ends up making more buttercream than you would expect (about 3 cups), frosts and pipes like a dream, and has such incredible flavor! A must try if you’re ready to experiment with a new kind of chocolate.
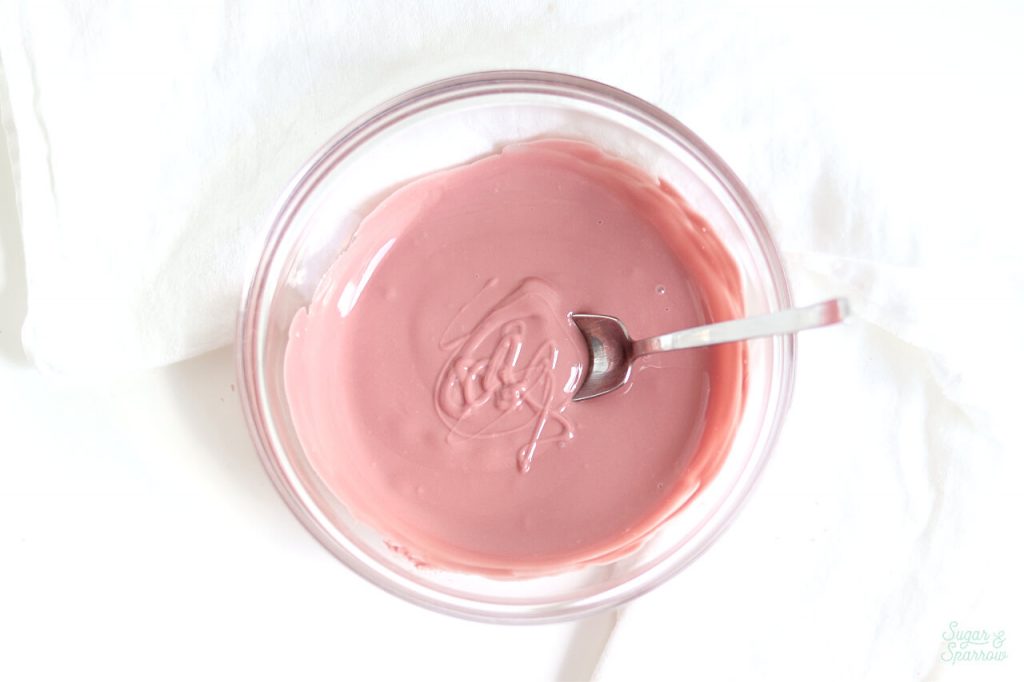
melted Ruby Chocolate
Ruby Chocolate frosting Recipe

You’re probably wondering why the color of this chocolate is pink, since cacao beans are typically brown. If you Google image search ruby cacao beans, they’re actually a bit more ruby in color (hence the name), and the resulting chocolate gets even more of a pink hue after the beans have been processed in a specific way. It’s wild, and I’m a fan.
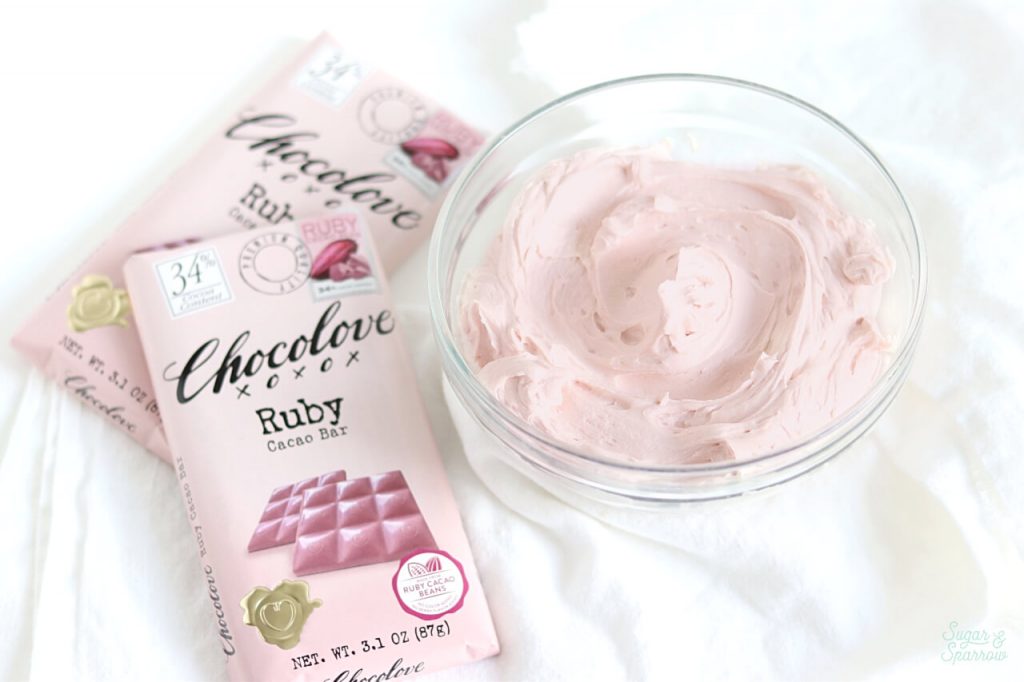
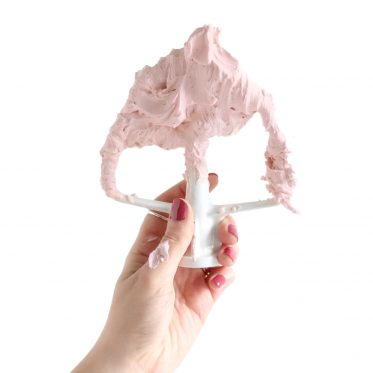
Ruby Chocolate buttercream recipe
Ruby chocolate buttercream recipe by sugar and sparrow

Ruby Chocolate Buttercream

4.34 from 3 votes
A silky smooth ruby chocolate buttercream with natural notes of berry and chocolate and all natural color. Perfect for piping cupcakes or frosting a smooth cake finish. Makes enough to frost 18 cupcakes, or fill/frost a 3 layer 4-inch cake.
Print Recipe Pin Recipe
Prep Time:15 minutes mins
Servings: 2.5 Cups

Ingredients

  • 6 oz (170g) ruby chocolate, chopped into small bits
  • 1 Cup (226g) unsalted butter, room temperature
  • 1 1/2 Cups (180g) powdered sugar
  • 1 tsp pure vanilla extract
  • 1/4 Cup (60ml) heavy whipping cream, room temperature
  • 1/4 tsp kosher salt

Instructions

  • Add the ruby chocolate into a glass bowl and microwave for 30 seconds. Stir, then microwave for another 30 seconds. Stir until all the ruby chocolate is melted and there are no lumps. Alternatively, you can melt the ruby chocolate using a double boiler. Set aside to cool slightly.
  • In the bowl of a stand mixer fitted with a paddle attachment, beat the butter on high until light and fluffy, about 4 minutes. Turn the mixer to low, add the powdered sugar, and mix until well combined. Scrape down the bowl and paddle, give the melted ruby chocolate a few stirs and make sure it’s not hot enough to melt the butter (if it is still too hot, wait a few minutes before adding!), then add it in. Turn the mixer to medium speed and beat for 2 minutes, until the mixture is smooth. Add the vanilla, heavy whipping cream, and salt and beat for another minute on medium.

Notes

Make Ahead Tip: This buttercream can be made ahead and stored in an airtight container at room temperature for one day. Alternatively, you can store it in an airtight container in the refrigerator for up to two weeks. When you’re ready to use it, bring it back to room temperature and re-whip with your stand mixer to bring it back to piping/frosting consistency.
Yield: This buttercream makes enough to:
  • Frost 12-15 cupcakes with a piping bag
  • Fill and crumb coat a three-layer 6-inch cake or two-layer 8-inch cake. To have enough for frosting and decorating as well, double the recipe. 

Did you make this recipe? I want to know how it went! Let me know in the comments below or tag me on Instagram so I can see what you’re caking. I love to see your creations!
By: Whitney · In: Featured, Frosting, Recipes, Seasonal, Spring, Valentines · Tagged: buttercream recipe, chocolate buttercream recipe, chocolate cake, chocolove, frosting recipe, natural food coloring, ruby cacao, ruby chocolate, ruby chocolate buttercream

you’ll also love

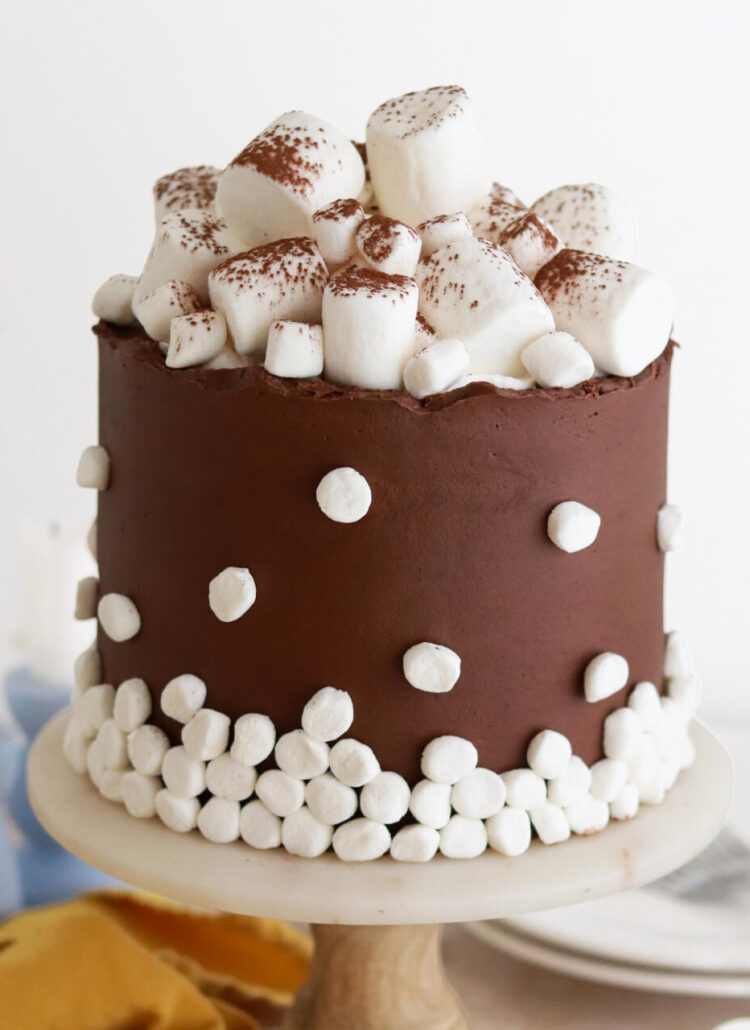
hot cocoa cake recipe with homemade marshmallow fillingHot Cocoa Cake with Homemade Marshmallow Filling
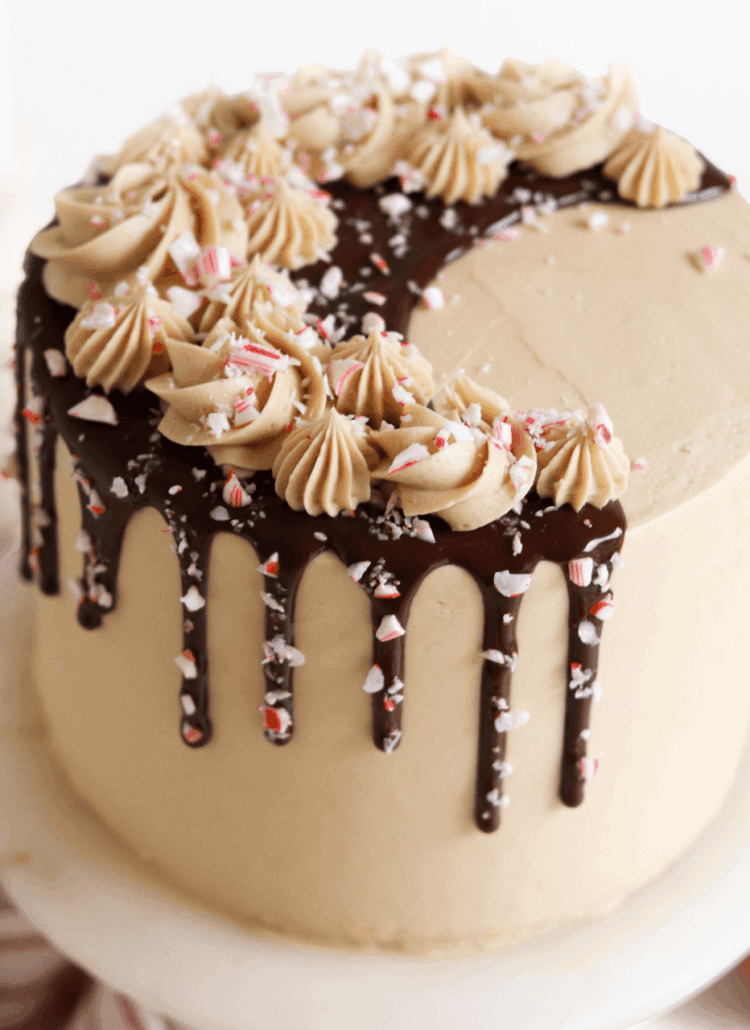
peppermint mocha cake recipe by sugar and sparrowPeppermint Mocha Cake Recipe
yellow cake recipe with chocolate frosting and rainbow sprinklesYellow Cake with Chocolate Frosting (Classic Birthday Cake)

Join the List

Stay up to date & receive the latest posts in your inbox.

Reader Interactions

Comments

  1. Sharon says

    February 3, 2024 at 7:20 am

    5 stars
    I’m totally in love with this ruby buttercream…so delicious and smooth. THANK YOU!!

    Reply
  2. Rachel Boothe says

    March 4, 2022 at 7:52 pm

    I am so excited to try this. Could you tell me what temperature the melted ruby chocolate should be before adding it to the buttercream? I am so afraid I will add it while it is too hot. Thanks.

    Reply
    • Whitney says

      March 6, 2022 at 3:05 pm

      Hi Rachel! I’m not sure the exact temp, but it basically needs to be room temp or slightly above. I usually melt it in the microwave, wait about 10 minutes, then dip my finger in it to test. If it feels just slightly warm or room temp then its ready.

      Reply
  3. Brittany Lee says

    February 9, 2022 at 8:07 pm

    3 stars
    Flavor wise is great, but it seemed to have split on me or separated or something. Buttercream got firm and crumbly within a few hours.

    Reply
    • Whitney says

      February 12, 2022 at 1:47 pm

      Oh no, Brittany! I’m so sorry to hear that and wonder what went wrong. Was the melted ruby chocolate room temperature when you added it? The only thing I can think of is maybe it was too warm and melted some of the butter?

      Reply
  4. Paulina Garcia says

    May 27, 2021 at 9:58 pm

    Can i usea condensed milk instead of the sugar???

    Reply
    • Whitney says

      May 31, 2021 at 9:17 pm

      Hi Paulina! I’ve never tried that before, but I don’t think it would work as condensed milk is a liquid and the powdered sugar is a solid (and necessary to give this recipe structure).

      Reply
  5. Sara says

    February 9, 2021 at 6:25 pm

    Hi Whitney!
    I am lactose intolerant – is there another ingredient I could use to substitute the heavy whipping cream?

    Reply
    • Whitney says

      February 10, 2021 at 1:05 pm

      Hi Sara! You can use a non-dairy milk of your choice as a sub for the heavy whipping cream!

      Reply
  6. Kerri says

    November 15, 2020 at 12:16 pm

    5 stars
    I had been curious about how to use ruby chocolate as a frosting, and this appeared in my Google search. Right after I made it, I found the taste too buttery. But after being in the fridge overnight, the taste is perfect and not too sweet. I am not a fan of food dyes and wanted to make a natural pink frosting. I know I could have used beet powder, strawberries, etc, but I wanted to try it with ruby chocolate. I used it as a topping for angel food cupcakes. This recipe was easy and delicious. Thank you for posting!

    Reply
    • Whitney says

      November 19, 2020 at 2:53 pm

      So happy to hear you love this recipe, Kerri! I am a huge fan of natural food colorings as well! If you haven’t already, you should try some buttercream recipes with freeze dried fruit – not only are the colors amazing, but the flavors are out of this world. Here is a Freeze Dried Raspberry Buttercream Recipe I wrote up in case you’re interested, and you can sub in an equal amount of any freeze dried fruit to change the flavor/color: https://sugarandsparrow.com/raspberry-buttercream-recipe/

      Reply
  7. Amanda says

    February 14, 2020 at 6:43 am

    Can’t wait to try this!

    Reply
  8. Allison says

    February 7, 2020 at 9:49 am

    Do you think this recipe would go well with other cake flavors besides chocolate? I am not sure what else I could pair it with!

    Reply
    • Whitney says

      February 10, 2020 at 9:40 am

      Yes! I think this would pair amazingly with my Matcha Cake Recipe (https://sugarandsparrow.com/matcha-cake-recipe/), vanilla cake, coconut cake (https://sugarandsparrow.com/almond-joy-cake-recipe/) and basically any cake that would pair well with raspberry and notes of chocolate.

      Reply

Leave a Reply Cancel reply

Your email address will not be published. Required fields are marked *

Recipe Rating


Next Post >

Thin Mint Chocolate Cake Recipe

Primary Sidebar

Welcome to Sugar & Sparrow

Welcome to Sugar & Sparrow

Helping you whip up pretty desserts with confidence and creativity. And hopefully sharing a few laughs with you along the way!

Learn More

Connect

let’s bake!

Get my very best recipes, baking tips, and decorating tutorials sent to your inbox

Featured Posts

vegan vanilla cake recipe by sugar and sparrow

Vegan Vanilla Cake Recipe

no churn vanilla ice cream recipe

No-Churn Vanilla Ice Cream Recipe (with Video!)

what to eat san francisco

San Francisco Favorites: What To Eat

Search

Archives

Follow Along

@sugarandsparrowco

EASY HOMEMADE SALTED CARAMEL✨(recipe below) even i EASY HOMEMADE SALTED CARAMEL✨(recipe below) even if you’ve never made salted caramel from scratch before, this recipe is VERY beginner friendly + nearly fail proof! There are only 4 ingredients involved, no candy thermometer required, and takes just 10 minutes to make 👏🏽 this is my go-to caramel for drip cakes, drizzling desserts, flavoring coffee, adding it to buttercream, and so much more! 🍯  
 
Full recipe (with video + detailed instructions) linked in my bio or at https://sugarandsparrow.com/salted-caramel-recipe/
⁣ 
SALTED CARAMEL 
Yield: 1.25 Cup⁣s
⁣⁣ 
Ingredients:⁣⁣ 
1 Cup (200g) white granulated sugar⁣⁣ 
6 Tbsp (85g) unsalted butter, room temperature, cut into cubes⁣⁣ 
1/2 Cup (120ml) heavy whipping cream, room temperature⁣⁣ 
1 1/4 tsp kosher salt⁣⁣ 
⁣⁣ 
Instructions:⁣⁣ 
1. Place the sugar in a medium saucepan over medium-high heat and stir constantly until it melts into an amber-colored liquid and no sugar clumps remain, 5-6 minutes. ⁣⁣ 
2. Reduce the heat to medium. Carefully add the butter (it will bubble up when you do) and use a whisk to combine it with the sugar mixture until the butter is fully melted and incorporated, 2-3 minutes. ⁣⁣ 
3. Add the heavy whipping cream in a steady stream while whisking. As soon as the cream is incorporated, let the caramel boil for a full minute before removing it from the heat and stirring in the salt. ⁣⁣ 
4. Let the caramel cool to room temperature before using it in a cake recipe or as a drip. If you’re using it to drizzle over ice cream or warm baked goods, you only need to cool it slightly (20 minutes or so). It will thicken as it cools. ⁣⁣ 
⁣⁣ 
#caramel #saltedcaramel #bakedfromscratch #caramelcake #caramelsauce
SPICE CAKE 🤎 filled + frosted with brown butter cr SPICE CAKE 🤎 filled + frosted with brown butter cream cheese frosting for the dreamiest Fall cake!! These spice cake layers are perfectly moist with the ideal amount of spice, and the rich nutty caramel notes combined with the classic tang of cream cheese frosting take the flavor beyond.

Comment RECIPE and I’ll send it right to you! Or find the full recipe linked in my bio + at https://sugarandsparrow.com/spice-cake-recipe/

INGREDIENTS
2 1/4 Cups (298g) all purpose flour
1 tsp baking powder
1 tsp baking soda
1/2 tsp salt
1 Tbsp ground cinnamon
1 tsp ground allspice
1 tsp ground ginger
1/2 tsp ground nutmeg
1/4 tsp ground cloves
1 3/4 Cups (350g) packed brown sugar 
3/4 Cup (180ml) vegetable oil
1 Cup (240g) unsweetened applesauce
4 large eggs, room temperature
2 tsp pure vanilla extract
1 Cup (240ml) buttermilk, room temp

INSTRUCTIONS
1. Preheat the oven to 350ºF (177ºC). Grease and line three 6-inch cake pans or two 8-inch cake pans.
2. In a medium bowl, whisk together the flour, baking powder, baking soda, salt, cinnamon, allspice, ginger, nutmeg, and cloves. Set aside.
3. In a large bowl, add the brown sugar, vegetable oil, and unsweetened applesauce. Whisk together until uniform, then whisk in the eggs one at a time followed by the vanilla.
4. Whisk in half of the dry ingredients, followed by all of the buttermilk, then the rest of the dry ingredients. 
5. Pour the batter evenly between the prepared cake pans and bake for 32-36 minutes, until a toothpick inserted comes out clean or with just a few moist crumbs. Cool completely before frosting (full recipe with brown butter cream cheese frosting linked in my bio)

#spicecake #cakedecorating #layercake #cakelover #creamcheesefrosting
PUMPKIN CUPCAKES 🧡 topped with spiced cream cheese PUMPKIN CUPCAKES 🧡 topped with spiced cream cheese frosting to give every bite the most heavenly pumpkin spice flavor! The perfect cupcakes to kick off your fall baking 🍂

Comment RECIPE and I’ll send it right to you!

You can also find the link in my bio (or google ‘Sugar and Sparrow Pumpkin Cupcakes’) 

#pumpkinspice #pumpkincake #pumpkinseason #falldesserts #creamcheesefrosting
OATMEAL CREME PIE CAKE 🙌🏼 I’m always thinking abou OATMEAL CREME PIE CAKE 🙌🏼 I’m always thinking about this cake during back-to-school season because Oatmeal Creme Pies take me right back to my elementary school days! It’s layers of tender brown sugar oatmeal cake with the gooiest homemade marshmallow filling and tastes just like the real deal in cake form – perfect party cake for an Oatmeal Creme Pie lover! 

Full recipe linked in my bio + at https://sugarandsparrow.com/oatmeal-creme-pie-cake/ 
 
#oatmealcremepie #vintagecake #layercake #partycake #cakedecorating
NO-BAKE BISCOFF CHEESECAKE ✨this is the perfect EA NO-BAKE BISCOFF CHEESECAKE ✨this is the perfect EASY no-bake dessert for Fall and I cannot get over the incredible spiced caramel flavor!! I added Biscoff cookie butter to my favorite no-bake cheesecake base, piled it onto a Biscoff cookie crust, then topped it with a melted cookie butter drip + tons of crunchy cookie crumbs.  
 
🤎Full recipe linked in my bio + at https://sugarandsparrow.com/no-bake-biscoff-cheesecake/ 
 
BISCOFF CRUST: 
1 8.8oz package Biscoff cookies (250g) 
1/3 Cup (75g) unsalted butter, melted 
 
FILLING: 
16 Oz (452g) full-fat brick-style cream cheese, room temp 
1/4 Cup (50g) powdered sugar 
3/4 Cup (210g) creamy Biscoff cookie butter 
1 tsp ground cinnamon 
1 tsp pure vanilla extract 
1 Cup (240ml) heavy whipping cream, cold 
 
INSTRUCTIONS: 
1. Combine the Biscoff crust ingredients until the mixture resembles wet sand, then press firmly into the bottom of a 9-inch springform pan.  
2. In a large bowl, whip the cream cheese until smooth, then add the powdered sugar, cookie butter, cinnamon, and vanilla and mix until smooth.  
3. In a separate medium bowl, whip the heavy whipping cream to stiff peaks, then fold into the cream cheese mixture until no streaks remain. 
4. Add the filling on top of the Biscoff crust, cover, and refrigerate for at least 8 hours. 
5. Once set, top with melted cookie butter and crushed Biscoff cookies. 
 
#biscoff #biscoffcheesecake #nobakecheesecake #biscoffcake #nobake 

Footer

On the Blog

  • Cake Basics
  • Recipes
  • Tutorials

Info

  • About
  • Privacy Policy & Disclosure

stay in the know

Copyright © 2026 · Theme by Sugar & Sparrow