
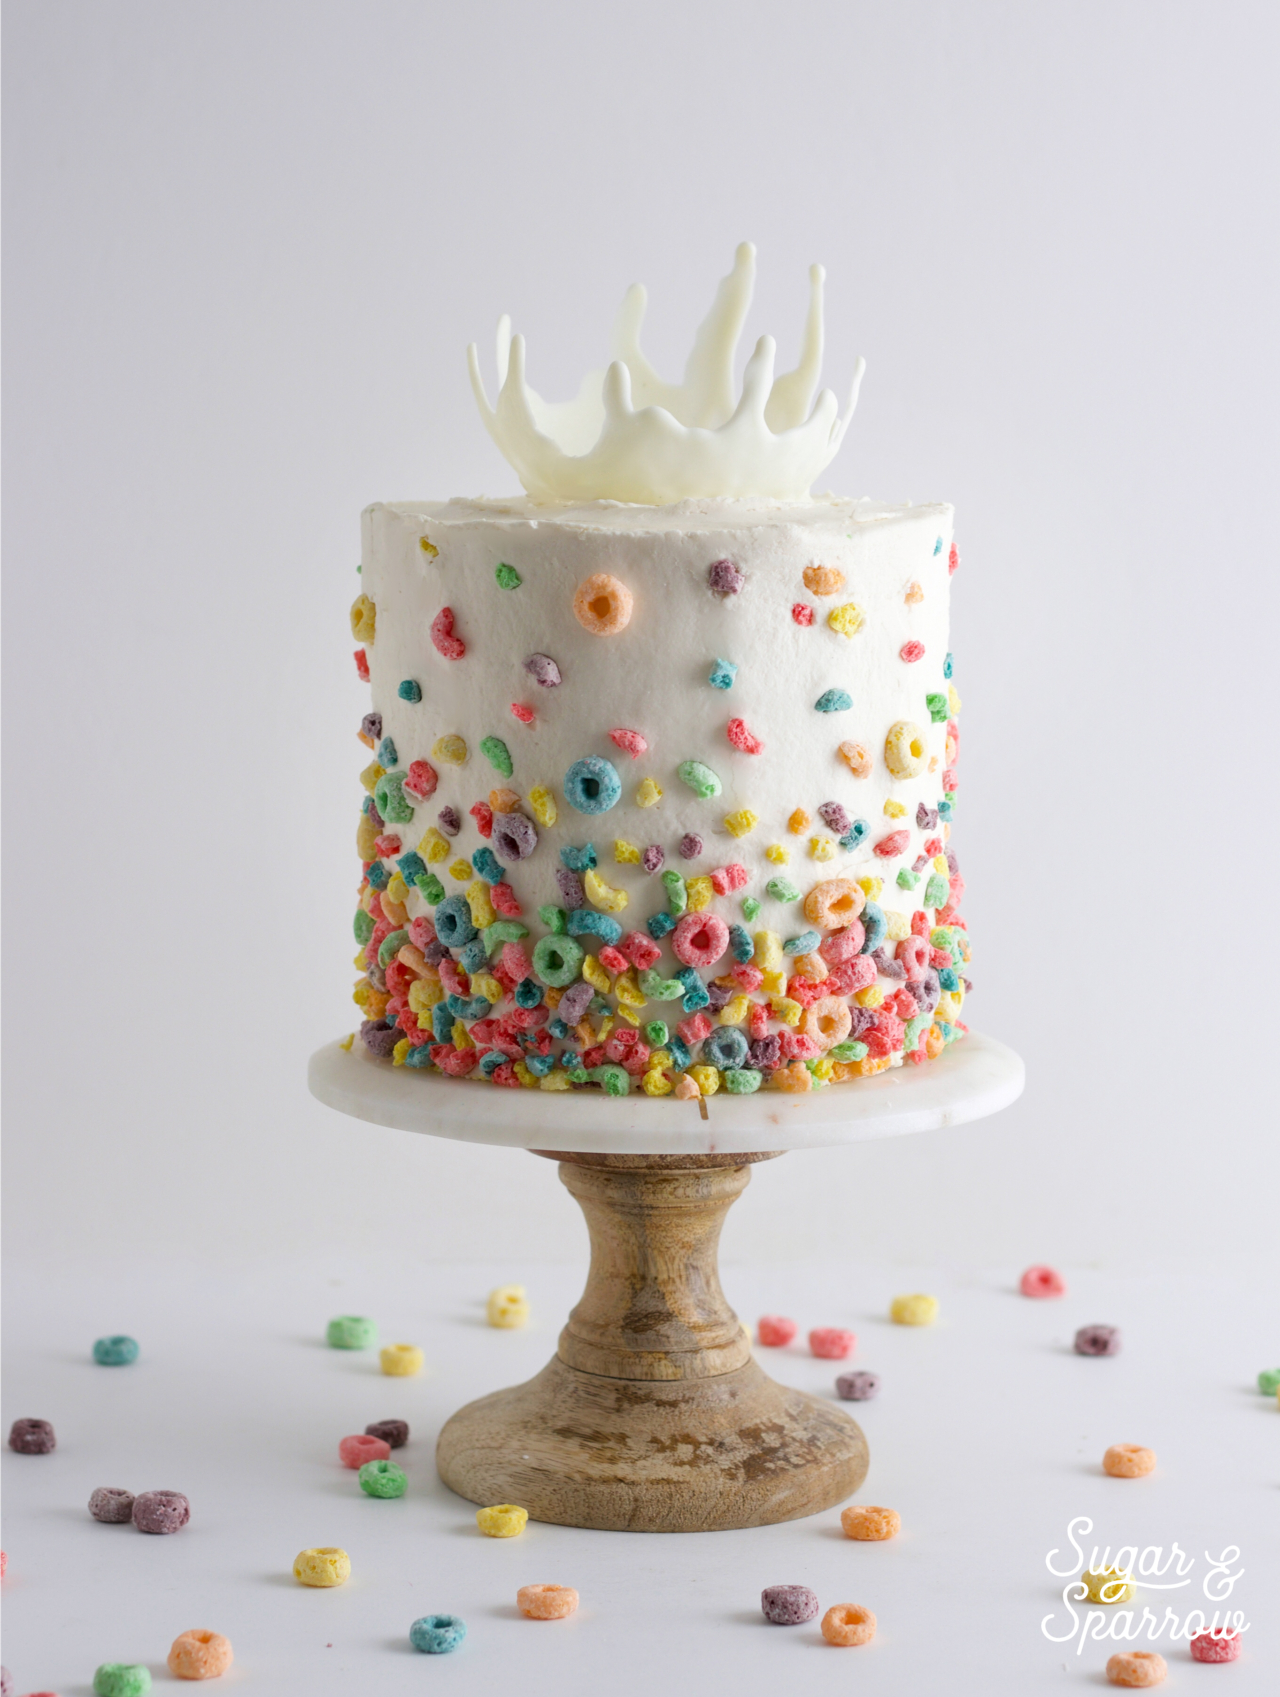
As the topper for my Milk and Cereal Cake, I ended up creating a white chocolate “milk splash” to make it look like cereal milk was coming up out of the cake. Bringing the idea to life definitely took a few tries, because the techniques I initially thought would work ended up being complete disasters. After researching chocolate techniques, studying milk splash photography, and watching a few YouTube videos, I discovered a way to replicate the look with white chocolate. And now you’ll be able to get the look too!
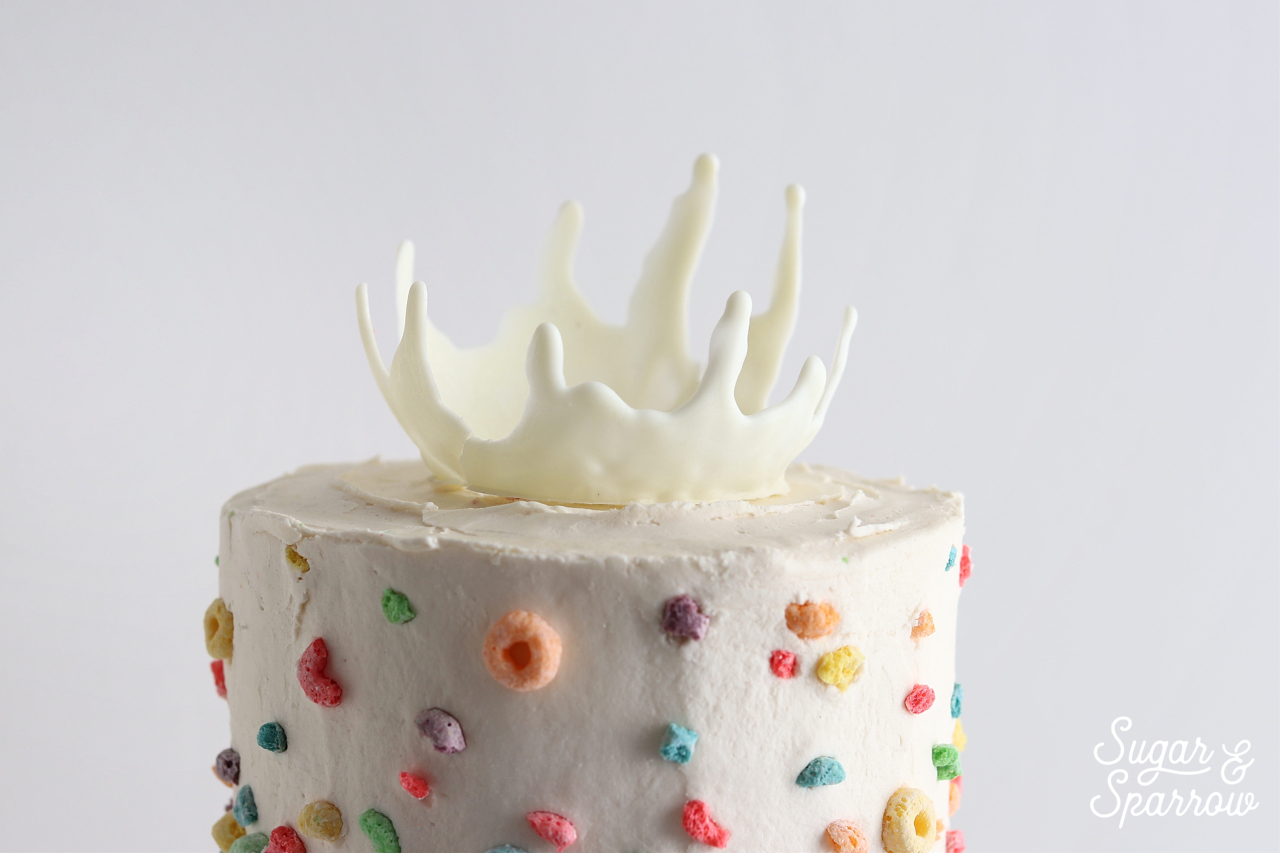
The idea came to me while sketching the design concepts for the Milk and Cereal cake, which is typically my starting point with all of my cakes. I originally planned on creating white chocolate brushstrokes to look like little splashes of milk coming up the side of the cake, and when I showed my graphic designer husband, he stared for a second and said, “why don’t you just figure out how to do a big milk splash on top?” I loved the idea, sketched it out, and proceeded to study milk splash photography to figure out how to approach the design.
For the first attempt, I tried wrapping a bowl with saran wrap (face down) and pouring tempered white chocolate over it. After letting it set in the fridge, it would not release. The saran wrap stuck firmly to the bowl and all of the drips of the splash ended up breaking off. Next, I tried to do the same technique on the inside of the bowl so that I could simply lift the saran wrap upward to release the white chocolate. That didn’t work either.
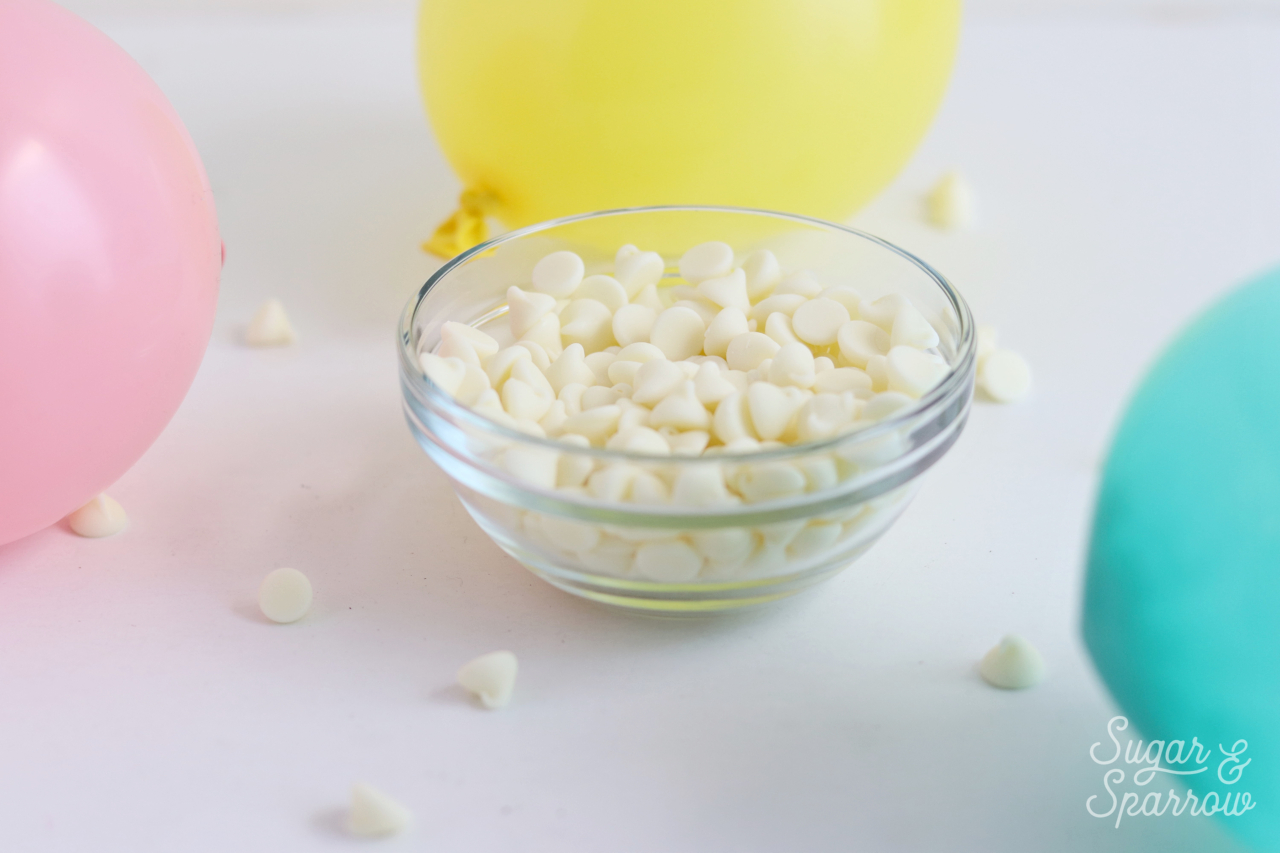
What finally worked was pouring cooled white chocolate over a small balloon. I’d seen a few YouTube videos on how to make bowls out of chocolate this way, and I figured it was the smartest way to get the job done. Here’s how to get the look:
What You’ll Need
- A few small (5 inch) balloons
- 1 cup (183g) white chocolate chips
- Microwave or double boiler for melting chocolate
- A few small bowls for holding balloons upright
- Cooking spray
- A piping bag
- Palette knife or small metal spatula
- Safety pin
- Frying pan
Step 1: Blow Up Balloons
This part’s the easiest. Blow up your balloons to the circumference you’re wanting and place then into small bowls to keep them upright.

Step 2: Temper And Cool The Chocolate
Place the white chocolate chips into a microwave safe bowl and reserve ¼ of the chips to use as the “seed”. Microwave the chocolate (without the seed) in 30-second intervals, stirring after each round, until it’s melted and has reached 116 degrees fahrenheit.

When the white chocolate has reached that point, stir in the reserved seed until those chips have melted and the temperature drops to 86 degrees.
Step 3: Create The Milk Splash
Spray a little cooking spray onto the tops of each balloon (helps the chocolate releasing process), then place the melted chocolate into a piping bag and snip off a small opening. Take the balloons, one by one, out of their holder bowls. Use one hand to hold the balloon and the other hand to pipe a milk splash design onto the balloon, covering the top of the balloon (which will be the bottom of the milk splash) and creating drips around the sides to give the splash effect.

When you’re finished piping each milk splash, place the balloon back into the holder bowl. Be careful with this step, since the balloons will become top heavy with the added weight of the white chocolate. Place the balloons into the refrigerator to set for at least 15-20 minutes.
Step 4: Pop The Balloons
Once the white chocolate has fully set, use a palette knife to carefully slide between the balloon and each drip so that the more delicate parts of your milk splash are pre-released. Then use a safety pin or other sharp object to make a small incision in the balloon. You’ll want it to pop slowly so that it doesn’t snap off your chocolate drips.

If you find that the balloon has stuck to the white chocolate in areas, very gently release those parts by hand. The balloon should come away from the white chocolate with a little elbow grease.
Step 5: Shape The Milk Splash
With a frying pan or other type of shallow pan over Medium-Low heat on your stovetop, gently hold the bottom of your milk splash over the heated surface. This will cause the rounded bottom to melt away, leaving you with more of a crown-like topper. This extra step makes the milk splash look more realistic when it’s on the cake.

Be super careful not to melt the chocolate too quickly, and keep the stove setting closer to Low than Medium. Slow and steady wins the race with this one.
If you happen to break any of the drips during the process of creating the milk splash (like I totally did!) you can use the heated pan to melt one end of the drip and “glue” it back where it belongs. The chocolate will bind together and set, and you probably won’t even notice the repair!
Step 6: Assembly
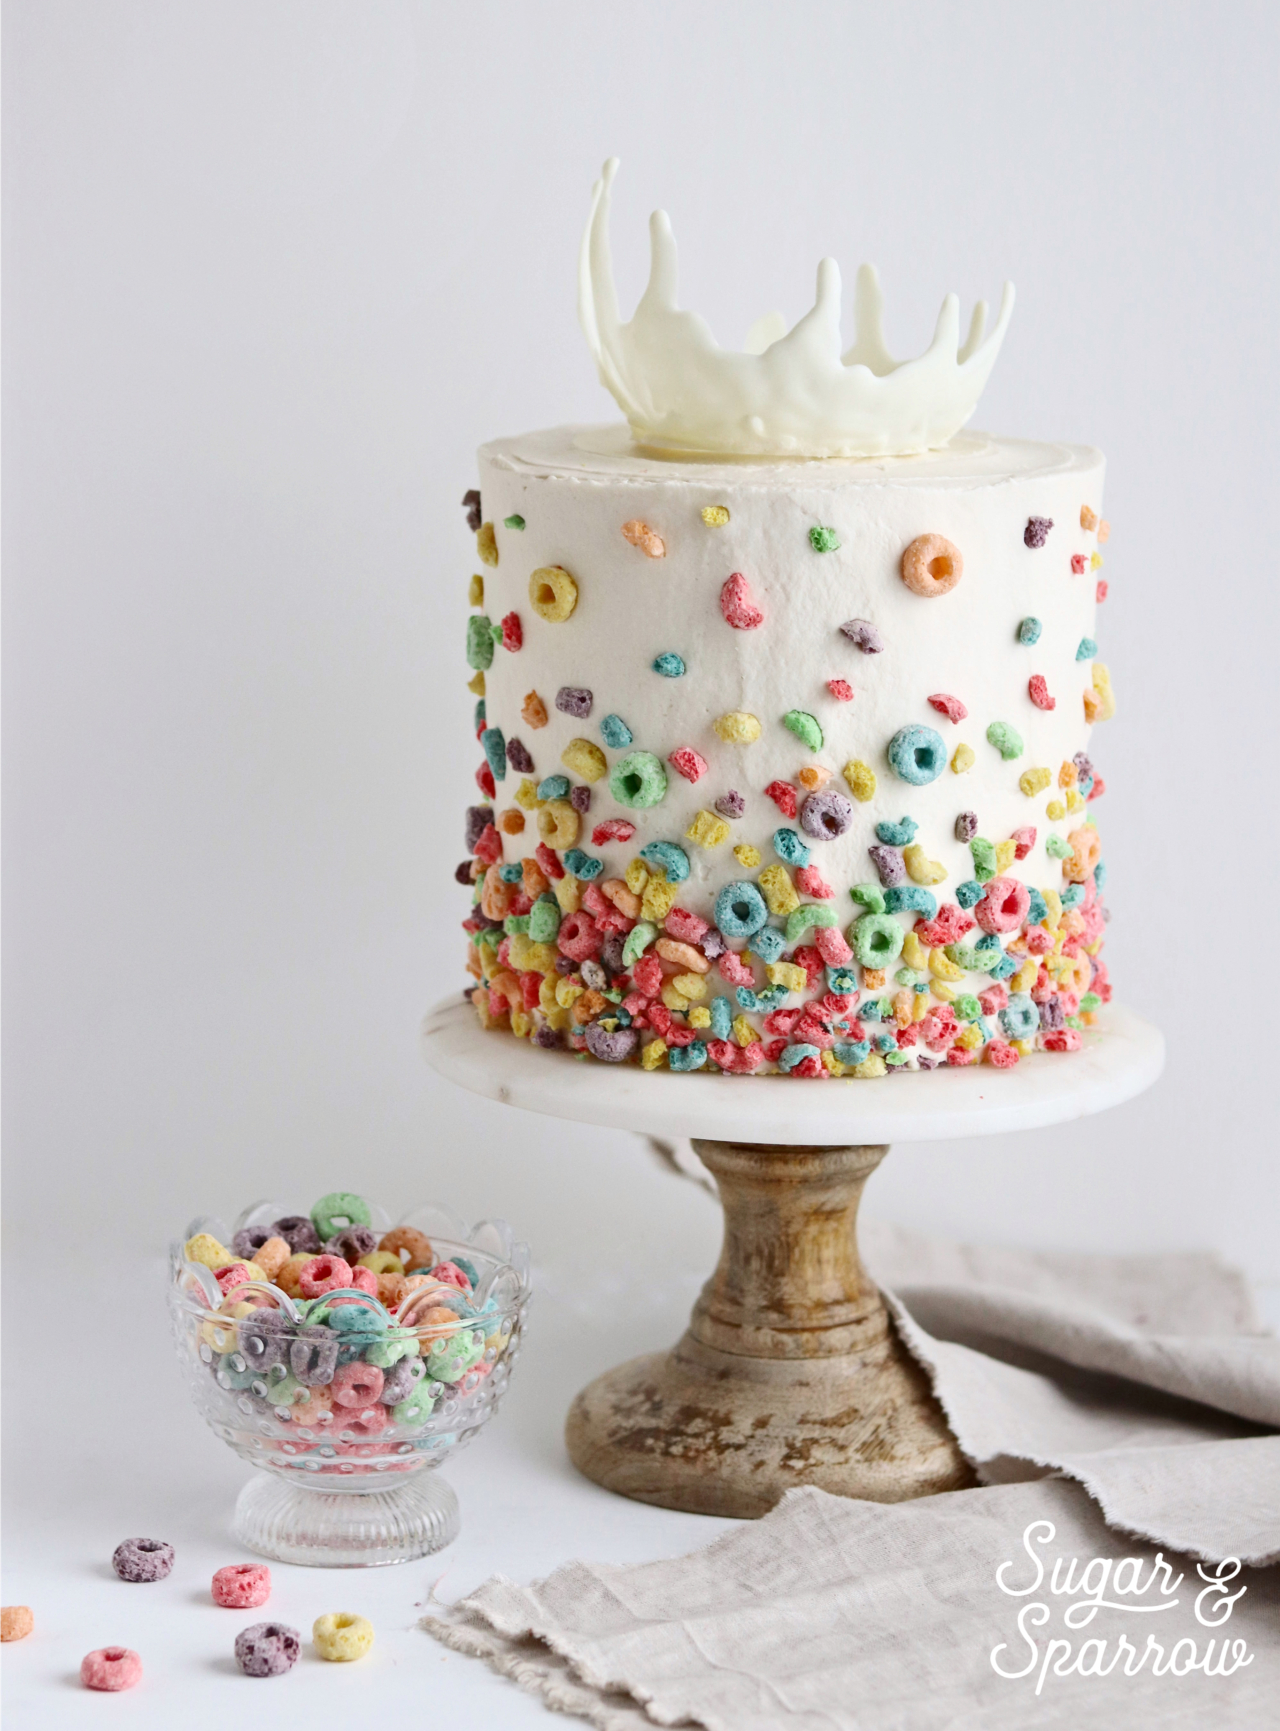
After the milk splash is set, shaped, and ready to go, all you have to do is place it on top of your cake. I filled mine with a little cereal to make it look like I threw cereal onto the top of the cake to cause the milk splash. Feel free to get creative with the way you use yours!




Thanks!!
Hey there!! So, when you put the white chocolate on top of the balloon instead of letting the chocolate sit for 15 minutes prior to putting it on top of the balloon, could you fill the balloon with cold water and put the chocolate top immediately??
Hi Corri, I have never tried filling the balloon with water before, so I can’t say what will happen. I do know that when water touches chocolate it tends to make it seize, so I would avoid popping the balloon at the end if you try the filling with water method.
So excited to see this cake on Pinterest today! My husband works with high-speed photography of splashes (and other things) at MIT — this is gonna be a PERFECT birthday surprise for him!!
Yay, Elly! This will be absolutely perfect for your husband’s birthday!
Going to attempt this today for my cereal crazy son… wish me luck!
Yay, Tina! Excited for you to try this!
I’m having a lot of trouble getting the balloon technique to work without coloring from the balloon pulling off and staying on the white chocolate. I’ve sprayed the balloon generally and it’s still happening. Any suggestions? Is there a certain brand of balloon better for this then others?
Hi Sarah! I would definitely try a different brand of balloons. A balloon shouldn’t have a colored shell on top of the rubber that can pull away. These are the brand of balloons that I used, but any brand that doesn’t have a colored shell on top of the rubber should work just fine: https://www.etsy.com/listing/528699841/tutti-frutti-balloon-fruit-birthday?ga_search_query=happy&ref=shop_items_search_1&frs=1
Thanks so much for your tutorial. I tried this and loved the results. It really doesn’t look as fun as yours…sadly, in Canada Fruit Loops are made of all natural coloring so my cake isn’t as colorful as yours. I was disappointed when I first did it but I’m thinking it is a more muted version of yours.
Thanks again so much for your tutorial. It really helped!
Hi Ronna! So happy you loved the tutorial! I’m sure the cake turned out lovely with the muted color palette 🙂 I actually love the way the muted Froot Loops look and I’m sure natural coloring is way better for you! Haha.
Heyyy, SAME in South Africa (Cape Town) it’s also made of all natural colourings so the colour of the frootloops aren’t as “pretty” but they taste just as amazing!
This is so helpful, thank you! I’m definitely going to try this, with your cereal cake recipe too! (My husband loves cereal so it’d be perfect for him!) Do you think that candy melts would work the same as white chocolate?
Hi Lucy! This will make the perfect cake for your husband! So excited for you to try the recipe and top it with the chocolate milk splash. I’ve never tried this technique with Candy Melts, but I’d imagine they’d work just fine. Just make sure the Candy Melts are cooled slightly before adding them to the balloon, so they don’t end up popping it 🙂
Thanks! I’ll let you know how it goes! (I’ll tag you on insta)
Hi Whitney! This is stunning and I tried it tonight. I made the balloon/splash. Unfortunately my balloon popped while there was chocolate on it and the chocolate flew everywhere! I’m trying again tomorrow. Do you think my chocolate was too hot for the balloon? Any advice would be much appreciated. Thanks!
Hi Jon! So sorry about that! It sounds like the chocolate was definitely too hot for the balloon. Do you know what the temperature of the chocolate was? My advice is to make sure that the chocolate is below 86 degrees before you start piping on the chocolate. If you don’t have a candy thermometer to measure the temp, I’d just give it a good 15 minutes or so after melting the chocolate (make sure you’re stirring every so often to make sure it’s still liquid) before piping it onto the balloon.
I’m so excited about this cake. I’m going to try it for one of my Church gatherings. Thanks !
Awesome, Neccy! I hope you love the recipe!!
This is brilliant and so lovely! I’ve decided a year in advance, this is my daughter’s third birthday cake! LoL
Thanks so much Brandi! And way to plan ahead! 🙂
My son has requested this cake for his 6th birthday tomorrow. I CANNOT WAIT to make it for him. This is sheer genius. Every bit of it!!! Thank you for the inspiration!
Hi Emily! SO excited for you to make this cake for your son’s birthday!! Let me know how it goes!!
I love this cake so much! Was patiently waiting for your post on this as I saw it on your instagram first. LOVE LOVE LOVE it, will definitely make this one day!
Yay Bernice!! So excited for you to make this!!
I absolutely love this and can’t wait to try it. Thank you for sharing.
Thanks so much April! Excited for you to try it!
HI, I’m going to make this beautiful cake but when it comes to buttercream I don’t have a stand mixer so no paddle attachment. I have a food processor so I’m unsure how to get the correct texture. Can you suggest a solution please I would be so grateful.
Hi Heather! I already answered this on Instagram DM but I’ll say what I said there: I would recommend using a hand mixer over using a food processor, only because I’ve never made buttercream with a food processor before and can’t say with assurance what the outcome will be. Following the same timing/speeds on my buttercream recipes with a hand mixer works just fine!