
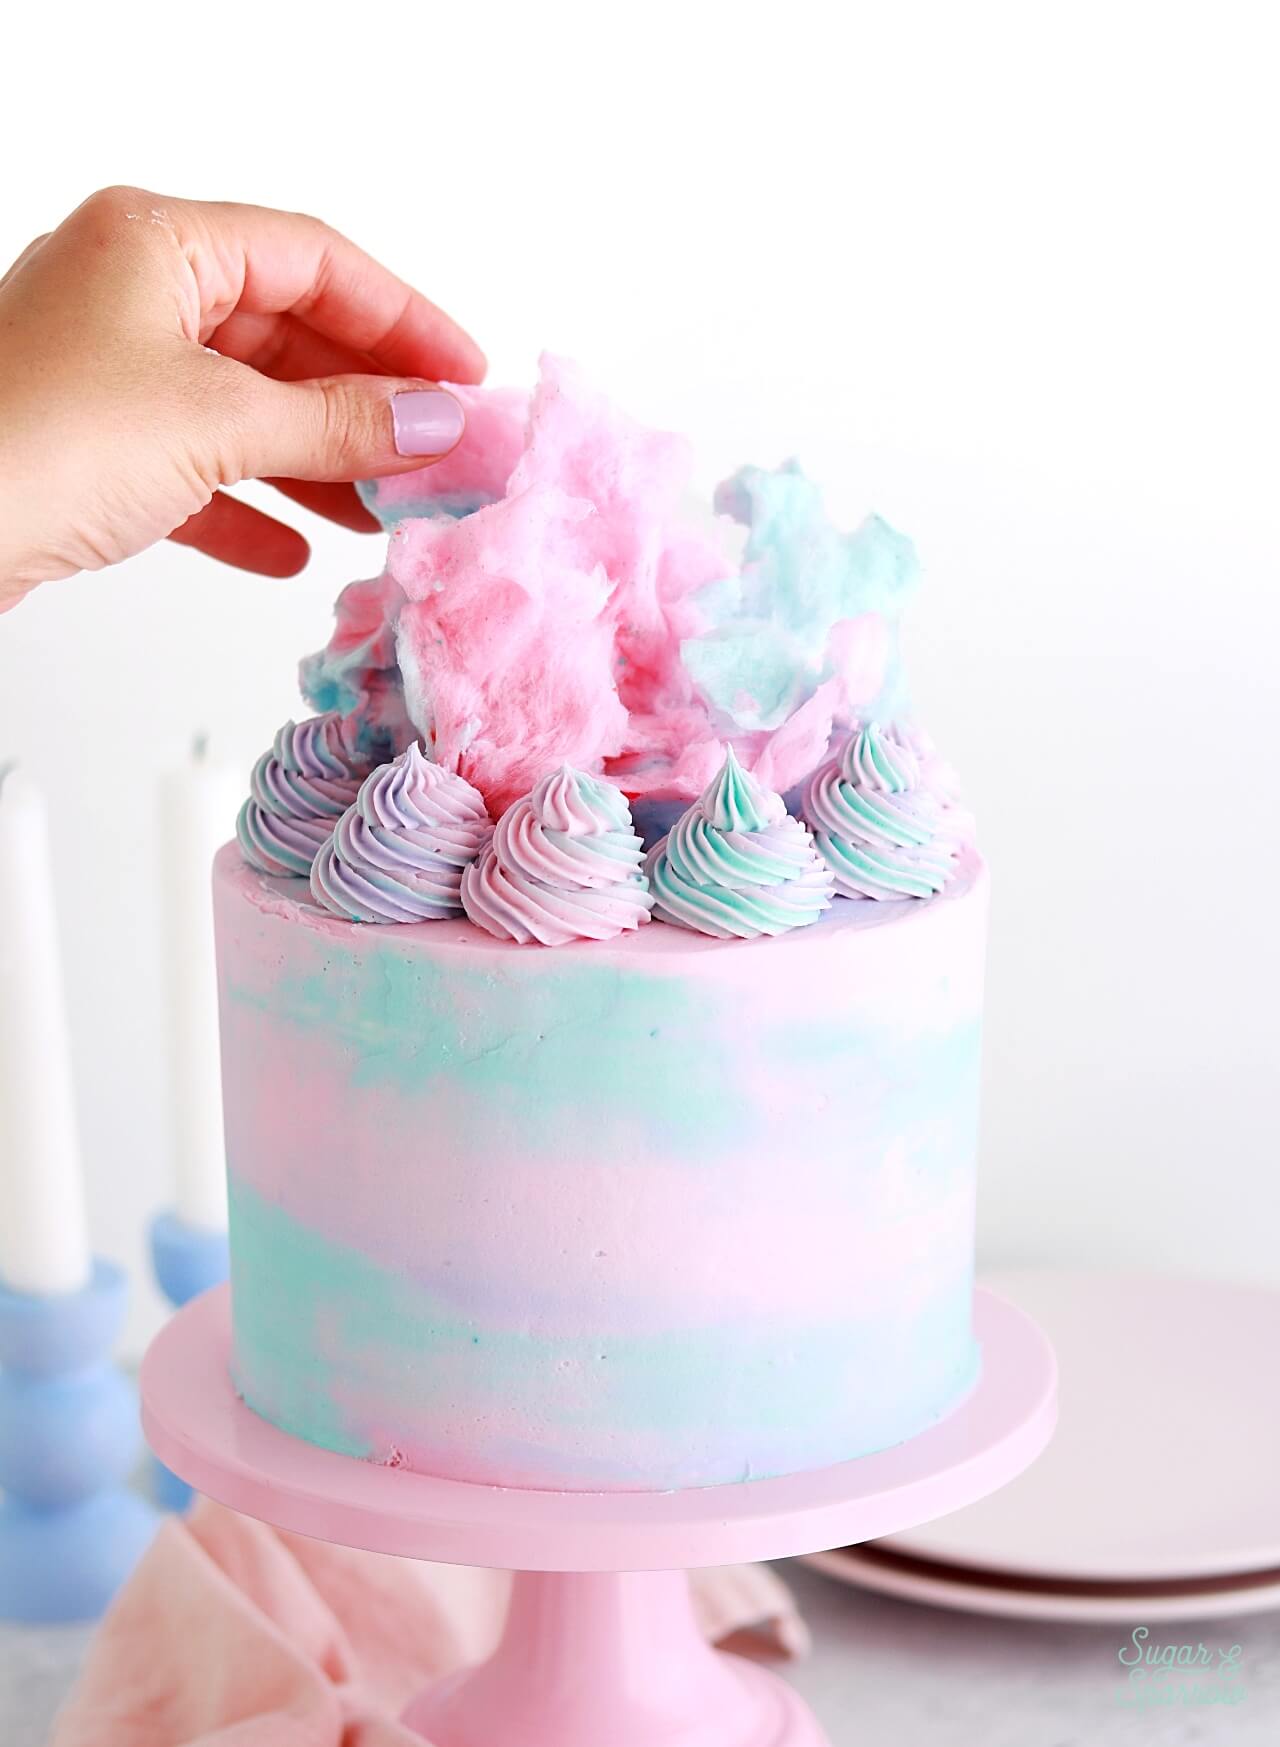
Can you think of a cake flavor that’s more whimsical than cotton candy? I certainly can not. And while you might think that it seems hard to capture the nostalgic flavor of cotton candy in cake form, I’m here to tell you that it’s completely possible with a few great base recipes and one magic ingredient: Amoretti Natural Cotton Candy Artisan Flavor! This cotton candy cake is a whole sensory experience between the incredible flavor, heavenly scent, and dreamy pastel color palette.
This post may contain affiliate links. For more information, see our disclosure policy.
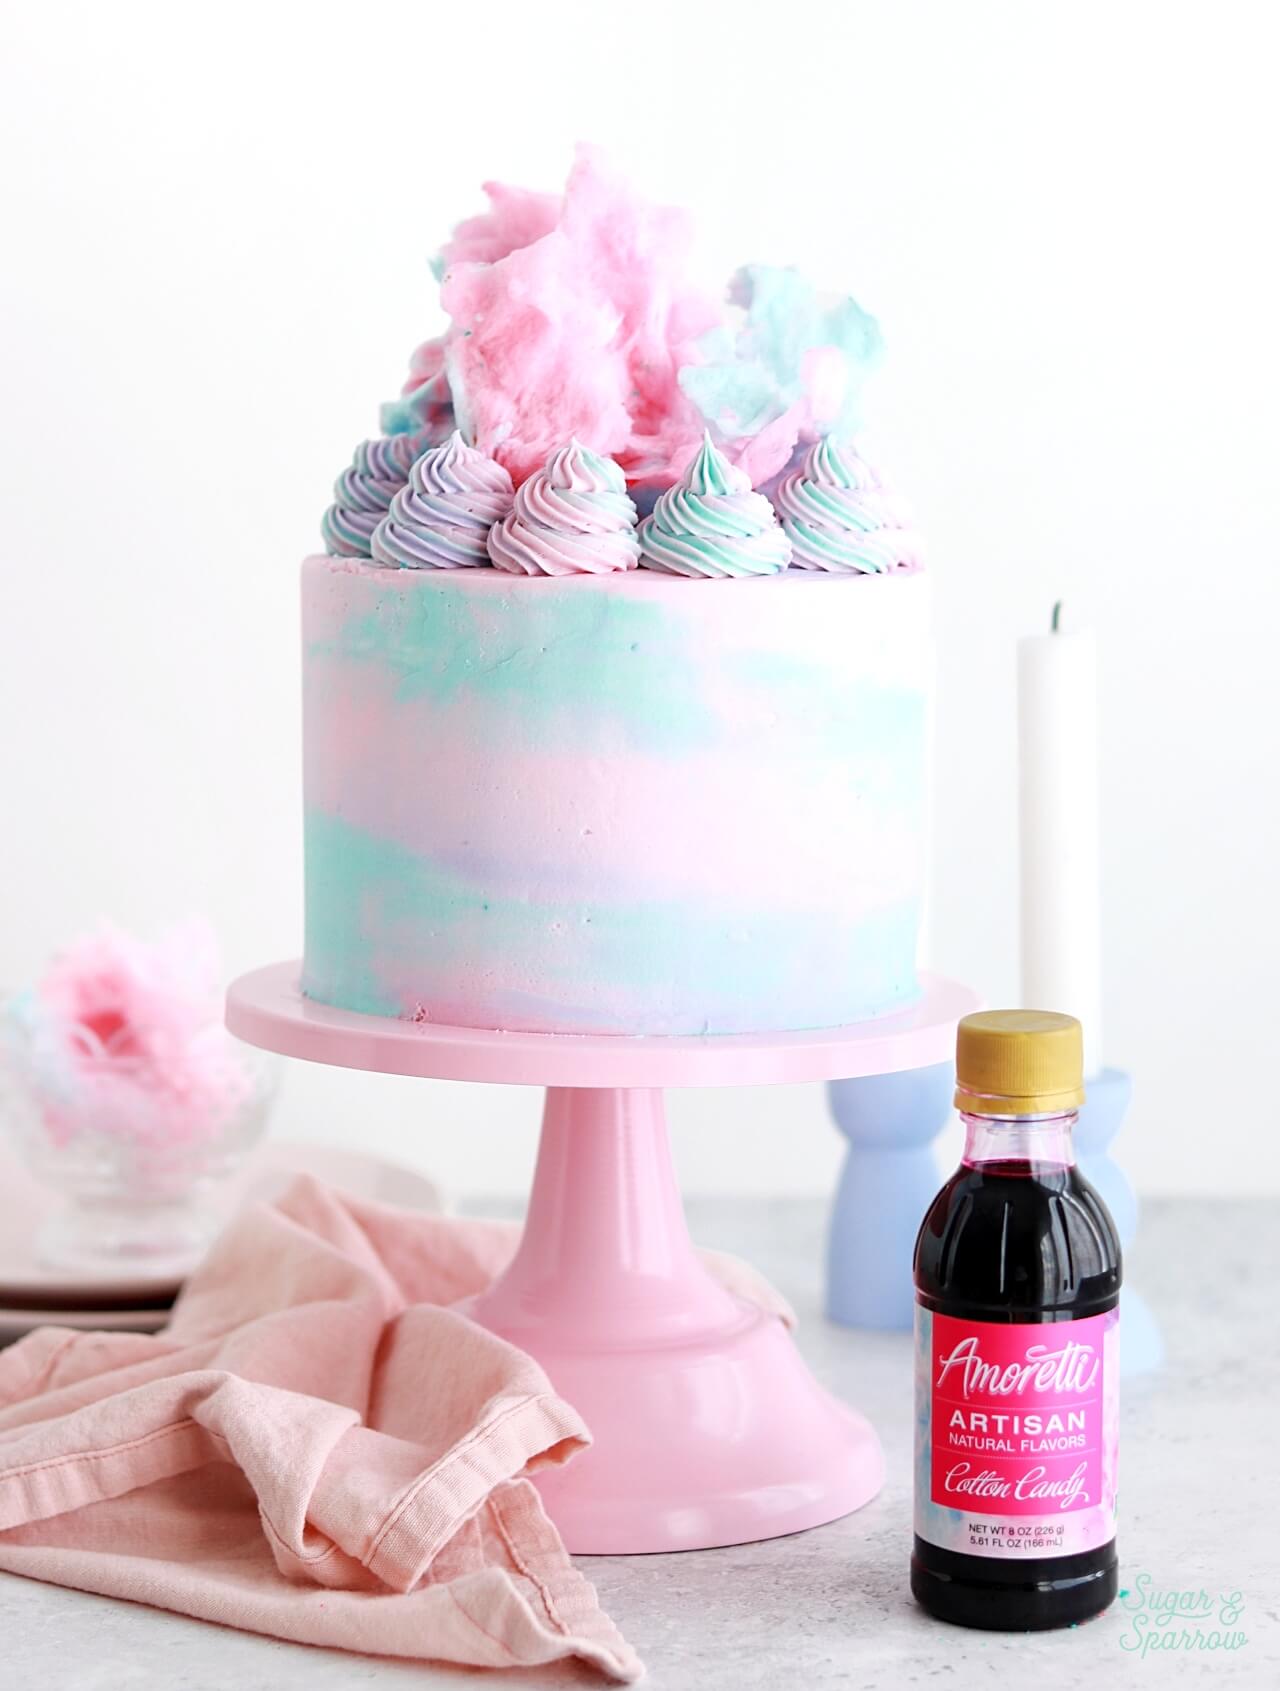
PS: This cotton candy flavor is part of my collection of favorites at amoretti.com! Get $10 off your order at Amoretti with my code WHITNEY10
The Purest Cotton Candy Flavor
This cake tastes exactly like cotton candy in cake form. Both the cake layers and the buttercream taste like they’ve been infused with cotton candy, and it’s one hundred percent due to Amoretti Natural Cotton Candy Artisan Flavor. It’s made with natural ingredients and preservative-free, and I don’t know the secret to capturing the cotton candy flavor but I can attest that it tastes so pure.
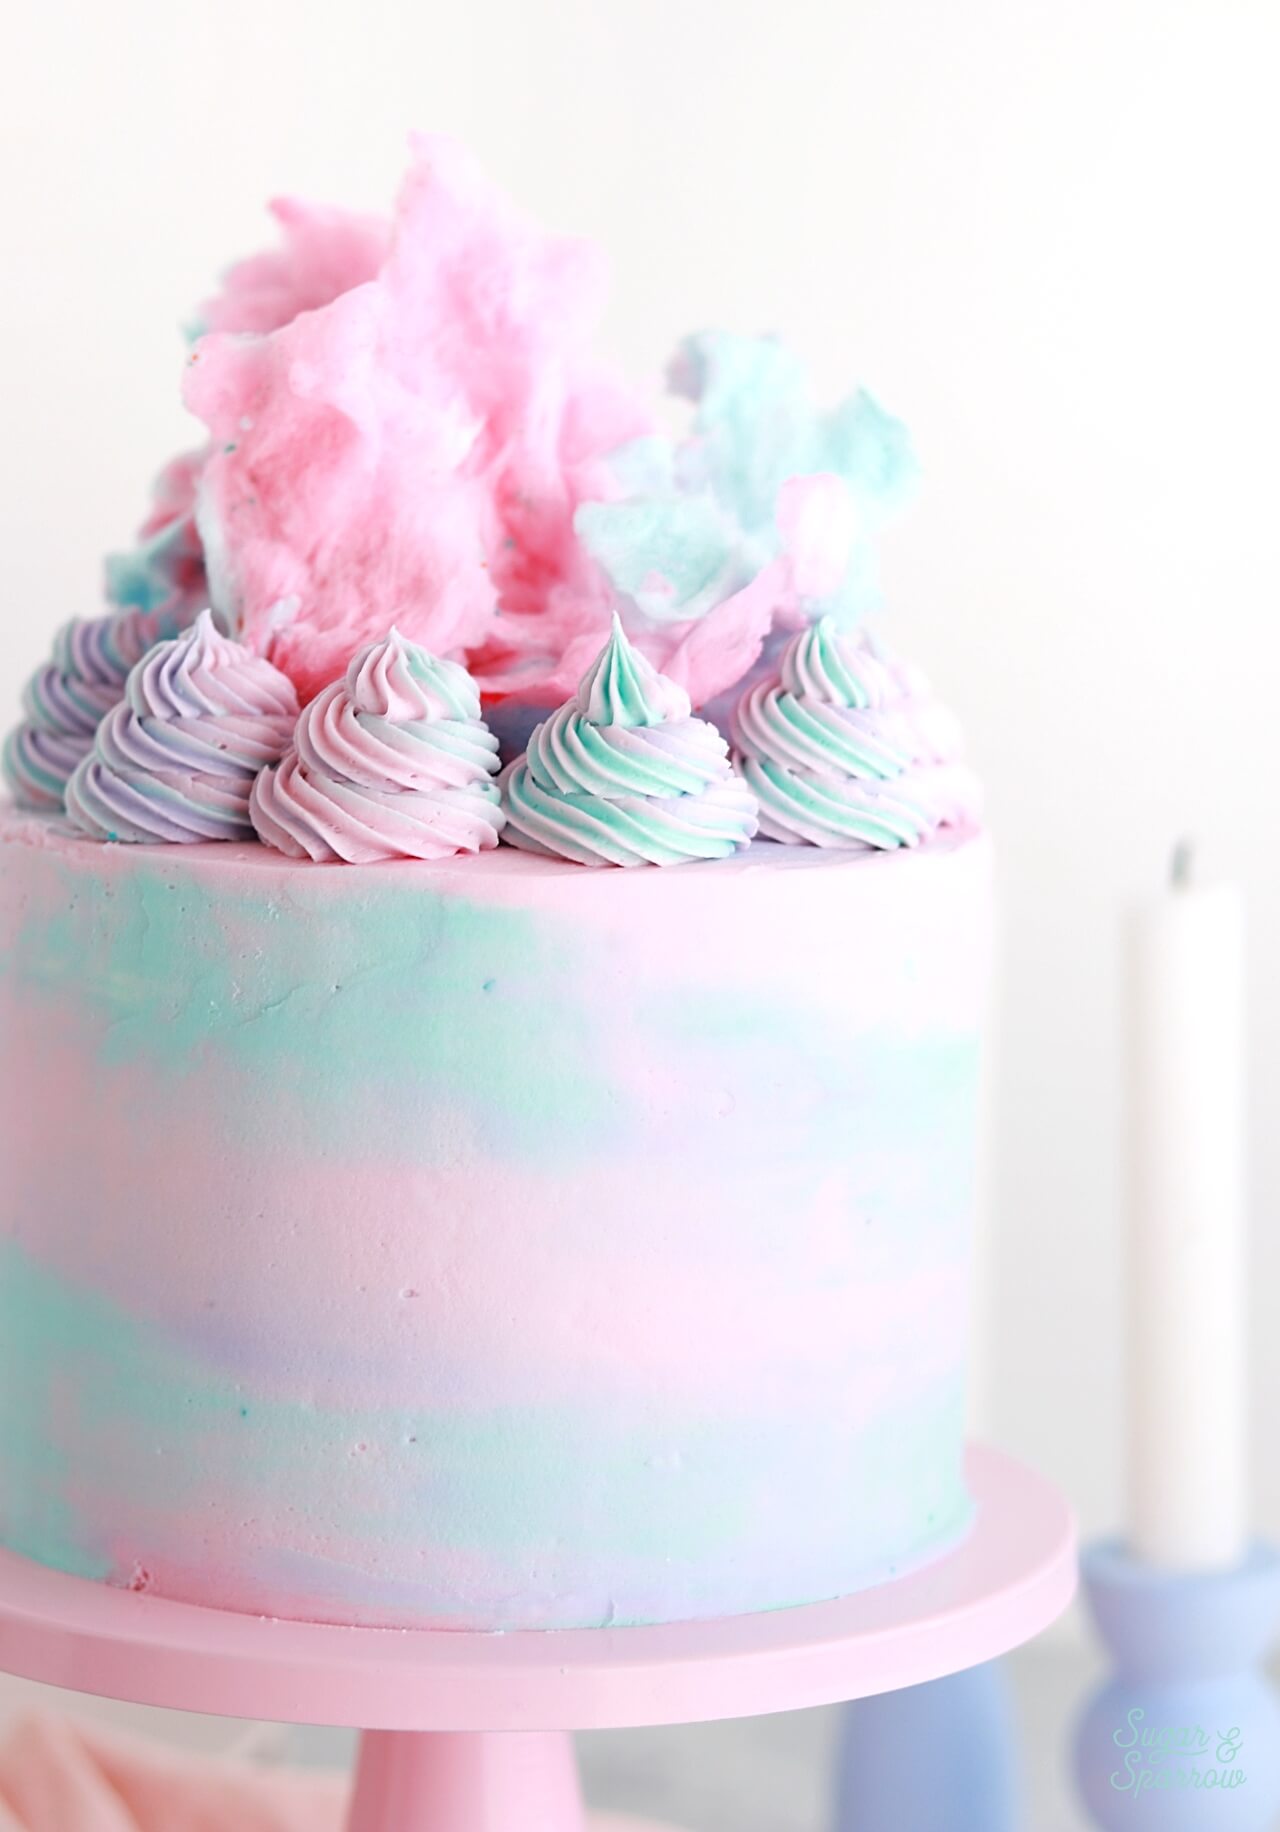
To create the cake layers, I added Amoretti Natural Cotton Candy Artisan Flavor to my favorite white cake recipe in place of the vanilla. It’s my softest vanilla cake recipe, and the fluffy texture paired really well with the whimsical flavor. I even decided to color the batter pink and blue to swirl the two colors together within each cake pan, making the cake layers look similar to a classic tuft of pink and blue cotton candy.

The Amoretti Natural Cotton Candy Artisan Flavor worked amazingly in the buttercream as well. I added it to my favorite vanilla buttercream recipe to easily transform it into a dreamy cotton candy flavor. It has a natural pink color, so it looks really pretty too. I couldn’t stop sneaking tastes as I was cake decorating because it smelled so inviting, and it truly tastes just as incredible. Basically a kid’s dream cake, but also my dream cake because who can resist?
Whimsical Buttercream Colors
To make this cotton candy cake look as dreamy as it tastes, I created a pastel buttercream color palette and frosted a watercolor finish. The cotton candy buttercream ends up being a light pink color due to the pigment of the Amoretti flavor, and it felt only natural to add in some blue and purple tones.
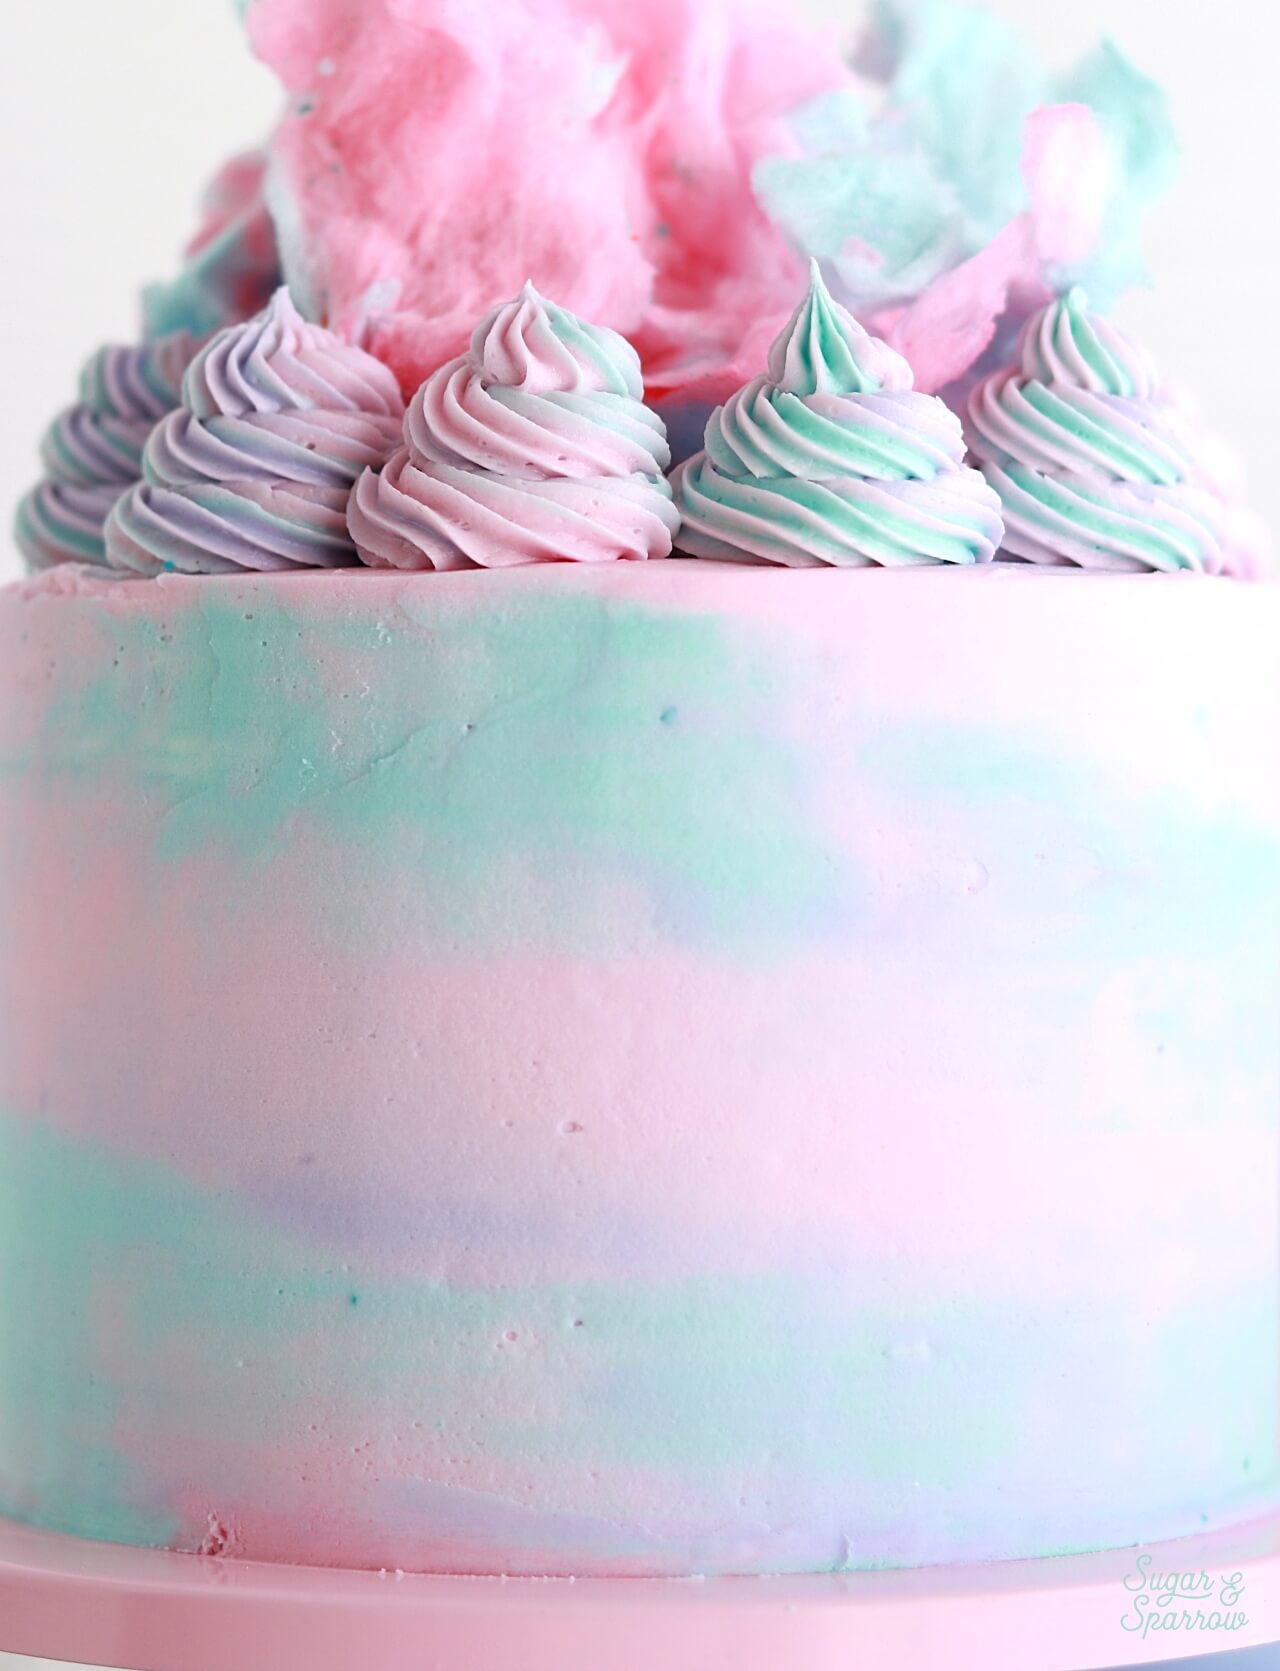
If you’ve never created a watercolor finish on a cake before, it’s super forgiving and fun! Since these pastel buttercream colors look complementary when gently mixed together, they make the perfect color palette for this technique. I made a full watercolor buttercream tutorial here that you can use for reference.
Fluffy Cotton Candy Topping
After piping a pretty buttercream swirl border, I couldn’t help but top this beautiful cake with a generous heap of cotton candy. The colors ended up matching the buttercream perfectly!
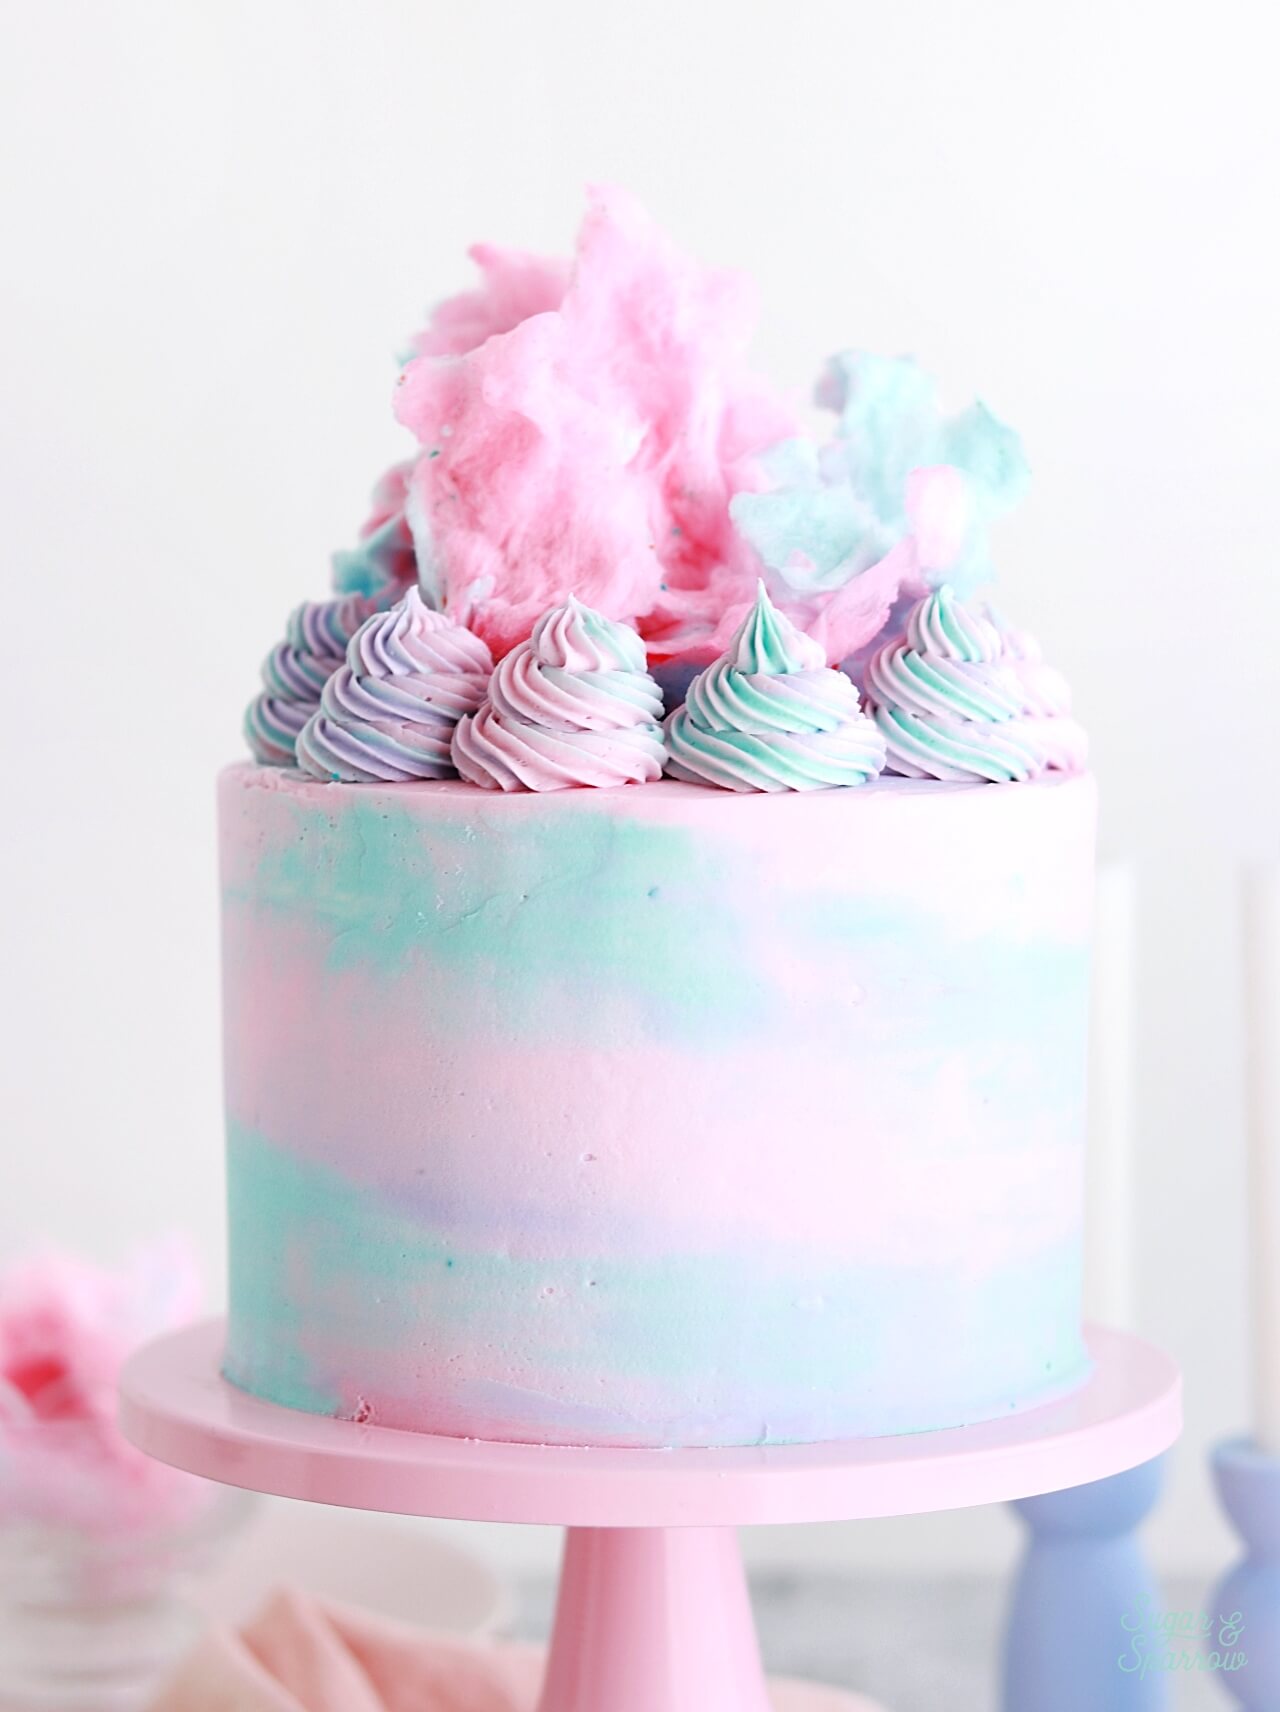
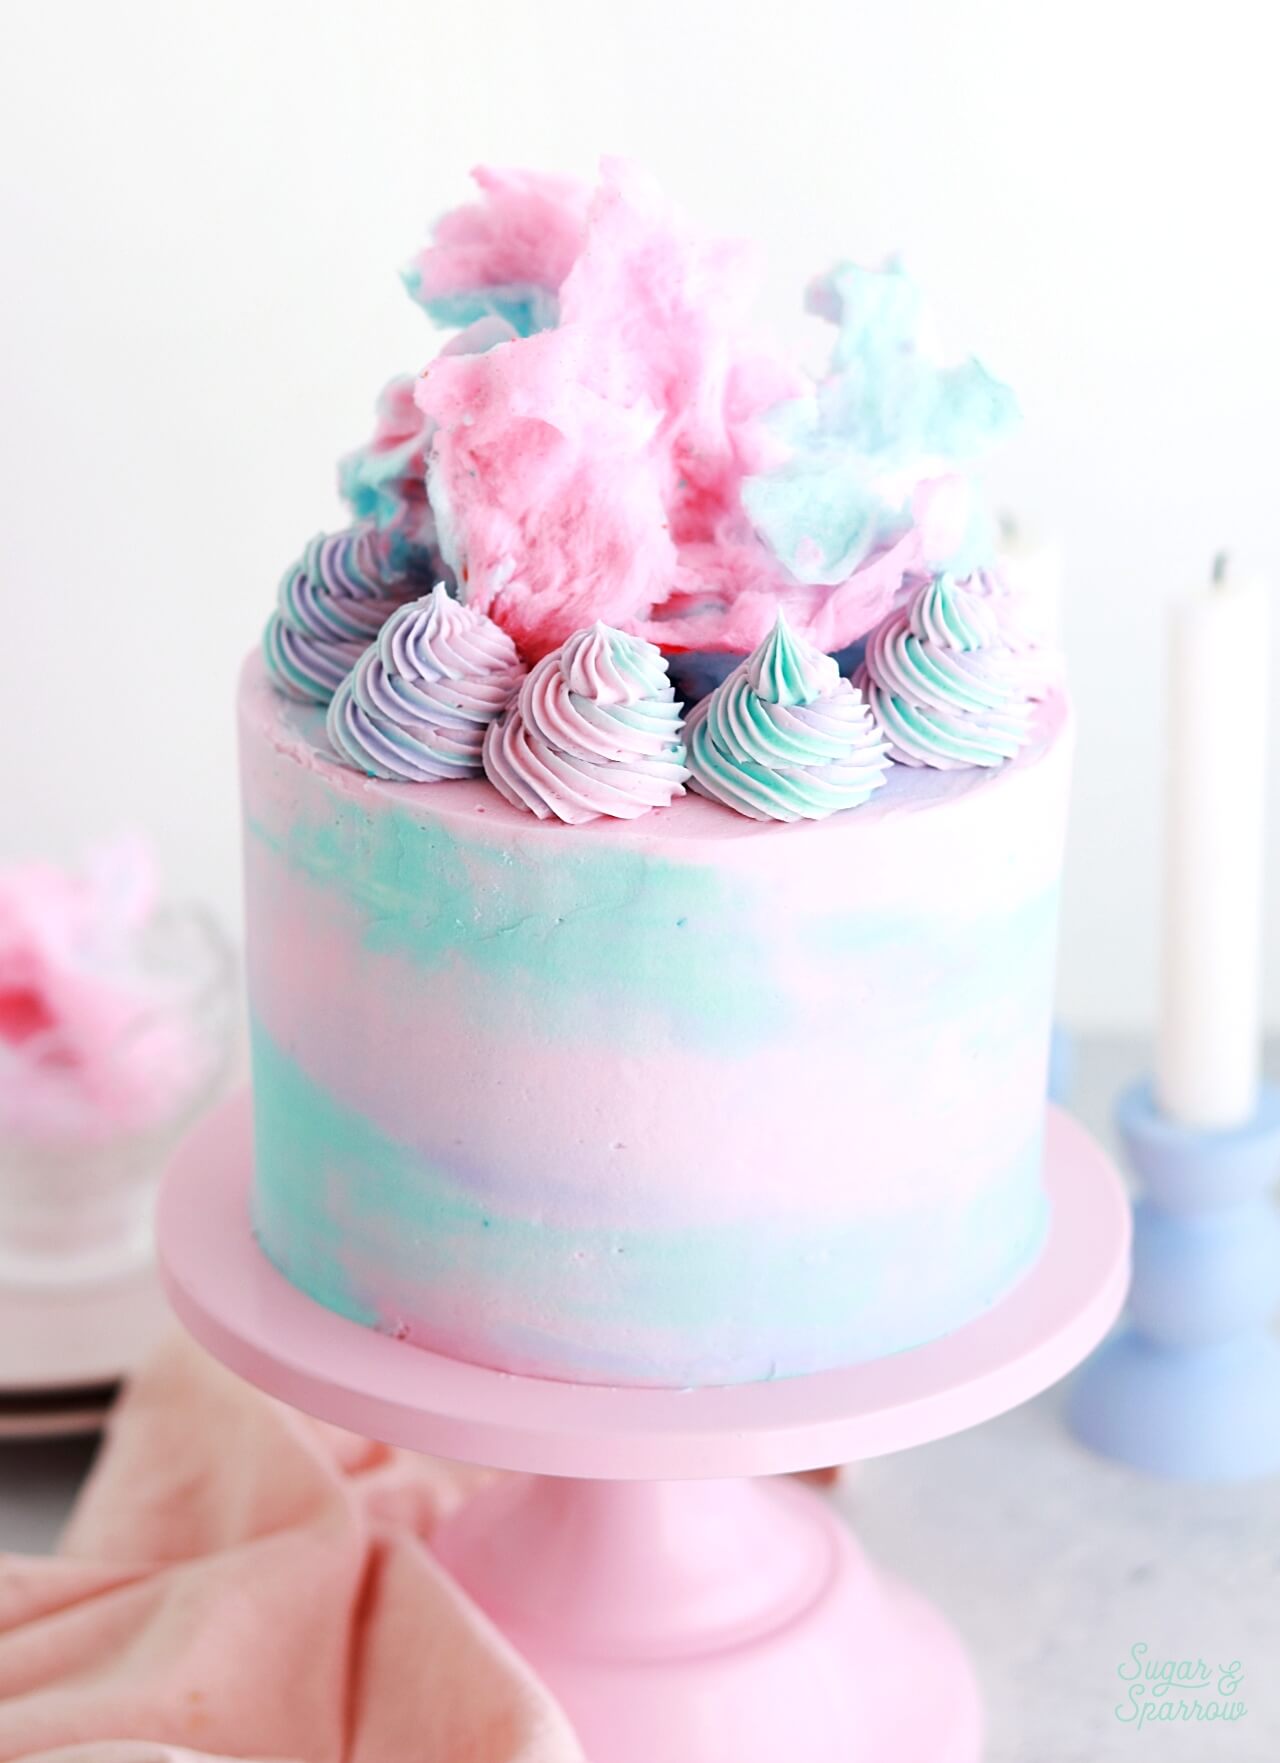
One very important thing to note about actual cotton candy: it starts to droop after about an hour at room temperature when it comes into contact with moisture (aka frosting) and it does not do well in the refrigerator. That said, if you’re planning on topping your cake with cotton candy, save it for the moment you put your cake on display. It will look great for about an hour, then you can remove it and serve the cake.
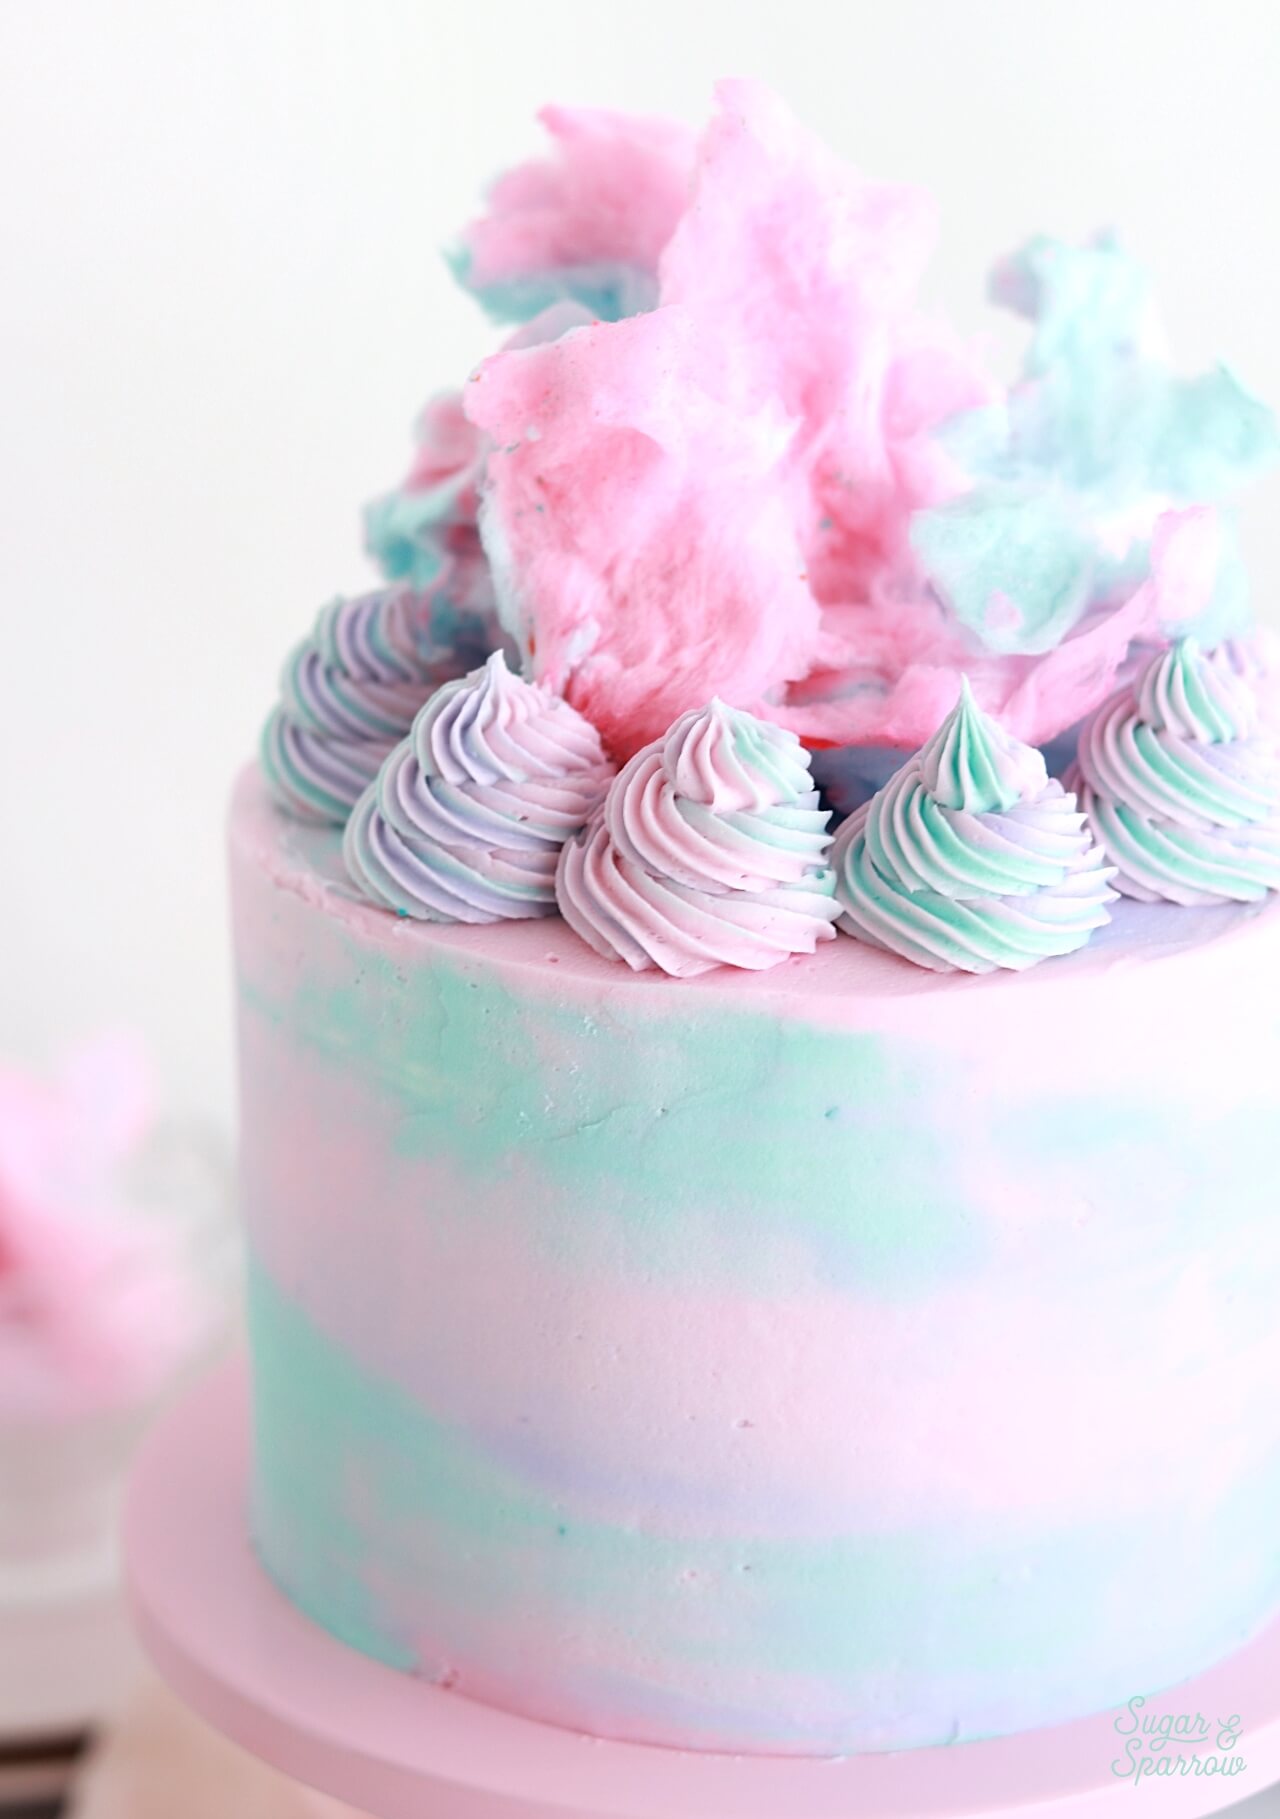
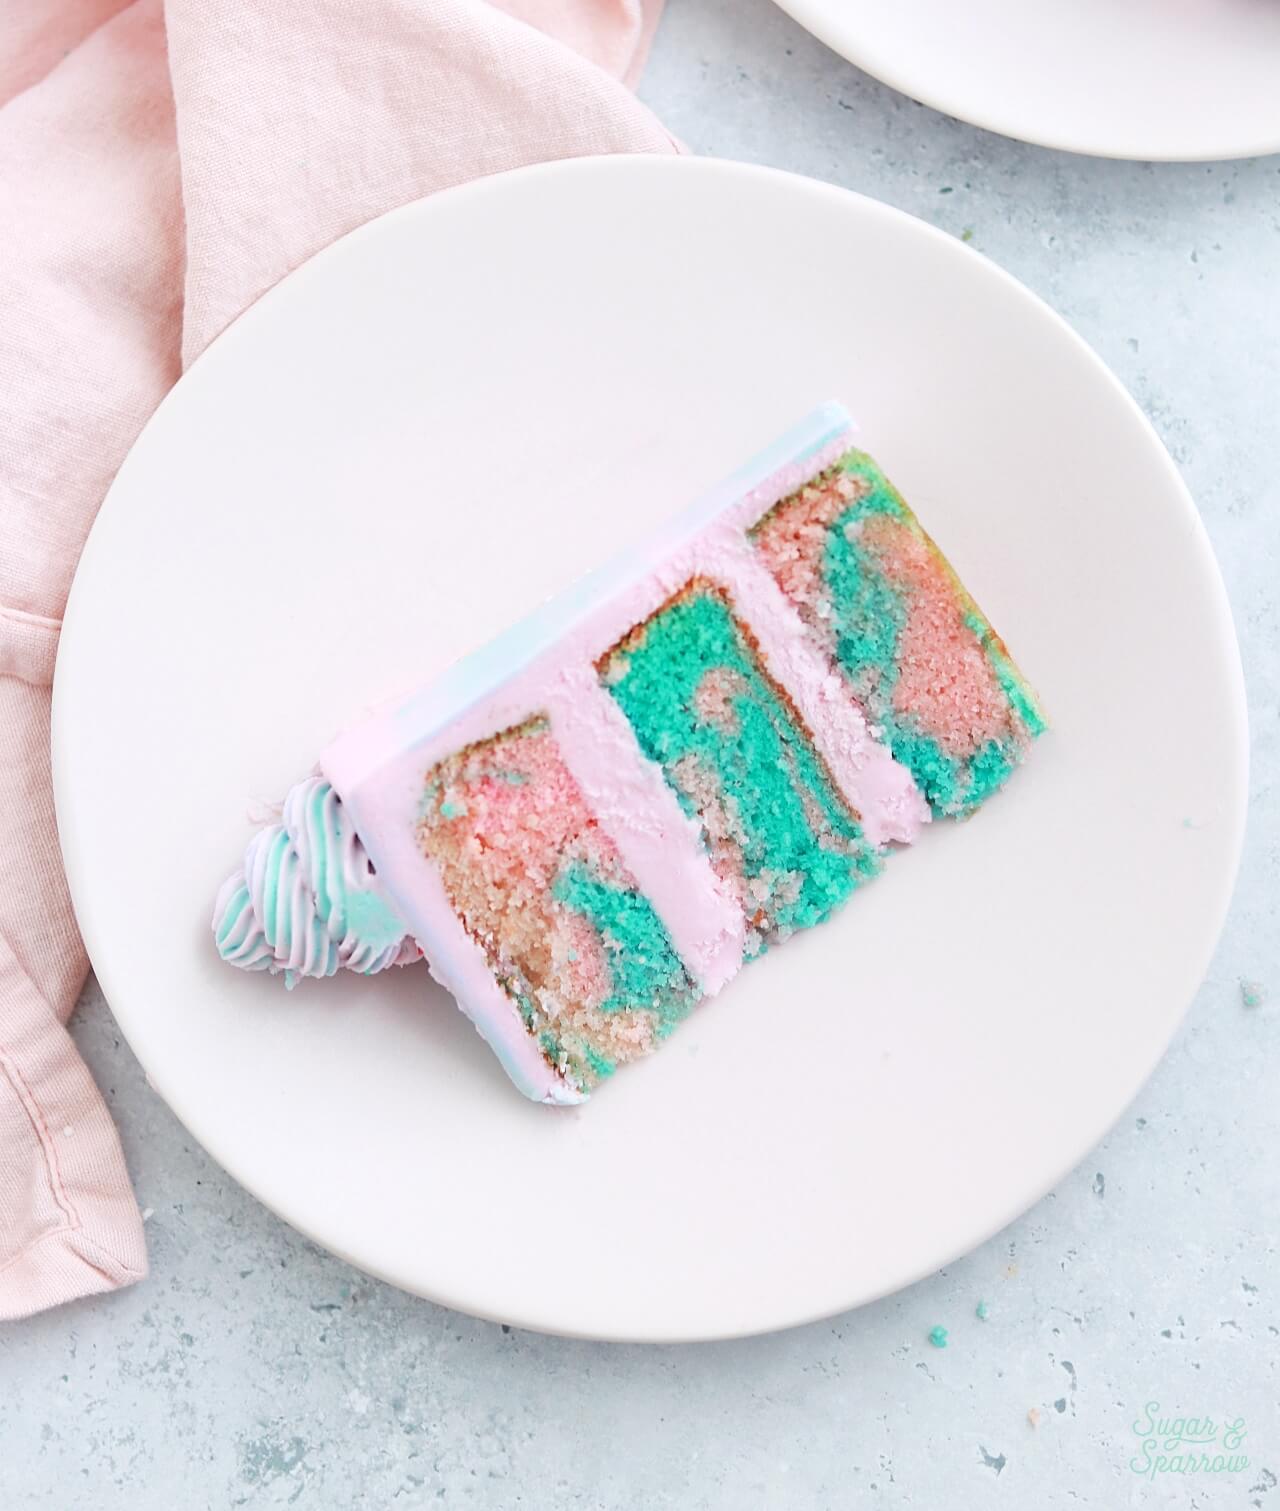
If you’re looking for the ultimate cotton candy cake recipe, this is it. And Amoretti Natural Cotton Candy Flavor is the magic ingredient to make it taste exactly like the real deal!
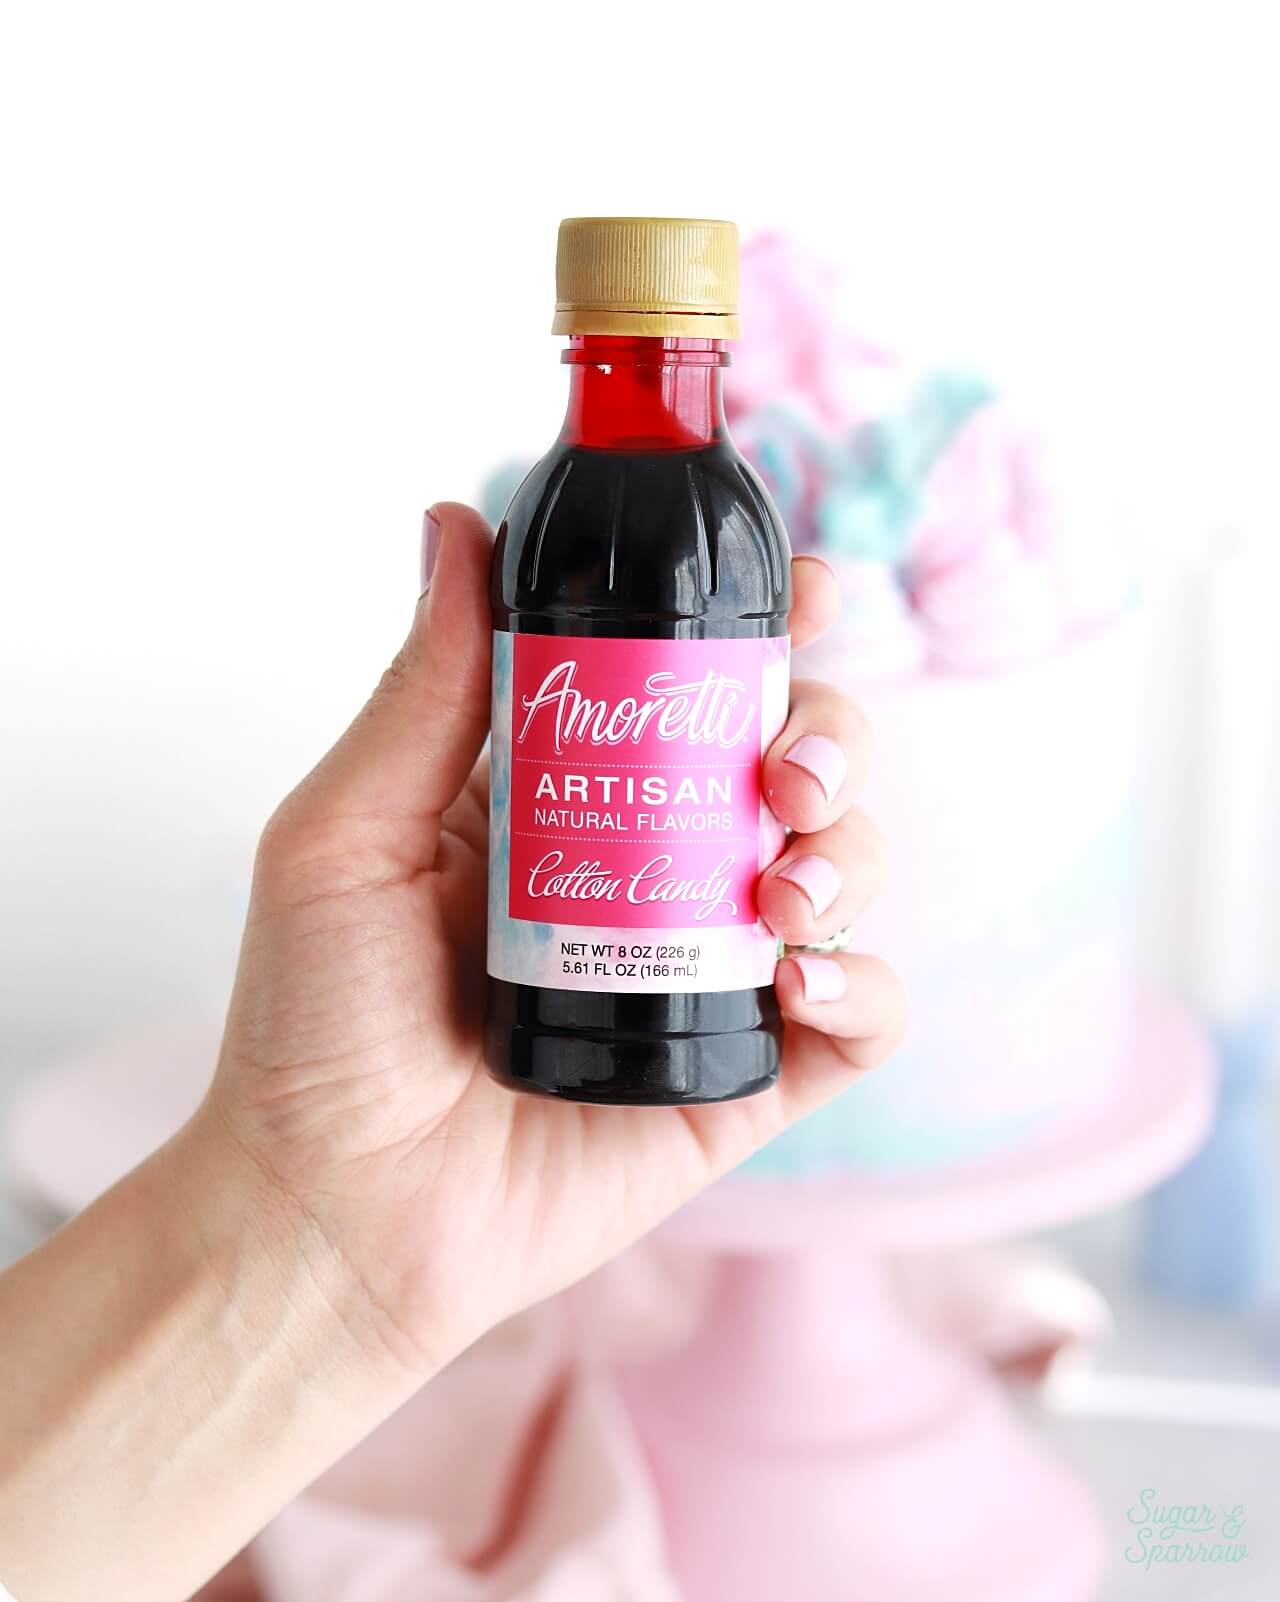
You can shop this flavor and all of my favorite Amoretti products here, and don’t forget to enter my code WHITNEY10 at checkout to get $10 off your order. Enjoy!

Cotton Candy Cake
Ingredients
Cotton Candy Cake
- 2 1/2 Cups (265g) sifted cake flour* DIY recipe in notes
- 2 tsp baking powder
- 1/2 tsp baking soda
- 1/2 tsp salt
- 1 1/2 Cups (300g) granulated sugar
- 1/2 Cups (113g) unsalted butter, room temperature
- 4 large egg whites, room temperature
- 1/2 Cup (120ml) vegetable oil
- 1 Tbsp Amoretti Natural Cotton Candy Artisan Flavor
- 1 1/4 Cups (300ml) full-fat buttermilk**, room temperature DIY recipe in notes
- 1 drop blue food coloring (optional)
- 1 drop pink food coloring (optional)
Cotton Candy Buttercream
- 2 Cups (452g) unsalted butter, room temperature
- 7 Cups (840g) powdered sugar
- 1 tsp Amoretti Natural Cotton Candy Artisan Flavor
- 4 Tbsp whole milk, room temperature
- 1/4 tsp salt
- 1 small drop blue food color gel
- 1 small drop purple food color gel
Topping
- 1 Cup cotton candy
Instructions
Make the Cotton Candy Cake
- Preheat the oven to 350°F/177°C and prepare three 6-inch or two 8-inch cake pans by spraying the sides with baking spray and fitting a parchment paper circle to the bottom of each pan.
- In a medium bowl, add the flour, baking powder, baking soda and salt. Whisk together and set aside.
- In the bowl of a stand mixer fitted with the paddle attachment, beat the butter at high speed until creamy, about 2 minutes. Add the sugar and cream it together with the butter at medium-high speed until light and fluffy, about 2 minutes, scraping the bowl and paddle at the halfway point. Turn the mixer to low and add the egg whites one at a time, mixing until they are just combined and scraping down the bowl and paddle as needed. Add the vegetable oil and Amoretti Natural Cotton Candy Artisan Flavor, increase the mixer speed to high and beat for 1 minute.
- Turn the mixer off and add the flour mixture all at once. Mix the ingredients on low speed until just combined, then slowly pour in the buttermilk. Continue mixing at low speed for about 30 seconds, until the batter is uniform and combined. The batter will be slightly thin.
- Color the Cake Batter: divide the batter equally into 2 separate bowls. Add one drop of pink food color gel into the first bowl and whisk until the color is uniform. Add one small drop of blue food color gel into the second bowl and whisk until the color is uniform. Note that the blue color will probably look more purple when mixed with the pink batter. Even though this cake batter is pink from the Amoretti, the color actually bakes off in the oven, so only the blue color will remain. This is also why it’s important to add the pink color gel to that first bowl, even though the batter already looks pink.
- Using a ½ Cup measuring cup, add a scoop of the pink batter into each prepared cake pan. Use a separate ½ Cup measuring cup to add a scoop of blue batter into each pan. Continue alternating adding the batter colors in a random pattern into each pan until all the batter is gone.
- Bake for 28 to 32 minutes. The cakes are done when they spring back to the touch and a toothpick inserted into the centers comes out clean or with just a few moist crumbs on it. Let the cakes cool in their pans for 5 minutes, then remove them from the pans and allow them to cool completely on a wire rack.
Make the Cotton Candy Buttercream
- With a hand mixer or paddle attachment on your stand mixer, cream the butter on medium-high until it’s creamy and light (almost white) in color. About 7 minutes.
- With the mixer on low, add the powdered sugar a few cups at a time, scraping down after each addition and making sure each cup is fully incorporated before adding the next one. Add the milk and salt and mix on low until fully incorporated.
- If you're planning on making the pastel frosting colors: Reserve about 1 Cup of the buttercream at this point and it set aside, then add the Amoretti Natural Cotton Candy Artisan Flavor to the rest of the buttercream and mix on low speed until fully incorporated. It will become a natural pink color, and the reserved buttercream will be white so that you can add the blue and purple colors later.
- If you're NOT planning on making the pastel frosting colors: simply add the Amoretti Natural Cotton Candy Artisan flavor to the whole batch of buttercream and mix on low speed until fully incorporated.
Assembly
- Once the cotton candy cake layers are completely cooled, level them to your desired height. Add a swipe of cotton candy buttercream onto a cardboard cake circle and place the first cake layer on top. Add about ¾ Cup of cotton candy buttercream onto the cake layer and smooth it down until it’s about ½ inch thick. Place the next cotton candy cake layer on top and continue filling and stacking the cake with cotton candy buttercream. Crumb coat the cake with cotton candy buttercream, then place it in the refrigerator for at least 30 minutes to let everything settle and firm up.
- To create the look pictured, divide the reserved white buttercream between two bowls. Mix one small drop of purple food coloring into the first bowl and one small drop of blue buttercream into the second bowl. Use these colors along with the rest of the light pink cotton candy buttercream to frost a watercolor finish on the cake.
- Refrigerate the cake for another 20 minutes to let the buttercream firm up. Meanwhile, fill a piping bag fitted with Wilton Tip 4B with all of the remaining buttercream. Pipe swirls around the top edge of the cake. When you’re ready to display or photograph the cake, top with a generous heap of cotton candy. Note that the cotton candy topping will last for about one hour before it starts to droop/shrink.
Notes
- The cotton candy cake layers can be made ahead and stored at room temperature, covered tightly in plastic wrap, for up to two days. Alternatively, you can cover with plastic wrap and store in the freezer for up to two months before thawing to room temperature.
- The cotton candy buttercream can be made ahead and stored in an airtight container in the refrigerator for up to two weeks. When you’re ready to use it, bring it back to room temperature and re-whip in your stand mixer to bring back to smooth buttercream consistency.
- The cotton candy topping cannot be added ahead of time. Wait until you’re ready to display the cake to add the cotton candy on top. It will look good for about an hour before drooping/shrinking.
Disclaimer: I was compensated by Amoretti for my work of creating this project, styling, filming, photographing, and writing about their products. As always, all opinions are honest and my own. Thank you for supporting brands that support Sugar & Sparrow.

I’ve made this recipe twice (using the weighted measurements)and both times the center has not risen/collapsed. Didn’t open the oven and it was cooked throughout. Any tips?
Hi Meghan! I’m so sorry that happened both times! Have you checked your baking powder to make sure it isn’t expired? Baking powder and baking soda expire after 6 months and lose the ability to make the cake rise. Here are other common reasons why cakes sink: https://sugarandsparrow.com/why-cakes-sink/ hope this helps!
How can I make mini versions of this cake as a trial cake?
Hi Cora! Your best bet is to halve the recipe and make one 8-inch layer or cupcakes. If you want a mini layer cake, you would have to make 1/3 of the recipe to yield the exact amount for three 4-inch cake layers, but if the math gets too complicated you can halve the recipe and make about six 4-inch cake layers. Hope that helps!
How many cupcakes would one recipe make? I need to make 48 cupcakes.
Hi Kim! This recipe will make 36-40 cupcakes. I would make 1.5x the recipe to be safe!
Do you think I could 1.5× this recipe without issue? I need three 8″ layers and would prefer not to make 2 separate batches if I don’t have to.
Hi Christina! Yes, you can easily scale this recipe by 1.5.
The cake is in the oven. Fingers crossed. I read the recipe about 10 times. There does not seem to be a lot of volume in the pan, so I am worried. I changed the colors to purple and blue for “Fortnight” and used a colorless cotton candy flavor.
How did it turn out? This recipe rises a bit in the oven so hopefully your layers turned out nice and tall even though there didn’t seem to be much volume in the pan.
What dye colors did you use for this?
Hi Elizabeth! I reserved about 1 Cup of buttercream before mixing in the Amoretti flavor (since that makes the buttercream pink). Then I divided that uncolored buttercream into two bowls and used a small drop of AmeriColor Regal Purple in one bowl (for pastel purple) and a small drop of AmeriColor Sky Blue in the other bowl (for pastel blue). Hope that helps!