
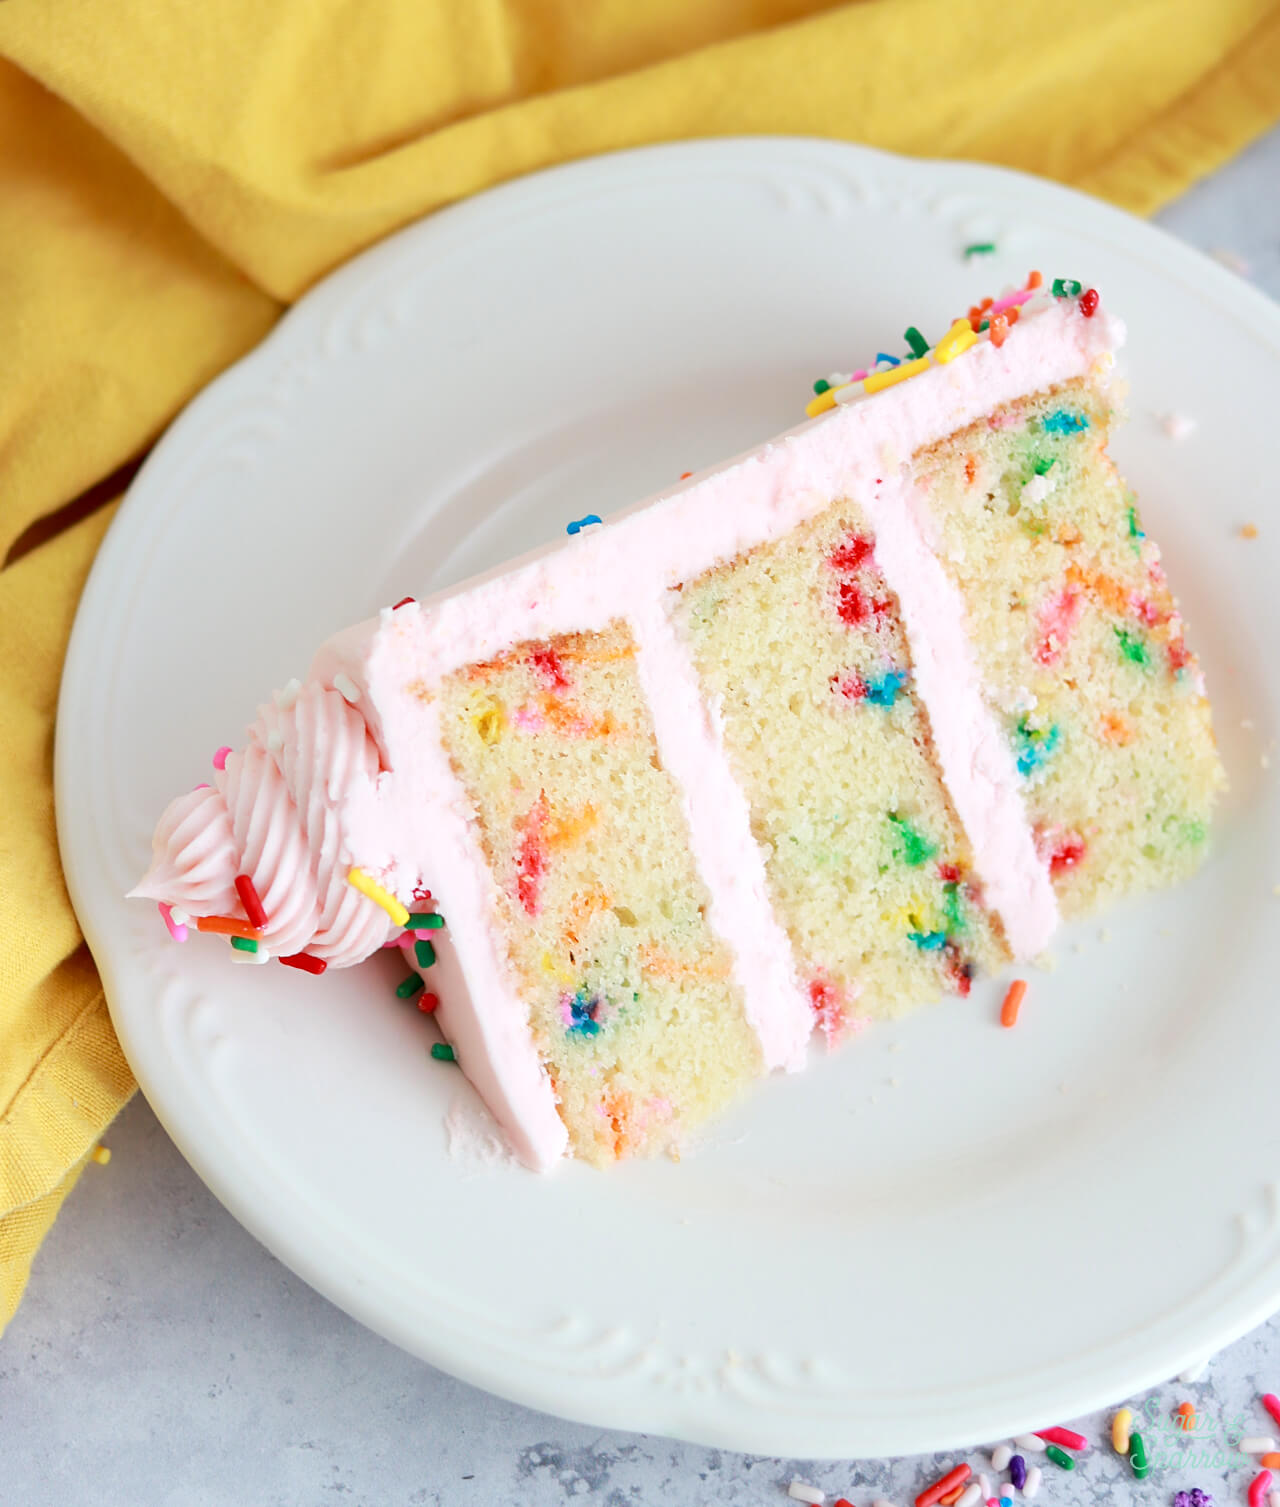
Funfetti is undoubtedly the most celebratory cake flavor of all, and this funfetti layer cake is the ultimate party cake! Originally published in 2018 (then ultra re-tested and updated in 2025), this recipe features layers of soft and moist vanilla cake with the ideal amount of rainbow sprinkles baked inside. Filled and frosted with a double batch of my favorite vanilla buttercream and decorated with plenty of colorful sprinkles, it’s perfect for celebrating anything and always a crowd favorite.
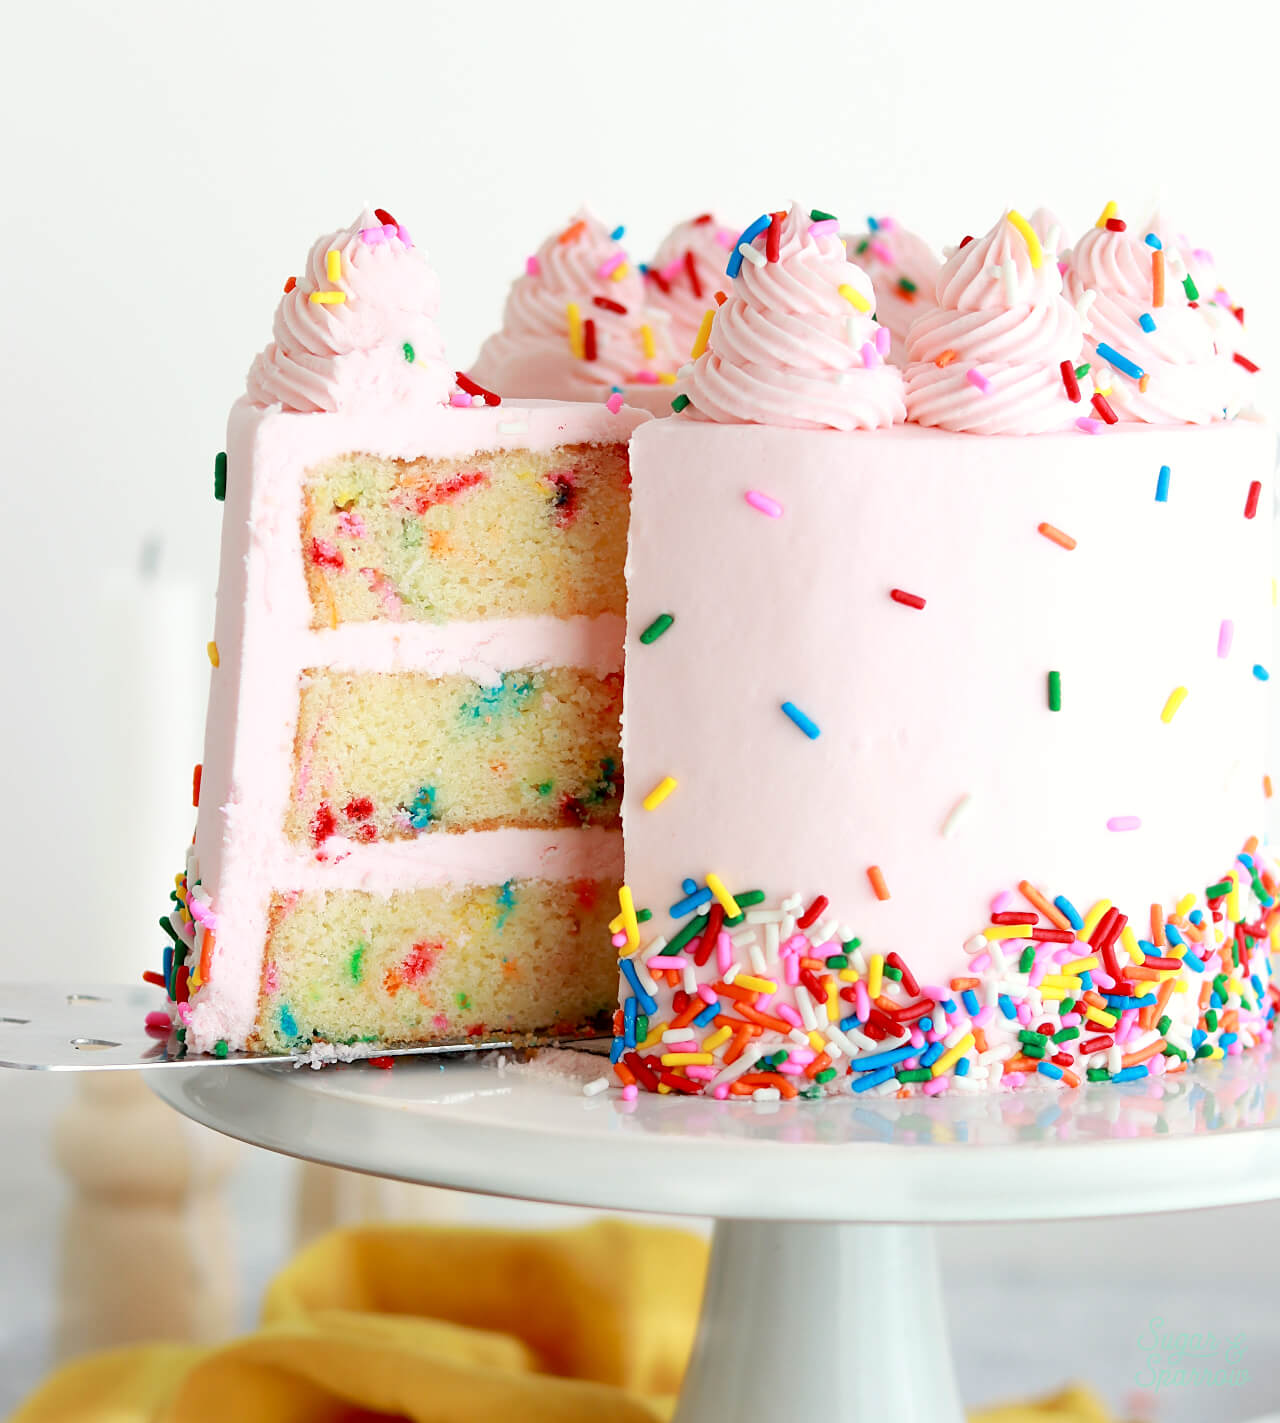
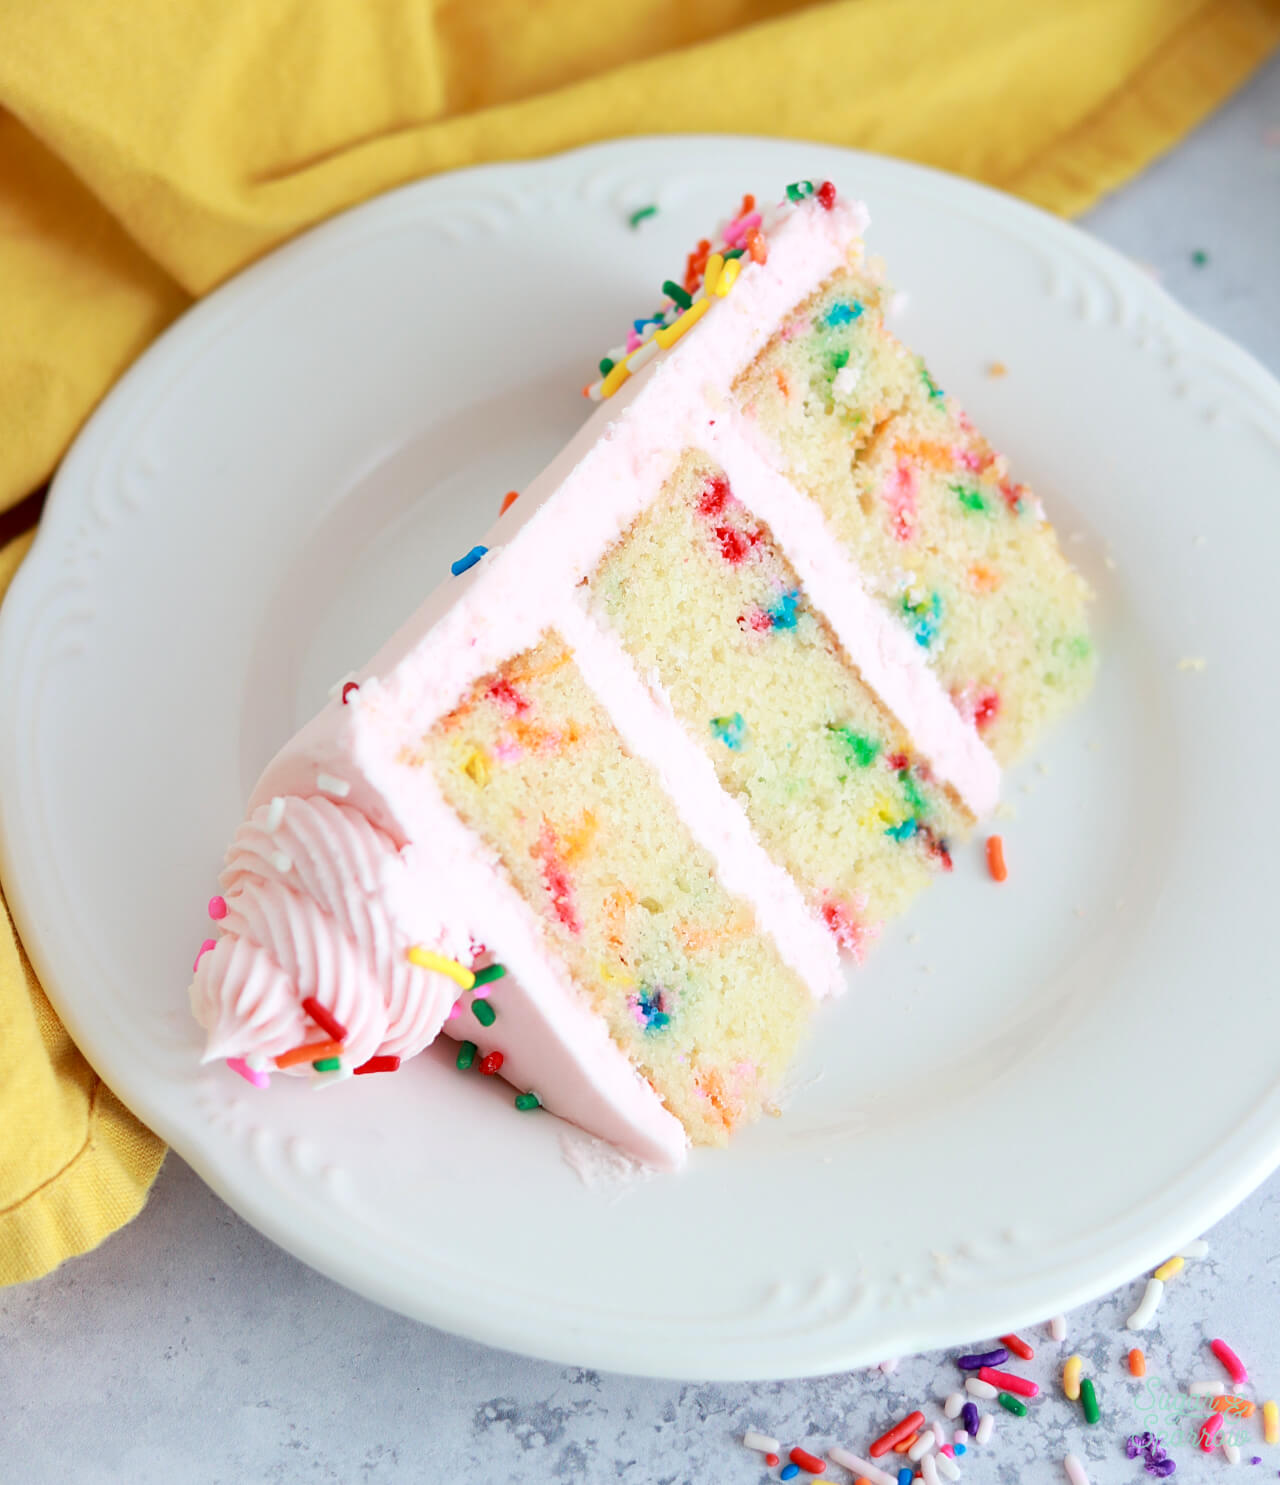
One Reader, Melanie, says: “Wow! This is going to be my new go to recipe for birthday cakes (with or without the sprinkles) and I only wish I’d found it years ago. I made a trial cake on the weekend before I have to make the real deal for my daughters birthday party in a few weeks and my family can’t stop raving about it. Even my husband who grew up on cake (MIL is an incredible cake maker) said it’s the best cake he’s ever had.”
Why You’ll Love This Funfetti Cake
There’s so much to love about this funfetti cake recipe, but here are the first few things that come to mind:
- Extra moist and fluffy. This recipe uses cake flour for a super soft crumb (it’s ultra-fine and has the lowest protein content of all the flours) and if you’ve never heard of it or can’t find it locally I have this homemade version you can use to obtain similar results. The perfect amount of moisture comes from the fat content in this recipe. Mostly the use of butter for richness, plus the addition of sour cream and whole milk.
- Amazing vanilla flavor. I use an entire Tablespoon of vanilla extract in this recipe for a powerful vanilla flavor, but I also love this recipe with a little almond extract. If that’s you too, you can sub one teaspoon of the vanilla for almond extract and get that little hit of almond to make the flavor more complex.
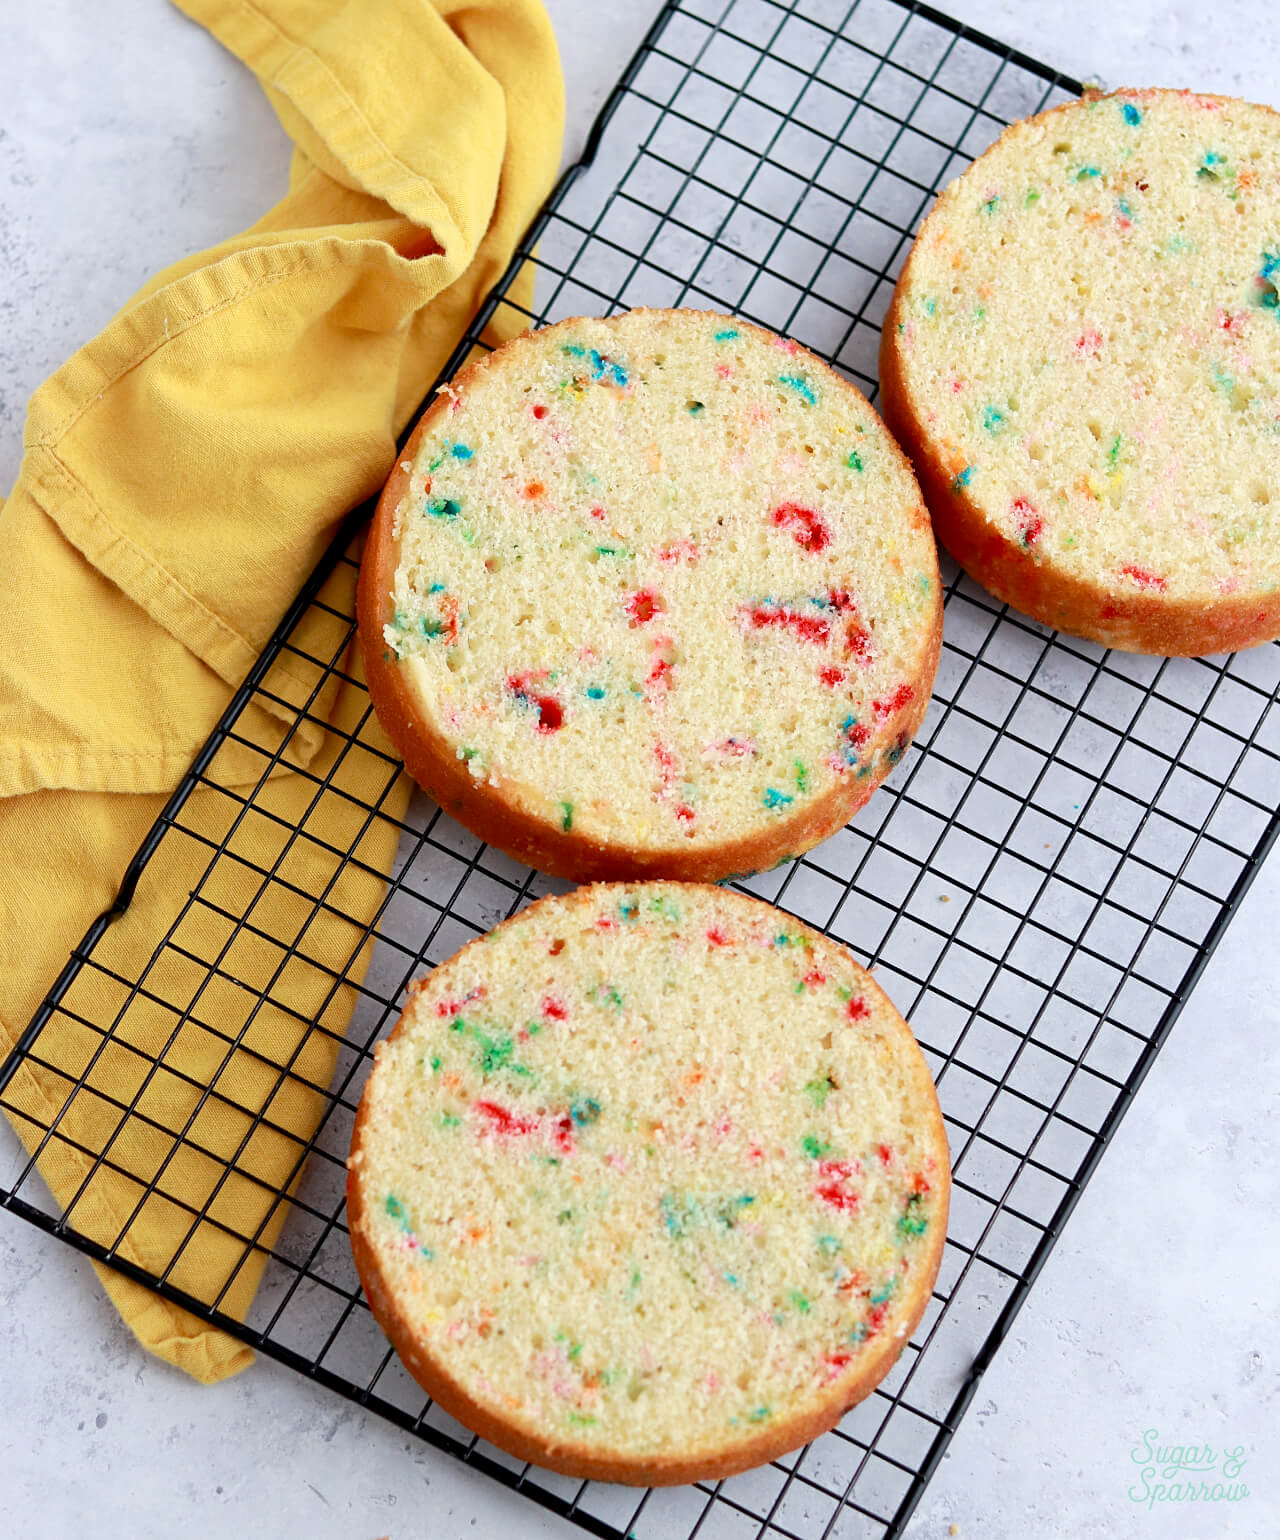
- Perfectly Suspended Rainbow Sprinkles. No sinking sprinkles in this recipe! They stay perfectly suspended all throughout the baking process so you get the prettiest slices.
- Everyone’s Favorite Flavor. Okay maybe not everyone, but almost everyone loves a funfetti cake. It’s nostalgic and childlike, but so fun to eat at any age. I truly think it’s the most celebratory cake flavor of all!
The Best Kind of Sprinkles for Funfetti Cake
To get the prettiest funfetti cake slices, you have to use the right kind of sprinkles. Otherwise, your sprinkles might bleed color into the batter or disintegrate in the baking process. In my experience, the best kind of sprinkles have been the elongated rainbow sprinkles (aka jimmies) that have carnauba wax and confectioner’s glaze in the ingredients list. Those two coatings help prevent the sprinkles from streaking your batter with color.
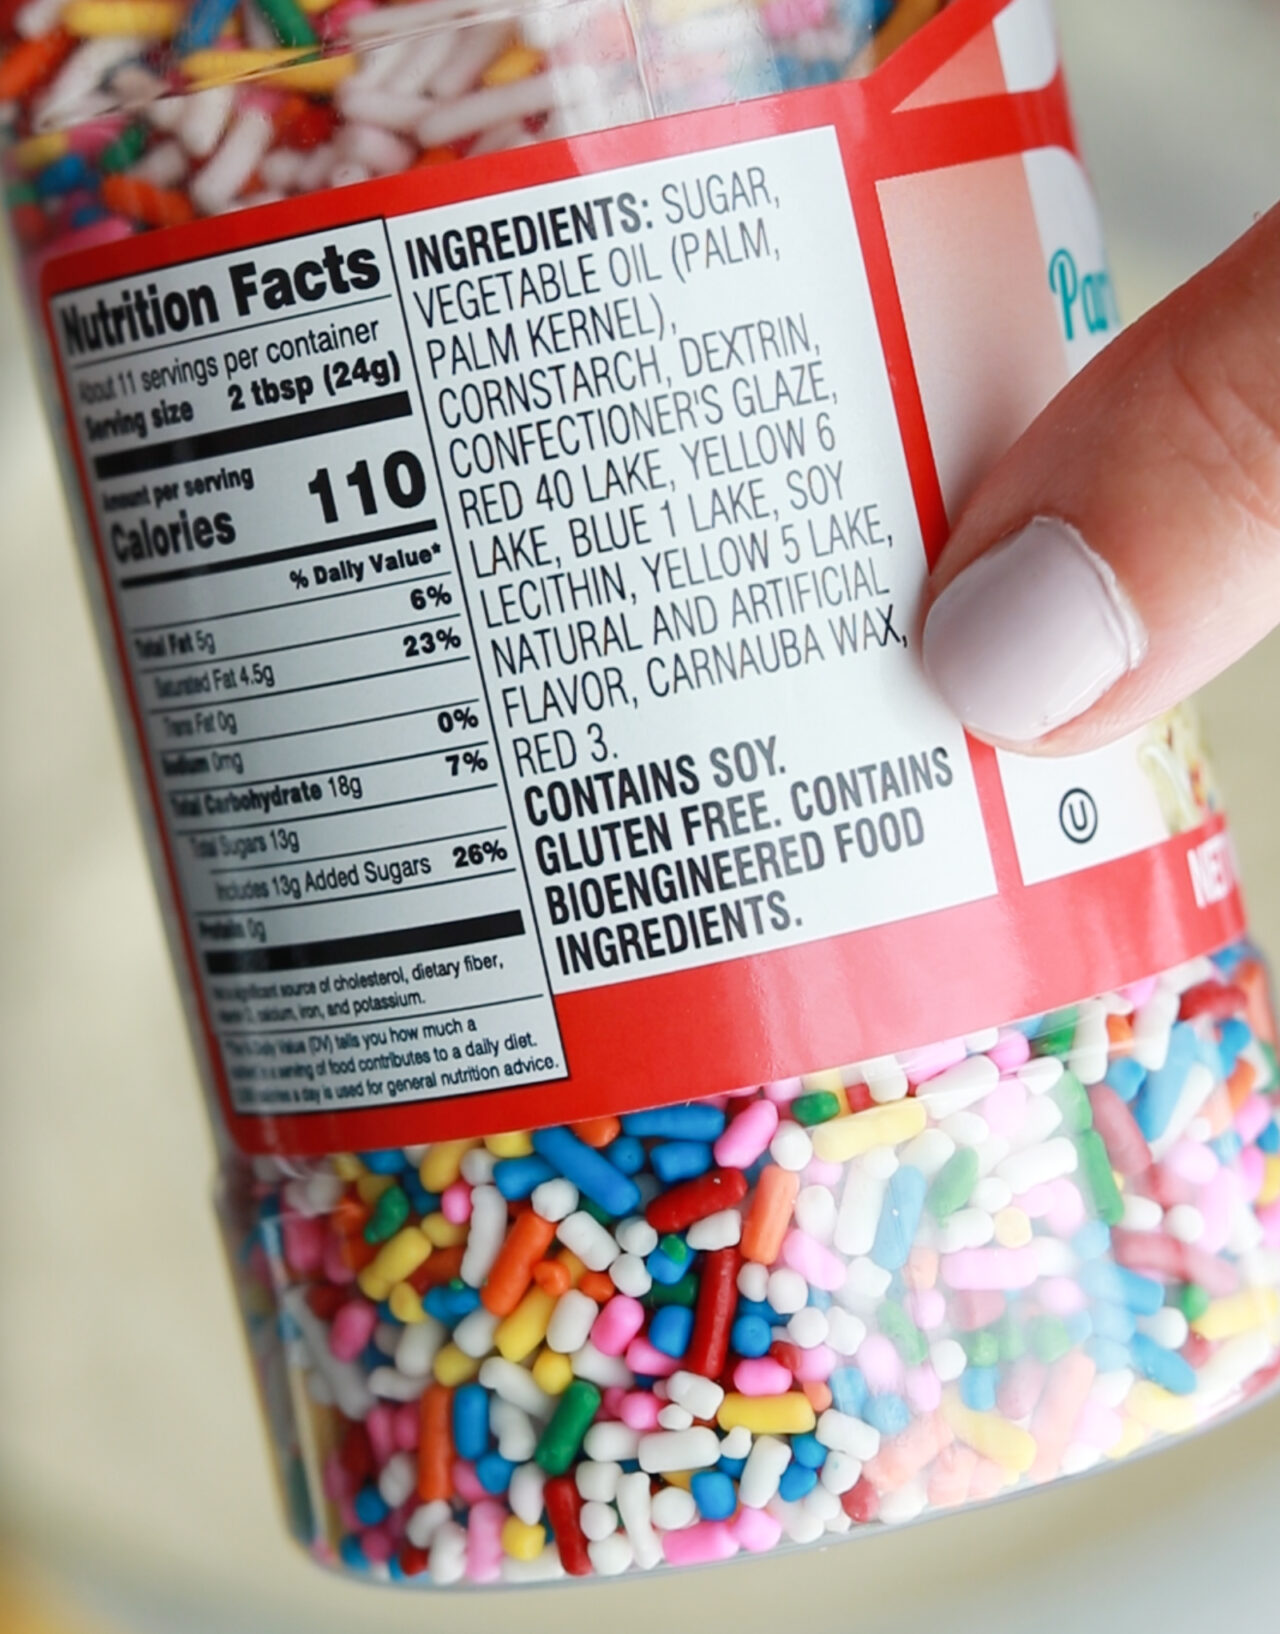
Some of my favorite brands to use are:
- Unpretentious Baker Rainbow Sprinkles
- SprinklePop Ultimate Unicorn Rainbow Jimmies
- Chef’s Select Rainbow Sprinkles
- Betty Crocker “Parlor Perfect” rainbow sprinkles (I find these at my local grocery store)
How to Make a Funfetti Cake
Here’s how to make and decorate this funfetti layer cake from start to finish:
Step 1. Preheat the oven to 350ºF, then grease and line three 6-inch round cake pans or two 8-inch round cake pans.
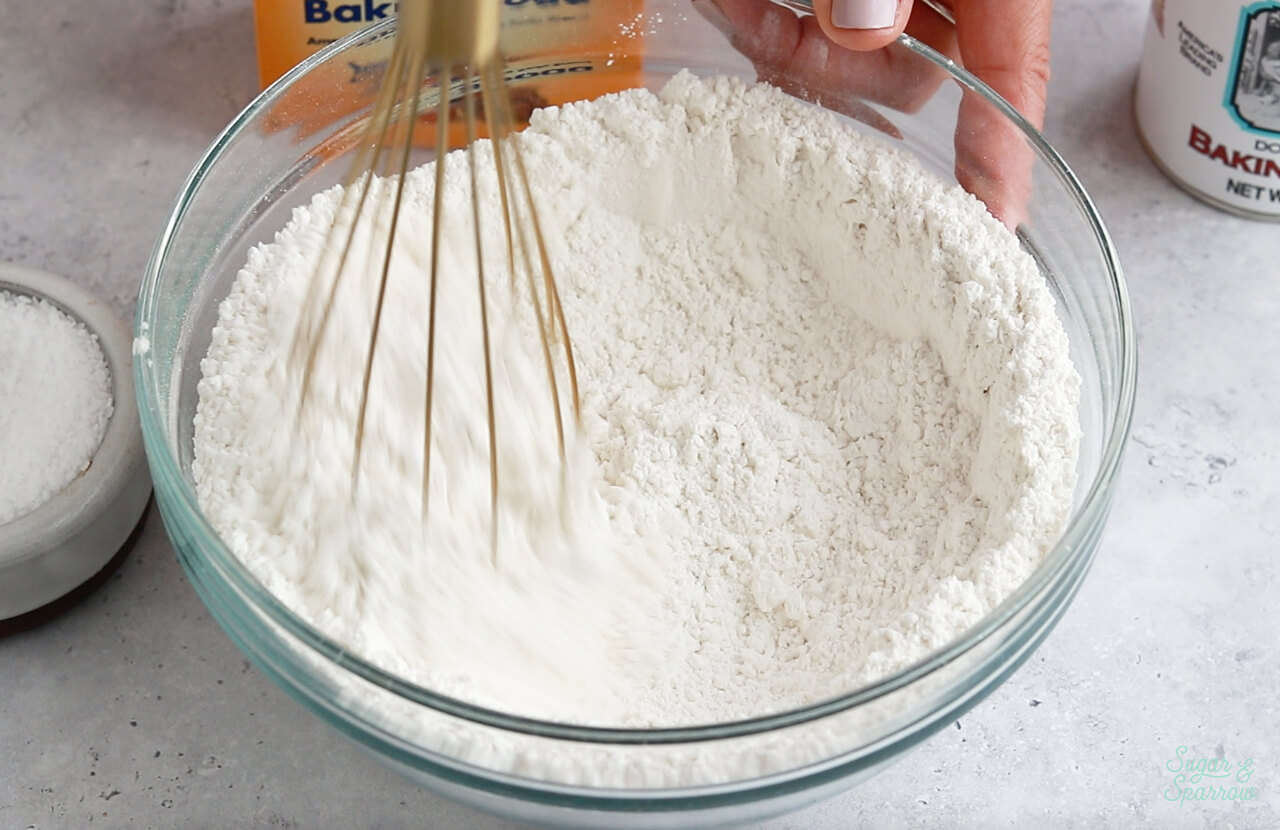
Step 2. Whisk together the flour, baking powder, baking soda, and salt. Set aside.
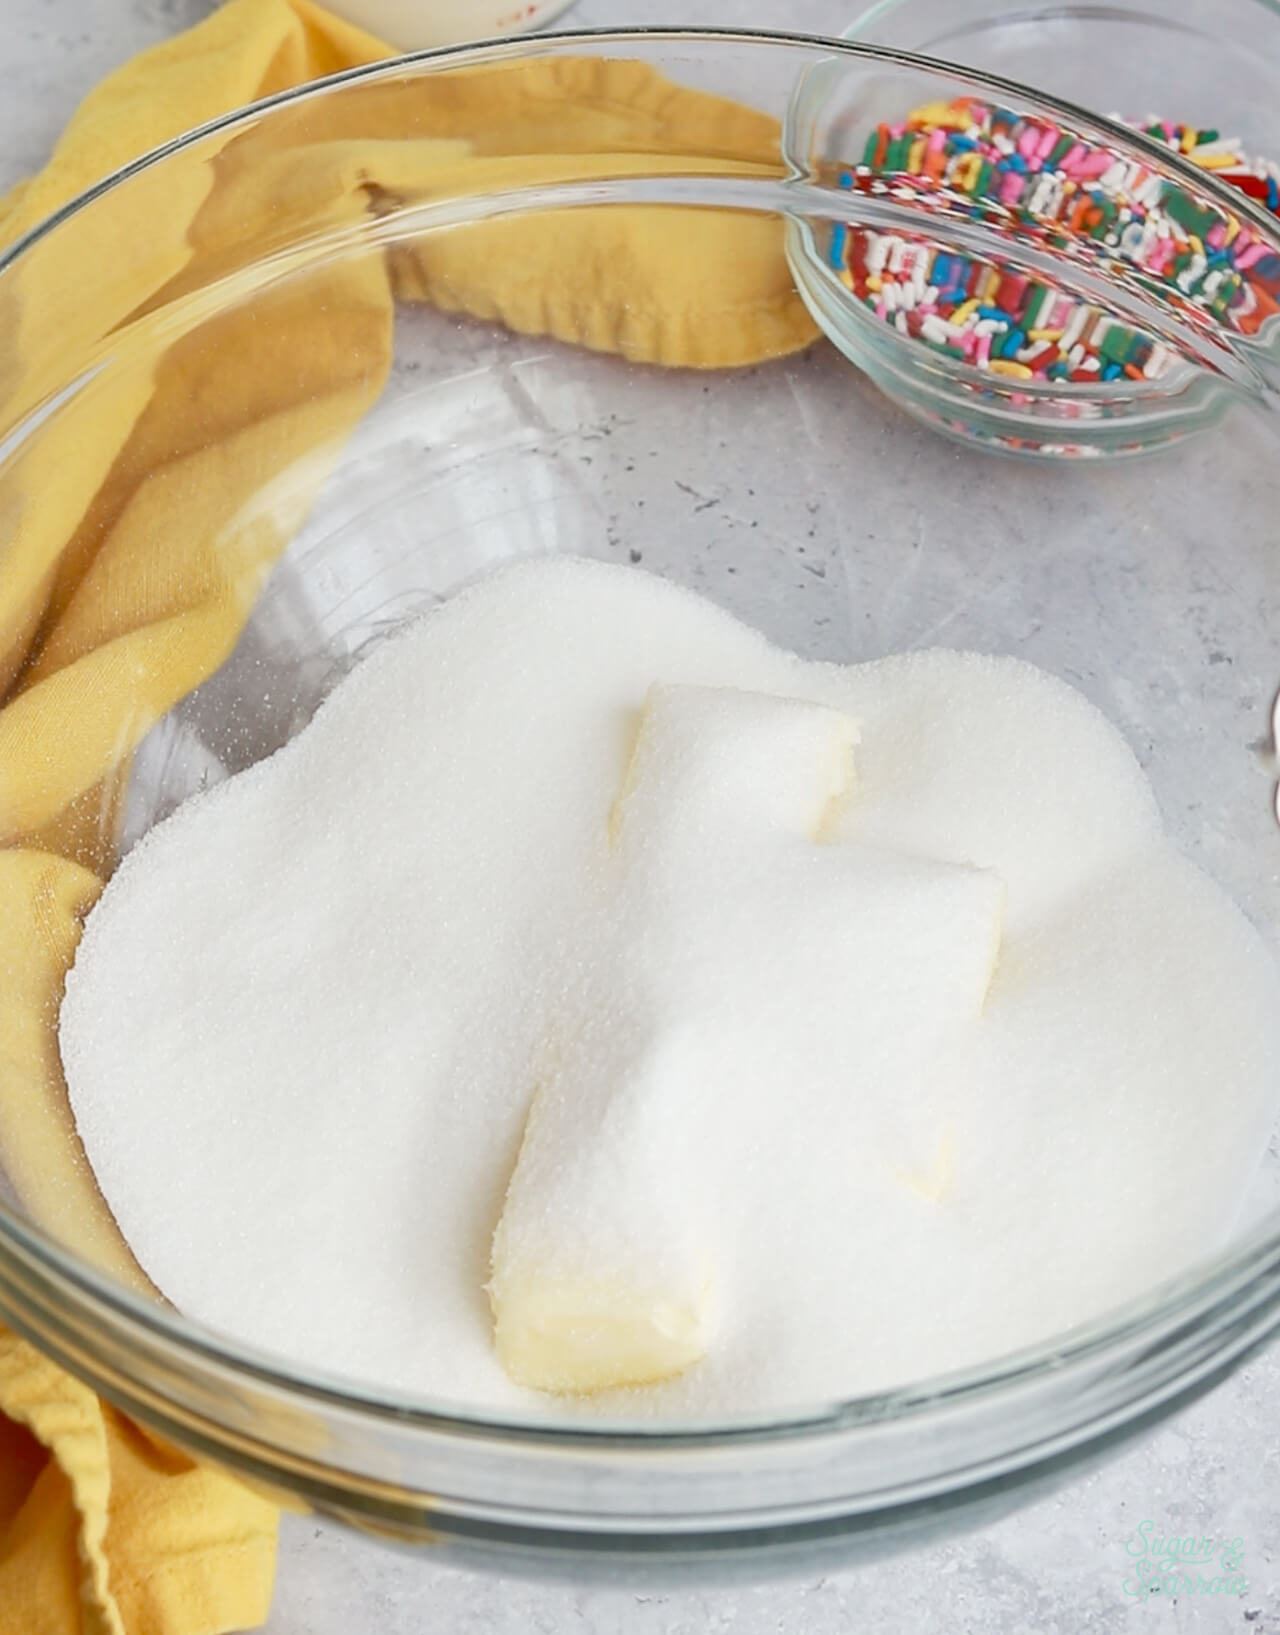
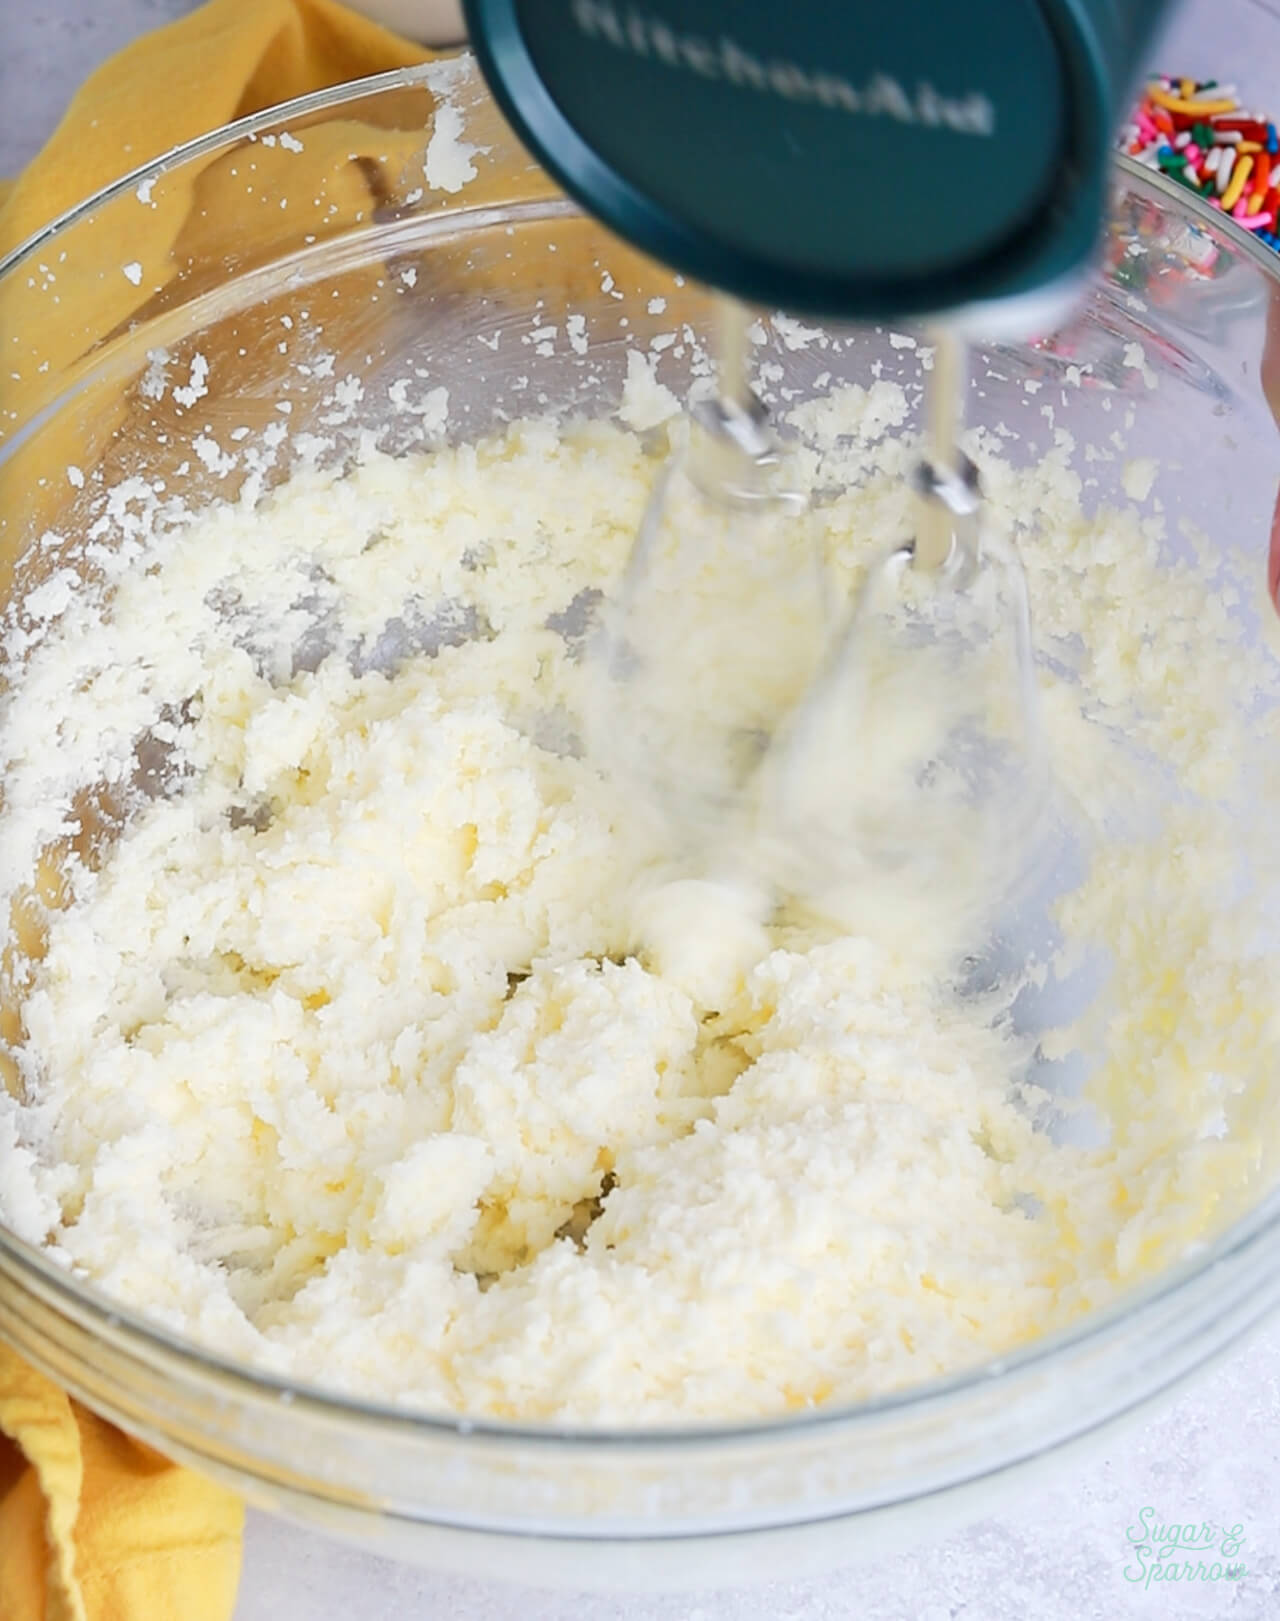
Step 3. Beat the butter and sugar until light and fluffy.
Step 4. Mix in the eggs one at a time, then add the sour cream and vanilla before whipping everything on high speed for one minute.
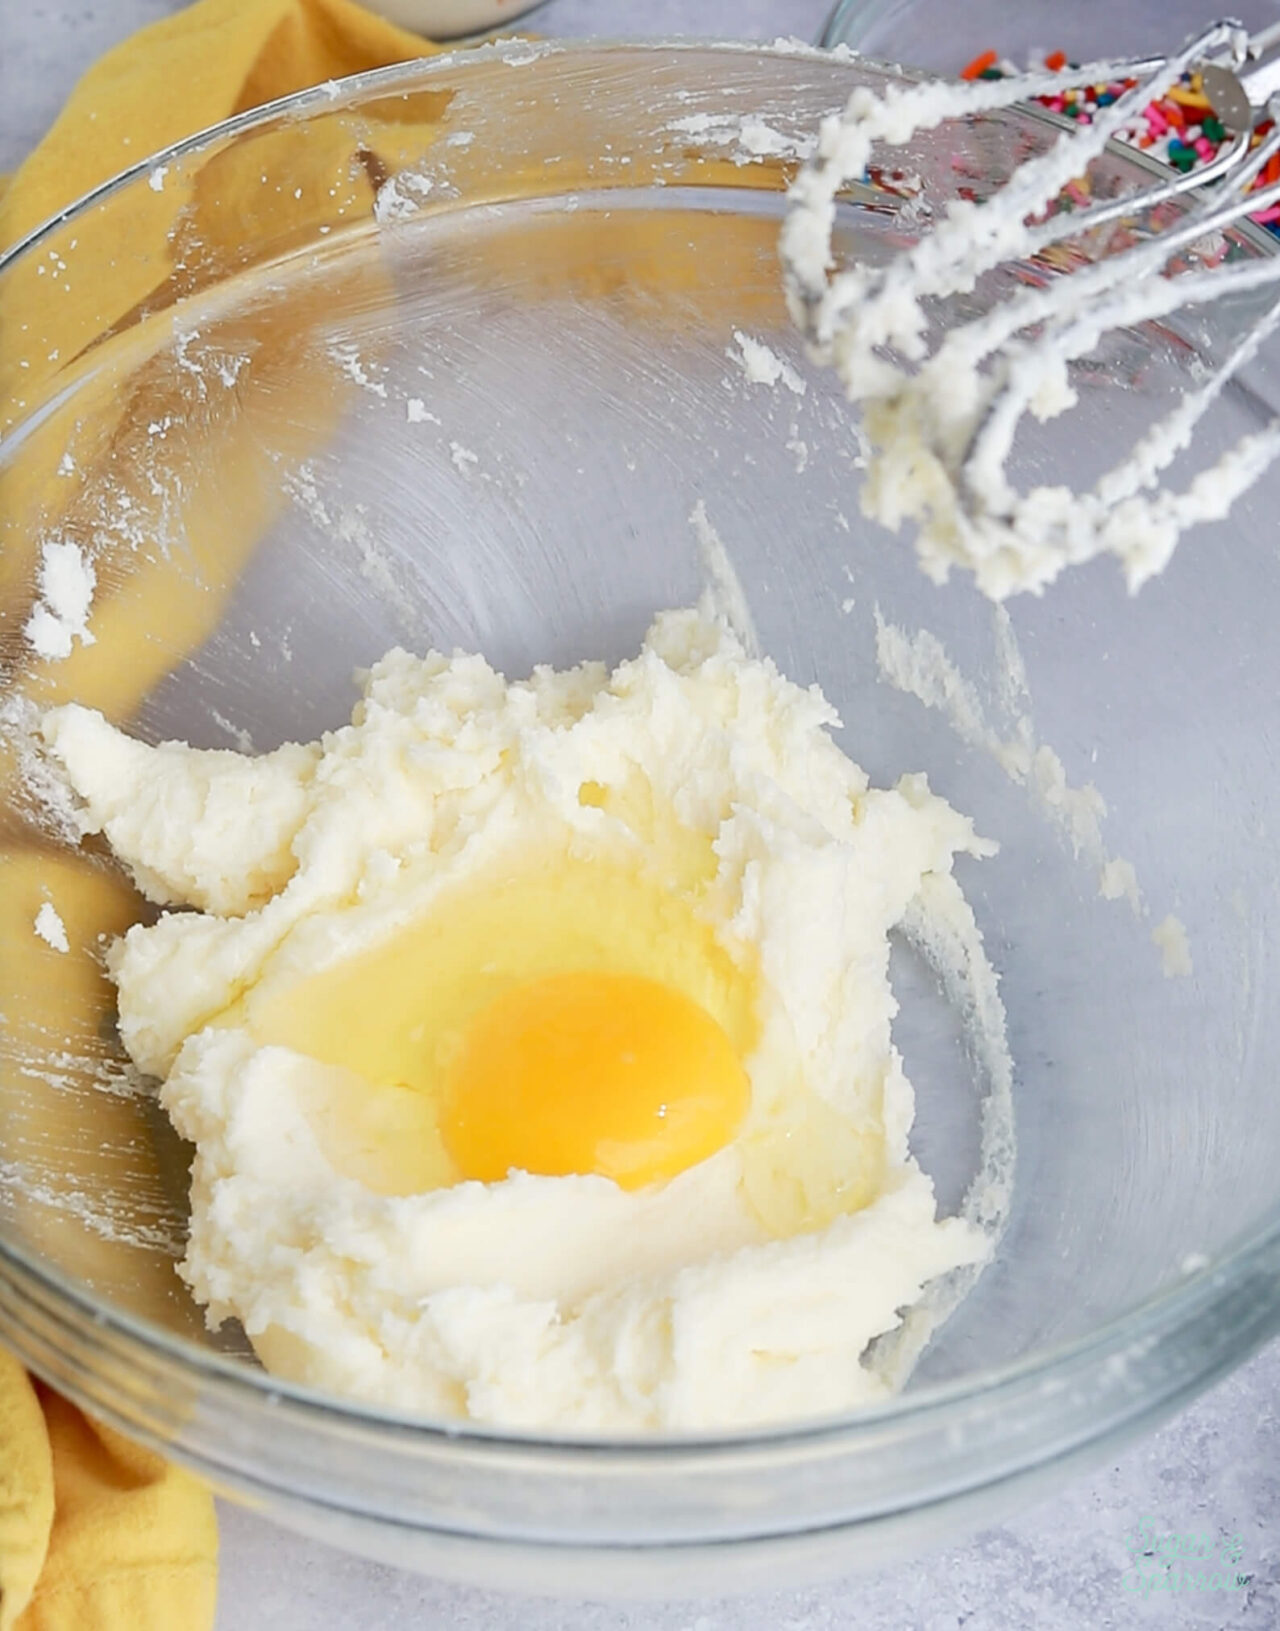
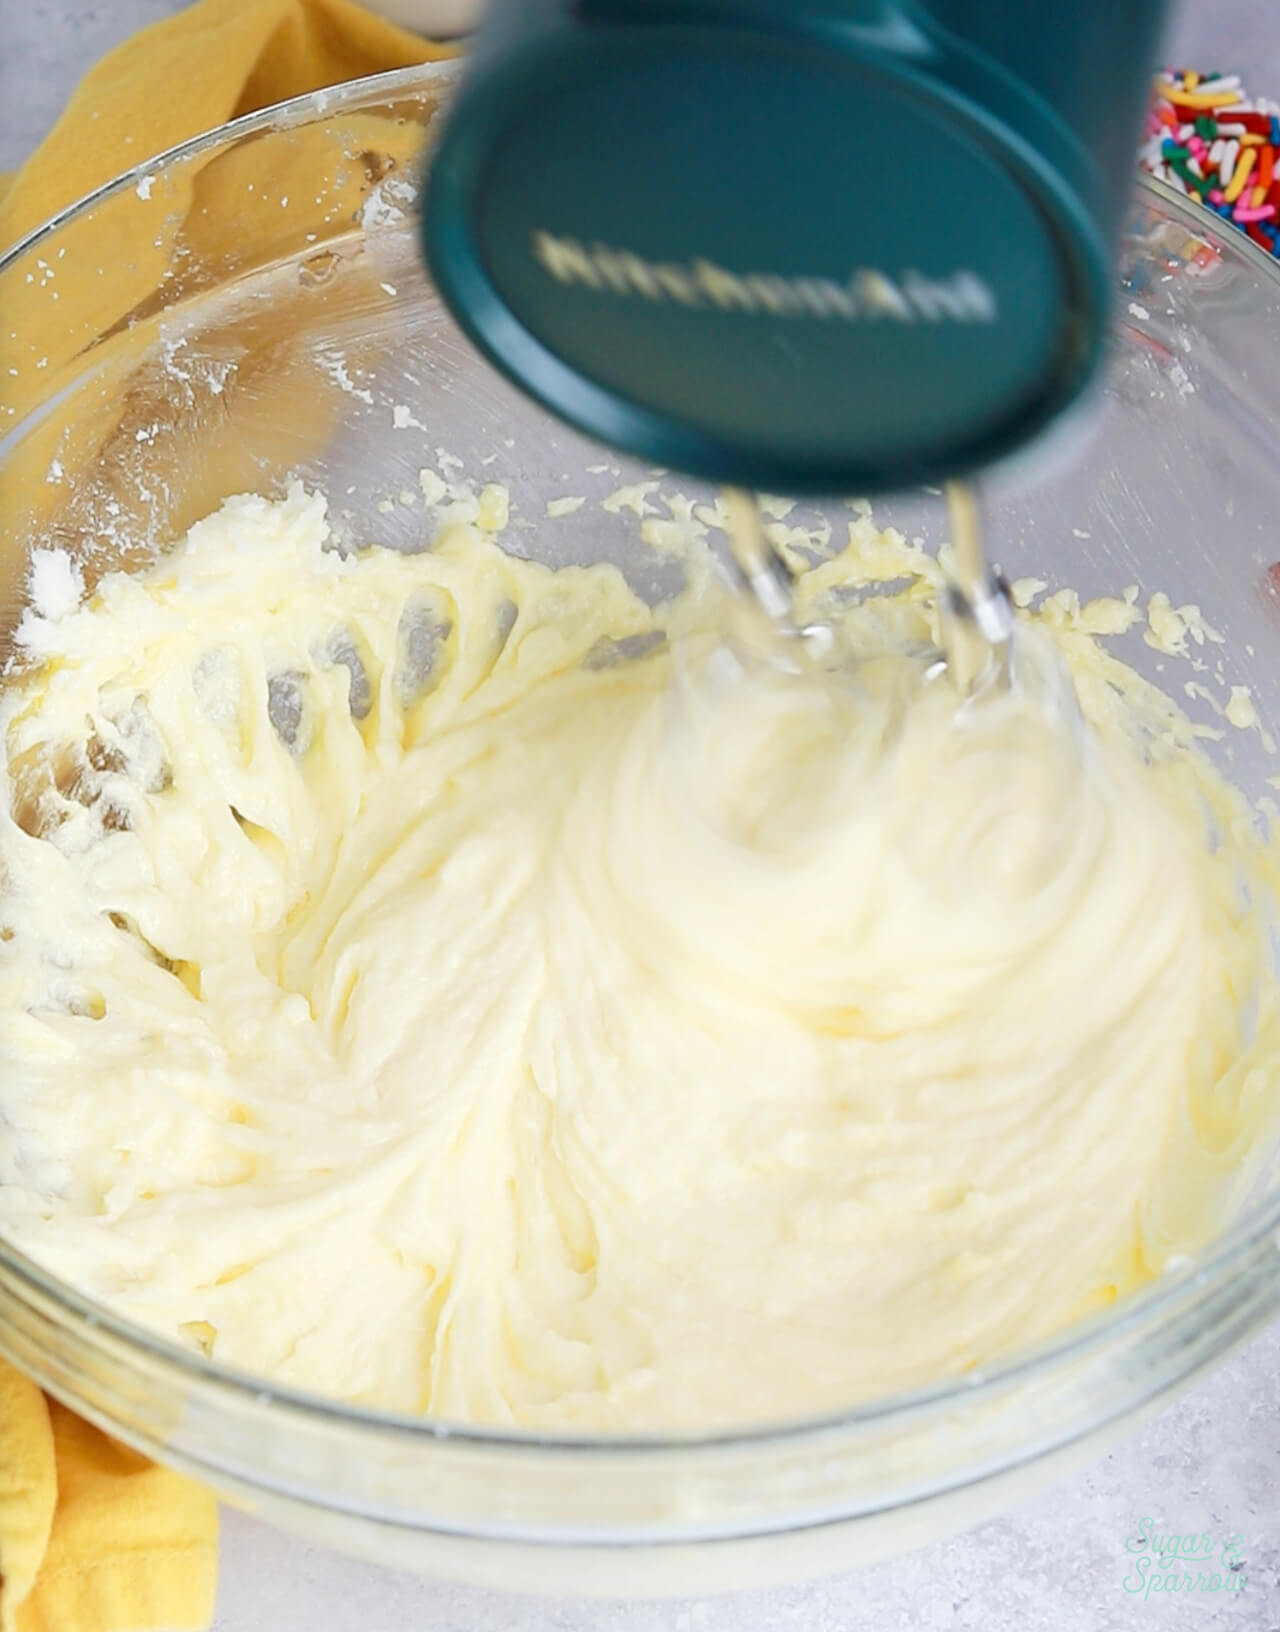
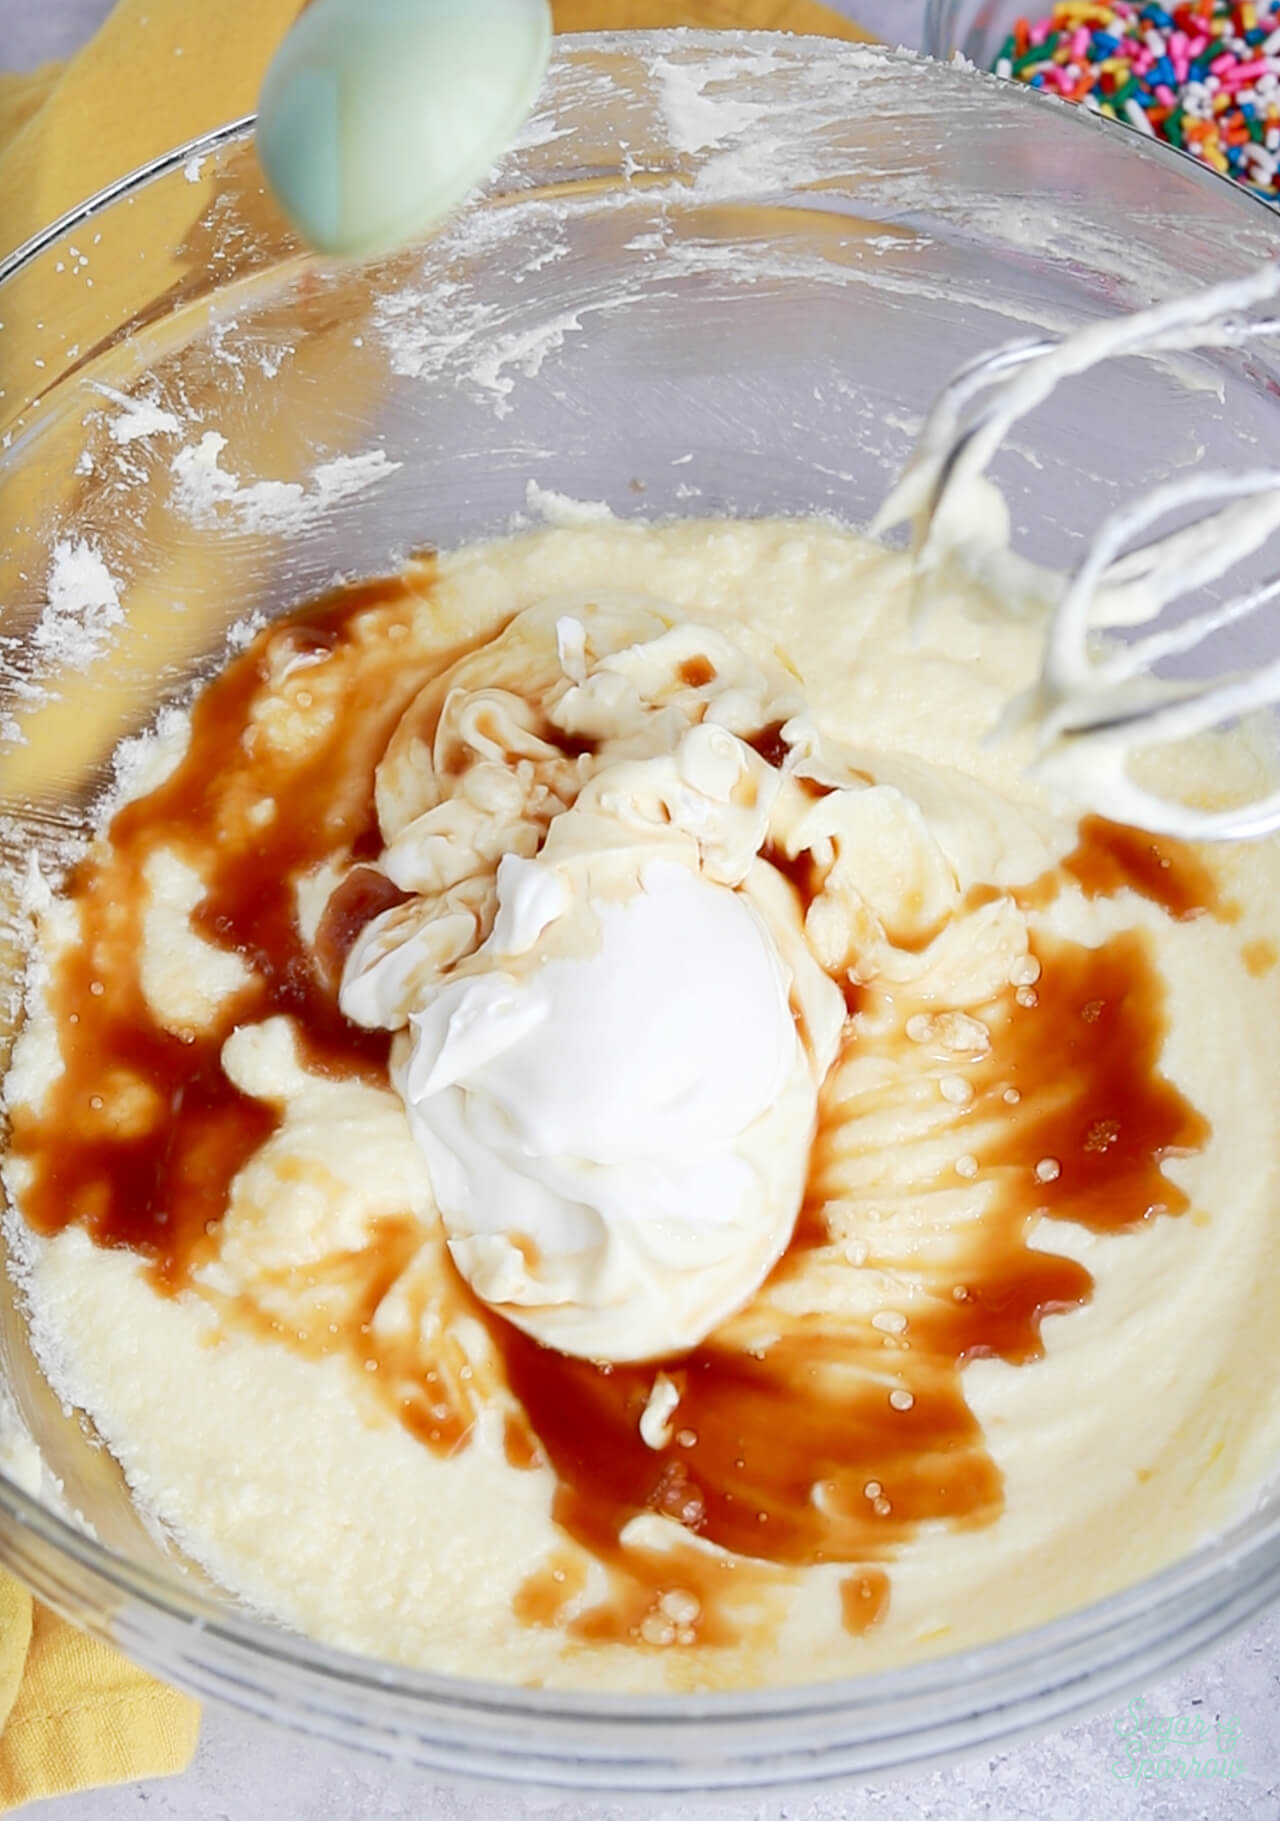
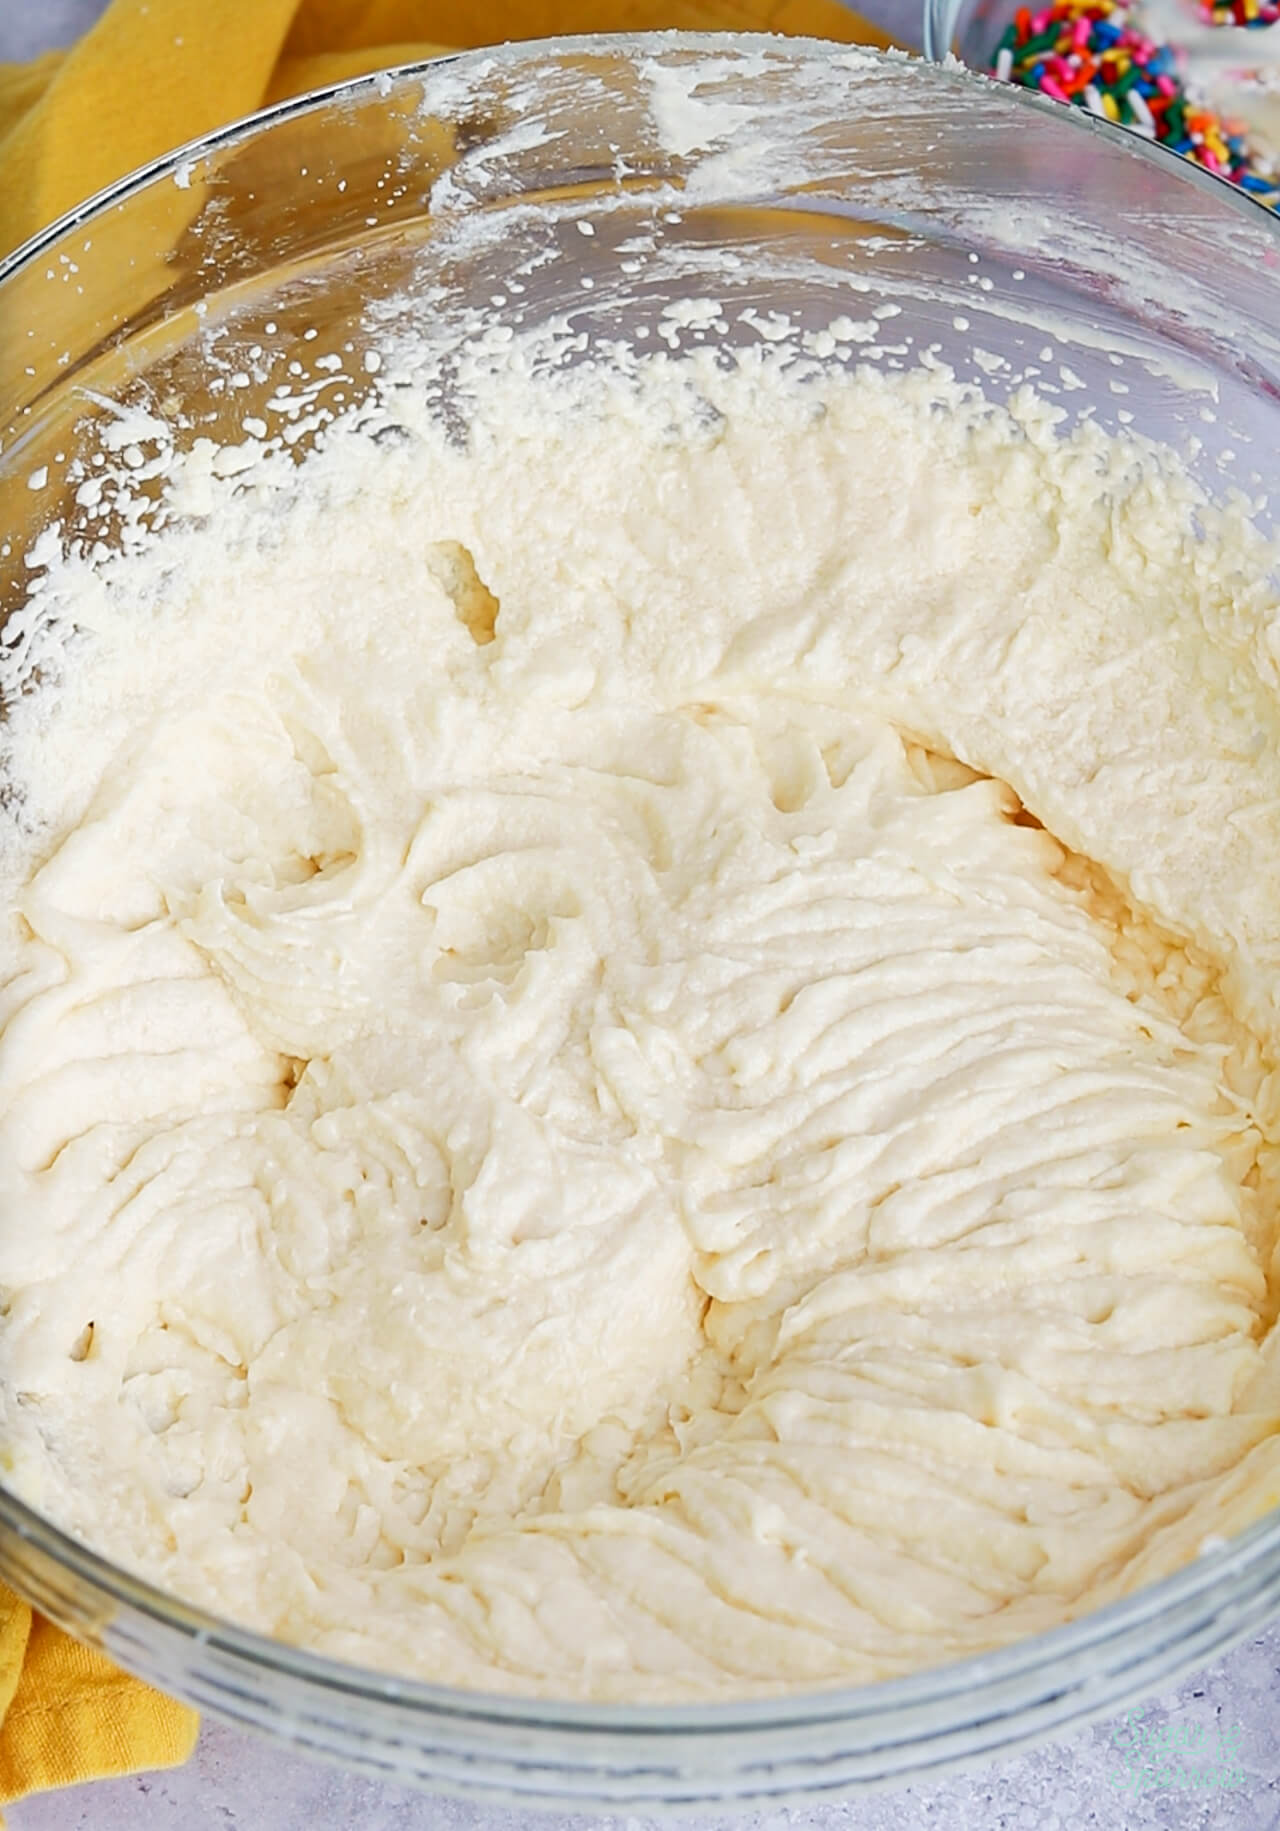
Step 5. Add the dry ingredients all at once, mix on low speed until they begin to incorporate, then add in the whole milk in a steady stream while continuing to mix on low speed. Mix until the ingredients are well incorporated, about 15-30 seconds.
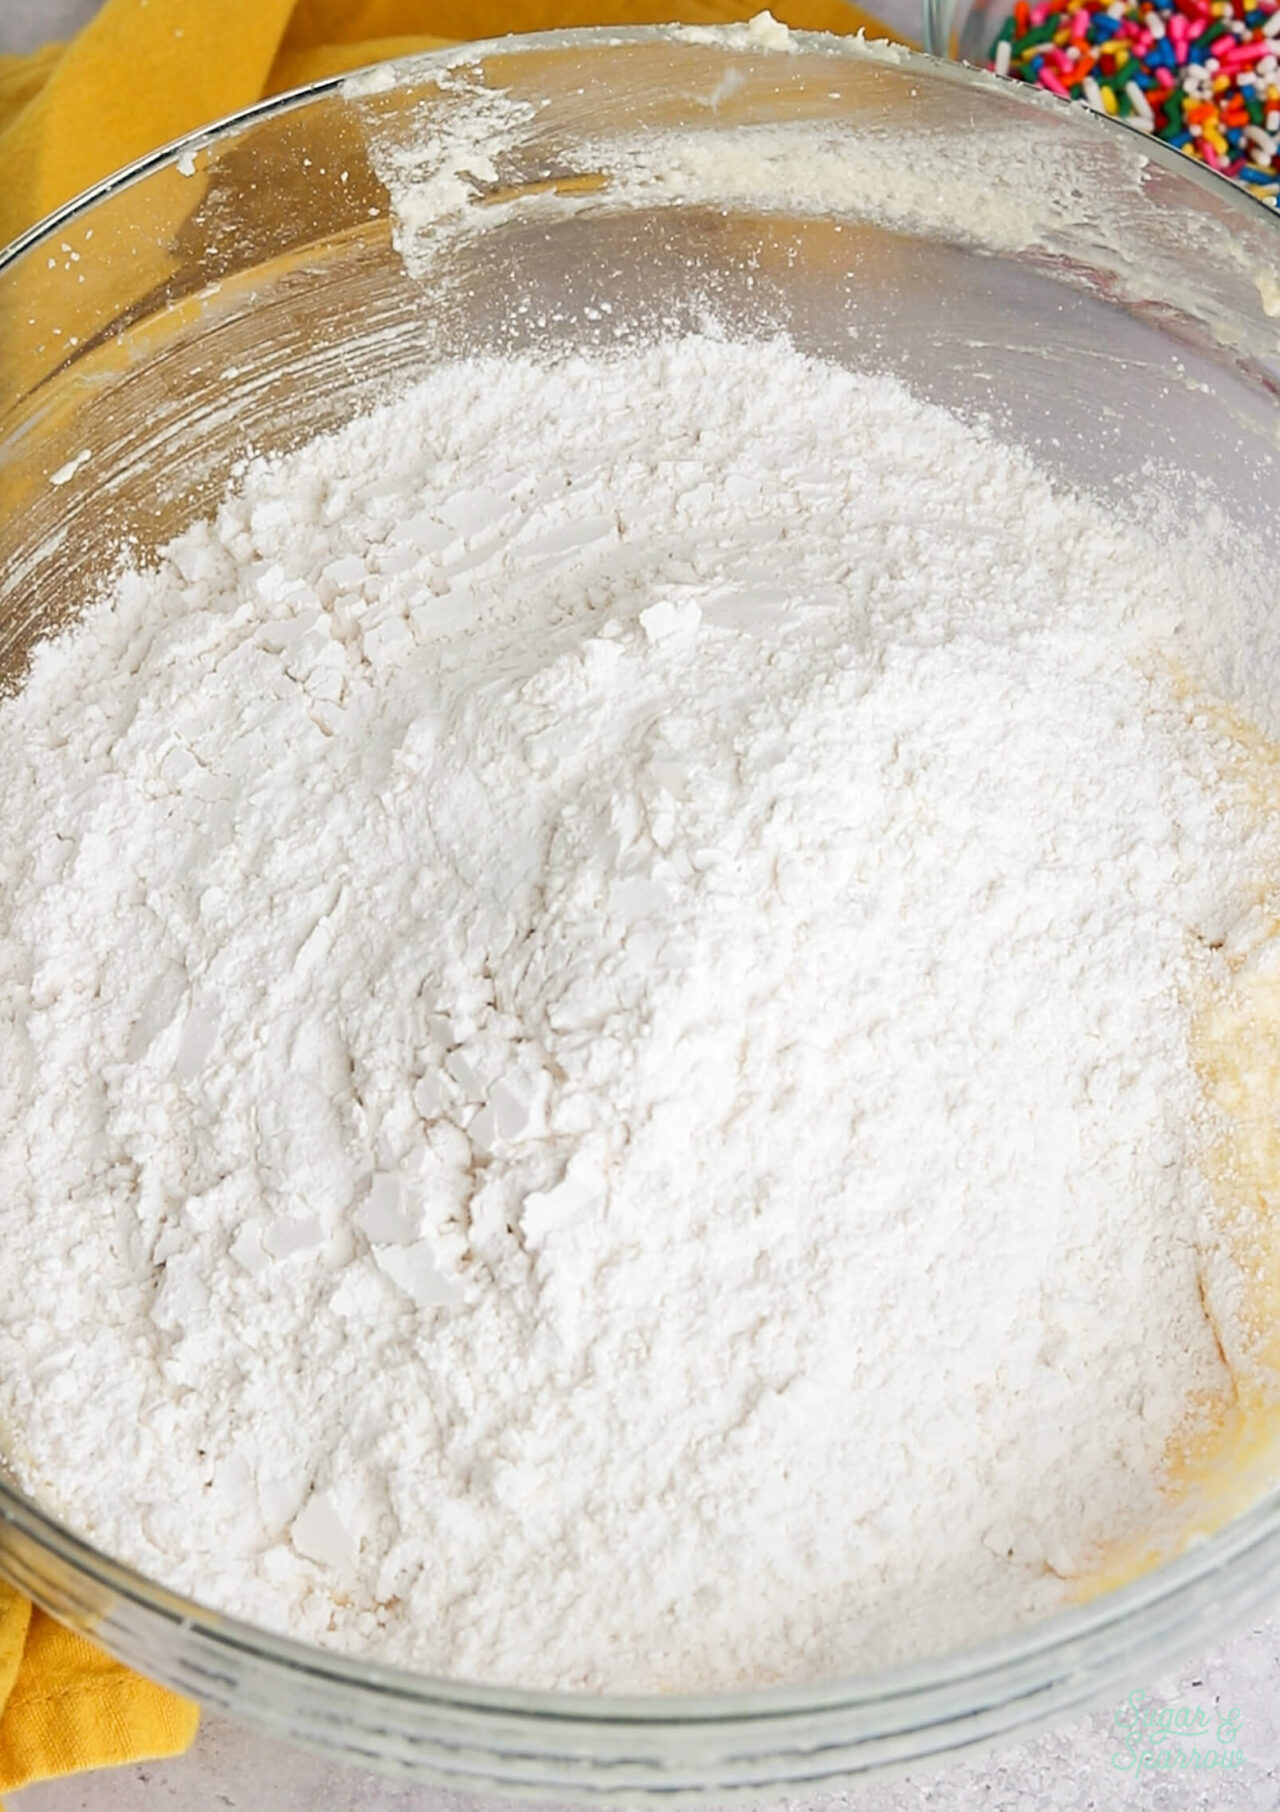
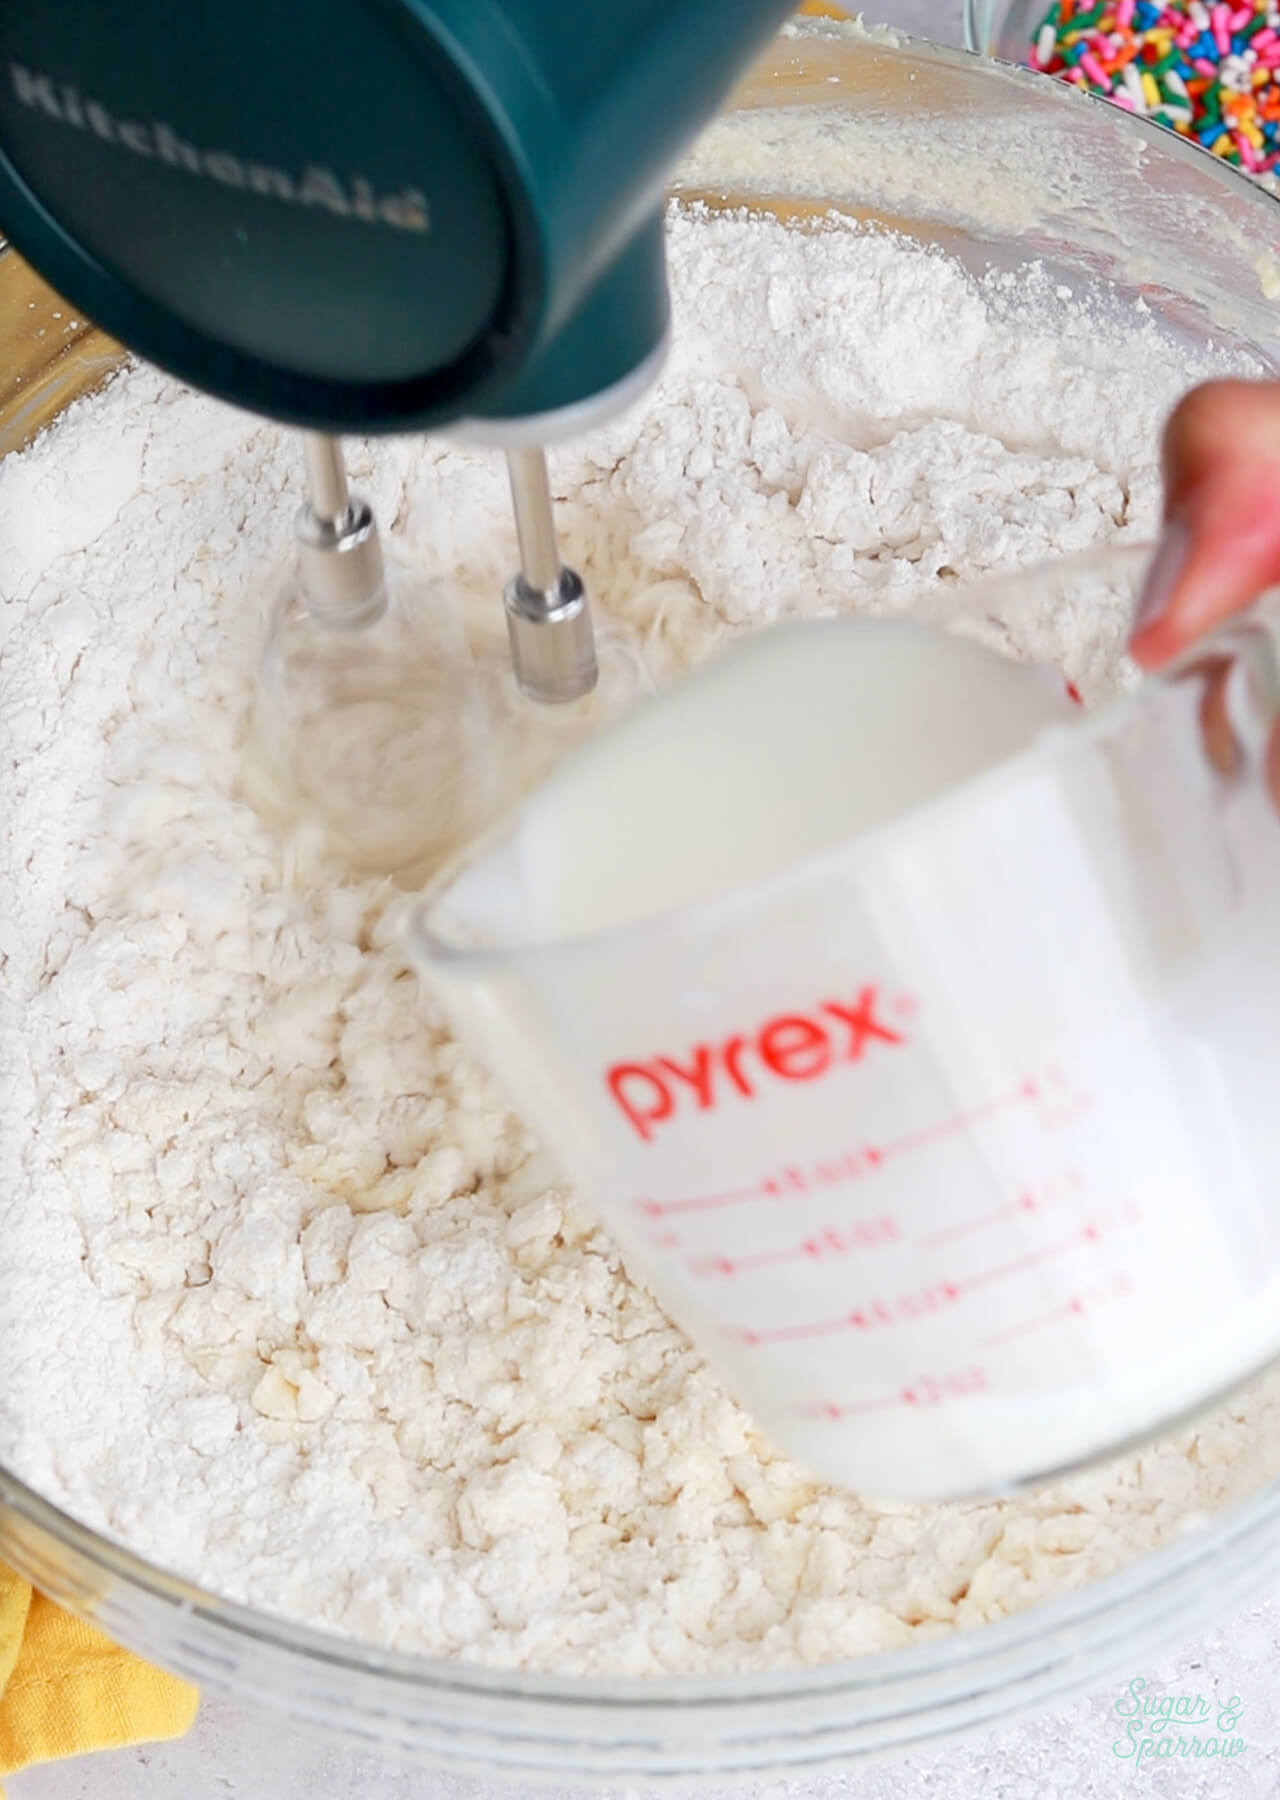
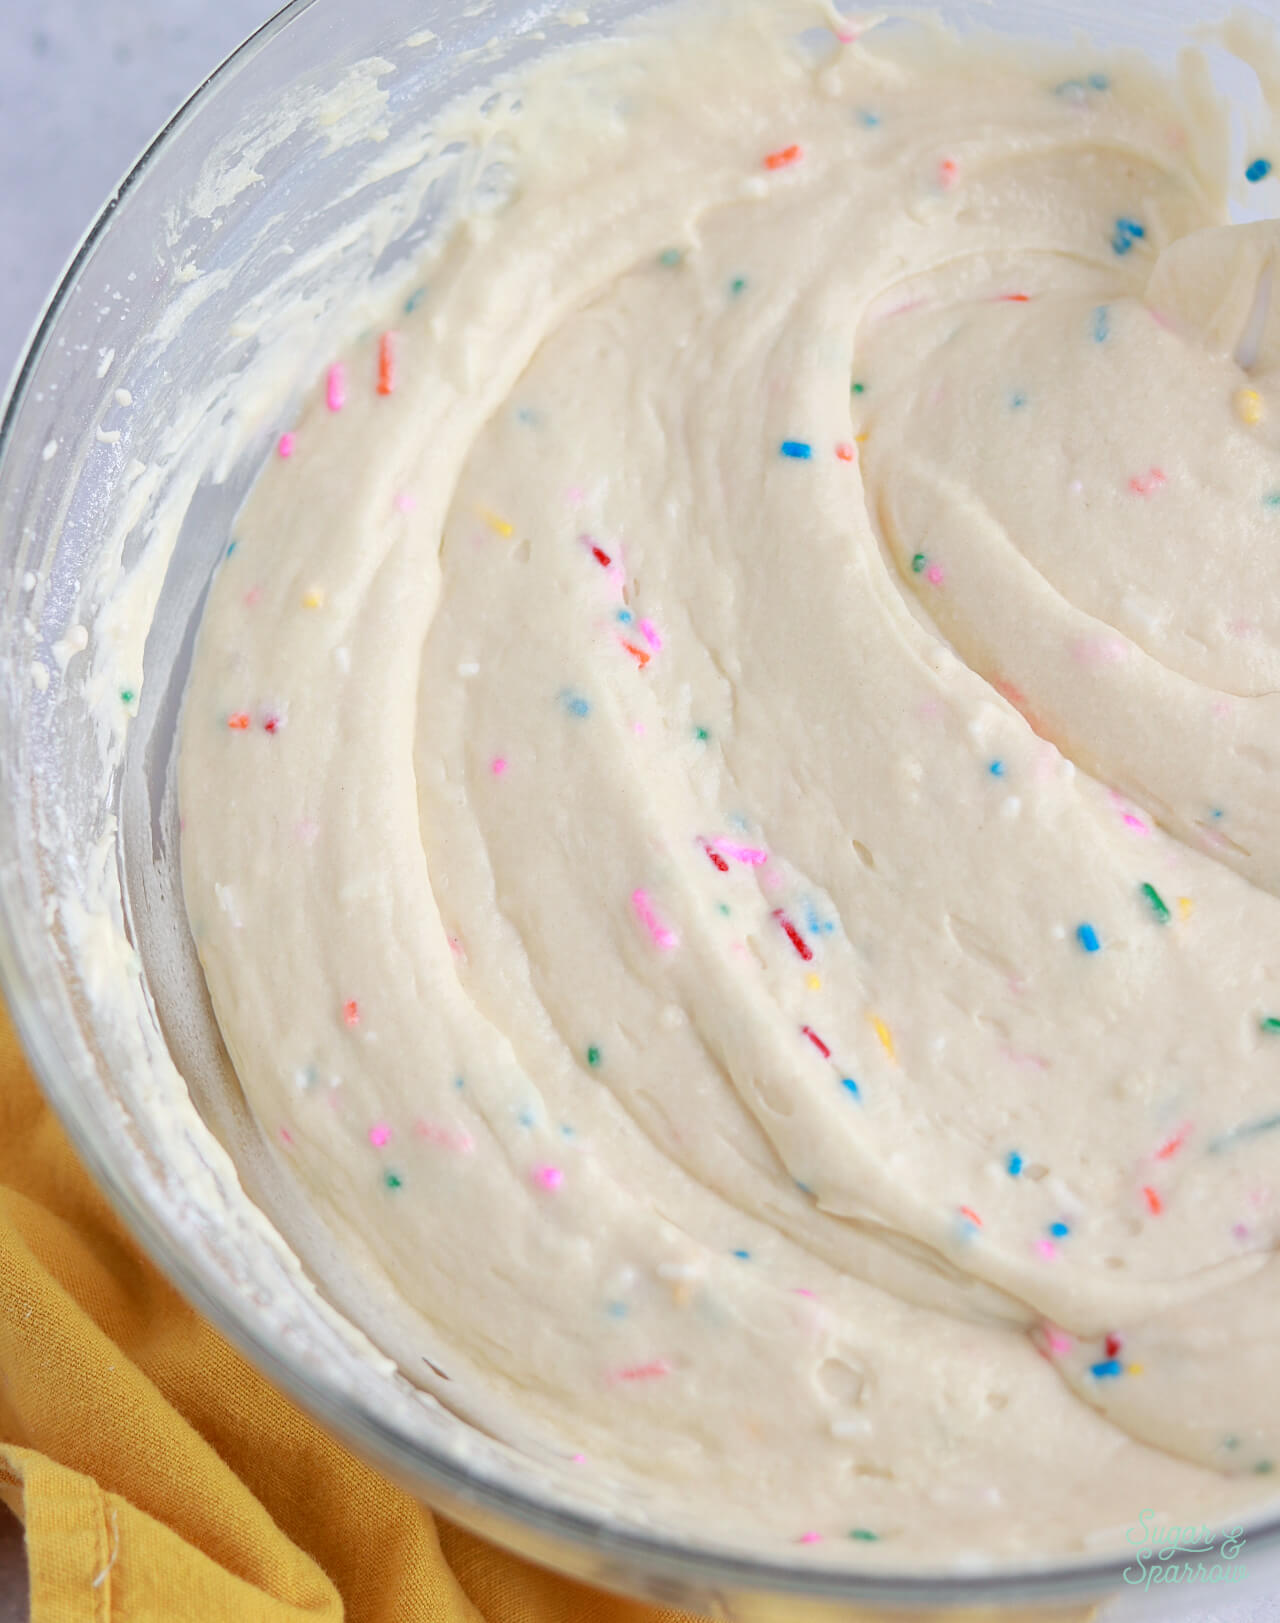
Step 6. Coat the rainbow sprinkles with a little flour (cake flour or all purpose flour), then gently fold them into your cake batter.
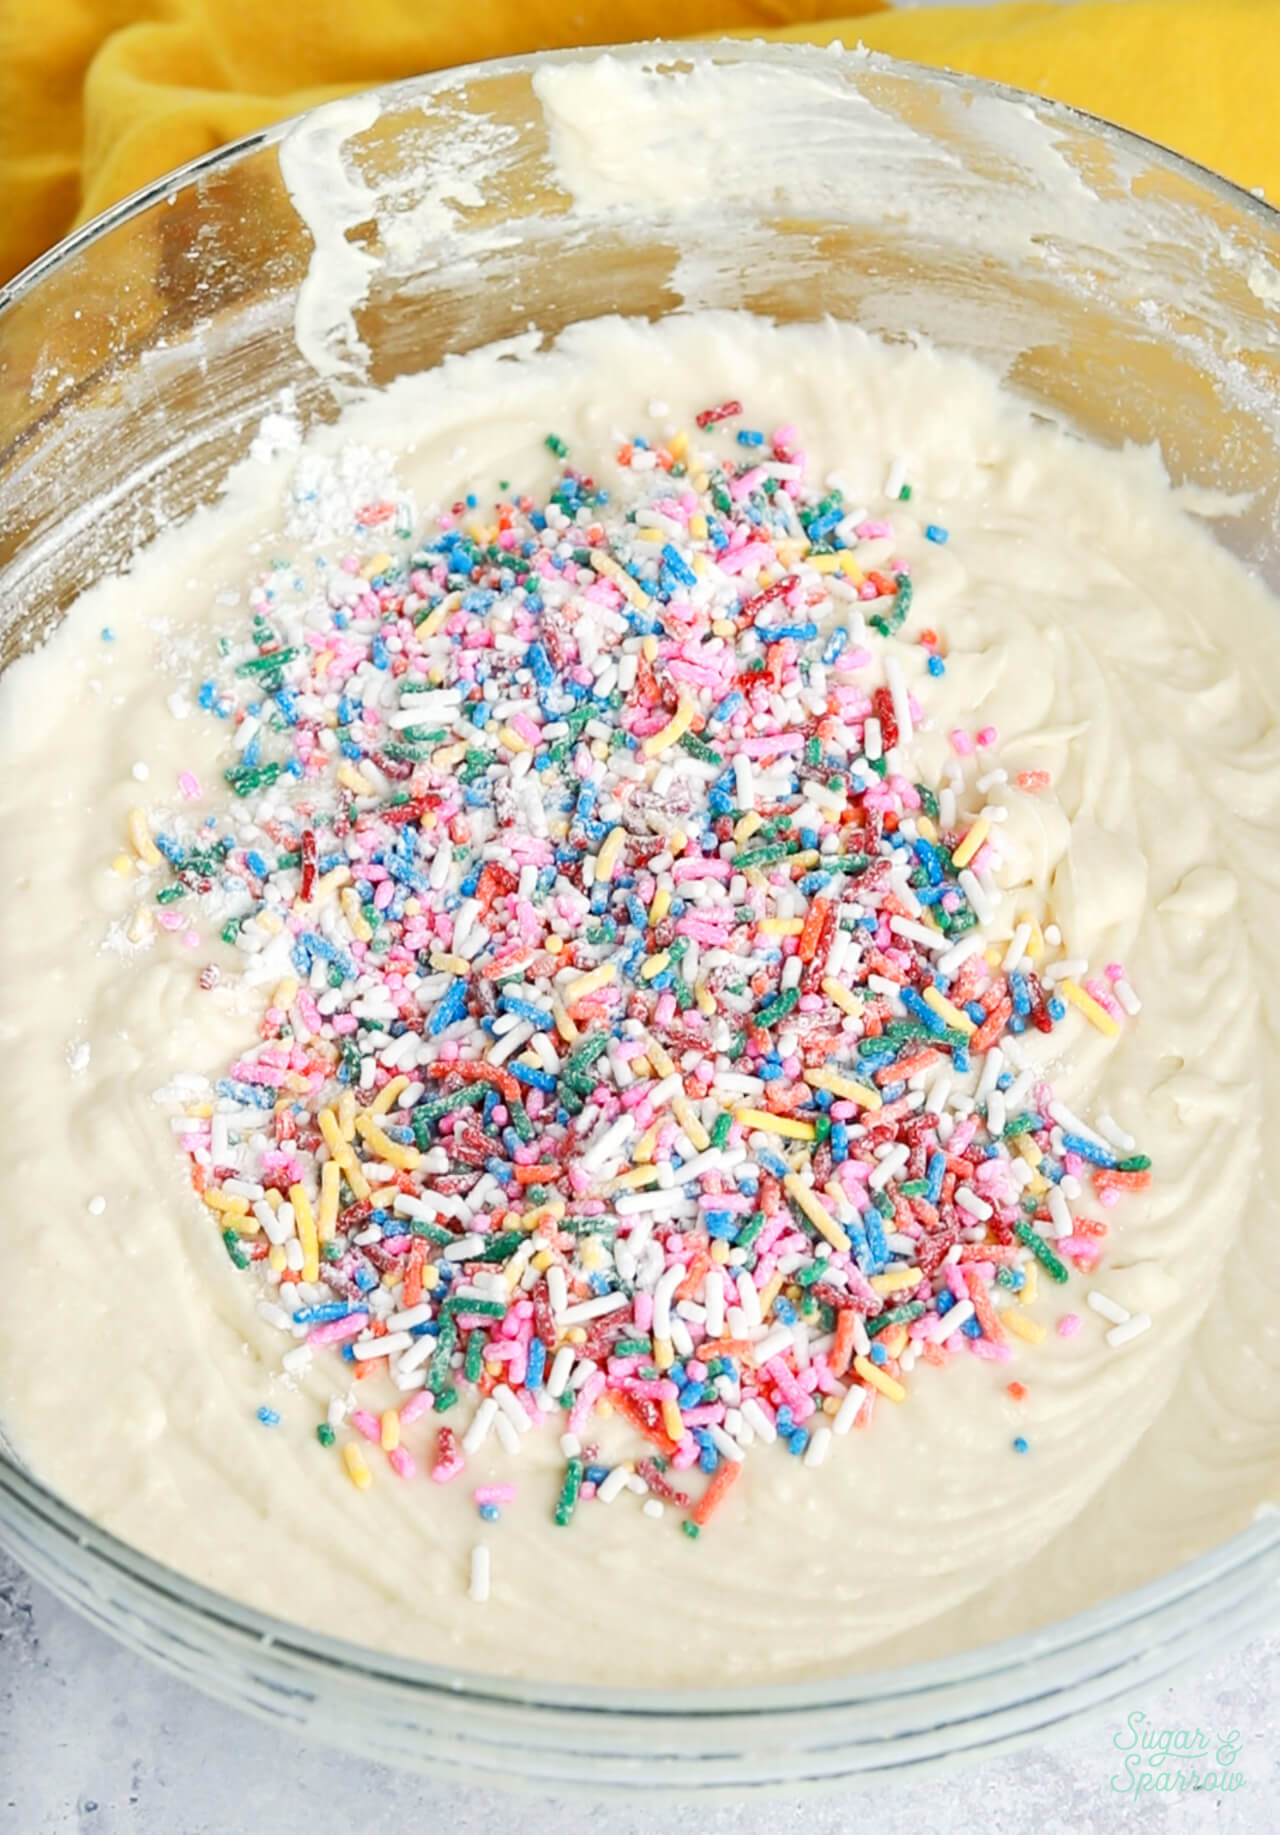
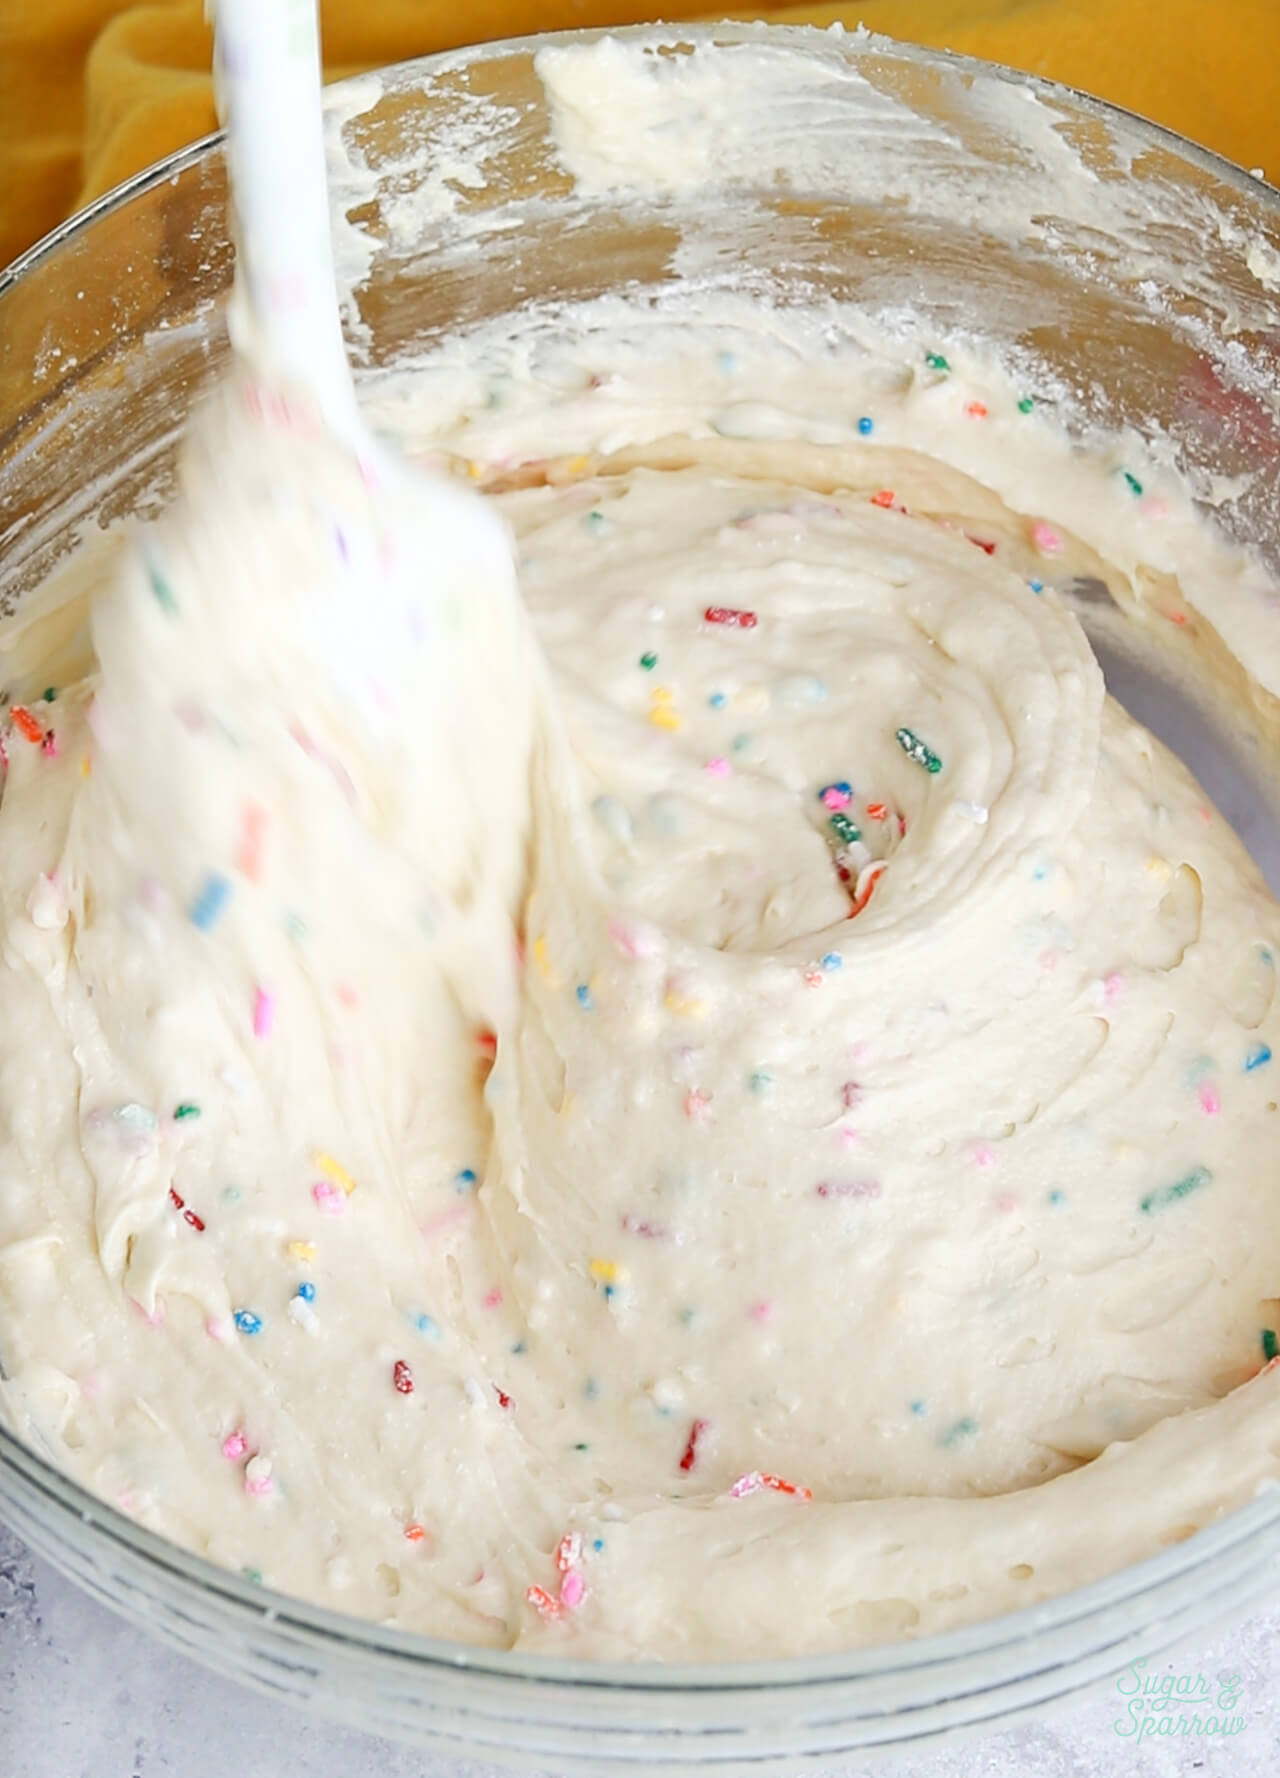
Step 7. Pour the batter into your prepared cake pans and bake for 30-35 minutes.
Step 8. Let the cake cool to room temperature, then make the buttercream frosting. I tinted my favorite vanilla buttercream recipe with a few drops of pink food color gel.
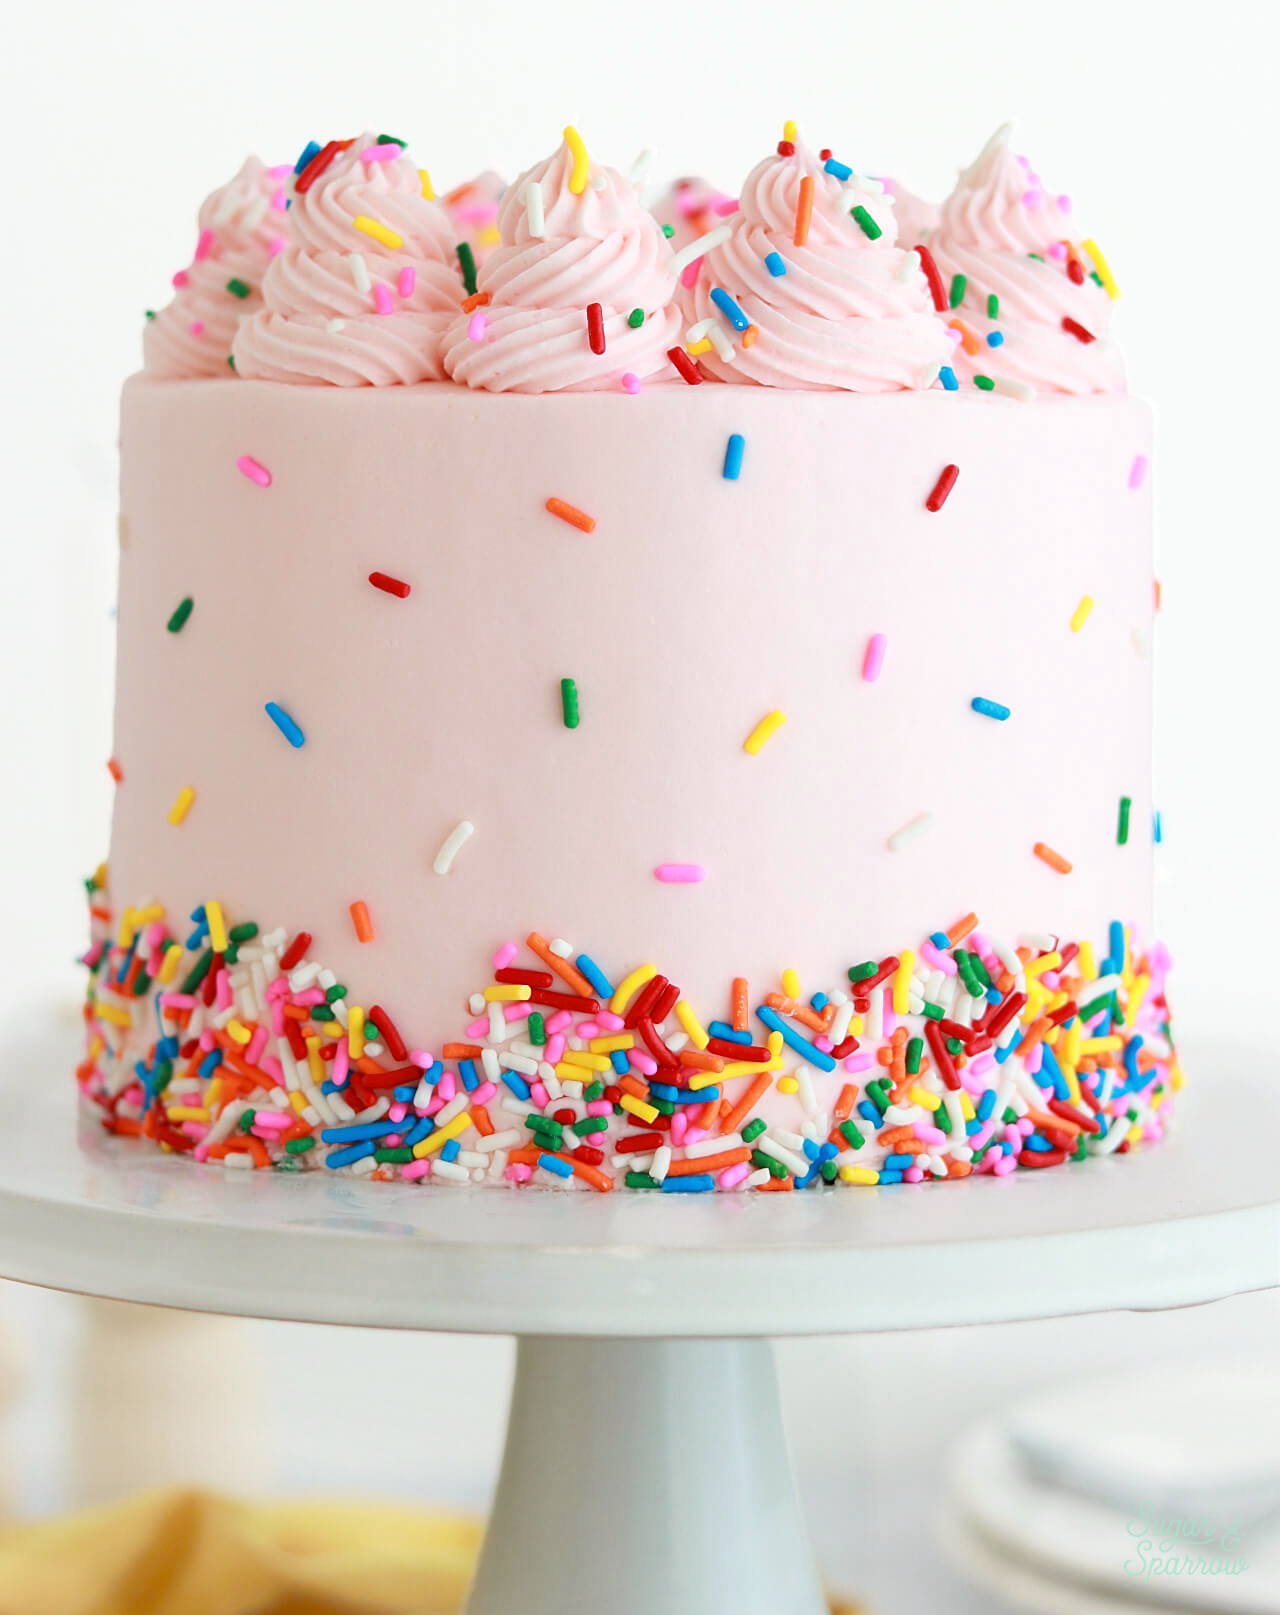
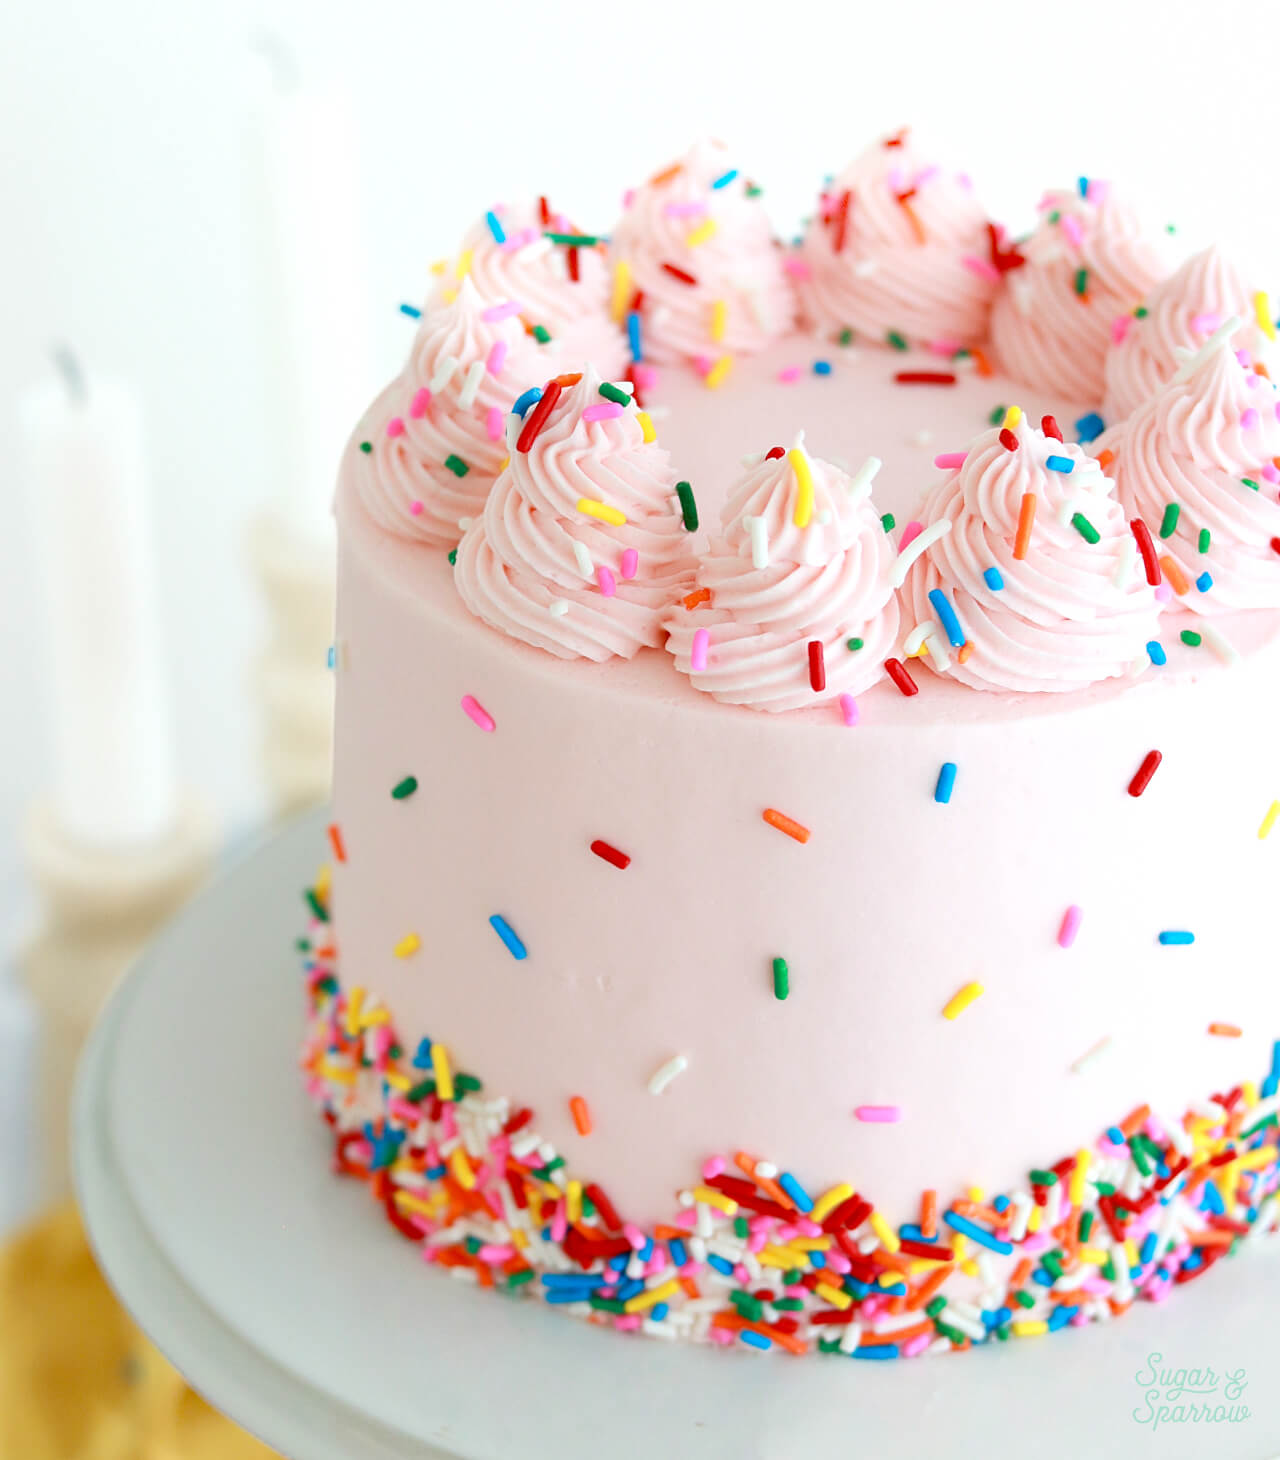
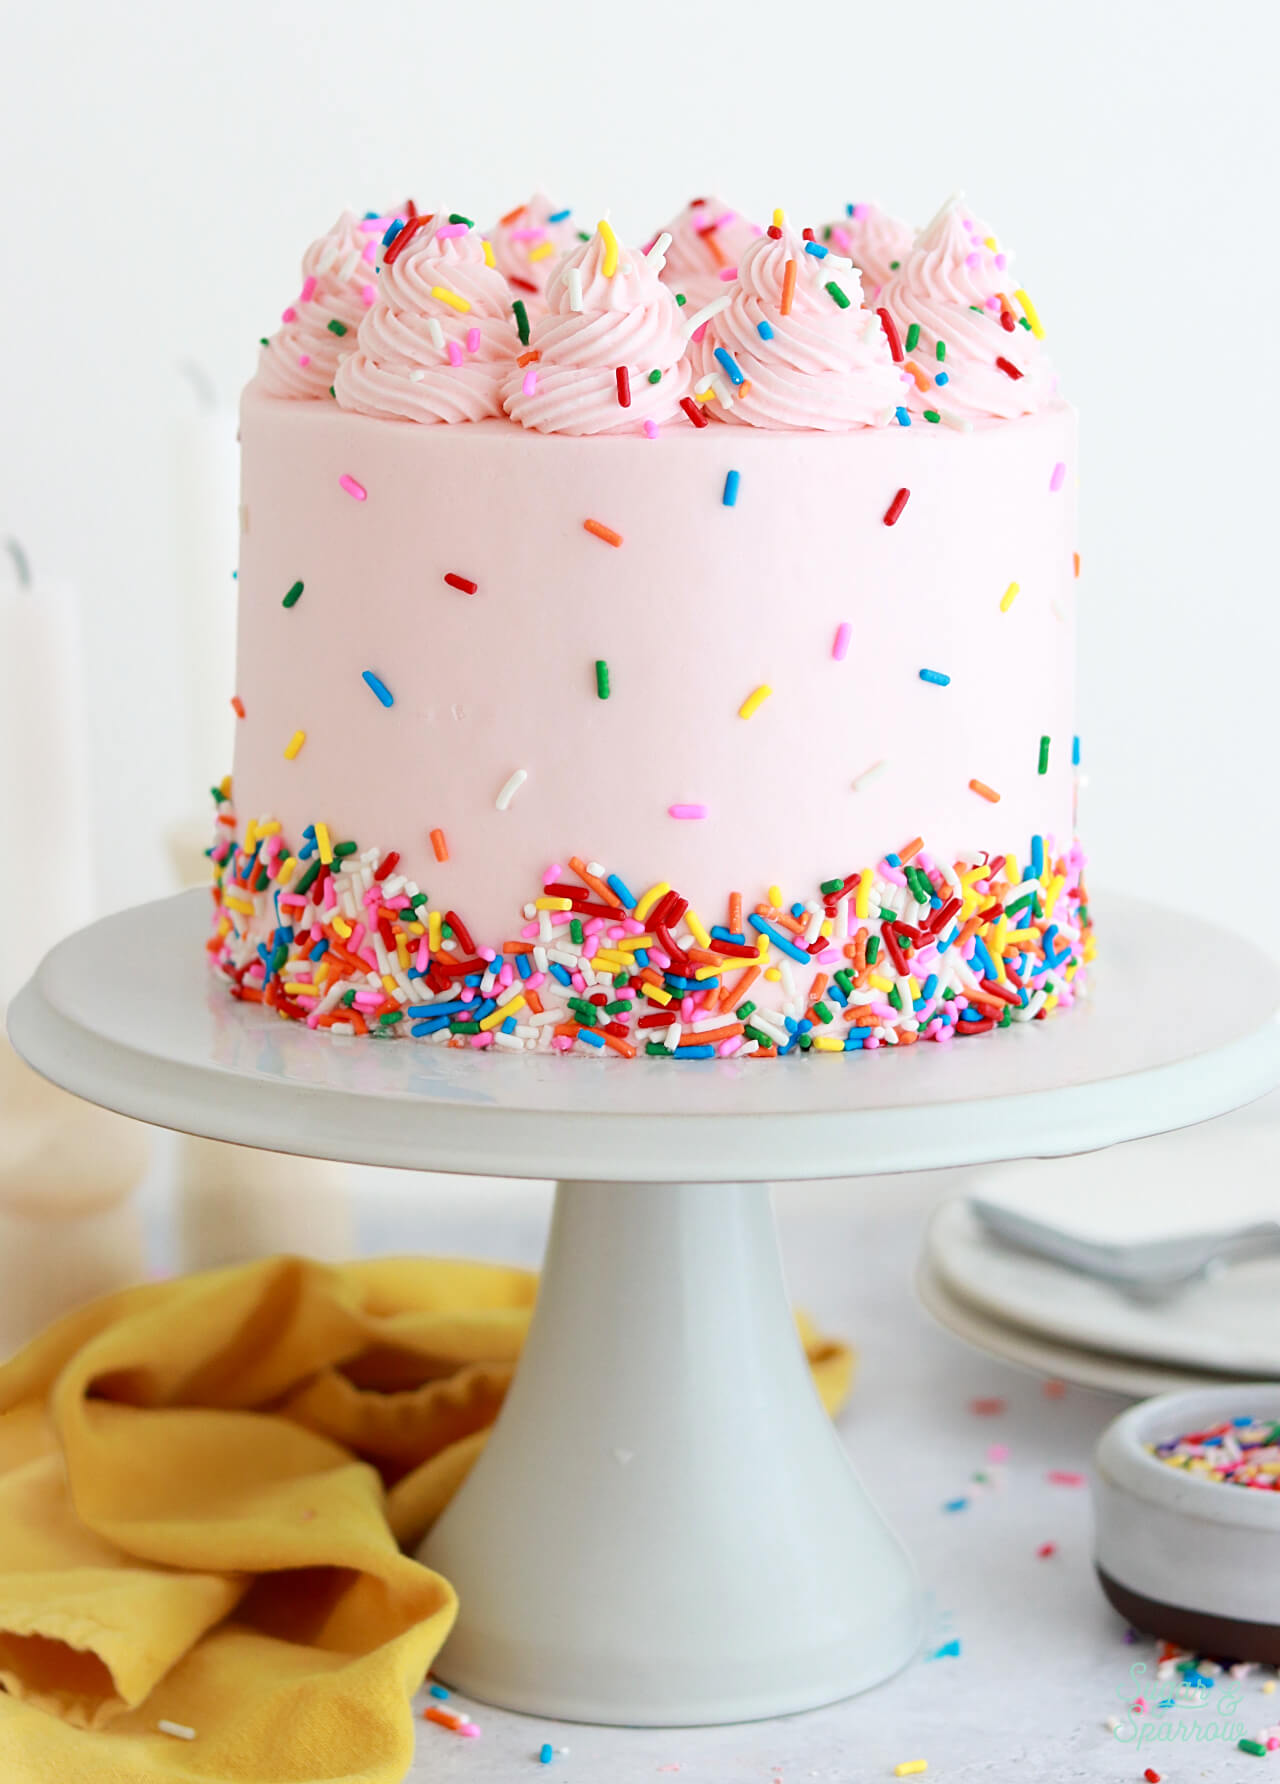
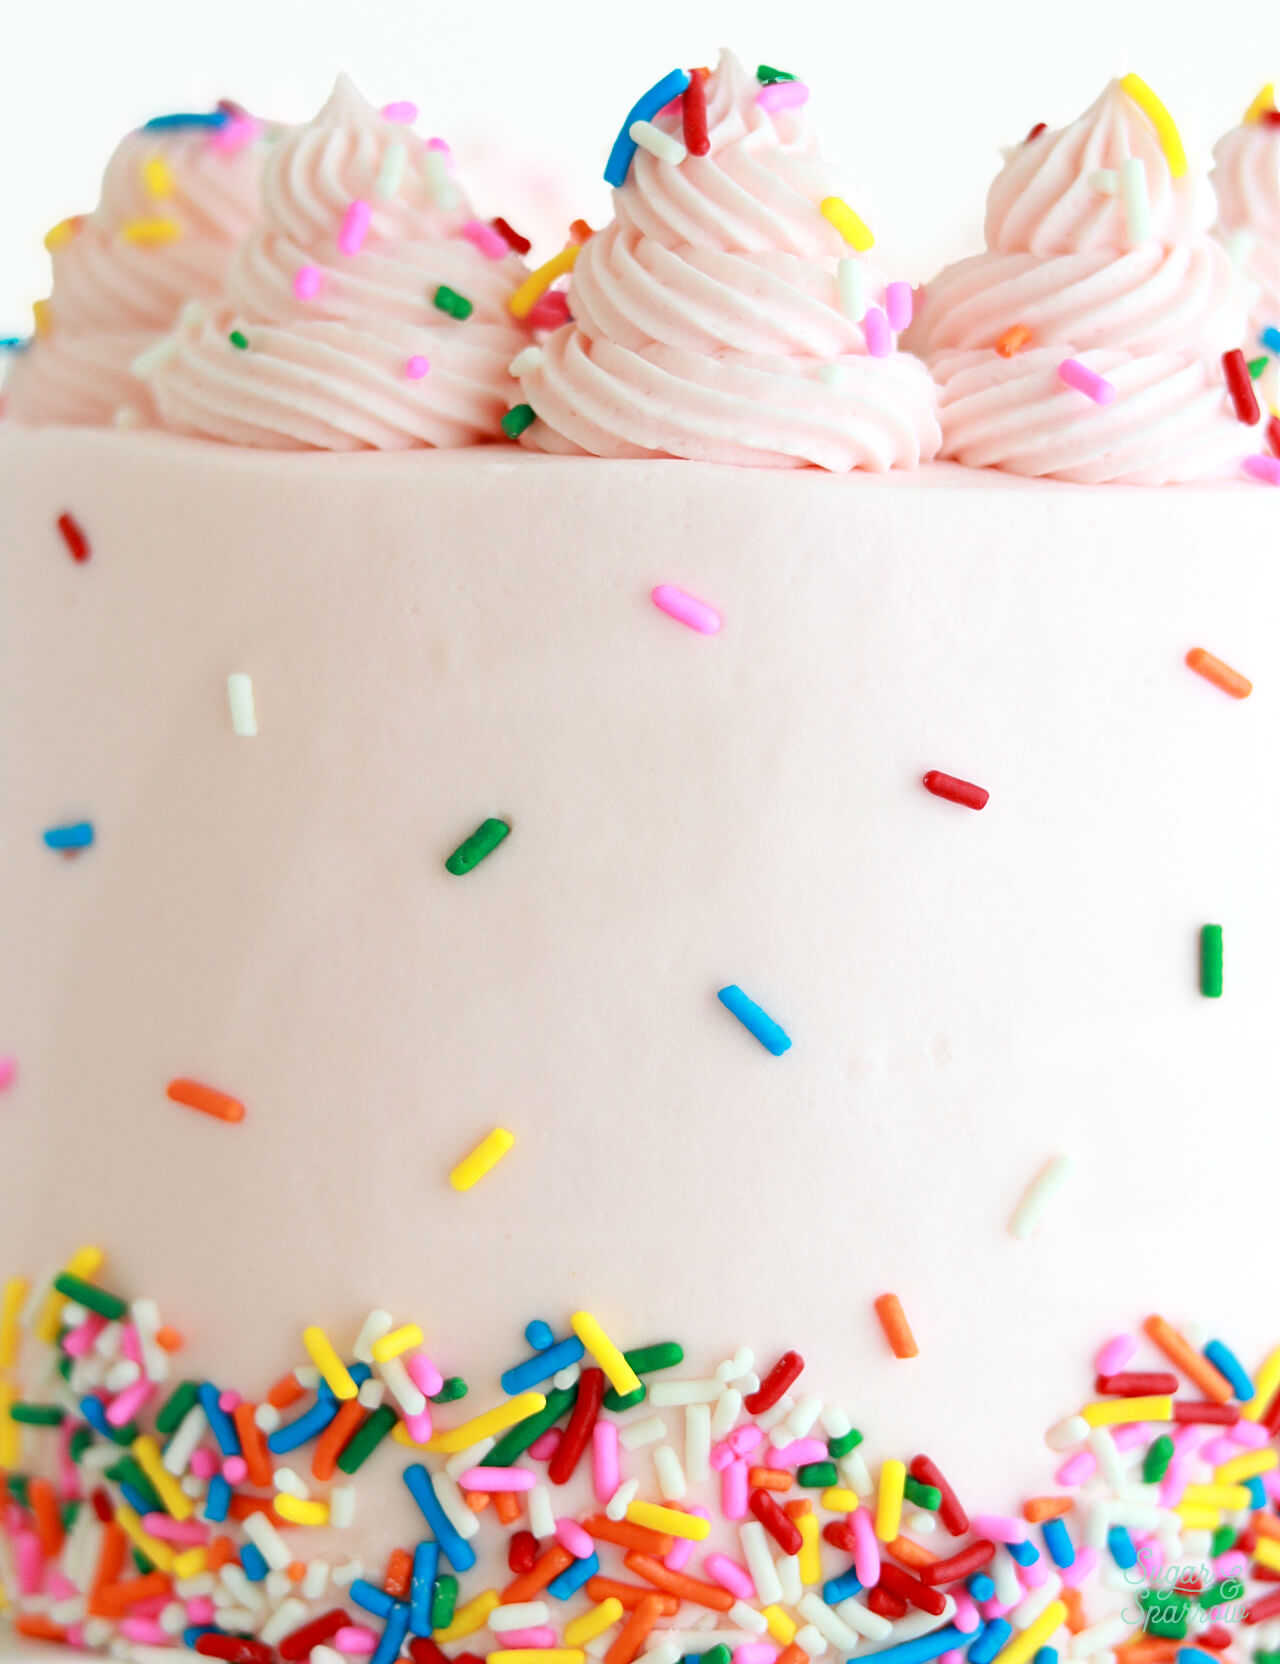
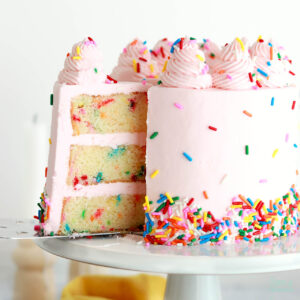
Step 9. Decorate the cake. I kept the design here simple by filling and frosting the cake with the vanilla buttercream, creating a smooth buttercream finish, and hand placing some rainbow sprinkles all around the sides of the cake. To finish the look, I used Wilton Tip 4B to pipe swirls of vanilla buttercream on top of the cake and added more rainbow sprinkles.
More Classic Party Cake Recipes You’ll Love
If you’re looking for more celebratory cake recipes, here are a handful of my go-to’s:
- Funfetti Sheet Cake
- Chocolate Sheet Cake
- Vanilla Sheet Cake
- Yellow Cake with Chocolate Frosting
- One-Bowl Chocolate Cake
Did you make this funfetti layer cake recipe? I want to know how it went! Feel free to rate it and post a comment below, or tag @sugarandsparrowco on Instagram to show me a photo. I love to see what you create with my recipes!
Funfetti Layer Cake
Ingredients
Funfetti Cake
- 2 1/2 Cups (265g) sifted cake flour* DIY recipe in notes
- 2 tsp baking powder
- 1/2 tsp baking soda
- 1 tsp salt
- 3/4 Cup (170g) unsalted butter, room temperature
- 1 3/4 Cups (340g) granulated white sugar
- 3 large eggs, room temperature
- 1/2 Cup (120g) sour cream, room temperature
- 1 Tbsp pure vanilla extract
- 1 Cup (240ml) whole milk, room temperature
- 1/3 Cup (60g) rainbow sprinkles**, coated in 1 tsp flour
Vanilla Buttercream
- 2 batches vanilla buttercream
Instructions
- Preheat the oven to 350°F. Prepare three 6-inch or two 8-inch cake pans by spraying the sides with baking spray (Baker's Joy is my favorite) and lining the bottom with parchment paper. Alternatively, you can grease and lightly flour the pans.
- In a medium bowl, add the sifted cake flour, baking powder, baking soda, and salt. Whisk to combine and set aside.
- In the bowl of your stand mixer fitted with the paddle attachment (or with a large bowl and handheld mixer), cream the butter and sugar until light and fluffy, about 4 minutes, scraping down the bowl and paddle once in between. Turn the mixer to low speed and add the eggs one at a time, mixing for about 10-15 seconds after each addition. Add the vanilla and sour cream, then mix for one minute on high speed. Scrape down the bowl and paddle.
- Turn the mixer off and add the dry ingredients all at once, then mix on low speed. When the ingredients just begin to incorporate, add the milk slowly and mix until just incorporated, about 30 seconds. Scrape down the sides and bottom of the bowl and give it a few stirs by hand to make sure there are no large lumps.
- In a small bowl, coat the rainbow sprinkles with 1 teaspoon of flour (cake flour or all purpose flour). Then, gently fold the flour-coated rainbow sprinkles into the cake batter with a silicone spatula. The batter will be slightly thick.
- Pour batter into prepared cake pans and bake for 30-35 minutes. They're done when they spring back to the touch and a toothpick inserted into the middle comes out clean. Let the cakes cool in the pan for five minutes before turning them out onto a wire rack for an additional few hours of cooling. Make sure they're entirely room temperature before filling and frosting with vanilla buttercream (or frosting of your choice).



Hi Whitney,
I have made your matcha cake and it was really lovely. I notice this recipe is exactly the same (without the sprinkles and the added matcha powder for the matcha flavour of course), but the sour cream is alot more in this recipe, is this correct? Will there be any difference if i used 112g sour cream instead of the 168g listed?
Any chance I can just use all purpose flour instead of cake flour? Having toddlers, I tend to like shortcuts! Lol. Really want to try this recipe!
Hi Jenny! So the reason I use cake flour in the recipe is that it produces a much fluffier cake than all-purpose flour. Fortunately, you can easily make your own cake flour to use in a pinch. To make your own cake flour, spoon and level one cup of all-purpose flour and remove 2 Tbsp. Add 2 Tbsp of cornstarch. Repeat per the amount of cake flour you need, then sift the flour and cornstarch mixture 4 times (don’t skip that step!). After sifting, spoon and level to re-measure the amount of cake flour you need.
Hope that helps!
Hey! I want to use this recipe to make an ombre cake with a dark, milk and white chocolate layer! Do you think it will work if I divide the batter in three and add a 1/2 cup of melted milk, dark, or white chocolate to each to obtain three different layers? or would that ruin the baking?
Hi Ali! I’ve never tried adding melted chocolate to the cake batter, so I can’t say whether or not it will work. You can certainly try it and let me know! Otherwise I’d recommend finding and following a recipe for a flavor ombre cake. Let me know what you end up doing!
Hi Mackenzie! Sorry to hear your jimmies sunk to the bottom of the cake. That doesn’t usually happen with the jimmies I use, but I did read a tip recently about preventing the sprinkles from sinking in a funfetti cake: add the sprinkles to a bowl and coat them with 1.5 tbsp of flour before gently folding them into the batter. You can use cake flour or all purpose flour for that part. Apparently it keeps them from sinking!
Do you have a go to butter cream recipe? I usually make either a whipped cream frosting, or a cream cheese frosting. But I think these would be too soft and the sprinkles would just get absorbed into them…..thoughts?
Hi Adriane! I do have a go-to buttercream recipe: https://www.sugarandsparrow.com/vanilla-buttercream-recipe
How did you get the sprinkles to attach to the sides of the cake in such a perfect pattern? Especially the upper part where they are sparse…did you toss them onto the frosting one at a time? And the bottom part where they are thicker…?
Hi Donna! To add sprinkles to the cake finish, I make sure the buttercream is still slightly wet for the sprinkles to adhere. I place them by the handful around the base of the cake, then place them one by one on the upper part of the cake by pressing the sprinkle onto my finger and touching it to the cake finish. Here’s a video of the process with a different cake, but the same technique: https://www.youtube.com/watch?v=1hWwaFvcYHY
Hi Whitney
So glad I stumbled across your blog, it’s amazing! I’m planning to make a 3 layer 6 inch cake using this recipe (minus the jimmies) and I’m wondering since I only have 2 tins if the third lot of batter can sit while the first 2 cakes are baking? If so, do I leave it at room temp or refrigerate it?
Thank you!
Hi Kirsten! Thanks so much for the kind words! The batter can definitely sit at room temperature while the first two layers are baking. Just cover the top of the mixing bowl with saran wrap and then when you’re ready to bake the third layer, give the batter a stir before pouring it into the tin.
What’s the best grocery store cake flour to buy? I have found unbleached cake flour..so many options.
Hi Cindy! I have only ever used Softasilk and Swans Down, which are both enriched bleached cake flours, but I am sure that unbleached is great! Sounds healthier 🙂
I’m making a three layer 10 inch cake for a birthday. Should I just double the recipe or do you have another suggestion?
Hi Kayla! Yes – I would double the recipe for a three layer 10-inch cake 🙂
Hi, what kind of food coloring did you use for this buttercream?
Hi Roxanne! I used Americolor food color gel in Lilac for this soft purple buttercream.
Thanks for the DIY tip on making your own cake flour!
No problem, Veronica! Hope you love the recipe!
Hi Julianna! I’m so sorry that’s happening! Usually when the cake is raw or gummy on the inside, it can mean two things: you need to bake it a few minutes longer (until a toothpick inserted comes out completely clean), or something went wrong while creaming the butter and sugar together. Make sure your butter is room temp and soft before starting the creaming process, and try creaming the butter and sugar on medium-high (instead of full blast) for only two minutes. I hear that creaming for too long can lead to too much air incorporation, leading to gummy streaks inside the cake even though its baked.
Hi
Just wondering if you can tell me what 1 cup is equalavent to in grams?
Would appreciate this very much
Thanks
Hi Diana! Knowing the weight of 1 cup in grams depends on the ingredient (1 cup of cake flour will weigh less in grams than sugar, for instance). I just bought my first kitchen scale and am currently working on converting all of my recipes to grams this week! I’ll make an announcement as soon as they’ve all been converted. Sorry for any inconvenience and make sure you’re signed up for my email list to catch the announcement first thing!
Hi Whitney! I am making a 4 layer 8″ cake for halloween and I wanted to ask if this recipe is ok for 2 8″ pans? Or should I stick with the basic recipe that you have for your vanilla cake? Thank you!
Hi Jasmine! This funfetti recipe will make enough for two 8″ layers (plus a little left over). If you want to be more exact, you could double the basic vanilla cake recipe to make four 8 inch layers and fold in 1 cup of rainbow sprinkles total at the end. The funfetti cake is my basic vanilla cake recipe with added sprinkles 🙂 I hope your Halloween cake turns out amazing!
Had prepared the vanilla cake recipe already and my daughter just asked for fun funfetti. I love this blog!
Yay, Emily! Hope your daughter loves this cake!
sour cream? can i use diy buttermilk?
Hi Aya! I have never substituted anything for the sour cream before. My hunch is that buttercream will be too much liquid since sour cream is more the consistency of yogurt. If you don’t have access to sour cream, I’d recommend substituting it for a full fat yogurt or omitting the sour cream and using buttermilk in place of the whole milk instead. Let me know if that helps!