• Cake
  • Frosting
  • YouTube
  • My Favorite Tools
  • Nav Social Icons

  • Skip to primary navigation
  • Skip to main content
  • Skip to primary sidebar
  • Skip to footer
  • Recipes
    • Cake
    • Cupcakes
    • Frosting
    • Ice Cream
    • Vegan
  • Cake Basics
  • Tutorials
  • Blog
  • About
  • Mobile Menu Widgets

    Connect

    Search

Sugar & Sparrow logo in script font

Sugar & Sparrow

Lifestyle and Cake from Portland Oregon

  • Cake Basics
  • Recipes
    • Cake
    • Cupcakes
    • Cookies & Bars
    • Filling
    • Frosting
    • Ice Cream
    • No-Bake
    • Small Batch
    • Vegan
  • Tutorials
  • Book
  • Blog
  • About

Funfetti Layer Cake Recipe

July 30, 2018 · In: Cake, Featured, Recipes

Jump to Recipe

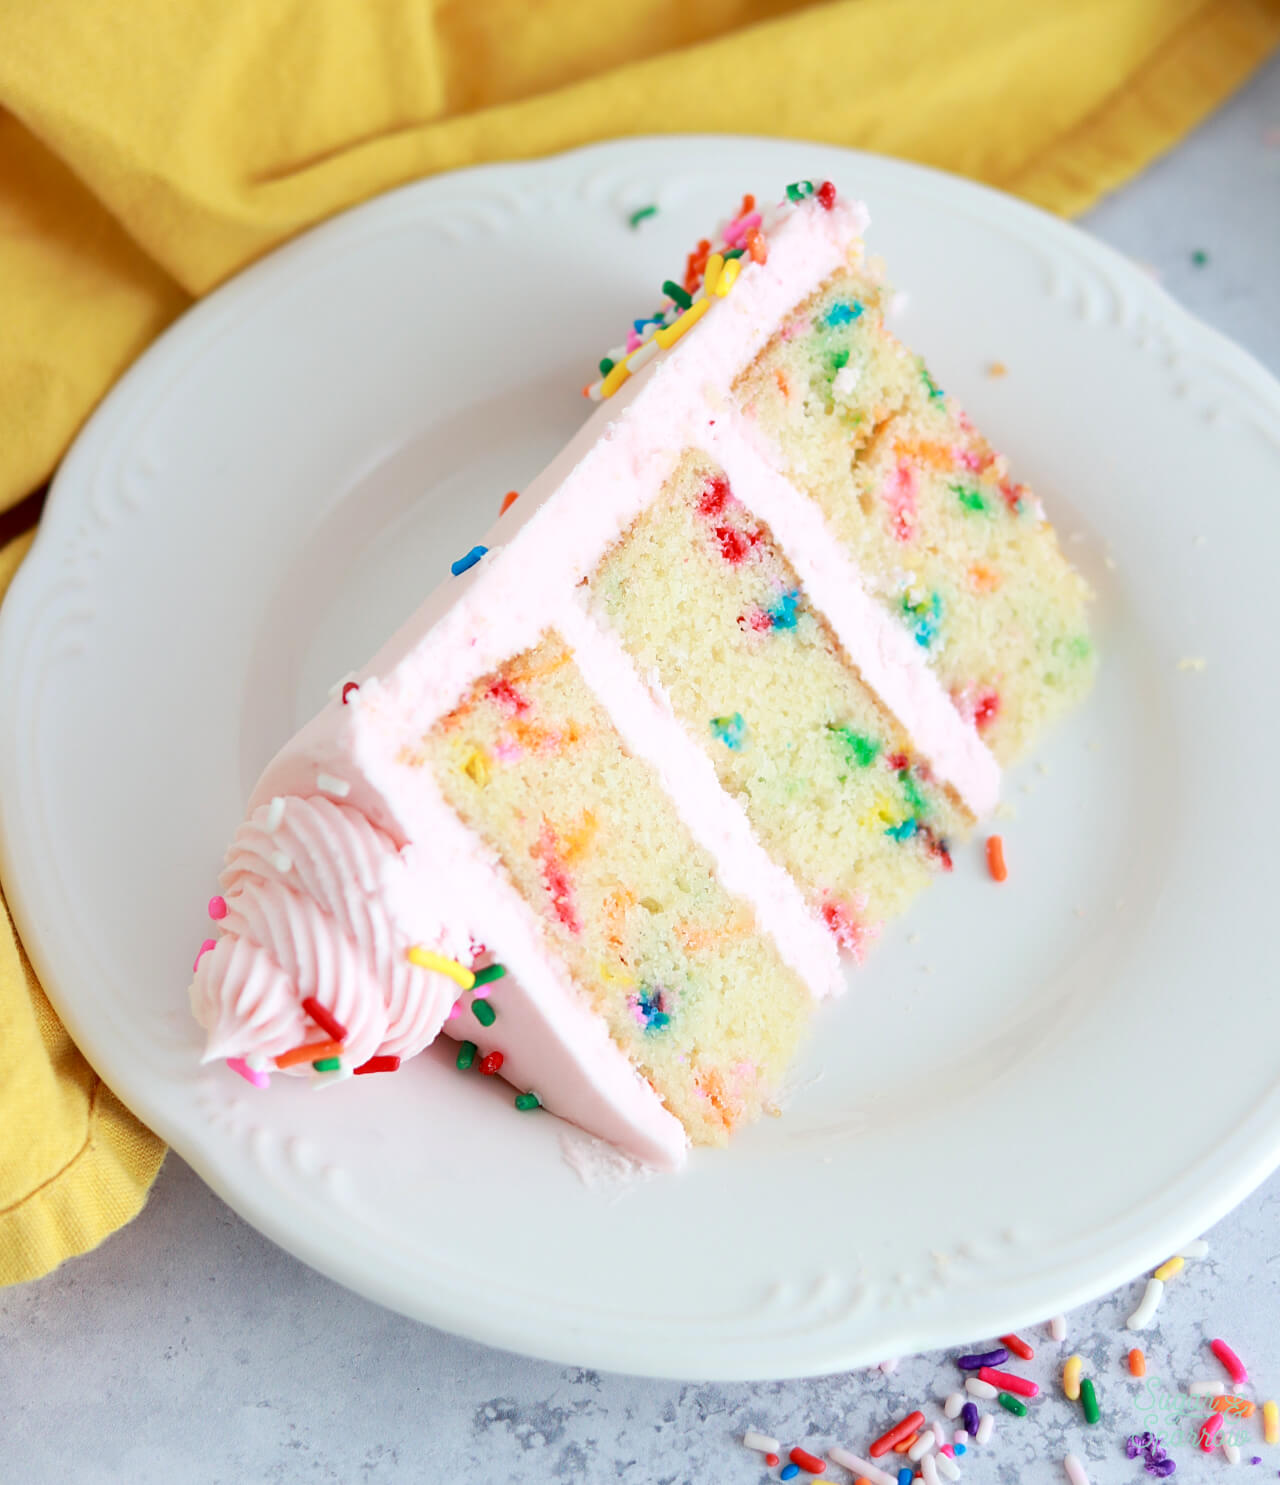
Funfetti is undoubtedly the most celebratory cake flavor of all, and this funfetti layer cake is the ultimate party cake! Originally published in 2018 (then ultra re-tested and updated in 2025), this recipe features layers of soft and moist vanilla cake with the ideal amount of rainbow sprinkles baked inside. Filled and frosted with a double batch of my favorite vanilla buttercream and decorated with plenty of colorful sprinkles, it’s perfect for celebrating anything and always a crowd favorite.
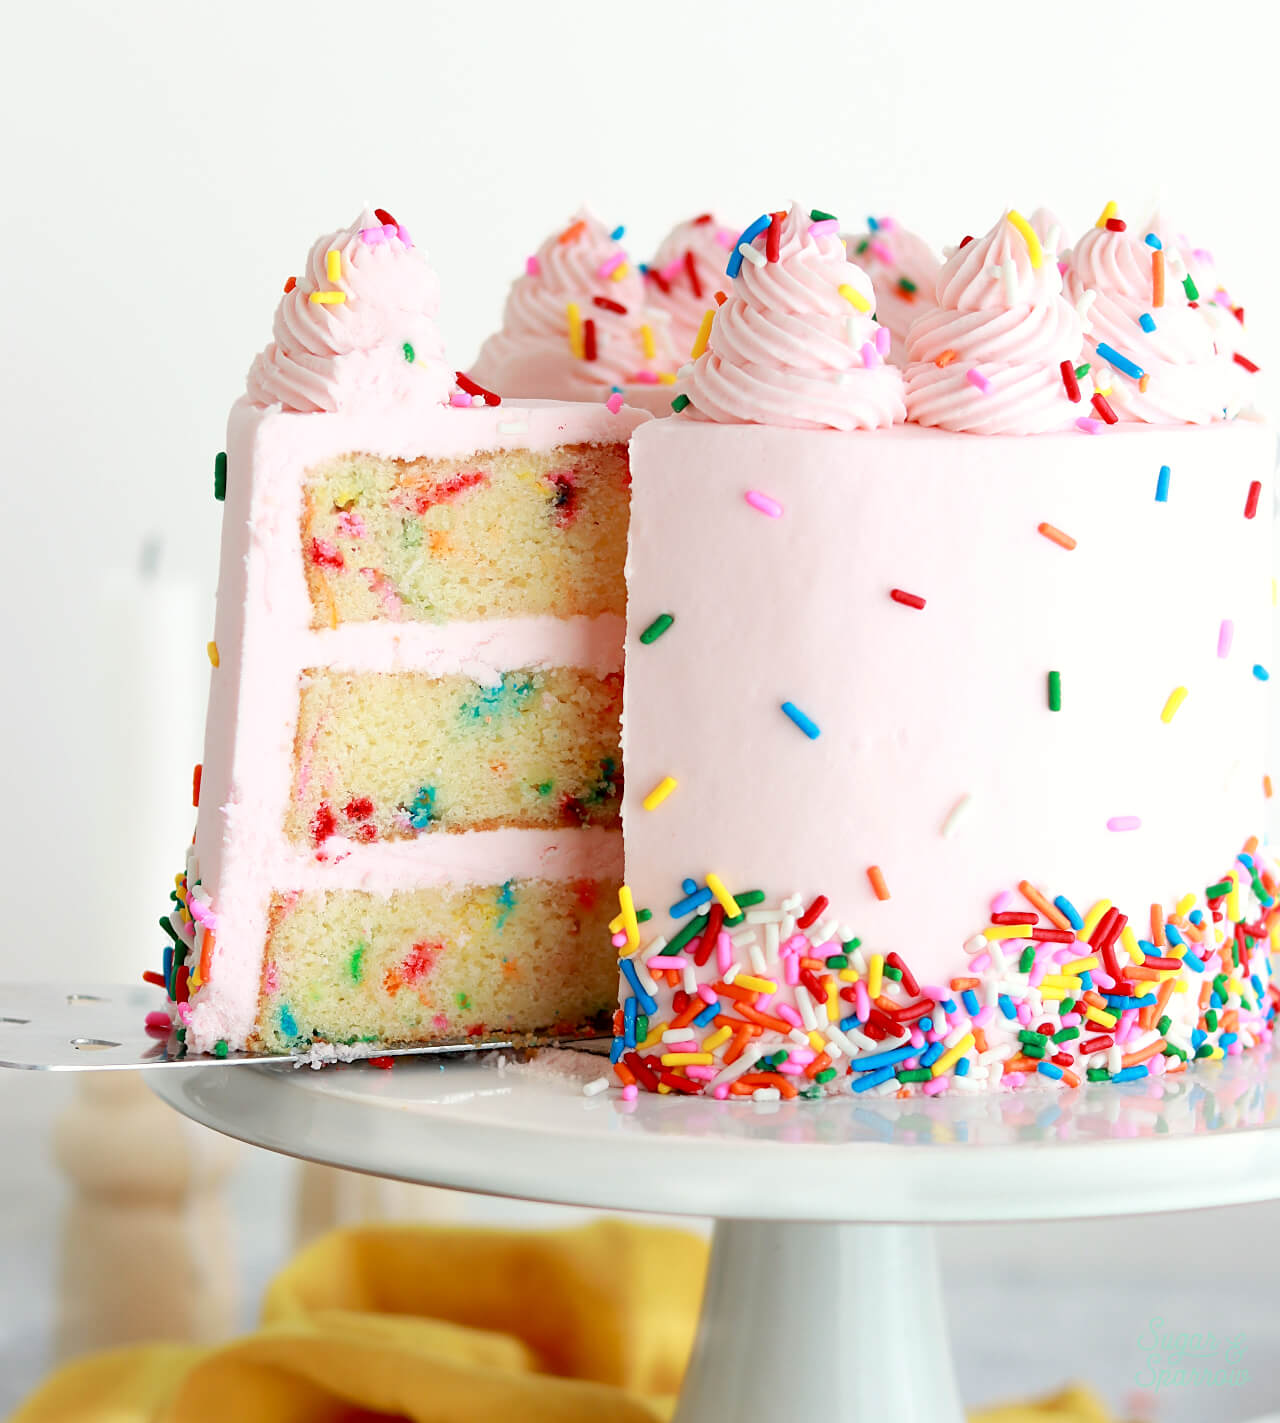
funfetti layer cake recipe by sugar and sparrow
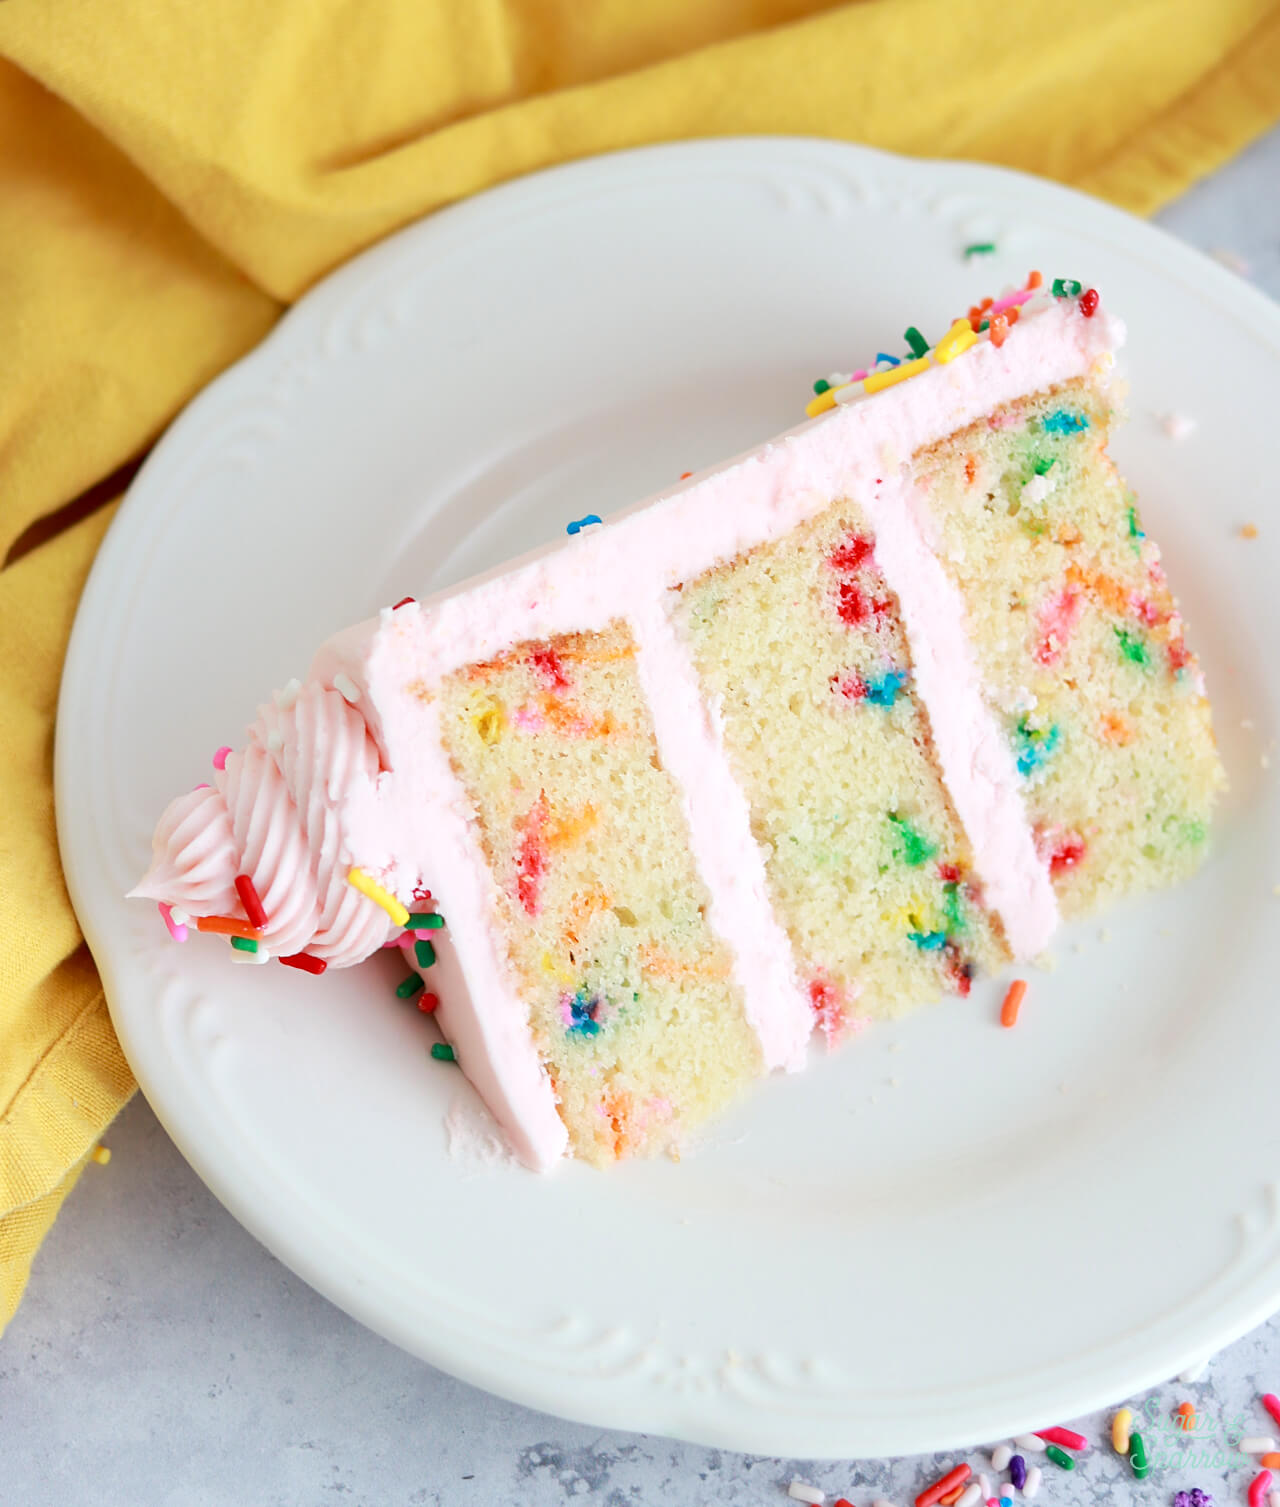
slice of homemade funfetti cake on a plate

Why You’ll Love This Funfetti Cake 

There’s so much to love about this funfetti cake recipe, but here are the first few things that come to mind: 

  • Extra moist and fluffy. This recipe uses cake flour for a super soft crumb (it’s ultra-fine and has the lowest protein content of all the flours) and if you’ve never heard of it or can’t find it locally I have this homemade version you can use to obtain similar results. The perfect amount of moisture comes from the fat content in this recipe. Mostly the use of butter for richness, plus the addition of sour cream and whole milk. 
  • Amazing vanilla flavor. I use an entire Tablespoon of vanilla extract in this recipe for a powerful vanilla flavor, but I also love this recipe with a little almond extract. If that’s you too, you can sub one teaspoon of the vanilla for almond extract and get that little hit of almond to make the flavor more complex.  
  • Perfectly Suspended Rainbow Sprinkles. No sinking sprinkles in this recipe! They stay perfectly suspended all throughout the baking process so you get the prettiest slices. 
  • Everyone’s Favorite Flavor. Okay maybe not everyone, but almost everyone loves a funfetti cake. It’s nostalgic and childlike, but so fun to eat at any age. I truly think it’s the most celebratory cake flavor of all!
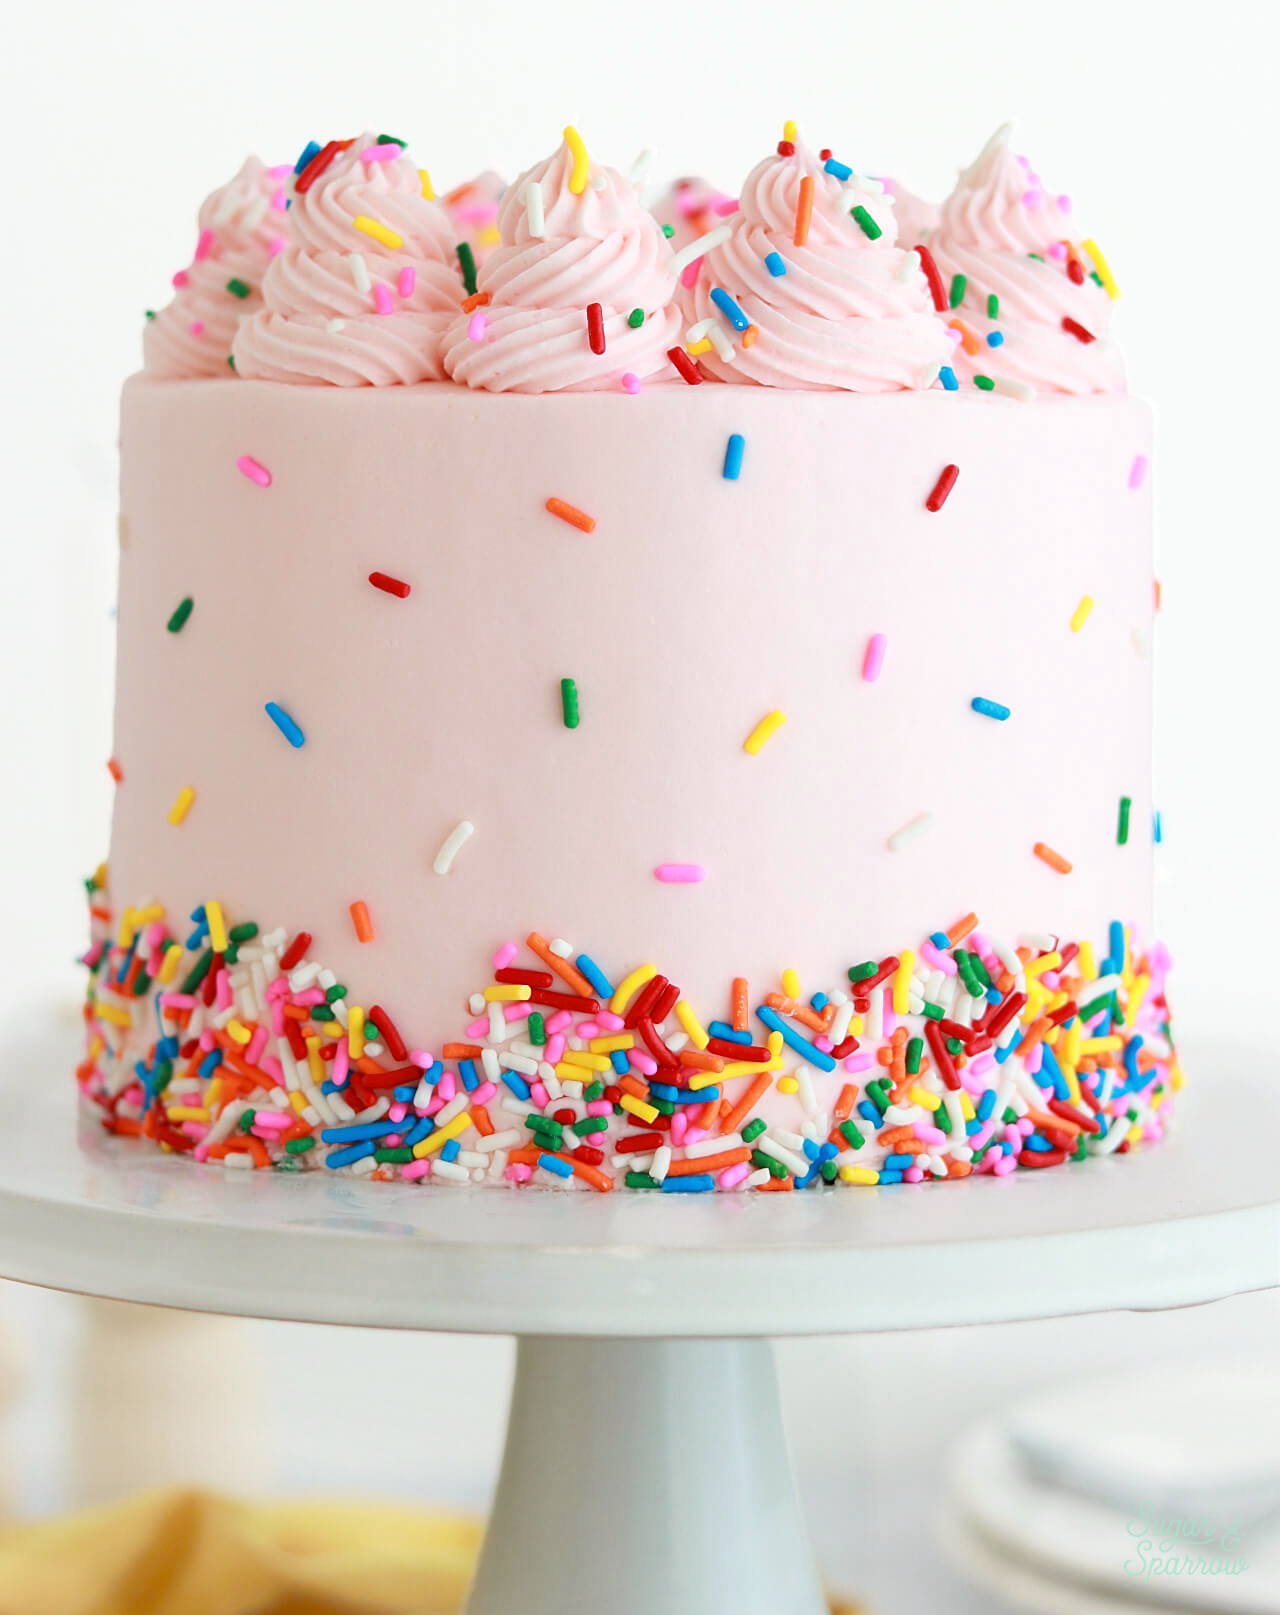
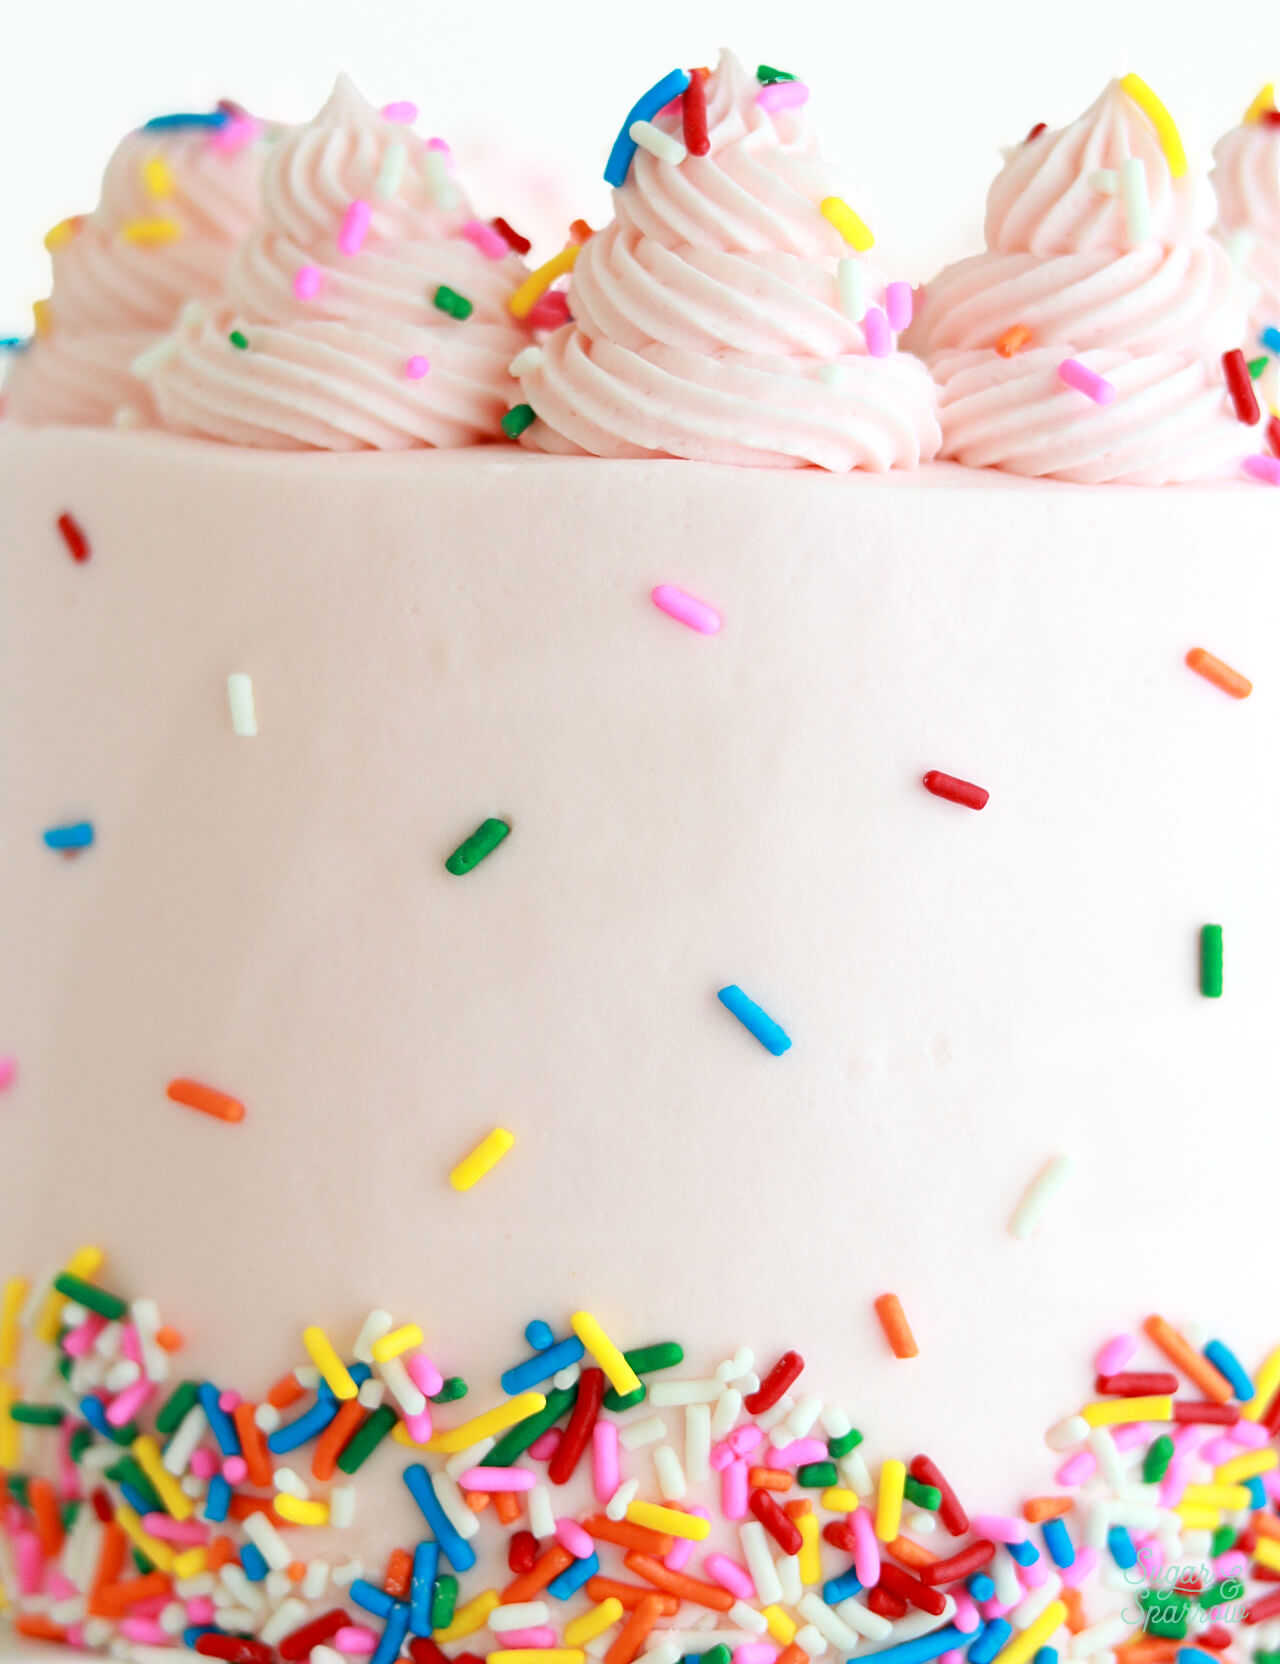
funfetti cake with pink vanilla buttercream and rainbow sprinkles

The Best Kind of Sprinkles for Funfetti Cake

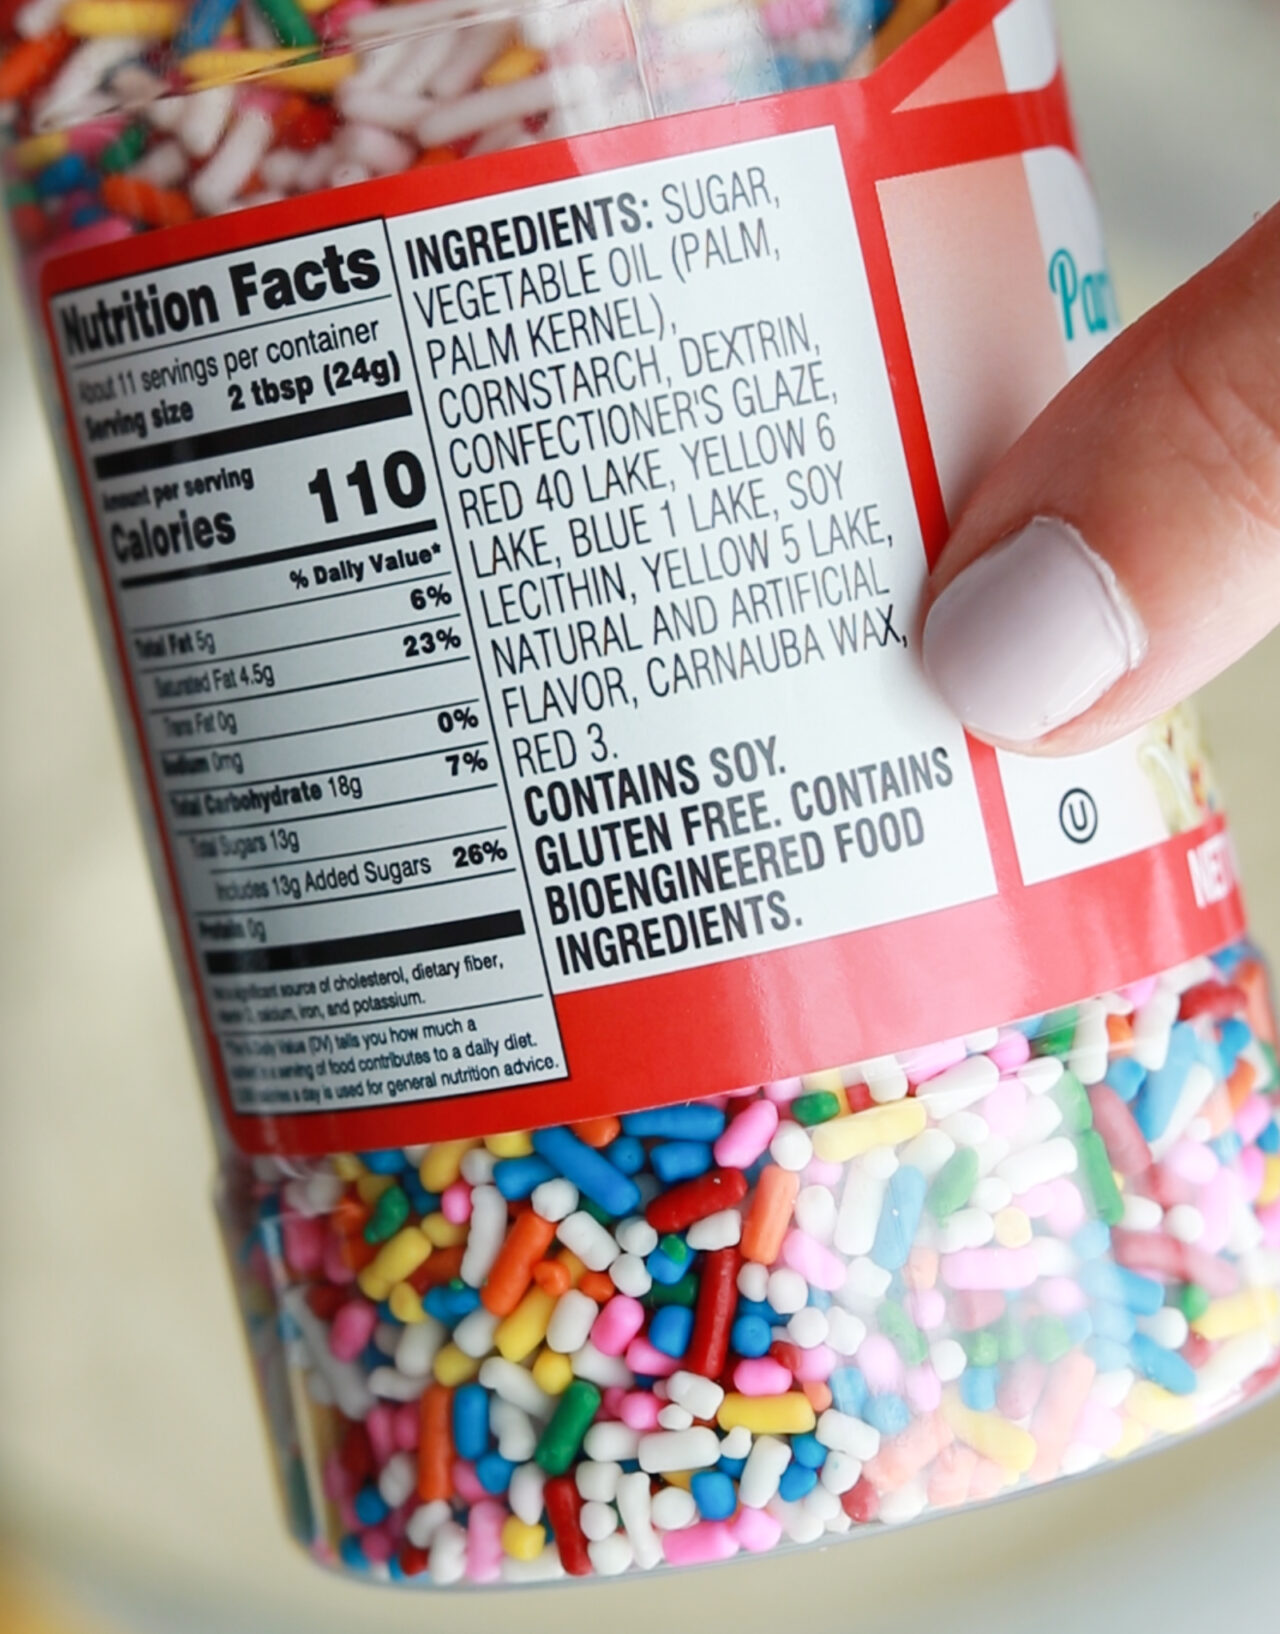
To get the prettiest funfetti cake slices, you have to use the right kind of sprinkles. Otherwise, your sprinkles might bleed color into the batter or disintegrate in the baking process. In my experience, the best kind of sprinkles have been the elongated rainbow sprinkles (aka jimmies) that have carnauba wax and confectioner’s glaze in the ingredients list. Those two coatings help prevent the sprinkles from streaking your batter with color. 
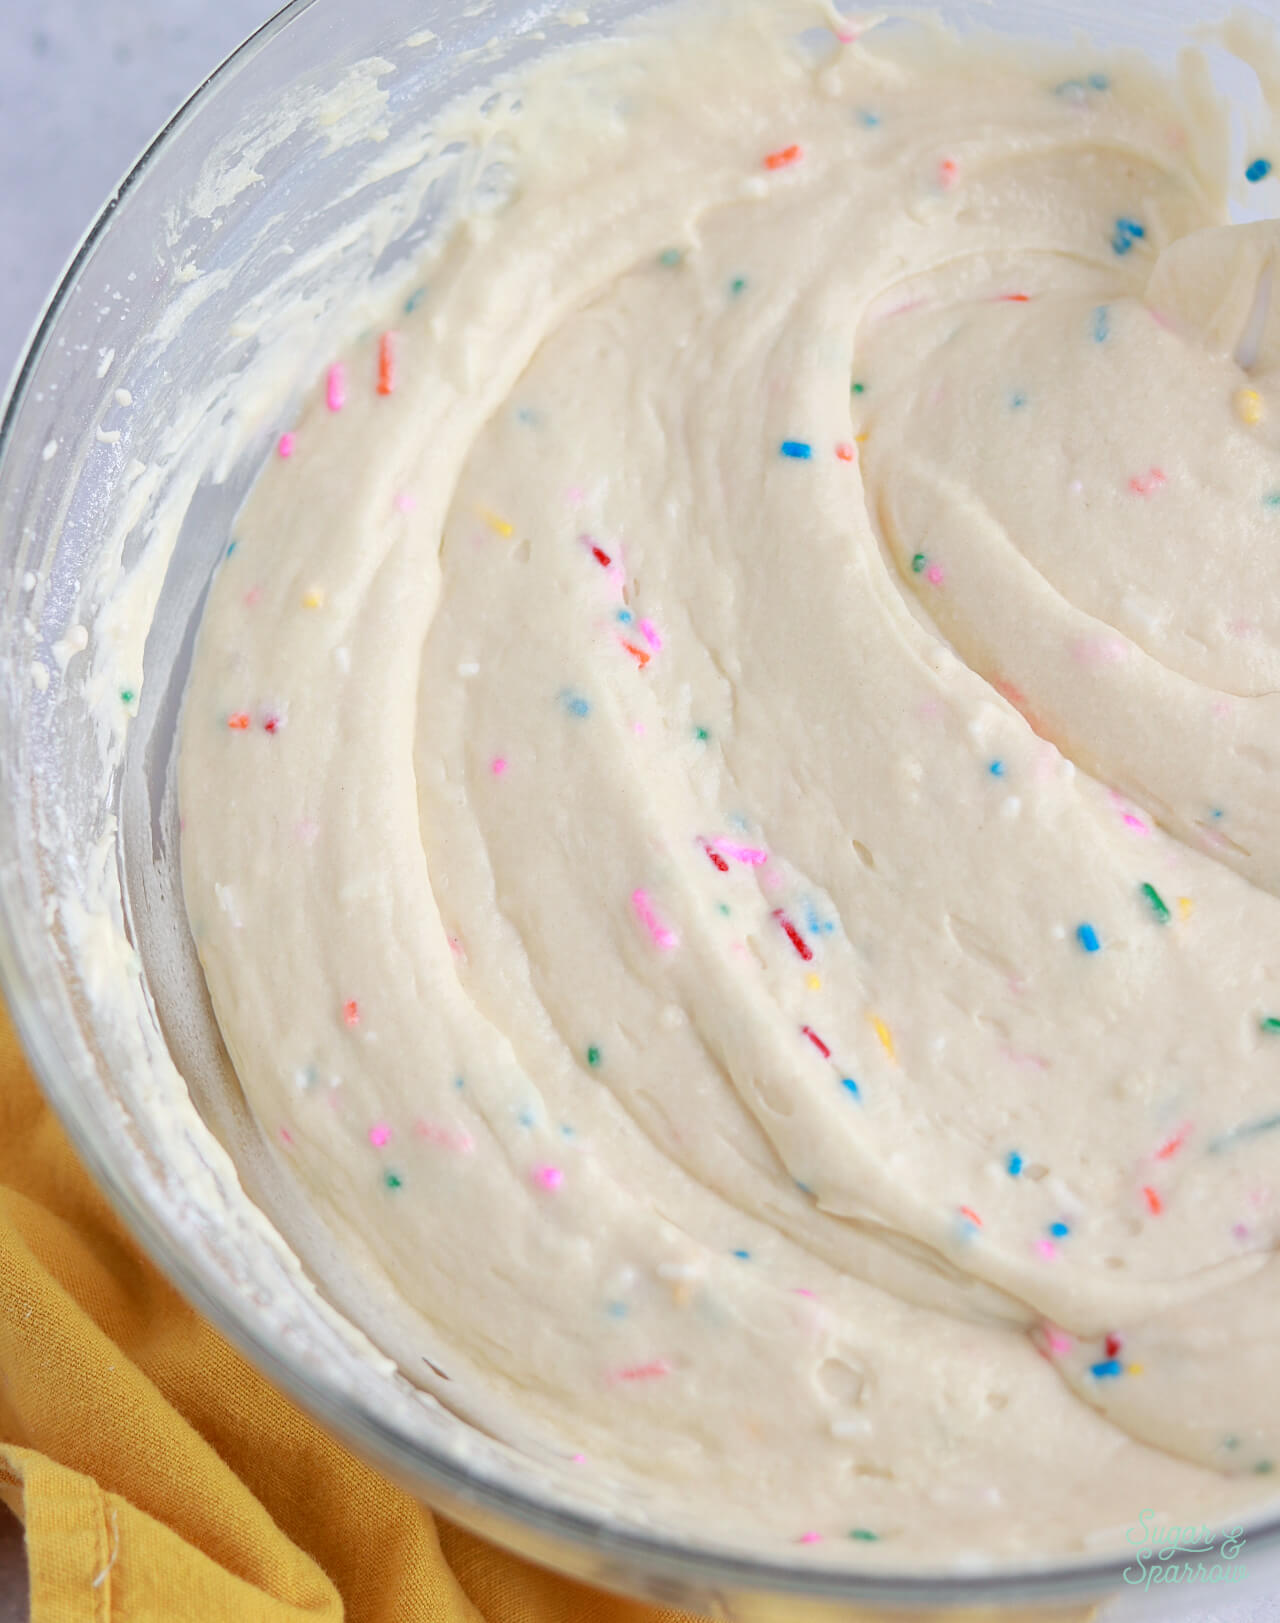
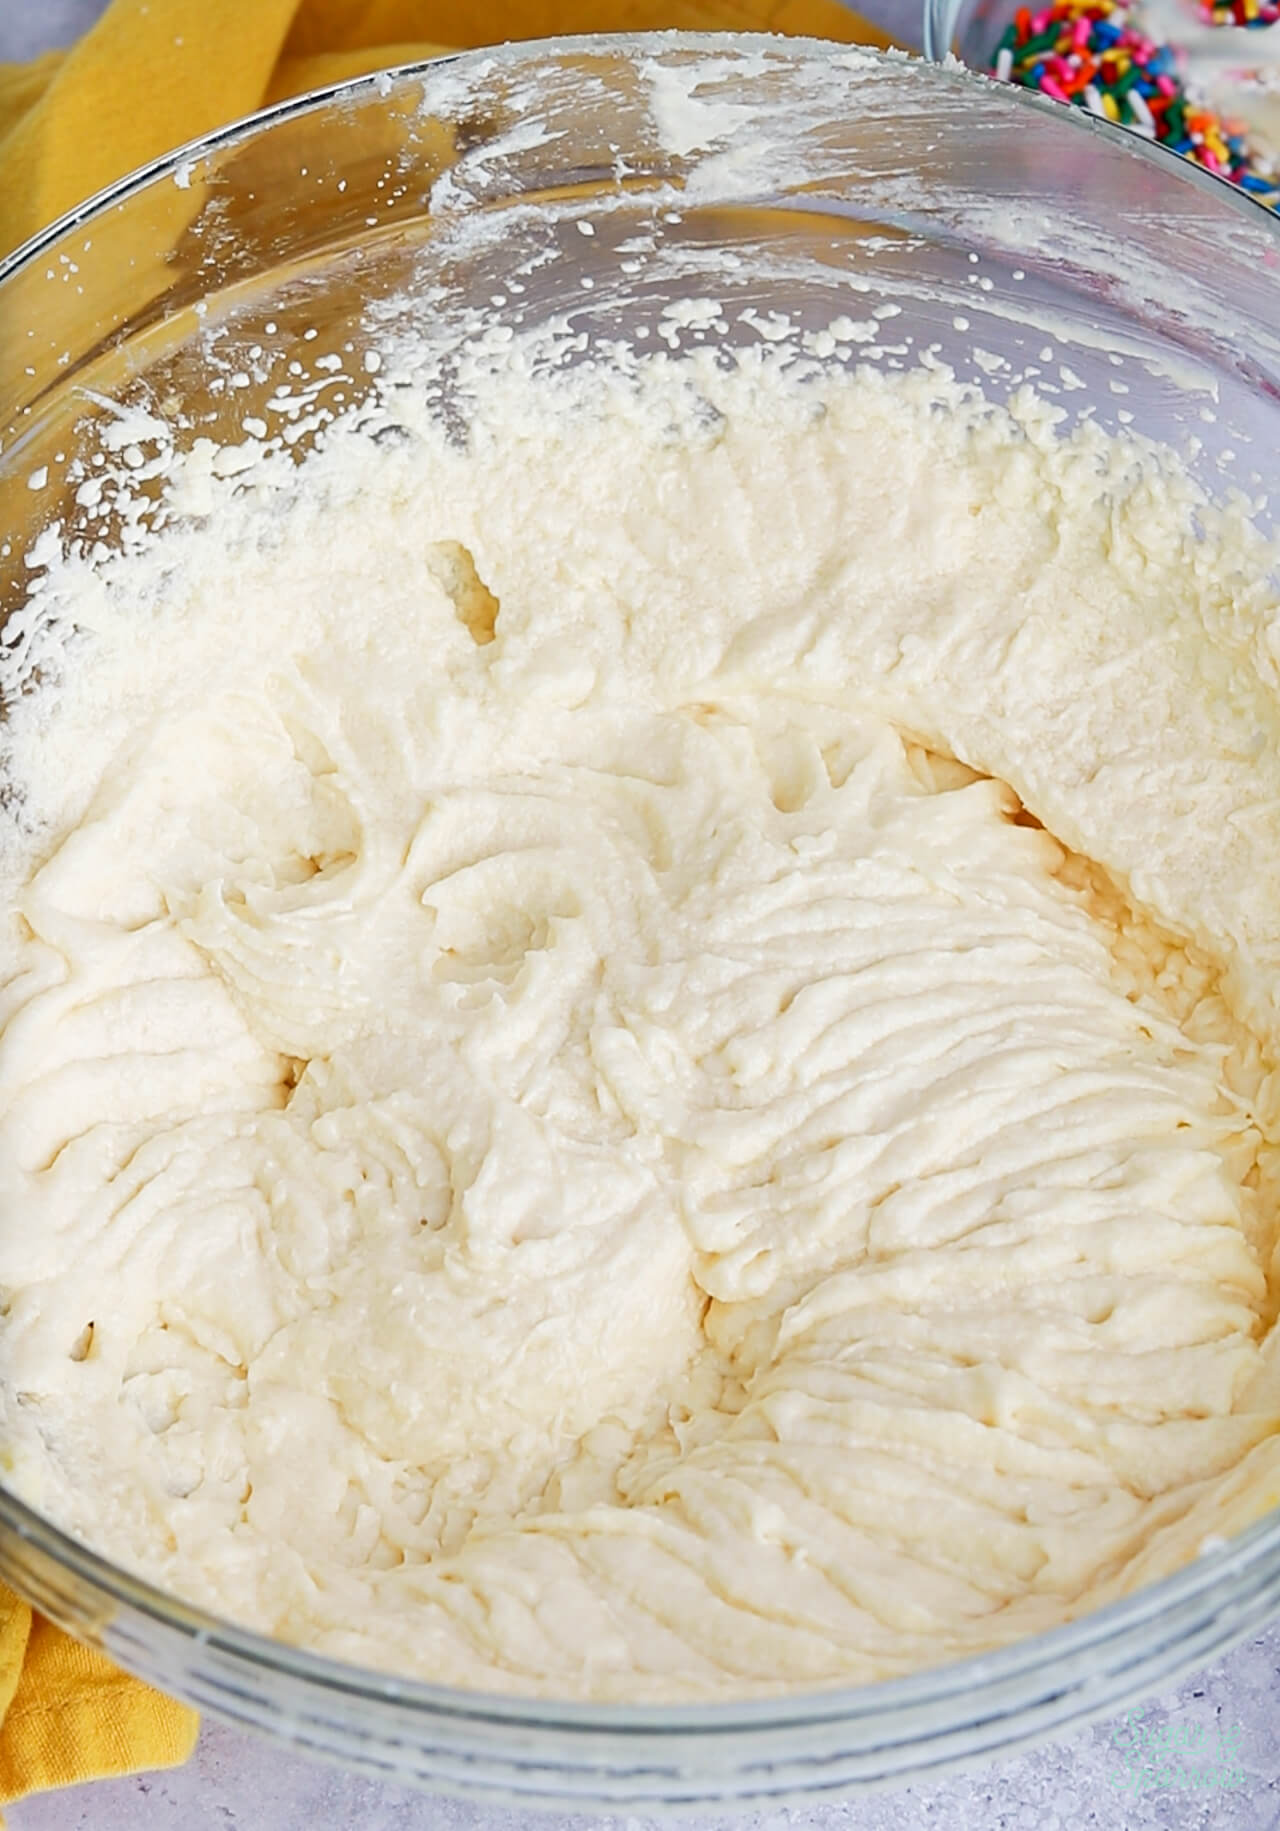
funfetti cake batter in a bowl
the best sprinkles for funfetti cake

Some of my favorite brands to use are: 

  • Unpretentious Baker Rainbow Sprinkles
  • SprinklePop Ultimate Unicorn Rainbow Jimmies
  • Chef’s Select Rainbow Sprinkles
  • Betty Crocker “Parlor Perfect” rainbow sprinkles (I find these at my local grocery store)

How to Make a Funfetti Cake

Here’s how to make and decorate this funfetti layer cake from start to finish:

Step 1. Preheat the oven to 350ºF, then grease and line three 6-inch round cake pans or two 8-inch round cake pans. 

Step 2. Whisk together the flour, baking powder, baking soda, and salt. Set aside.
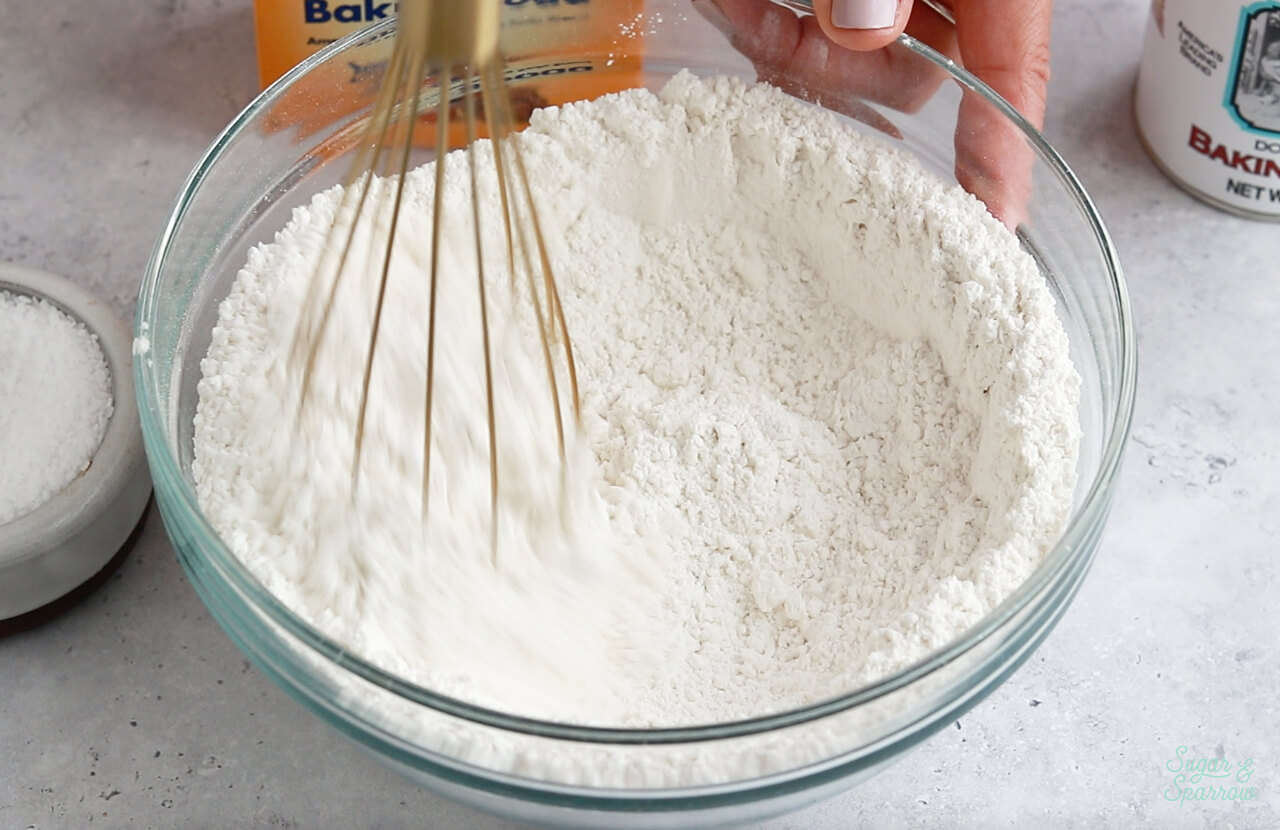
whisk the dry ingredients together

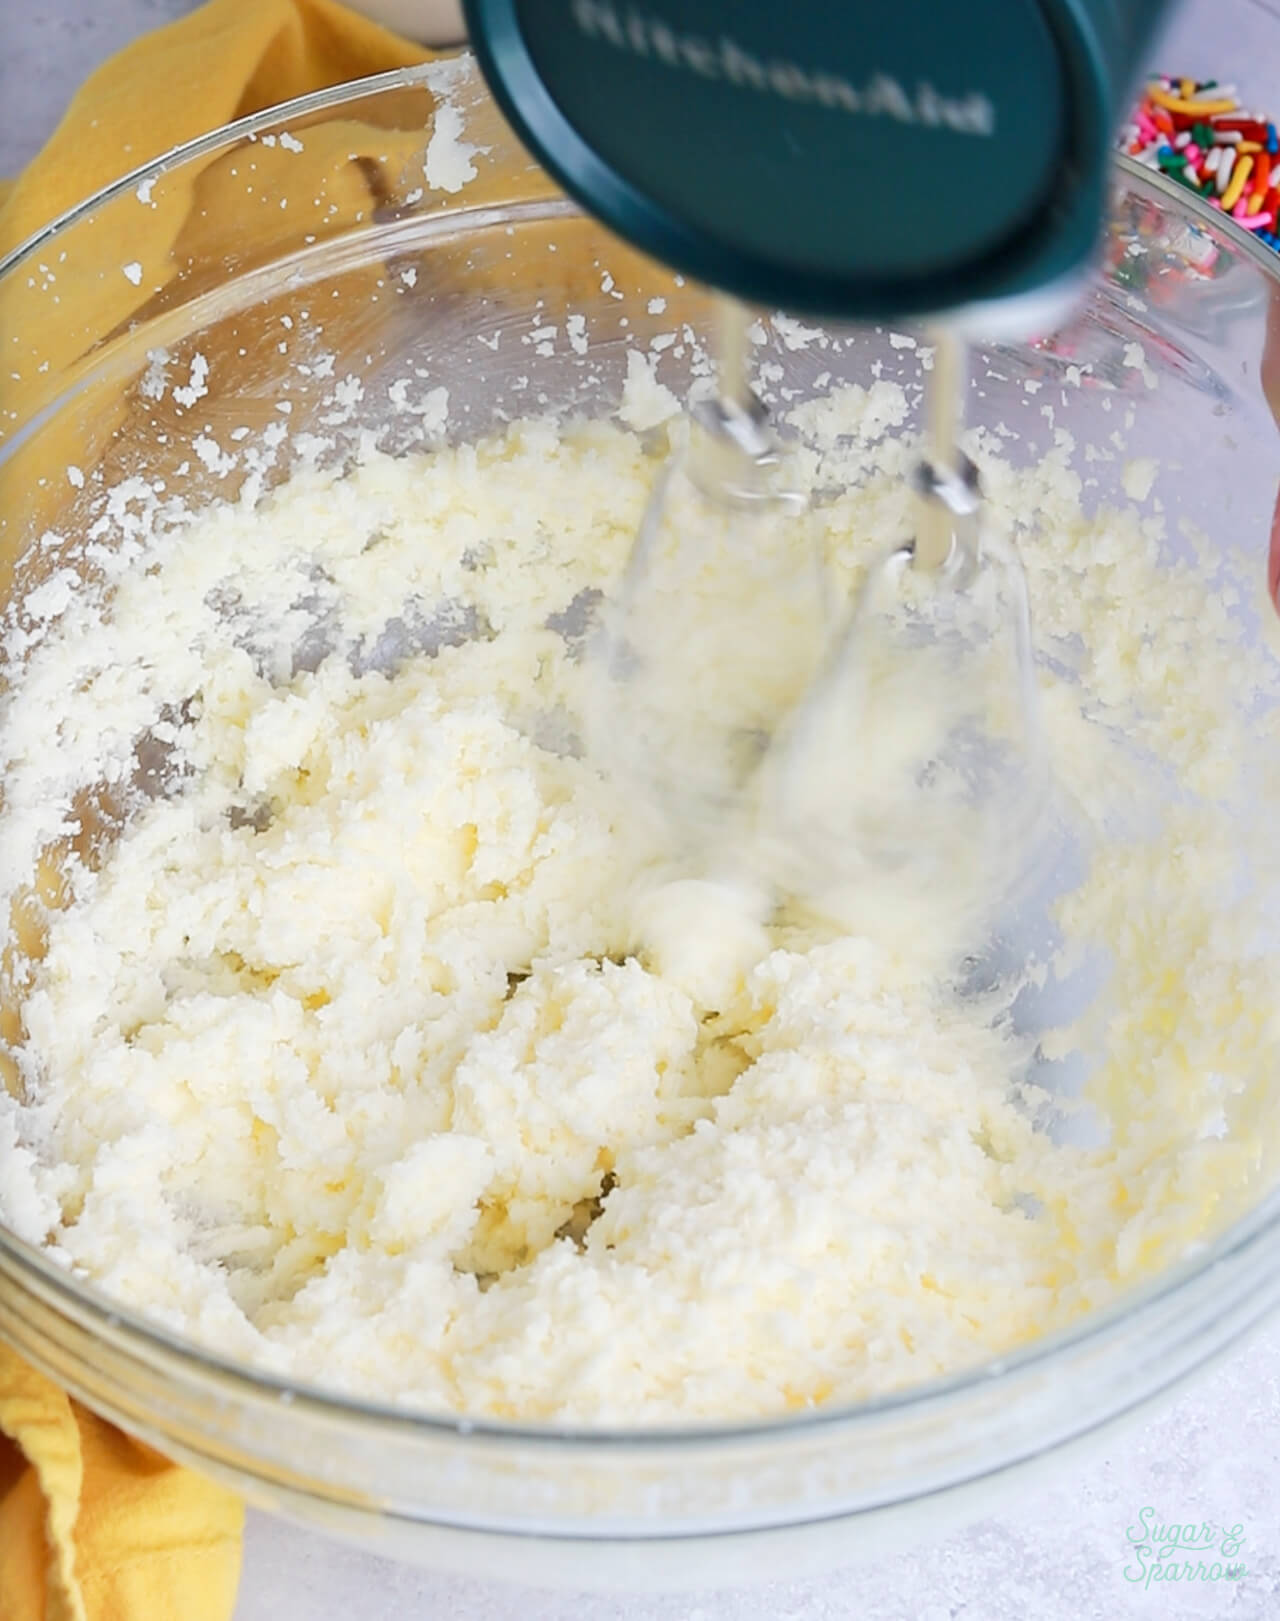
Step 3. Beat the butter and sugar until light and fluffy.
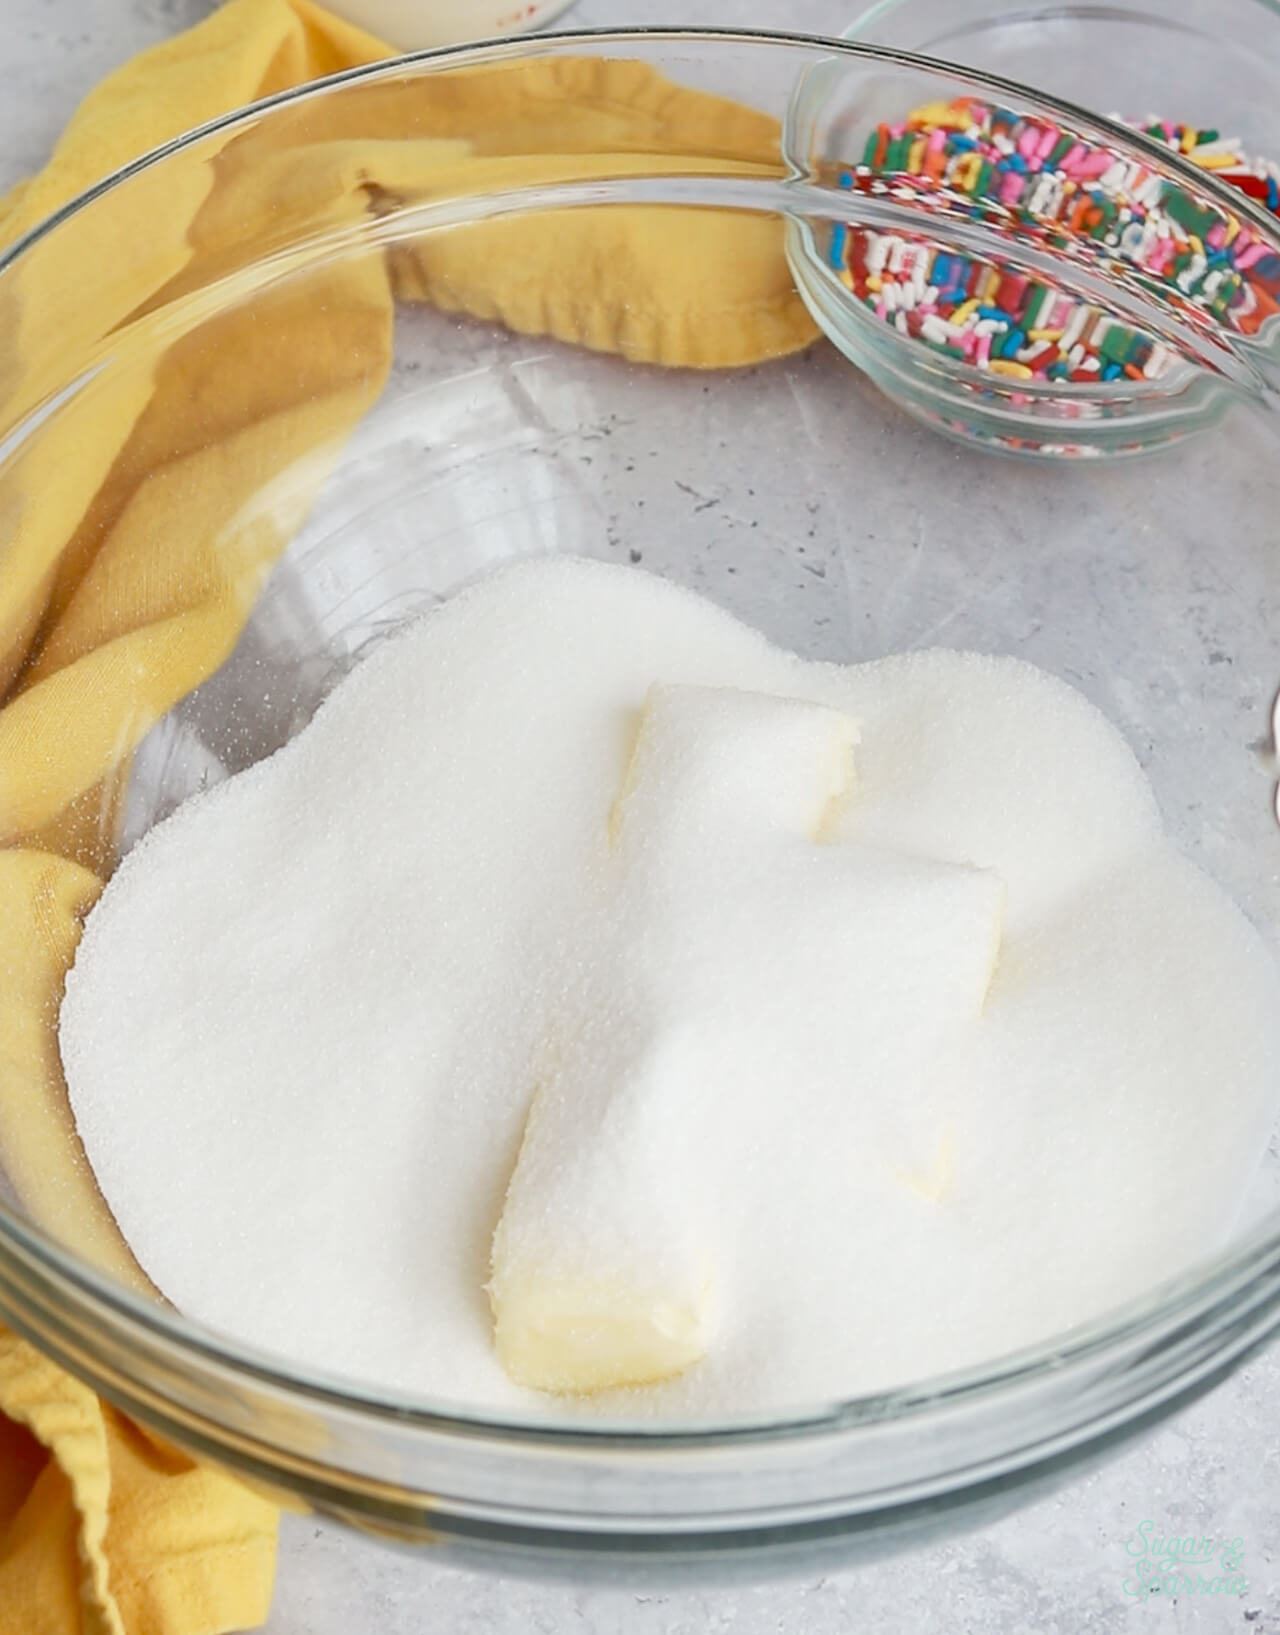
butter and sugar in a mixing bowl

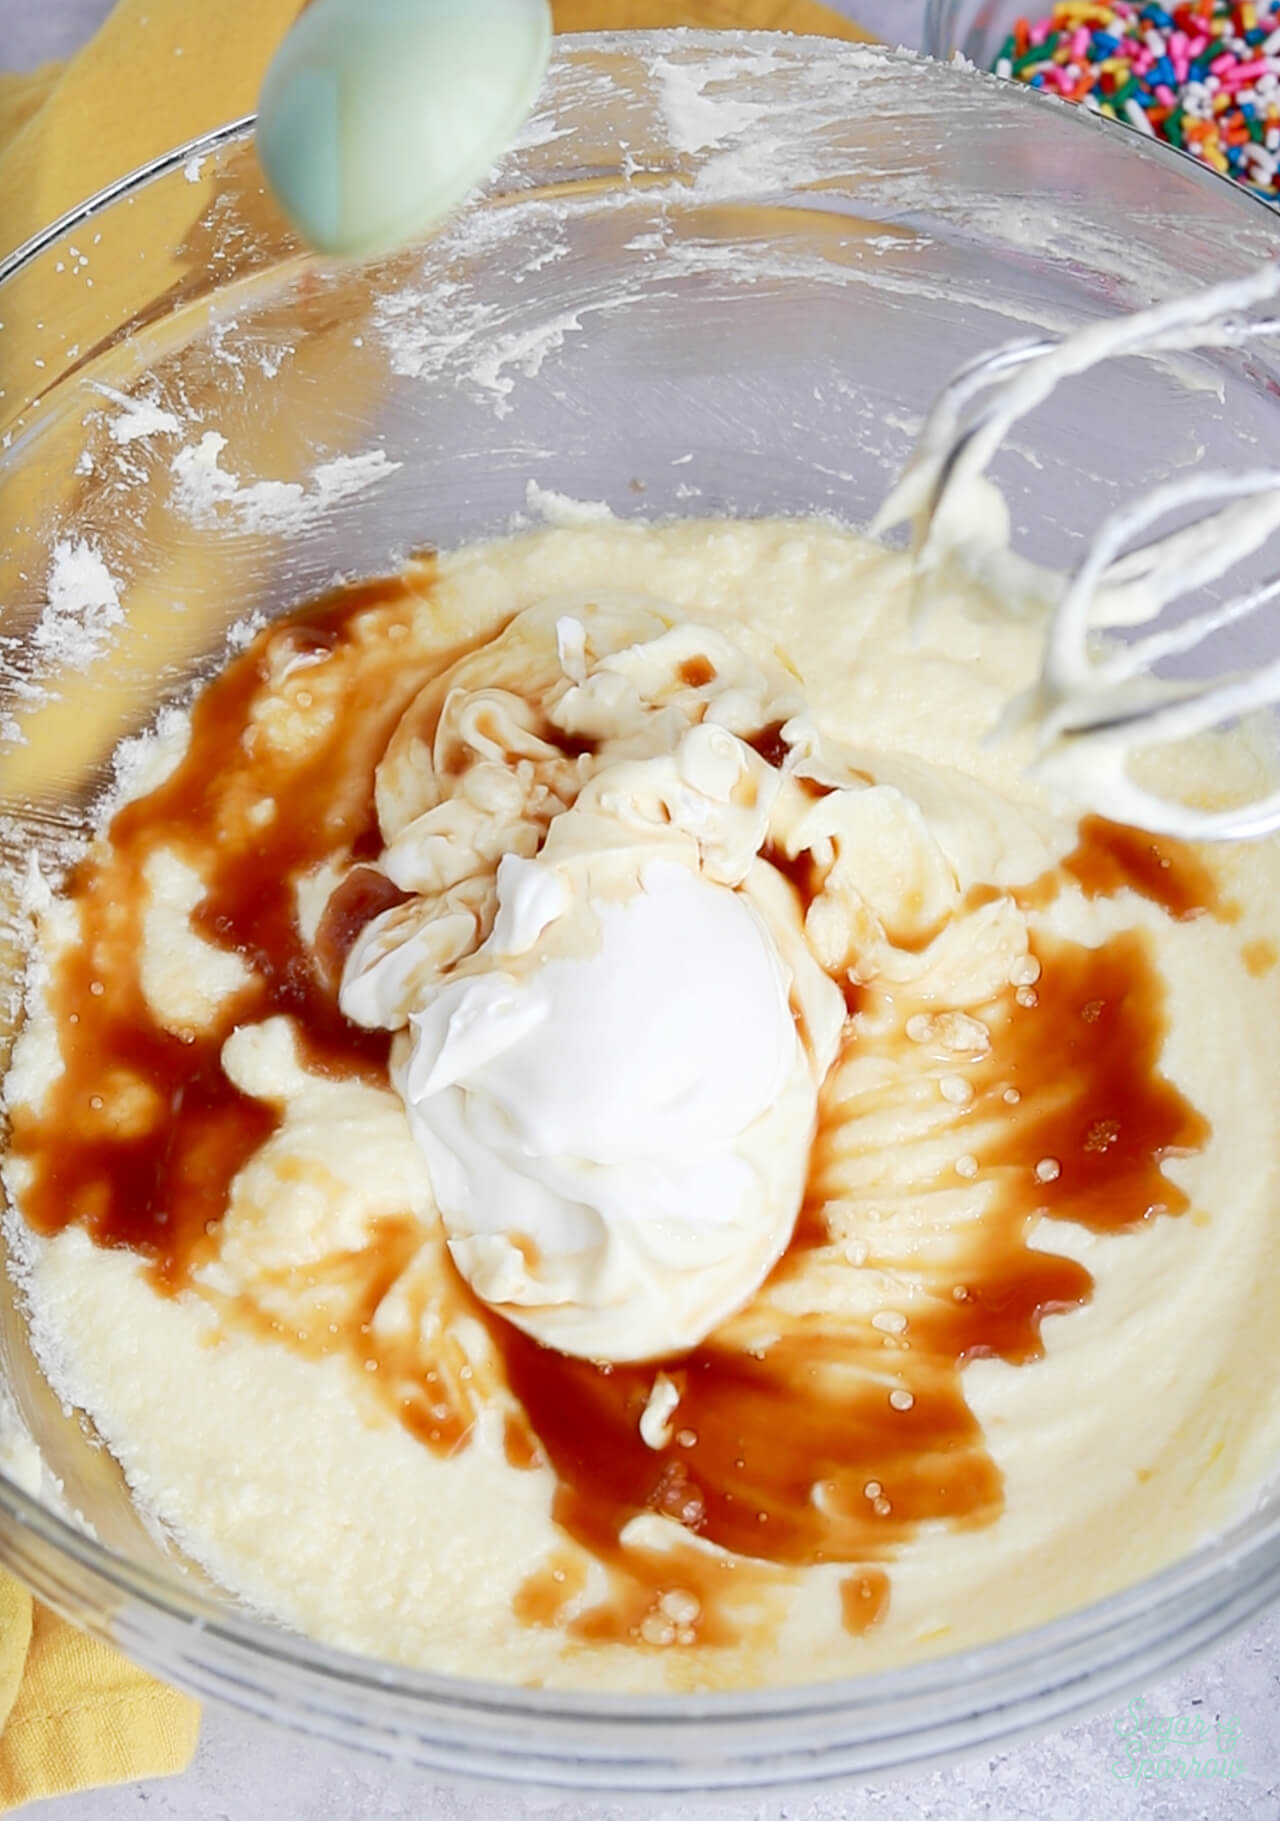
Step 4. Mix in the eggs one at a time, then add the sour cream and vanilla before whipping everything on high speed for one minute.
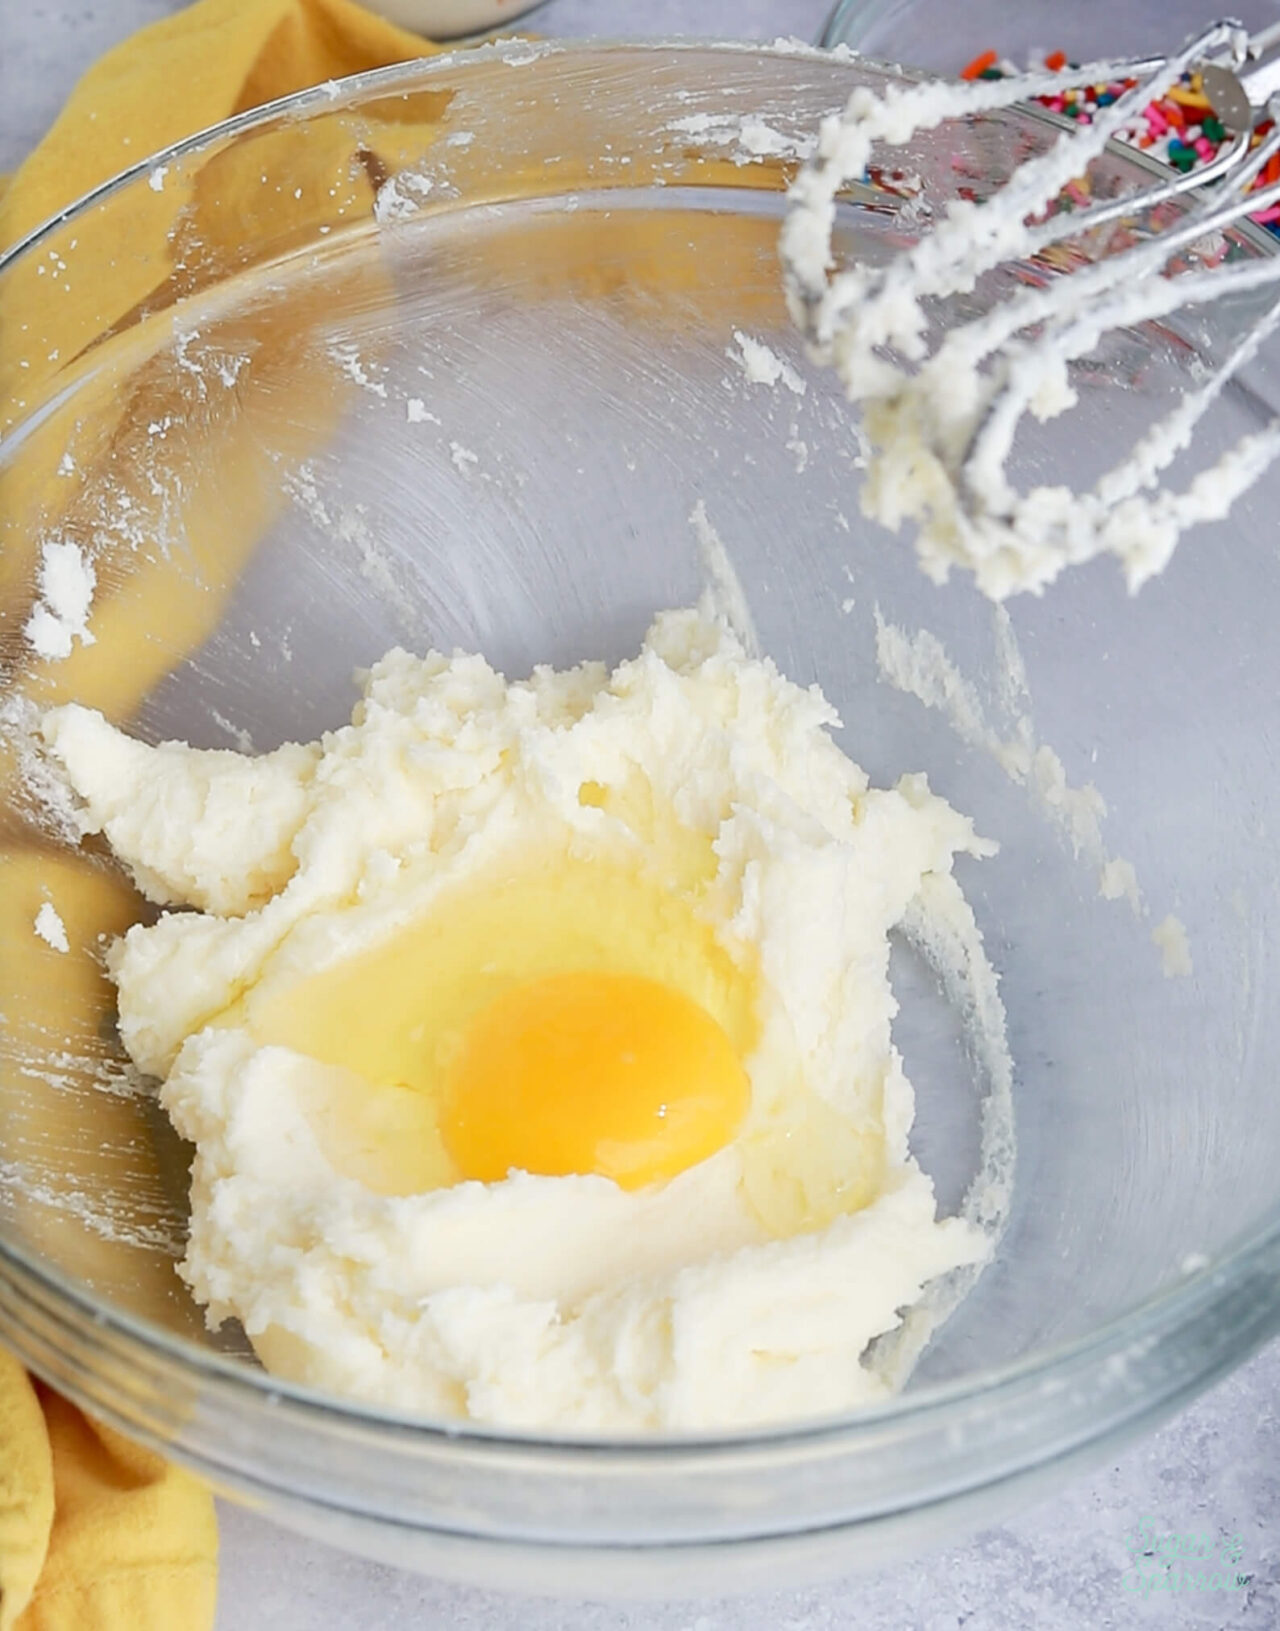
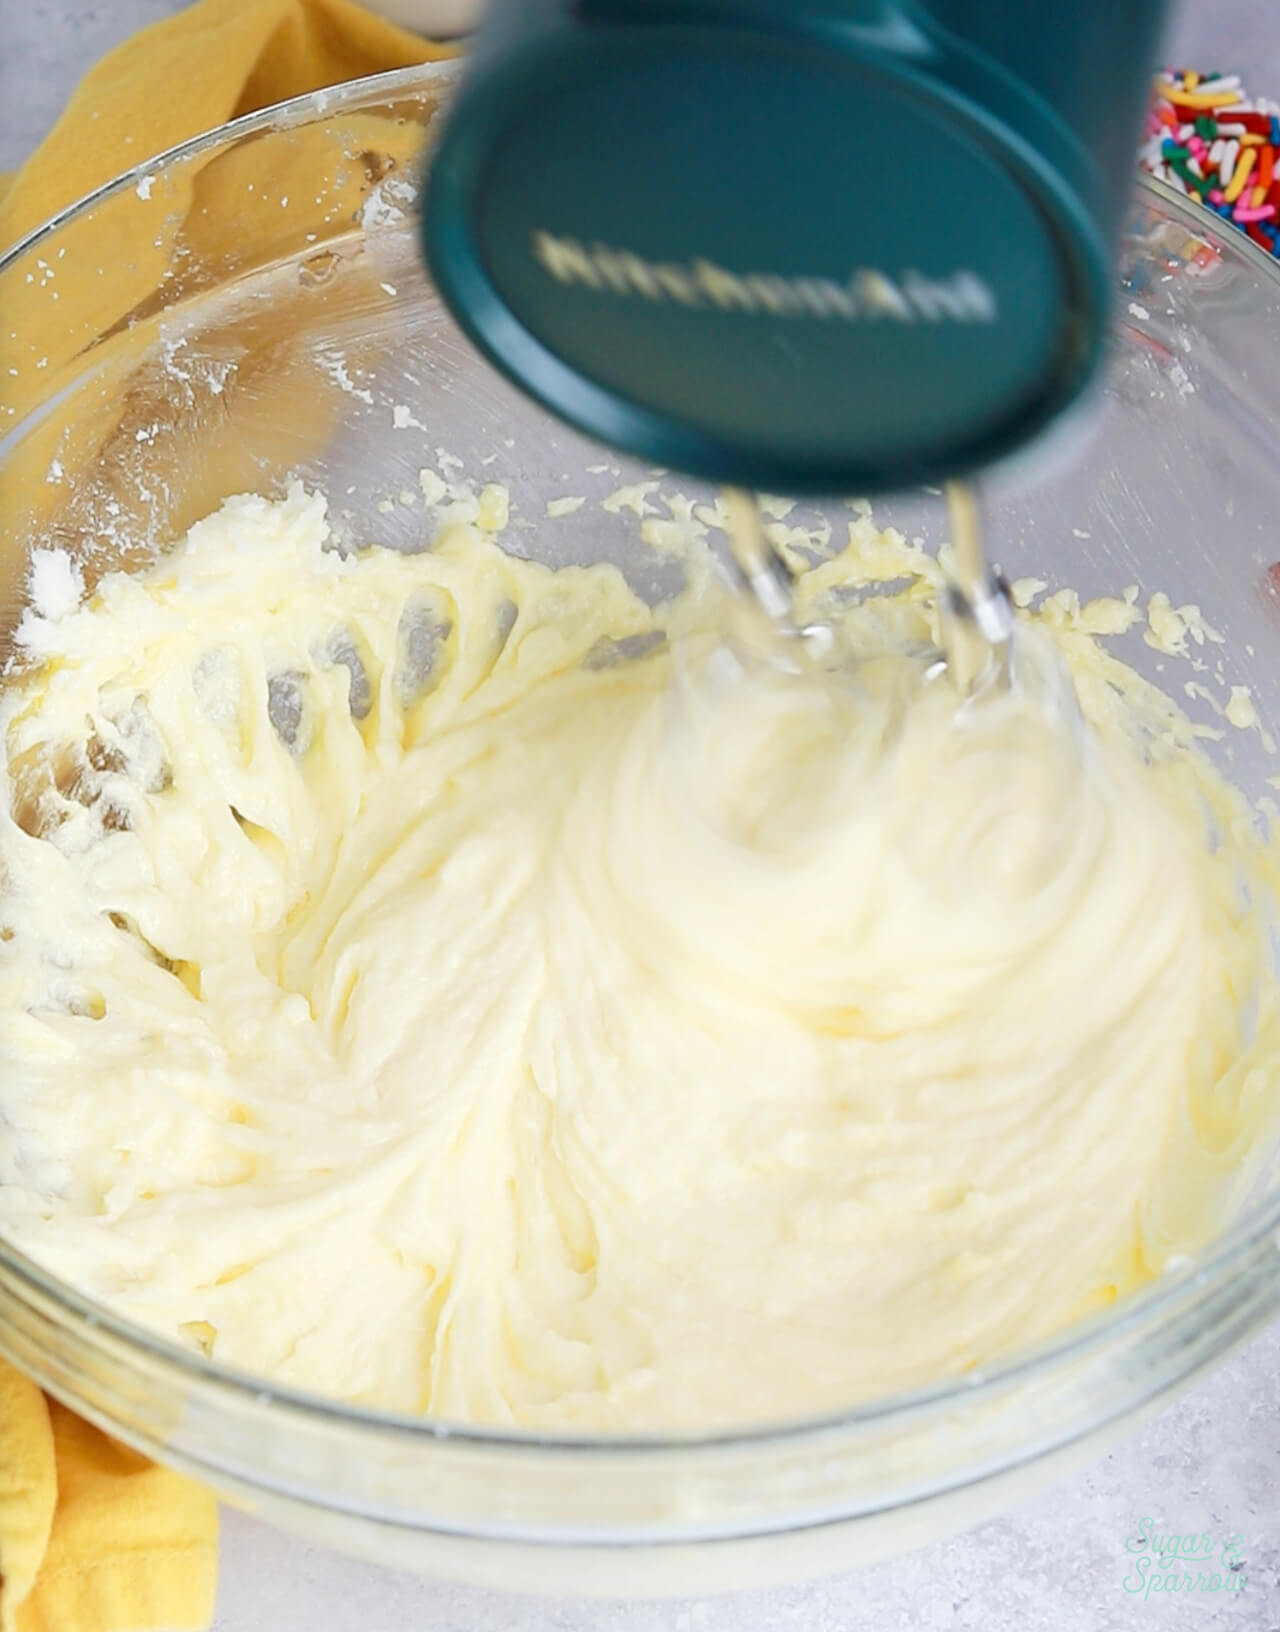
add the eggs to cake batter one at a time
mixing eggs into cake batter one at a time
adding sour cream to cake batter

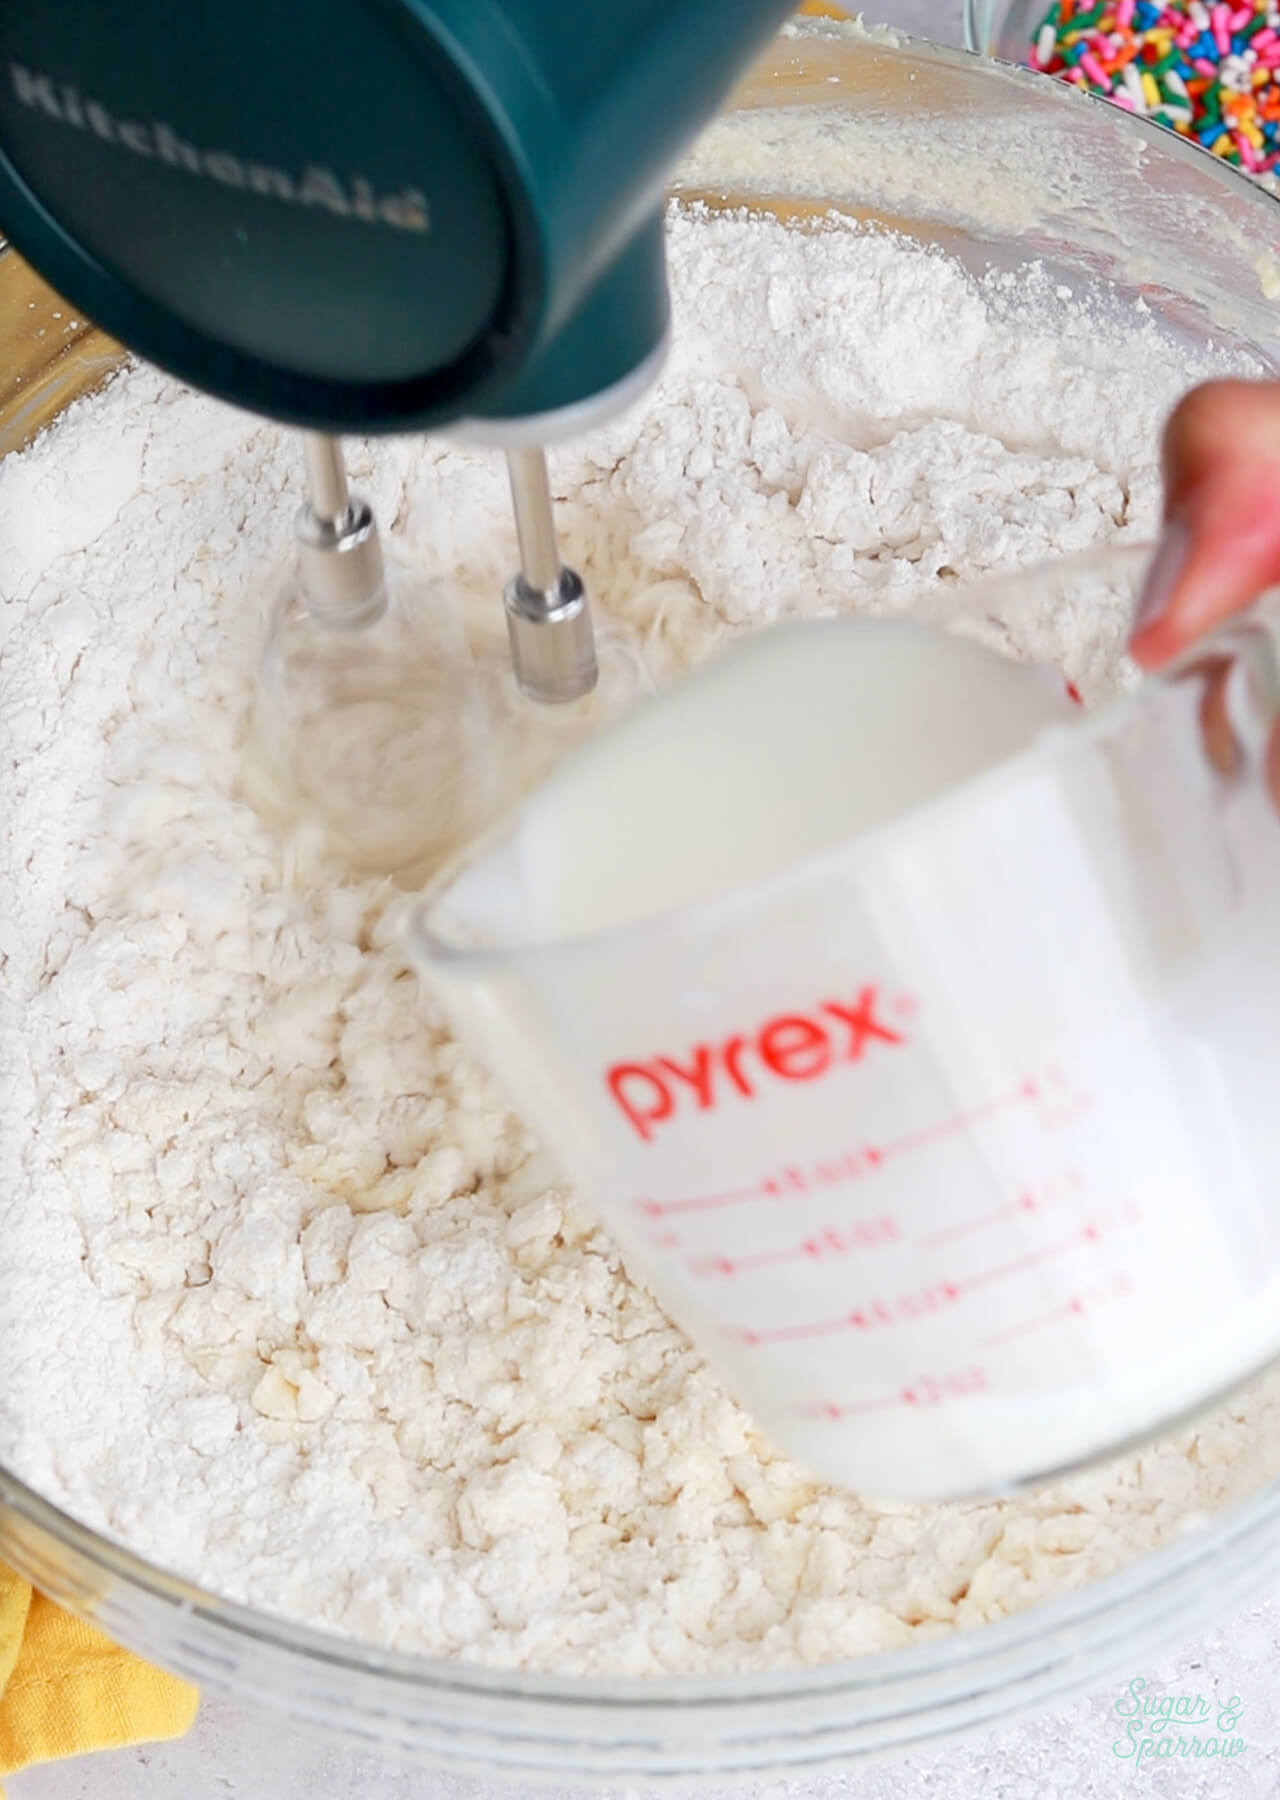
Step 5. Add the dry ingredients all at once, mix on low speed until they begin to incorporate, then add in the whole milk in a steady stream while continuing to mix on low speed. Mix until the ingredients are well incorporated, about 15-30 seconds. 
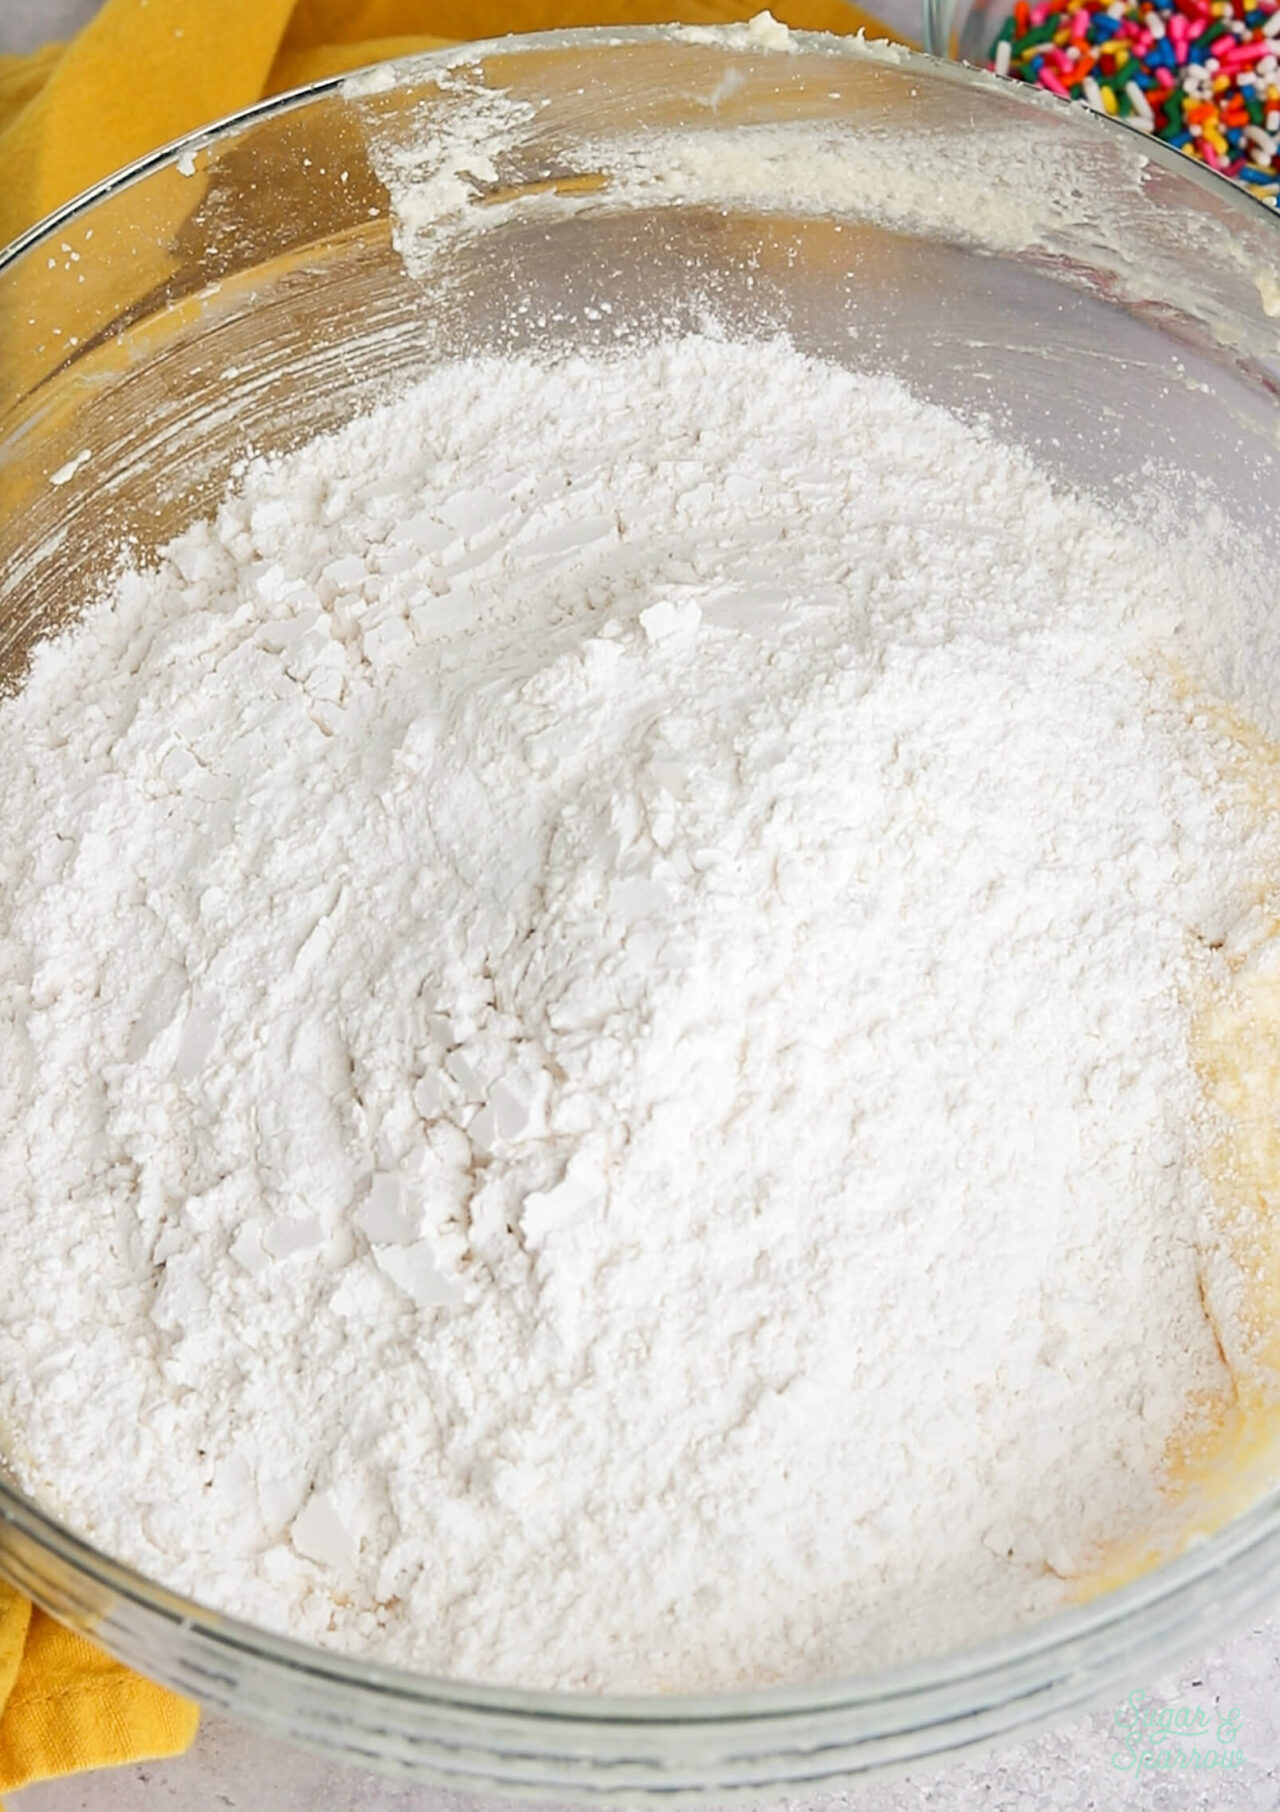
add the dry ingredients all at once

Step 6. Coat the rainbow sprinkles with a little flour (cake flour or all purpose flour), then gently fold them into your cake batter.
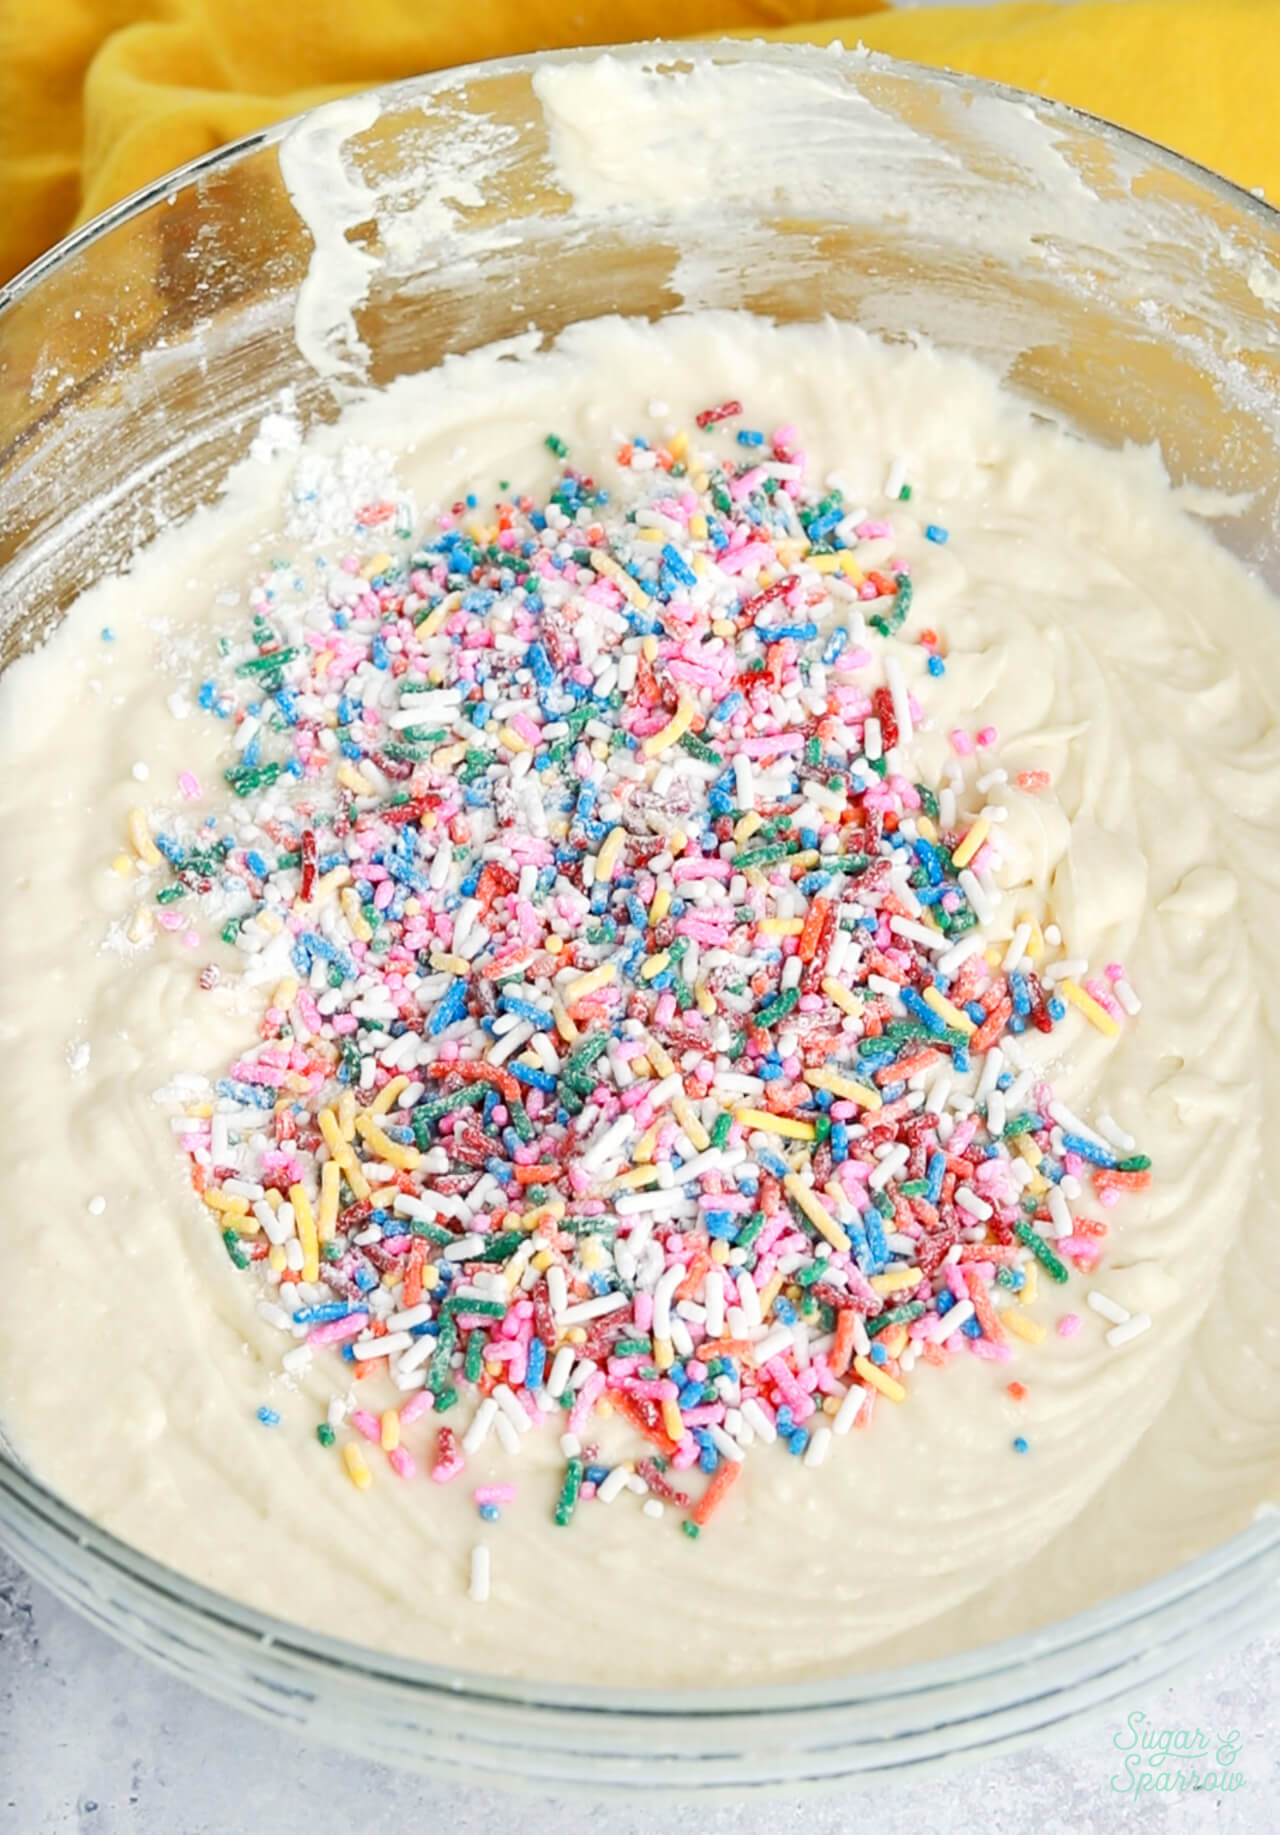
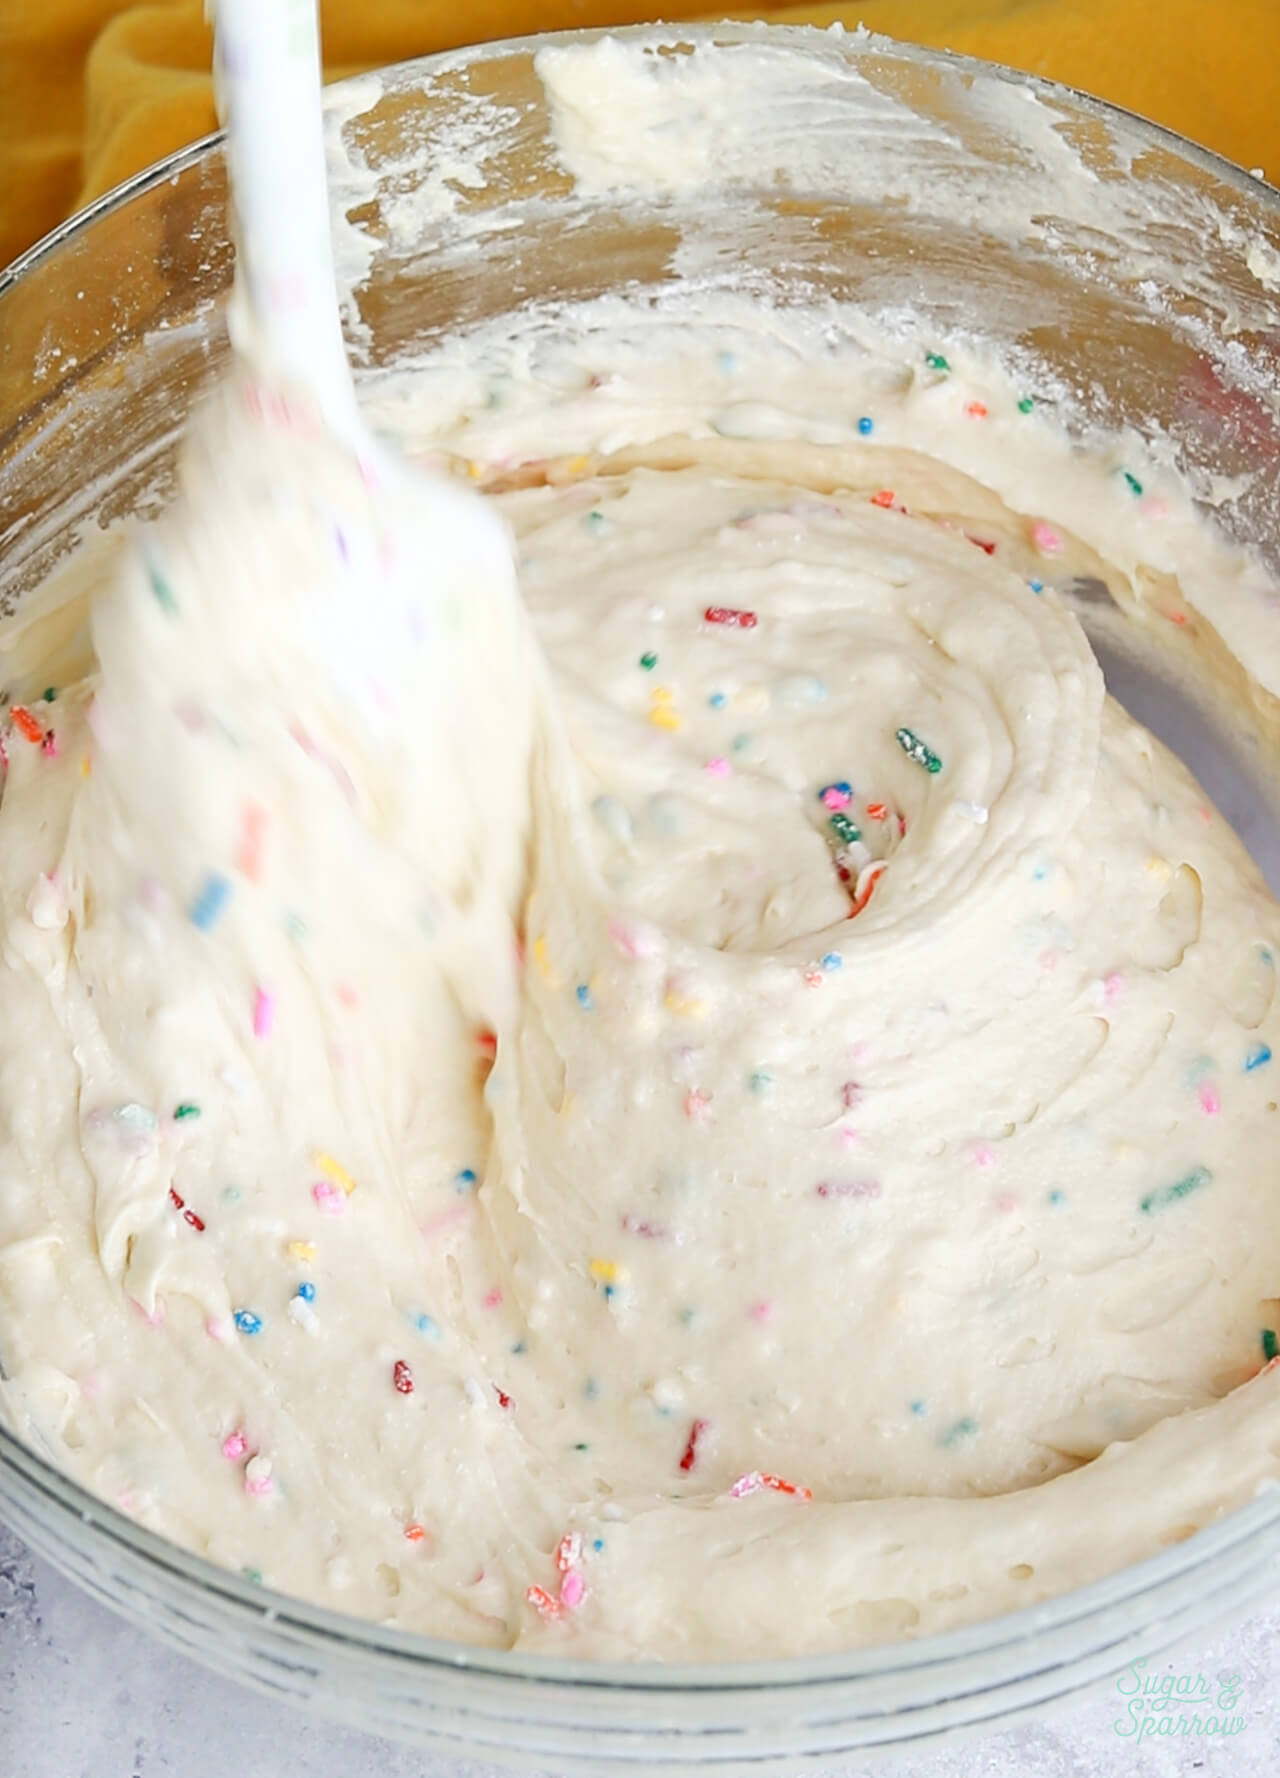
coating rainbow sprinkles in flour before adding them to cake batter

Step 7. Pour the batter into your prepared cake pans and bake for 30-35 minutes.

Step 8. Let the cake cool to room temperature, then make the buttercream frosting. I tinted my favorite vanilla buttercream recipe with a few drops of pink food color gel.
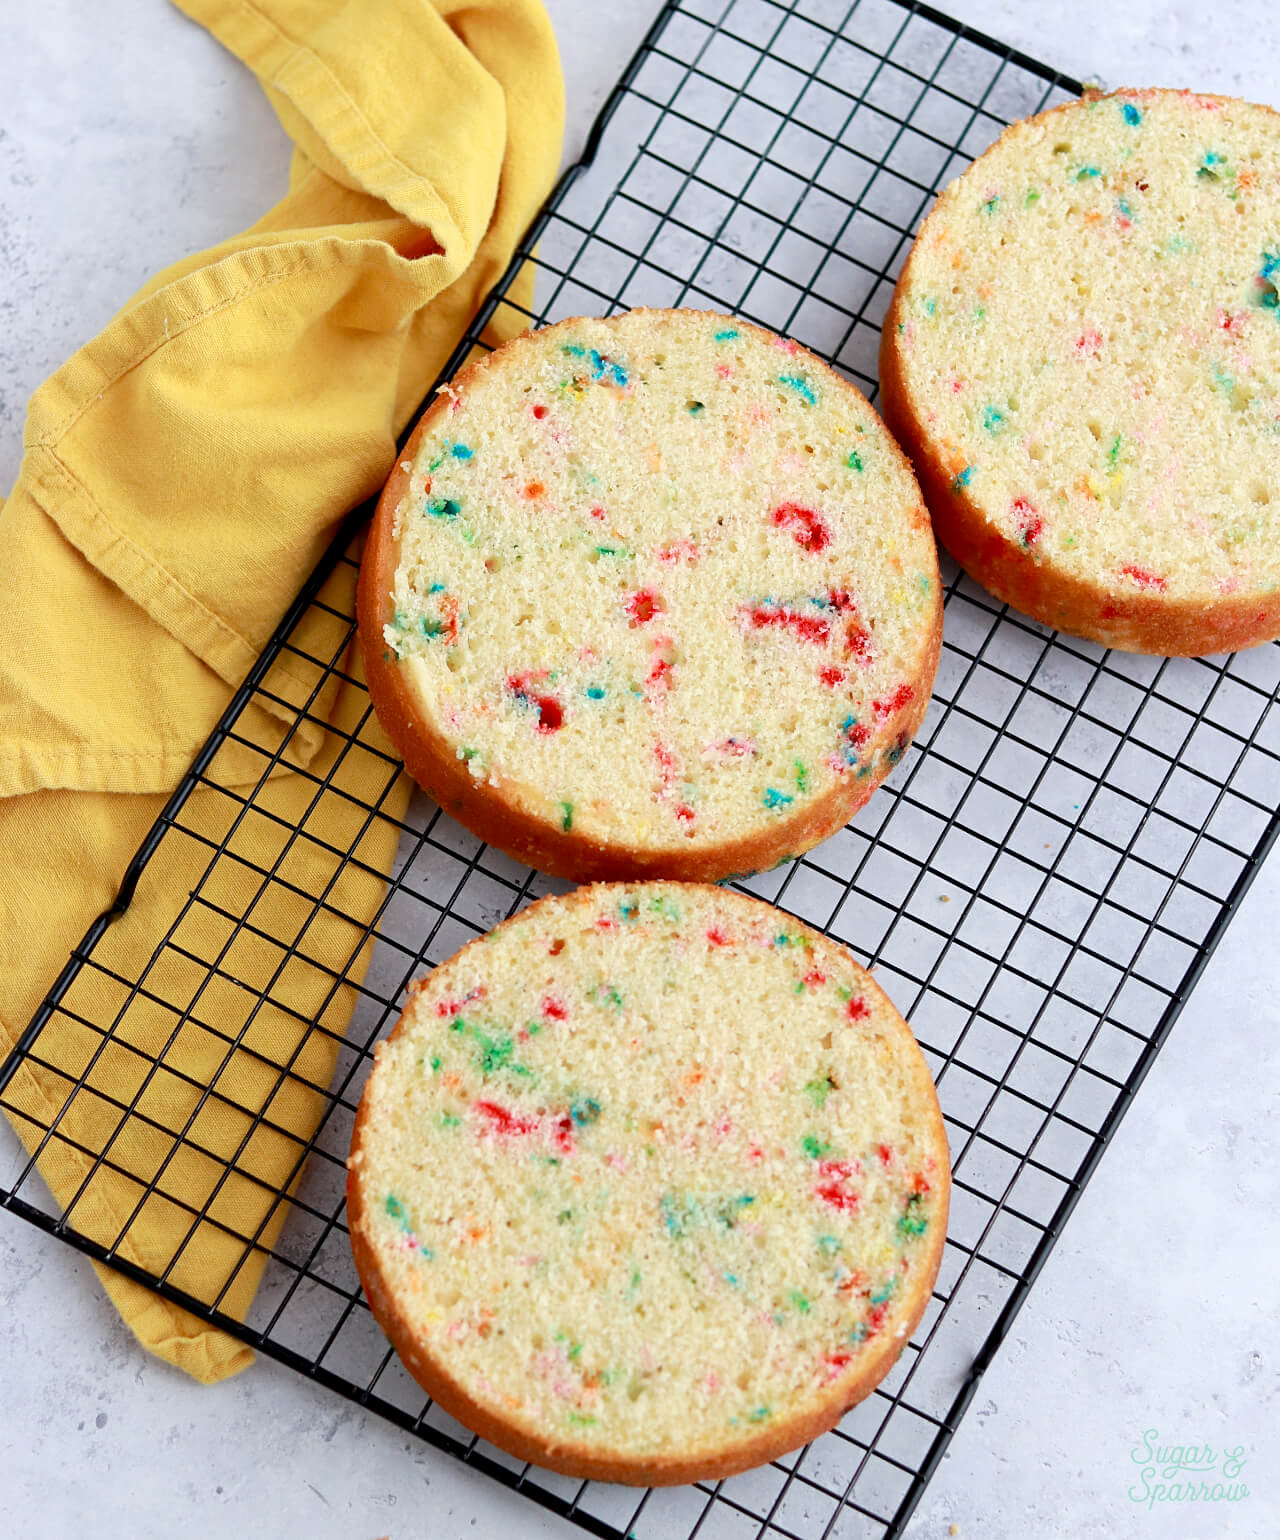
funfetti cake layers on a cooling rack

Step 9. Decorate the cake. I kept the design here simple by filling and frosting the cake with the vanilla buttercream, creating a smooth buttercream finish, and hand placing some rainbow sprinkles all around the sides of the cake. To finish the look, I used Wilton Tip 4B to pipe swirls of vanilla buttercream on top of the cake and added more rainbow sprinkles.
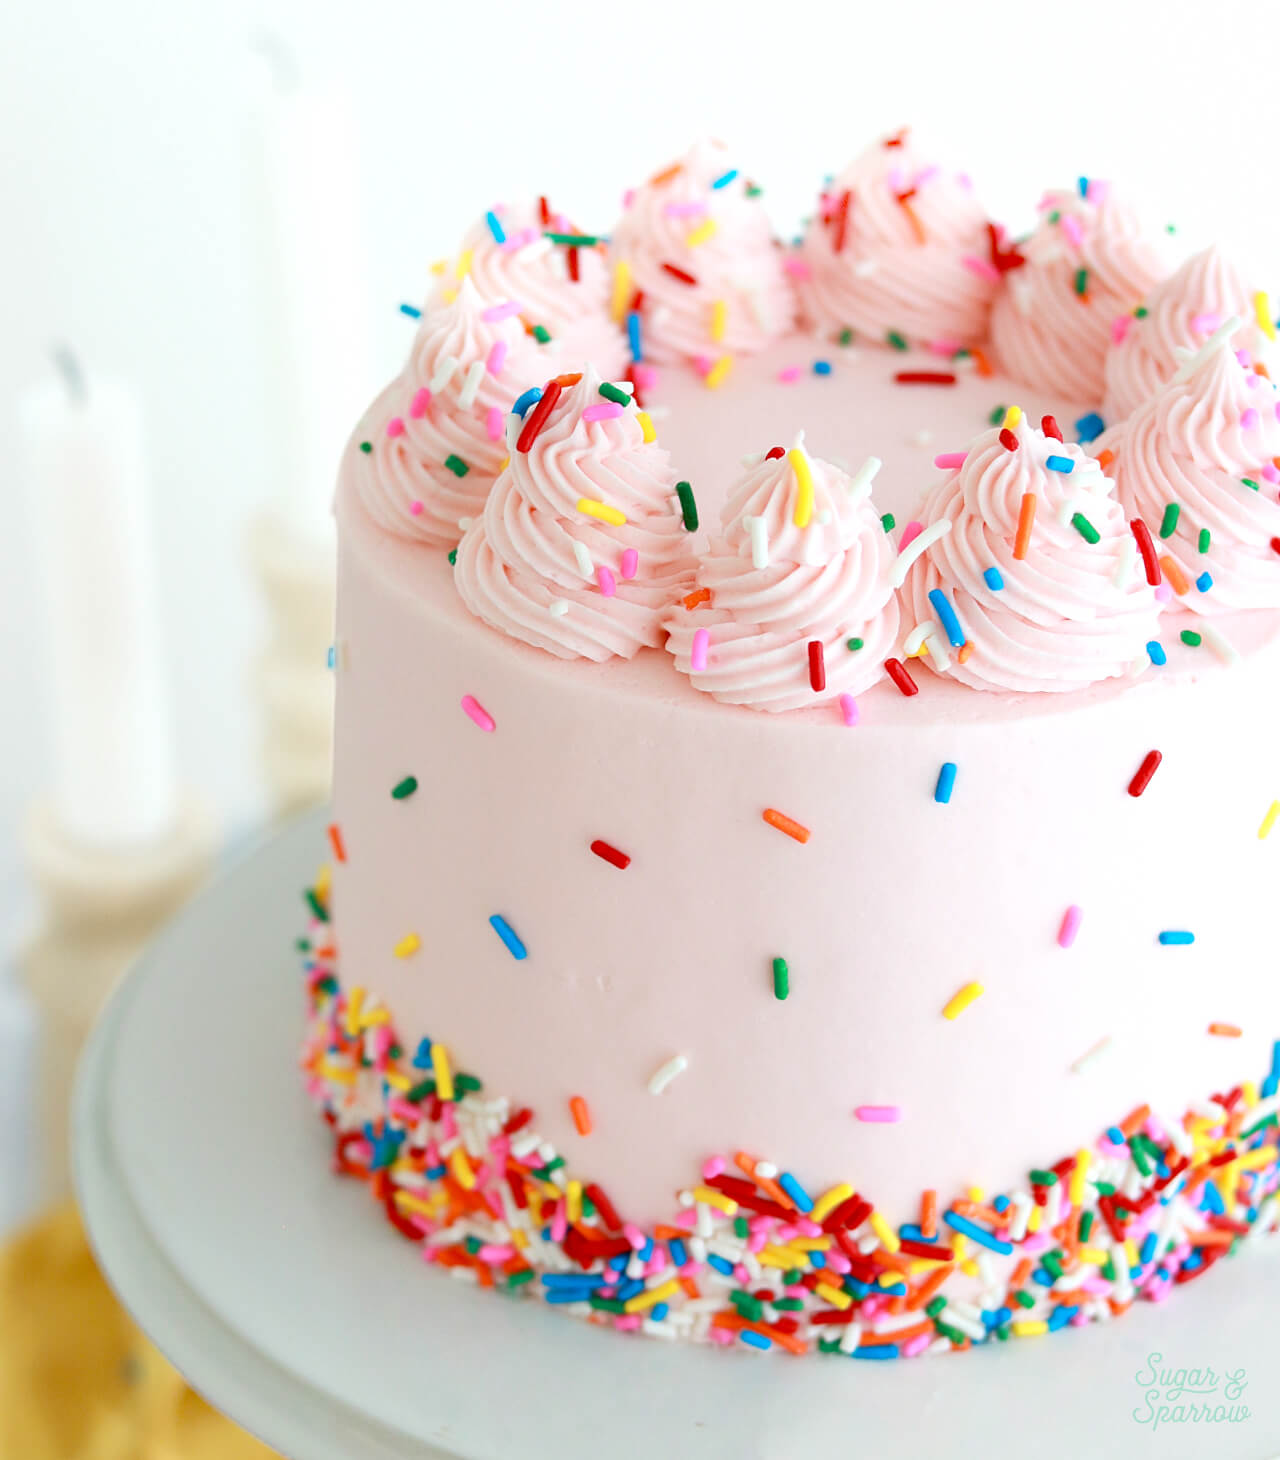
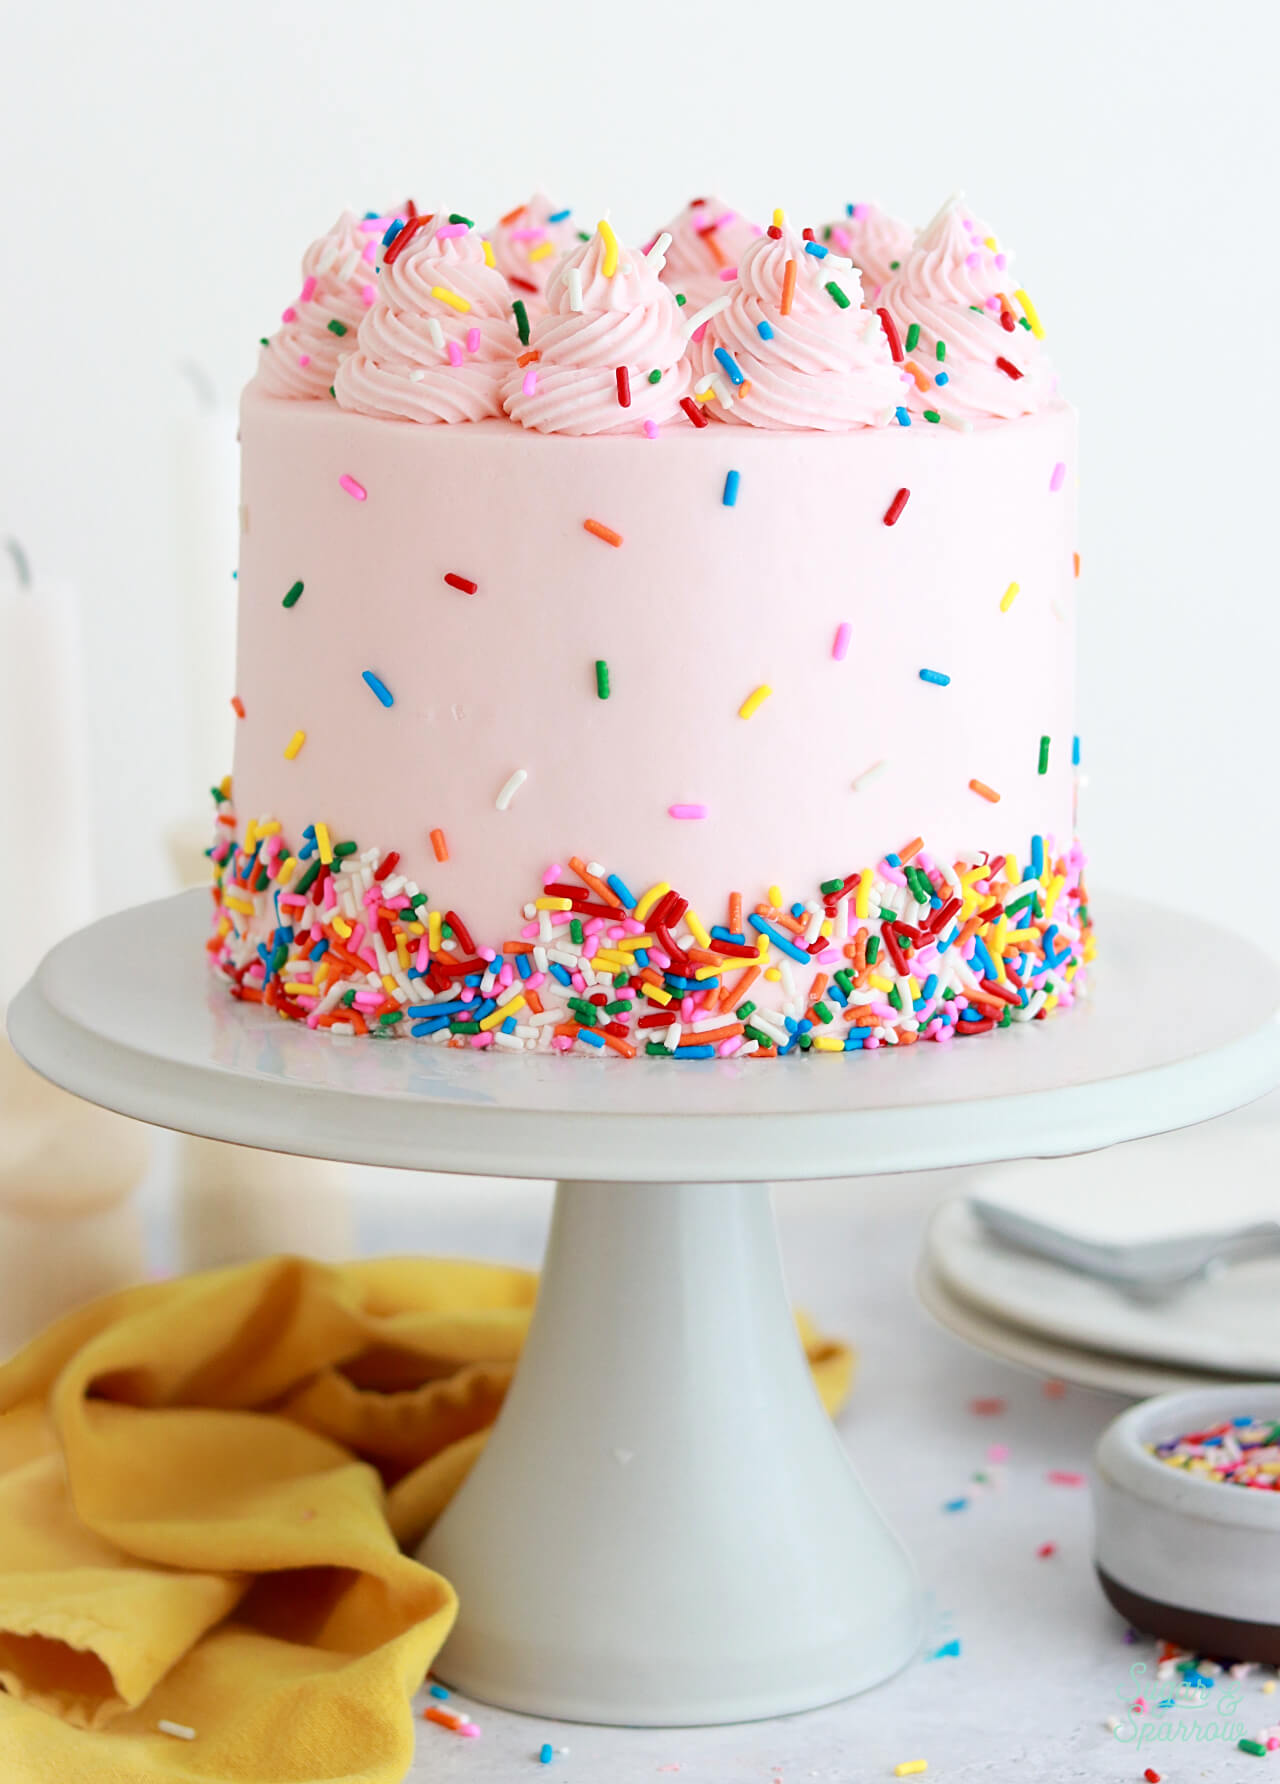
pink birthday cake with funfetti cake layers
funfetti birthday cake with pink buttercream and rainbow sprinkles

More Classic Party Cake Recipes You’ll Love

If you’re looking for more celebratory cake recipes, here are a handful of my go-to’s: 

  • Funfetti Sheet Cake 
  • Chocolate Sheet Cake
  • Vanilla Sheet Cake 
  • Yellow Cake with Chocolate Frosting
  • One-Bowl Chocolate Cake 
pink buttercream with rainbow sprinkles
slice of funfetti cake on a white plate

Did you make this funfetti layer cake recipe? I want to know how it went! Feel free to rate it and post a comment below, or tag @sugarandsparrowco on Instagram to show me a photo. I love to see what you create with my recipes!
funfetti cake recipe with vanilla buttercream

Funfetti Layer Cake

5 from 11 votes
Soft and moist vanilla cake with the ideal amount of rainbow sprinkles baked into each layer. Top it with vanilla buttercream for a classic party cake that's perfect for celebrating anything!
Print Recipe Pin Recipe
Prep Time:20 minutes mins
Cook Time:30 minutes mins
Cooling Time:3 hours hrs
Total Time:3 hours hrs 50 minutes mins
Course: Dessert
Cuisine: American
Servings: 15 slices

Ingredients

Funfetti Cake

  • 2 1/2 Cups (265g) sifted cake flour* DIY recipe in notes
  • 2 tsp baking powder
  • 1/2 tsp baking soda
  • 1 tsp salt
  • 3/4 Cup (170g) unsalted butter, room temperature
  • 1 3/4 Cups (340g) granulated white sugar
  • 3 large eggs, room temperature
  • 1/2 Cup (120g) sour cream, room temperature
  • 1 Tbsp pure vanilla extract
  • 1 Cup (240ml) whole milk, room temperature
  • 1/3 Cup (60g) rainbow sprinkles**, coated in 1 tsp flour

Vanilla Buttercream

  • 2 batches vanilla buttercream

Instructions

  • Preheat the oven to 350°F. Prepare three 6-inch or two 8-inch cake pans by spraying the sides with baking spray (Baker's Joy is my favorite) and lining the bottom with parchment paper. Alternatively, you can grease and lightly flour the pans. 
  • In a medium bowl, add the sifted cake flour, baking powder, baking soda, and salt. Whisk to combine and set aside.
  • In the bowl of your stand mixer fitted with the paddle attachment (or with a large bowl and handheld mixer), cream the butter and sugar until light and fluffy, about 4 minutes, scraping down the bowl and paddle once in between. Turn the mixer to low speed and add the eggs one at a time, mixing for about 10-15 seconds after each addition. Add the vanilla and sour cream, then mix for one minute on high speed. Scrape down the bowl and paddle.
  • Turn the mixer off and add the dry ingredients all at once, then mix on low speed. When the ingredients just begin to incorporate, add the milk slowly and mix until just incorporated, about 30 seconds. Scrape down the sides and bottom of the bowl and give it a few stirs by hand to make sure there are no large lumps. 
  • In a small bowl, coat the rainbow sprinkles with 1 teaspoon of flour (cake flour or all purpose flour). Then, gently fold the flour-coated rainbow sprinkles into the cake batter with a silicone spatula. The batter will be slightly thick.
  • Pour batter into prepared cake pans and bake for 30-35 minutes. They're done when they spring back to the touch and a toothpick inserted into the middle comes out clean. Let the cakes cool in the pan for five minutes before turning them out onto a wire rack for an additional few hours of cooling. Make sure they're entirely room temperature before filling and frosting with vanilla buttercream (or frosting of your choice).


Notes

*DIY Cake Flour Recipe: To make your own cake flour, spoon and level one cup of all-purpose flour and remove 2 Tbsp. Add 2 Tbsp of cornstarch. Repeat per the amount of cake flour you need, then sift the flour and cornstarch mixture 4 times (don’t skip that step!). After sifting, spoon and level to re-measure the amount of cake flour you need. 
**Rainbow Sprinkles: Be sure to use elongated rainbow sprinkles (jimmies) and look for carnauba wax and confectioner’s glaze in the ingredients list. These two ingredients help coat the sprinkles and help prevent them from bleeding color into the batter. This is one of my go-to brands for funfetti recipes. 
To Make Ahead: These cakes can be baked, cooled, wrapped in plastic wrap, and left out at room temperature up to two days ahead of decorating. Unfrosted cake layers can be wrapped tightly in plastic wrap and stored in the freezer for up to two months before thawing and frosting. 
To Make As Cupcakes: Use this funfetti cupcakes recipe.
To Make As a Sheet Cake: Use this funfetti sheet cake recipe.
Previous Measurements: I originally posted this recipe in 2018 and it yielded four 6-inch cake layers or three 8-inch cake layers. Here are those measurements you can use along with the instructions above: 3 3/4 Cups (394g) sifted cake flour, 1 Tbsp baking powder, 1/2 tsp baking soda, 1 1/2 tsp salt, 1 1/8 Cups (254g) unsalted butter at room temperature, 2 1/2 Cups (500g) granulated white sugar, 5 large eggs at room temperature, 3/4 Cup (180g) sour cream at room temperature, 1 1/2 Tbsp pure vanilla extract, 1 1/2 Cups (360ml) whole milk at room temperature, 1/2 Cup (90g) rainbow sprinkles

By: Whitney · In: Cake, Featured, Recipes · Tagged: cake, cake decorating, cake recipe, fancy sprinkles, funfetti cake, funfetti cake from scratch, funfetti cake recipe, sprinkles

you’ll also love

the best vanilla cupcakes recipeThe Perfect Vanilla Cupcake Recipe
pumpkin layer cake recipe by sugar and sparrowPerfect Pumpkin Layer Cake Recipe
oreo cookies and cream cakeOreo Layer Cake Recipe

Join the List

Stay up to date & receive the latest posts in your inbox.

Reader Interactions

Comments

  1. Jasmin says

    June 7, 2020 at 12:49 am

    Hi!
    Could you please tell me the minimum depth the 8” pans will need to be?
    I have some but they are only about 1 and 1/2” deep, will they work?
    Thanks so much can’t wait to bake this cake

    Reply
    • Whitney says

      June 7, 2020 at 10:17 am

      Hi Jasmin! My 8-inch pans are 2 inches deep. Your shallower 8-inch pans will work fine as long as you fill them no more than 1/2 full (instead of 2/3 full as the recipe instructs).

      Reply
      • Jasmin says

        June 7, 2020 at 4:05 pm

        Thanks so much for your quick response!

        Reply
  2. Ashley says

    May 1, 2020 at 10:59 am

    Hi Whitney,

    We love using our bundt cake pans for making cakes. My little one loves all of the curves that our pan creates. Can this recipe be adapted for a bundt cake pan?

    Reply
    • Whitney says

      May 1, 2020 at 5:21 pm

      Hi Ashley! I’ve never tried baking a layer cake recipe in a bundt pan before, so I can’t say for sure how it will turn out. After some Googling it seems like a layer cake recipe like this one will work in a bundt pan if you bake at 350 for 45-50 minutes. Be sure to fill the pan no more than 1/2 to 2/3 full. Let me know how it goes if you try it!

      Reply
  3. Meleia says

    April 14, 2020 at 8:58 pm

    Hi Whitney!

    I have three 9″ pans, will this recipe work ok for this size or do I need to 8″ pans? BTW I am making a cake for boy/girl twins birthday cake.

    Thank you!

    Reply
    • Whitney says

      April 14, 2020 at 10:39 pm

      Hi Meleia, it should work fine to divide this recipe equally between three 9 inch pans. I usually fill my 8-inch pans about 2/3 full, which yields baked cake layers that are about 2 inches tall. So with 9 inch pans, your cakes will be somewhere around 1.5 inches tall once baked, but it will totally work. Let me know how it goes!

      Reply
  4. Desiree Justice says

    March 7, 2020 at 4:46 am

    I am so confused, even after reading the recipe and comments multiple times. Does this recipe, minus the jimmies, make enough batter for 3/ 8″ round pans?

    Reply
    • Whitney says

      March 10, 2020 at 7:58 pm

      Hi Desiree! Yes, this recipe makes enough for three 8-inch rounds as specified in the recipe directions. I originally wrote it for three 6-inch rounds, but it truly makes enough batter for three 8-inch rounds, which is why I added that size to the directions.

      Reply
  5. Nili says

    March 4, 2020 at 8:33 am

    Hi Whitney

    I had made the vanilla cake smash recipe from your blog and it worked perfectly. I doubled the recipe as i needed to fill two 6-inch x 3 inch springform pans.

    I now wanted to make a tiered cake. I was thinking of using double the vanilla cake smash recipe for the top tier with sprinkles and then this recipe for the bottom tier. My pan for the bottom tier is 8 inch x 3 inch springform pan. Do i double this recipe to make 2, 8 inch pans?

    Thanks!

    Reply
    • Whitney says

      March 5, 2020 at 10:09 am

      So happy you love the vanilla smash cake recipe, Nili! This funfetti cake recipe is essentially the same as the vanilla smash cake recipe, and will make enough for two 8-inch pans as-is. If you double it, you’ll have enough for all the layers you need (top tier included)!

      Reply
      • Nili says

        March 6, 2020 at 11:33 am

        Thanks Whitney! I’m making it tonight. Fingers crossed! 🙂

        Reply
  6. Courtney says

    January 21, 2020 at 9:10 am

    5 stars
    Hi Whitney!

    Love this recipe! I made it a few times now! Wondering if you could provide a link for the great cake stand? It’s so hard to find in smaller diameter and height. Thx!

    Courtney

    Reply
    • Whitney says

      January 21, 2020 at 3:37 pm

      Hi Courtney! So happy you love this recipe as much as I do! The cake stand was a gift from my sis in law years ago and I can’t find the exact one online anymore, but this one on Amazon is super similar and the same size: https://amzn.to/2Ry1dQ6

      Reply
  7. Araceli says

    January 19, 2020 at 9:16 am

    How can I made a raspberry and chocolate buttercream for this cake?

    Reply
    • Whitney says

      January 20, 2020 at 1:19 pm

      Hi there! I have recipes for both of those buttercream flavors. Here is the raspberry buttercream recipe: https://sugarandsparrow.com/raspberry-buttercream-recipe/ and here is the chocolate buttercream recipe: https://sugarandsparrow.com/chocolate-buttercream-recipe/

      Reply
  8. Jess says

    November 28, 2019 at 12:36 pm

    Hi Whitney,
    Thanks so much for your blog! I’m wondering how long your cakes keep in the fridge once frosted? Wondering how far I can make ahead of my daughter’s birthday party!!
    Also do you have any tutorials on cutting a cake of this size?
    Many thanks!!
    Jess

    Reply
    • Whitney says

      December 2, 2019 at 10:52 am

      Hi Jess! So happy to hear you’re loving the blog 🙂 Once a cake is frosted, you can store it in the refrigerator for a day or two and it’ll be fresh for the birthday party! I usually frost and decorate my cakes the night before a party, but you could definitely do two nights before and still have a fresh cake. Just make sure you bring it to room temp by taking it out at least an hour before serving. I don’t have tutorials on cutting a cake (that’s a great idea for the future!), but this video is super helpful: https://www.youtube.com/watch?v=F_6MbvKpBuc

      Reply
  9. Shanti says

    November 23, 2019 at 5:01 am

    Hi. Can this recipe be used to make cakes that will be decorated with fondant.?

    Reply
    • Whitney says

      November 25, 2019 at 8:55 am

      Hi Shanti! All of my cake recipes are great for using under fondant, this one included!

      Reply
  10. Sally says

    September 22, 2019 at 3:10 pm

    Hi!
    With the cake flour, I’m purchasing it and there is the option for plain flour or self raising flour type, which one should I purchase?
    Thank you

    Reply
    • Whitney says

      September 23, 2019 at 9:04 am

      Hi Sally! For cake flour, use the plain flour version (not the self rising). The self rising has baking powder added to it, so it will end up adding too much rising agent to cake recipes. The brands I love are Swans Down, Pillsbury Softasilk, and Bob’s Red Mill.

      Reply
      • Sally says

        September 24, 2019 at 9:21 pm

        Thank you so much. Can’t wait to make this. Im following the vanilla cake recipe and adding the cup of sprinkles to make a three layer 9inch cake. So excited for my nearly 2 year old little girl to blow out her candles on this cake. I’m

        Reply
        • Vicky says

          April 19, 2021 at 2:45 pm

          Hi,

          I am wanting to make 3 x layers (1.5inch thick) using 7inch tins. Is this recipe okay for this or do I need to increase the re pie?

          Reply
          • Whitney says

            April 20, 2021 at 2:51 pm

            Hi Vicky! This recipe will make a little more than enough for pans of that size as-is. Just be sure to fill them no more than 2/3 of the way full. Enjoy!

  11. Ashley N says

    July 12, 2019 at 12:47 pm

    5 stars
    Seriously delish! I was doubtful of the 5 eggs – but it was amazing! It’s a lot of cake batter though, much more than the normal cake box amount.
    I’ve got a bag of it and the vanilla buttercream frosting sitting in my fridge. Wondering how long it’ll keep and/or if I can put it in the freezer. Do you know?

    Reply
    • Whitney says

      July 12, 2019 at 2:51 pm

      Thanks Ashley! What size cake pan and how many layers did you make? I usually make this recipe in three 6-inch pans and only have a little bit of batter left over – enough for a few cupcakes. The sad news is that cake batter won’t keep. The fridge/freezer alters the chemistry of the cake so it’s no good after you first make it.

      Reply
    • Ruth says

      August 16, 2022 at 11:15 am

      Hi from the UK, Whitney! My stepdaughter has asked me to make a cake for her baby shower and I’d like to use this recipe to make three 8” cakes. In the instructions, you say to prepare three 8” tins but in the comments you mention you usually use it to make three 6” cakes. As I want the layers to be reasonably deep, will the quantities here be enough for 8” cakes? Thank you.

      Reply
      • Whitney says

        August 16, 2022 at 8:46 pm

        Hi Ruth! This recipe makes enough for three 8-inch layers that end up being about 2 inches deep. That comment about the 6-inch layers might have been an old one, cause this makes enough for 4 6-inch layers but when I initially wrote the recipe it was written for 3 6-inch layers. Hope that makes sense! Enjoy!

        Reply
        • Ruth says

          August 17, 2022 at 11:52 am

          Thank you so much for replying so quickly.

          Reply
        • Ruth says

          August 27, 2022 at 4:02 am

          Hi again Whitney. I’ve made this cake today ( minus sprinkles) and although it tastes really moist and buttery, the texture is very fragile. It’s not dry and crumbly but is breaking easily. I wondered whether the size of eggs could be to blame? I’ve used Uk large which weigh around 70g each in their shell. Do you have any advice, please? This is a trial run for the baby shower cake! Thank you.

          Reply
          • Whitney says

            August 30, 2022 at 2:48 pm

            Hi Ruth! Is the texture fragile while the cake is still warm? Or is it too light and fluffy at room temperature? If it’s breaking apart while warm I would recommend cooling to room temp before handling the cake layers. Also, I didn’t realize that UK eggs weigh more than US eggs, and after a quick google search it looks like one US large egg = one UK medium egg. It might be worth another go with medium eggs!

        • Ruth says

          September 7, 2022 at 12:40 am

          5 stars
          Hello Whitney. Just an update on my previous comment to let you know that using the medium eggs (UK) worked a treat. Following your YouTube series also gave me the confidence to decorate the baby shower cake with an ombré buttercream icing (your recipe again) , add a border of sprinkles and add swirls to the top. Unfortunately, I didn’t get to taste this one but my stepdaughter was over the moon with it and said it was absolutely delicious! Thank you.

          Reply
          • Whitney says

            September 14, 2022 at 7:43 pm

            Yay, Ruth! All of that makes me so happy! I’m so glad the recipe was a hit, worked well with the UK medium eggs, and you felt confident in your decorating after watching some tutorials 🙂 amazing job! And thank you for following up, it’s so helpful for me to know that egg sizes vary by location!

  12. Sara Young says

    July 5, 2019 at 12:37 pm

    Hi Whitney, your cakes are beautiful! Can I ask, in this photo the cake looks taller then most cakes. In the photo is it a 5 layer cake?

    Reply
    • Whitney says

      July 5, 2019 at 4:28 pm

      Hi Sara! Thanks for the kind words! It’s a three layer 6-inch cake. Ends up being about 5.5 inches tall with the frosting.

      Reply
  13. Bea says

    June 25, 2019 at 8:40 pm

    Hi can I use this recipe for cupcakes? How would that work?

    Reply
    • Whitney says

      June 26, 2019 at 9:33 am

      Hi Bea! This recipe works wonderfully as cupcakes! Just fill the cupcake tins about 2/3 full and bake for 17 minutes at 350.

      Reply
      • Alexa says

        April 18, 2024 at 6:25 pm

        Hi Whitney, I’m wanting to make this as cupcakes as well – do you know approx how many this would make? Thank you!

        Reply
        • Whitney says

          May 2, 2024 at 8:36 pm

          Hi Alexa! This recipe makes about 35-40 cupcakes. Enjoy!

          Reply
  14. Tori says

    June 25, 2019 at 1:13 pm

    Hi Whitney!

    I am making a 3 layer 9 inch cake for my son’s birthday and I’m trying to figure out how to increase this recipe. (It looks AMAZING!) You say this is the same as your vanilla cake, just with jimmies, but your vanilla cake, with 2 1/2 cups of flour, is for 2 8-inch rounds. This has 3 3/4 cups of flour and is for 3 6-inch rounds. My confusion stems from the fact that 3 6-inch rounds should require 12 cups in volume, the exact same as 2 8-inch rounds. Where is the discrepancy in the recipe? Or in my calculations? What am I missing?!

    Thanks for your help!

    Reply
    • Whitney says

      June 25, 2019 at 1:59 pm

      Hi Tori! I always like to bake tall layers (at least 2 inches tall), so that’s why this recipe creates a little more batter than the vanilla cake recipe for the double layer 8 inch. To make a 3 layer 9 inch cake, I would double the vanilla cake recipe and add 1 Cup of rainbow sprinkles. You’ll probably have some extra batter, but in my opinion it’s better to have a little more batter and have taller layers that you can trim down instead of having three shorter layers.

      Reply
  15. Whitney says

    June 21, 2019 at 9:34 am

    Hi Amy! You’re right – this recipe is almost identical to the matcha cake. I added more sour cream to this recipe to make it a little more moist, but you can totally go with the 112g instead of 168g of sour cream.

    Reply
« Older Comments
Newer Comments »

Leave a Reply Cancel reply

Your email address will not be published. Required fields are marked *

Recipe Rating


Next Post >

Reflecting On My Cake Journey + Lessons Learned

Primary Sidebar

Welcome to Sugar & Sparrow

Welcome to Sugar & Sparrow

Helping you whip up pretty desserts with confidence and creativity. And hopefully sharing a few laughs with you along the way!

Learn More

Connect

let’s bake!

Get my very best recipes, baking tips, and decorating tutorials sent to your inbox

Featured Posts

gold cake paint

The Best (FDA Approved) Metallic Gold Buttercream Finish

oreo cookies and cream cake

Oreo Layer Cake Recipe

easy smores icebox cake recipe

Easy S’mores Icebox Cake (No-Bake!)

Search

Archives

Follow Along

@sugarandsparrowco

Everything I baked in June☀️I was so motivated to Everything I baked in June☀️I was so motivated to bake this month (summer flavors had me INSPIRED!) and could barely keep up with myself but I ended up publishing 7 new recipes on my website + finalized 5 more that will be up ASAP! 

Comment “JUNE” to get all the recipes that are available now:

-Cookie Dough Ice Cream Cake
-Rocky Road Cupcakes (w/ homemade marshmallow creme filling!)
-Blackberry Lavender Cake
-Homemade Blackberry Filling
-Whipped Cream Cheese Frosting
-Strawberry Shortcake Cookie Bars
-Berries & Cream Sheet Cake

https://sugarandsparrow.com/everything-i-baked-in-june
 
#cake #bakersofinstagram #baking #bakinglove #cakedecorating
WHIPPED CREAM CHEESE FROSTING ☁️ this easy 4-ingre WHIPPED CREAM CHEESE FROSTING ☁️ this easy 4-ingredient whipped cream frosting is deliciously light, comes together SO easily, and is stabilized with cream cheese to make it the perfect thick consistency for filling and frosting cakes and cupcakes!! It’s so good with my strawberry shortcake sheet cake and berries & cream cake and I have a feeling I’m going to be whipping it up for many more summer cakes😍

Full recipe with cake pairing suggestions at https://sugarandsparrow.com/whipped-cream-cheese-frosting/ 

INGREDIENTS 
1 Cup (8oz, 226g) full-fat brick-style cream cheese, cold
1 Cup (120g) powdered sugar
1 tsp pure vanilla extract
2 1/2 Cups (600ml) heavy whipping cream, cold

INSTRUCTIONS
1. Chill the bowl of your stand mixer (or the large bowl you’ll be using with your hand mixer) into the refrigerator for 20 minutes.
2. Into the cold mixing bowl, add the cream cheese and beat on medium speed with the whisk attachment until creamy, 2 min. Add the powdered sugar and mix on low speed until mostly incorporated, then turn the mixer to medium-high speed and mix for 1 min.
3. Add the vanilla extract, then turn the mixer to medium-high speed and slowly pour in the heavy whipping cream (down the side of the bowl so it doesn’t fly everywhere). Once all the cream is added, continue mixing on medium-high for just about 30 seconds longer, keeping a close eye on the mixing bowl to watch it thicken. It should come together into a thick, silky frosting consistency at this point, where you can dip the whisk into the frosting and it holds a slight peak when you hold it upright.
4. Use the frosting immediately to decorate cakes and/or cupcakes for best results!

#whippedcreamfrosting #creamcheesefrosting #cakedecorating #whippedcream #frosting
TOP 10 4TH OF JULY DESSERTS 🎆 These are just a few TOP 10 4TH OF JULY DESSERTS 🎆 These are just a few of my favorite summer dessert recipes that will disappear at any Fourth of July celebration.

Comment “JULY” and I’ll send you all 20+ of my favorite 4th of July dessert ideas – naturally red white and blue desserts like my berries and cream cake, easy no-bake desserts, no-churn ice cream, strawberry shortcake inspired recipes, and all the treats that will go FAST at any barbecue.

https://sugarandsparrow.com/4th-of-july-desserts/

#fourthofjuly #4thofjuly #summerdessert #partycake #dessertideas
STRAWBERRY SHORTCAKE COOKIE BARS 🍓my hot take: str STRAWBERRY SHORTCAKE COOKIE BARS 🍓my hot take: strawberry shortcake toppings on a buttery, soft sugar cookie base is WAY BETTER than traditional strawberry shortcake. I topped my favorite sugar cookie bar recipe with silky whipped cream cheese frosting + homemade strawberry sauce and now I’m ruined 😵

Full recipe is linked in my bio + at https://sugarandsparrow.com/strawberry-shortcake-cookie-bars/ 

SOFT SUGAR COOKIE BARS
2 Cups + 2 Tbsp (283g) all purpose flour
1 tsp baking powder
1/2 tsp baking soda
1/2 tsp salt
3/4 Cup (170g) unsalted butter, room temp
1 Cup (200g) granulated sugar
1 large egg
1 large egg yolk
1 1/2 tsp pure vanilla extract

1. Preheat the oven to 350ºF (177ºC). Grease and line an 8-inch square baking pan with parchment paper, leaving a slight overhang for easy release.
2. Whisk together the flour, baking powder, baking soda, and salt. Set aside.
3. Using a stand mixer with the paddle attachment (or hand mixer) cream together the butter and sugar on high speed until pale and fluffy, 2-3 min.
4. Turn the mixer to medium and add the egg, egg yolk, and vanilla. Mix until combined, then add the flour mixture and mix on low speed until a uniform cookie dough forms.
5. Press the cookie dough into the prepared pan in an even layer, all the way to the edges. Bake for 18-20 minutes, until the edges are just starting to brown. 
6. Cool the sugar cookie bars in the pan for 30 minutes, then transfer to a wire rack to cool completely. Top with whipped cream cheese frosting and strawberry sauce (full recipe linked in my bio!)

#strawberryshortcake #strawberries #whippedcreamfrosting #cookiebars #sugarcookies
BLACK FOREST CAKE 🍒 this is my favorite thing to m BLACK FOREST CAKE 🍒 this is my favorite thing to make during cherry season! My version is decadent chocolate cake soaked with homemade cherry syrup, fresh cherry filling, and whipped cream frosting. Top it with a chocolate ganache drip if you want to go the extra mile! 

Full recipe + decorating tutorial is linked in my bio + at https://sugarandsparrow.com/black-forest-cake-recipe/

PS I’m working on a sheet cake version of this recipe that’s even easier! Stay tuned.

#blackforestcake #cherrycake #chocolatecake #cherries #cakedecorating

Footer

On the Blog

  • Cake Basics
  • Recipes
  • Tutorials

Info

  • About
  • Privacy Policy & Disclosure

stay in the know

Copyright © 2026 · Theme by Sugar & Sparrow