
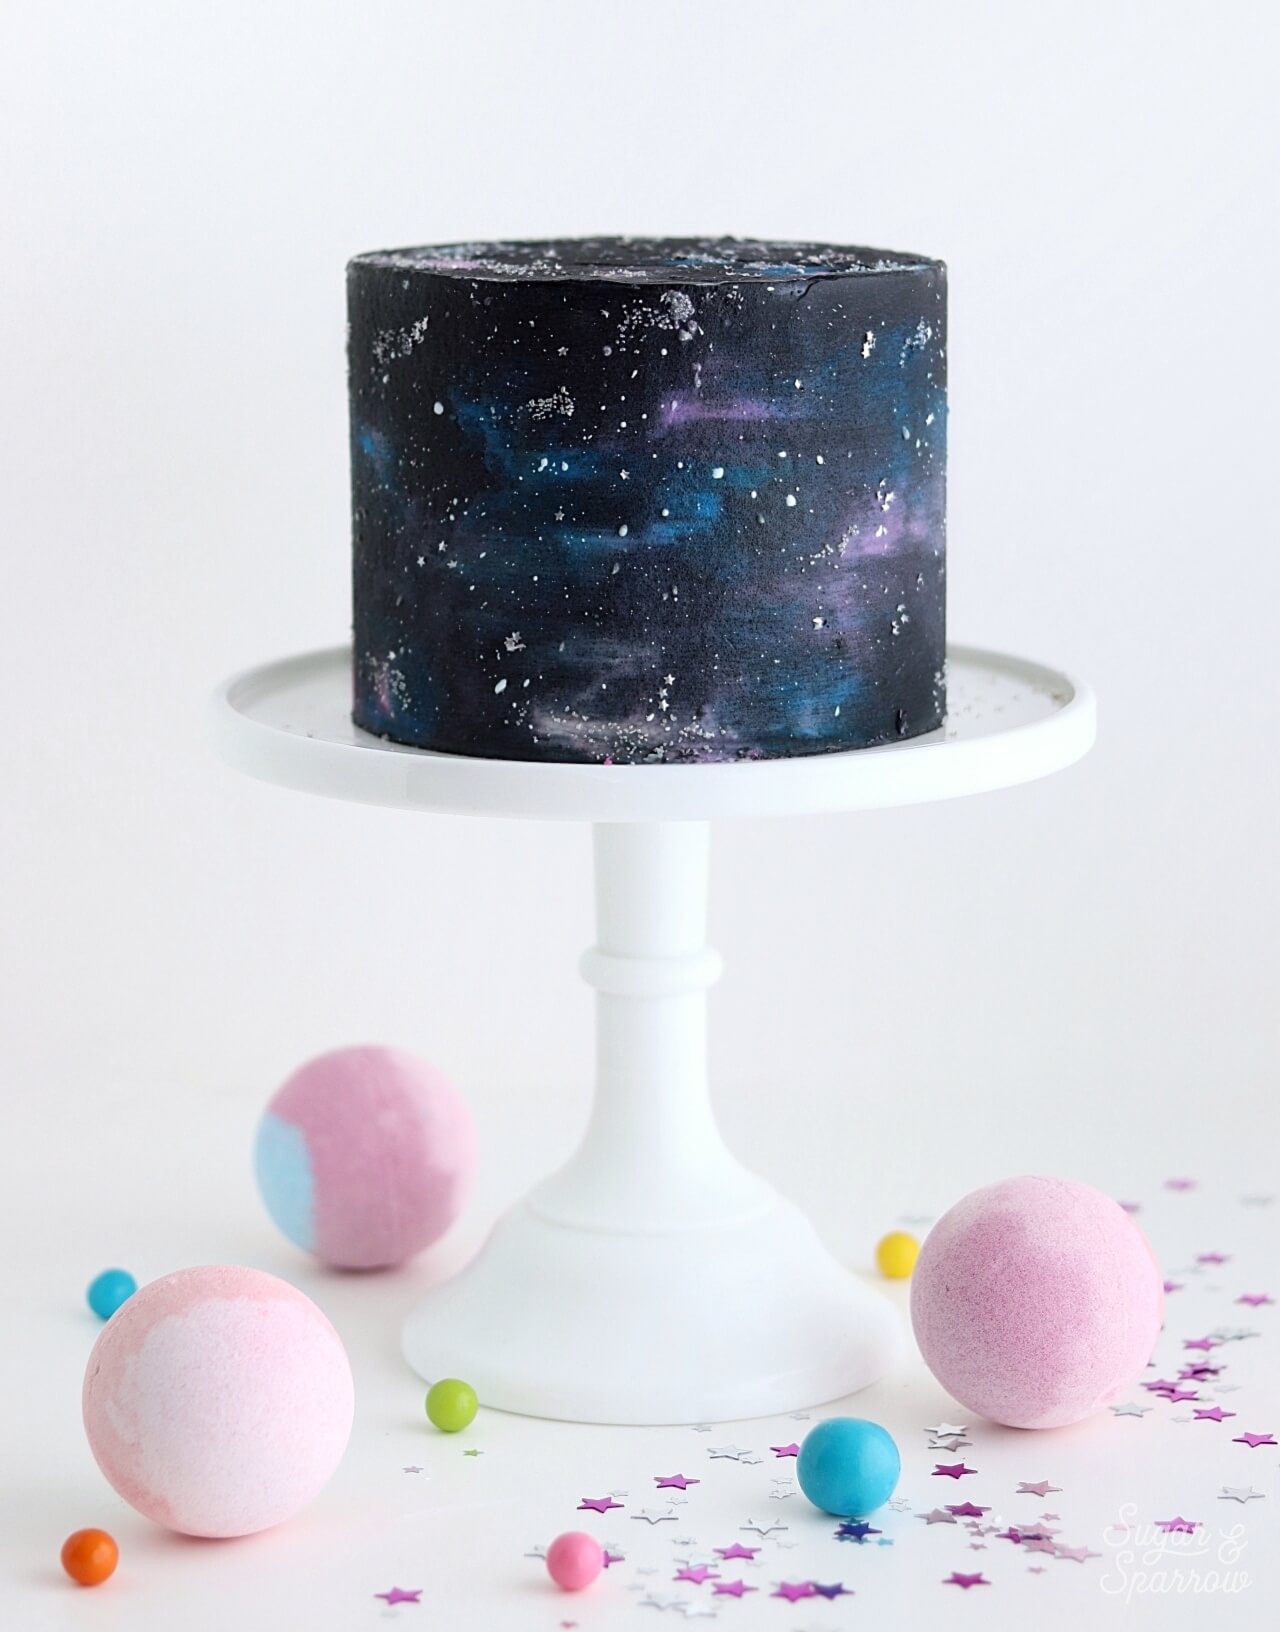
If you were offered a ticket to space, would you go? I totally would (even though I’d be terrified) because I have always been captivated by all things space. The planets, the stars, the crazy colors, the final frontier – it would all be worth floating around in a spaceship and eating weird food just so I could see it all up close! So far, the closest I can get is channeling my love for space into an out of this world Galaxy Cake!
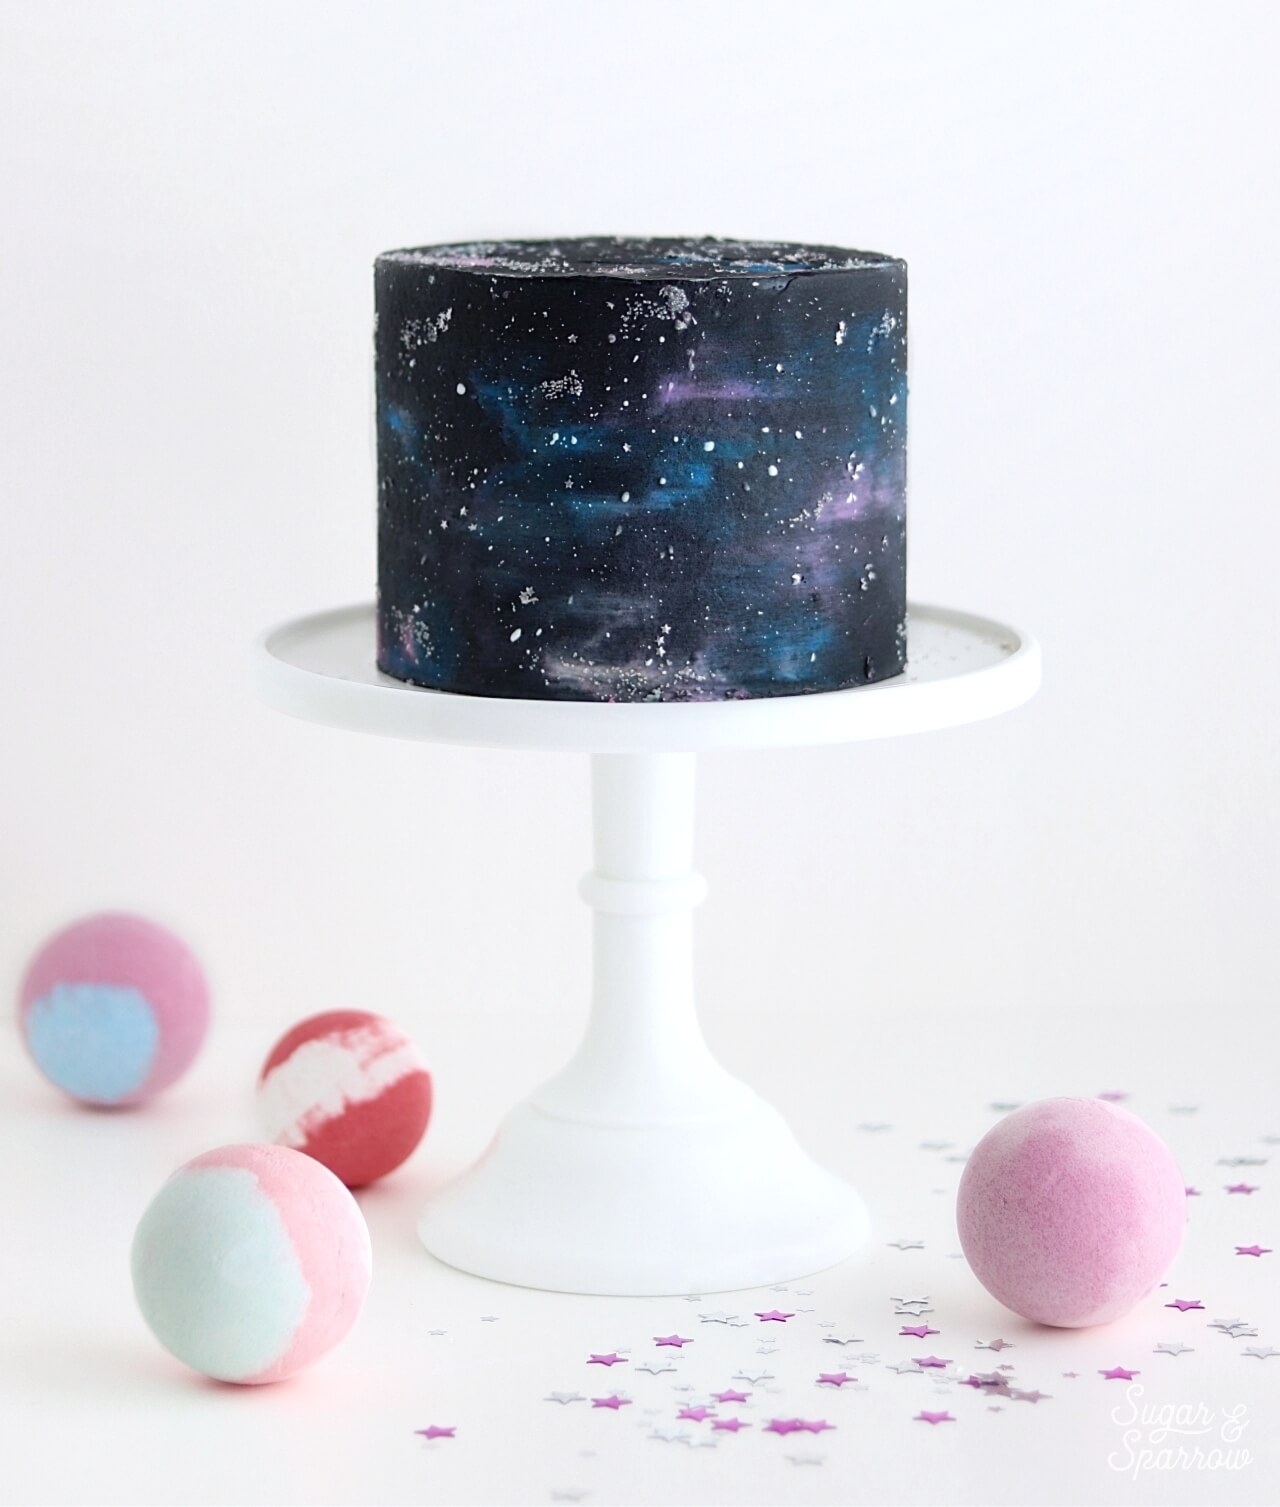
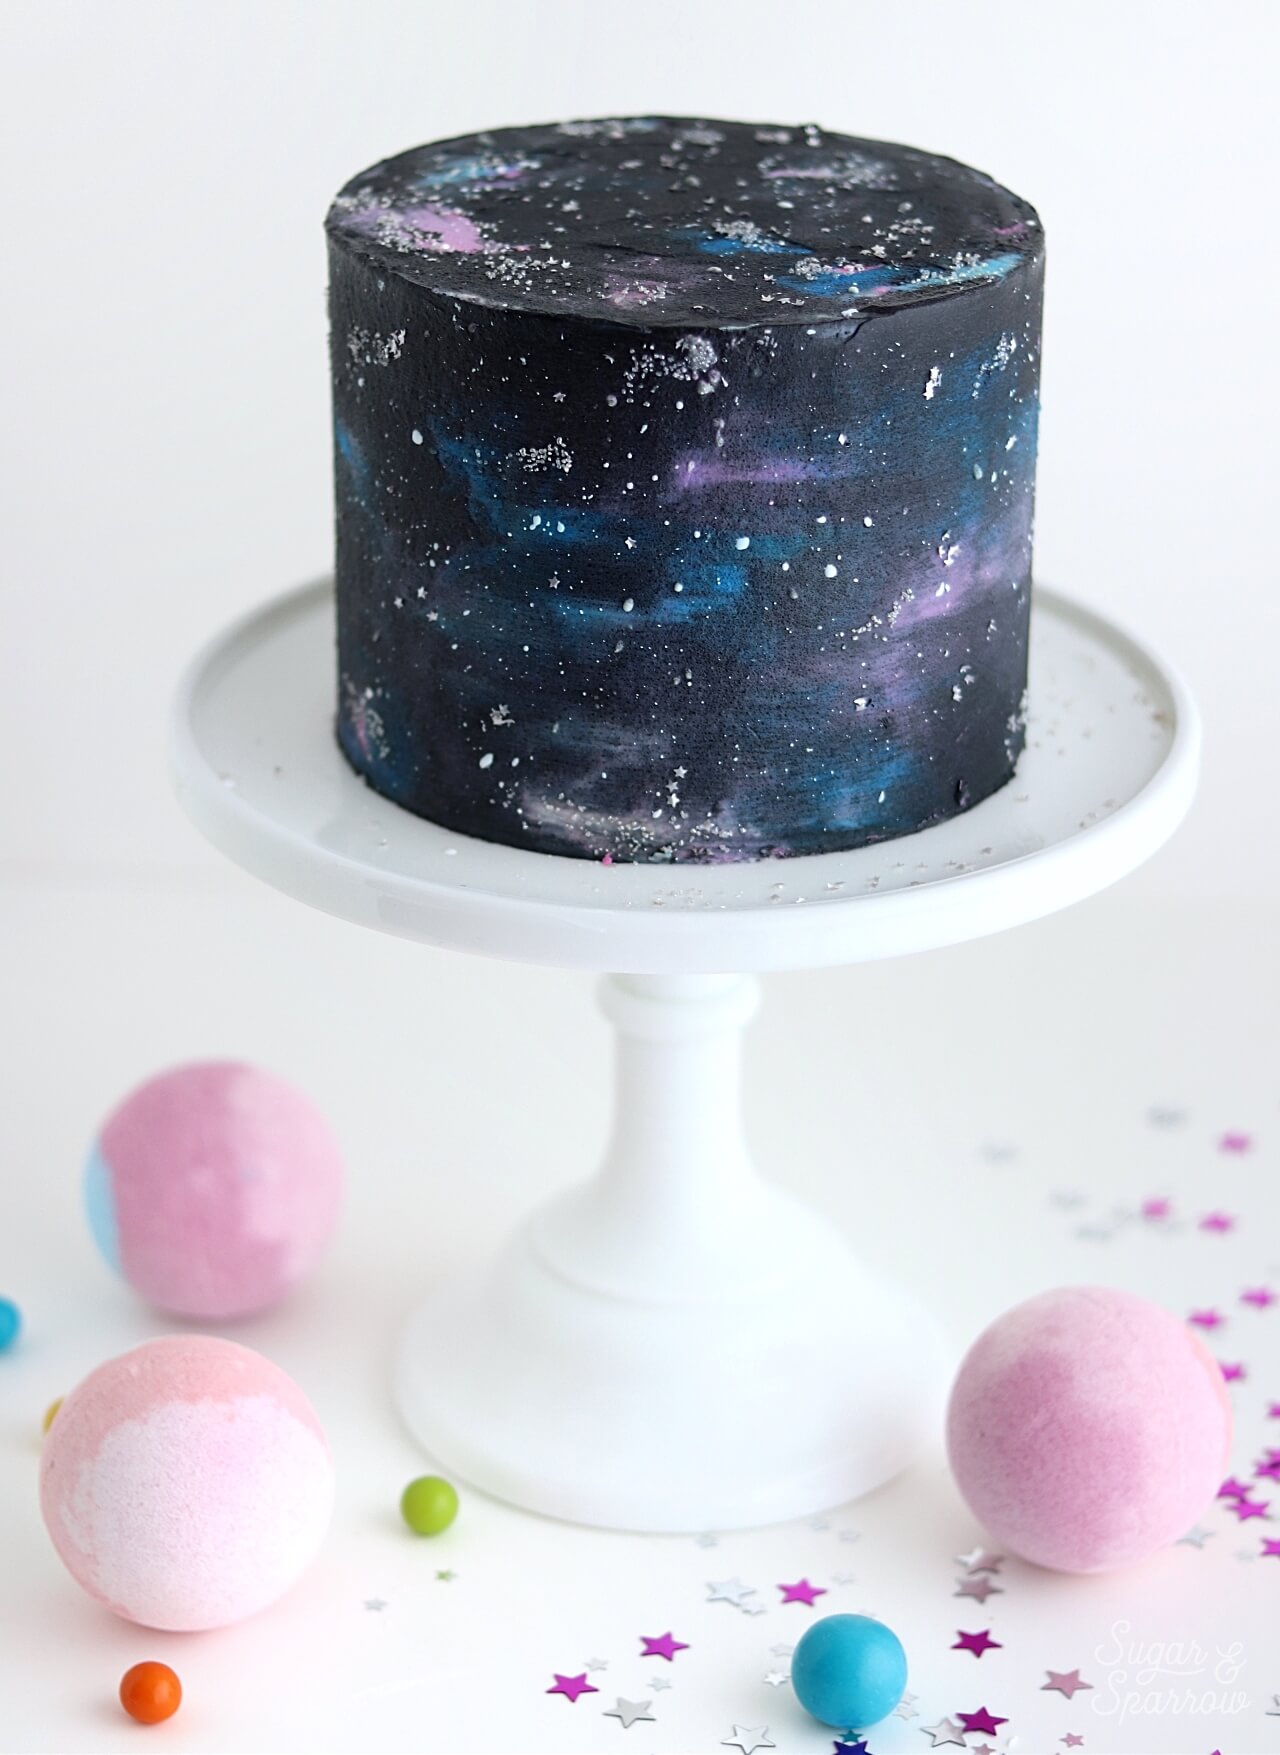
Cool, right?! Whether you’re needing a buttercream backdrop for your next Star Wars cake or other space-themed creation, this technique was so quick and easy with a few supplies I picked up at my local JOANN store. From the space-colored buttercream to the star textures and sprinkle accents, I found everything I needed to get the look in a one-stop shop!
UPDATE 2025: JOANN has (sadly!!) gone out of business, so I have slightly changed these product links.
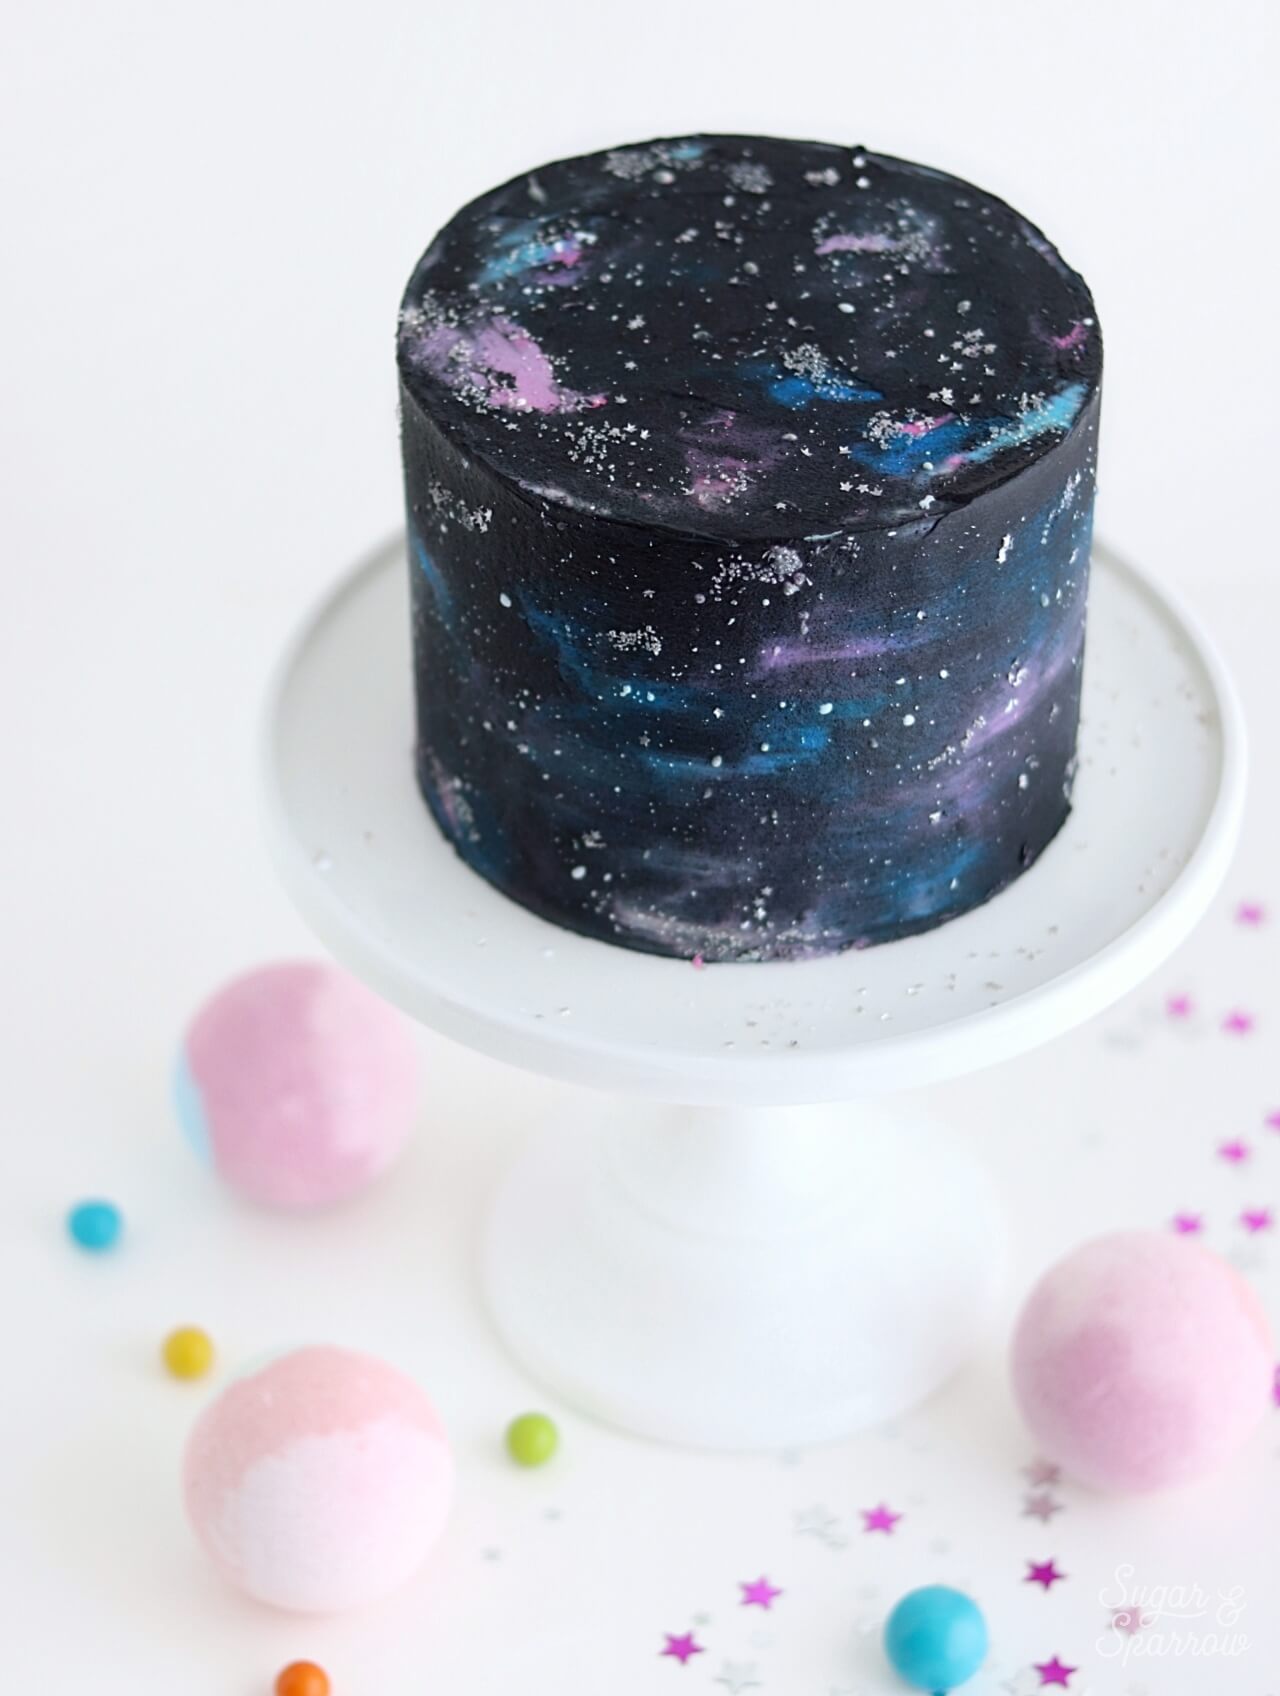
This Galaxy Cake all starts with a watercolor buttercream technique in a spacey colored palette: pink, blue, purple, and black. I first frost the pink, blue, and purple colors before adding the black over the top, which makes it so that you (surprisingly!) don’t need to use a lot of black frosting. In fact, it’s only about 1/2 Cup of black frosting that you can make with either a few drops of black food color gel or black cocoa powder if you don’t mind a little chocolate flavor.
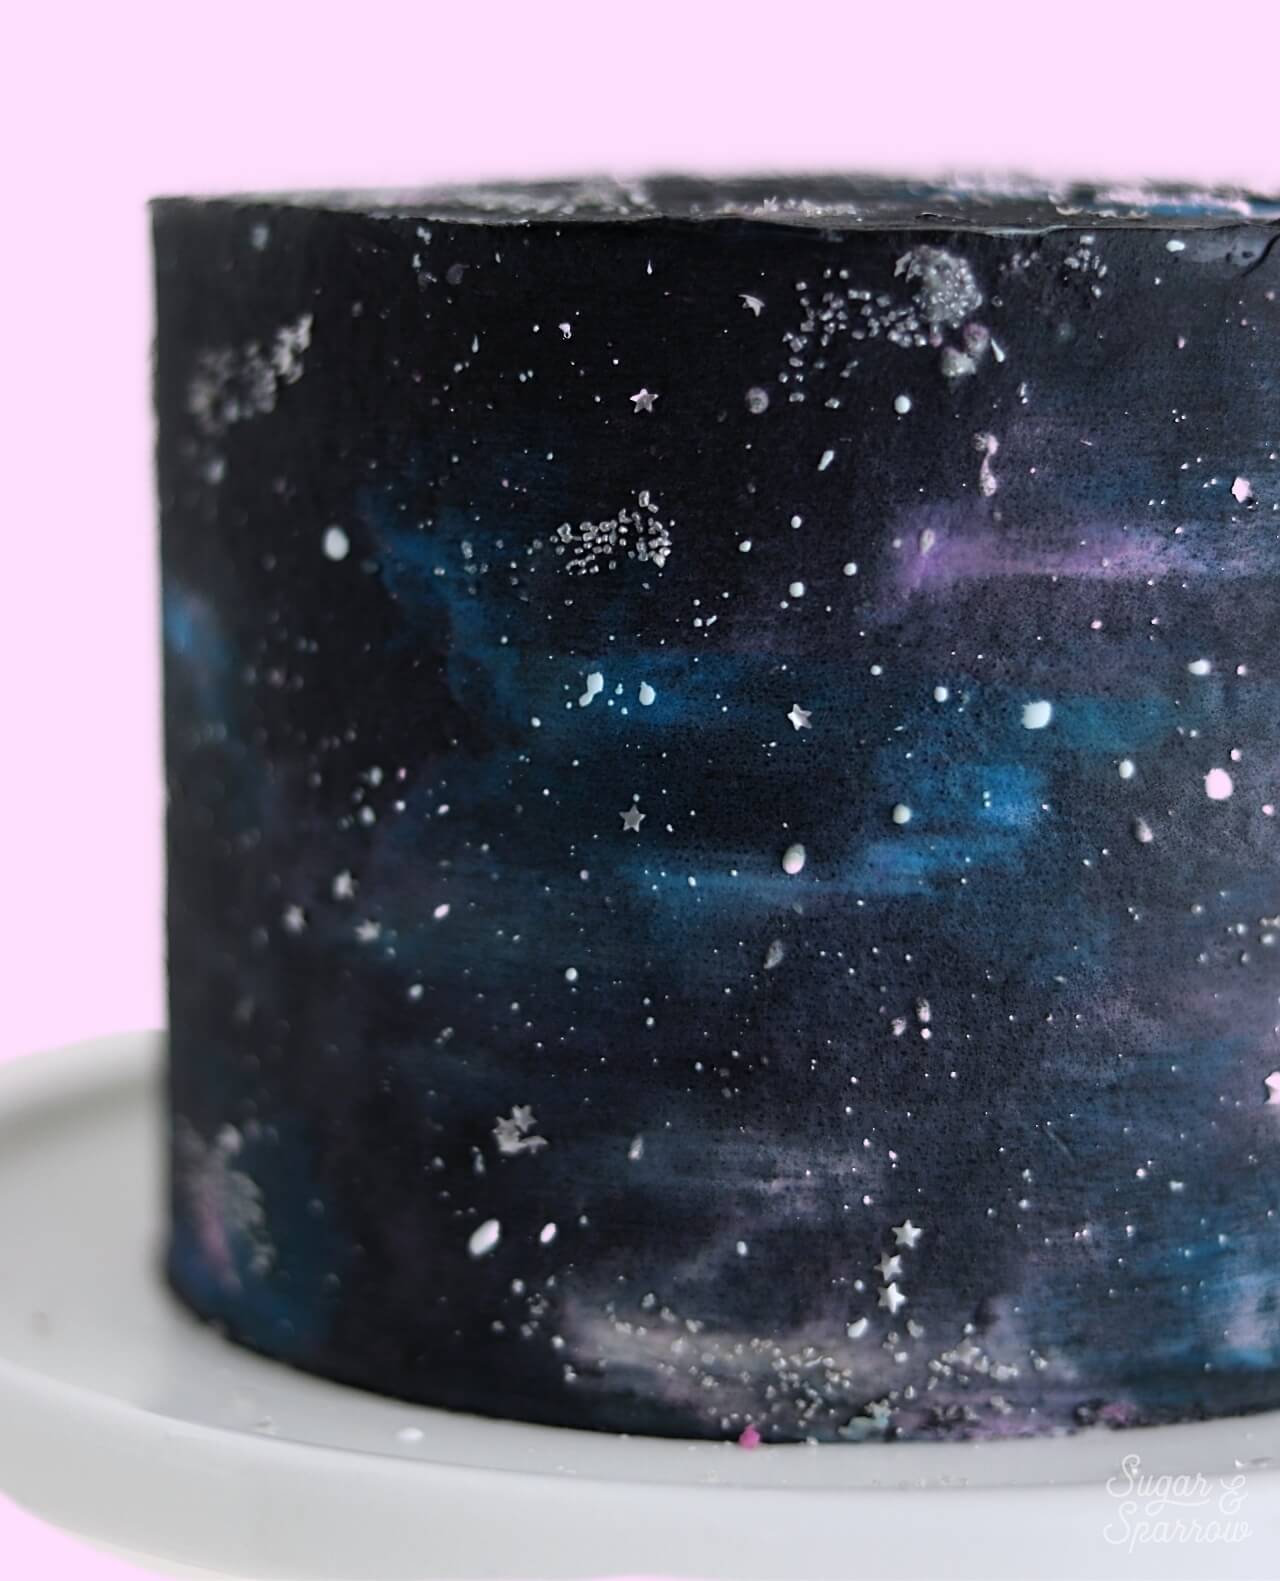
To really enhance the look of a star-filled galaxy, I splatter painted the cake with diluted vanilla buttercream, added these gorgeous Silver Edible Glitter Stars, and topped it all off with a few clusters of these Silver Sprinkles. It turned out so galactic!
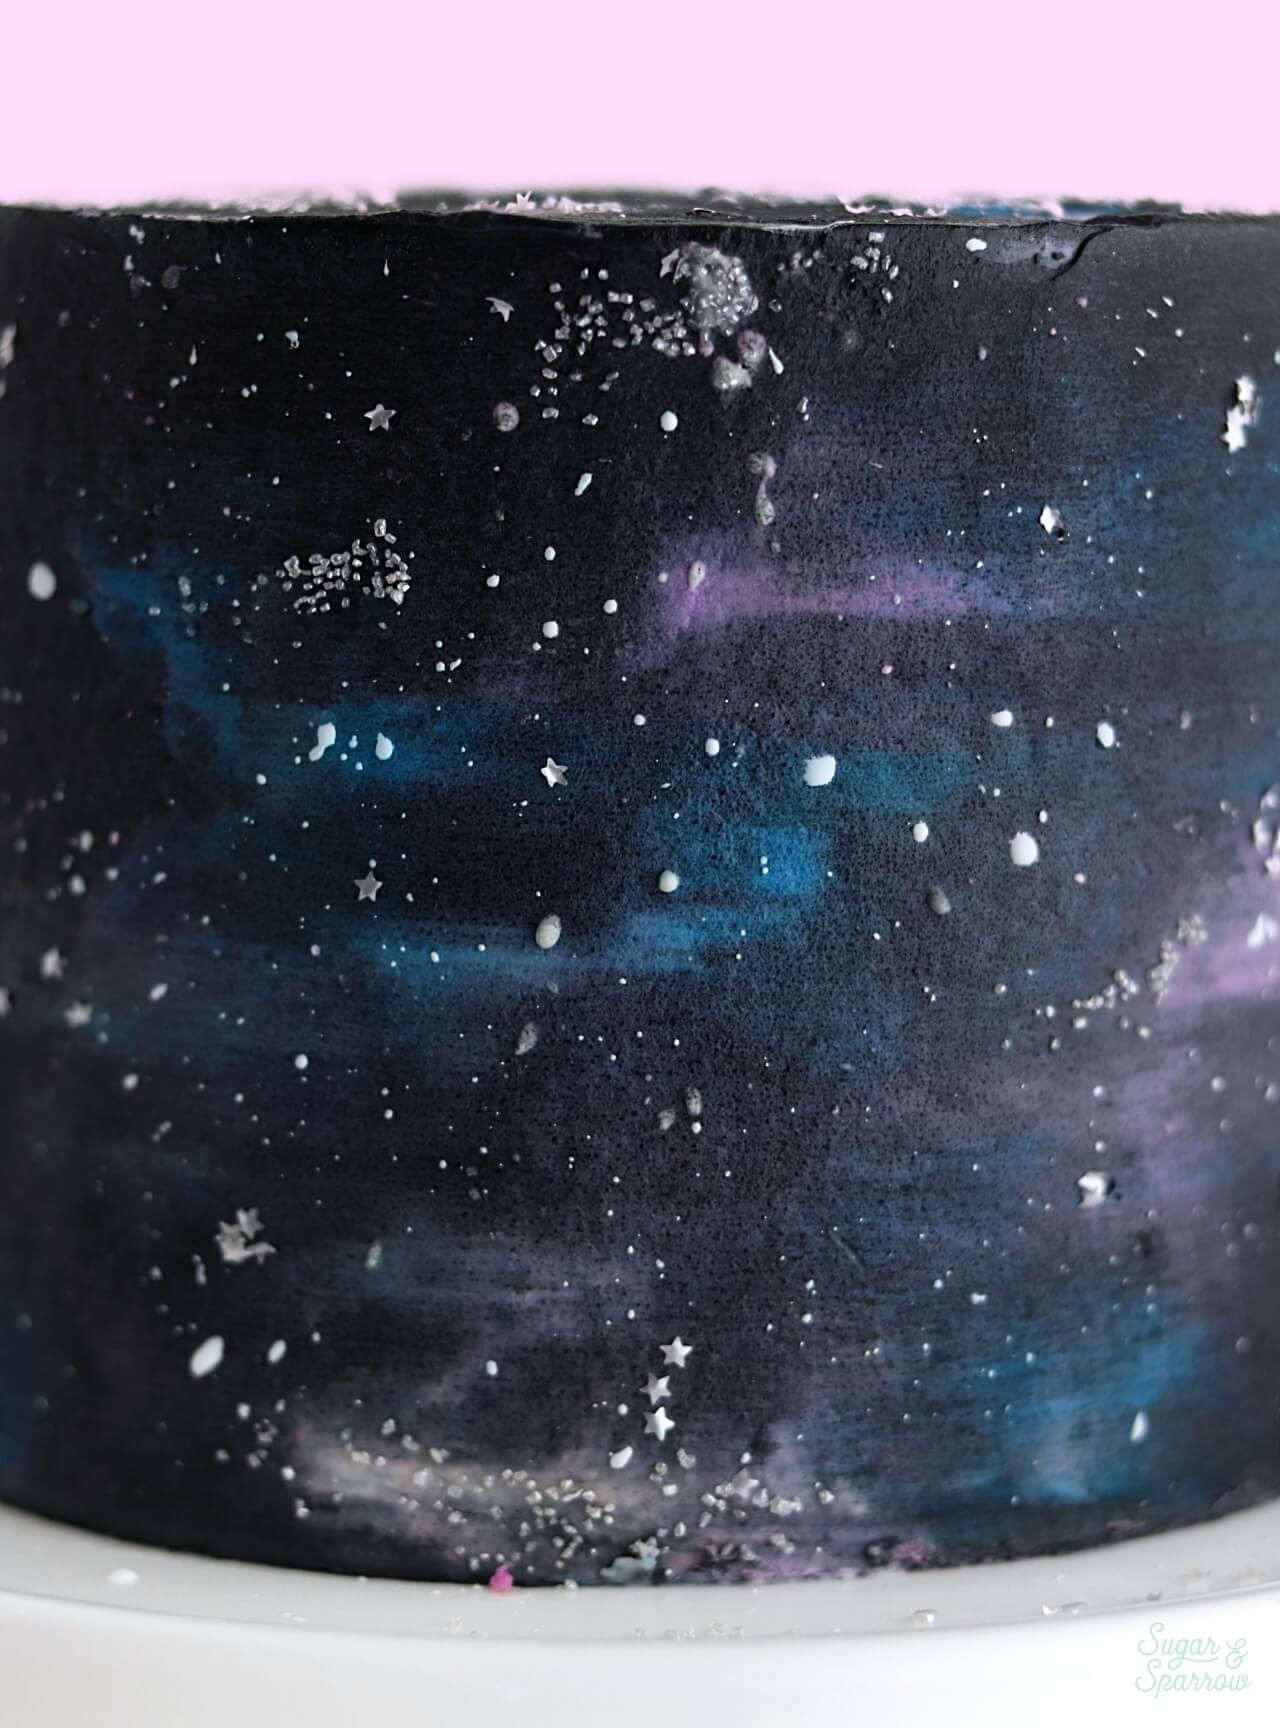
Here’s a quick video of the process so you can see all of the techniques in action before you read all about it below:
If you love tutorial videos like this one, be sure to check out my YouTube channel! I’ve got a growing collection of cake recipes, decorating tutorials, and Cake Basics over there. Hit the subscribe button on my page so you never miss a new video.
You Will Need:
- A 6-inch round cake that’s been crumb coated and chilled
- Cake turntable
- 1.5 batches of vanilla buttercream
- Food color gels in pink, purple, blue, and black (or black cocoa powder)
- Bowls and spoons for color mixing
- Angled Spatula
- Icing Smoother
- Food-Grade Paint Brush
- Wilton Silver Edible Glitter Stars
- Wilton Silver Sprinkles
- AmeriColor Bright White color gel
Step 1: Frost The Cake
With your crumb coated and chilled cake on the turntable, frost a thin layer of vanilla buttercream onto the top of the cake and smooth it down with your angled spatula.
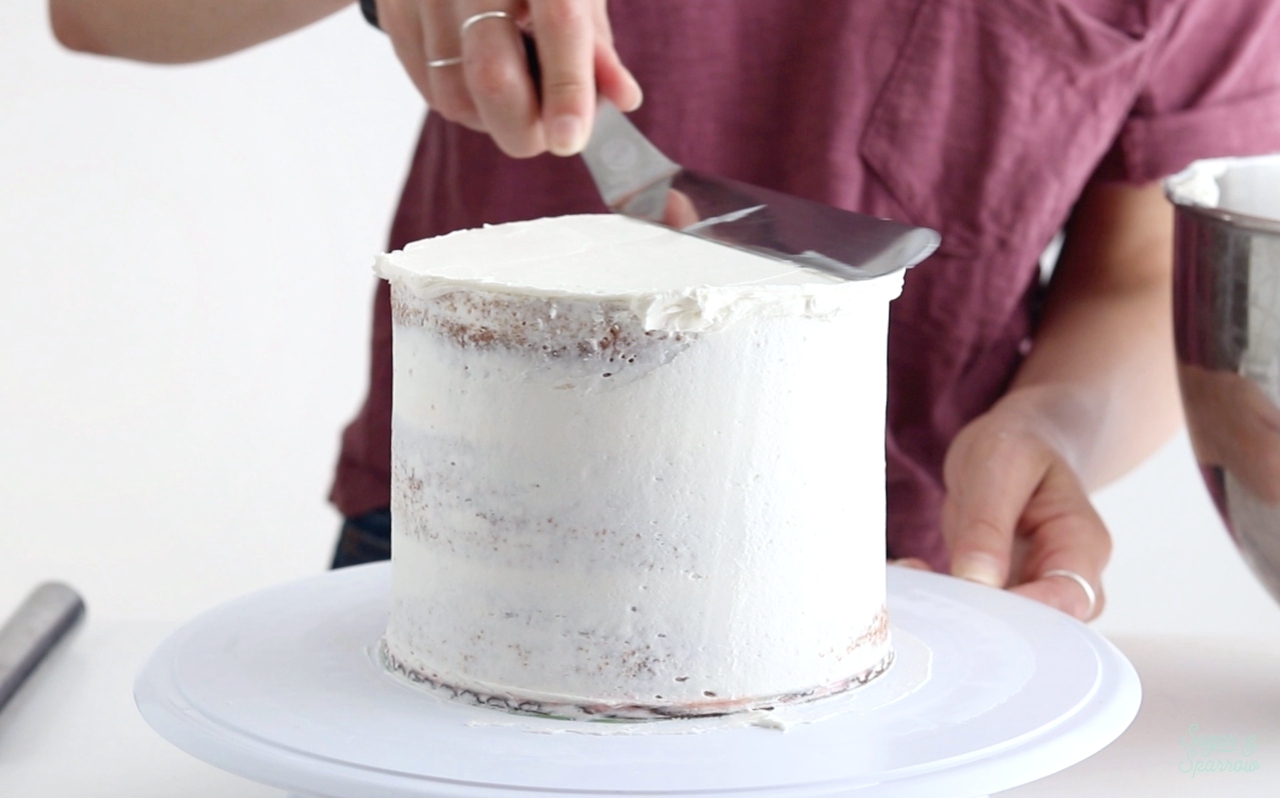
Add a thin layer of vanilla buttercream to the sides of the cake and smooth it with your icing scraper until the sides are smooth and even. Then, swipe the crown of buttercream that appears around the top edges of the cake inward to create sharp edges.
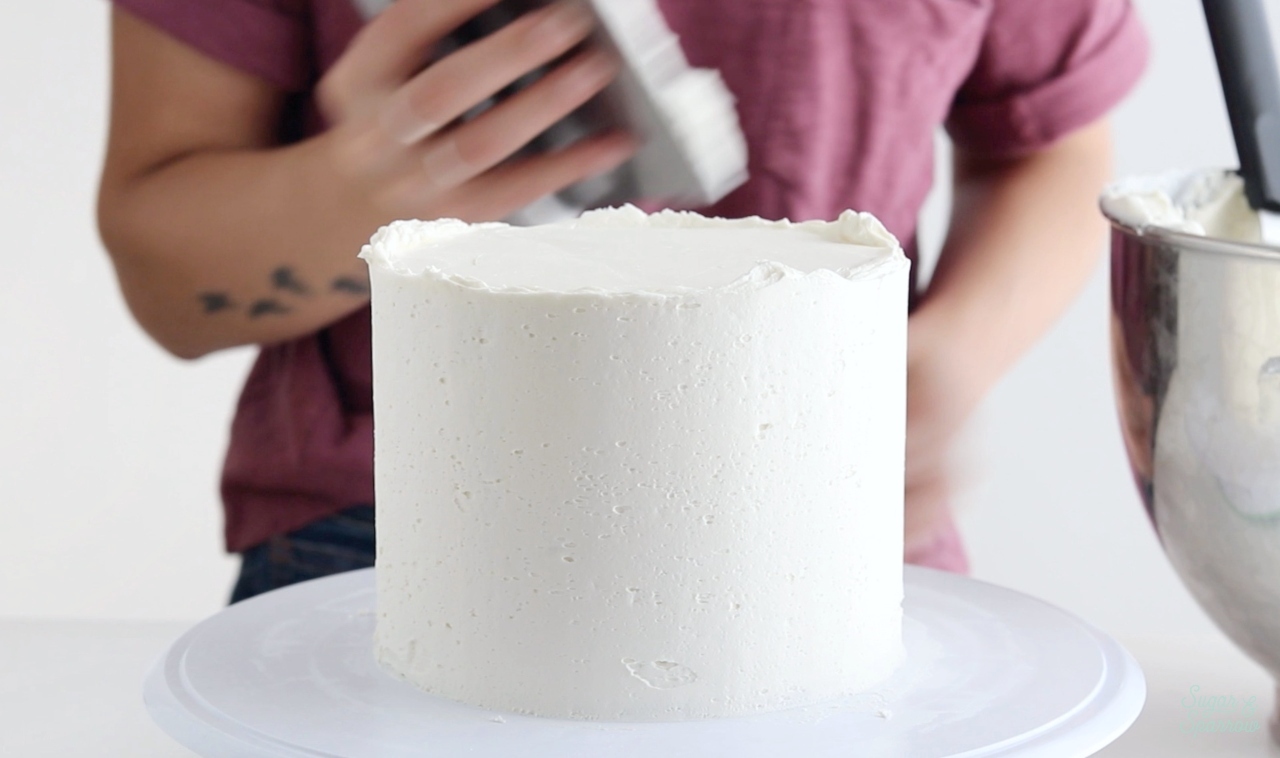
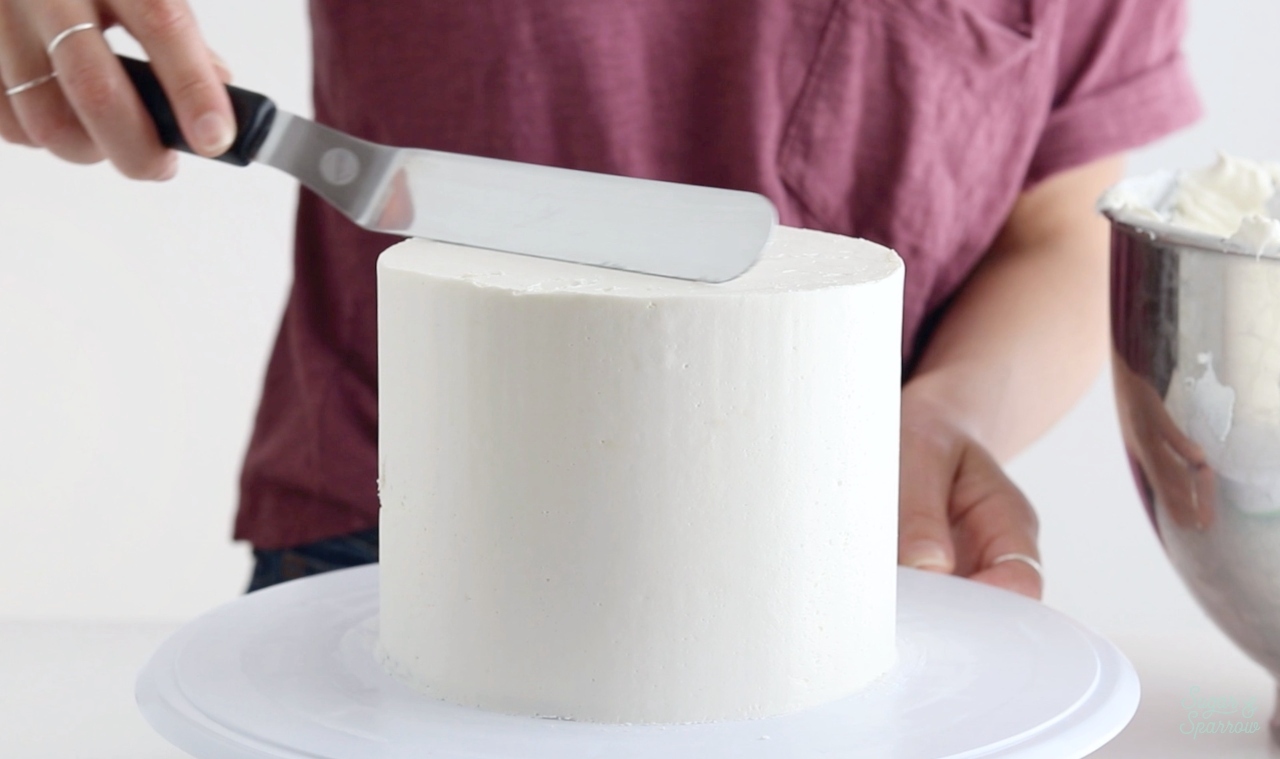
At this point, I like to chill the frosted cake for about 20 minutes to let the buttercream set up. Frosting white buttercream underneath the galaxy finish saves on the amount of black buttercream you’ll need to use to cover it. Aka, no black stained teeth once you get to eat it!
Step 2: Color The Buttercream
While the frosted cake is chilling in the refrigerator, it’s time to mix up your space-themed color palette. Divide the remaining buttercream into four separate bowls.
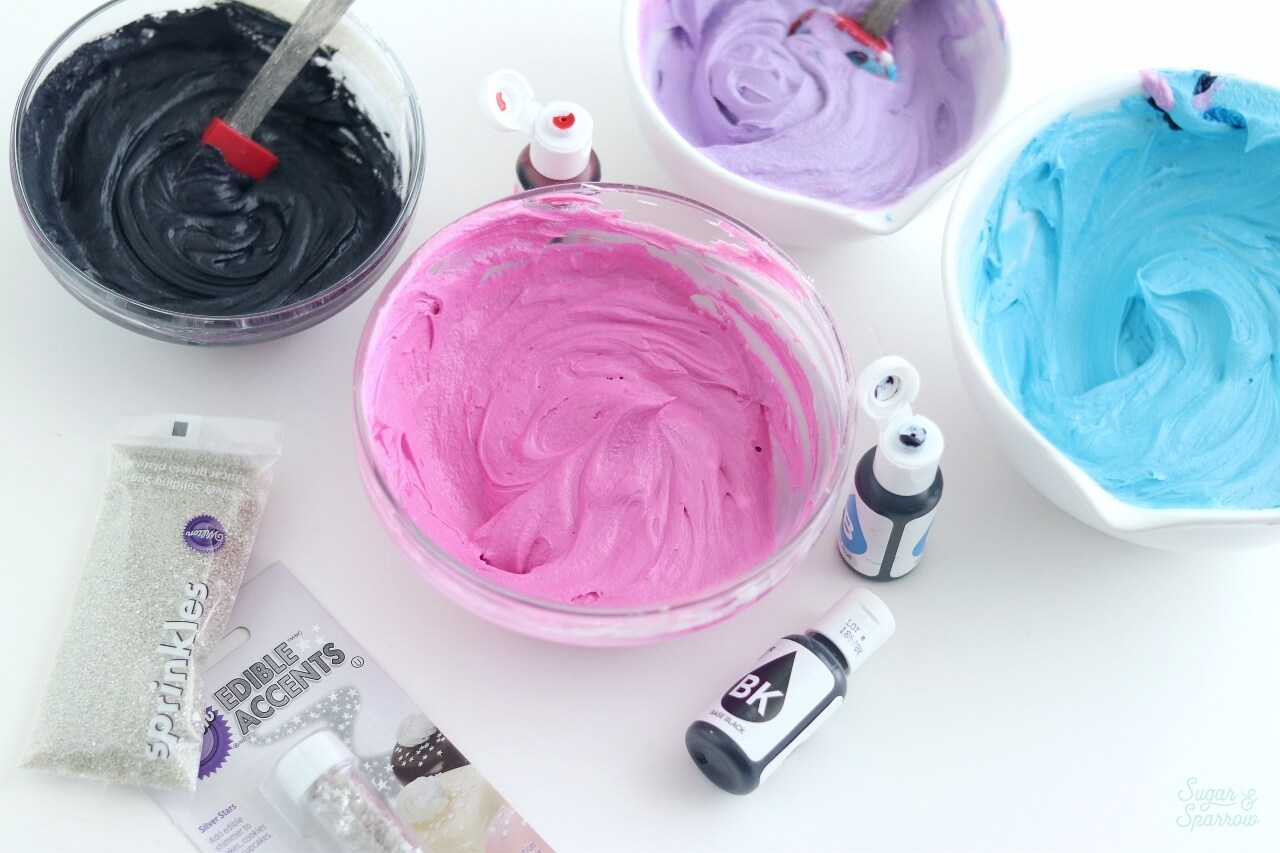
Using the mix a little pink food color gel into one bowl, a little blue into another, and purple into the third bowl. In the last bowl, add a few drops of black food color gel or black cocoa powder and mix it up until you’ve got a deep black tone.
Step 3: Create The Galaxy Buttercream Finish
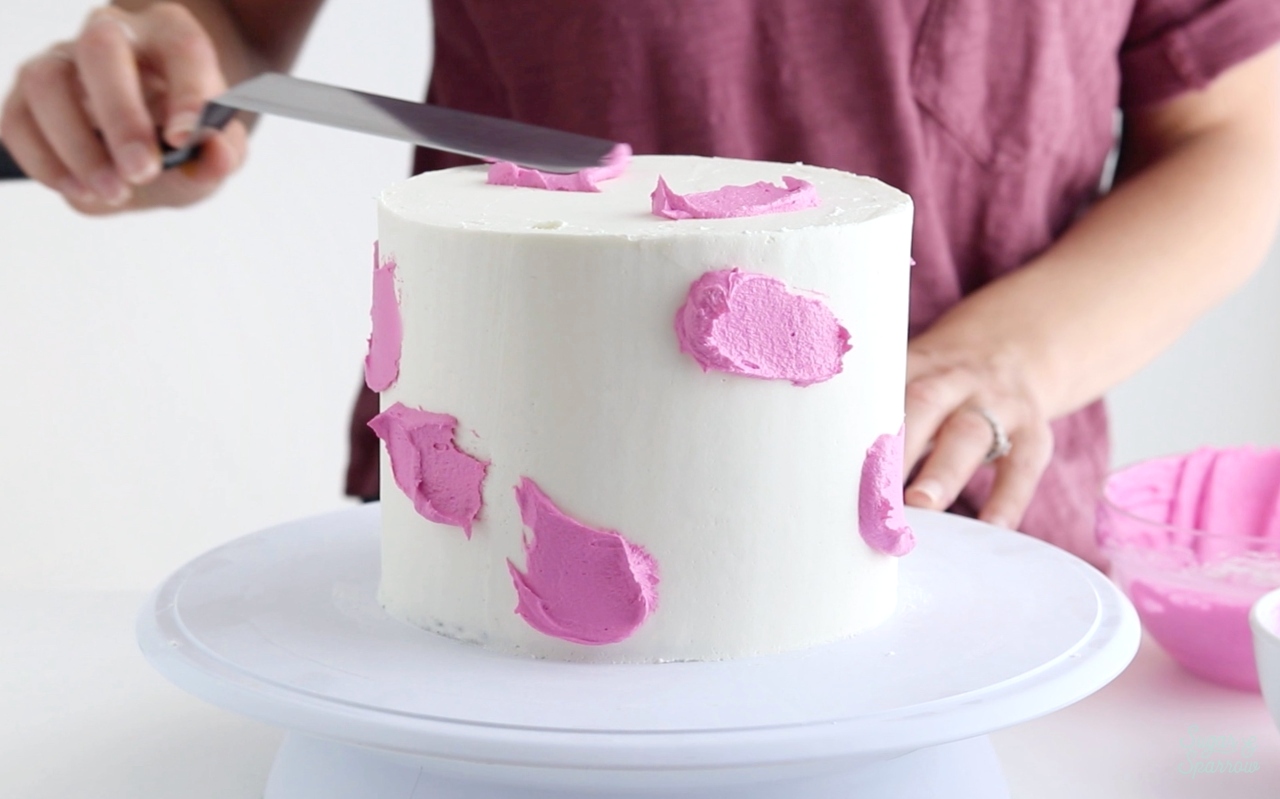
On your frosted and chilled cake, add a few dabs of the pink buttercream to the sides and top of the cake with your angled spatula, then smooth it all with your icing scraper.

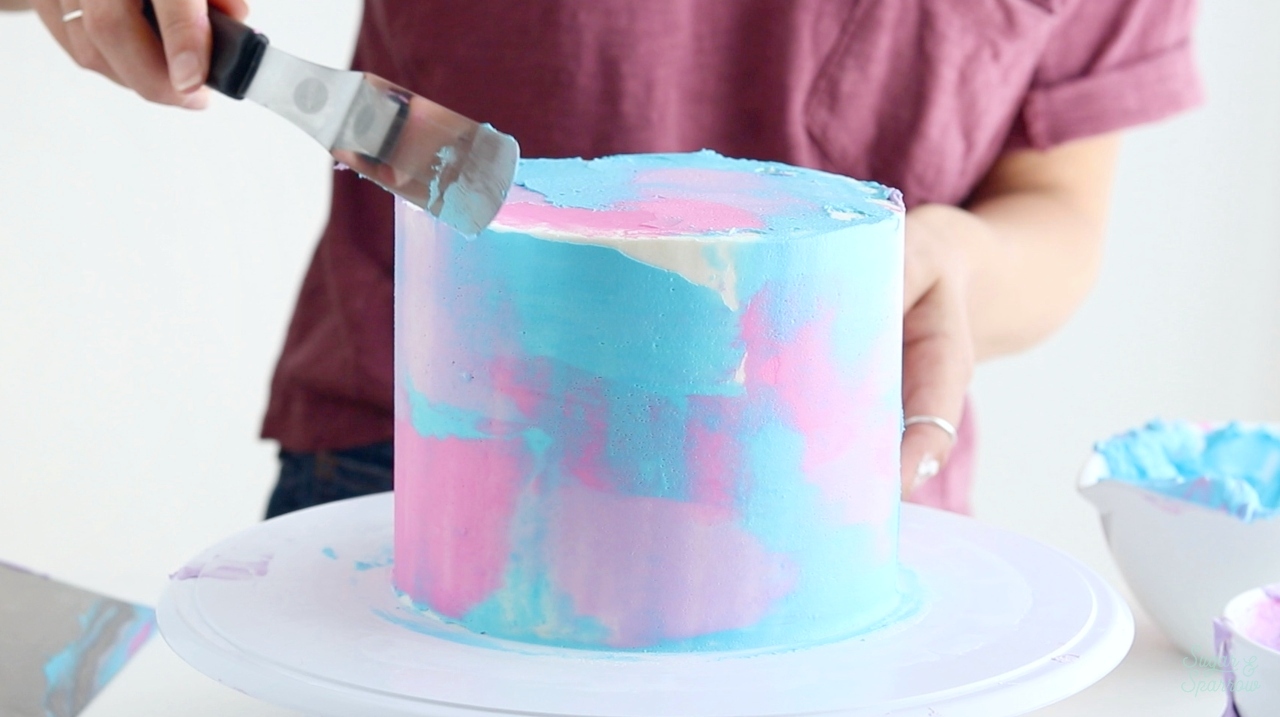
Next, add a few dabs of purple buttercream to the sides and top of the cake and smooth it with your icing scraper. Repeat this process with the blue buttercream until you’ve got a nice watercolor finish on your cake. No need to refrigerate these colors in between applications – we want them to blend together a little.
Finally, add the black buttercream over the top of everything and smooth it with your icing scraper. Continue to add and smooth the black buttercream until the colors underneath peek through just a little.
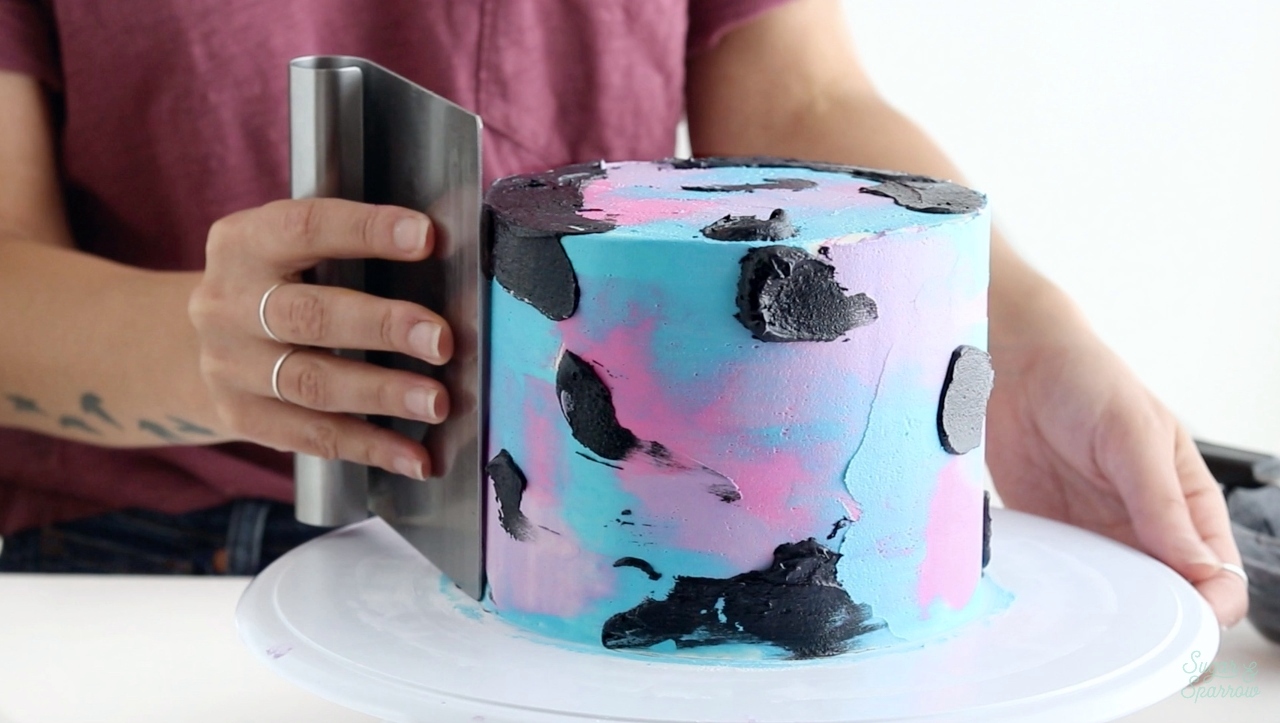
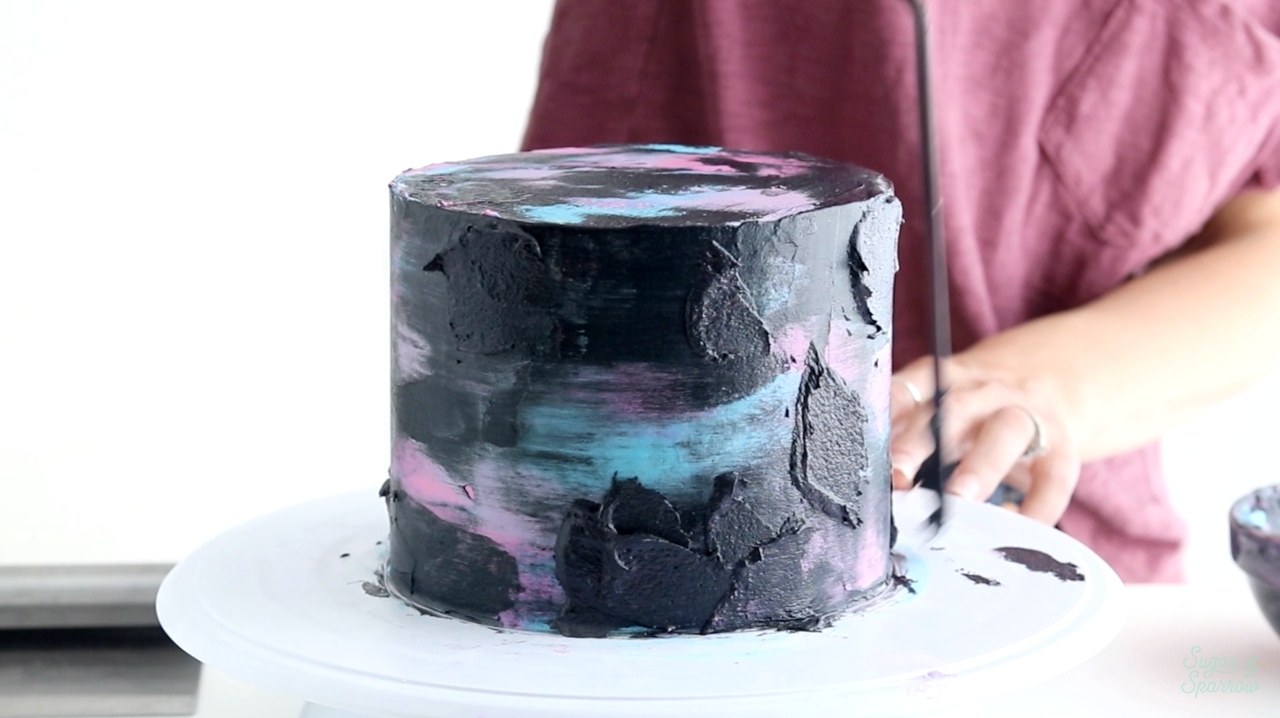

When you’re finished, pop the cake back into the refrigerator for another 15 minutes to let everything set up.
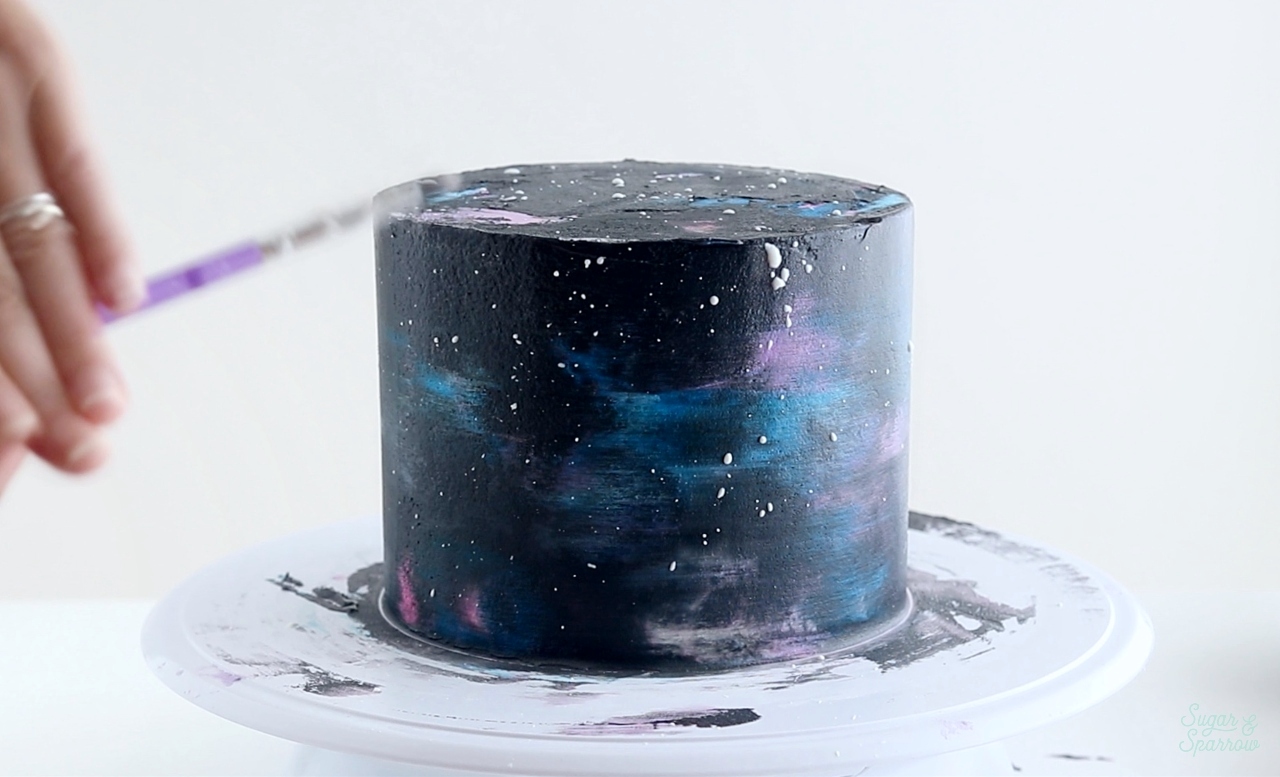
Step 4: Splatter Paint The Stars
In a small bowl, add about 1/2 teaspoon of AmeriColor Bright White or other liquid icing whitener. Dip your food grade paintbrush into it and use it to splatter paint it all over the cake to create the look of stars.
Step 5: Add Glitter Stars And Sprinkles
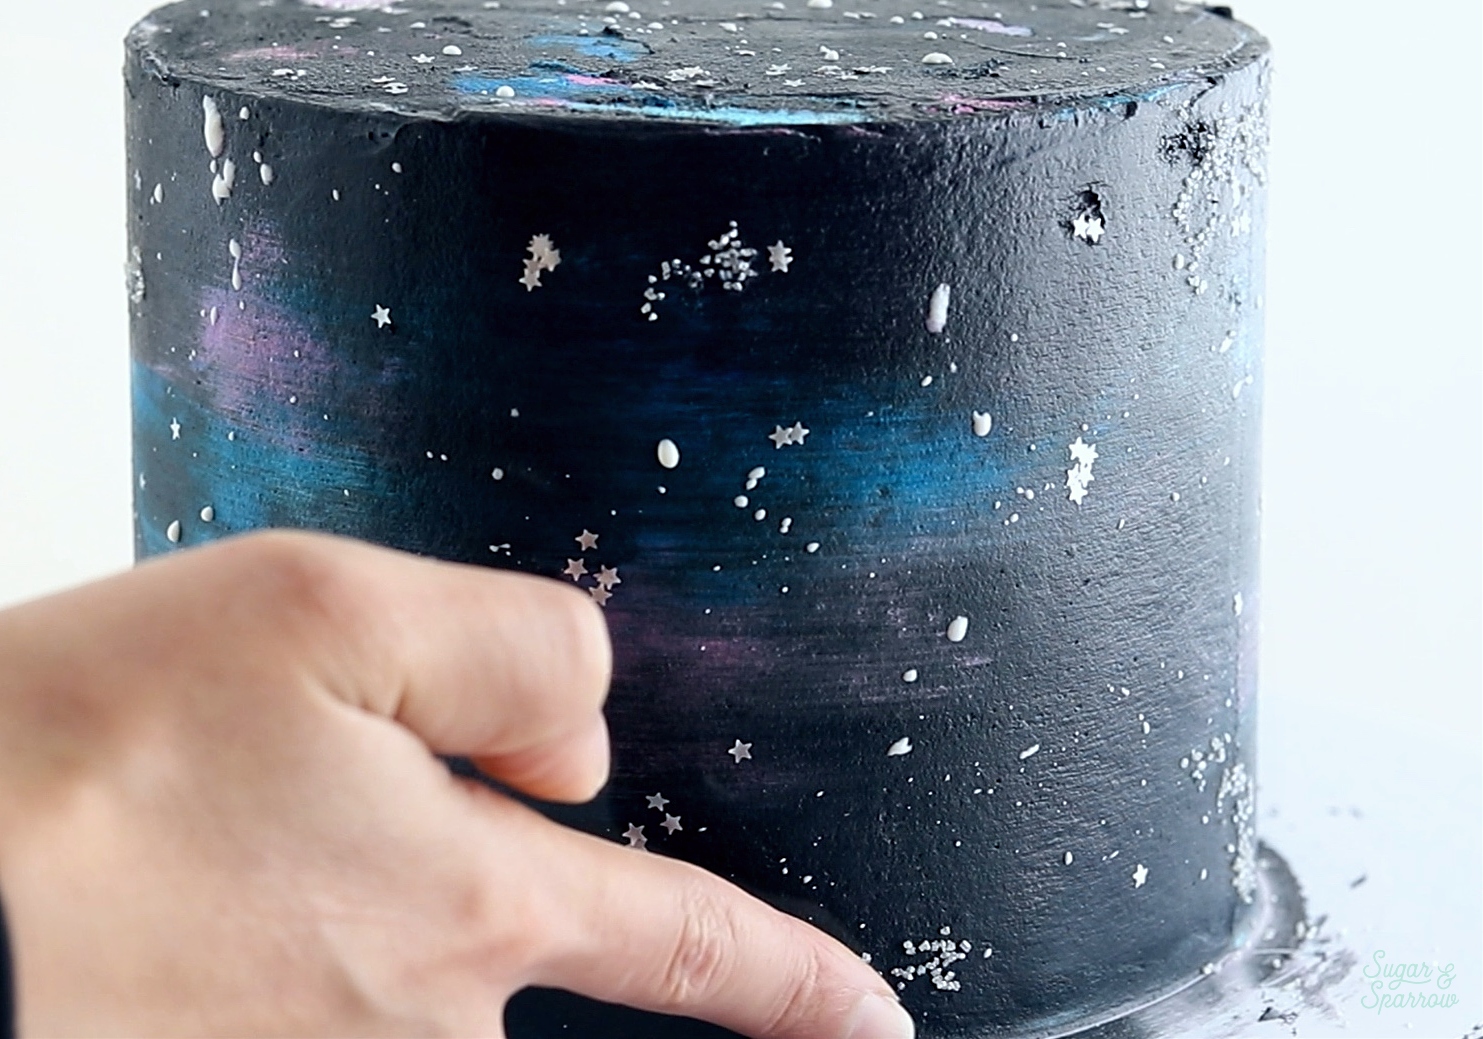
Finally, add some Glitter Stars wherever your heart desires in your galaxy. It’s best to place a few on your finger and gently press them onto the cake. Use that same technique to add some clusters of Silver Sprinkles to your galaxy cake. Simply dip your finger into the sprinkles to get a nice finger-full, then gently press them onto the cake.
And there you have it! When you’re all done with your Galaxy Cake, feel free to turn on “Intergalactic” by Beastie Boys and dance around the kitchen. It’s only fitting!
Disclaimer: I was compensated by JOANN for my work of creating this project, styling, filming, photographing, and writing about their products. As always, all opinions are honest and my own. Thank you for supporting brands that support Sugar & Sparrow.


I appreciate you sharing this valuable information. Great Recipe.
Debating to try this for a kids outerspace themed birthday. How many can this size cake feed?
Hi Jen! This is a 3 layer 6-inch cake which feeds 15-20.
This post was an absolute pleasure to read! Your writing style is so engaging and informative, making even the most intricate topics feel accessible. I particularly enjoyed the practical examples you provided—they made the content feel relatable and actionable. Your passion for sharing valuable insights really shines through, and it’s one of the reasons I keep coming back to your blog. Thank you for taking the time to create such thoughtful and high-quality content. It’s always a delight to learn from you, and I can’t wait to see what you write about next!
Thank you so much for this!!!!! I made a tiered cake following this technique for a friend’s space-themed birthday. It came out excellent and I added edible glitter. Worked so well (and I was happy about not using so much black dye).
Thankyou for this tutorial! Easy to follow, even with my usual winging of the buttercream recipe and the terrible hot weather meaning I had to keep chilling the cake so it would behave. Came out lovely and my kid loved it 🙂
I used just a mixture of sprinkles and shimmer dust instead of flecking with thinned icing, made it a little more fiddly to place the “stars” but also gave me more control over where I put them. Nice option for when you have time (and a bunch of edible decorations) but less confidence!
Yay, Typhon! I’m so happy this design was a hit. And sorry about the hot weather, that can be so stressful!
Hello Whitney,
This cake looks amazing
I am hoping mine looks just as good for my sons party on the weekend.
I have been reading up on 3 layer cakes and they recommended to use dowels to make the cake more sturdy. Did you use them on yours? I’ve never used them before but curious if I have to more than anything. I will be doing a chocolate sponge rather than vanilla.
Thank you very much for sharing your wonderful recipe with us.
Sioned
Hi Sioned! I never use dowels for cakes unless they’re 5 layers or more (at which point I would use the double barrel method). You’ll be totally fine doing a 3 layer cake without dowels 🙂 excited for you to make this cake!
Thank you so much for the tutorial! I made this for my grandson’s third birthday, and it was amazing!
Yay, Cathy! I’m so happy to hear that!
Hi Whitney – WHOA! This cake looks almost too perfect to eat! My nephew has a birthday coming up, and he’d absolutely flip for this. I just hope I have the skills to make it come out as pretty as yours. Thanks so much for sharing the tutorial!
I’m wanting to do this frosting on a 9×13 cake. Any tips on how to do that?
Hi Kathy! That sounds so fun! I would add all the colors to the sheet cake and smooth them down with an angled spatula or icing smoother, then add the black color on top. Basically, just like you’d do with a round cake, only on a flat surface. Hope that helps!
Thank you for the wonderful recipe and structured video, your instructions were easy to follow and the cake I decorated suited my 5 year old’s solar system party perfectly.
Yay, Deb! I’m so happy to hear that!
Hi, I am not getting black colored icing – gray at best and now it’s way too soft. How do I fix this? Thanks!
Hi Kim! The icing will look dark grey at first but after about 30 min or so in the refrigerator it darkens to black. It just takes a little time for the color to develop. To fix it, you can add a little more powdered sugar or cocoa powder to thicken it back up. Hope that helps!
I’m using a standardized whipped cream icing with cream cheese in it..will it still work not being buttercream,..an also doing it on top of a sheet cake for my kiddos 8th bday.
Hi Gretchen! As long as you can achieve these colors with that icing this technique should work great!
Thanks so much for feed back!! Hopefully I can get it down
Hi!
This is incredible! Just finished the final colored frosting. Was intimidated to commit to the coloring, but once you’re in it, it’s kinda hard to mess up! So cool and beautiful.
My question: my buttercream splatter seems yellow/cream and not a nice white. Any tips?
Thank you!!
Yay, Tess! I’m so happy this tutorial was a hit! If the buttercream you’re using for the splatter isn’t white enough, I would recommend using an icing whitener to make the buttercream white before splattering. I love AmeriColor Bright White for this: https://amzn.to/3GbmIPl
Hi! I’m making this for my daughter’s 3rd birthday this weekend. I’m doing a six layer cake filled with galactic sprinkles (I made her a rainbow explosion cake for her 2nd birthday and now I’ll probably need to fill every cake I make with sprinkles for the rest of my life or everyone will be sad ha!). What size angled spatula are using? 9”? Thank you!
Hi Caitlin! That birthday cake sounds incredible! Your daughter is one lucky girl. The angled spatula I’m using in this tutorial is 13-inches (this one: https://amzn.to/3uqlVpH) but you can use any size for this look.
We just did a Star Wars party for our 7 year old yesterday! We did a sheet cake in this style and then topped it with a Millennium Falcon! It was EPIC!!!! I wish I could share a picture here! It was our first attempt ever at making a cake that was more than slapping on some store bought frosting from a jar. Thank you!!!!
That’s amazing, Christina! I want to try a galaxy sheet cake now!! So happy to hear you had a great time with this one and that it was a hit!
I followed this decorating tutorial today to make a galaxy cake. Love it and so easy to do
I decorated a no egg, soya or dairy chocolate sponge.
Yay, Natalie! I’m so happy you had fun making this galaxy cake!
Bonjour Withney merci pour ce tutoriel sauf que j’ai voulu le faire avec une chantilly mascarpone car la crème au beurre n’est pas apprécié par mes convives et le résultat n’est pas top en tout cas pas aussi beau qu’avec la crème au beurre mais il est bon, j’ai également acheter des colorants en gel mais malheureusement ça tache
Merci en tout cas pour ce tutoriel qui m’a tout de même été utile
So happy this technique worked with chantilly marscapone whipped cream frosting, Vanessa! Thanks for letting me know. That frosting sounds delicious!