
One of my favorite easy things to dress up a cake is to do a chocolate ganache drip finish. Over the years, my ability to create the drip look has definitely grown, and I get tons of questions asking what my secret is. The truth is, chocolate ganache has definitely put me through the wringer before (especially white chocolate ganache, which used to be my absolute nemesis). After figuring out the perfect ratio for chocolate to heavy whipping cream and learning the do’s and don’ts of drip cakes, I’ve got it down to a science these days. And now you will too!
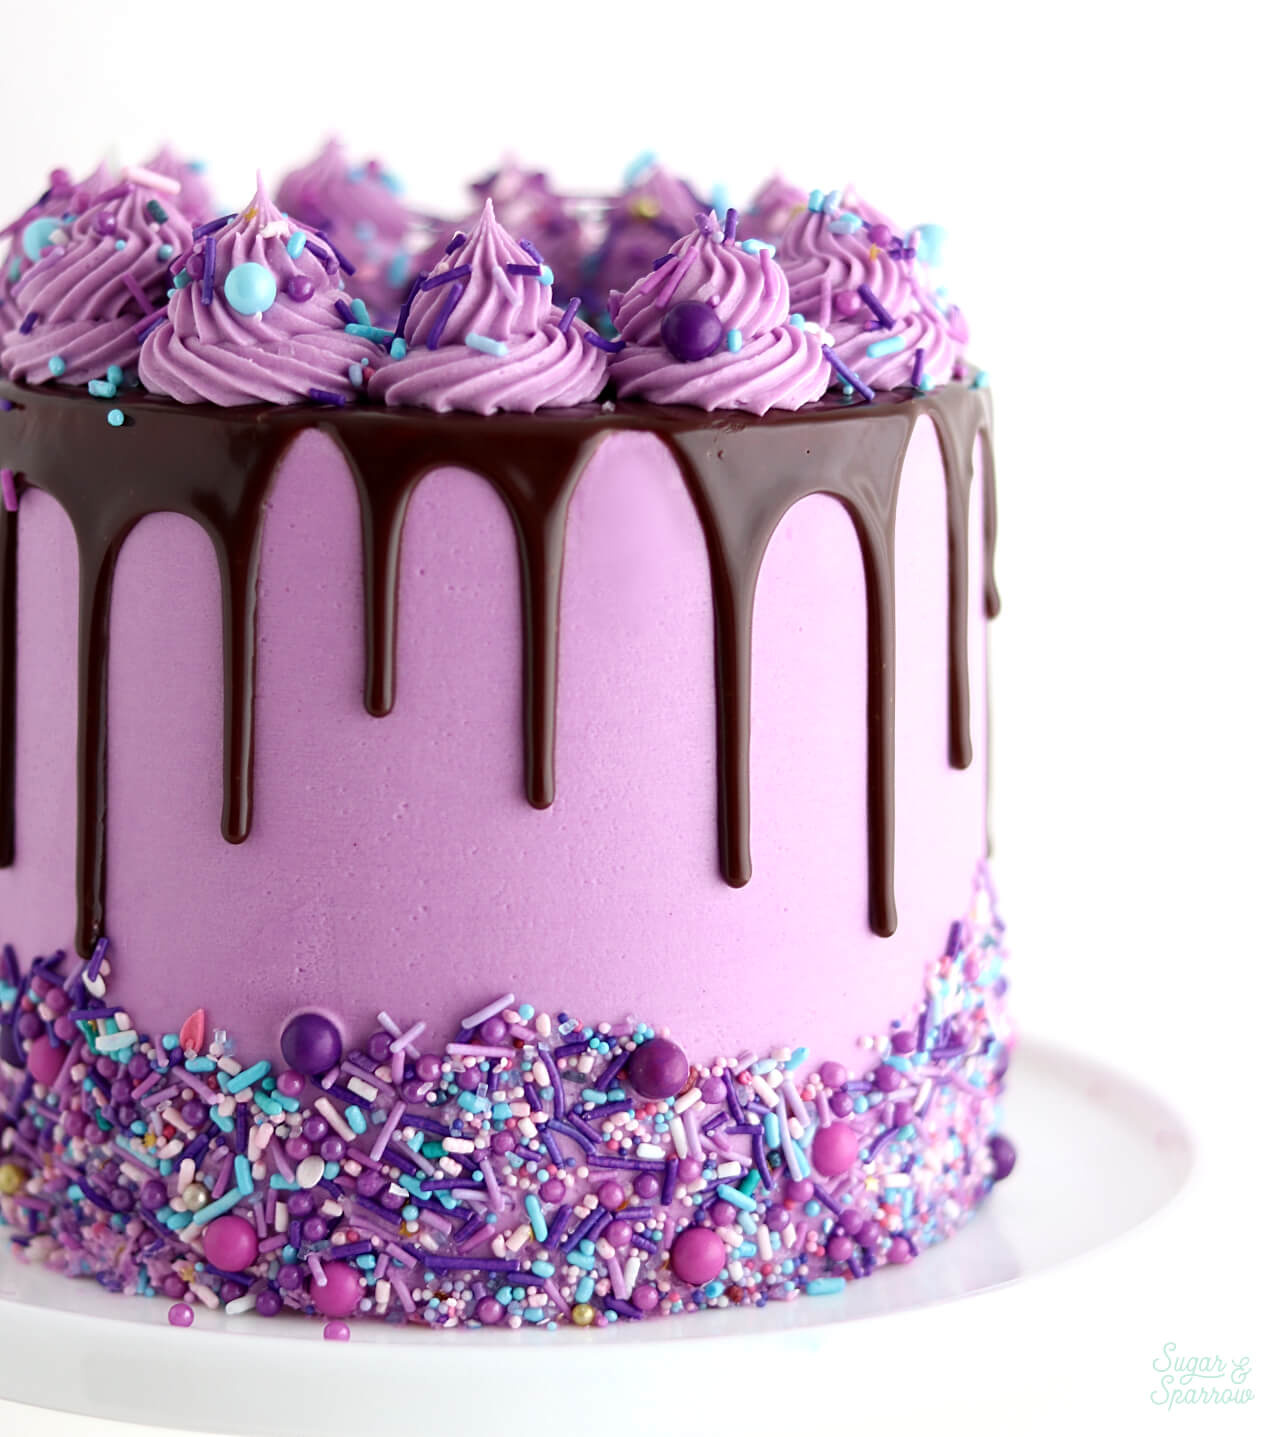
How to Make Chocolate Ganache for Drip Cakes
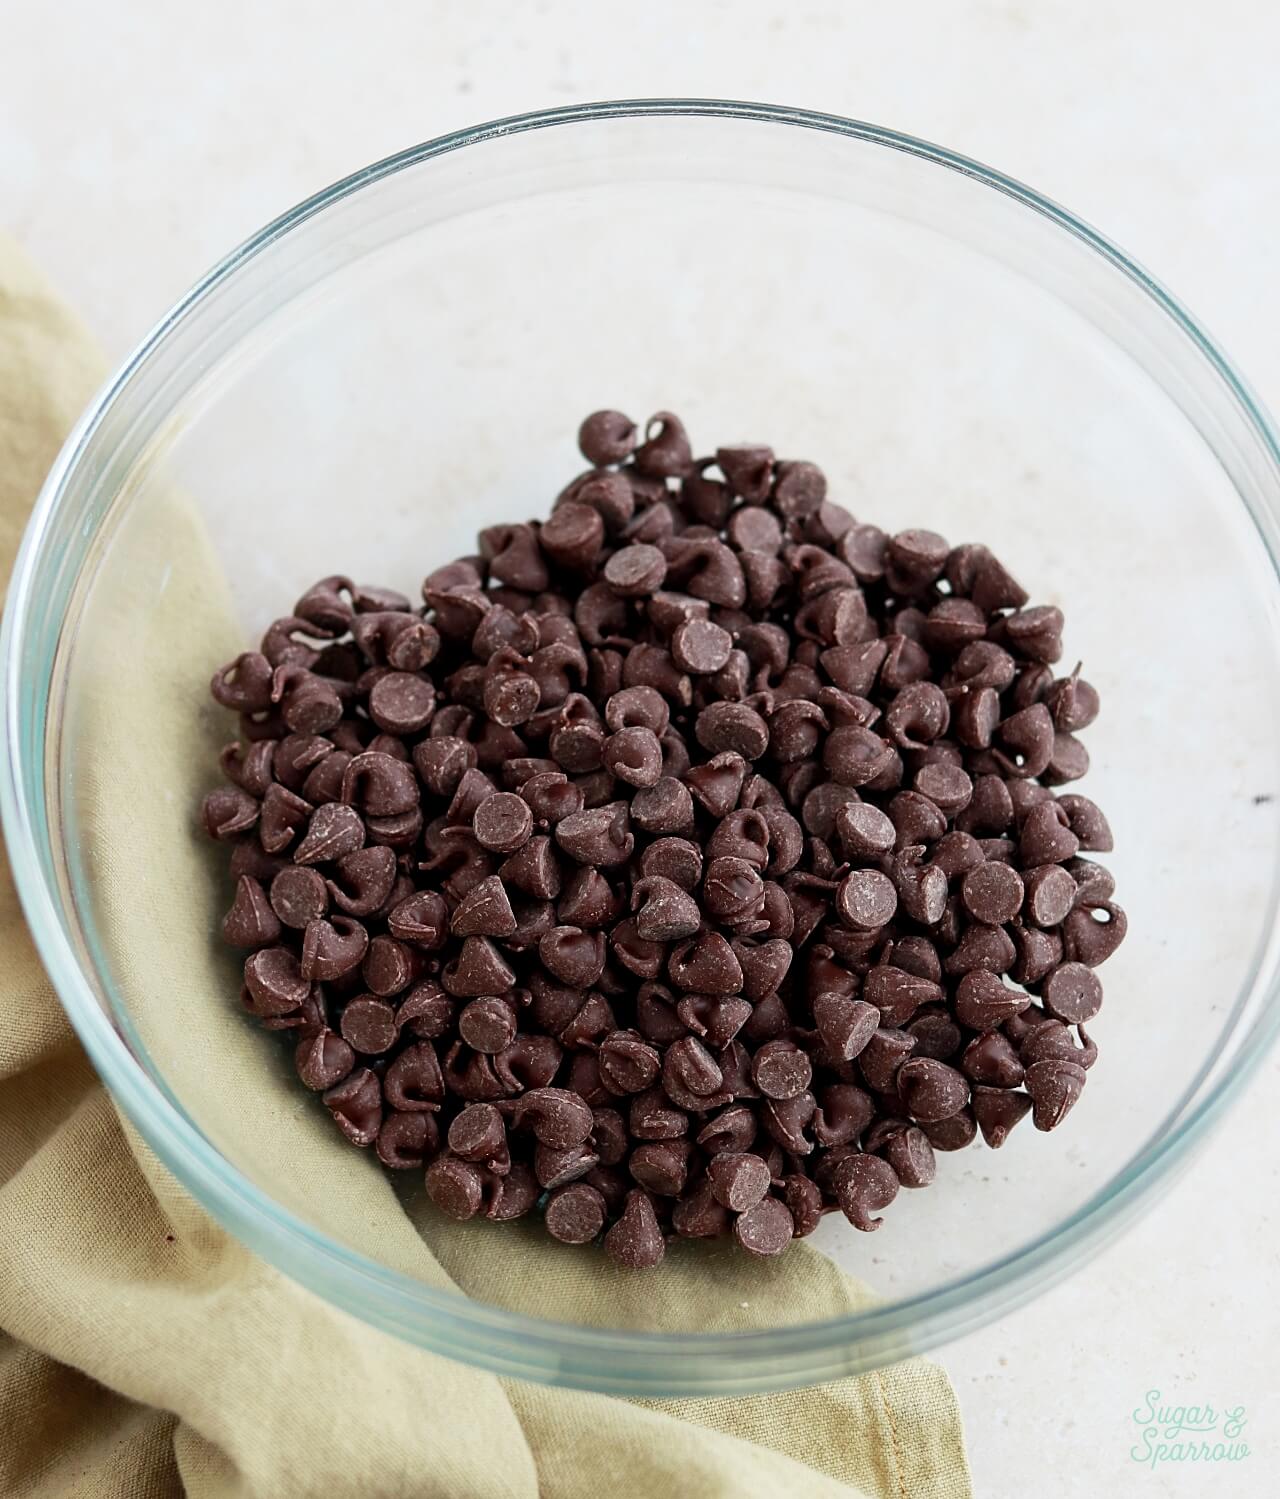
This chocolate ganache recipe has been my go-to forever, and it involves only two ingredients: chocolate and heavy whipping cream. There’s no need to be intimidated with this one. First, measure out the chocolate chips (or quality chocolate bar chopped into bits) into a glass or metal bowl. I like to measure these by weight for precision, but I’ve provided both metric and Cups measurements in the recipe below.
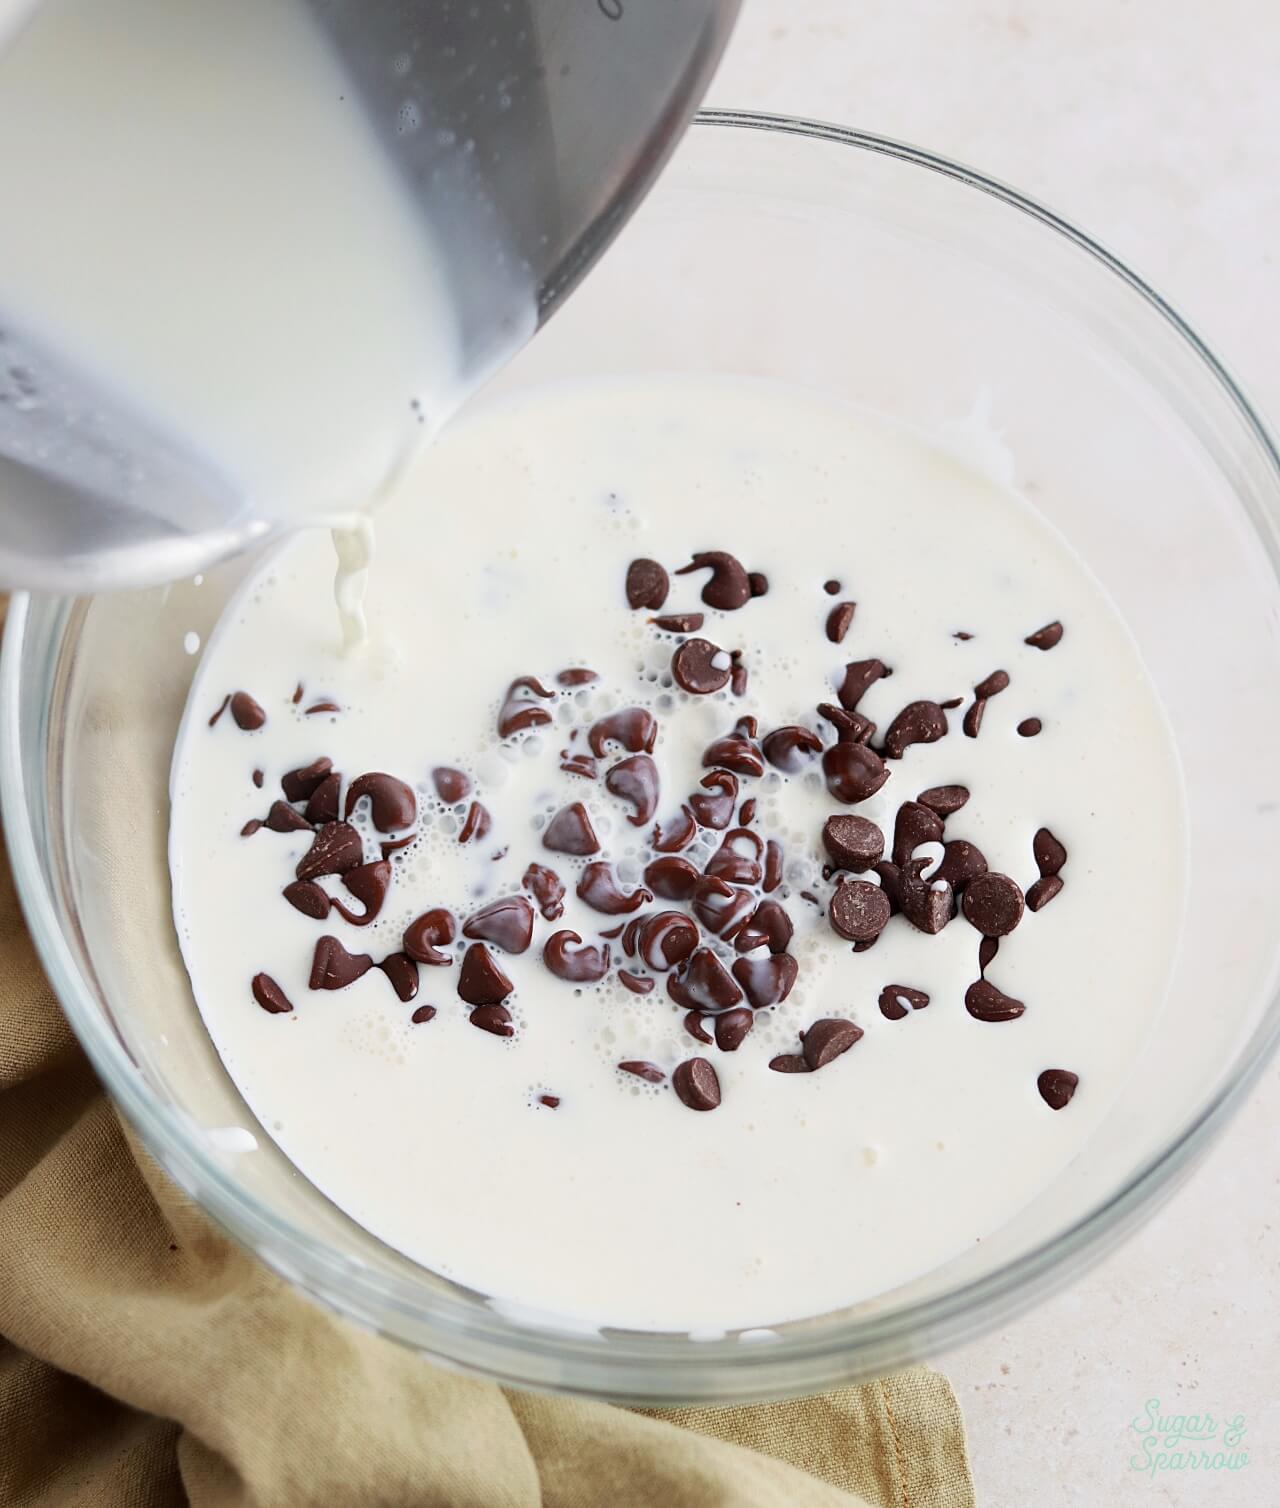
Next, bring the heavy whipping cream to a soft simmer in a saucepan over medium heat. Then, pour it over the chocolate and let it sit for about 30 seconds. This gives the chocolate a chance to soften up before whisking.
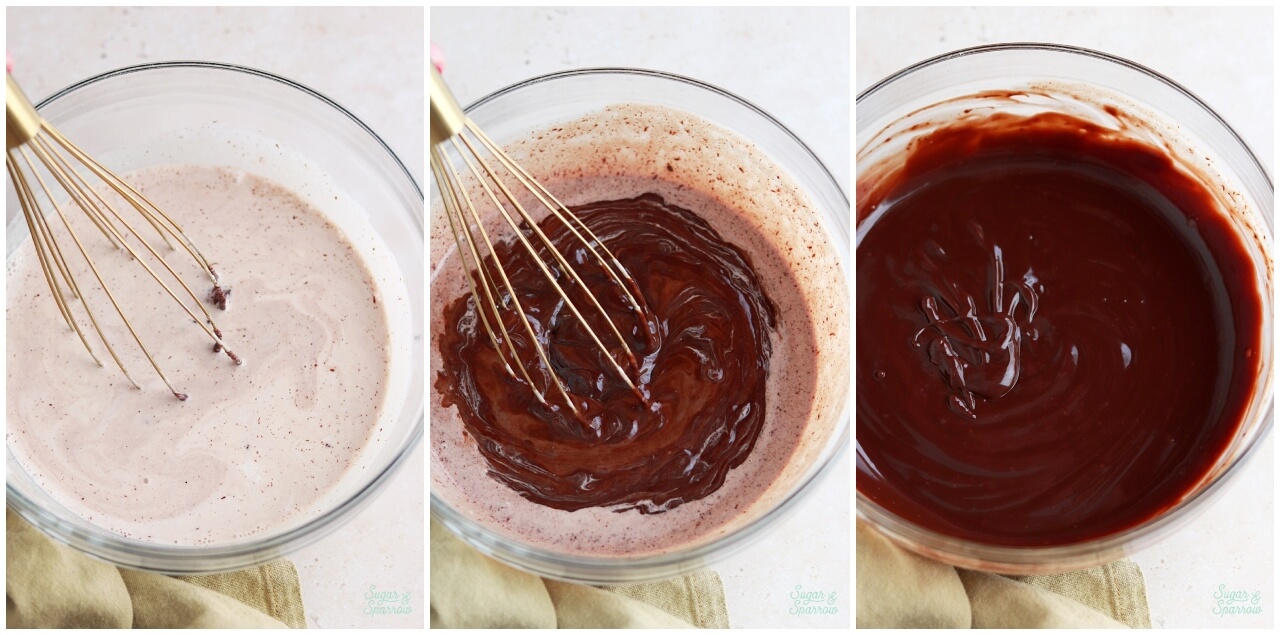
Whisk the cream and chocolate together until it’s uniform. It will look thin and resemble chocolate milk before it starts to come together, but keep whisking until it’s smooth.
Finally, let the chocolate ganache cool until it’s room temperature or slightly above. I recommend testing out a drip on an inverted glass to make sure it doesn’t drip too far (if it does, keep cooling it) or not far enough (if this is the case, warm it back up slightly in 5-second intervals in the microwave until it’s perfect drip consistency).
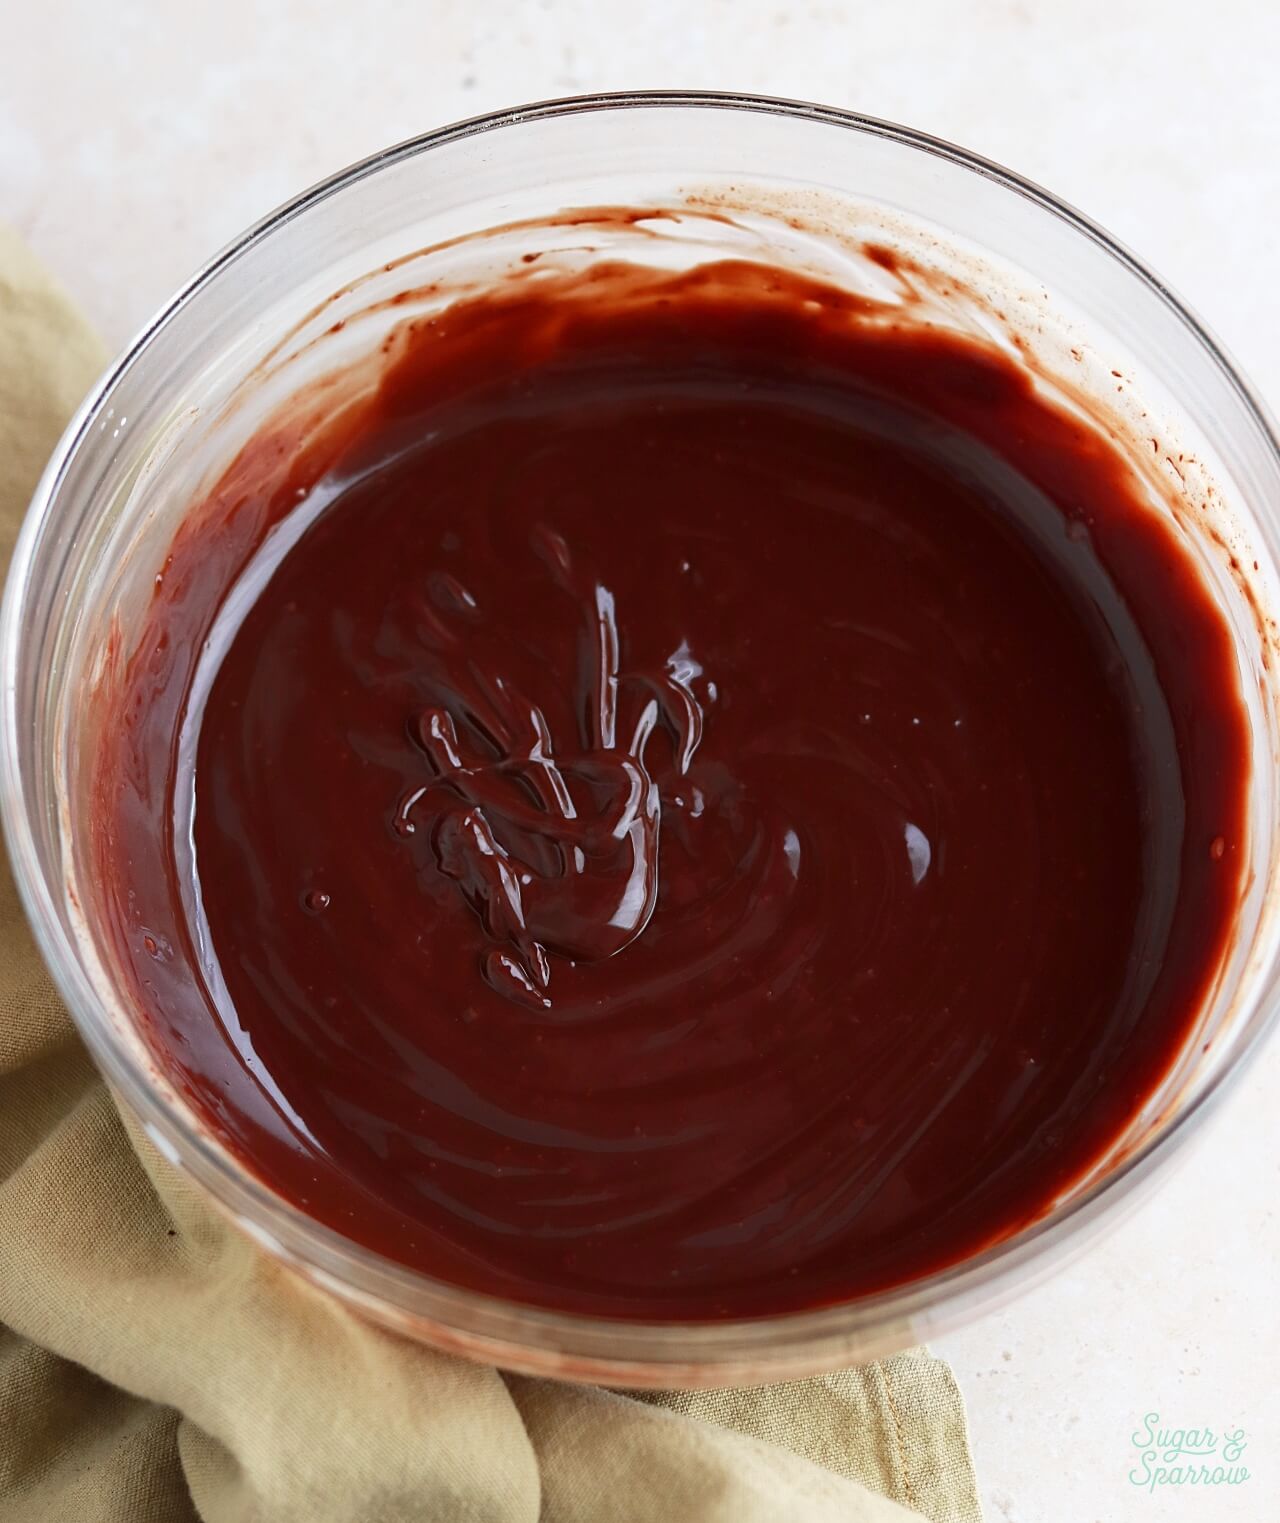
The type of chocolate you use will determine the amount of heavy whipping cream to incorporate for the perfect consistency. Although semi-sweet chocolate is the most common type I use for drip cakes, I’ve listed the ratios I use for all different types of chocolate below.
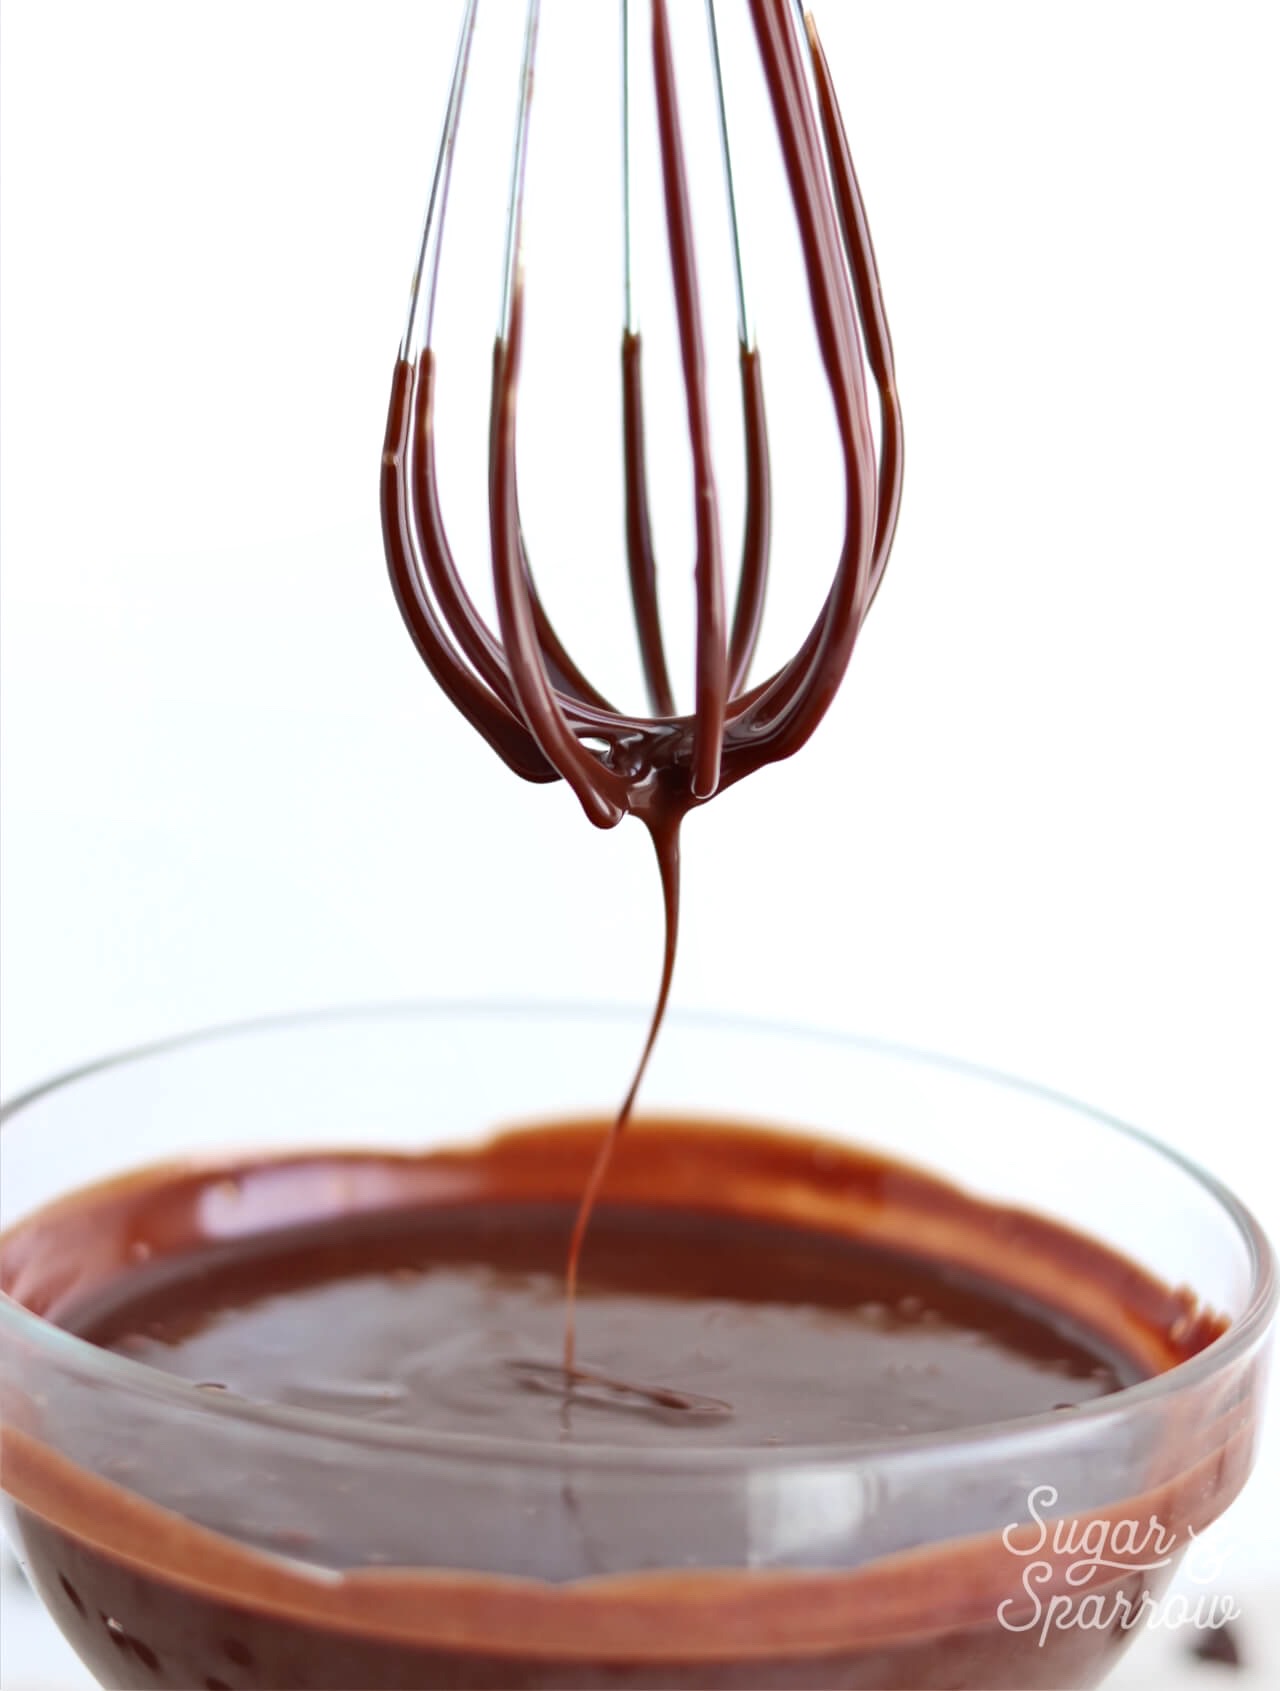
Although the recipe seems straightforward enough, there are quite a few tricks to learn before mastering the art of the drip. I’ve listed out a basic step-by-step tutorial and some troubleshooting tips below, but first, here’s a detailed video to show you how to make the recipe and everything you need to know about the technique I use for drip cakes:
Want to see more Cake Basics videos like this one? Head to my YouTube Channel to see the growing collection. You’ll also find tons of cake recipes and decorating videos there to inspire you and broaden your skill set – be sure to hit the subscribe button so you never miss a new one!
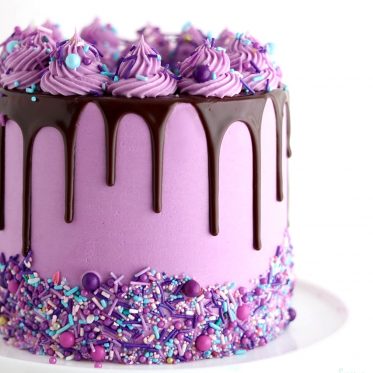
Chocolate Ganache For Drip Cakes
Ingredients
- 1 cup (185g) semi-sweet or milk chocolate chips, or a bar chopped up into bits
- 1 cup (240ml) heavy whipping cream
Instructions
- Place chocolate chips into a heat resistant bowl (glass or metal). If you’re starting with a chocolate bar, chop it into small pieces until they’re about the size of chocolate chips.
- In a saucepan over medium-high heat, warm heavy whipping cream until it just starts to simmer. I always look for small bubbles forming around the edge and a soft simmer starting in the middle. When it's reached this point, pour the cream into your bowl of chocolate and let sit for about 30 seconds.
- Whisk it together until it’s uniform in consistency and there are no bits of chocolate left on your whisk. Cool ganache at room temperature for 10-20 minutes, or until the ganache itself is room temperature or slightly above.
Notes
Tips For Perfect Chocolate Ganache Drip Cakes
Tip 1: Be Patient With The Cooling Process
Once you’ve whisked the ganache together, it’s crucial to let it cool on your countertop until it’s room temperature or slightly above, about 10-20 minutes depending on how cold your environment is. Trying to speed up this process by placing ganache in the refrigerator doesn’t usually end well – I’ve found that it cools unevenly, leading to thick, globby drips.

Cooling in the fridge also leads to the urge to stir it too often. Ganache (especially white chocolate!) does not like to be stirred too often, and the end result can mean that your whipping cream starts to separate from the chocolate. You’ll know that this has happened because the ganache will look grainy and dull, or even separated like oil and water. To fix situations like these, you’ll need to reheat the ganache to 92ºF to melt the fat crystals and re-whisk to bring it back together.
Tip 2: Make Sure Your Buttercream Is Chilled
There’s a science to this tip. Since molecules move more slowly at cooler temperatures (and warp speed at higher temperatures), it makes a lot of sense that you can better control how far the chocolate ganache drips when the buttercream is chilled. Make sure that after you do your final coat of buttercream, you chill the cake in the refrigerator for at least 30 minutes.
Tip 3: Always Do A Test Drip
When your buttercream is nice and chilled, do a test drip by letting the ganache run down the side of your cake. If it travels rapidly and pools at the bottom, your ganache is too warm. Continue to cool the ganache for another 5-10 minutes and try your test drip again. If it’s globby or doesn’t travel very far down the side of the cake, it’s too cold. Reheat the ganache in the microwave for about 10 seconds, stir, and try again. Repeat the reheating process as needed until you get the perfect consistency.

The good thing about a test drip is you’re able to see how the ganache will behave. That way you don’t have to commit until you like what you’re seeing.
Tip 4: Drip The Sides Before Filling In The Top
When I first started caking, my initial thought was to just dump ganache over the top of the cake and let it run down the sides naturally. If you’ve ever tried that before, you’ll know it doesn’t end up looking good. You’ll have a lot more control over the appearance if you start by dripping the sides until they’re aesthetically pleasing before filling in the top of the cake.

Try not to add too much ganache to the top when filling it in, because if you add any more to the drips you’ve created, it will make them travel farther than you’d like. Instead, try to use just a little ganache and spread it so that it just touches where your drips begin. The ganache on the top should self-level a bit, so don’t worry too much about getting it super smooth.

Tip 5: Don’t Touch Those Drips
If you’ve ever made a drip cake with ganache before, you’ll know that it’s a little sticky to the touch when it’s room temperature. When the drips have been refrigerated, they’re a little less fragile, but try not to touch the drips at all during the decorating or boxing-up process.
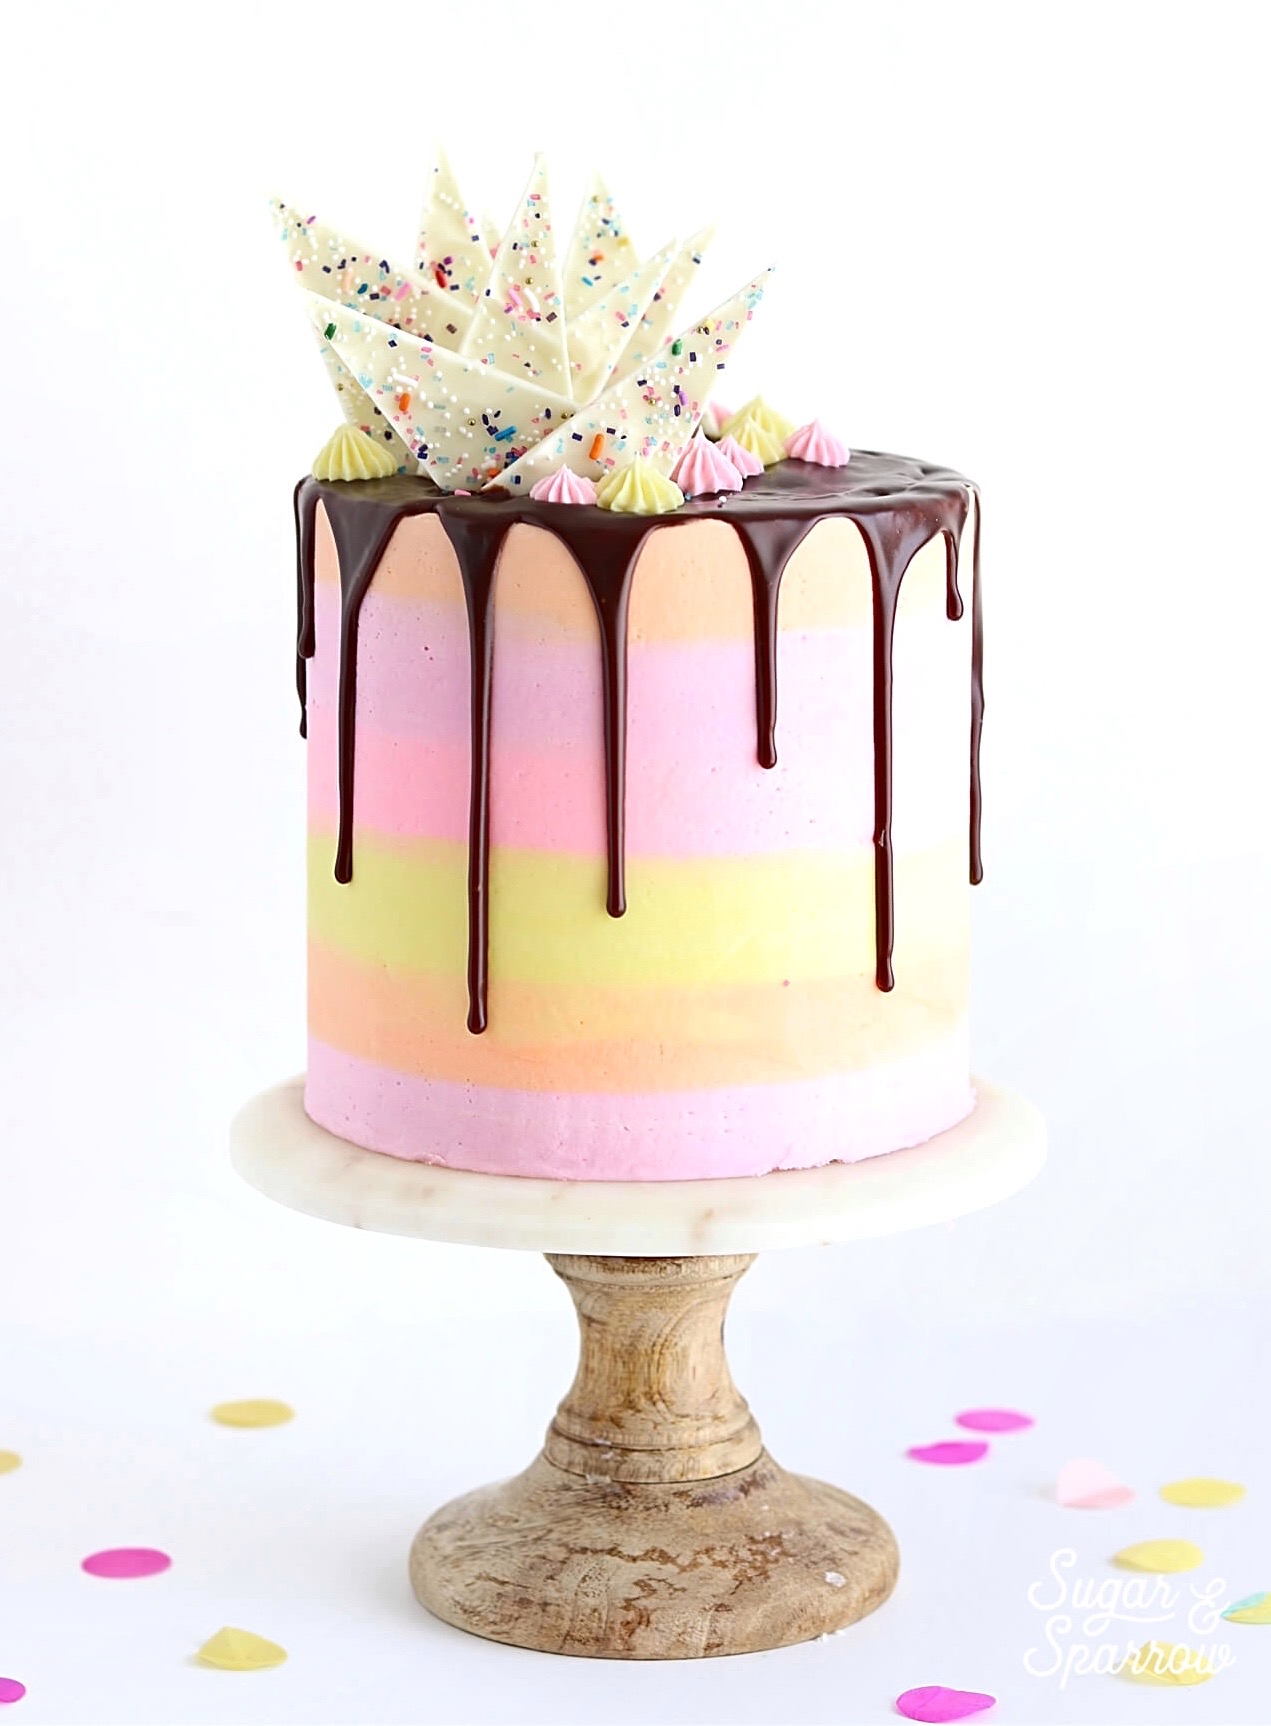
Chocolate Ganache Troubleshooting Tips
Since the consistency of your ganache is pretty much everything when it comes to a successful drip cake, I wanted to take a moment to talk about what to do if your drips are too thick or too runny. Most of the time, it doesn’t take a whole lot to bring your ganache back to ideal drip consistency. Here are some common problems and ways to solve them:
Problem 1: The drips are pooling at the bottom of the cake – this typically means your ganache is too warm, in which case I recommend to give the ganache 5-10 more minutes to cool down before attempting your next test drip on your chilled buttercream cake.
If you’ve let the ganache cool for a significant amount of time and the drips are still too runny, it means that too much liquid (heavy whipping cream) was incorporated into the recipe. To fix this problem, you’ll need to thicken the ganache with more chocolate. This will mean melting about 1-2 additional oz of chocolate in the microwave, warming the existing ganache to the same temperature as the melted chocolate, then whisking it all together before letting it cool back down to ideal drip consistency.
Problem 2: The drips are thick and gloppy – this means your ganache is too set (or too cold). To fix this, gently warm the ganache in the microwave in 5-10 second increments until it’s ideal drip consistency.
Problem 3: The ganache has split – this has never happened to me with this recipe, but if your ganache looks grainy or seized, it means that for some reason, the fat is separating from the liquid. To fix it, gently reheat the ganache in the microwave or over a double boiler to 92ºF to melt the fat crystals, then re-whisk to bring it back together.

Is there anything else you’d like to know about drip cakes? I’m certainly not an expert per se, but if you have more questions, let me know in the comments below and I’ll do my best to answer!



Can I use this drip on a cake frosted with stabilized whip cream?
Hi Shasta! I’ve never used the ganache on a stabilized whipped cream frosted cake, but I have seen it done beautifully before. As long as the ganache is room temperature and the frosting is cold, I’m sure it will work just fine. Let me know how it goes!
Hi Madeleine! After you pour the cream over the chocolate, the instructions state to wait 1 minute before whisking it all together, not 30 minutes. After whisking it together, I find that it takes about 30 minutes for the ganache to come to room temperature, but kitchen environments vary. I would just keep an eye on it and test the temperature every 10 minutes to see how long it will take to reach room temperature. Doing a test drip on your chilled cake always helps if you’re not sure if it has reached the right consistency. Hope that helps!
Looking at making a caramel drip over a cream cheese frosting. Any suggestions? I feel if I let the caramel cool too long it won’t flow or drip. But too warm will melt my frosting.
Hi Pam! I love doing caramel drips! Here are my tips: 1) make sure your cream cheese frosted cake has been chilled in the refrigerator for at least 30 minutes (longer is better) before dripping. 2) make sure your caramel is room temperature before dripping, because it could melt the buttercream if it’s too warm. 3) I use this recipe from Sally’s Baking Addiction for caramel drips and find it to be not only easy to make, but really easy to work with: https://sallysbakingaddiction.com/homemade-salted-caramel-recipe/ 4) if you find that the caramel is too thick and won’t drip easily when it’s room temperature, try adding a few drops of water to make the consistency more runny (but be careful not to add too much water!!). That trick worked with the recipe in tip #3 quite well.
Do you have a specific type of white chocolate you like to use for the white chocolate ganache?
Hi Vicky! I use Hershey’s white chocolate chips for white chocolate ganache.
Hi,can we use grams (weight) for measuring instead of cups? Thanks.
Hi Shahin! I am working on converting all of my recipes to the metric system. I’ll make an announcement when I’m finished. In the meantime, this ganache recipe can still be made using a 1:1 ratio in grams.
Thank you for this! Ganache is such a tricky thing! I have a question – if I wanted to do whipped ganache, would you use the same ratios, chill in the fridge, then whip up in your mixer? Or is it different? I typically use milk chocolate if that makes a difference too 🙂
Hi Carla! For whipped ganache I use 2:3 ratio (for example, 2/3 cup whipping cream to 1 cup chocolate). That ratio works great with any true chocolate, especially milk chocolate. I usually make it ahead and store in the fridge for up to two weeks, then when I’m ready to use it I bring it back to room temperature and whip in my stand mixer with the paddle attachment.
Hi Whitney
I have a couple of questions which i hope you can help me !! Im looking to make a chocolate cake with gold drip. Can i do your ganache drip and color it with gold luster? Also what can i do to make my swiss chocolate butter cream dark but not black? im not looking for the light brown colour for my cake
thank you
Hi Dana! I’ve never done a gold ganache drip before. I think when cakers make a gold drip it’s typically melted white chocolate that’s been painted with a gold luster + vodka mixture. Applying gold luster to chocolate ganache might end up ruining the drip since it’s so soft to the touch when set. And as far as swiss chocolate buttercream.. I would try adding a little bit of brown food coloring to make it a darker color. Hope that helps!
Thanks Whitney, will it dry it out by leaving a cake with buttercream layering only in the fridge?
The cake will not dry out in the fridge if it has a layer of buttercream, even if it’s a semi-naked finish. The buttercream acts as a protective barrier to keep the cake part from drying out. I refrigerate my buttercream cakes every single time after decorating and only let them come to room temperature for eating – never had problems with a dry cake.
I have always decorated with fondant, can you please advise how long can you decorate with the drip ahead of a party? Is it best left in room temporature or in the fridge?
Hi Lauren! The best thing about a chocolate ganache drip is you can do it ahead of time and once it’s dripped it’ll keep perfectly in the fridge until you’re ready to serve it or continue decorating. I always do the drip the night before and keep it stored in the fridge until the next step.
I have read that if you prefer decorating your cake ahead of time, like the day before the event, the ganache may appear dull or will have lost its shine by the next day. So the article suggests adding a small amount of glucose syrup so the ganache still looks fresh and brilliant the next day.
Hi Mandy! I have never had a problem with my ganache appearing dull the next day, so I’ve never tried adding glucose syrup or anything besides what’s in the recipe.
Hi Whitney,
I just did a ganache drip cake with semi-sweet chocolate, and everything went pretty well except… I did the drips first
they were fine… maybe a touch thick, but okay. When I went to do the center afterwards on top, I had a little bit of problem regarding the ganache. I didn’t have tons left. So when I went to spread it, I could see a little bit of buttercream underneath it. Perhaps, was my ganache, at that point, a little too thick because it had cooled down? can that happen when it thickens? Like even though it’s thicker its not spreading as much? ( I’m wondering because now that I’m looking at it, even though the drip seemed to stop in the right places, the drips themselves and the top looks like a thicker consistency than I would have liked.
Hi Matt! The ganache thickens as it cools and does get harder to spread evenly once cooled, so next time you can troubleshoot this by heating the ganache in the microwave in 5-10 second spurts until it’s back to slightly above room temperature. This will make it easier to drip and to spread over the top. Practice makes perfect! I’m cheering you on!
Hi Whitney,
I made black chocolate drip follow your method and it turned out really well on a whipped cream cake. But with a gelatin whipped cream, some water at the bottom of the chocolate drip came out a little bit after I put it in the fridge overnight and leave it outside for doing some creamed puff on the top of the cake.
Is it because the gelatine in the whipped cream not work well with the chocolate drip, making condensation?
Thanks so much!
Hi Tran! Was the condensation only at the bottom of the drip? I know condensation can happen when a cake goes from a super cold environment to a very hot environment, but it’s puzzling if the condensation only appeared at the bottom of the drips. I’ve never seen that happen before.
what amounts do you typically use for 1 part of each? Like a cup of each? more?
Hi Katie! I usually use 1 cup of chocolate chips to 1 cup heavy whipping cream. That’s enough ganache to drip up to a 12-inch cake. Even if I’m dripping a smaller cake I like to make that amount and store the extra in an airtight container in the refrigerator, because it will last up to two weeks.
Thank you for the tutorial. I know with candy melts you can decorate the drips with sprinkles, but would it work for ganache as you mentioned it’s too sticky to touch?
Hi Ashley! I prefer chocolate ganache for sprinkle drip cakes, and I have a detailed tutorial on how to get the look with ganache here: https://sugarandsparrow.com/sprinkle-drip-cake/
If I want to paint the white chocolate in gold dust how long should I let it dry before painting? Also will there be condensation if I refrigerate the cake after applying the drip and then letting the cake get rooom temp again?
Hi Nicole! I have never tried painting white chocolate ganache before, so I can’t say for sure. My hunch is that white chocolate ganache would be too sticky to paint, even after it’s been refrigerated. After researching it a little bit, I think when people paint drips metallic they’re either using melted chocolate, candy melts, or royal icing for the drips (aka something that dries hard). I’ll let you know if I ever try the technique myself. And to answer your second question, in my experience there is usually a little condensation after bringing a refrigerated cake to room temp.
If you put the cake in a thick cardboard box to refrigerate it, and then pull it out of the fridge and let it come to temp in the box, it helps with the condensation. I live in Florida so I have to do this pretty much year round. It also helps with fondant sweat etc.
That’s a great tip, Kandice!! Thank you!
Hi
I want to add decorations to the top of my cake. ..chunks of chocolate etc. How long should I leave the ganache to set before adding them?
Hi Laura! I would refrigerate the cake for 5-10 minutes after dripping to let the drip set before adding your decorations on top. Hope that helps!
I have successfully painted white chocolate drips and it was with Callebaut W2 couveture chocolate. You have to use a luster dust for chocolate to do this which than is diluted by 150 proof Vodka or whatever you want really.
I love the ratios you gave because I use couveture chocolate and those are the same ratios I generally stick too. Thank you for the info.
Awesome, Christine! Thanks for the info!
Hi did u just use white chocolate and no cream for your drip you painted gold? If so did the white chocolate set really hard or could you cut into it without it breaking ?
Thank you
If you want a white chocolate drip to be painted gold, use candy melts and let it get really hard in the fridge. Once its hard, you can paint it with DRY luster dust. Wet doesnt stick.
Thank you for the gold drip instructions, Jessica! Need to try that someday!
I have painted a white chocolate ganache gold before, I used gold dust mixed with some vodka to make it paint like consistency (you can also use water if for some reason you can’t use alcohol) after letting it sit in the fridge for quite some time the ganache is still a little sticky like said above but it is doable to paint, you just have to be very light handed and careful not to press or push to hard while painting or else you’ll make dents.. I feel like the candy melts would work much better like said above because they get hard after refrigerating, but I just wanted to let you know painting the ganache can be done, you just have to be careful with it.