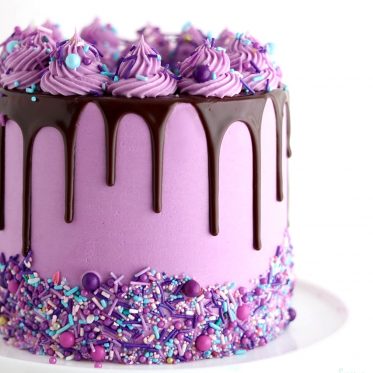
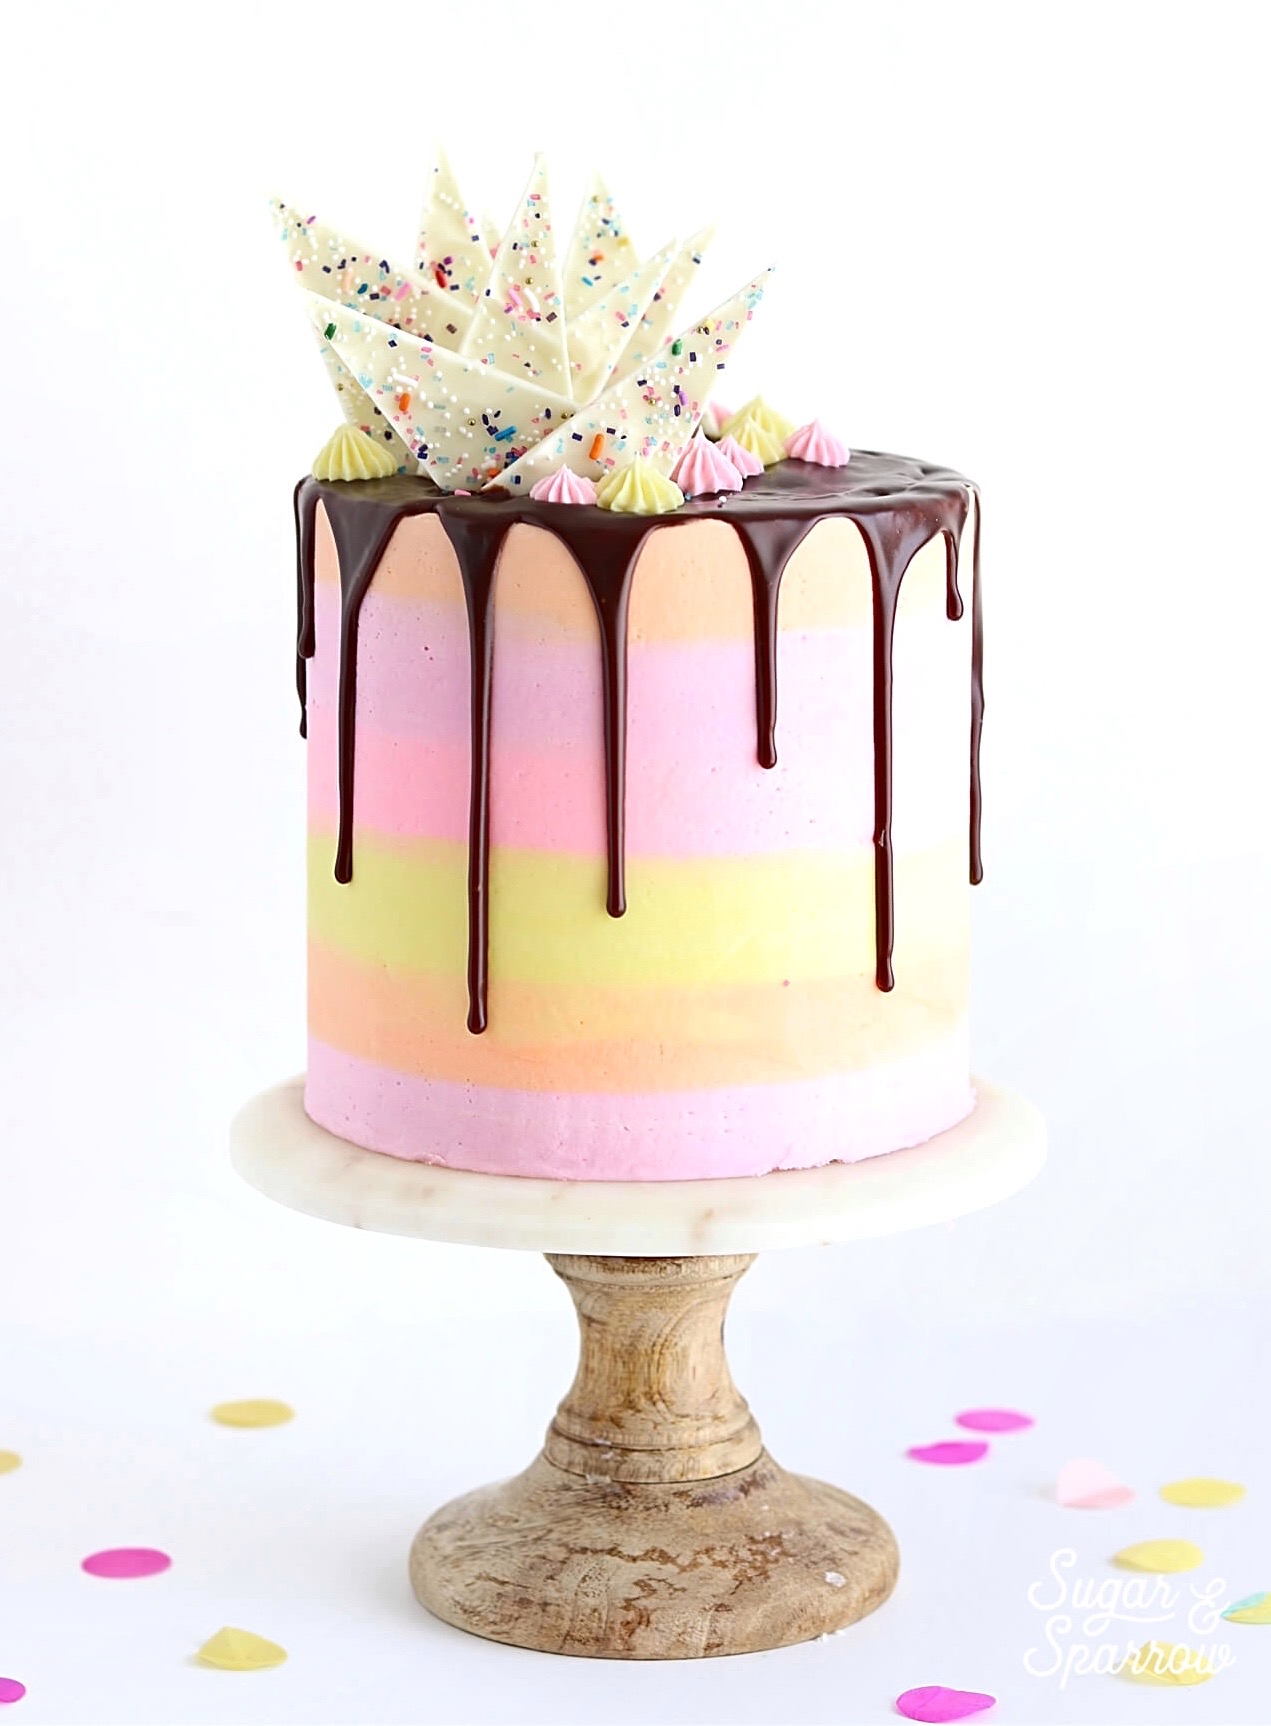
One of my favorite easy things to dress up a cake is to do a chocolate ganache drip finish. Over the years, my ability to create the drip look has definitely grown, and I get tons of questions asking what my secret is. The truth is, chocolate ganache has definitely put me through the wringer before (especially white chocolate ganache, which used to be my absolute nemesis). After figuring out the perfect ratio for chocolate to heavy whipping cream and learning the do’s and don’ts of drip cakes, I’ve got it down to a science these days. And now you will too!
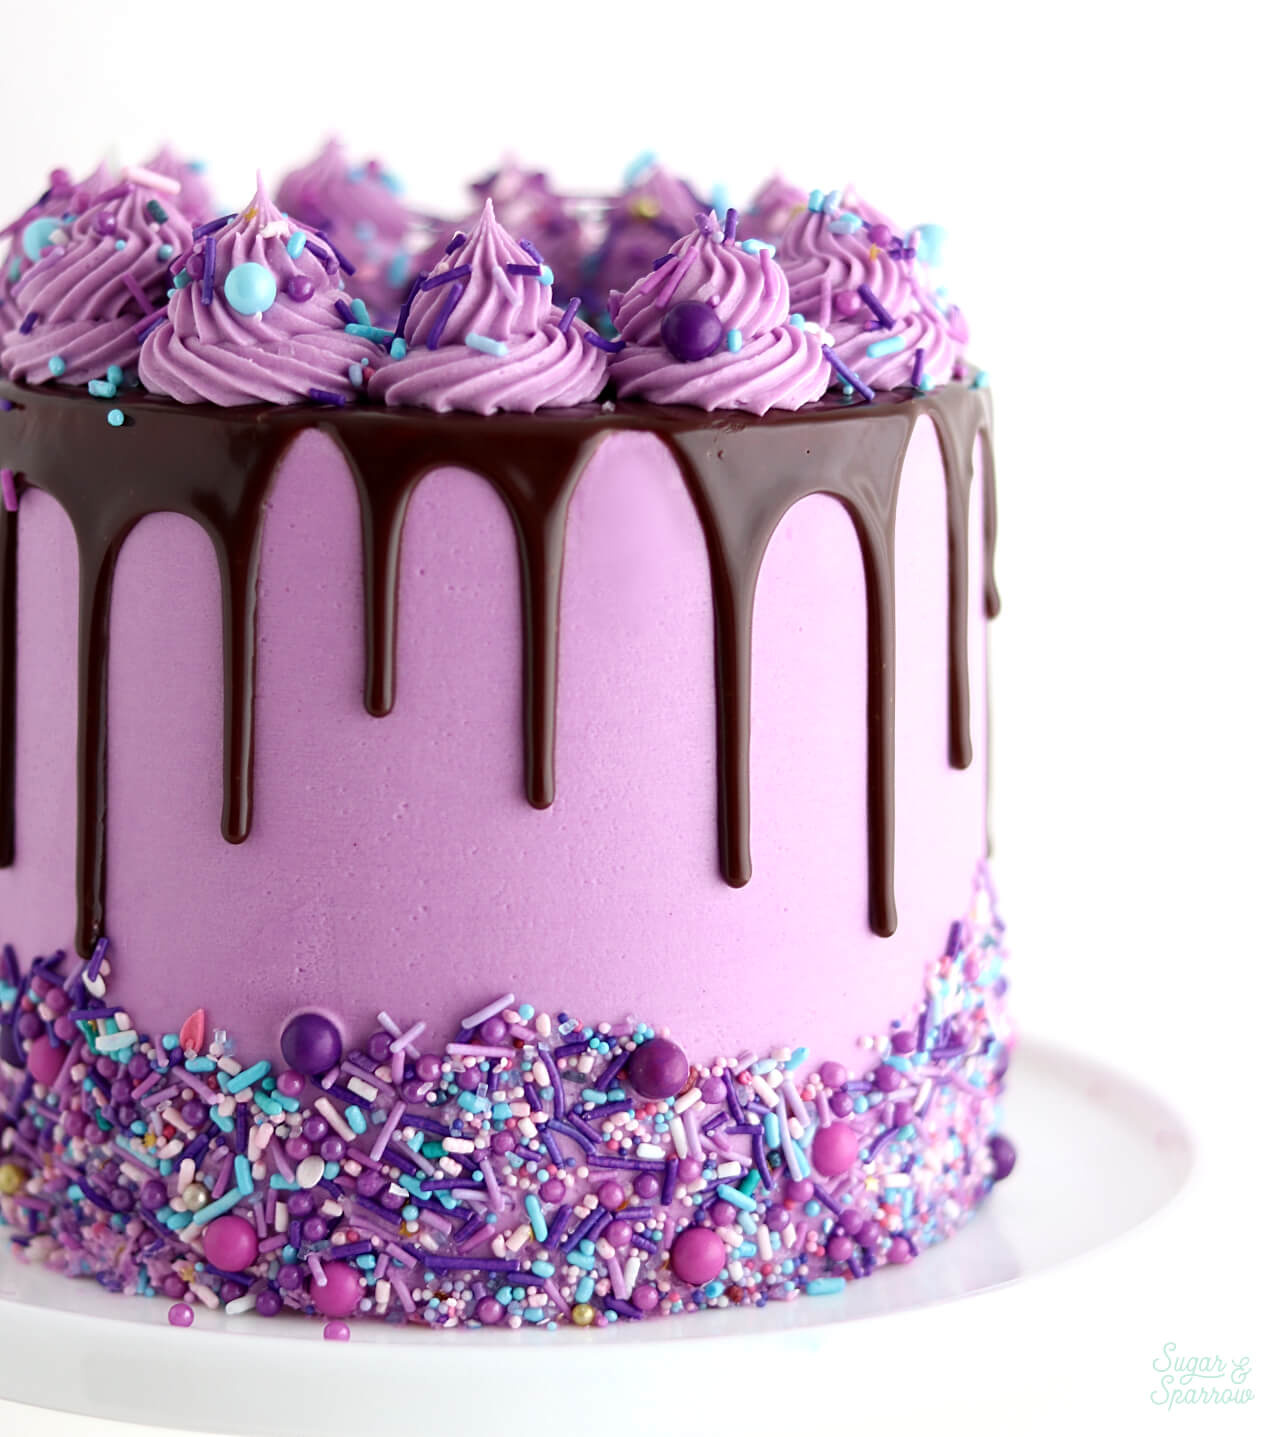
How to Make Chocolate Ganache for Drip Cakes
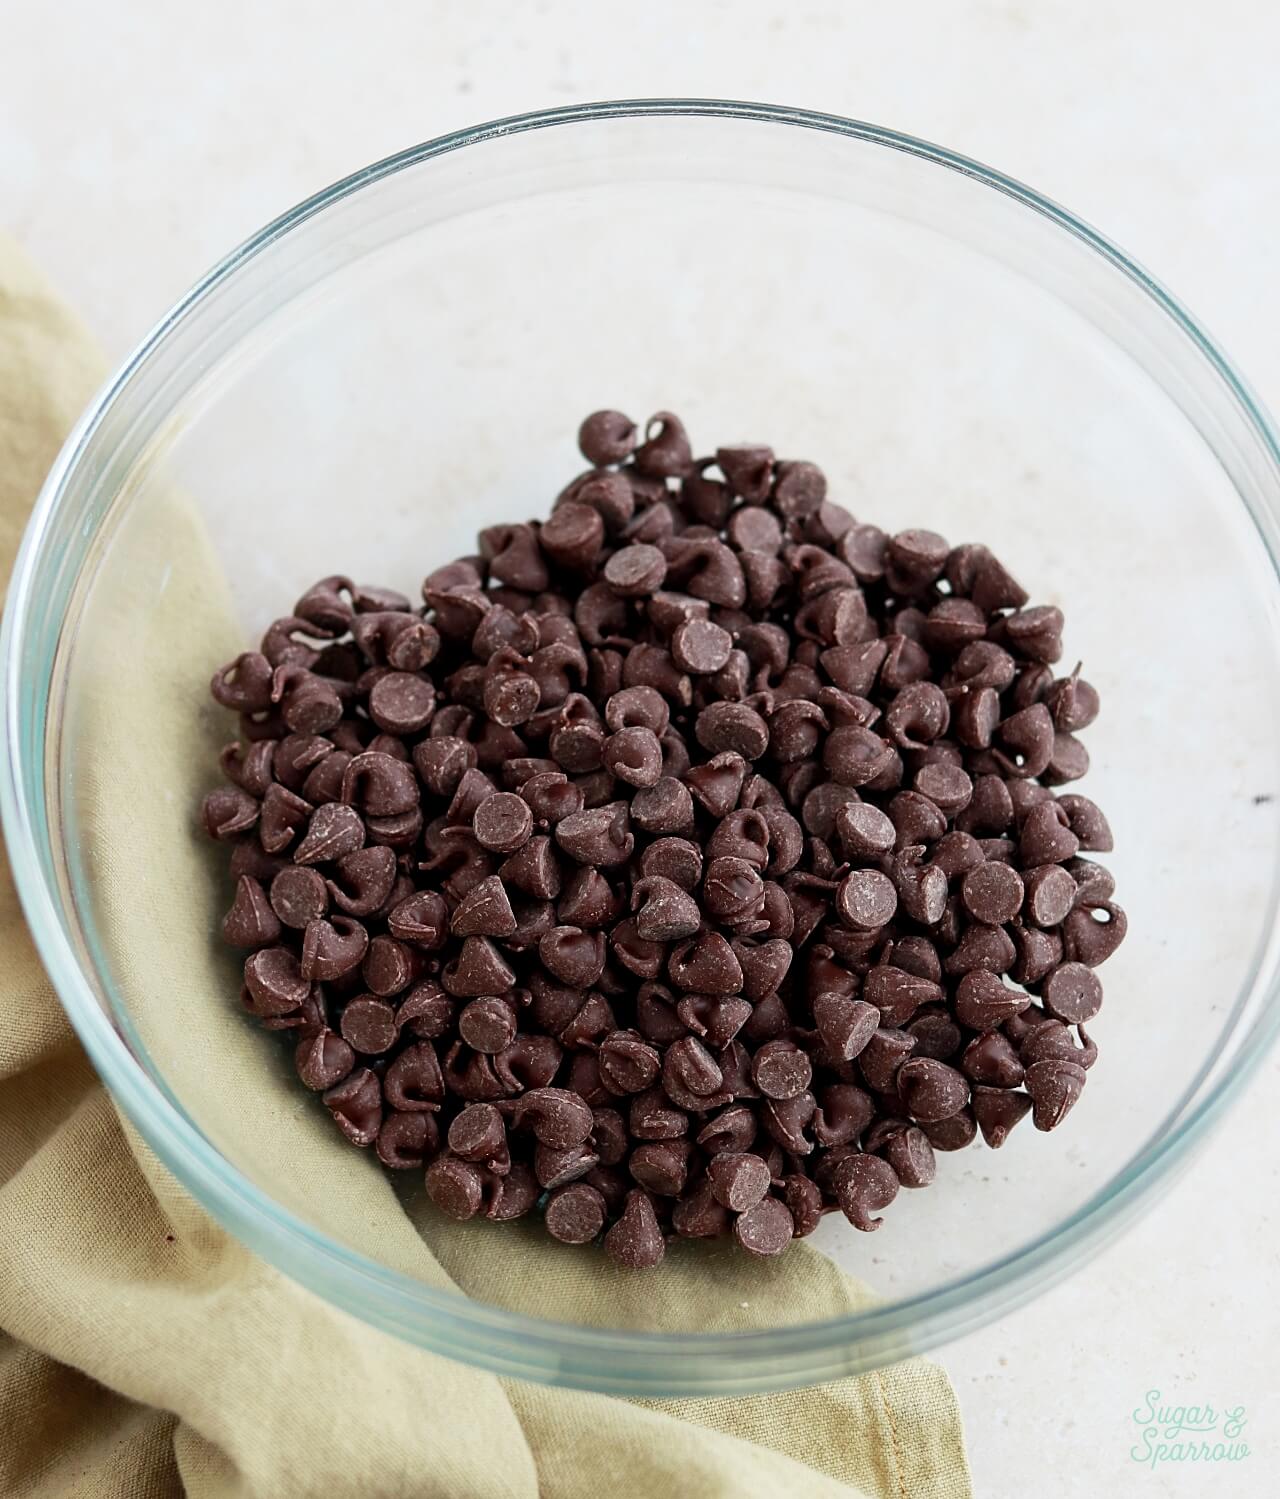
This chocolate ganache recipe has been my go-to forever, and it involves only two ingredients: chocolate and heavy whipping cream. There’s no need to be intimidated with this one. First, measure out the chocolate chips (or quality chocolate bar chopped into bits) into a glass or metal bowl. I like to measure these by weight for precision, but I’ve provided both metric and Cups measurements in the recipe below.
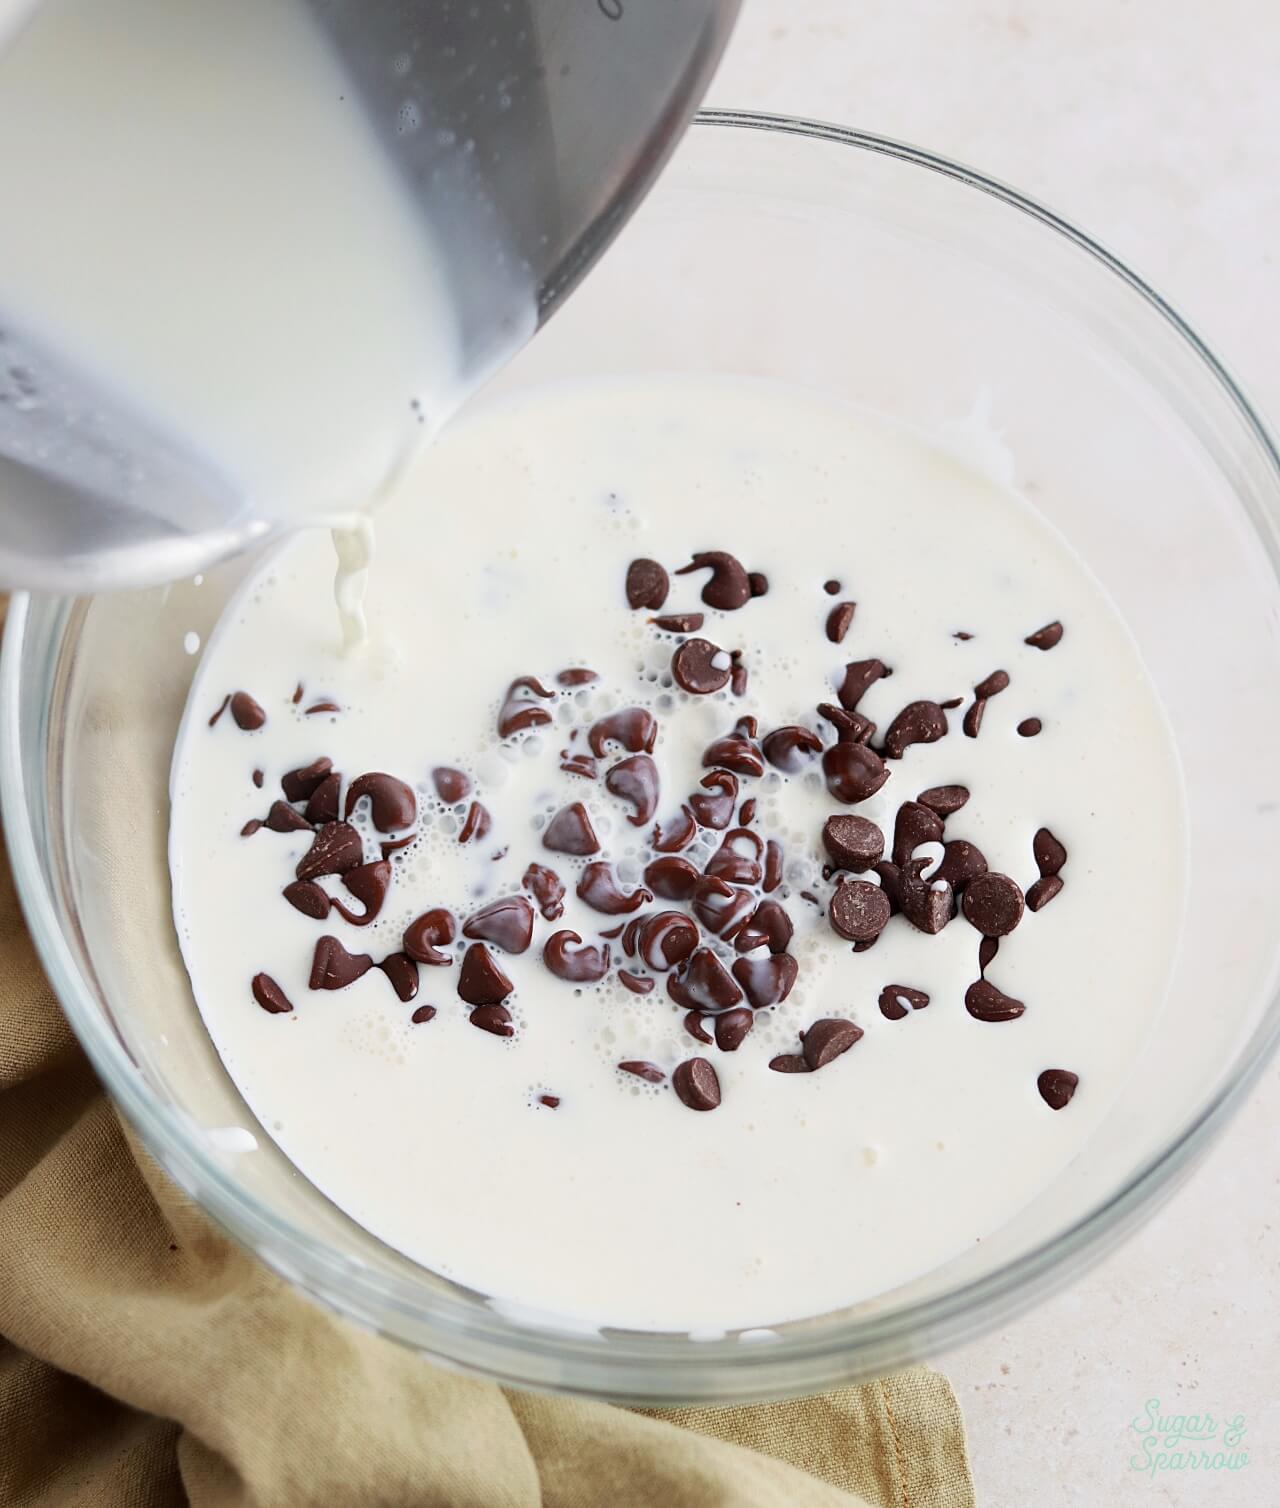
Next, bring the heavy whipping cream to a soft simmer in a saucepan over medium heat. Then, pour it over the chocolate and let it sit for about 30 seconds. This gives the chocolate a chance to soften up before whisking.
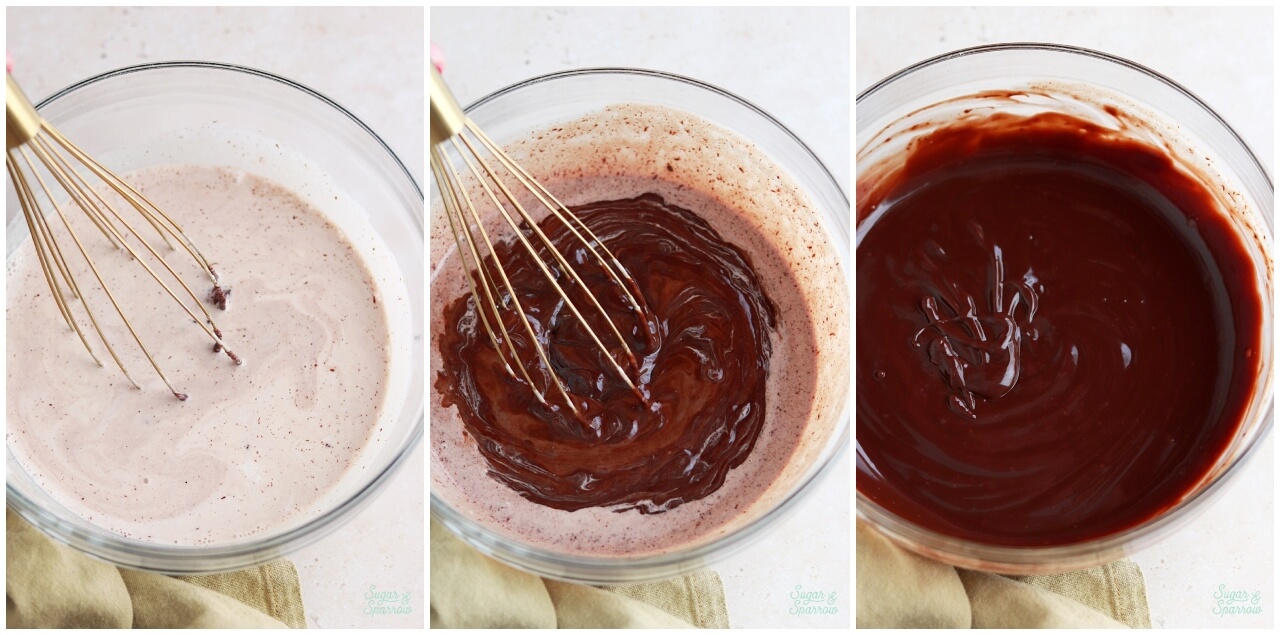
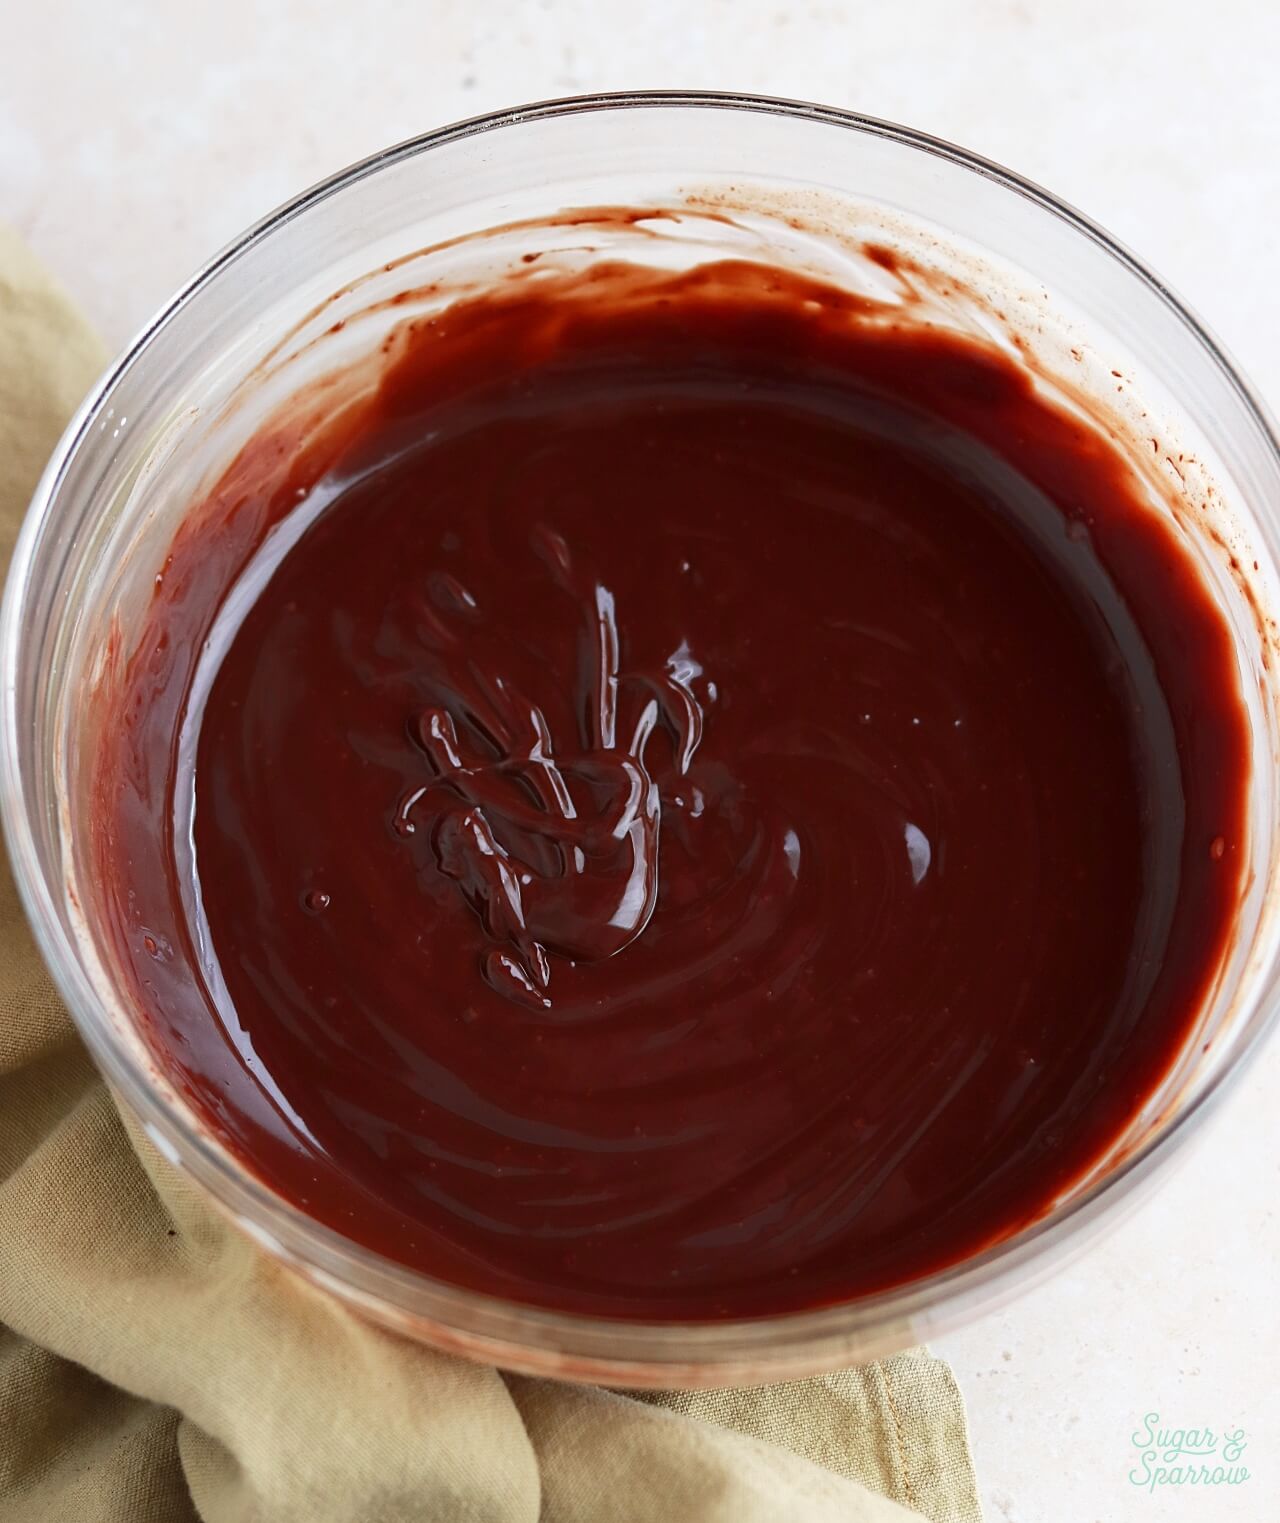
Whisk the cream and chocolate together until it’s uniform. It will look thin and resemble chocolate milk before it starts to come together, but keep whisking until it’s smooth.
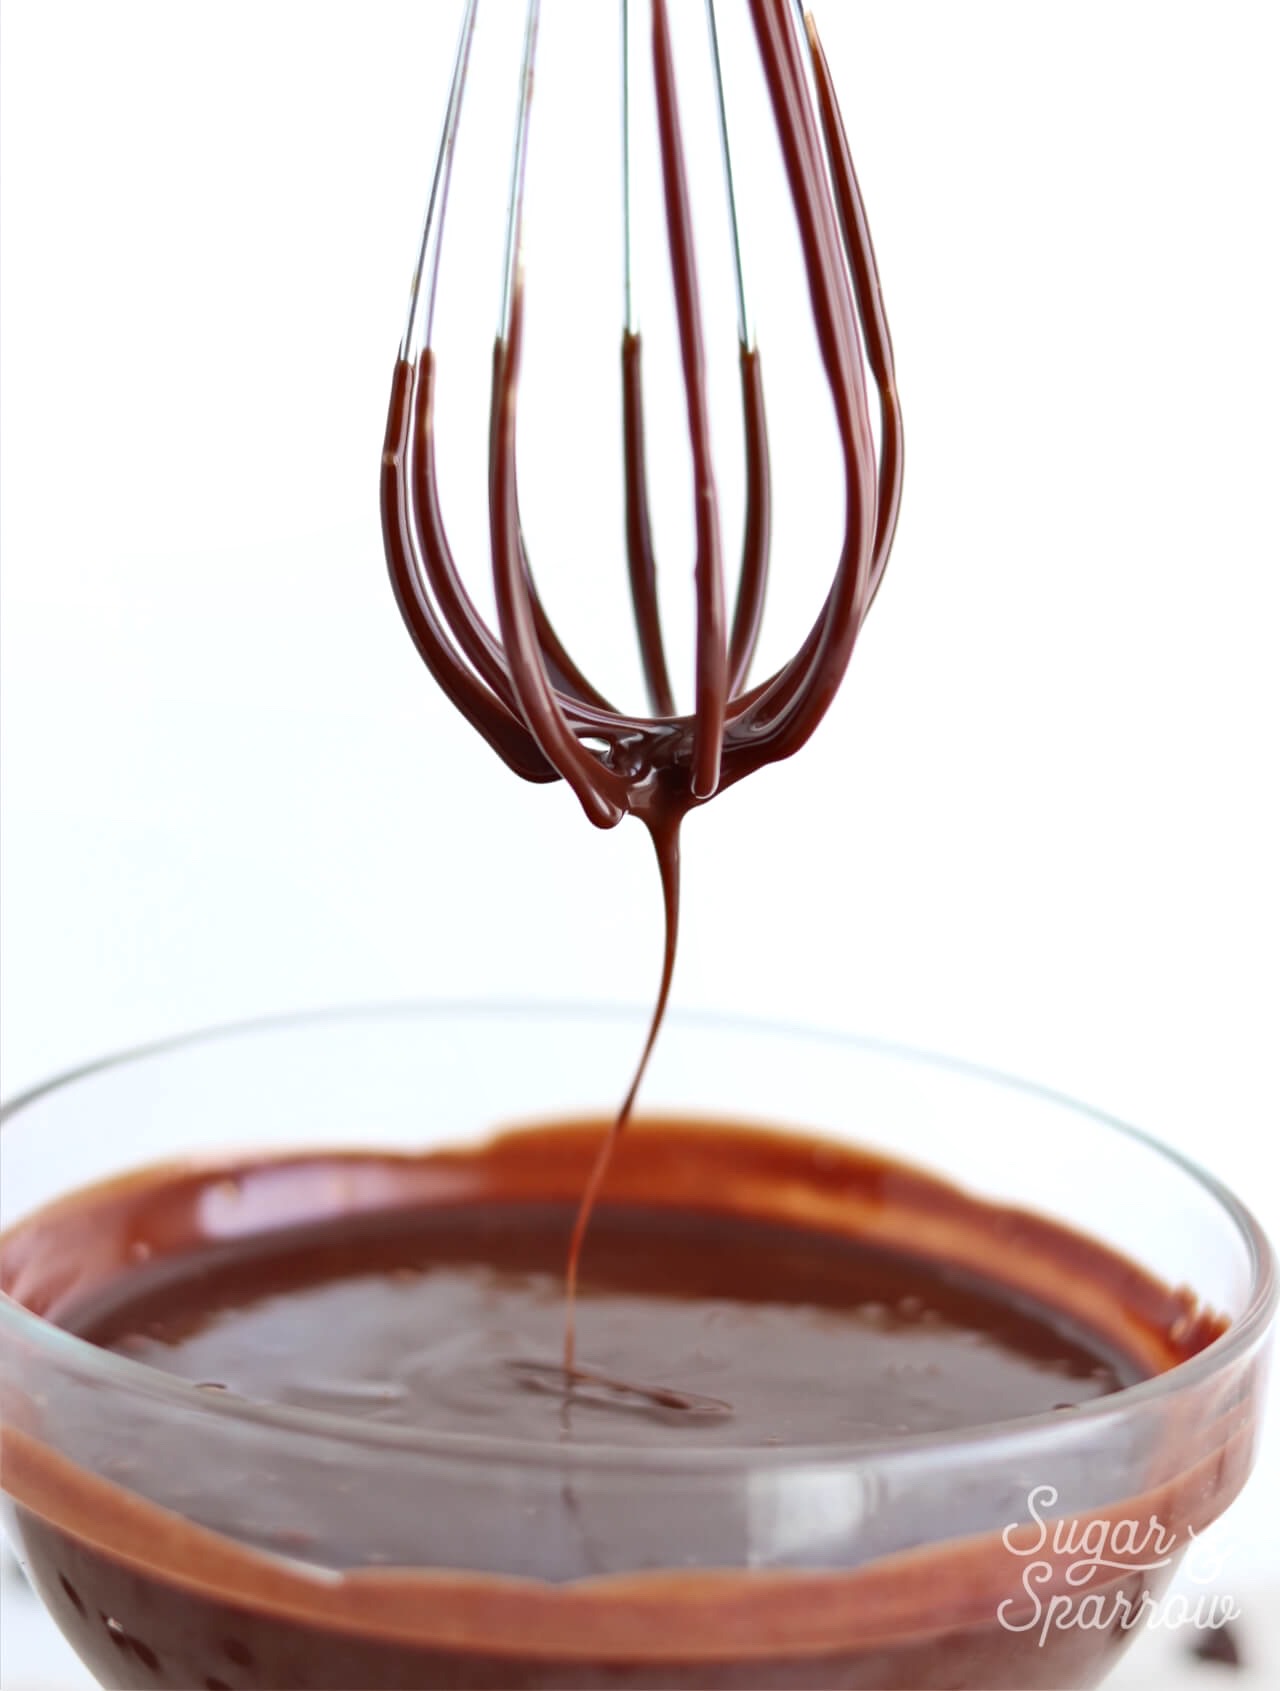
Finally, let the chocolate ganache cool until it’s room temperature or slightly above. I recommend testing out a drip on an inverted glass to make sure it doesn’t drip too far (if it does, keep cooling it) or not far enough (if this is the case, warm it back up slightly in 5-second intervals in the microwave until it’s perfect drip consistency).
The type of chocolate you use will determine the amount of heavy whipping cream to incorporate for the perfect consistency. Although semi-sweet chocolate is the most common type I use for drip cakes, I’ve listed the ratios I use for all different types of chocolate below.
Although the recipe seems straightforward enough, there are quite a few tricks to learn before mastering the art of the drip. I’ve listed out a basic step-by-step tutorial and some troubleshooting tips below, but first, here’s a detailed video to show you how to make the recipe and everything you need to know about the technique I use for drip cakes:
Want to see more Cake Basics videos like this one? Head to my YouTube Channel to see the growing collection. You’ll also find tons of cake recipes and decorating videos there to inspire you and broaden your skill set – be sure to hit the subscribe button so you never miss a new one!
Chocolate Ganache For Drip Cakes
Ingredients
- 1 cup (185g) semi-sweet or milk chocolate chips, or a bar chopped up into bits
- 1 cup (240ml) heavy whipping cream
Instructions
- Place chocolate chips into a heat resistant bowl (glass or metal). If you’re starting with a chocolate bar, chop it into small pieces until they’re about the size of chocolate chips.
- In a saucepan over medium-high heat, warm heavy whipping cream until it just starts to simmer. I always look for small bubbles forming around the edge and a soft simmer starting in the middle. When it's reached this point, pour the cream into your bowl of chocolate and let sit for about 30 seconds.
- Whisk it together until it’s uniform in consistency and there are no bits of chocolate left on your whisk. Cool ganache at room temperature for 10-20 minutes, or until the ganache itself is room temperature or slightly above.
Notes
Tips For Perfect Chocolate Ganache Drip Cakes
Tip 1: Be Patient With The Cooling Process
Once you’ve whisked the ganache together, it’s crucial to let it cool on your countertop until it’s room temperature or slightly above, about 10-20 minutes depending on how cold your environment is. Trying to speed up this process by placing ganache in the refrigerator doesn’t usually end well – I’ve found that it cools unevenly, leading to thick, globby drips.

Cooling in the fridge also leads to the urge to stir it too often. Ganache (especially white chocolate!) does not like to be stirred too often, and the end result can mean that your whipping cream starts to separate from the chocolate. You’ll know that this has happened because the ganache will look grainy and dull, or even separated like oil and water. To fix situations like these, you’ll need to reheat the ganache to 92ºF to melt the fat crystals and re-whisk to bring it back together.
Tip 2: Make Sure Your Buttercream Is Chilled
There’s a science to this tip. Since molecules move more slowly at cooler temperatures (and warp speed at higher temperatures), it makes a lot of sense that you can better control how far the chocolate ganache drips when the buttercream is chilled. Make sure that after you do your final coat of buttercream, you chill the cake in the refrigerator for at least 30 minutes.
Tip 3: Always Do A Test Drip
When your buttercream is nice and chilled, do a test drip by letting the ganache run down the side of your cake. If it travels rapidly and pools at the bottom, your ganache is too warm. Continue to cool the ganache for another 5-10 minutes and try your test drip again. If it’s globby or doesn’t travel very far down the side of the cake, it’s too cold. Reheat the ganache in the microwave for about 10 seconds, stir, and try again. Repeat the reheating process as needed until you get the perfect consistency.

The good thing about a test drip is you’re able to see how the ganache will behave. That way you don’t have to commit until you like what you’re seeing.
Tip 4: Drip The Sides Before Filling In The Top
When I first started caking, my initial thought was to just dump ganache over the top of the cake and let it run down the sides naturally. If you’ve ever tried that before, you’ll know it doesn’t end up looking good. You’ll have a lot more control over the appearance if you start by dripping the sides until they’re aesthetically pleasing before filling in the top of the cake.

Try not to add too much ganache to the top when filling it in, because if you add any more to the drips you’ve created, it will make them travel farther than you’d like. Instead, try to use just a little ganache and spread it so that it just touches where your drips begin. The ganache on the top should self-level a bit, so don’t worry too much about getting it super smooth.

Tip 5: Don’t Touch Those Drips
If you’ve ever made a drip cake with ganache before, you’ll know that it’s a little sticky to the touch when it’s room temperature. When the drips have been refrigerated, they’re a little less fragile, but try not to touch the drips at all during the decorating or boxing-up process.
Chocolate Ganache Troubleshooting Tips
Since the consistency of your ganache is pretty much everything when it comes to a successful drip cake, I wanted to take a moment to talk about what to do if your drips are too thick or too runny. Most of the time, it doesn’t take a whole lot to bring your ganache back to ideal drip consistency. Here are some common problems and ways to solve them:
Problem 1: The drips are pooling at the bottom of the cake – this typically means your ganache is too warm, in which case I recommend to give the ganache 5-10 more minutes to cool down before attempting your next test drip on your chilled buttercream cake.
If you’ve let the ganache cool for a significant amount of time and the drips are still too runny, it means that too much liquid (heavy whipping cream) was incorporated into the recipe. To fix this problem, you’ll need to thicken the ganache with more chocolate. This will mean melting about 1-2 additional oz of chocolate in the microwave, warming the existing ganache to the same temperature as the melted chocolate, then whisking it all together before letting it cool back down to ideal drip consistency.
Problem 2: The drips are thick and gloppy – this means your ganache is too set (or too cold). To fix this, gently warm the ganache in the microwave in 5-10 second increments until it’s ideal drip consistency.
Problem 3: The ganache has split – this has never happened to me with this recipe, but if your ganache looks grainy or seized, it means that for some reason, the fat is separating from the liquid. To fix it, gently reheat the ganache in the microwave or over a double boiler to 92ºF to melt the fat crystals, then re-whisk to bring it back together.

Is there anything else you’d like to know about drip cakes? I’m certainly not an expert per se, but if you have more questions, let me know in the comments below and I’ll do my best to answer!


Hello loved your video and tutorial, quick question… have you every tried this with nutella? if so is the method just the same, same cooling time, ratio of ingredients? Any help would be appreciated
Hi Cheryl! I have made Nutella ganache before and love it! The recipe is here: https://sugarandsparrow.com/pretzel-nutella-cake-recipe/ and just use the same method for dripping the cake
Hi Whitney! I was wondering if you’ve ever used this for strawberry dipping? Or would you do a 3:1 ratio like your white chocolate drop for dipping? Or just melted chocolate?
Hi Ryann! If you’re making chocolate covered strawberries, melted chocolate makes the perfect coating. If you’re just looking for a dip, this ratio of chocolate ganache will work once it has reached room temperature, but it’s not the best for coating/decorating the strawberries.
Hi Whithey! Do you boil the cream right in a saucepan or in a bowl over a saucepan?
Kind Regards,
Thaya
Hi Thaya! I boil the cream in a small saucepan.
Hi!
I would love to do a ganache drip on an ice cream cake with whipped cream frosting, should I do the drip shortly after applying the whipped cream so its not to cold?
Thank you!
Hi Sofia! I would definitely chill the whipped cream frosted cake for at least 20 min before dripping the cake since ganache works best on cold surfaces.
Hi Clementine! If the ganache seems too runny, I usually will put the bowl over a burner on low to gently heat it back up and whisk in a few more Tbsp of chocolate chips. This should thicken it to perfect consistency (after cooling it back down to room temp)
Thank you for your help and your reply!!
Hi!
I made your recipe with 1:1 ratio of dark chocolate (60%) and cream. The texture was perfect but now, the cake is in the fridge from 24 hours and i can see some cracks on the top and the drizzles.
What happen do you think? What I make wring?
Thank you!!!
Hi Carolanne, I just looked into why the ganache would be cracking and it sounds like chocolate with higher percentages of cocoa solids (aka dark chocolate) can end up setting harder, sometimes resulting in cracking. I was totally unaware of that! The only way to fix it is use 5-10% more heavy whipping cream in the recipe next time, to balance out the ratio. I’ll be sure to make a note of that in the recipe and so sorry that happened!
hi there Whiteney do you have a recipe for a simple plain cake. I am a teacher of year 9 kids and we will make a cake, use butter cream for the middle and top and then ganache. We will make cake one week, wrap and freeze, then ice and drip next week. The recipe we used this year just didnt taste fresh and was pretty dense by the time it unfroze.
Any help would be appreciated
thanks so much for all tha tyou share
Megan
Hi Megan! I do have some really easy recipes that would be perfect. My vanilla cake can be found here: https://sugarandsparrow.com/vanilla-cake-recipe/ and my chocolate cake recipe is even easier, as it’s a one-bowl cake: https://sugarandsparrow.com/chocolate-cake-recipe/ Hope that helps!
Hello! After I made the ganache in your recipe, I let it cool for 40 min on my counter before refrigerating it. This afternoon when I took it out to let it warm up, it was like soup. Watery and no thickness at all. Is there a way to fix this, or would I just scrap that batch and start over?
Hi Chris! Did you warm it up in the microwave or was it runny when left out at room temperature? If it was warmed in the microwave, just give it about 5-10 minutes to cool down before dripping. If it’s runny at room temp, it means that somehow too much liquid or not enough chocolate was used in the recipe. In that case, you can always gently heat it up using a double boiler and add in a little more chocolate to thicken it up.
I just did my first chocolate ( I used semi sweet chocolate chips) drip cake using your recipe and tips and it came out perfect! Thank you!
I’m so happy it came out perfect, Donna!!
Vert nice recipe nicole
Can you do a drip on a cake that’s covered in chantilly or mousse ?
Hi Sophia! I’ve never tried a drip with chantilly or mousse. As long as it’s stable (aka won’t shift when you drip over it like whipped cream would), I’d say give it a try.
Hi, I am picking up and refrigerating a drip cake overnight. How long can it be out for on the following day for a birthday party. I wont have access to a fridge on that day, for 3+ hours. We are transporting it to a venue from home and it will sit out until cake time.
Hi Andrea! The amount of time a cake can be left out totally depends on the temperature of the environment it’s in. If it’s an air conditioned environment (or just generally cooler), you should have absolutely no problem leaving the cake out for several hours. I always refrigerate my cakes until the very last minute before transporting, and it takes about an hour for them to reach room temp. The only time you’ll have a problem is if it’s in direct sunlight and over 80 degrees for several hours. Hopefully that’s not the case, but if it is, just make sure you refrigerate the cake until the very last second before transporting to the party.
My ganache drip has cracked. It’s the second time I’ve tried it. Should i let the cake sit for a while after taking it out of the fridge before putting ganache on? It’s just recipes all say cake needs to be chilled for at least 30 mins before doing ganache drip.
Hi Angela! Sorry to hear that the ganache is cracking. Are you using the recipe I posted above? I’ve never had a problem with cracking, and it sounds like maybe the ganache is too firm (it could only crack if it dries super hard, which makes me think there’s not enough liquid in the recipe you’re using). From my experience, I always refrigerate the cake for at least 30 minutes and wait until the ganache (a 1:1 ratio like the above recipe) is slightly above room temperature before dripping. When it sets, it’s always slightly soft texture – not rock hard and not so wet that it can’t be touched.
do you put your cake in the fridge until it’s ready to serve?
Hi Molly! I do store the cake in the refrigerator until about an hour before serving. It tastes best at room temperature!