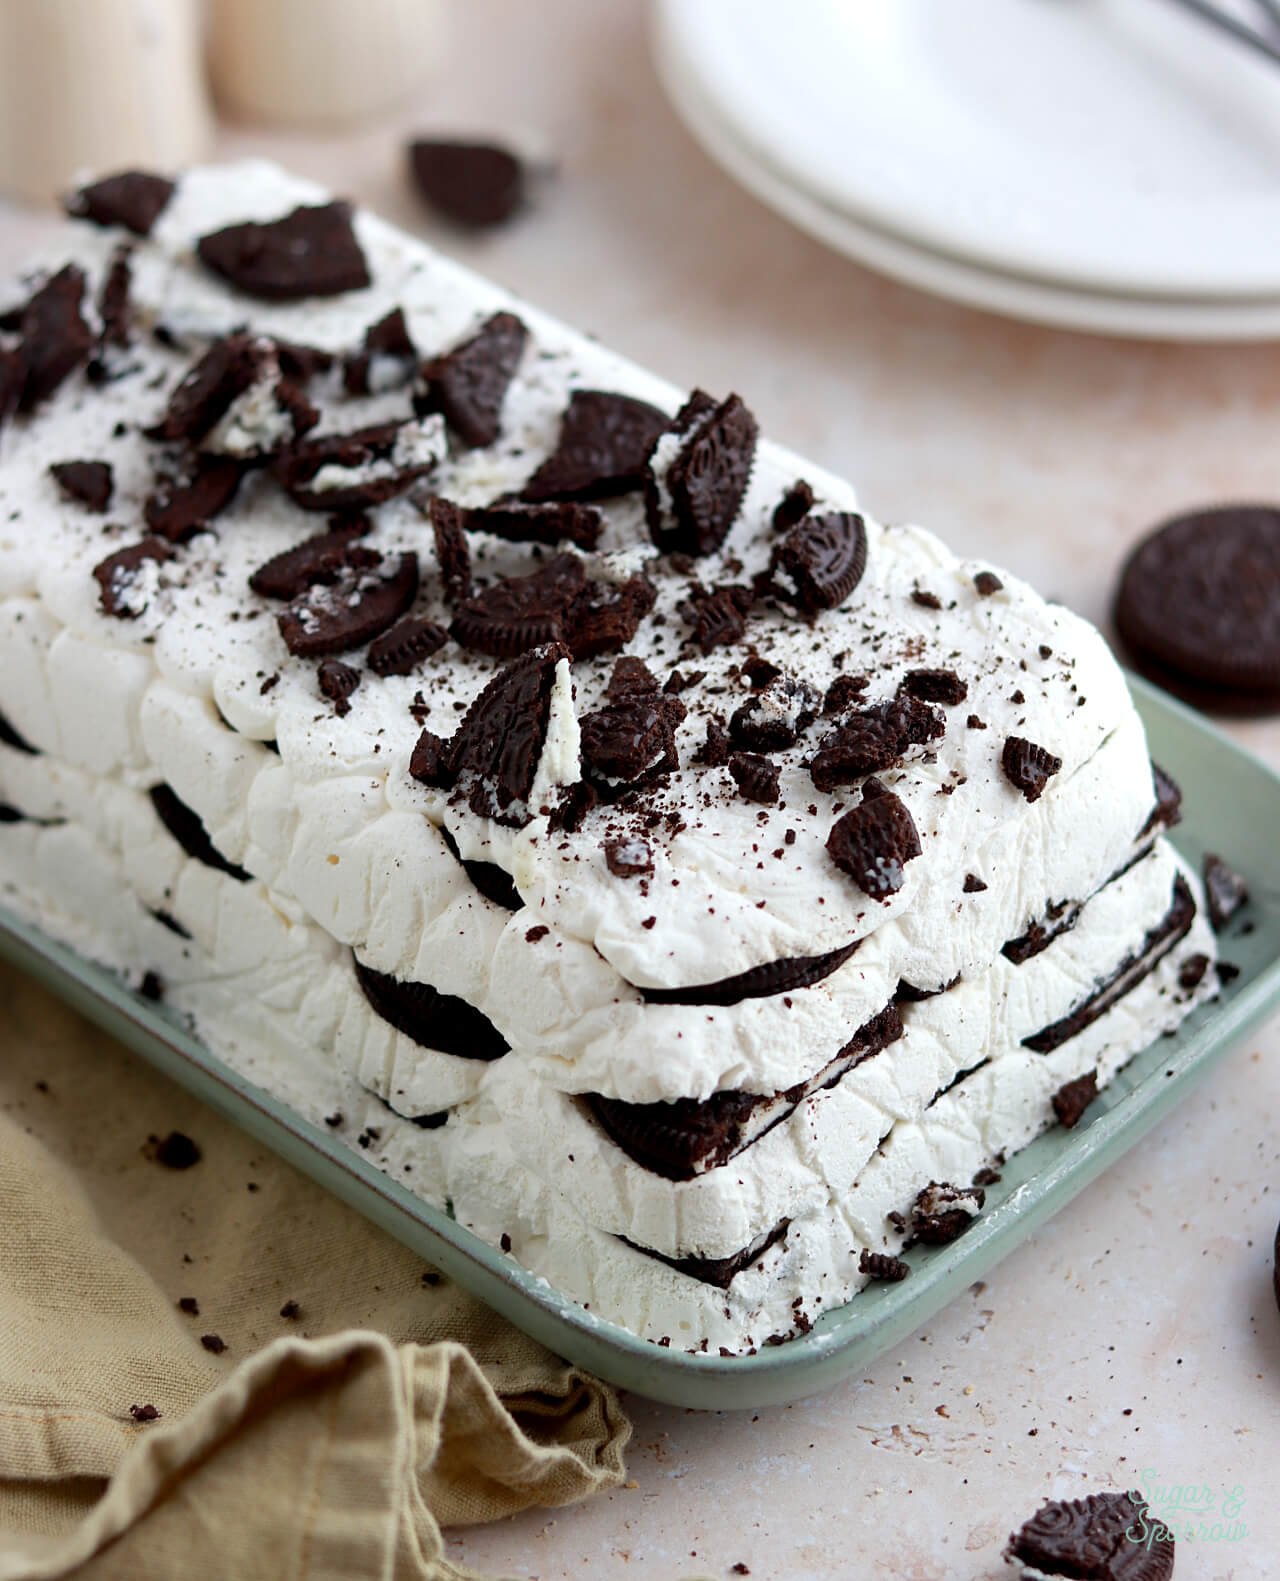
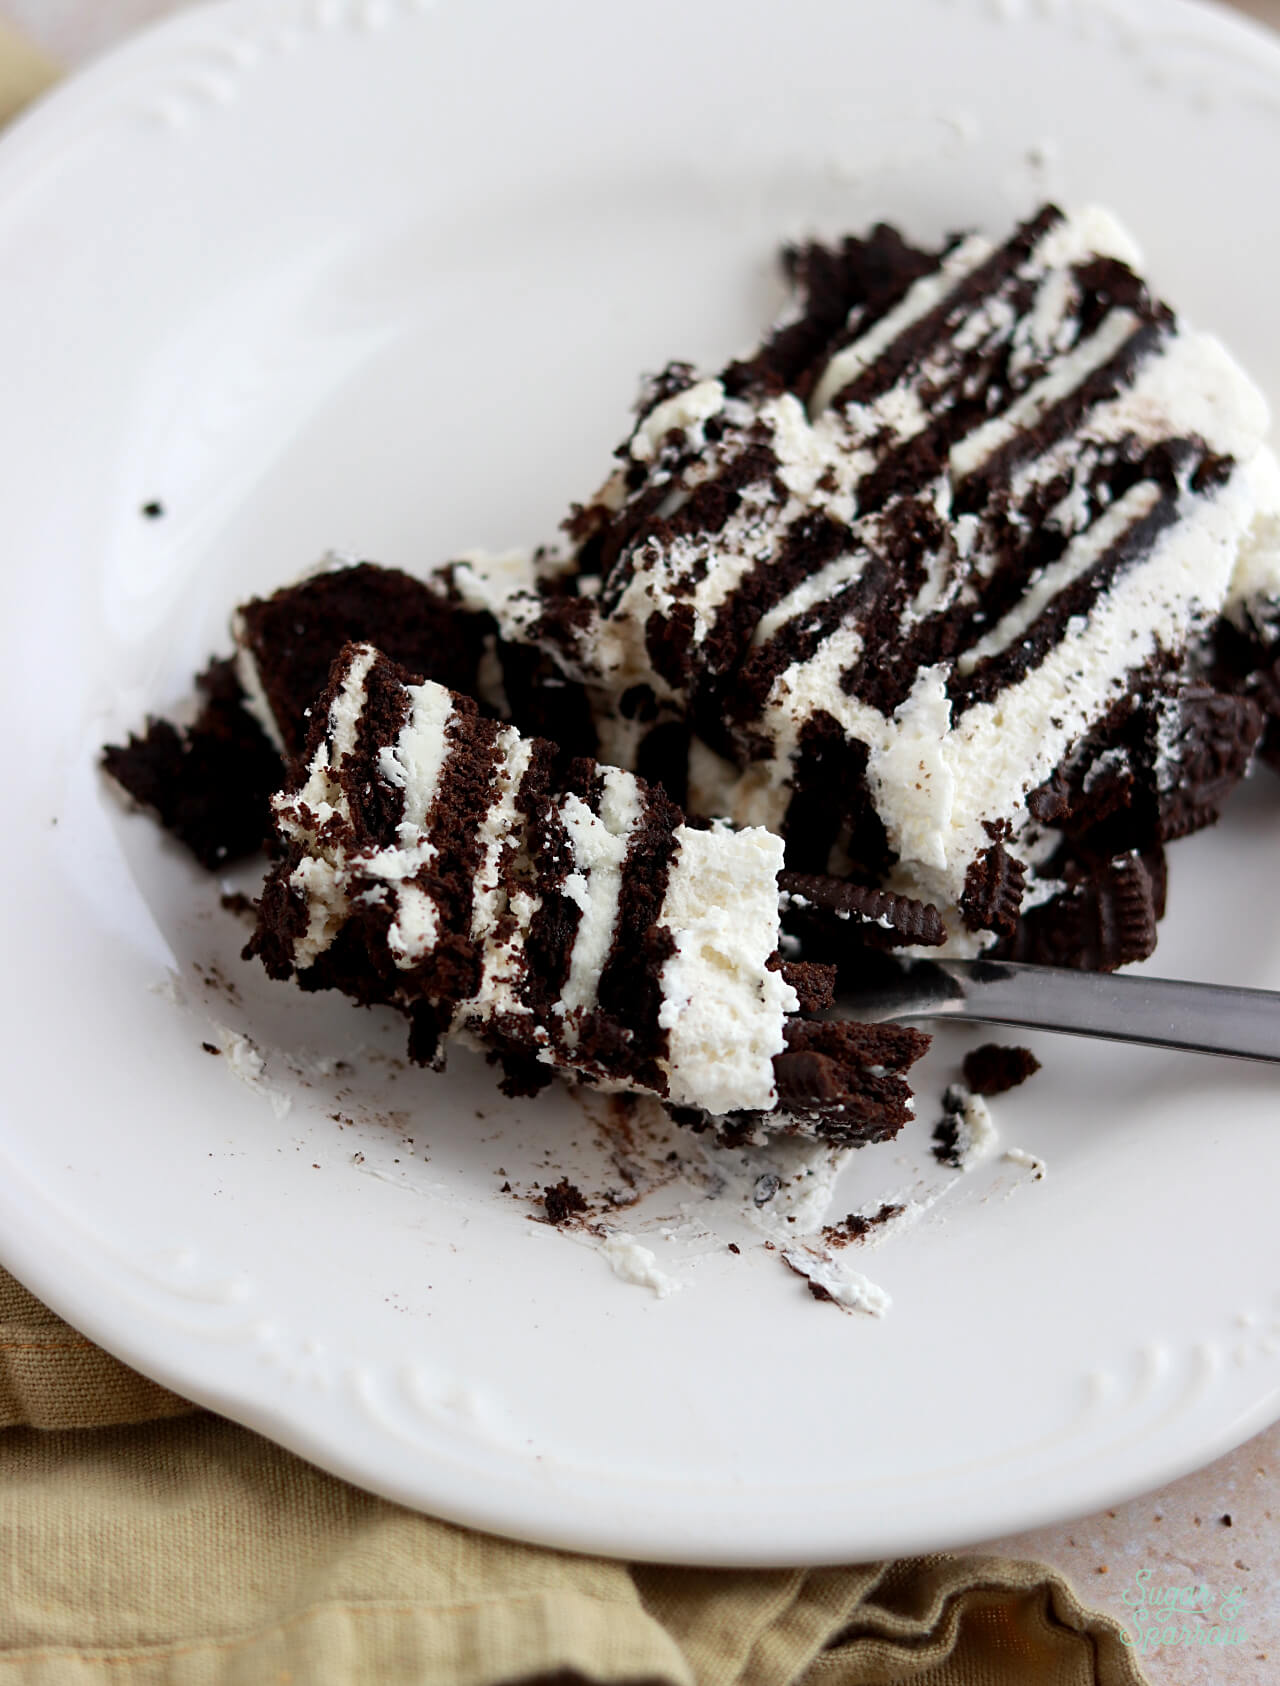
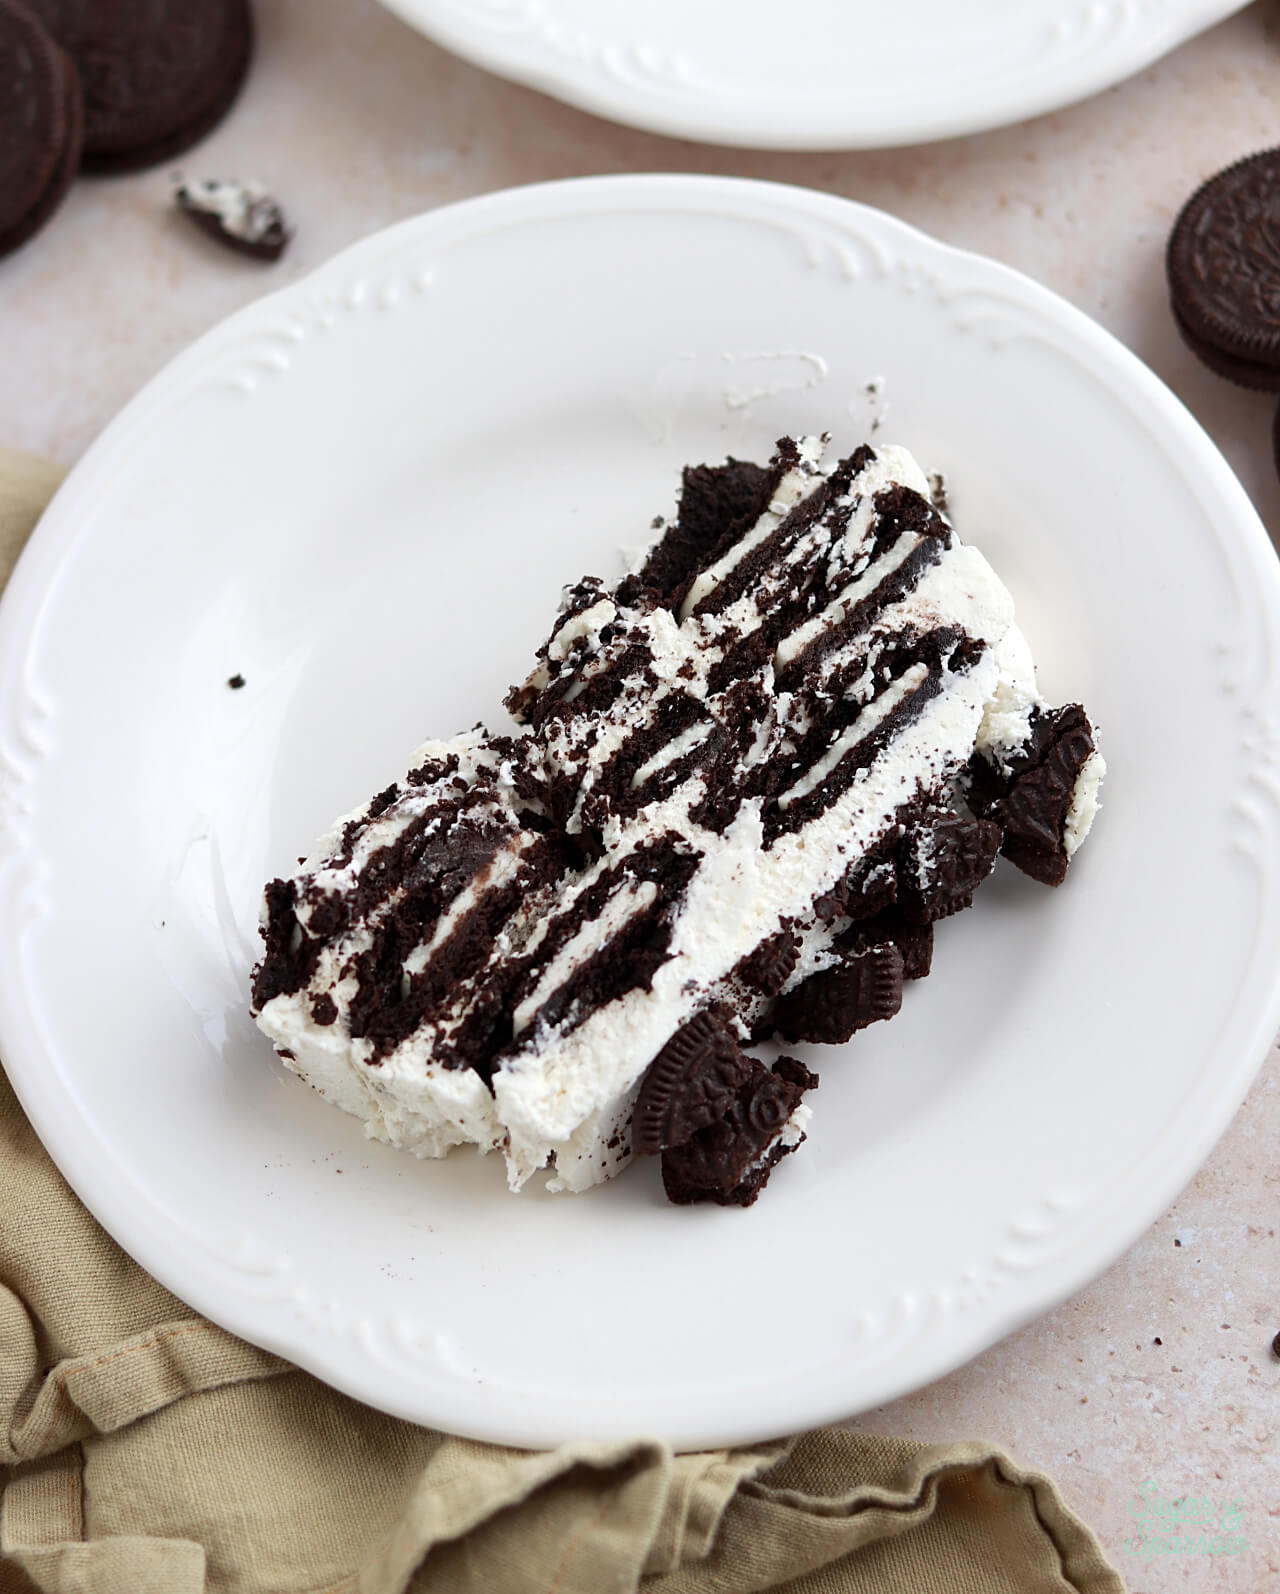
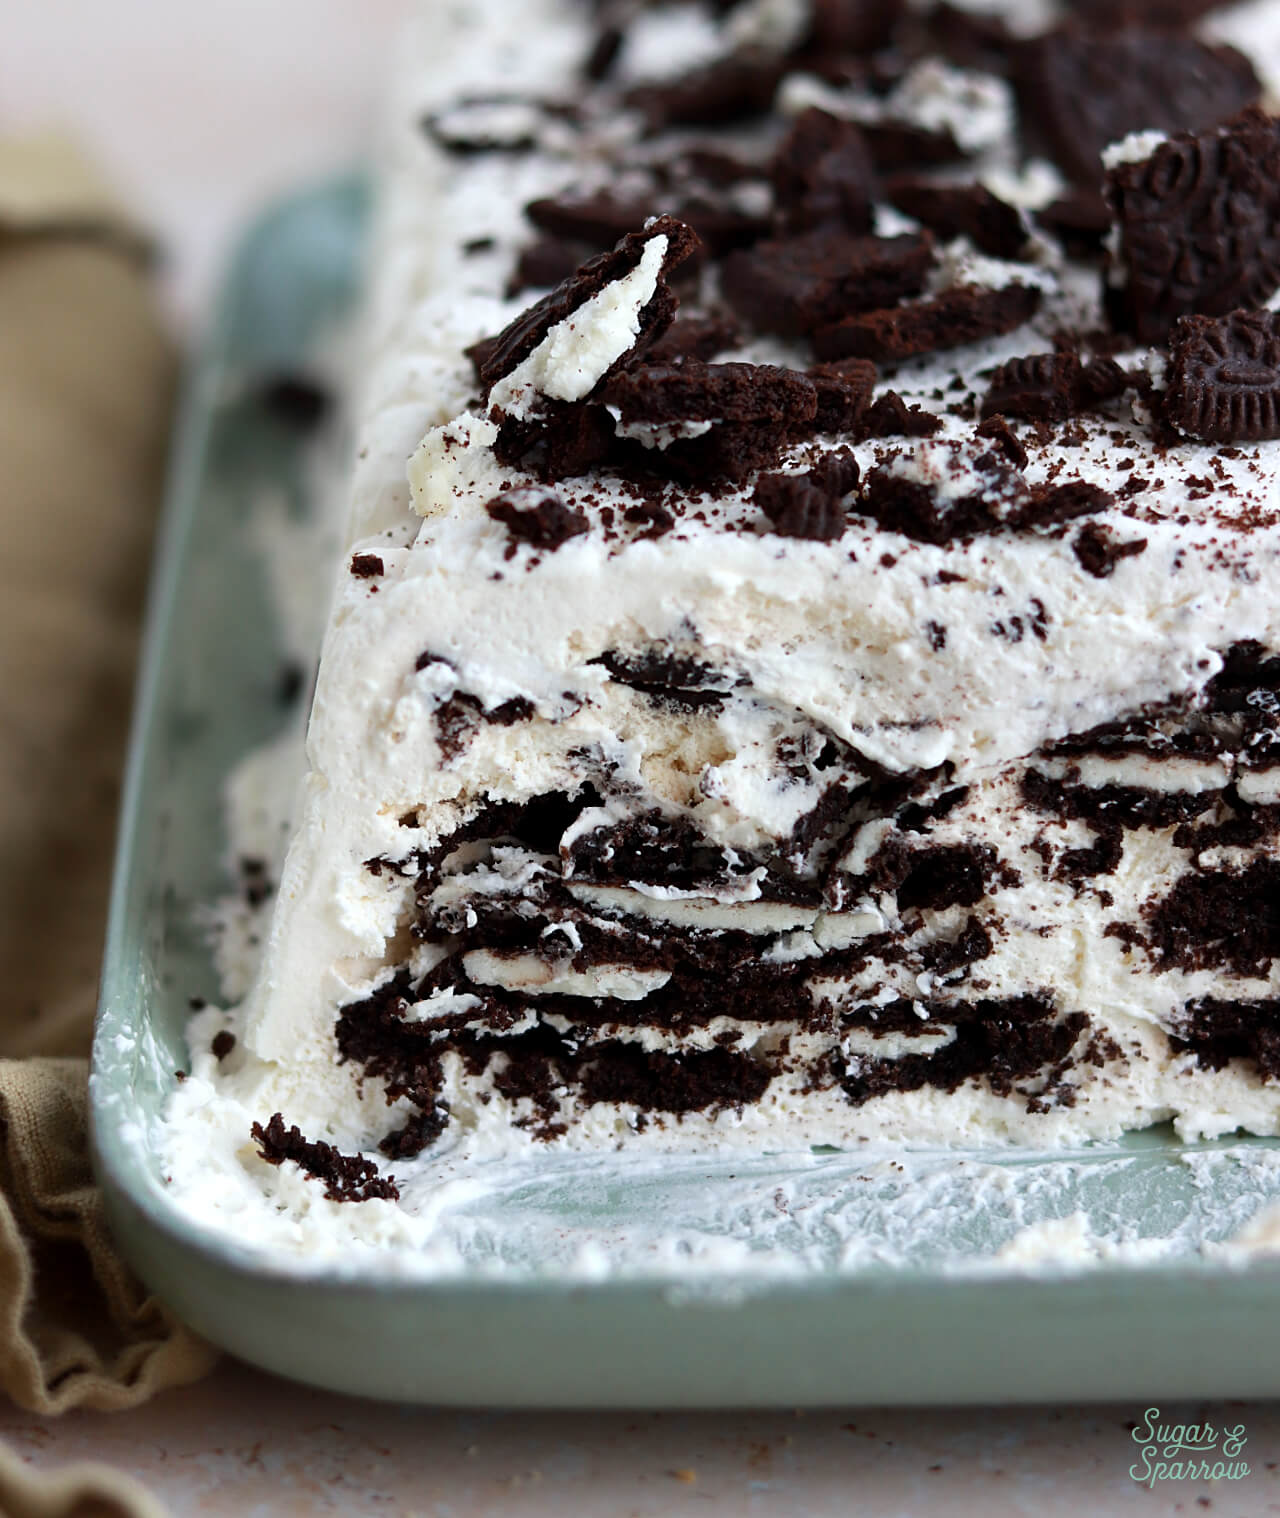
This is the easiest no-bake Oreo cake you’ll ever make and could not be more delicious! With just four ingredients, this Oreo icebox cake is so quick to make and assemble, and magically sets into the perfect Oreo dessert in the refrigerator overnight. There are seven alternating layers of Oreo cookies and homemade whipped cream, and the cookies soften so beautifully to make every bite taste like a perfect milk-dunked Oreo. It’s ridiculous how tasty this is with barely any effort! A must make for your next Summer gathering.
Why You’ll Love this Oreo Icebox Cake
Here are just a few reasons I love this Oreo icebox cake (and you will too!):
- 4 Simple Ingredients. All you need are Oreo cookies (any kind!) and ingredients for homemade heavy whipping cream.
- Easy to Make (No-Bake!). Once you whip up that heavy whipping cream, all you do is layer the cookies and cream in a loaf pan, refrigerate overnight, and it sets into the perfect dessert! It’s ideal for Summer when it’s too hot to turn on the oven, but is enjoyable any time of year.
- Extremely Versatile. The cookie layer in this recipe can be substituted with any kind of cookie! Swap them out with chocolate chip cookies, graham crackers, Biscoff Cookies, other Oreo flavors, or truly any crunchy cookie. You can flavor the whipped cream, add things like fresh berries, and really get creative if you want to.
How to Make Oreo Icebox Cake
This recipe only takes about 20 minutes to make and assemble before you chill it overnight! Here’s how to make it from start to finish:
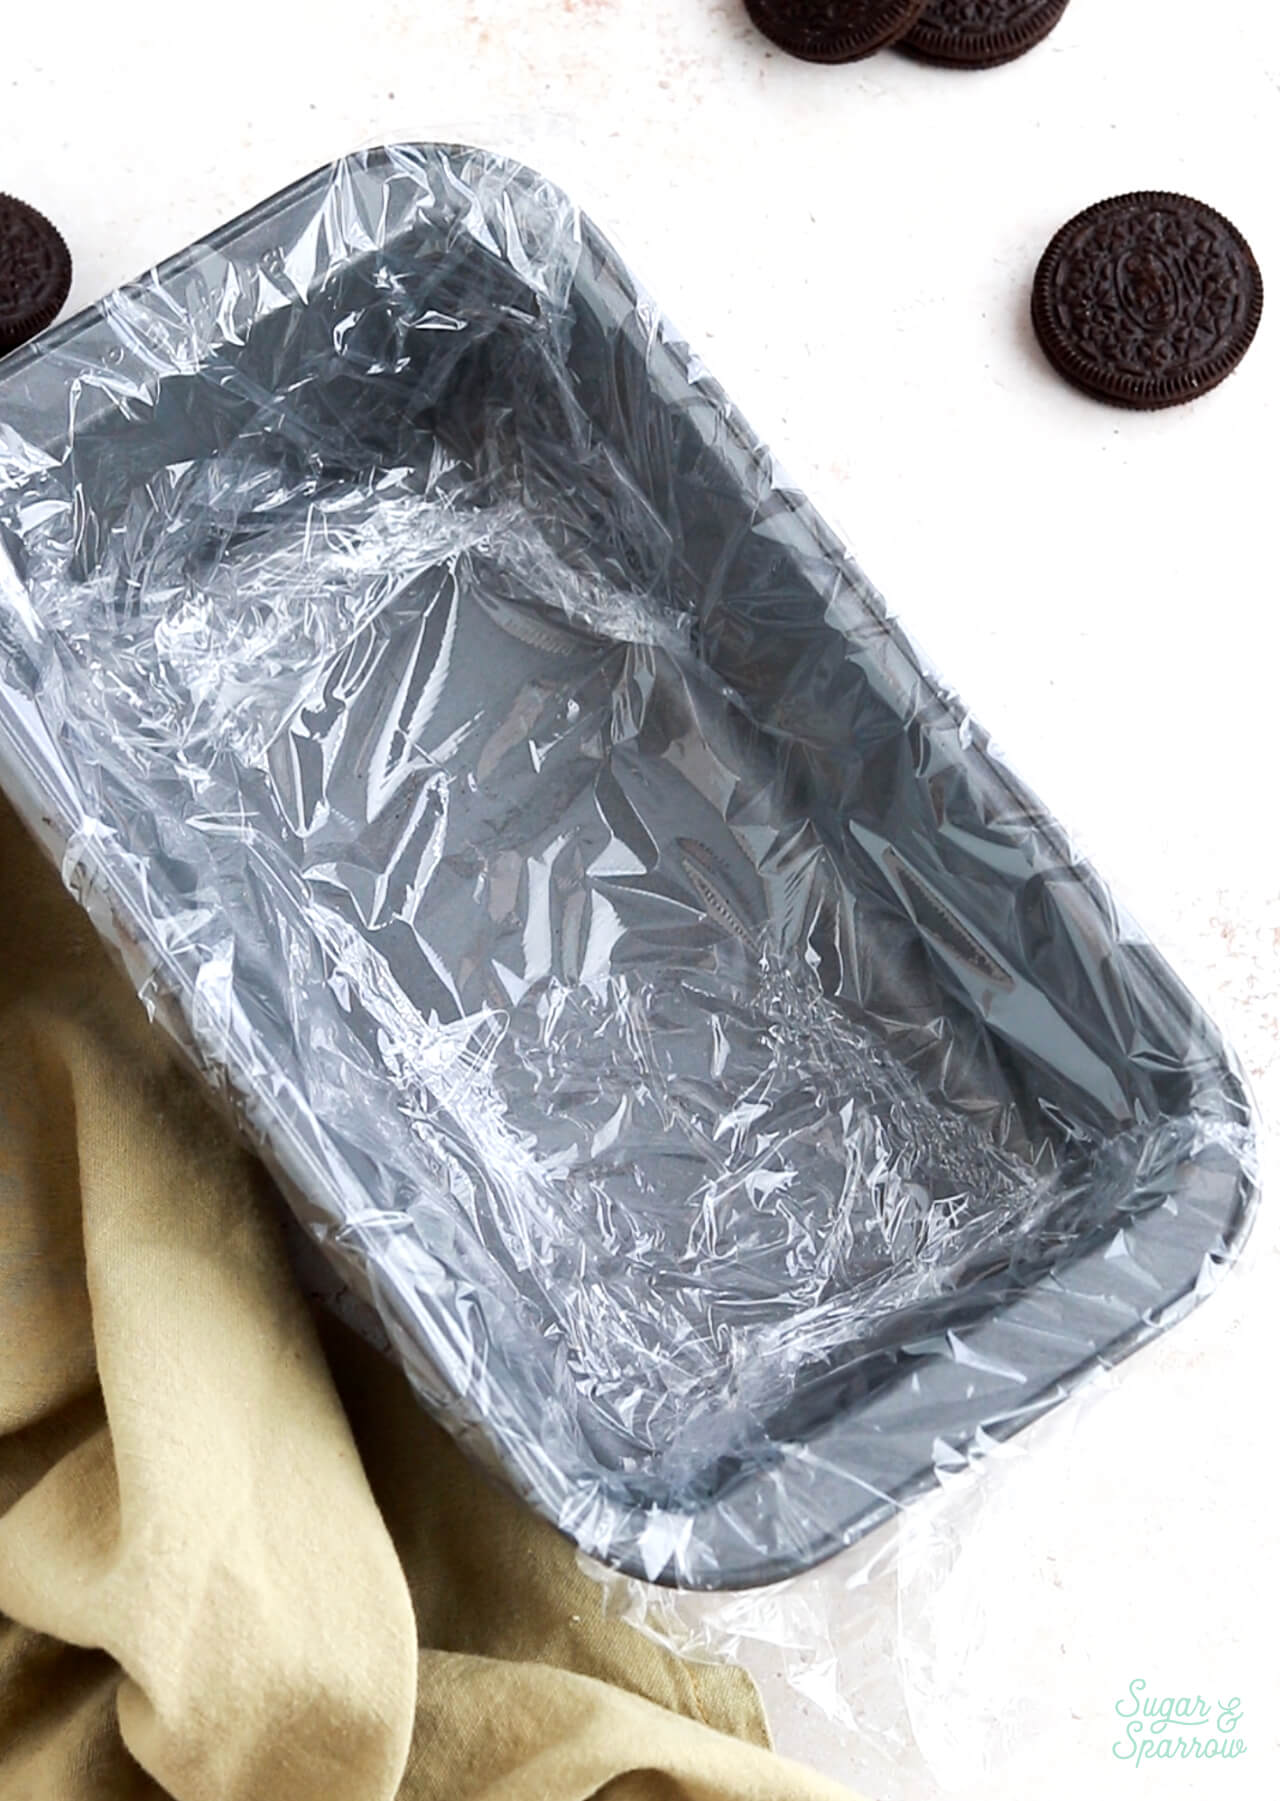
Step 1: Prepare the Pan. Line a 9.5 x 5 inch loaf pan with plastic wrap, leaving an overhang on all four sides.
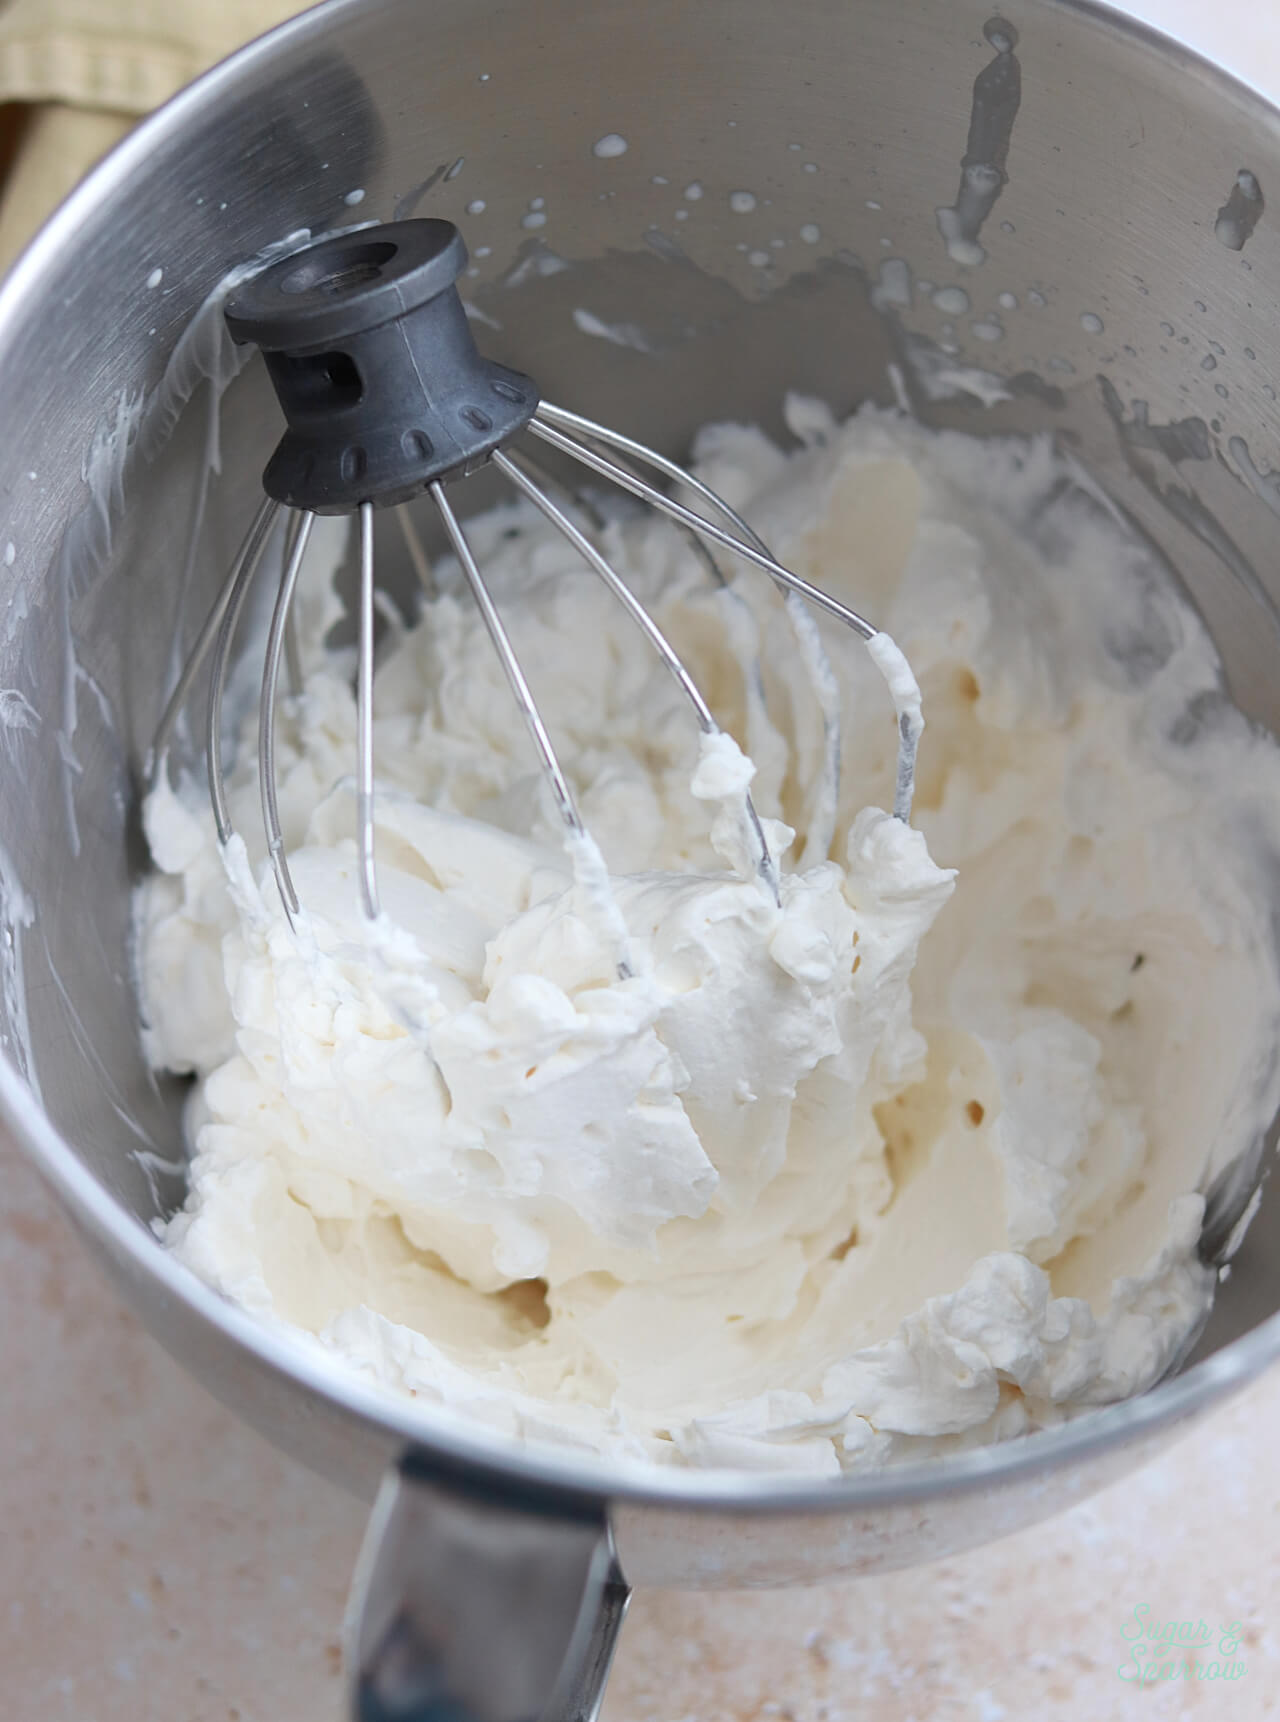
Step 2: Make the Whipped Cream. Add all of the homemade whipped cream ingredients into the chilled bowl of your stand mixer fitted with the whisk attachment (or use a large bowl and hand mixer). Then, beat on high speed for 1-2 minutes until stiff peaks form.
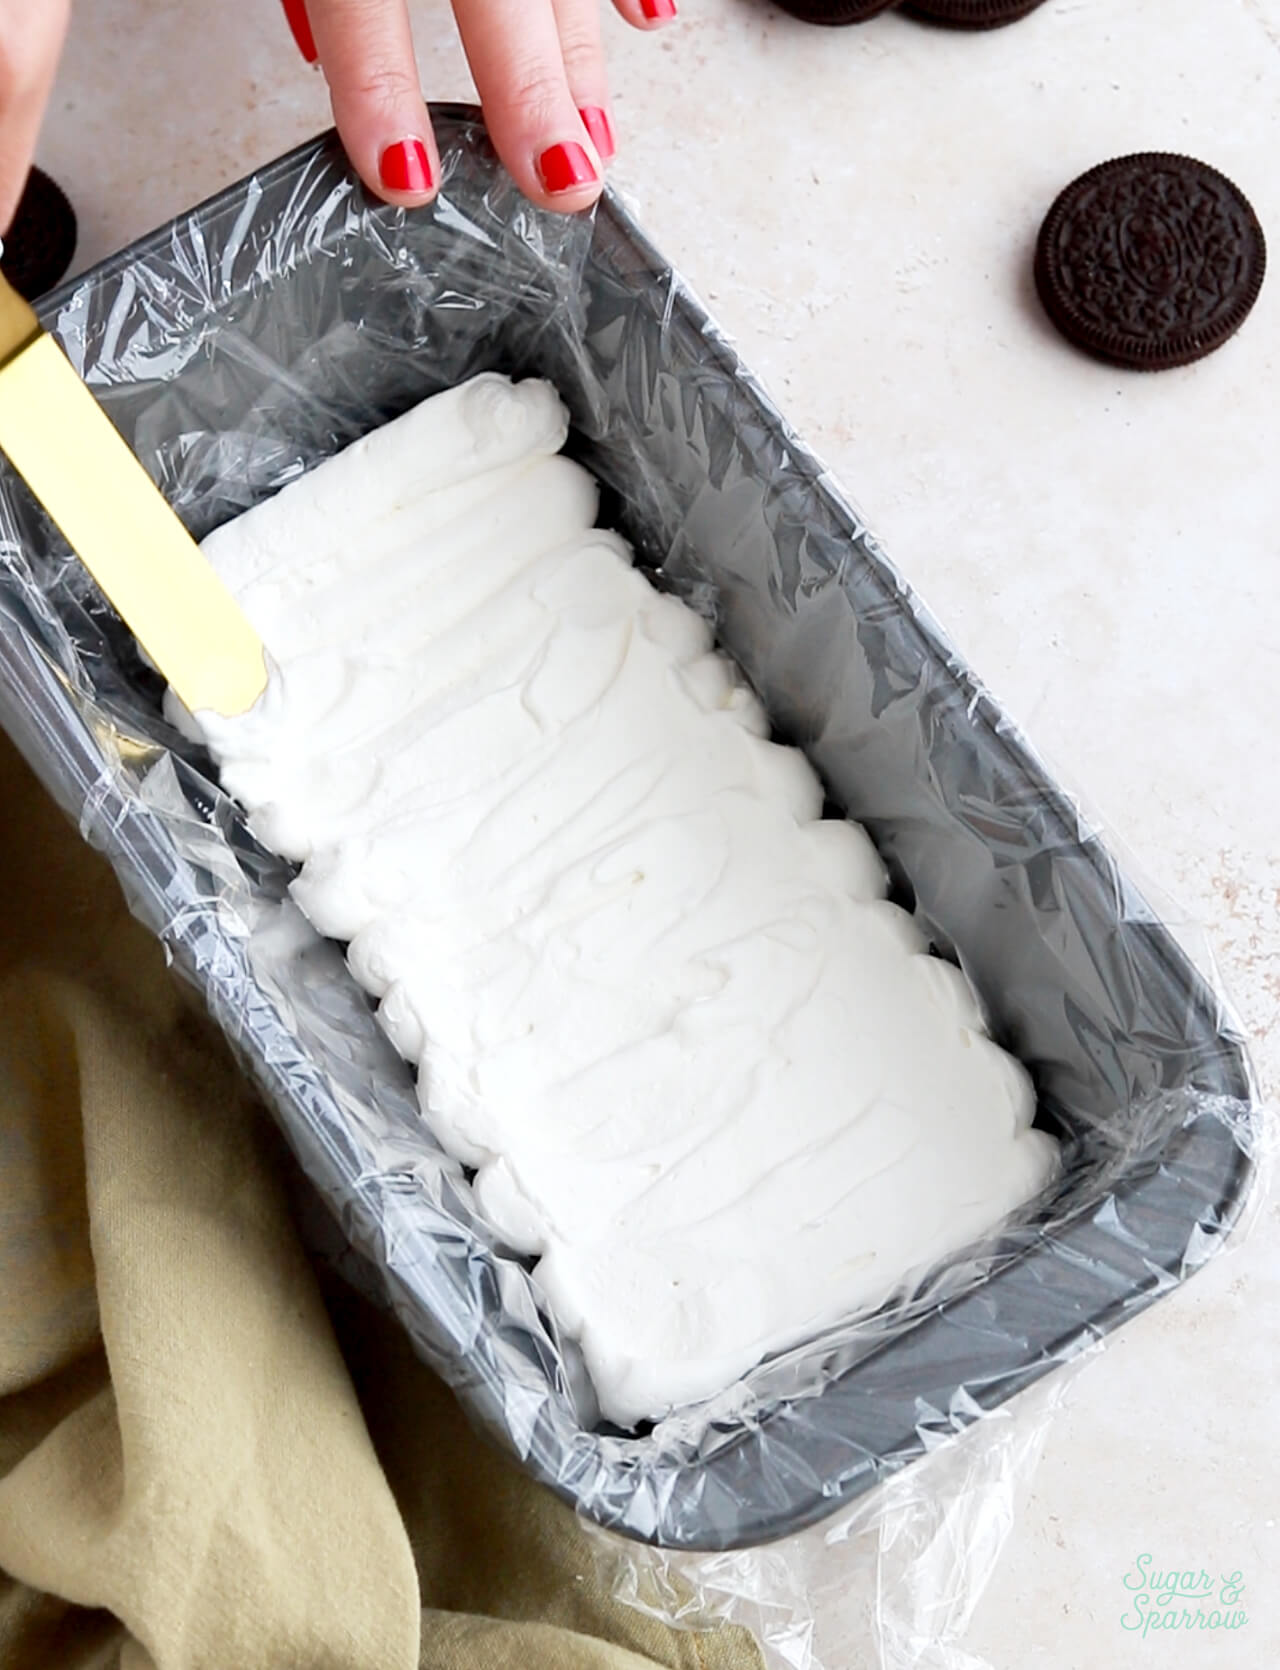
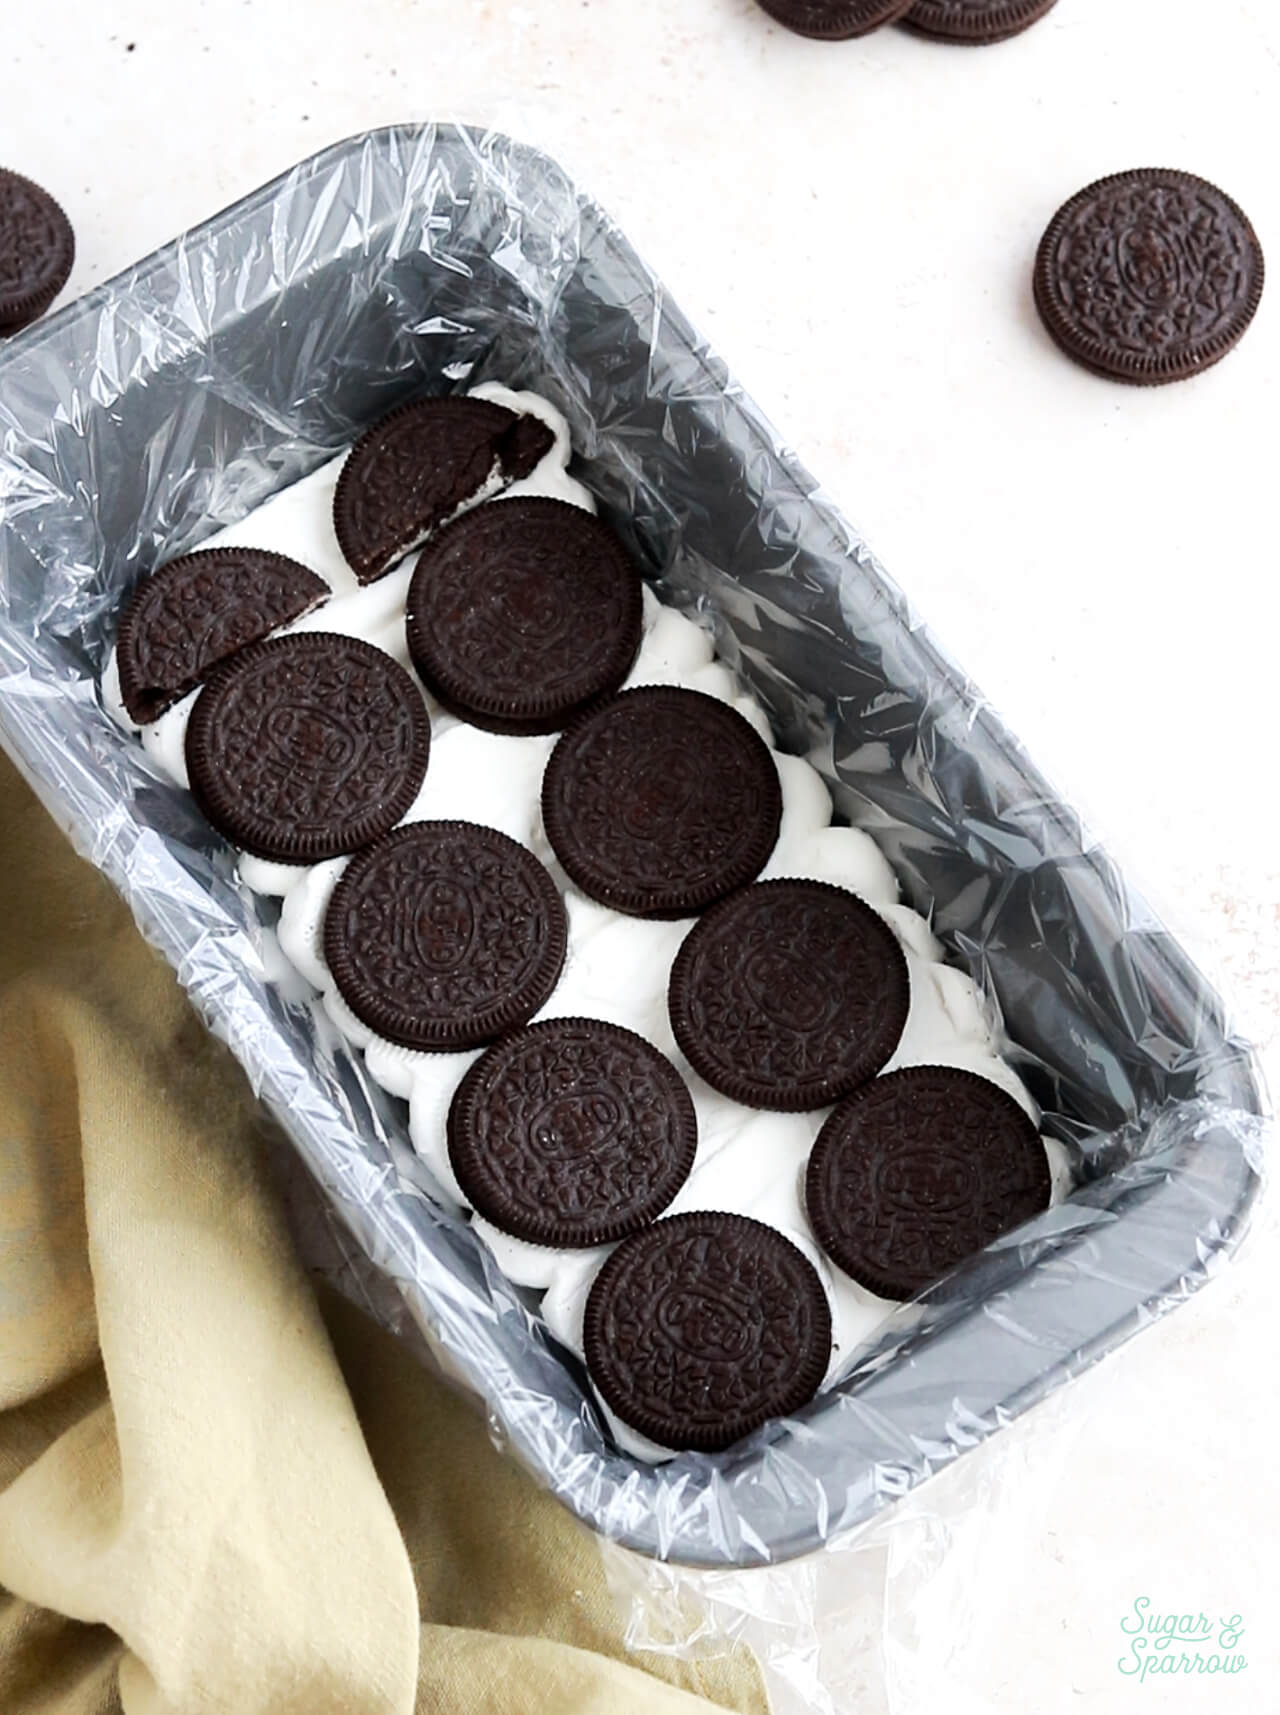
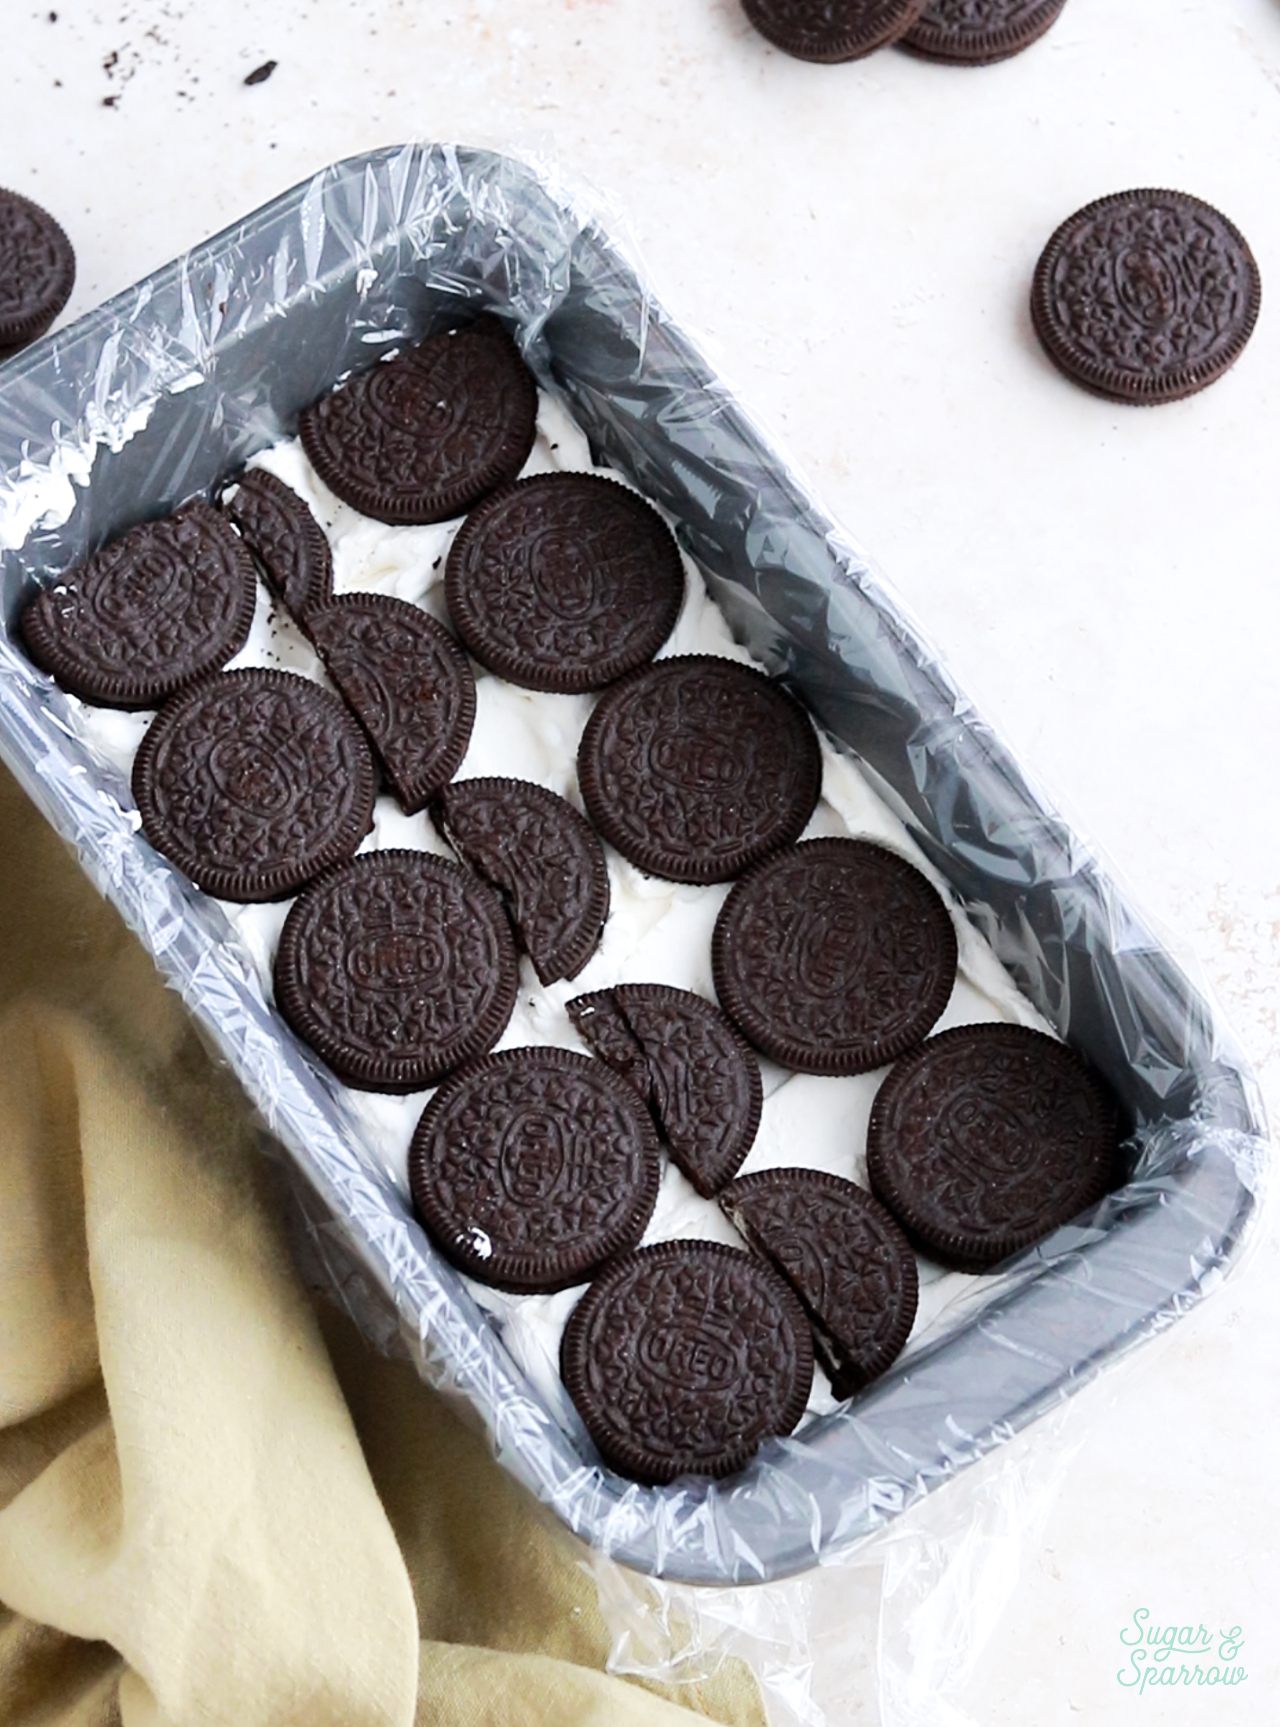
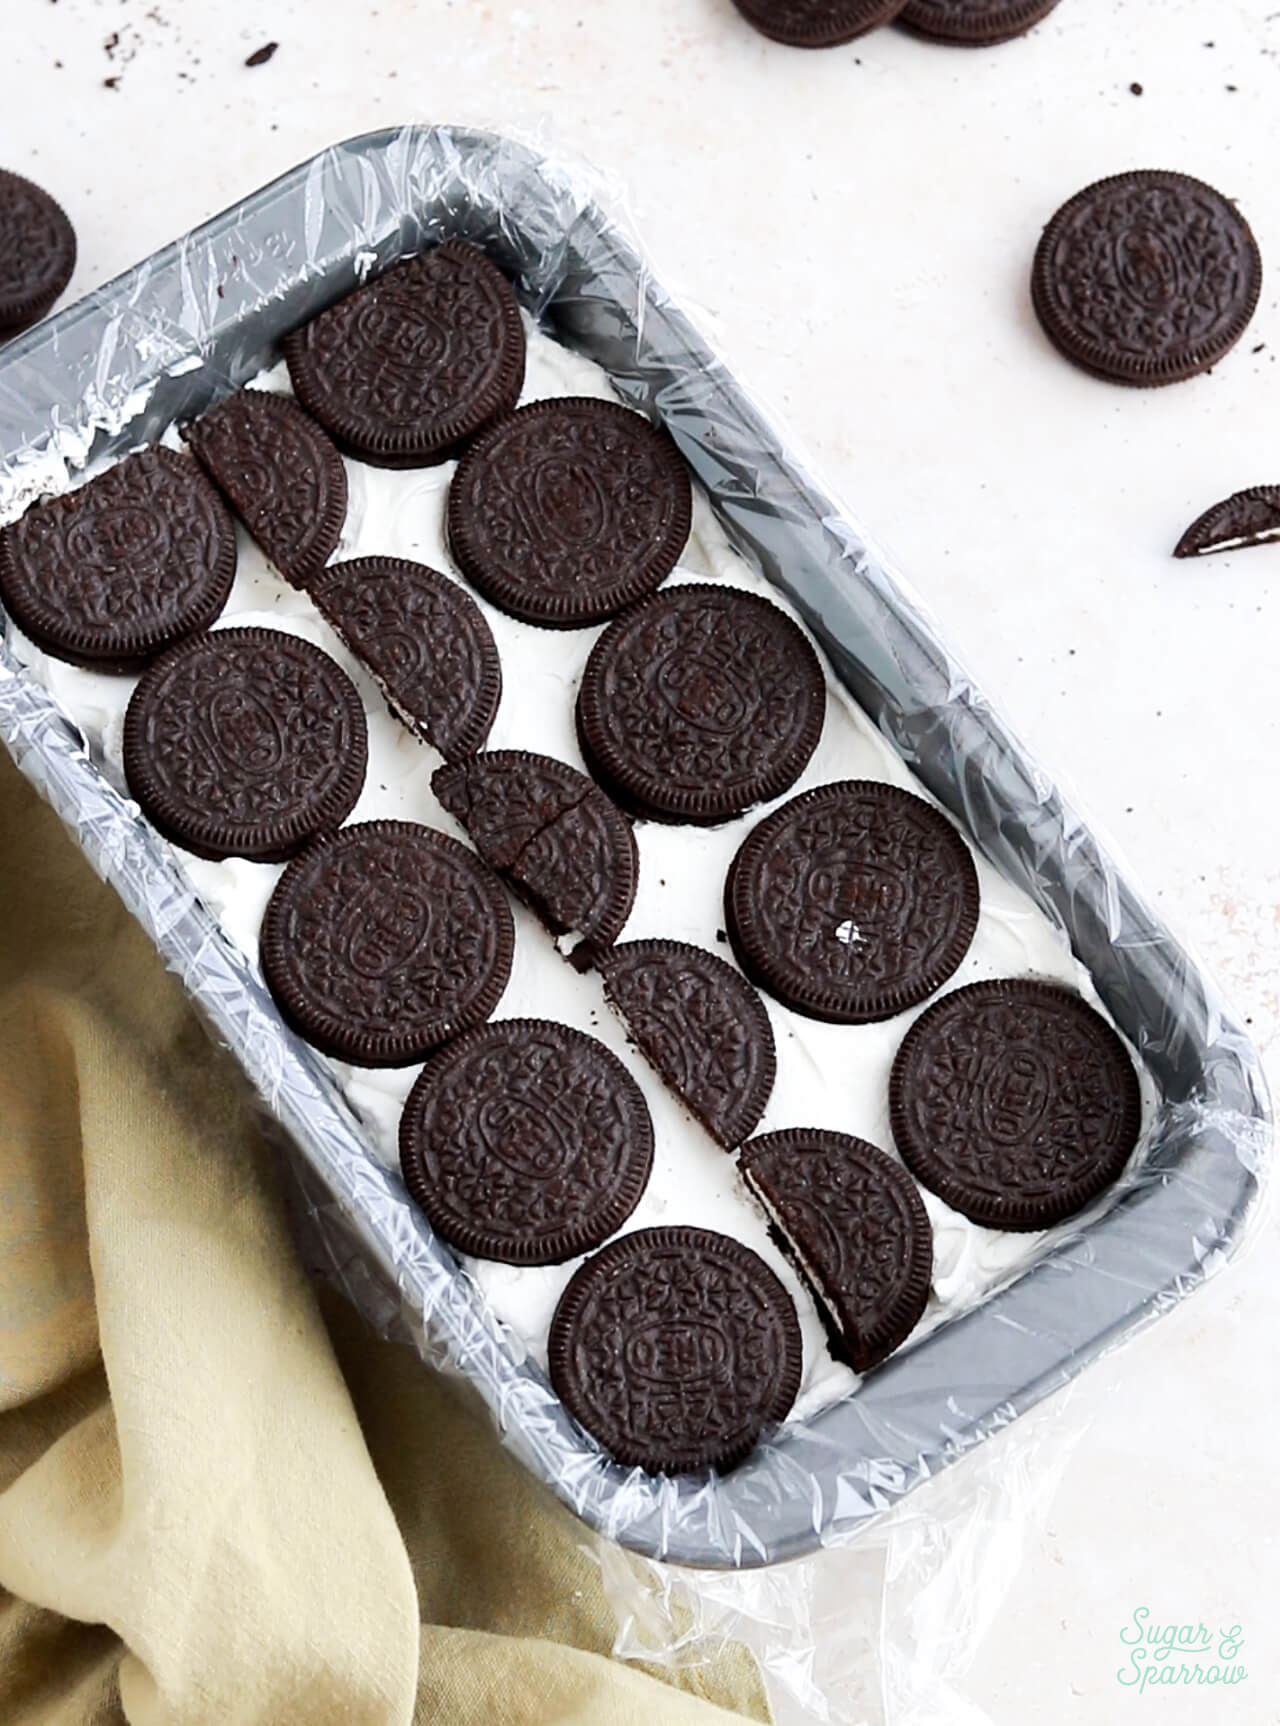
Step 3: Layer the Icebox Cake. Spread a thin layer of whipped cream into the bottom of the lined loaf pan, then place the first layer of Oreos on top. Use a paring knife to cut some of the Oreos so they fit perfectly.
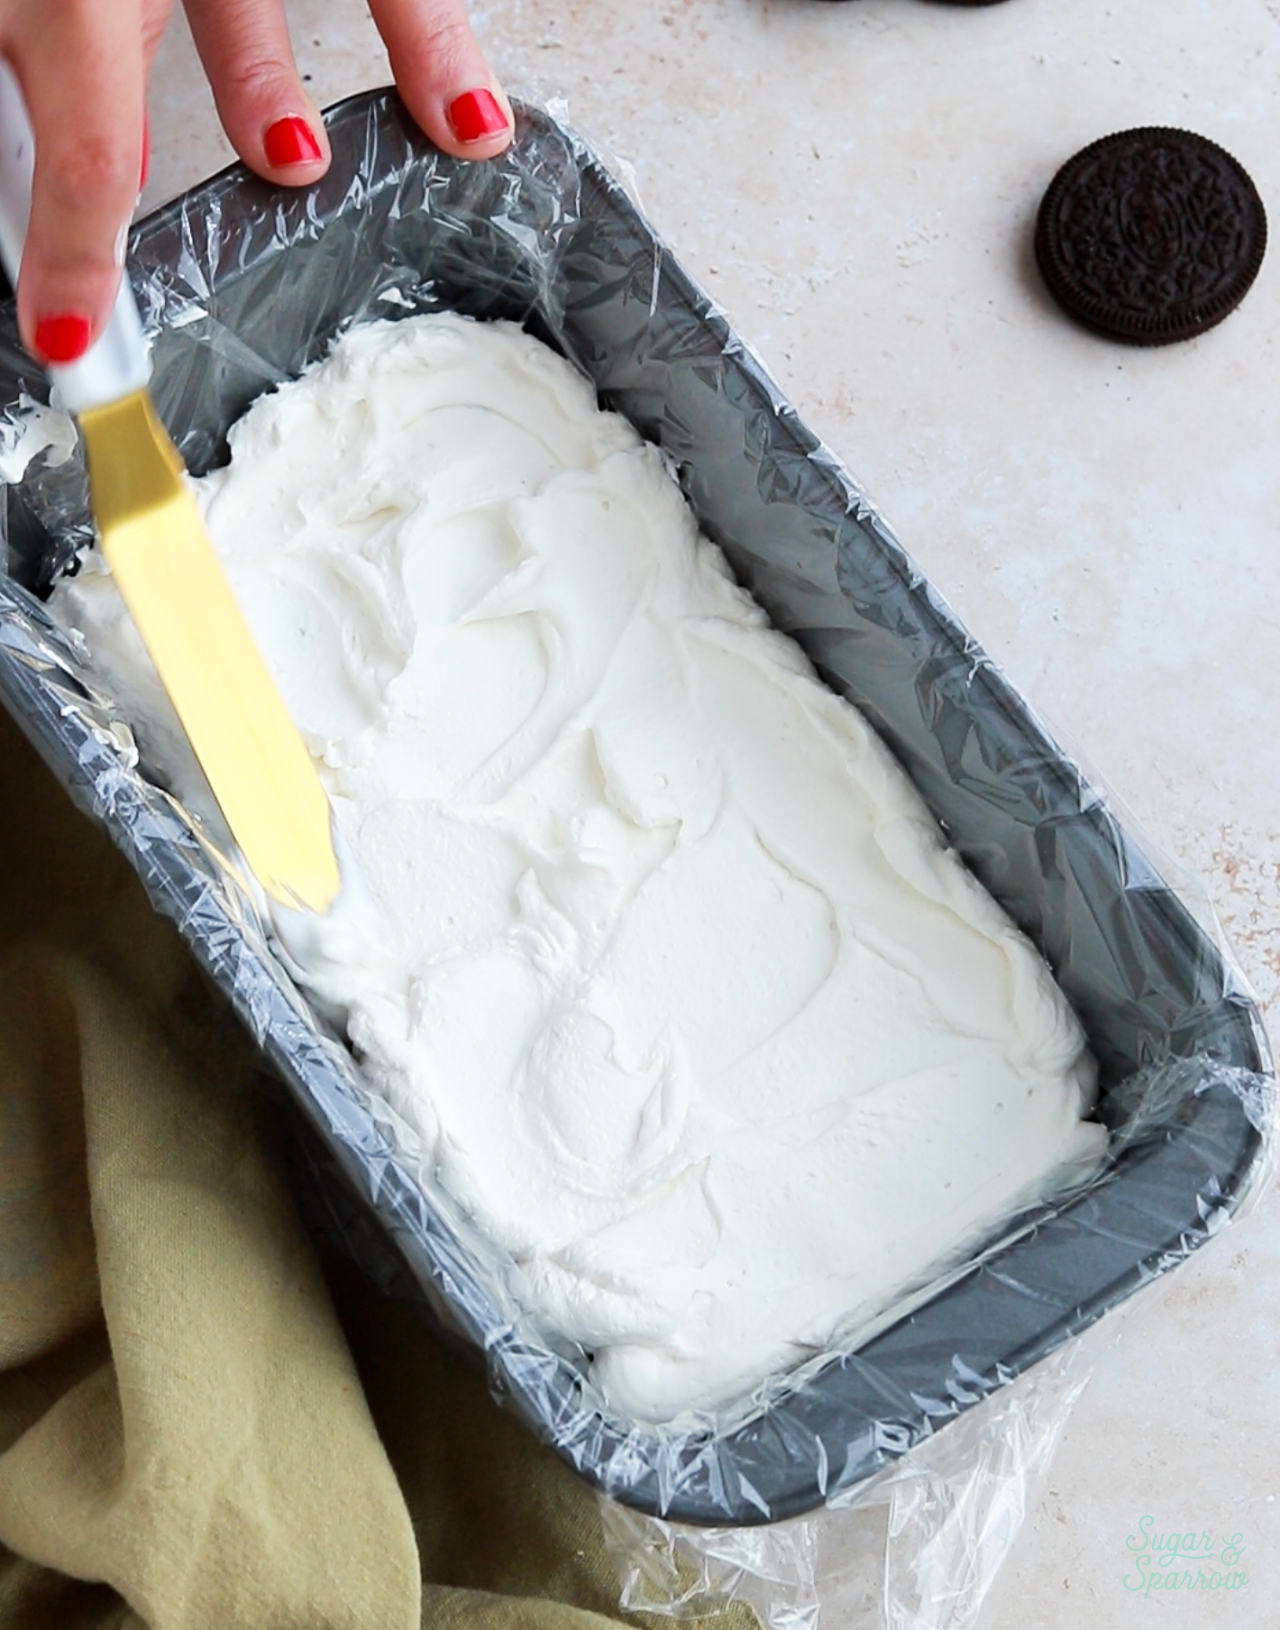
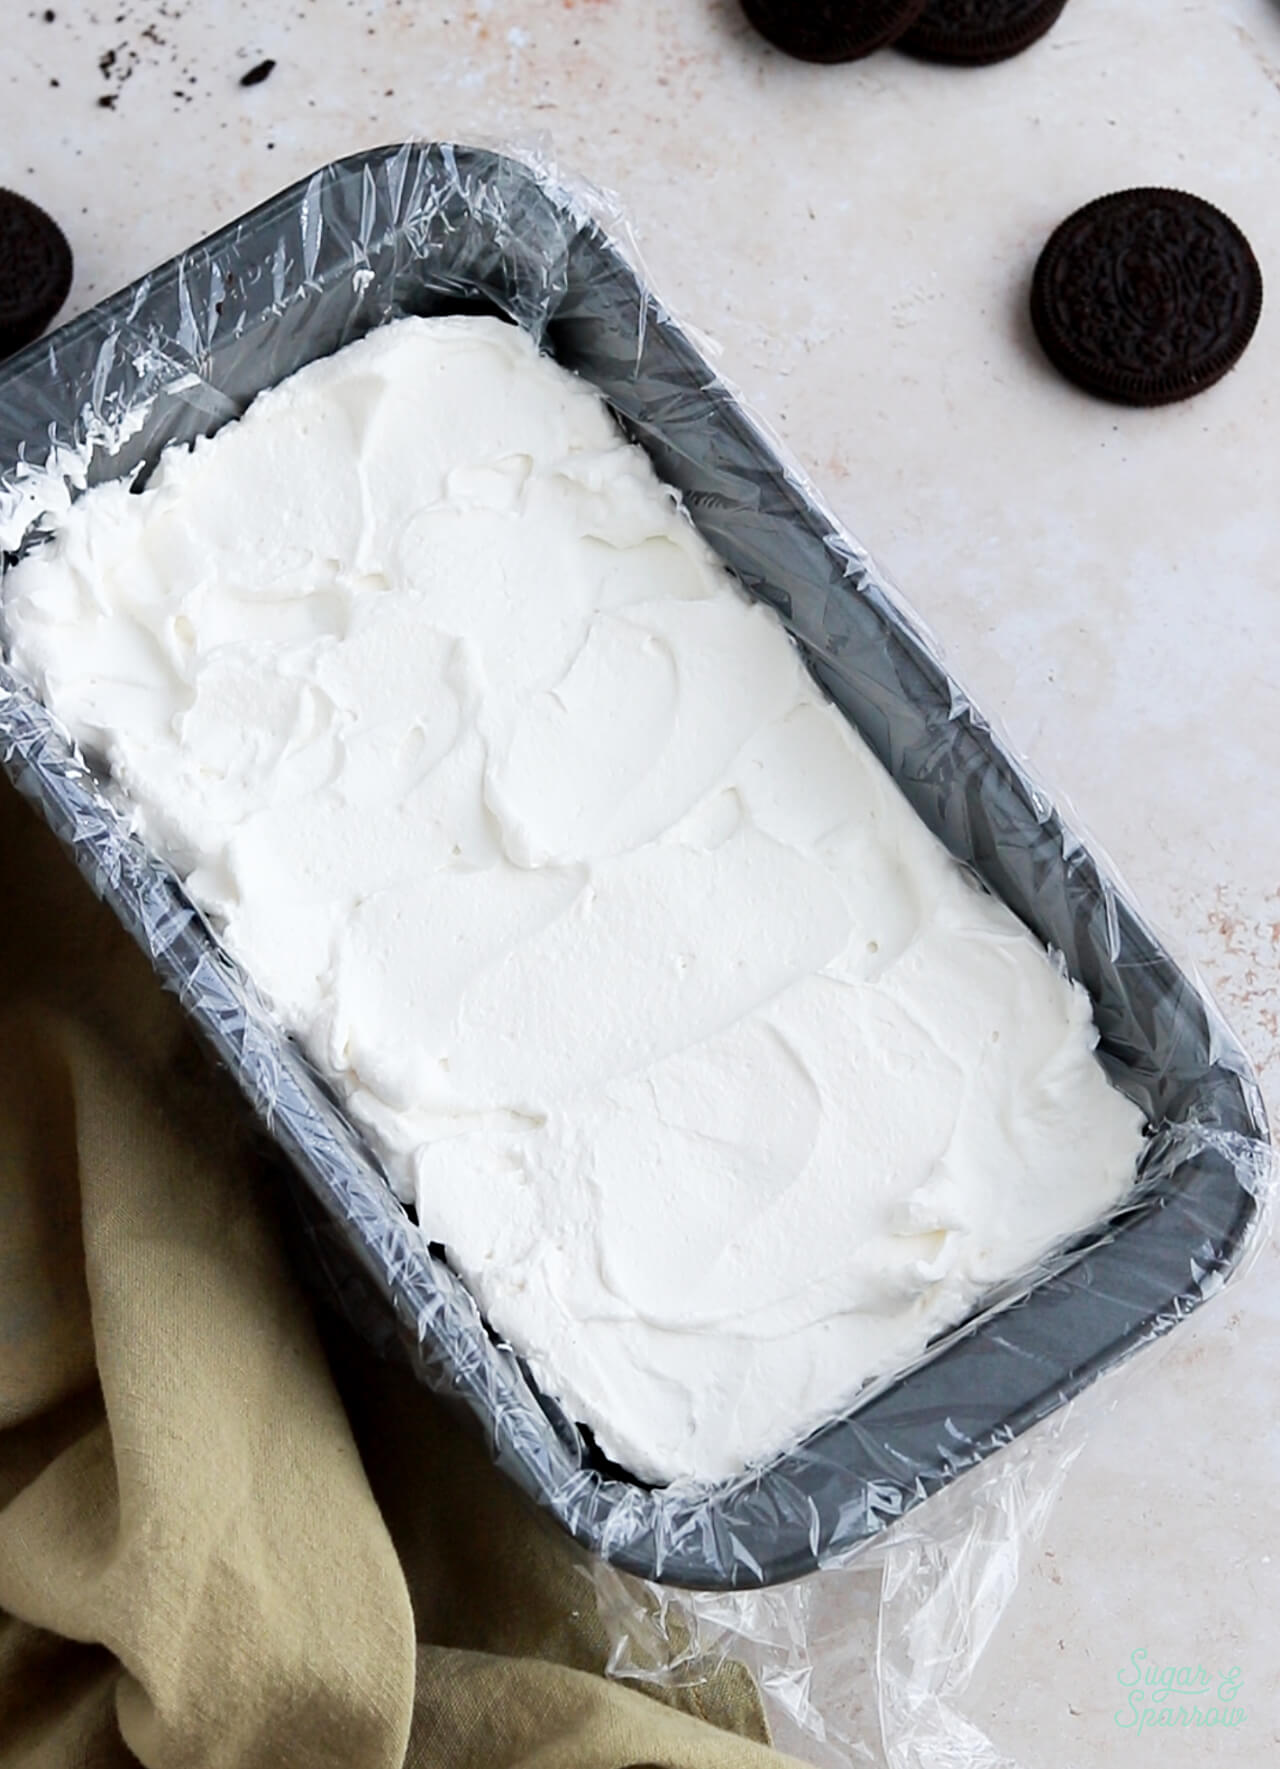
Spread ⅓ of the remaining whipped cream on top of the Oreo layer, then add a second layer of Oreos. Repeat the process with the next ⅓ of whipped cream, a third layer of Oreos, and the last of the whipped cream.
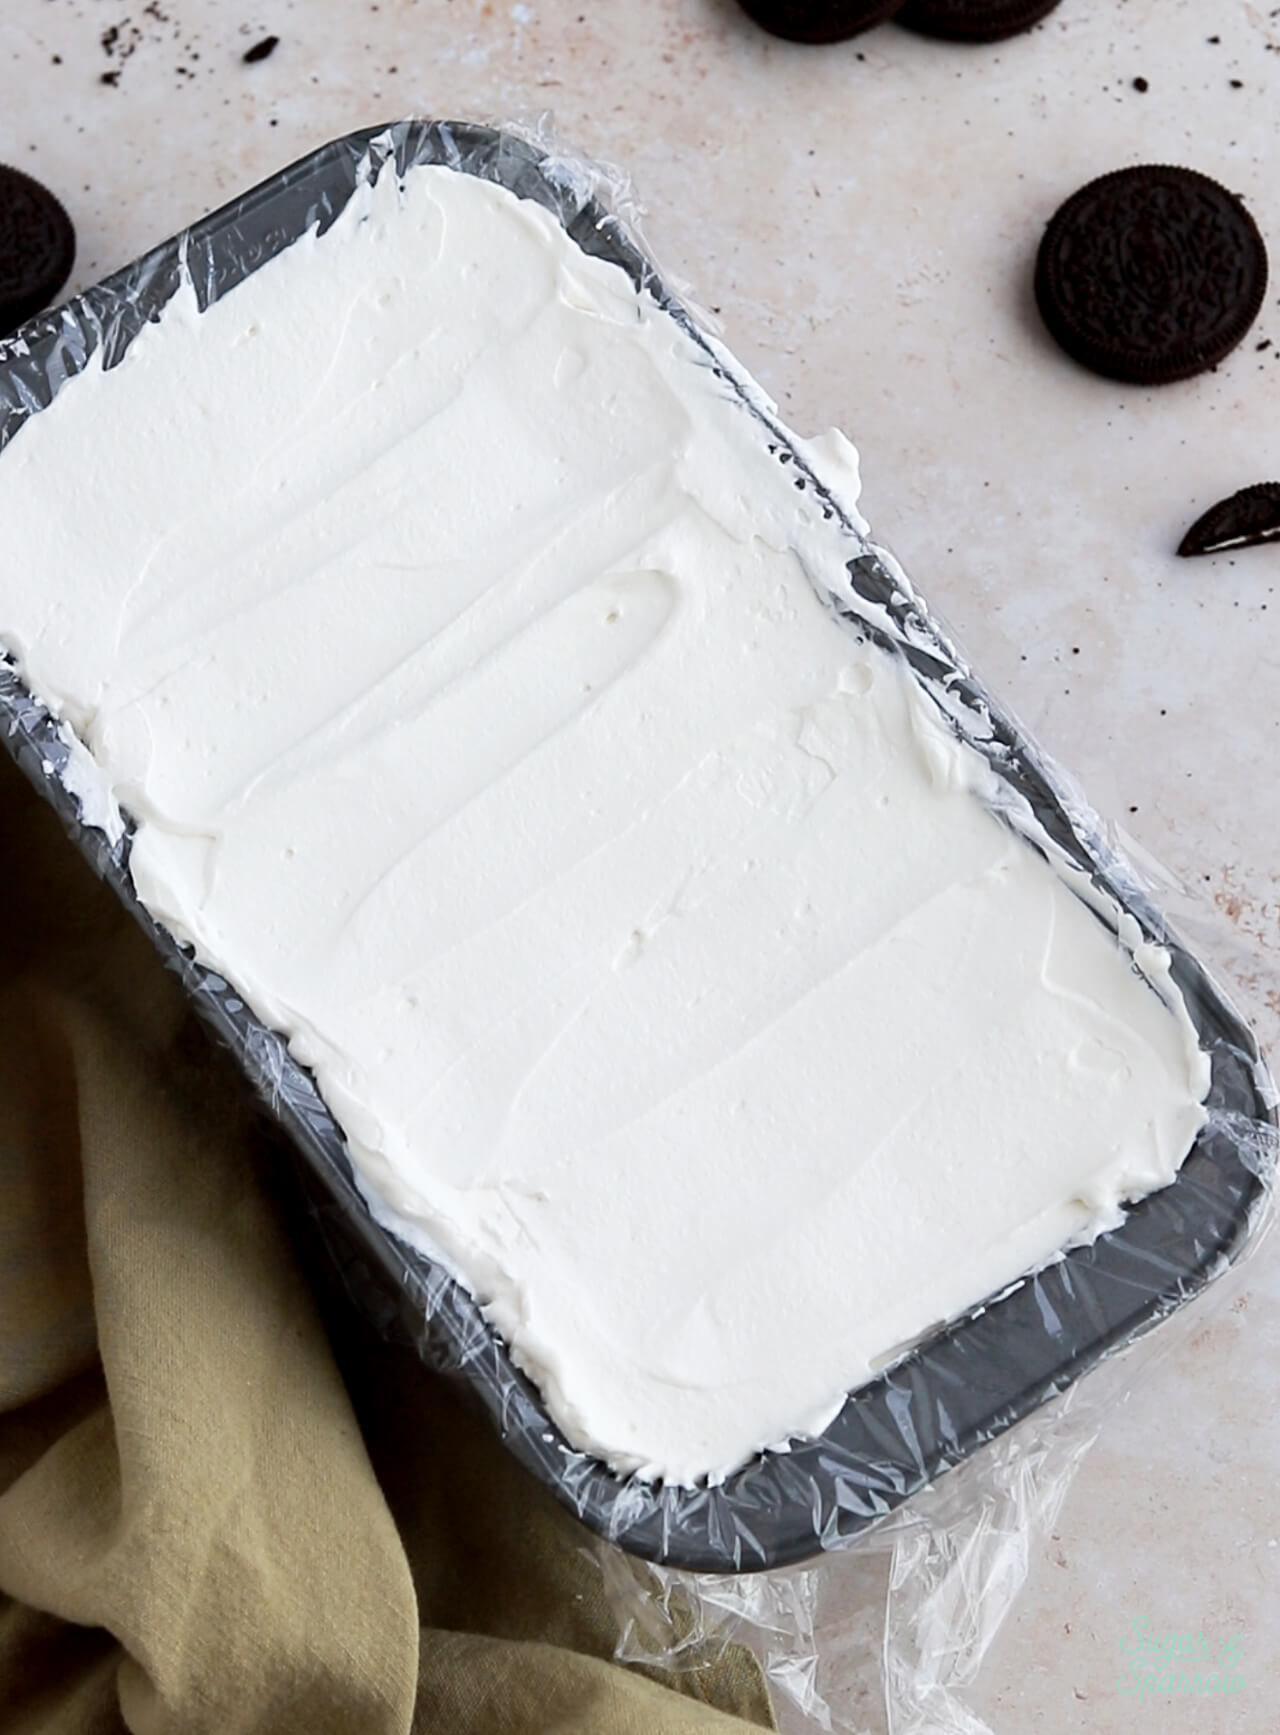
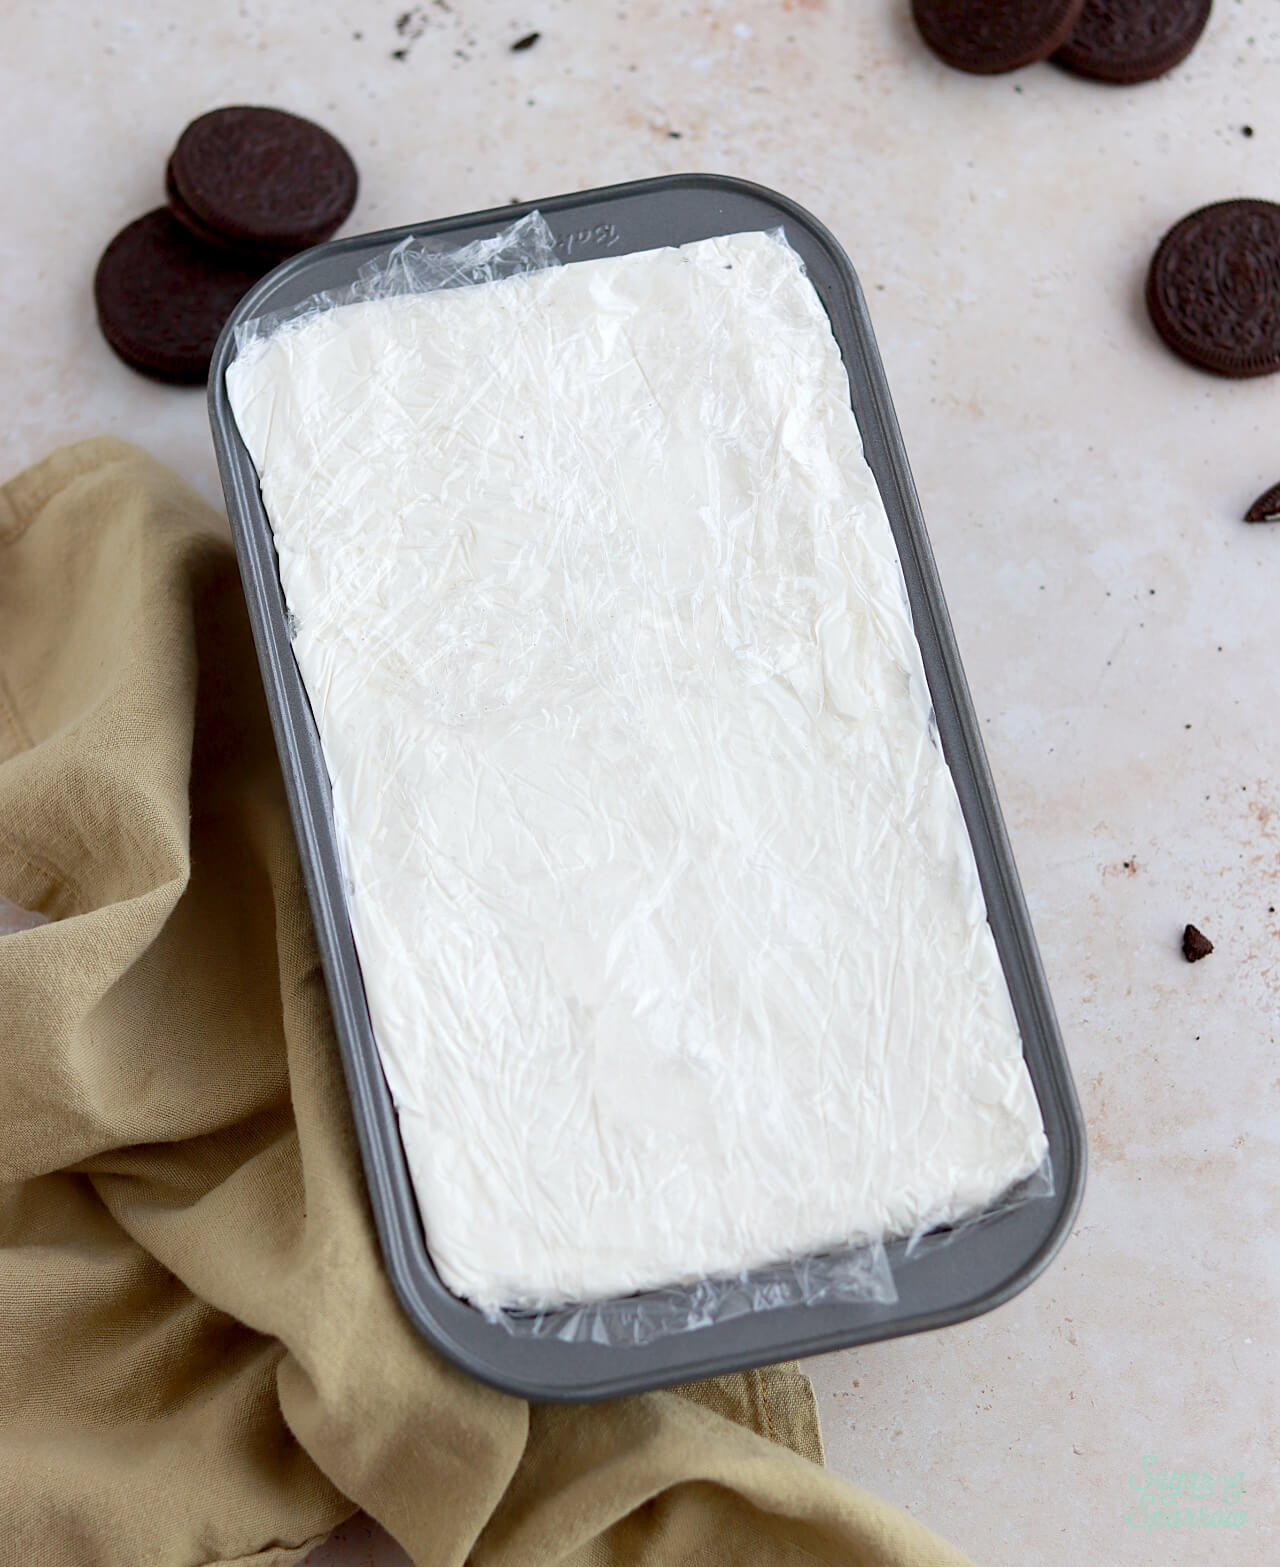
Step 4: Refrigerate the Icebox Cake. Fold the plastic wrap overhang over the top of the icebox cake to cover up all the whipped cream. Then, refrigerate the cake for at least 8 hours and up to 2 days (overnight is best).
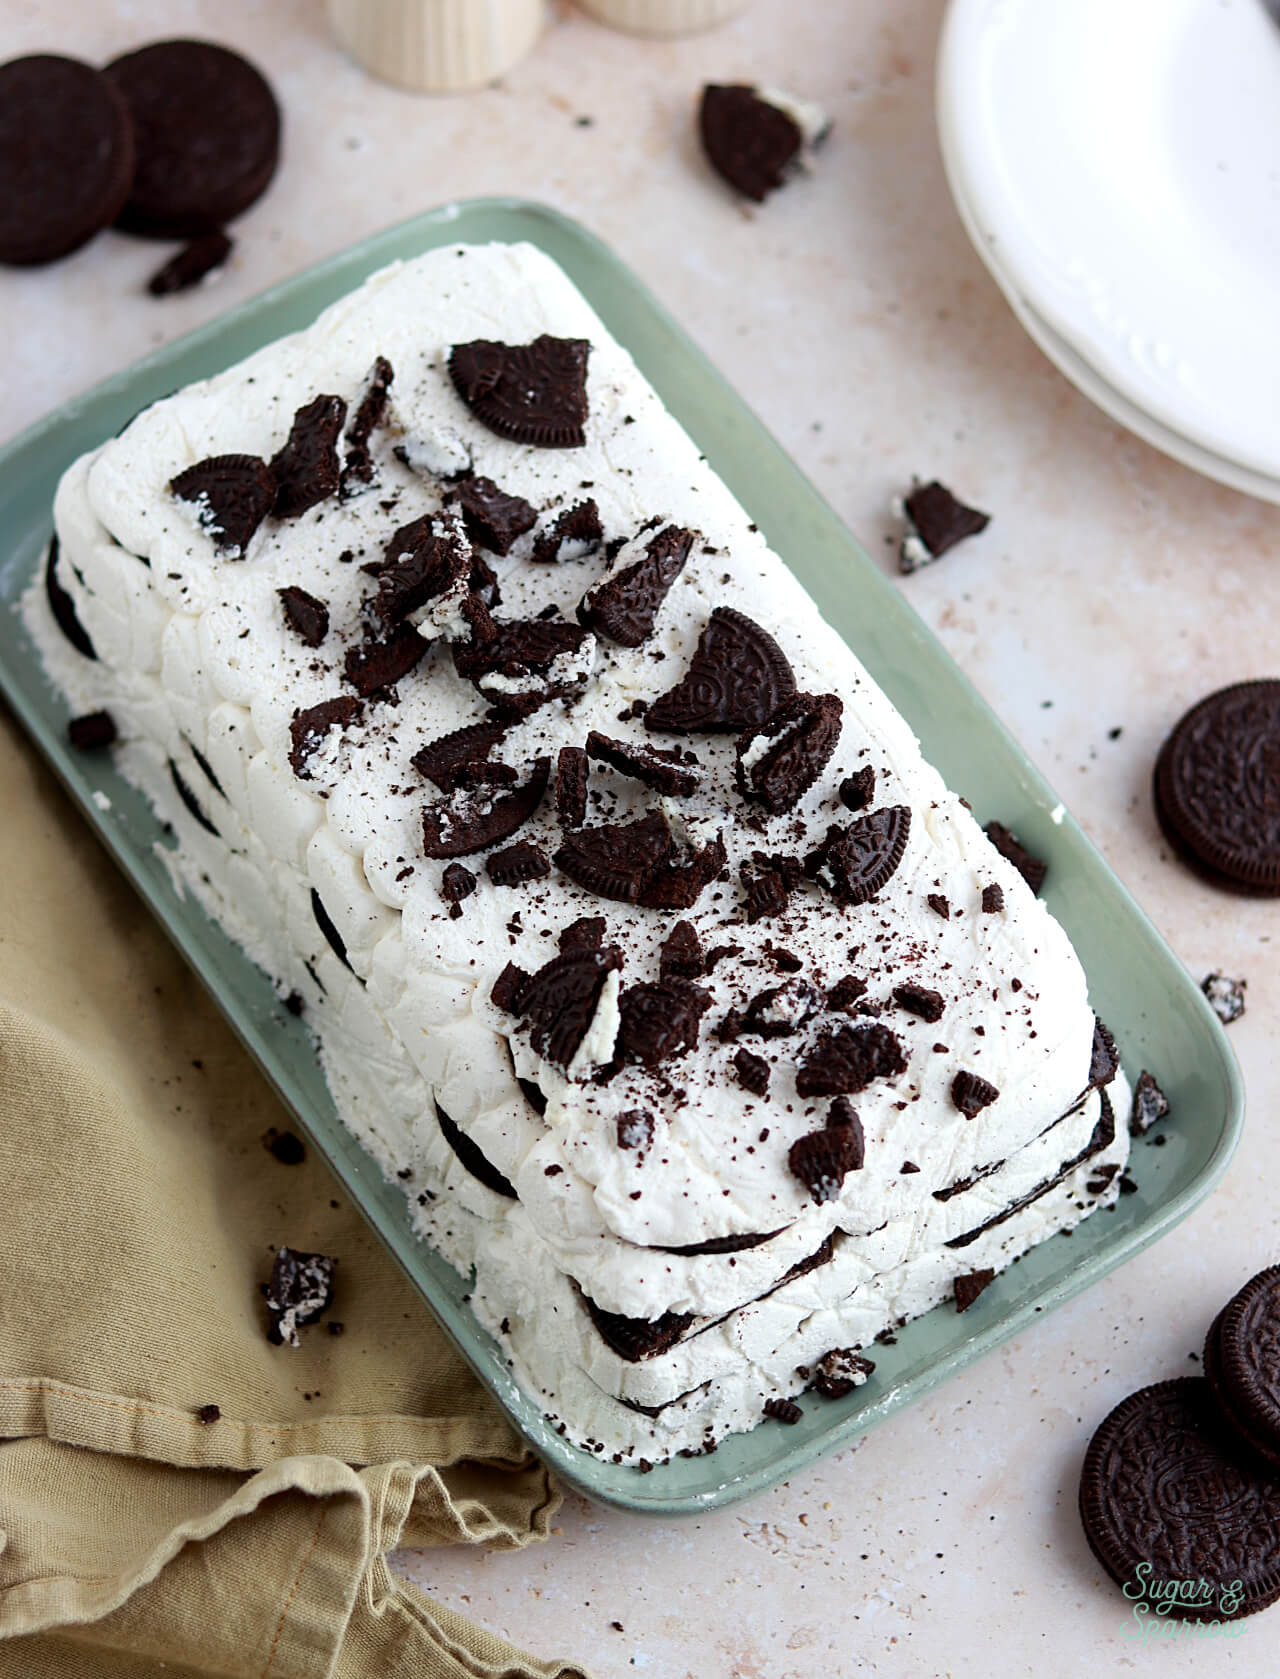
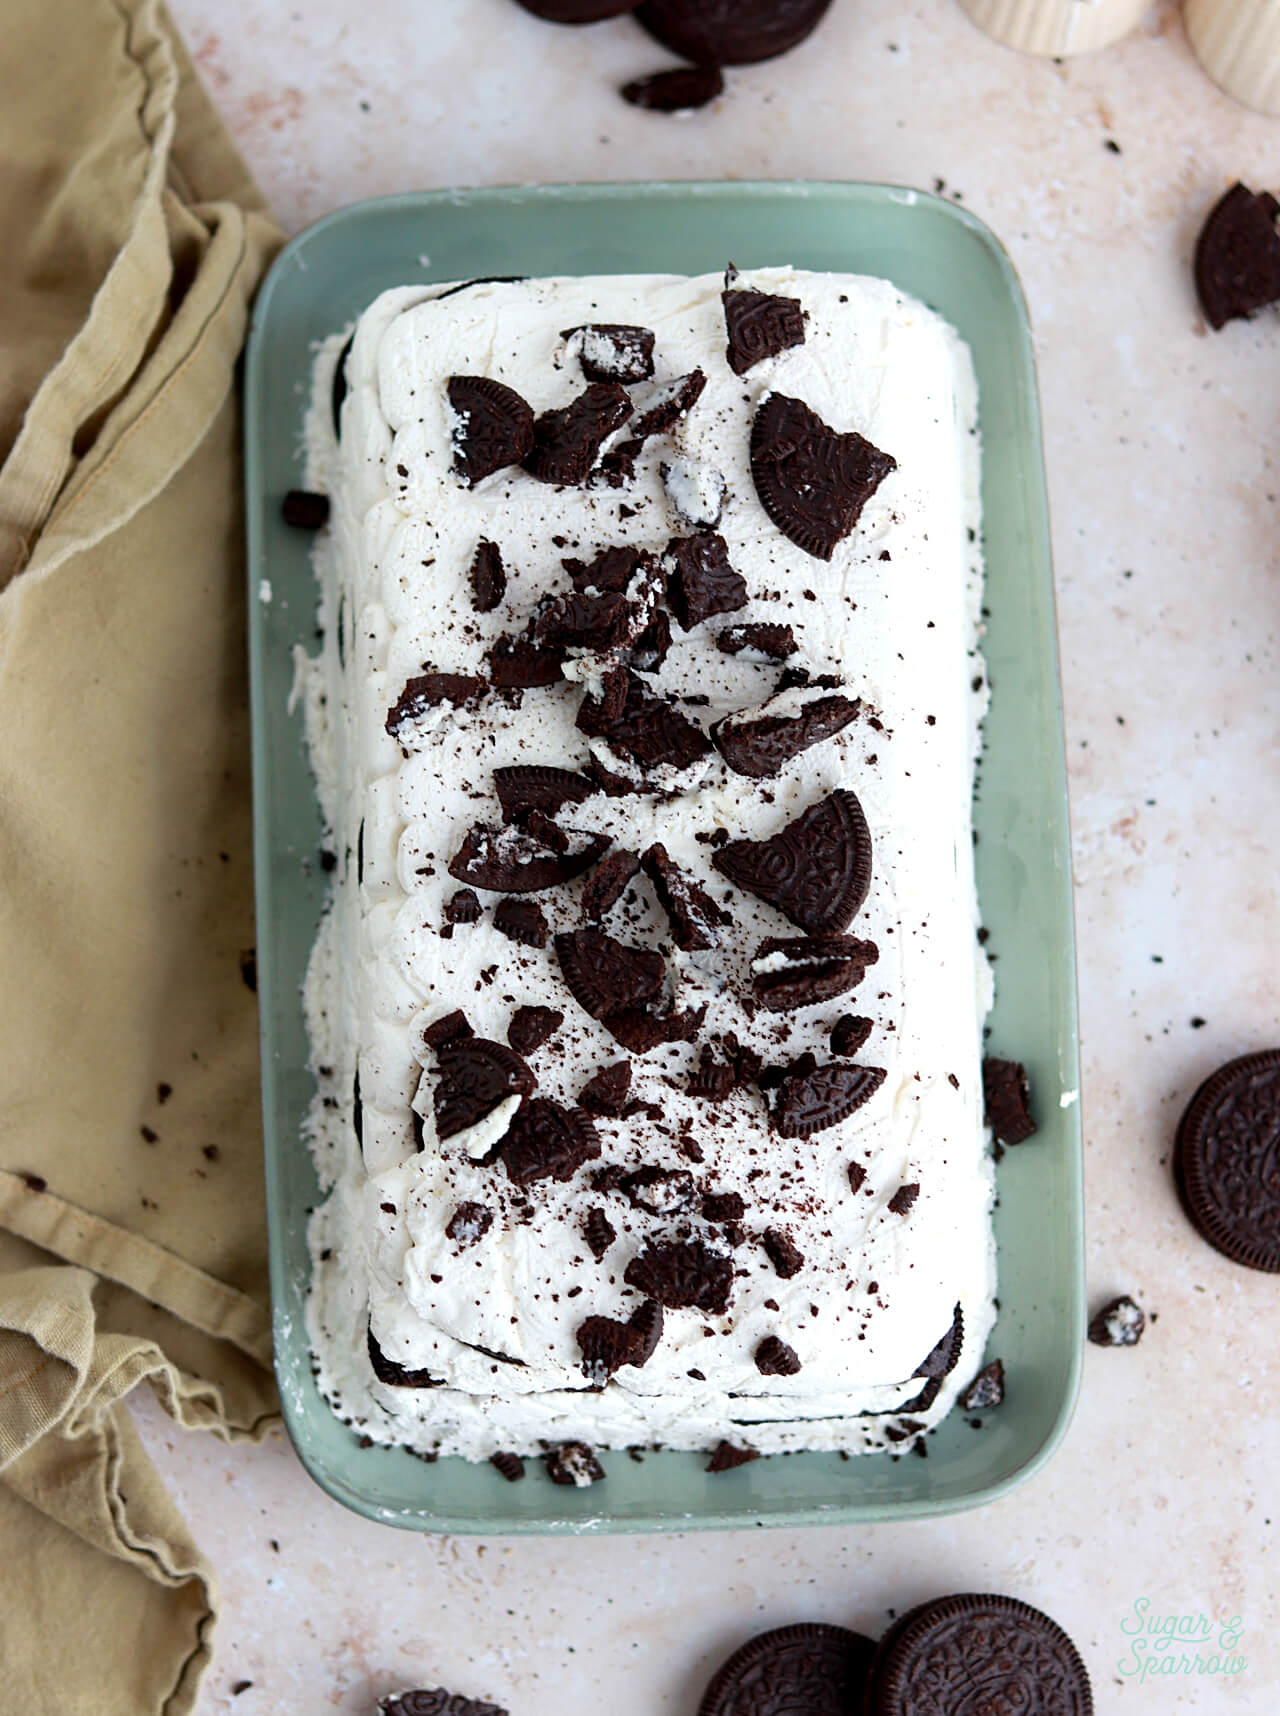
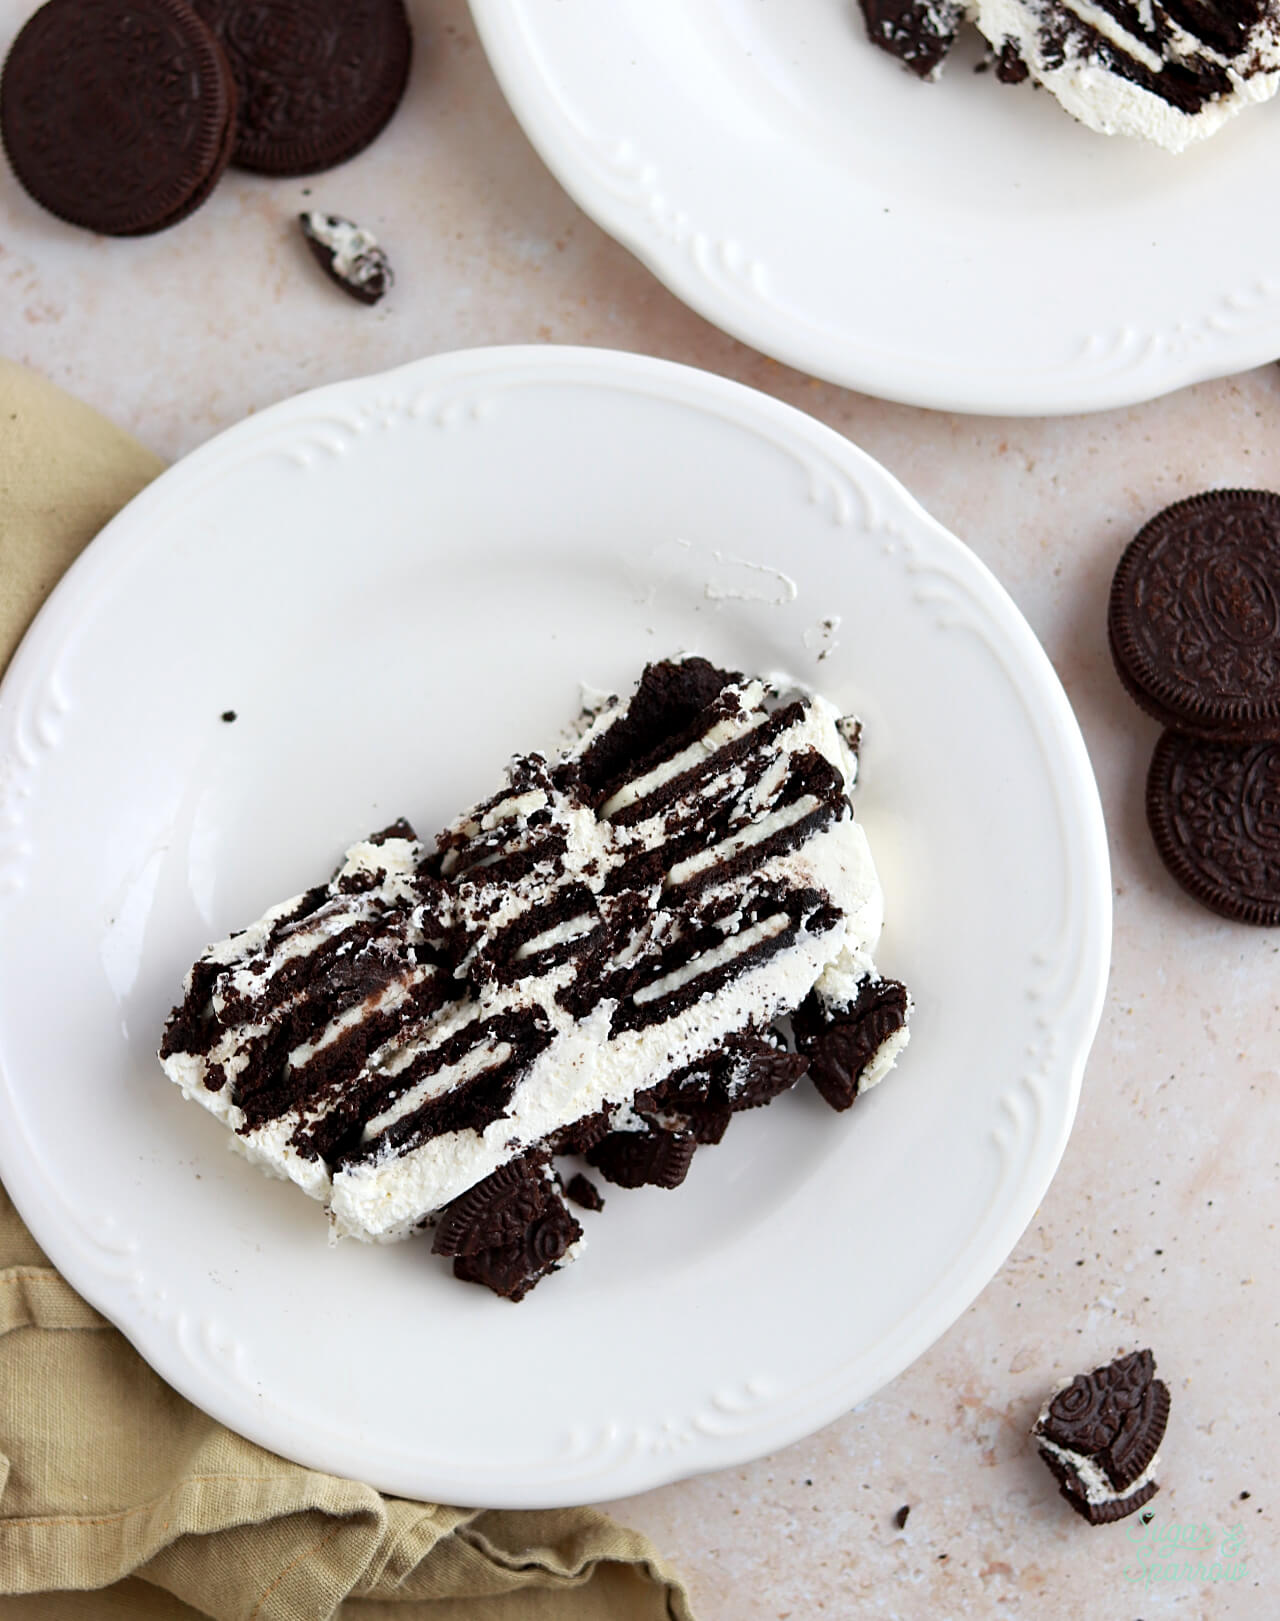
Step 5: Serve the Cake. Once the Oreo icebox cake is set and you’re ready to serve it, turn it out of the loaf pan onto a serving plate, then peel off the plastic wrap. Garnish with crushed Oreos, cut into slices, and enjoy!
Icebox Cake FAQ’s
- Can I Use Cool Whip? Yes! If you don’t feel like making homemade whipped cream, you can use Cool Whip as an alternative.
- Can I Double the Recipe? Yes. Double the recipe for a 9×13 inch baking dish and follow the same instructions.
- How Far in Advance Can I Make Oreo Icebox Cake? After assembling the icebox cake, you’ll want to refrigerate it for at least 8 hours and up to two days. Just keep in mind that the longer you refrigerate, the softer the cookies will become. The sweet spot where the cookies are perfect consistency is overnight. If you need more time, you can freeze the Oreo icebox cake for up to one month. Just thaw it in the refrigerator overnight before serving.
- What is an Icebox Cake? Icebox cakes are no-bake desserts that are typically layers of cookies and whipped cream, refrigerated until the cookies soften into a cakey consistency. They originated in the early 20th century, when refrigeration was a luxury. Refrigerators then were called iceboxes (literally chests with big ice blocks inside), hence the name.
More Oreo Desserts You’ll Love
I am a huge fan of Oreos and love using them in my dessert recipes! If you’re a fan like me, here are some other Oreo desserts that are worth adding to your baking list:
- No-Bake Oreo Cheesecake
- Easy Oreo Truffles
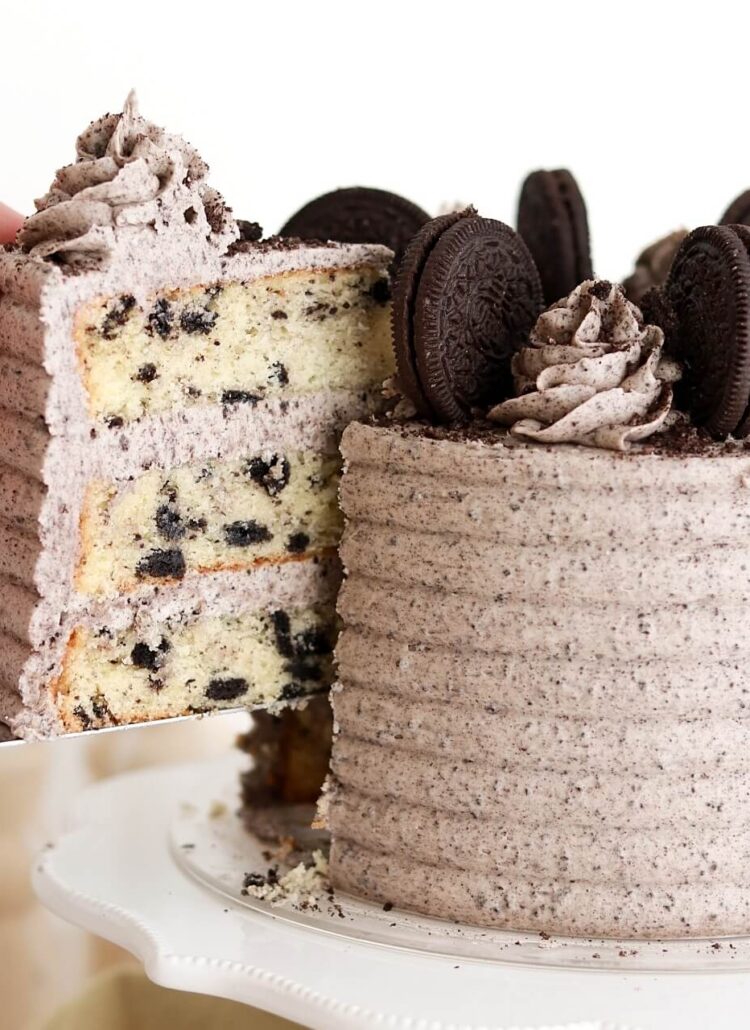
- Oreo Layer Cake
- Vegan Chocolate Oreo Cake
- Mint Chocolate Chip Ice Cream Cake (with Mint Oreos!)
I hope you love this Oreo icebox cake as much as I do! Let me know what you think in the comments below and feel free to tag @sugarandsparrowco on Instagram to show me. I love to see what you make with my recipes!

No-Bake Oreo Icebox Cake
Equipment
Ingredients
- 2 Cups (480ml) heavy whipping cream, cold
- 1/4 Cup (30g) powdered sugar
- 1 tsp pure vanilla extract
- 36 Oreo cookies (one standard 14.3oz package)
Instructions
Make the Whipped Cream
- Place the metal bowl of your stand mixer or a large metal mixing bowl into the refrigerator to chill for at least 15-30 minutes.
- Add the cold heavy whipping cream, powdered sugar, and vanilla extract into the chilled bowl. Using the whisk attachment on your stand mixer (or a hand mixer with the large bowl), beat the ingredients together on high speed until stiff peaks form, about 1-2 minutes.
Assemble the Oreo Icebox Cake
- Line a 9.5×5 inch loaf pan with plastic wrap, leaving an overhang on all four sides of the pan.
- Add a thin layer (about 1/4 inch thick) of the whipped cream onto the bottom of the pan, spread all the way to the edges. Add a layer of Oreo cookies on top. Use a paring knife to cut some of the Oreos to fit as needed.
- Add 1/3 of the remaining whipped cream (about 1 Cup) on top of the Oreo layer, followed by a second layer of Oreos. Add the next 1/3 of the whipped cream and a third layer of Oreos. Top with the remaining whipped cream.
- Wrap the excess plastic wrap overhang over the surface of the final whipped cream layer to cover it completely, then place the Oreo icebox cake into the refrigerator for at least 8 hours and up to two days. Overnight is best.
- Once the Oreo icebox cake is set and you're ready to serve, turn it out onto a serving plate and remove the plastic wrap. Top with the crushed Oreo cookies if desired. Slice and enjoy!
Notes
- The whipped cream is best made right before assembly, but it can also be made ahead and stored in the refrigerator, tightly covered, for up to one day.
- The assembled dessert can be stored in the refrigerator for up to two days, or in the freezer for up to one month. If freezing, thaw overnight in the refrigerator before serving.


I was thinking of making this with nutter butters. If I were to make the whipped cream chocolate, would I just add some cocoa powder to the whipped cream when mixing in the powdered sugar? Thanks in advance for the information
Yum! Making it with nutter butters sounds amazing! And yes, you’ll just want to add about 1/3 Cup of cocoa powder to the whipped cream in with the powdered sugar. Enjoy!
Thank you!!! I know I’ll enjoy it as with all your recipes.