
I have always been so drawn to pistachio flavored bakes and it’s a little ridiculous how long I’ve been dreaming about making a pistachio layer cake recipe. To be honest, I think I’d been hesitant to start testing recipes because pistachios can be so expensive. I didn’t want to go through a ton of pistachios trying to make the perfect cake. Lucky for me, this pistachio cake recipe did not take long to perfect – it’s everything I hoped it would be!

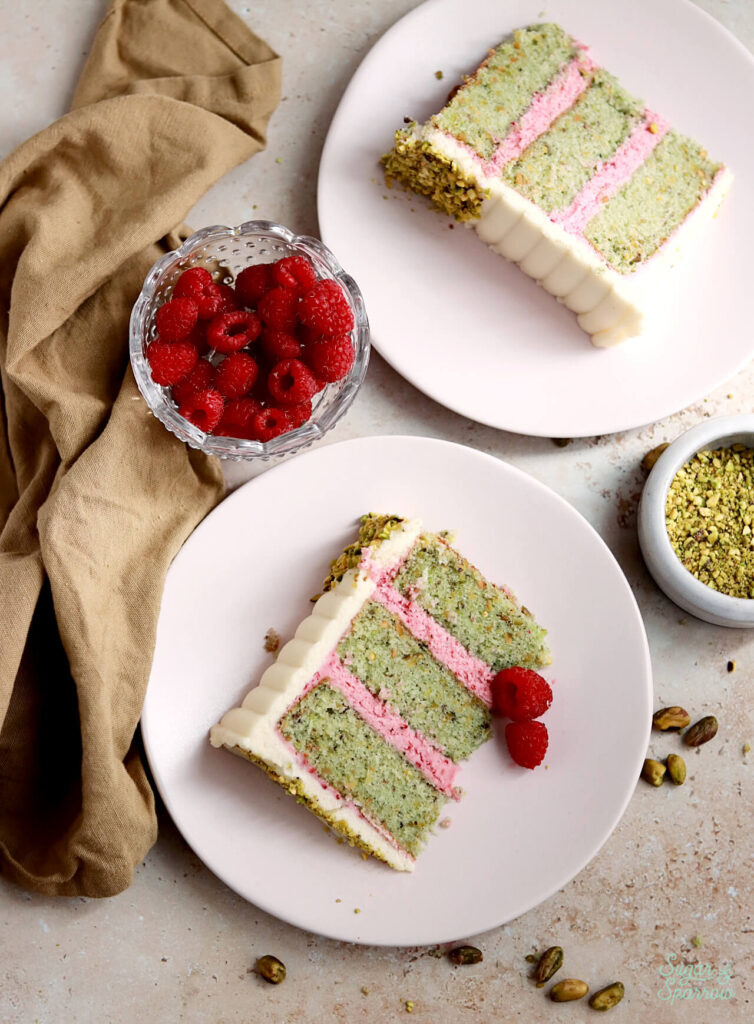
One Reader, Ali, says: “This was a FANTASTIC cake. Made it for a party and it was such a hit. The pistachio cake is so light and silky, with the perfect pistachio flavor (everyone said it reminded them of the silkiness of pistachio gelato). Thank you so much for a recipe I will 100% be making again!” ★★★★★
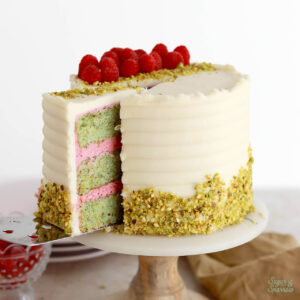
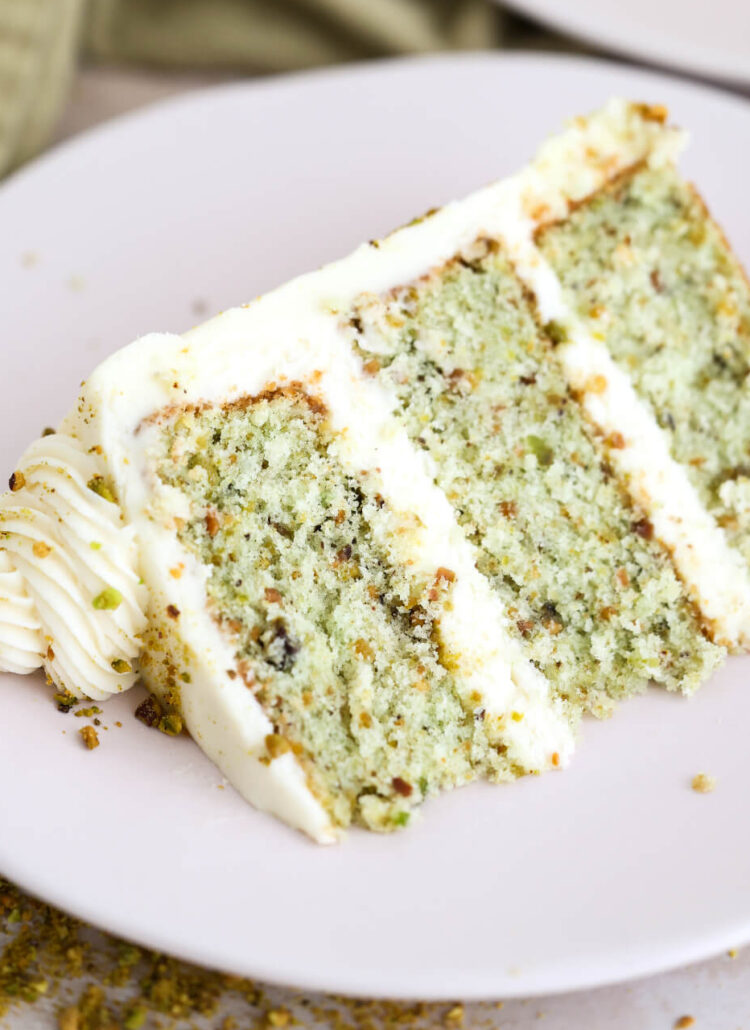
These pistachio cake layers are super moist, packed with flavor, and pair so perfectly with raspberry buttercream filling and mascarpone frosting. All together it tastes like a Spring-inspired dream – ideal for a tea party, baby shower, mother’s day, or any day you feel like pistachio raspberry mascarpone goodness.
The Best Pistachios for Pistachio Layer Cake
Finely ground pistachios are responsible for both flavoring the cake and adding structure to the crumb. The best kind of pistachios to use in this recipe are raw, unsalted pistachios that have been de-shelled. I recently tried this recipe with roasted unsalted pistachios and they worked great too. Either of those options will give this cake much better pistachio flavor than your average snacking pistachios, which tend to be salted.
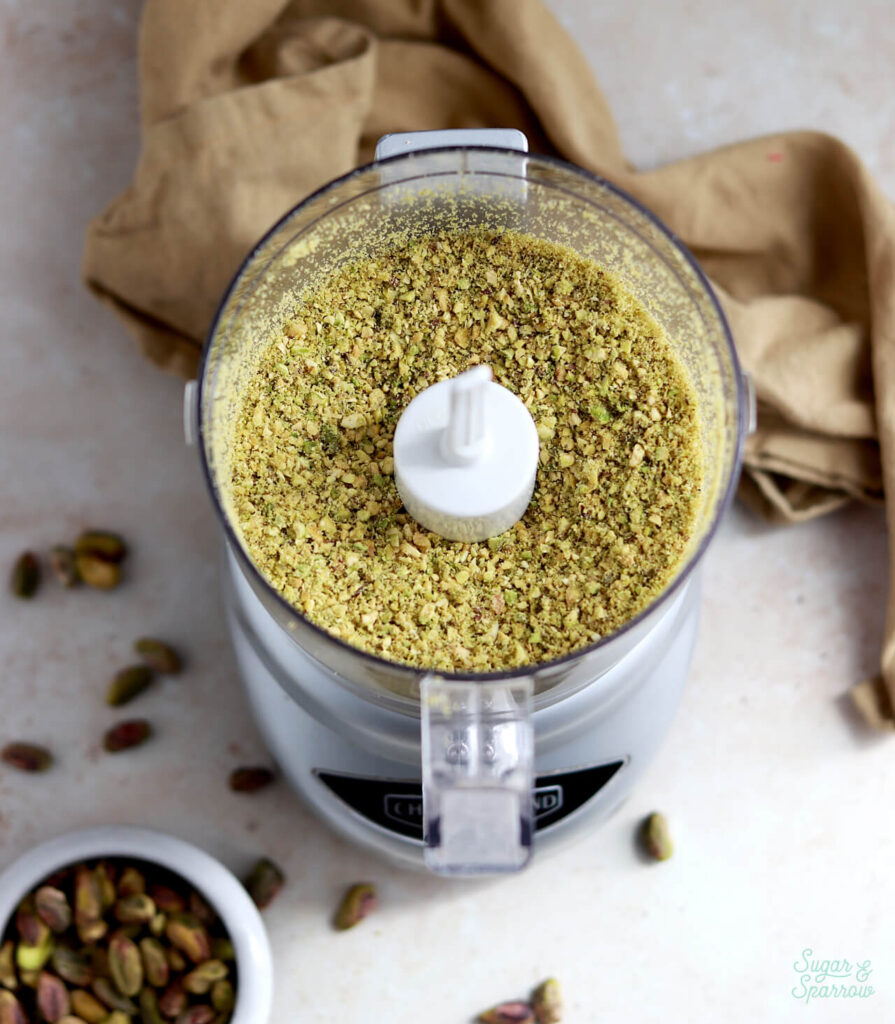
You should be able to find raw unsalted pistachios and roasted unsalted pistachios either in the snack section or bulk section of your local grocery store. Natural grocery stores tend to carry the most options, but they can be on the spendy side. The best deals I’ve found are at Trader Joe’s ($5.99 for 8 Oz) and these pistachios on Amazon being a close second ($5.00 for 5 Oz). Here’s what they look like ground into crumbs for the cake batter and garnish:
Pistachio Raspberry Mascarpone Heaven
This pistachio cake pairs so well with so many flavors that I plan on making many more layer cake variations. Raspberry and mascarpone are the perfect flavor pairings to kick it all off with. Between each pistachio cake layer is my favorite freeze-dried raspberry buttercream filling, which is so packed with natural raspberry flavor and just delightful with the rest of these cake elements. Freeze dried raspberries are my favorite way to flavor buttercream because they add the richest flavor and yield the best buttercream consistency (since they don’t contain any liquid to water things down), but I recently found a way to make raspberry buttercream with fresh berries that would be wonderful in this recipe as an alternative.
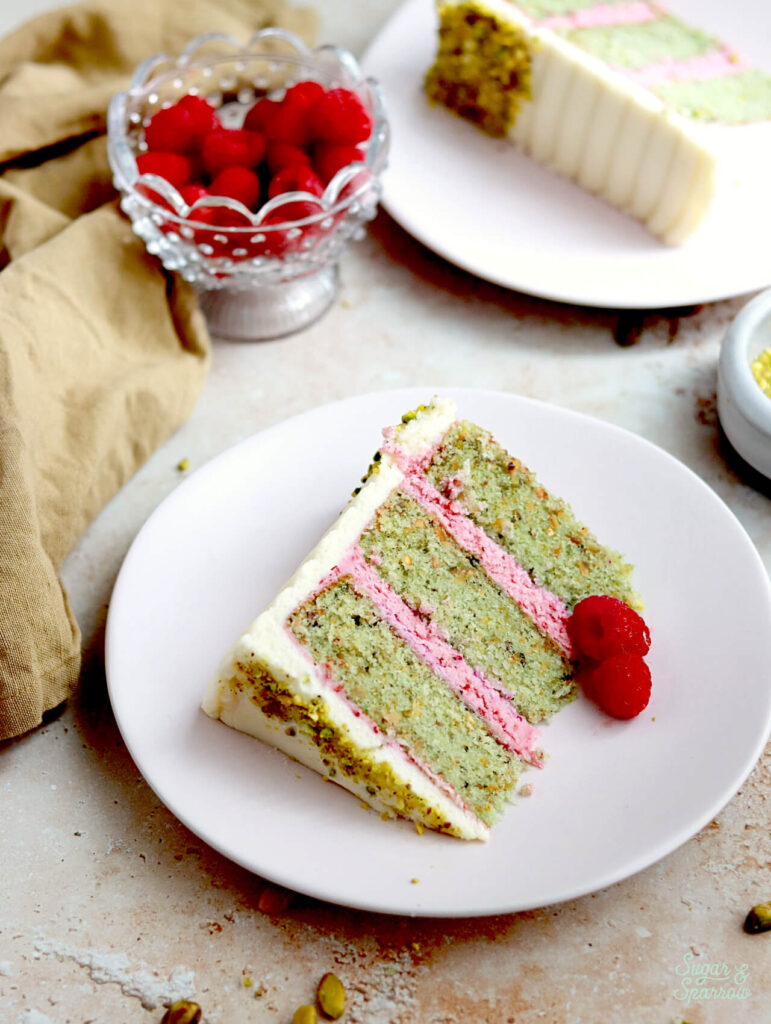
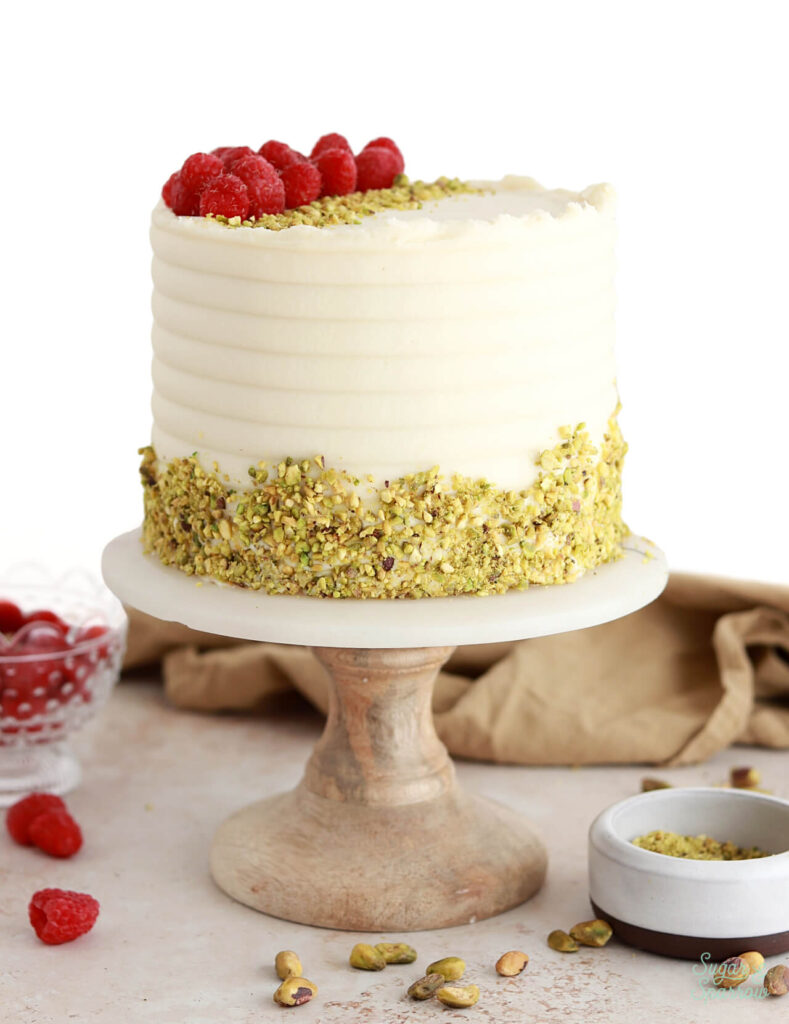
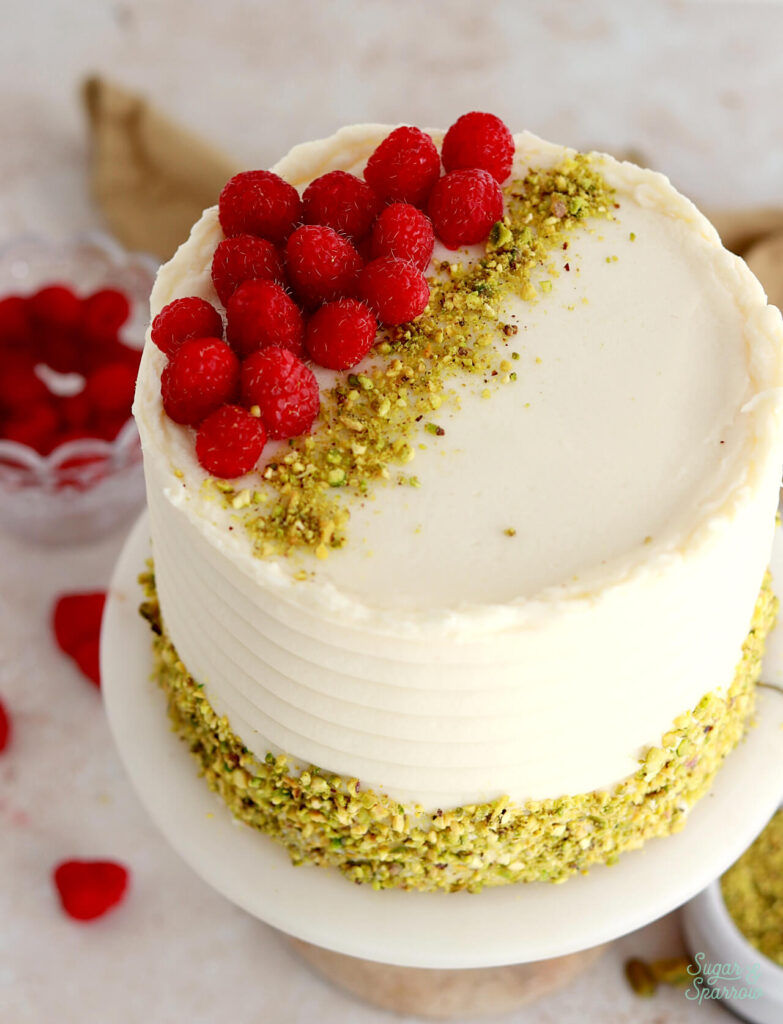
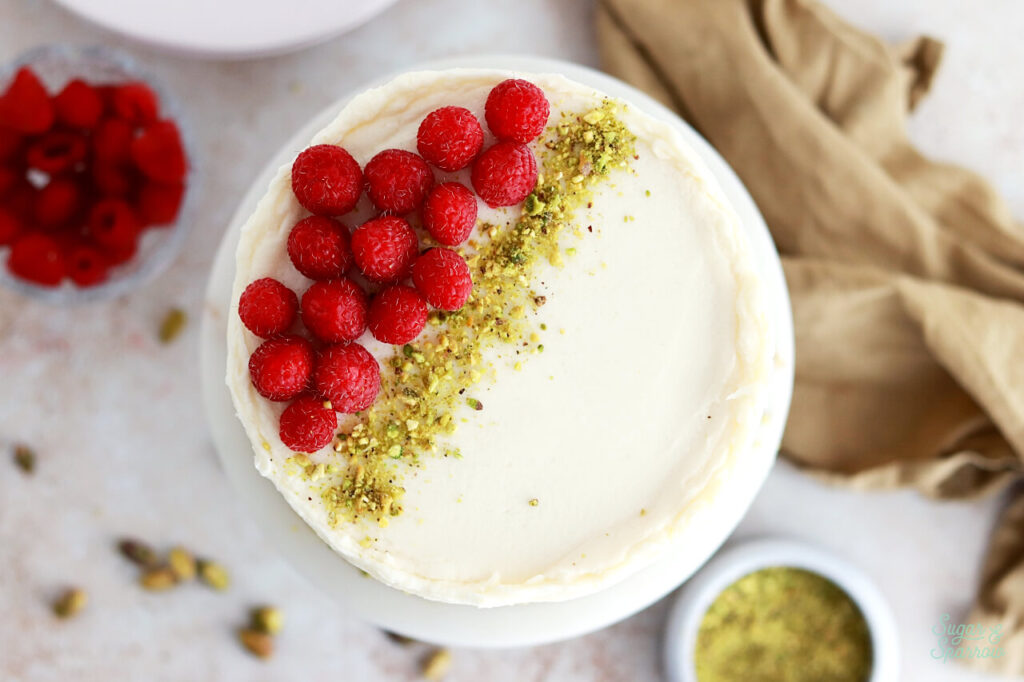
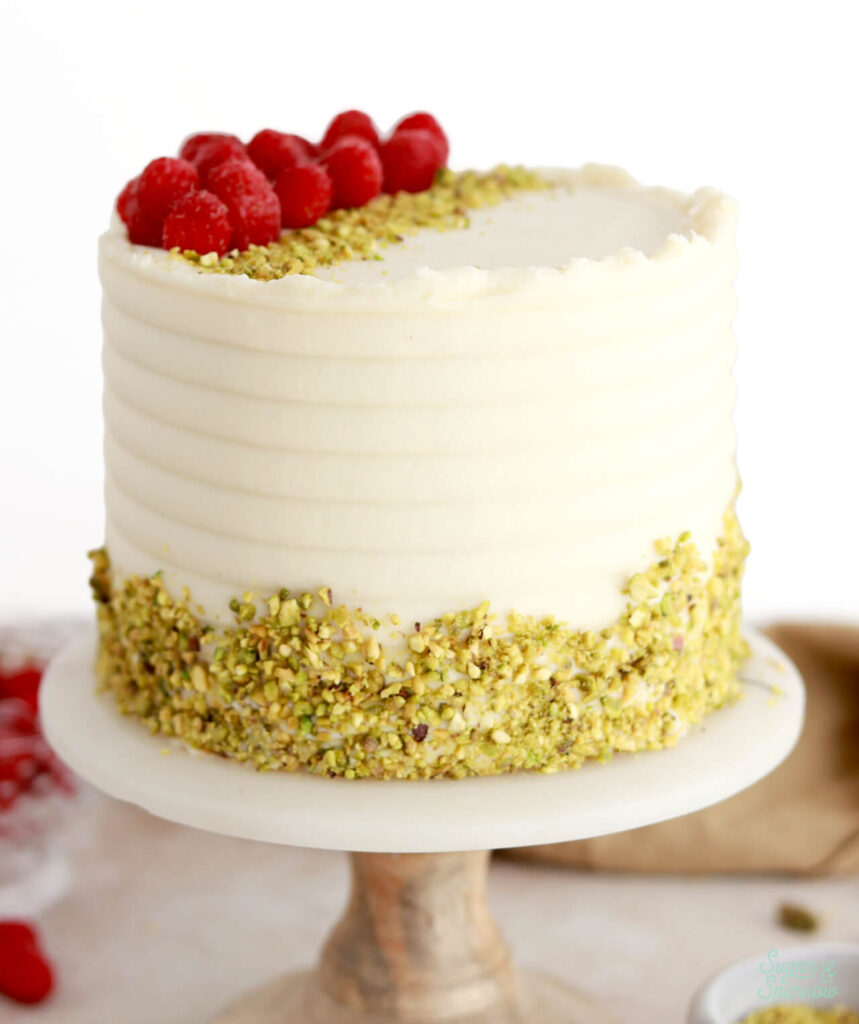
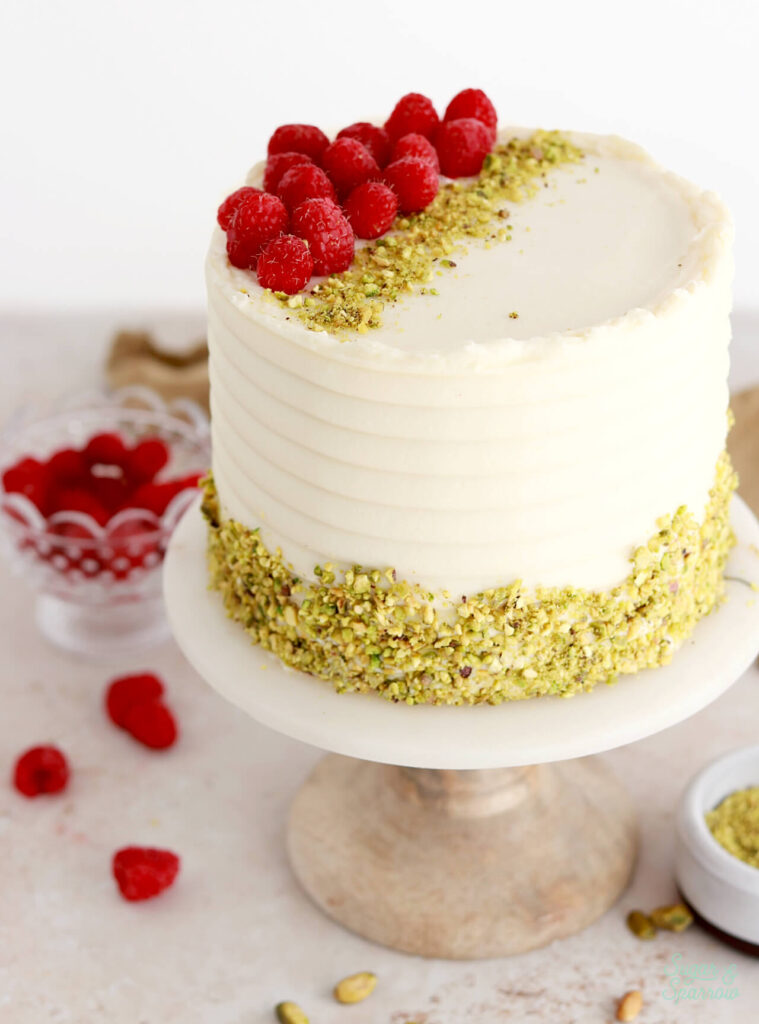
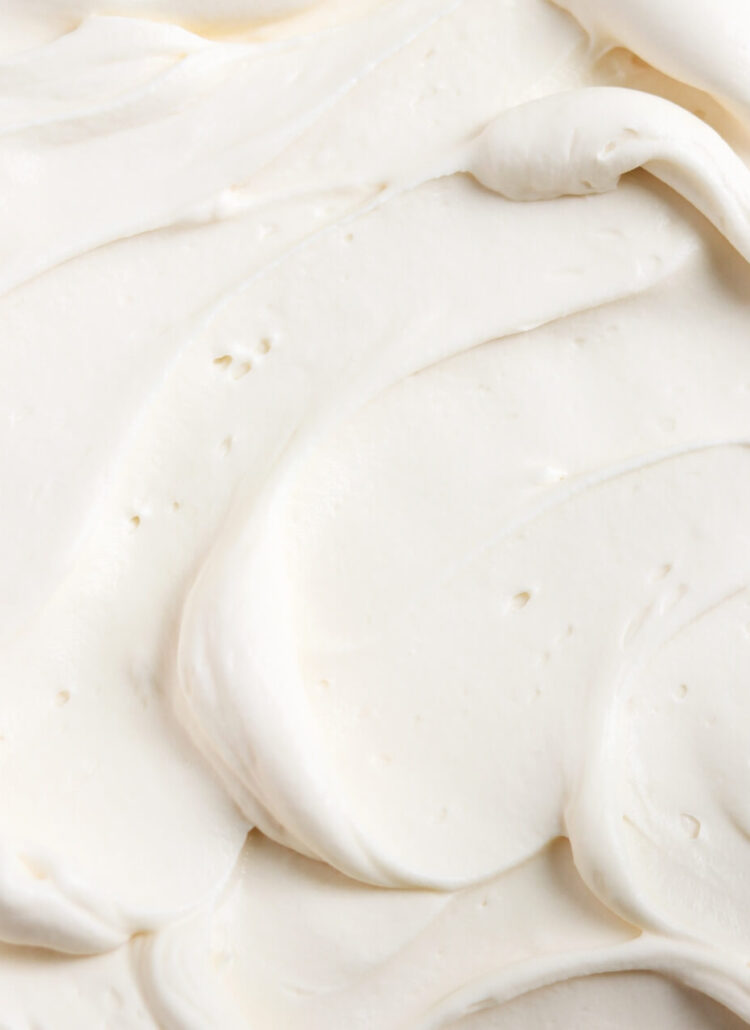
I wanted a light and creamy frosting to tie everything together and after polling my Instagram followers, mascarpone buttercream won out. Y’all were RIGHT! This mascarpone buttercream is a wonderful choice. I honestly could not stop stealing spoonfuls of it during the decorating process. It’s creamy and light, not too sweet, and has a rich quality to it – almost like a cream cheese frosting. It’s super easy to work with and holds its shape when frosted and piped. You could easily use it to create a smooth buttercream finish, but I opted for a textured finish with the rounded cake comb from this set to give some extra intrigue. Topping it with pistachio crumbs and fresh raspberries gave this cake just the right amount of color and elegance.
Tips for Perfect Mascarpone Buttercream
In all honesty, it took me a few tries to figure out the best (and most fail proof) way to make mascarpone buttercream. Mascarpone is a sensitive ingredient. It really doesn’t like to be over-whipped and will quickly curdle if it’s mixed for too long. At first, I tried making a whipped mascarpone frosting (basically like a whipped cream frosting with a slight mascarpone flavor) but I found it too subtle. It was lovely, but just not right for the rest of the flavors and textures going on in this cake. Instead, I ended up with a mascarpone buttercream recipe that’s a bit richer in flavor, super creamy, and perfectly complementary to this cake. Still, mascarpone can be finicky to work with, so here are my best tips for mascarpone buttercream success:
- Make sure the butter and mascarpone are at room temperature before starting. Take them out of the refrigerator for about 1-1.5 hours before starting the recipe.
- If your mascarpone has any liquid separating from the cheese in the container, drain the liquid beforehand.
- Use the paddle attachment on your stand mixer for the smoothest consistency.
- When it comes time to add the mascarpone at the end, mix it in on low speed for only about 30 seconds total. Any longer and you run the risk of curdling, which unfortunately cannot be fixed.
- Make the mascarpone buttercream right before you’re ready to frost the cake.
Does the Decorated Cake Need to Be Refrigerated?
Since mascarpone is a soft cheese (like cream cheese), this cake does need to be stored in the refrigerator. However, it tastes the best at room temperature, so be sure to remove it from the refrigerator for 1-2 hours before serving the cake. It can be left out for about 3 hours total before needing to be refrigerated again.
However you decorate, I hope you end up loving this cake as much as my friends and family did. My husband took most of this cake to his work and the cake was gone before lunch time with rave reviews all around! And I’m just so excited to keep pairing this pistachio cake with more flavor combinations – I’m thinking orange, lemon, white chocolate, strawberry, rose, the list goes on and on!
Raspberry Pistachio Cake with Mascarpone Buttercream
Ingredients
Pistachio Cake
- 1 1/2 Cups (190g) unsalted raw or roasted pistachios (de-shelled)
- 1 3/4 Cups (184g) sifted cake flour*
- 1 1/2 tsp baking powder
- 1/4 tsp baking soda
- 1/2 tsp salt
- 1/2 Cup (113g) unsalted butter, room temperature
- 1/4 Cup vegetable oil
- 1 1/3 Cups (267g) granulated sugar
- 4 large egg whites, room temperature
- 1/4 Cup (60g) sour cream, room temperature
- 1 1/2 tsp pure vanilla extract
- 3/4 tsp almond extract
- 3/4 Cup (180ml) whole milk, room temperature
- 1-2 drops green food coloring (optional)
Raspberry Buttercream
- 1 Cup (226g) unsalted butter, room temperature
- 3/4 Cup (18g) freeze-dried raspberries
- 3 Tbsp (45ml) whole milk, room temperature
- 1 tsp pure vanilla extract
- 3 Cups (360g) powdered sugar
- pinch of salt
Mascarpone Buttercream
- 3/4 Cup (170g) unsalted butter, room temperature
- 3 Cups (360g) powdered sugar
- 1 tsp pure vanilla extract
- pinch of salt
- 3/4 Cup (180g) mascarpone, room temperature
Instructions
Make the Pistachio Cake
- Preheat the oven to 350°F/177ºC. Prepare three 6-inch (15cm) or two 8-inch (20cm) cake pans by spraying the sides with cooking spray and fitting a parchment paper circle to the bottom of the pan.
- Using a food processor, grind the pistachios into fine crumbs (see the photo above for a visual). You’ll still have about 1 and 1/2 cups of crumbs. Place 1 ¼ Cups (160g) of the pistachio crumbs into a medium bowl and set the rest of the crumbs aside in a smaller bowl to use as garnish on the decorated cake.
- In the medium bowl with the pistachio crumbs, add the sifted cake flour, baking powder, baking soda, and salt. Whisk to combine and set aside.
- In the bowl of your stand mixer fitted with the paddle attachment, beat the butter on high for two minutes until it’s light and creamy. Add the sugar and vegetable oil, then continue to mix on medium-high for another two minutes, scraping down the bowl and paddle as needed. Turn the mixer to low speed and add the egg whites one at a time, mixing until well combined. Add the sour cream, vanilla extract, and almond extract and mix for two minutes on high speed. Scrape down the bowl and paddle once more.
- Turn the mixer to low and add in the dry ingredients all at once. When they’re just beginning to combine, add the green food coloring (if using) and the whole milk in a slow, steady stream. Continue to mix on low until incorporated, about 1 minute.
- Pour the batter evenly into the prepared cake pans and bake for 28-32 minutes. They’re done when they spring back to the touch and a toothpick inserted into the middle comes out clean. Let the cakes cool in the pan for five minutes before turning them out onto a wire rack for an additional few hours of cooling.
Make the Raspberry Buttercream
- With a food processor, grind the raspberries into a fine powder. Sift out the seeds (if a few seeds end up in the powder that is totally ok) and set the powder aside.
- Whip the butter using a stand mixer with a paddle attachment on medium-high speed until it’s creamy and light in color (5 minutes). Add vanilla, milk, and raspberry powder and continue to mix on medium until fully combined.
- Add the powdered sugar one cup at a time and mix on low speed, scraping down the bowl and paddle after each addition. Add a pinch of salt and mix on low speed until fully combined and smooth, 1-2 minutes.
Make the Mascarpone Buttercream
- Whip the butter using a stand mixer with a paddle attachment on medium-high speed until it’s creamy and almost white in color (7 minutes). Turn the mixer to low speed and add the powdered sugar a cup at a time, scraping down the bowl and paddle as needed. Add the vanilla extract and mix on low speed until full combined.
- Add the mascarpone and a pinch of salt. Mix on low speed until just incorporated, about 30 seconds. Give the buttercream a few stirs with your rubber spatula by hand to make sure it's all mixed in without over mixing.
Assembly
- Once the pistachio cakes are completely cooled, level them to your desired height. Add a swipe of raspberry buttercream onto a cardboard cake circle and place the first cake layer on top. Add a layer of raspberry buttercream as filling, then repeat the filling and stacking process with the final cake layer. Crumb coat the cake with raspberry buttercream, then place it in the refrigerator for at least 30 minutes to let the buttercream set firm.
- To create the design pictured, frost the cake with mascarpone frosting and use a cake comb to create rounded texture on the sides. Keep the top edges raw. While the frosting is still tacky, gently press the reserved pistachio crumbs around the bottom third of the cake. Finish by garnishing the top of the cake with fresh raspberries and more pistachio crumbs.
Notes
- The pistachio cake can be baked ahead and stored at room temperature, wrapped in plastic wrap, for up to two days. Alternatively you can store the cakes in the freezer for up to two months.
- The raspberry buttercream can be made ahead and stored in an airtight container in the refrigerator for up to two weeks. When you’re ready to use it, bring it back to room temperature and re-mix in your stand mixer to bring it back to smooth buttercream consistency.
- The mascarpone buttercream can not be made ahead. Instead, make it right before you’re ready to frost the cake.
Did you make this pistachio cake? I want to know how it went! Leave a comment below and feel free to tag @sugarandsparrowco on Instagram to show me. I love to see what you create!

Hi! I am in the process of making this cake right now and want to find best way to store it after its frosted and decorated before serving it; should it be stored in the refridgerator or on the counter? Thank you in advance!
Hi Dakota! With the mascarpone frosting it should be stored in the refrigerator, but it tastes best at room temperature so be sure to take it out about 1.5-2 hours before serving. Enjoy!
Hi, made this cake and it was amazing. Thsnk you so much for sharing it. Can this recipe also be used for cupcakes?
Yay, Abby! I’m so happy you love this recipe. It can be baked as cupcakes! Fill the cupcake liners no more than 2/3 full and bake at 350F for 14-18 minutes. Enjoy!
Thank you for your reply Whitney, and also are the cupcakes ok to be baked and piped( kept in the fridge) onThursday for an event on Saturday?
Hi
I am in the UK and we don’t have cake flour here – can i use self raising or is it better to use plain flour and corn flour?
Thank you
Karen
Hi Karen! Since self raising flour already has leavening agent in it, I don’t recommend that for this recipe. Instead, use this homemade cake flour recipe (it uses plain flour + corn flour) and measure out 1 3/4 Cups of the mixture. It will weigh more since plain flour weighs more than cake flour, so if you’re measuring by weight go with 232g. Hope that helps!
I’d like to make a 3-layer pistachio cake using 9 inch pans, or at the very least 8-inch pans. Should I double or triple the recipe? I want the cake to be sort of tall so I can decorate it!
Hi Rosemary! You can make 1.5x the recipe to have enough for three (about 2 inch tall) 8-inch layers or three (1.5 inch tall) 9-inch layers. If you double the recipe you’ll have more than enough for three taller 9-inch layers. Just be sure to fill the pans no more than 2/3 full so they don’t overflow. Hope that helps!
Hi! I’m trying to make this cake using three 6″ tins, is there anything I’ll have to alter?
Thank you 🙂
Not at all! It’s written for three 6 inch layers as-is 🙂
In the process of making it in 2 x 20cm tins now and has gone waaaaaaaaaay over the cooking time and still not done. Is there a different time for 20cm tins that I have missed?
Hi there! It shouldn’t take longer than the specified time in a 20cm tin. Have you checked the internal temperature of your oven? It sounds like it might be running colder than 350F/177C (sometimes the oven displays a temperature that doesn’t match up with the internal temp). That’s the only reason I can think of if your cake is taking longer to bake.
I had the same issue. My oven temp was 350F on two oven thermometers, but this batter, in three 6” aluminum cake tins, took 37 min to finally spring back with a clean toothpick. It did not rise as much as I was expecting, and then settled back to only 1” high each and also shrunk in diameter. I have not cut into one yet, but am predicting very dense cake, and I’m afraid to use them to finish this project. I will probably rebake with a different cake recipe tomorrow.
Hi Sharon. I’d love to help you figure out what went wrong. If the cake didn’t rise much it makes me wonder if your baking powder is fresh? Baking powder and baking soda expire after 6 months and lose their ability to make baked goods rise. And are you baking at high altitude? That could also affect how this cake bakes.
Oh, I am embarrassed to admit what I did. Never having baked three tins in this oven before, and knowing it has hot spots and cool spots, I was concerned about uneven baking. So, on the advice of a non-expert – first mistake – I rotated tins halfway through baking, breaking the cardinal rule of baking. Well, now that I have tested that rule, I won’t do that again!
The second try turned out much better and was a big hit for my daughter’s birthday. Thank you again for your kind concern and troubleshooting. Neither altitude or leaveners could be blamed, but simple human error.
I there a way to make raspberry ganache?
Hi Kathleen! I’ve never made raspberry ganache before but it looks like there are several ways and techniques to make it. I’m going to add it to my list of recipes to try and in the meantime there are lots of search results for raspberry ganache on Google!
Once again Whitney, I used your cake recipe and it turned out delicious! I made the pistachio sponge for my Father’s Birthday and my family loved it! Your recipes really are the best. I did have a question about testing the cake to ensure it is done – when I used a toothpick, no crumbs were stuck to it, but it was still moist looking if that makes sense? I just pulled it since it was past the 35 minute mark because I was nervous about overbaking it. It still came out delicious though!
I just finished baking this cake. Is the cake part suppose to brown because I definitely followed directions . The brown is also a bit crusty/crunchy. And it sank in the middle . I’m about to start making the buttercream now. What did I do wrong ?!?
Hi Marissa! The outside of the cake is usually slightly golden brown, but if it sank in the middle it sounds like something went wrong. Here are some common reasons why cakes sink. See if any of these might have been the culprit: https://sugarandsparrow.com/why-cakes-sink/
I just realized the pistachios I have are roasted. Is that going to be ok?
Hi Austin! The cake will have more of a roasted pistachio flavor but they’ll work.
Hi! Will the cake still be good if i made it the night before? Or should i only ice it the day of?
Hi Sarah! Yes, it will still be great made a day ahead. There are make ahead tips in the notes section of this recipe. Enjoy!
This was a FANTASTIC cake. Made it for a party and it was such a hit. The pistachio cake is so light and silky, with the perfect pistachio flavor (everyone said it reminded them of the silkiness of pistachio gelato). I didn’t find freeze-dried raspberries so used freeze-dried strawberries– one whole cup. Amazing flavor that also worked beautifully with the pistachio. I’m not the biggest fan of loads of icing, so found that the amount of raspberry buttercream is exactly right for a hefty layer between 2 cakes and a generous spread on the top, with the sides left “naked.” I also found this let the fruit flavors really shine, though I’m sure the mascarpone would have also been delicious! Thank you so much for a recipe I will 100% be making again
Yay, Ali! I’m so happy this recipe was such a hit!!