
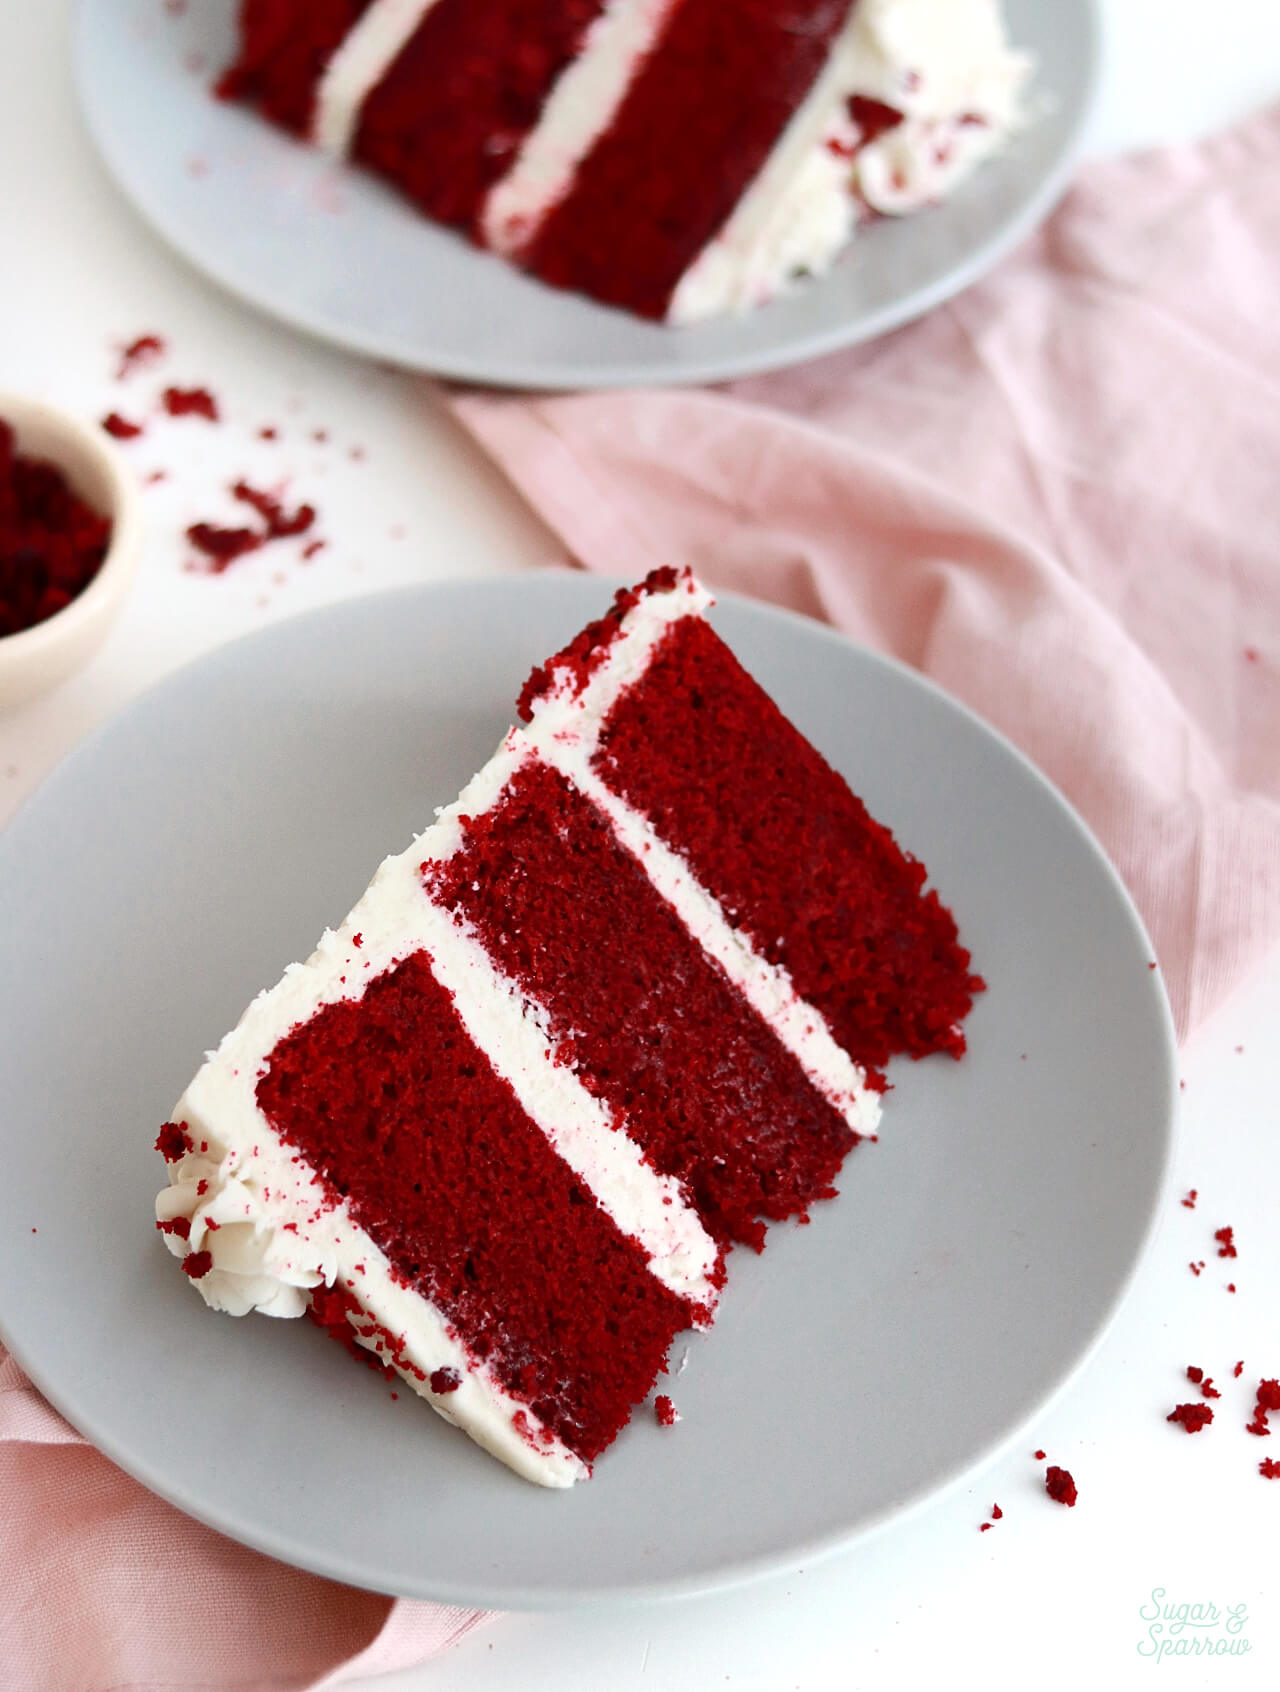
I’ve always been smitten with Red Velvet Cake. It’s quite the looker with that deep red crumb, and the subtle chocolate cake and cream cheese frosting combination is absolutely divine. Red Velvet is versatile too – it can be a fancy cake or completely hilarious (remember the armadillo cake in Steel Magnolias?), a total party hit or a cozy weekend bake, delicious all year round. It’s been on my list for awhile now, and with Valentine’s Day right around the corner I thought now is the perfect time. Well, any time is really the perfect time.

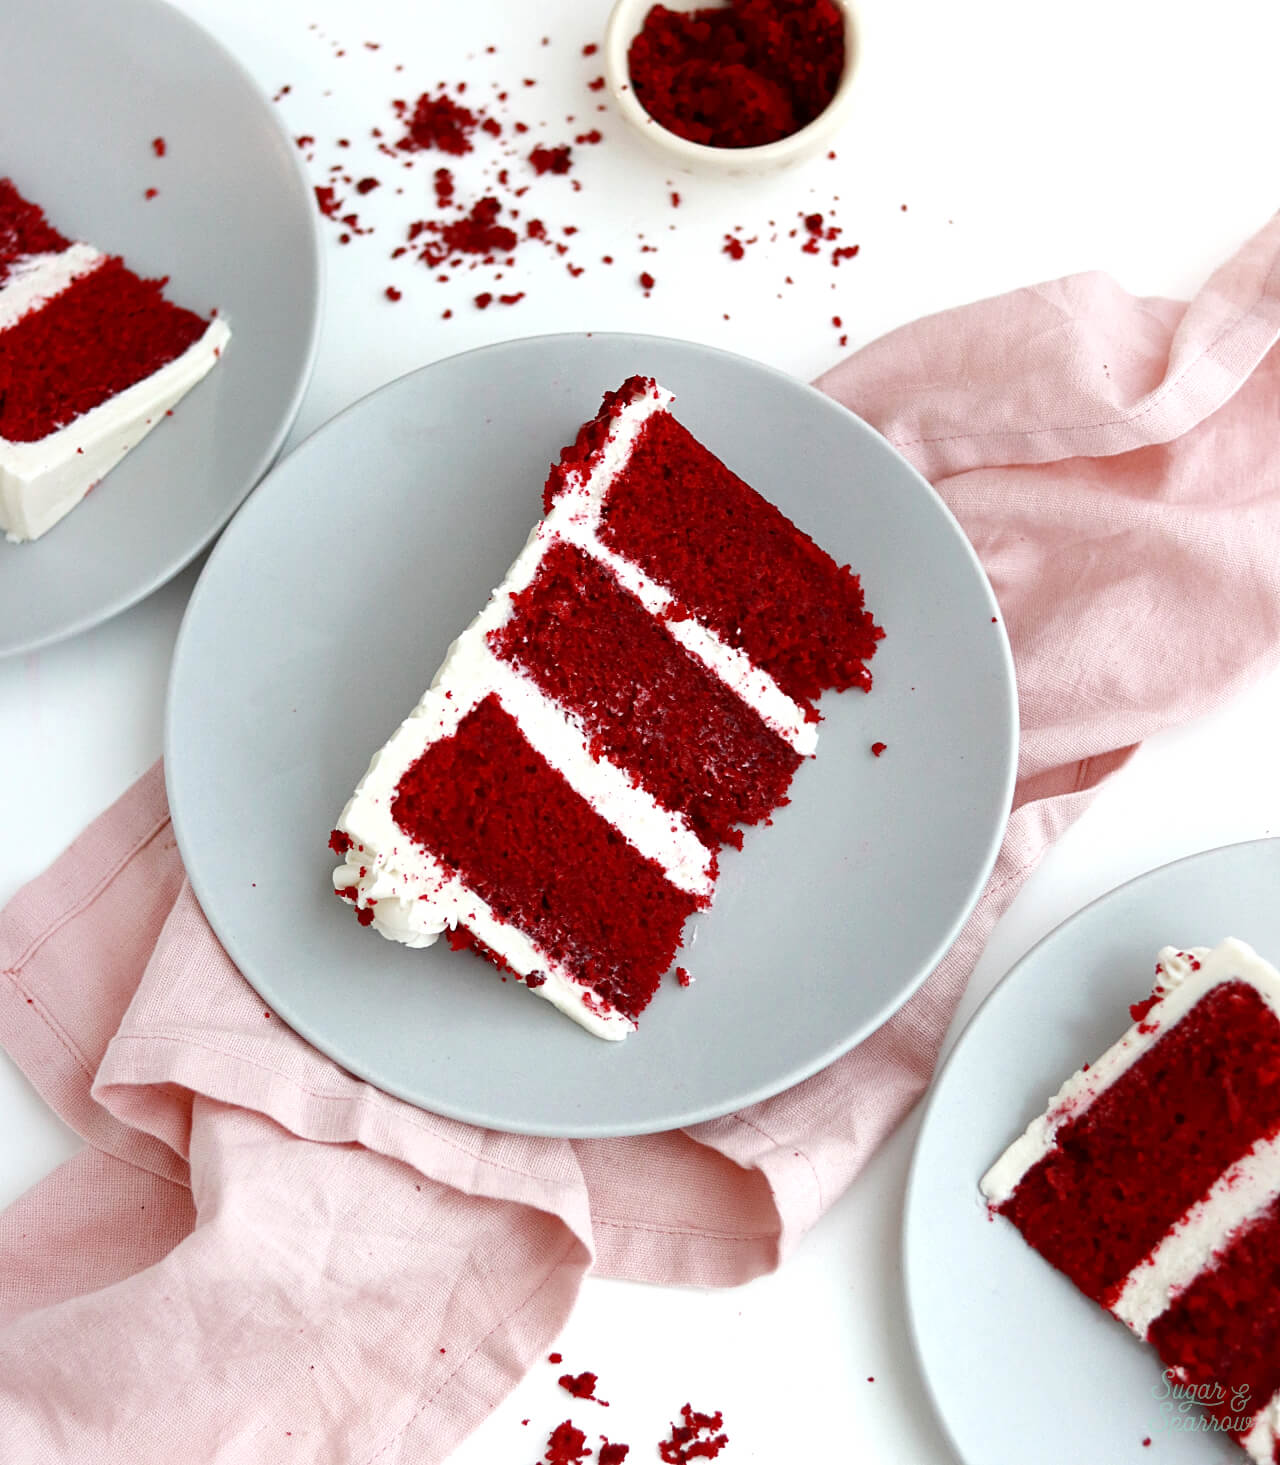
This Red Velvet Cake is wonderfully soft and moist, has the perfect touch of chocolate flavor, and is extremely addicting when paired with cream cheese buttercream. I always thought Red Velvet Cake was just a chocolate cake with red food coloring mixed in but I was wrong. There’s actually only a few Tablespoons of cocoa powder added, but it tastes just perfect that way – just like a traditional Red Velvet Cake ought to taste. I was so thrilled when I cut into these beautiful layers!
What Gives Red Velvet Cake Its Color?
To get the red color in a red velvet cake, you have to add a little food coloring. In the past I’ve used AmeriColor Super Red for this task, but with the ban on RED 3 taking effect in the United States, I thought I’d look for a more natural alternative. I did find this red food color gel that’s made with all-natural ingredients and gave it a try in this recipe. I was a little worried that it would add unwanted flavor to the cake (it’s made with beetroot) but it worked wonderfully and didn’t affect the overall flavor at all!
I do anticipate AmeriColor to reformulate their red food color gel recipe in the future, but for now I am sticking with Enco Natural Red food color gel for this recipe.
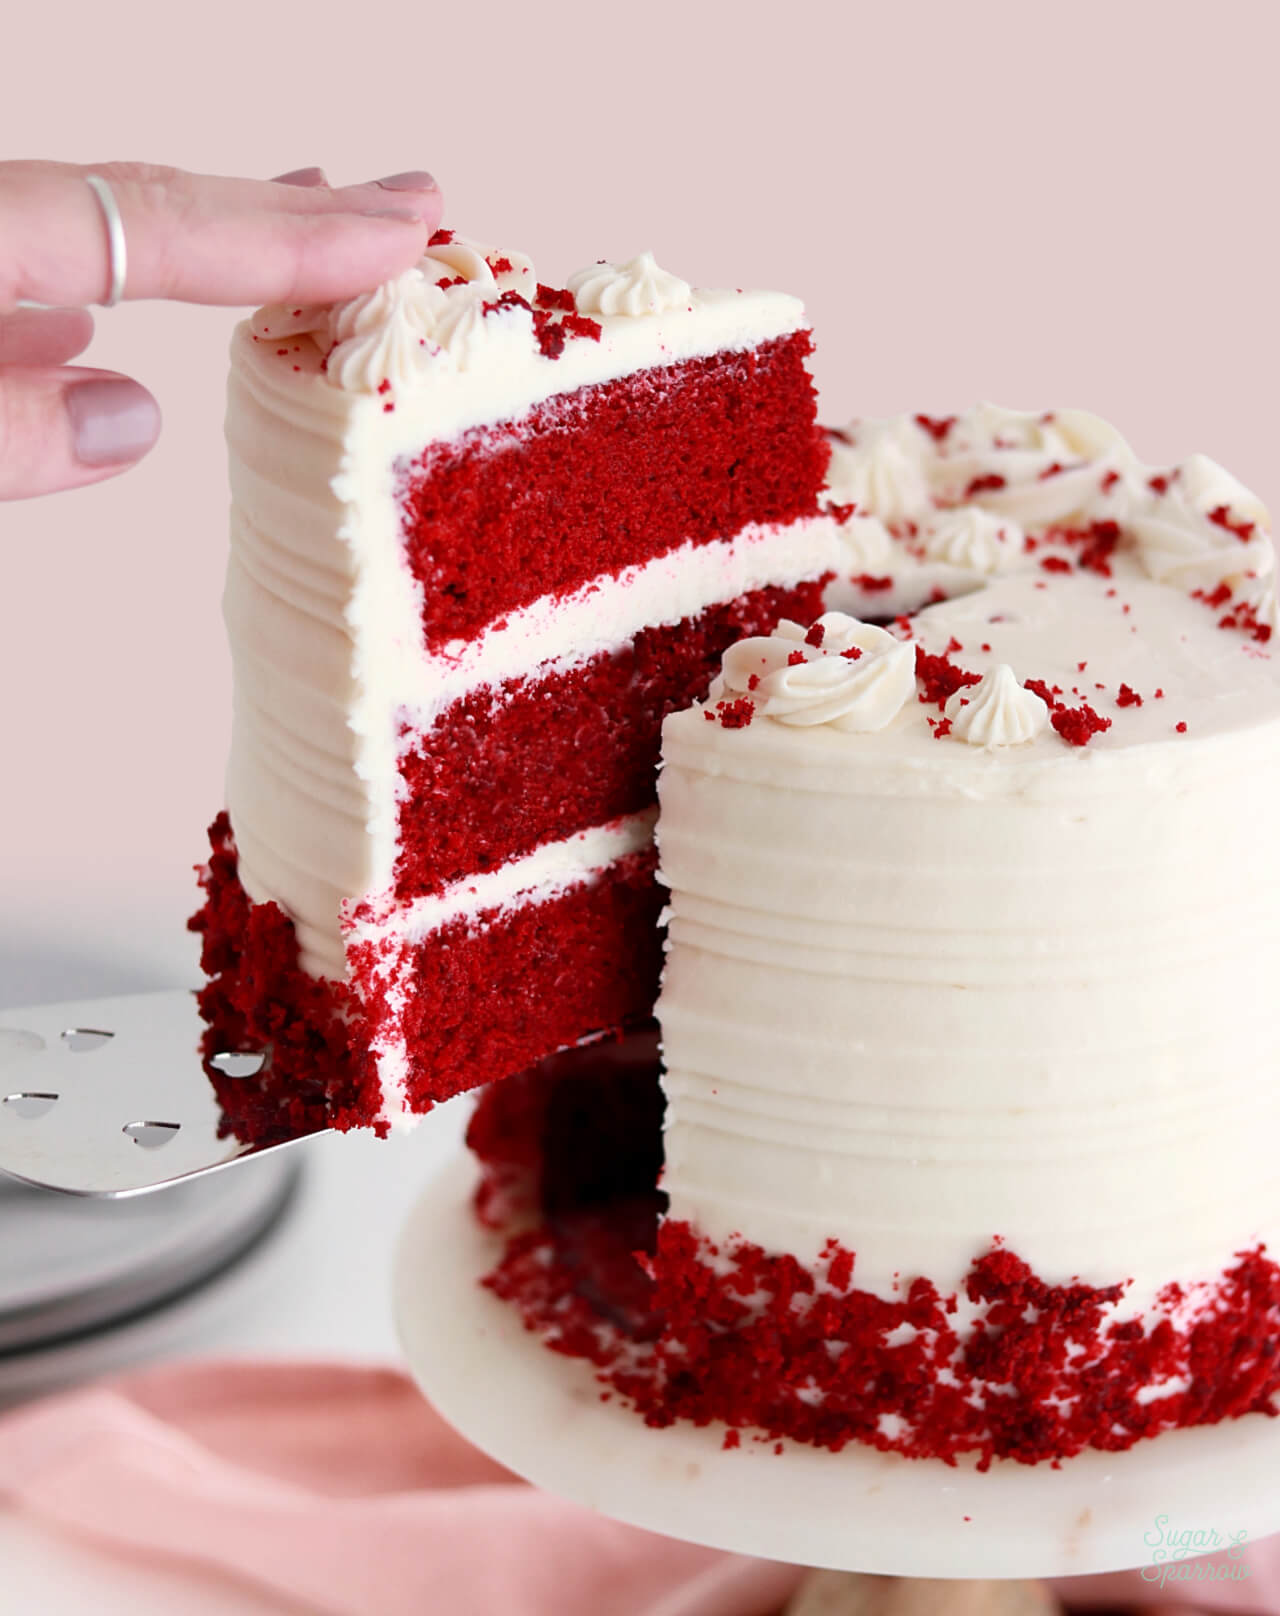
Cream Cheese Buttercream is the Perfect Pairing
Red Velvet Cake and Cream Cheese Buttercream are made for each other. It feels against the rules to top this cake with anything else (except probably the traditional Ermine frosting). I could sing the praises of this Cream Cheese Buttercream all day long because it’s oh so tasty and just the right consistency for not only filling and frosting the cake, but piping the decorations on top as well. I love it so much that it should probably have it’s own recipe post (next on my list!).
How to Decorate a Red Velvet Cake
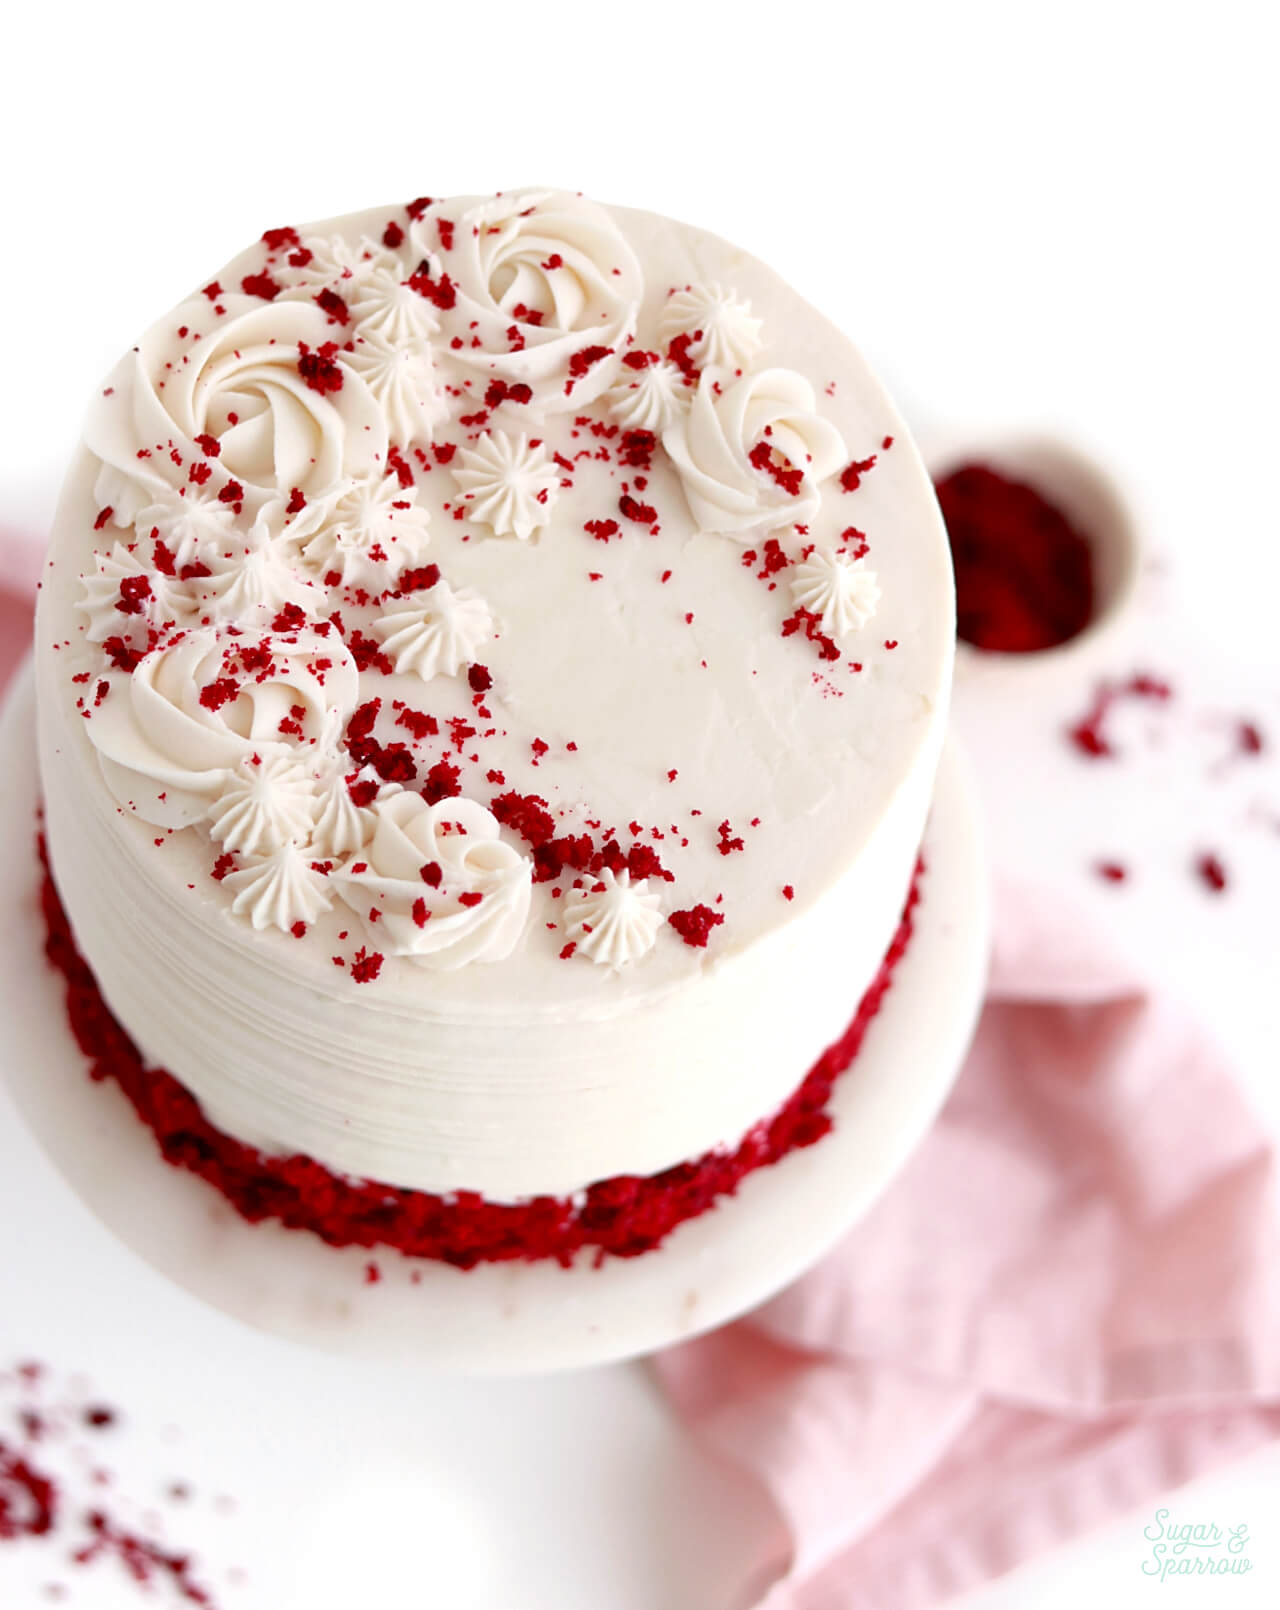
If you Google Red Velvet Cakes, you’ll see a lot of similar designs: plain white frosting and cake crumbs. It’s classic that way. You can decorate a Red Velvet Cake any way you want, but I chose to play off of the traditional design by adding a textured finish with a cake comb, some simple piping on top, and of course, those pretty cake crumbs. I will confess that I tried to top this cake with some more elaborate white chocolate decorations speckled with cake crumbs but they ended up looking like blood splattered glass shards. Maybe a better idea to stick in my back pocket for Halloween.
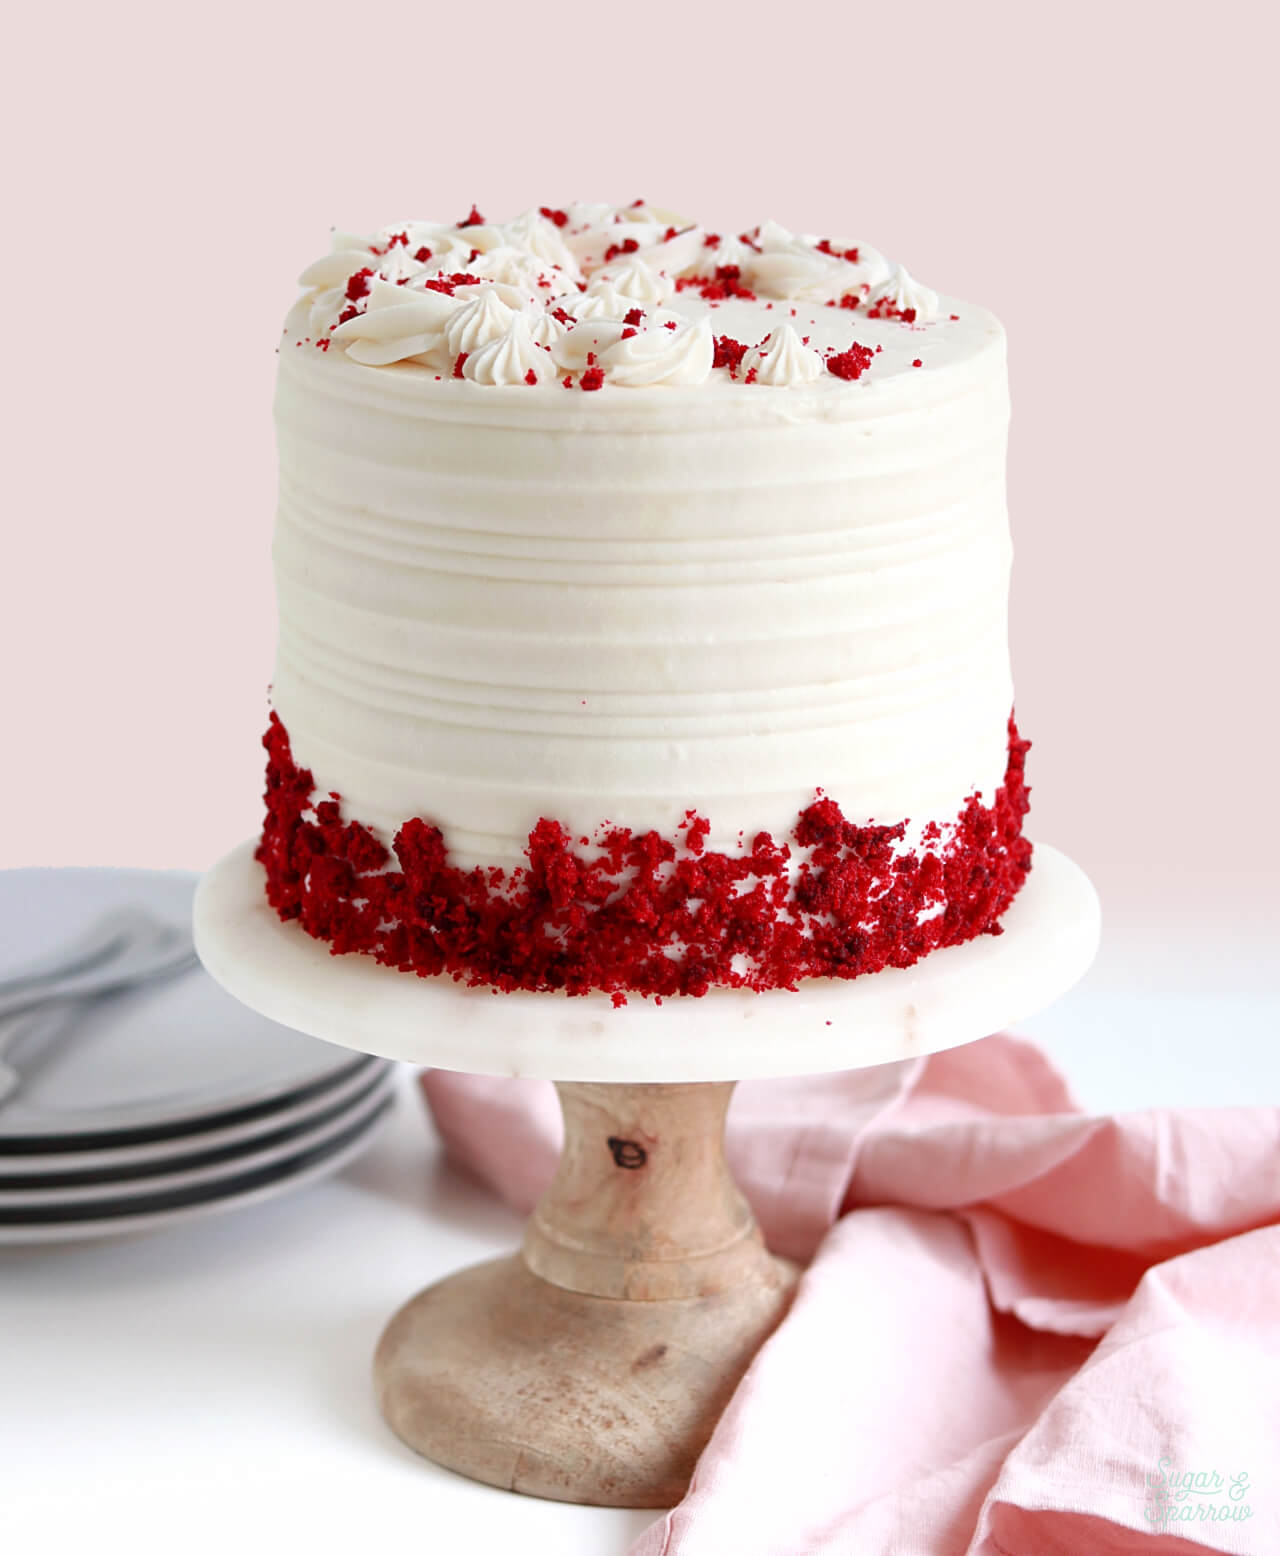

If you want to replicate this cake design though, here’s how I did it: after filling and crumb coating the cake with Cream Cheese Buttercream, I placed it in the refrigerator for about 30 minutes to let the crumb coat firm up. This makes a stable foundation for the final layer (and pretty necessary since Cream Cheese Buttercream is always so much softer than other types of buttercream). Then, I frosted the cake with a final layer of Cream Cheese Buttercream and used a cake comb from this set to create the textured finish. I stuck cake crumbs to the side of the cake using this technique, piped a crescent of rosettes and stars on top with Wilton Tips 1M and 4B, and finished it all off by sprinkling cake crumbs over the top. Voila!
I made a quick video to show you how I baked and decorated this red velvet cake:
If you love recipe videos like this one, be sure to check out my YouTube channel! I’ve got a growing collection of cake recipes, decorating tutorials, and Cake Basics over there. Hit the subscribe button on my page so you never miss a new video.

Red Velvet Cake Recipe
Ingredients
Red Velvet Cake
- 2 Cups (212g) sifted cake flour
- 3 Tbsp natural unsweetened cocoa powder
- 1 tsp baking soda
- 1/2 tsp salt
- 1/2 Cup (113g) unsalted butter, room temperature
- 1 1/2 Cups (300g) white granulated sugar
- 1/2 Cup (120ml) vegetable oil
- 2 large eggs, room temperature
- 2 tsp pure vanilla extract
- 2 tsp distilled white vinegar
- 2 tsp red food coloring* gel or liquid
- 1 Cup (240ml) buttermilk, room temperature** DIY recipe in notes
Cream Cheese Buttercream
- 1 Cup (226g) unsalted butter, room temperature
- 16 Oz cream cheese, room temperature brick-style, not the spreadable kind
- 8 Cups (960g) powdered sugar
- 1 Tbsp pure vanilla extract
- 1/2 tsp salt, or to taste
Instructions
Make the Red Velvet Cake
- Preheat the oven to 350ºF and prepare three 6-inch or two 8-inch cake pans by spraying the sides with cooking spray and placing a wax or parchment paper circle into the bottom of each one. Measure the sifted cake flour by spooning into your measuring cup and leveling it, or simply sift the cake flour into a bowl on your kitchen scale to measure it. Place the cake flour into a medium sized bowl and add the cocoa powder, baking soda, and salt. Whisk together and set aside.
- Cream the butter on high for two minutes, then add the vegetable oil and sugar. Cream together on medium-high until light and fluffy, about 2 minutes. Scrape down the bowl and paddle. Turn the mixer to low and add the eggs one at a time. Once the eggs are incorporated, add the vanilla and white vinegar and mix on low for another 30 seconds. Scrape down the bowl and paddle once more.
- Mix the red food color gel into the buttermilk. With the mixer on low speed, alternate adding the flour mixture and buttermilk in three additions, beginning and ending with the flour mixture. Mix only until the ingredients start to come together, then whisk the batter by hand a few times to make sure there are no large lumps.
- Pour the batter into prepared cake pans (no more than 2/3 full) and bake for 30-35 minutes, until a toothpick inserted comes out clean. Let the cakes cool in the pan for five minutes before carefully removing them and placing the cakes on a wire rack or cookie sheet. Allow the cakes to cool completely before assembling and frosting.
Make the Cream Cheese Buttercream
- In the bowl of a stand mixer fitted with the paddle attachment, cream the butter and cream cheese on high until light, fluffy, and uniform (no lumps), about five minutes. Turn the mixer to low and add the powdered sugar a few cups at a time, mixing thoroughly after each addition. Add the vanilla and salt, mixing on low for another 30 seconds.
Assembly
- Once the Red Velvet Cakes are cooled throughout, level and torte the layers to your desired height. Reserve the cake tops for crumbles. Fill and stack the cake with Cream Cheese Buttercream. Crumb coat the cake and place it into the refrigerator for at least 30 minutes to let the crumb coat firm up before frosting with a final layer of Cream Cheese Buttercream.
- To create the look pictured, frost the cake with Cream Cheese Buttercream. Don't worry too much about getting perfectly smooth sides, but do run an icing smoother over them to get them level and straight. Then, use a cake comb to create texture. Crumble up the cake tops and add them to the bottom third of the cake using this technique. Pipe a crescent formation of rosettes and stars with Wilton Tips 1M and 4B on the top of the cake, then sprinkle more cake crumbs on top.
Notes
- The cake layers can be made ahead and stored, wrapped in plastic wrap, at room temperature for up to two days. Alternatively, you can store the wrapped cake layers in the freezer for up to 2 months before thawing and frosting.
- The Cream Cheese Buttercream can be made ahead and stored in an airtight container in the refrigerator for up to two weeks. When you’re ready to use it, bring it back to room temperature and re-whip in your stand mixer to bring back to smooth buttercream consistency.
Did you make this cake recipe? I want to know how it went! Leave me a comment below and feel free to tag @sugarandsparrowco on Instagram to show me. I love to see what you create!
Looking to make a 3 layer 9 inch cake. How should I adjust the recipe?
Hi Annie! I would make 1.5x the recipe for three shorter 9-inch layers or 2x the recipe for taller 2″ layers. If you double the recipe, be sure to fill the tins no more than 2/3 full just in case you end up with a little extra batter. Hope that helps!
i meant ‘bake’ each part separate. Or is it one big which i cut in 3 parts after i baked it?
Hi Kateryna! You’ll divide the batter evenly between three 6-inch pans (or 2 8-inch pans) and bake individual layers. Hope that helps!
Iam kinda confused how many cakes do i bake? do i have to put 3 equal parts and then cake each other one by one?
Hi, I made this recipe a few months ago, gonna give it an other go soon. I made three layers of 8 in but one of the layer just crumbled and came apart. Do you have any idea why that happened? I used a scale to weight my flour and such. Thanks in advance for your help.
Hi Arleny! Since this recipe is written for two 8-inch layers, did you alter it to make more batter before dividing it between three 8-inch pans? My only thought is that the cake was overbaked, which would happen if you divided this recipe as-is between three 8-inch pans and followed the time specified in the baking instructions. If you didn’t alter the recipe, the baking time would need to be reduced significantly to accommodate the shorter layers. Does that help?
I did 1.5x of the ingredients for the three 8 inch layers. I probably must have missed or added more of one ingredient. It was just odd because it was just one layer not all three. Let’s see what happens when I try again soon. Thank you for your help.
Do you use bleached or unbleached cake flour in your recipes?
I use bleached cake flour.
Hi, thanks a lot for sharing your recipes they all work like magic and they taste amazing. I am planning to do a butterfly wavy deco with the cream cheese would it be stable? And when do you recommend adding the color to it?
Thank you in advance
Yay, Pascale! That makes me so happy to hear you’ve been loving my recipes! The cream cheese buttercream should be stable enough for that, but here’s a way to make it even more stable: https://sugarandsparrow.com/cream-cheese-buttercream-recipe/. I recommend adding the coloring to the buttercream after you make it (in other words, don’t add the coloring until the final ingredient has been combined). Enjoy!
Hi, we cannot get gel food colouring here, can I use ordinary liquid food colour? If so, how muh do you recommend and will it affect the consistency of the cake? Mel x
Hi Mel! You can use regular liquid food coloring. You may need to use an entire ounce to get the color deep red, but it won’t affect the consistency of the cake. Enjoy!
How far in advance can I frost this cake?
Hi Melissa! I usually frost the cake no more than 3 days prior to serving. Enjoy!
Hi, how could I use this recipe to make yhis cake sugar free? Lots of great reviews so I definitely would like to try it out but I have a diabetic in the home
Hi Katie! I’ve never tried making my cake recipes sugar free so I can’t speak to the best sugar substitute. Many sugar substitutes that are meant for baking will have instructions on the package for using as a sub in recipes though! I would just choose your favorite sugar free alternative and follow the package instructions for the sugar part of the recipe. Hope that helps!
Hola quiero hacer tu receta de pastel red velvet pero me gustaría saber si puedo sustituir la mantequilla por aceite , ya que aquí donde vivo la mantequilla es un poco cara , estaré atenta a tu respuesta, un beso
Hi Xiomara! You could certainly try using all vegetable oil in the recipe, but since I’ve never tried it before, I’m not sure how it will turn out. I can only recommend the butter + oil for now. I hope you get a chance to make it!
Great tasting cake! What’s the best way to store it?
Yay, Sarita! I’m so happy you love this recipe. The storage instructions for the components are in the recipe notes, but if you’re wanting to know how to store the cake once it’s decorated, I recommend storing it in the refrigerator. It stores best there but tastes better at room temp, so be sure to take it out a few hours before serving to let it come to room temp. Hope that helps!
Yes that’s exactly what I meant! Thanks for the tip!
Have you added food coloring to the cream cheese icing before? Did it work out? Thinking about using this recipe for some valentines cupcakes!
Hi Lauren! I have and it works great. Color away!
Hello, I’d love to make a 3 layer 8 inch cake. Do you know how much I should adjust the proportions by?
Hi Chantel! I would make 1.5x the recipe for a cake of that size. Enjoy!
I made this recipe and it is sooo delicious! The cake I made was perfect but I tried it as cupcakes and they’re a little too soft, (obviously not your fault since I choose to do that) do you have any tips for adjusting it for cupcakes? It’s so good I don’t want to try to find a whole a different recipe if I can get this to work!
Hi Rene! I’m so happy you love this recipe as much as I do! It should work as-is for cupcakes – did you use the instructions I put in the recipe notes (bake at 350 for 15-18 min)? If not, I would give that a try. You might just need to bake them for a minute or two longer. If you did follow those instructions and it’s a matter of them being too soft and fluffy, that will probably take some experimenting with the recipe. I like my cakes and cupcakes fluffy though – it’s always my goal with recipes!
Thank you for replying! I missed the note about cupcakes and I believe I baked them at 325°. I will try again at 350° and see how that goes. Even tho they were a little fragile to eat without falling apart, my family absolutely loved them!
I’m not a red velvet fan and I LOVED this recipe! Best one I’ve tried hands down. Thank you for your amazing recipes!
I am so happy to hear that, Alyssa! Thank you for letting me know!
Hi. Thank you for your recipe. I was only able to get white vinegar.Can i use white vinegar instead of distilled white vinegar? Or how do i convert it?
Hi Abby! White vinegar will work just fine 🙂
Hi!
Thank you for this recipe 🙂 I am a fan of your recipes (I tried 2 or 3 already and it was perfect every time!).
I am making this one at the moment but the frosting is quite liquid (much more than the a classic buttercream).. Any tips before filling and covering the cake? Should I make it less liquid by adding more sugar?
Thanks a lot !
Hi Marie! There shouldn’t be any liquid to add to the frosting other than the vanilla. Cream cheese buttercream is softer than regular buttercream by nature, but it shouldn’t be liquidy unless additional liquid was added, the butter/cream cheese was softened too much to begin with, or your kitchen is very warm and melting the buttercream. If it’s a matter of the kitchen being too warm or the butter/cream cheese being too soft, I would recommend putting the buttercream in the refrigerator for 10-15 minutes to let things set up a little before re-mixing it all together in your stand mixer. If neither of those was the case, you could add more powdered sugar for additional stability, but be sure to balance it with salt to make sure it doesn’t get too sweet. Hope that helps!
Hi, thank you very much for your answer! I had to throw away the whole frosting. After looking a little bit on several websites, I found an explanation that could be right: I live in France and apparently the cream cheese here(even the Philadelphia brand – the one I bought) contains much water in Europe than in the US, it’s less much firm.
In the end I did your yellow cake and your vanilla frosting and it was delicious
Thanks for figuring that out, Marie. I’m so sorry that the cream cheese is different over there – I had no idea! I’m glad that my yellow cake + vanilla frosting worked out for you in the end. Thanks for sticking with my recipes!