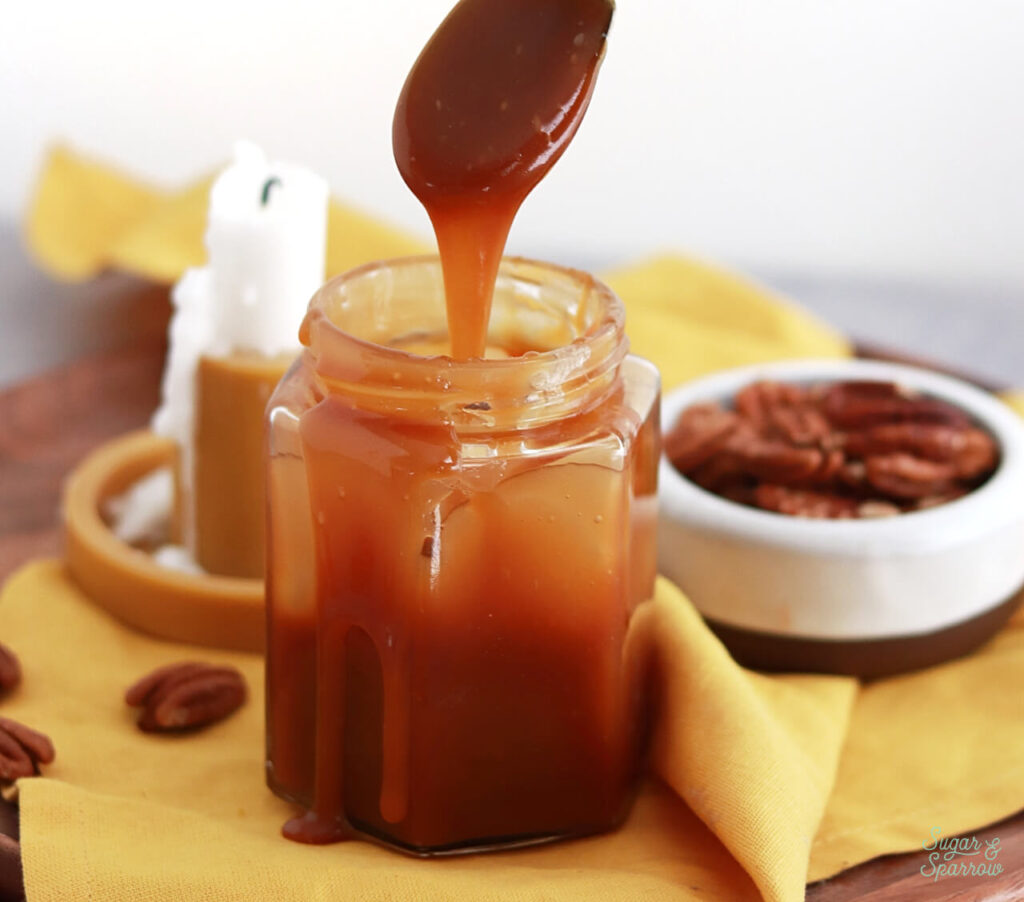
When it comes to salted caramel, this recipe is as versatile as can be. I’ve used it to drip cakes, drizzle cupcakes, dip apples, top ice cream, and have even used it to make salted caramel buttercream! With only four ingredients and fail-proof instructions, it is truly the easiest caramel I’ve ever made and has never let me down. If you’ve ever struggled with making salted caramel before, I hope recipe changes everything for you.
Why You’ll Love This Salted Caramel Recipe
While I’ve tried my hand at some more intricate salted caramel recipes before, this one is my favorite for a few reasons:
- Only four ingredients. All it takes to make this salted caramel is granulated sugar, unsalted butter, heavy whipping cream (or double cream), and salt.
- No candy thermometer necessary. Unlike other salted caramel recipes, you won’t need a thermometer to measure this one! Instead, you’ll be going by time markers and simple visual cues.
- It’s nearly fail proof with consistent results. I’ve written super detailed instructions to help you make this recipe, and when followed properly you’ll always end up with amazing salted caramel.
- Perfect amount of sweet and salty. The flavor of this salted caramel is absolutely divine! I’ve been known to eat it by the spoonful.
- It’s versatile. You can use this recipe as a caramel sauce, as a cake drip, drizzle it in between cake layers, or use it in my salted caramel buttercream recipe.
Tips for Best Results
Like I mentioned previously, you’ll find detailed instructions on how to make this salted caramel below. Here are some tips for success that will keep you cool, calm, and collected throughout the entire caramel-making process:
- Read through the entire recipe first. You’ll want to know what’s coming next in this recipe. It involves a lot of stirring and whisking, and it’s a known fact that caramel likes to burn when you top stirring even for a few seconds to read your next step (it’s sneaky like that!). Having even a vague idea of what’s involved will be a key to your success.
- Prepare your ingredients. Have your ingredients pre-measured, room temperature, and ready to go.
- Protect your hands. There are some points in this recipe where ingredients will bubble up and cause a lot of steam, like when adding the butter and the heavy whipping cream. Keep an oven glove nearby to protect your hand while you whisk and stir if needed.
- Allow time for cooling. This caramel will thicken beautifully as it cools. It takes a few hours left on the counter or one hour in the refrigerator to cool to room temperature.

How to Make Homemade Salted Caramel
Here’s how to make this salted caramel from start to finish:
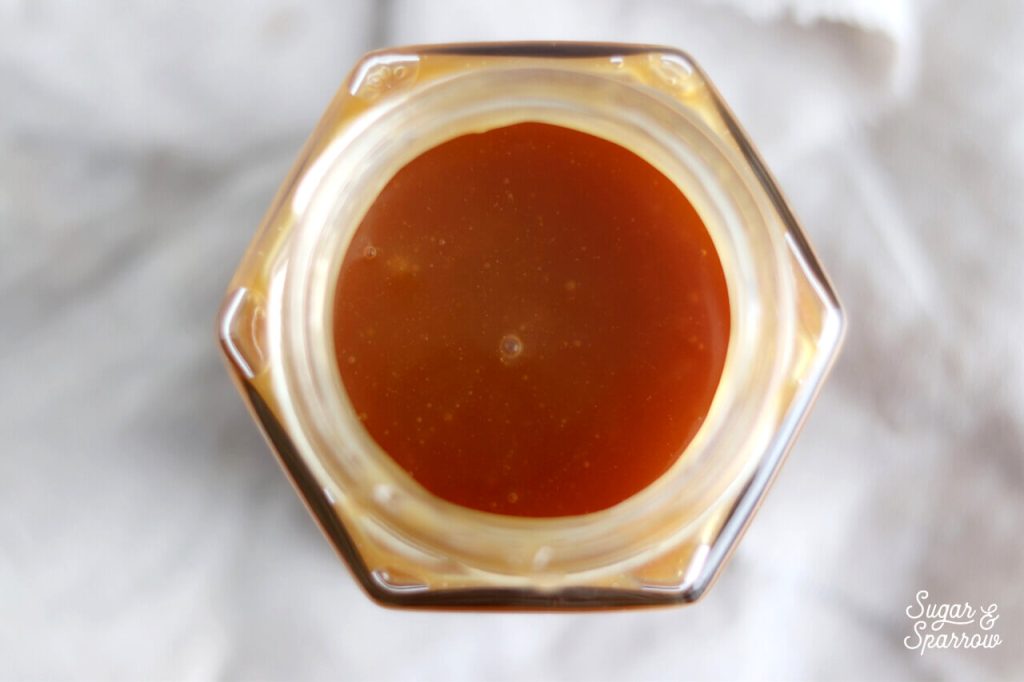
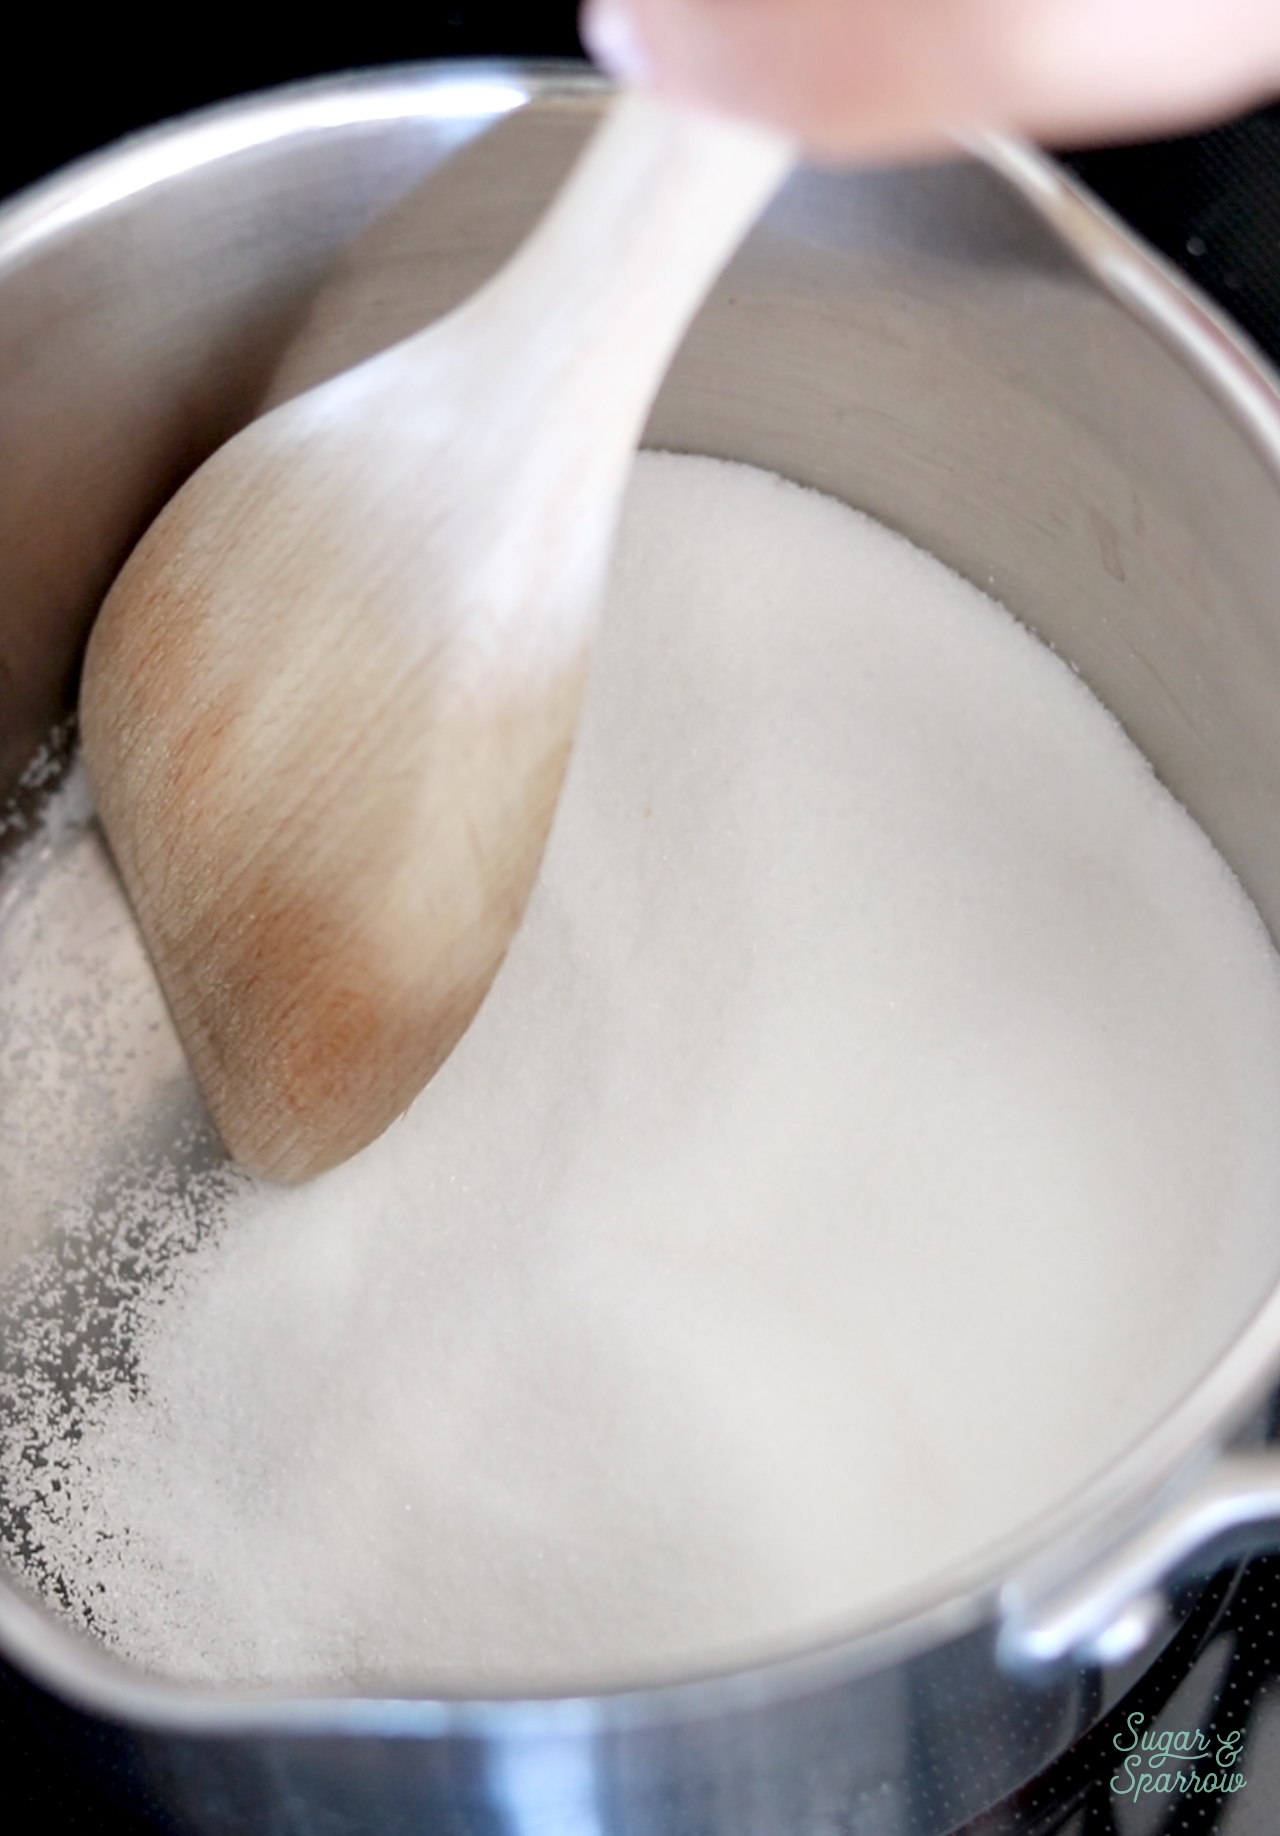
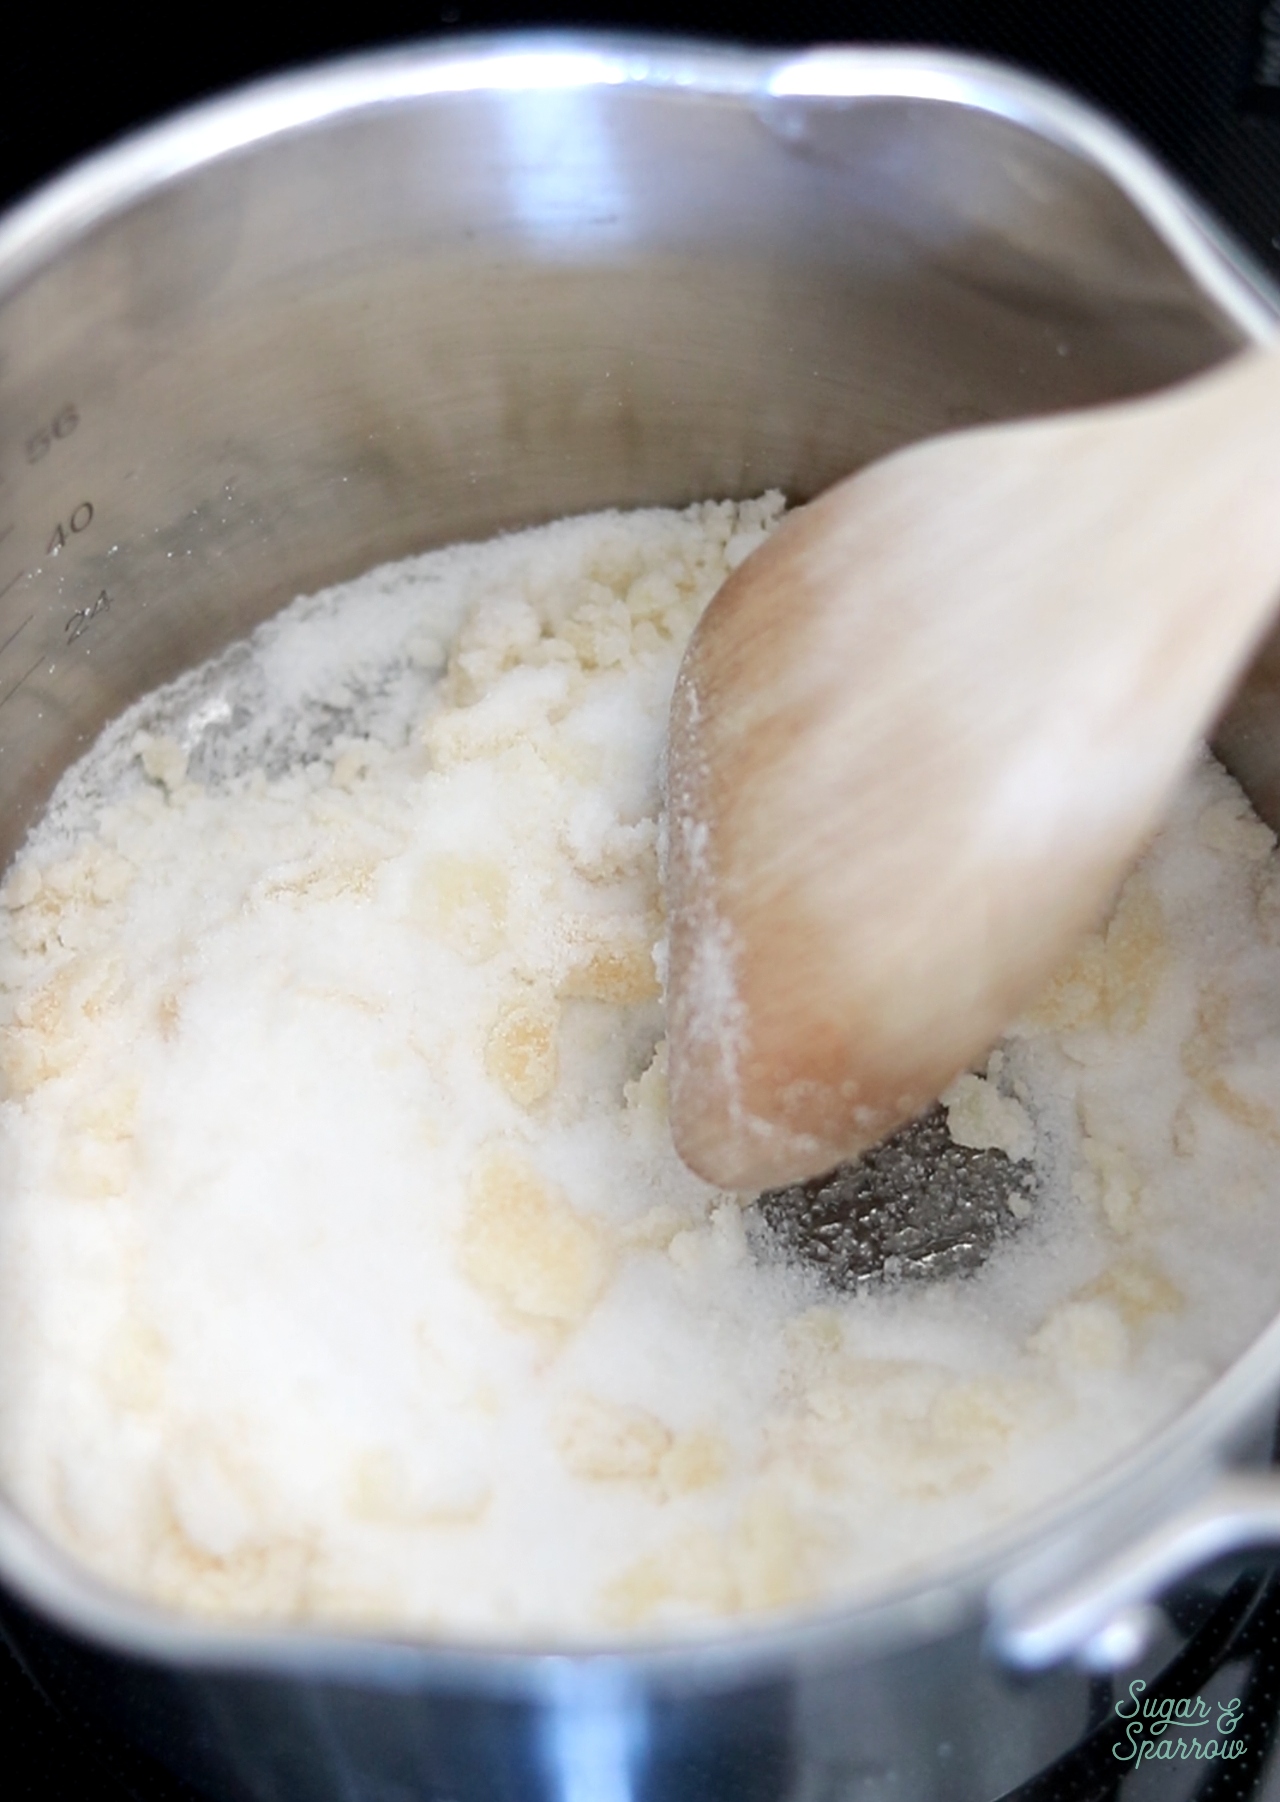
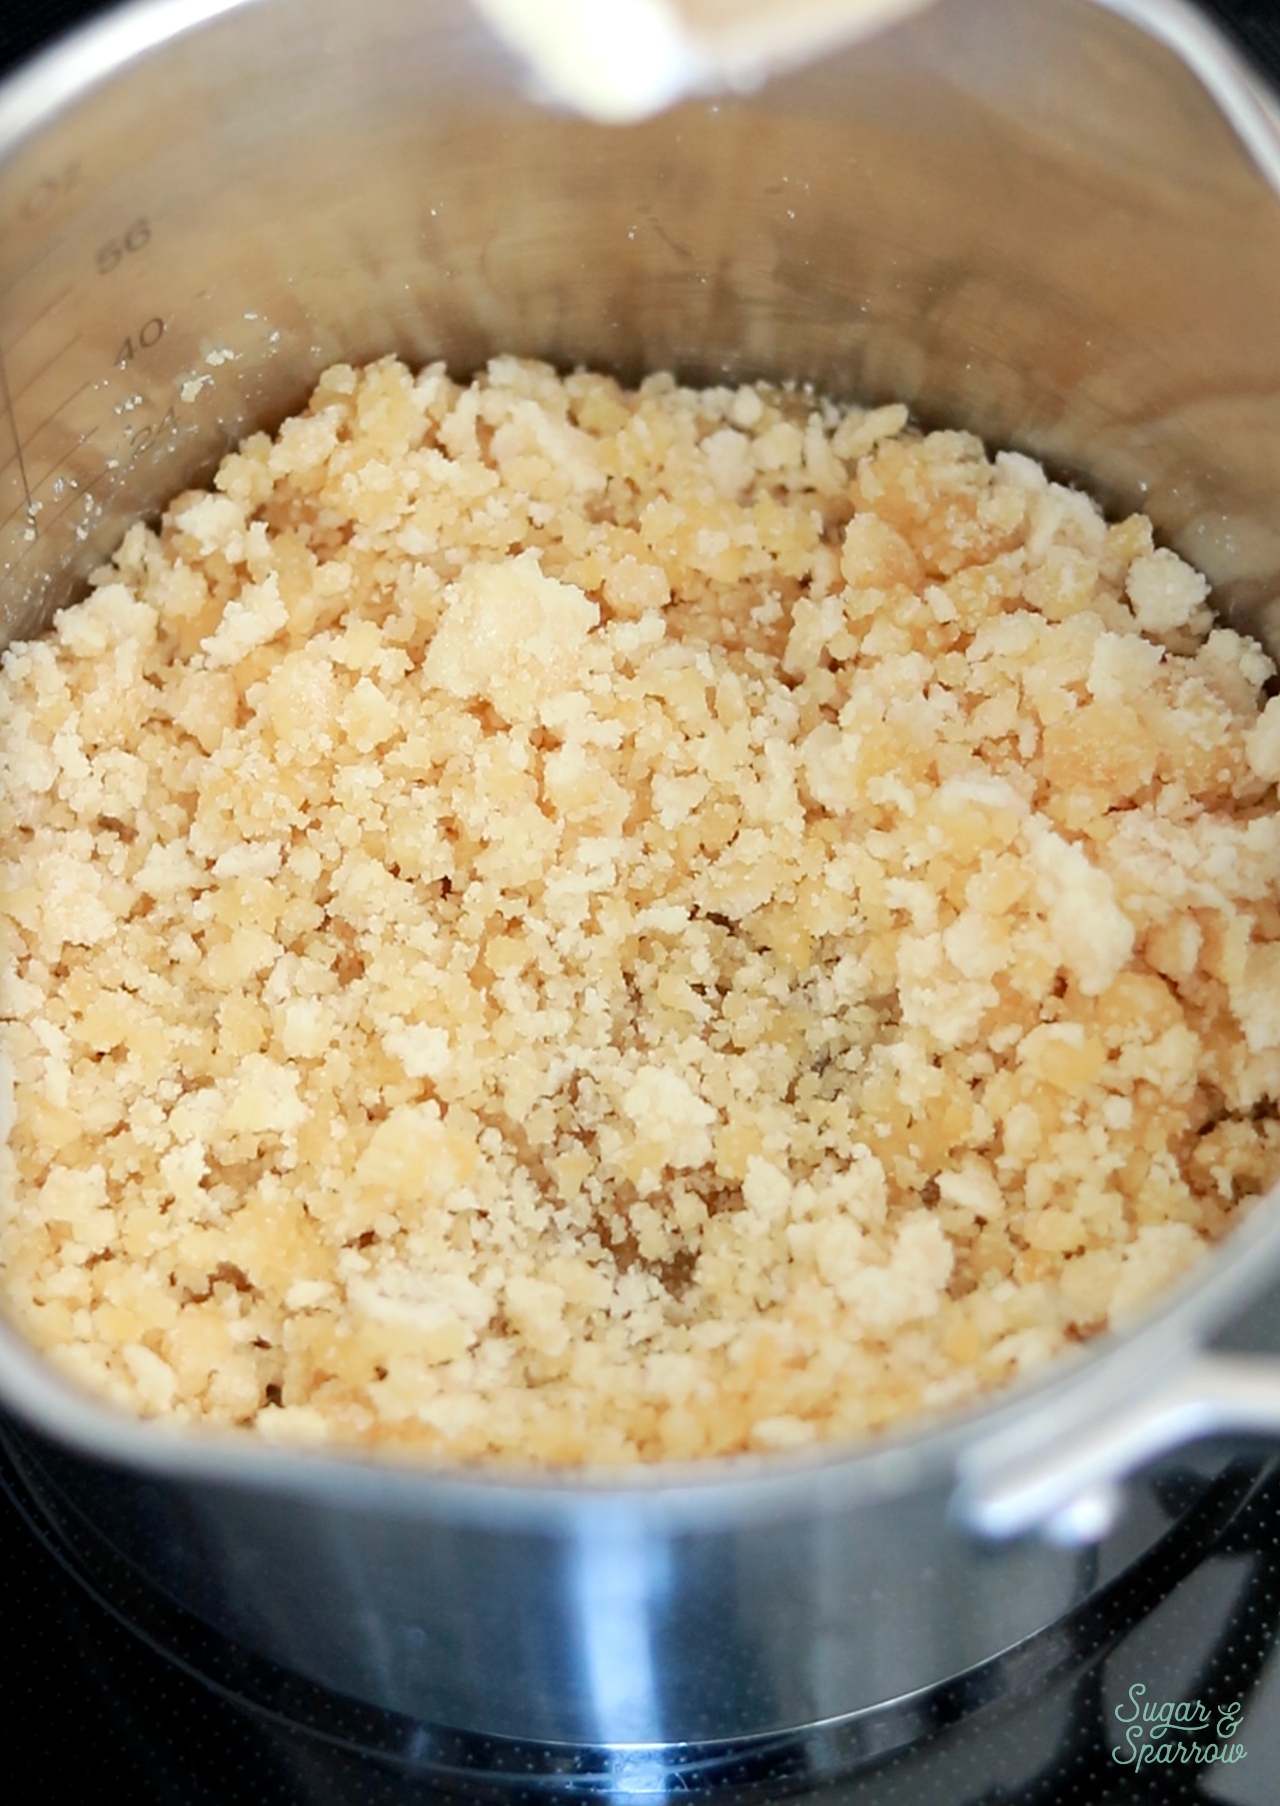
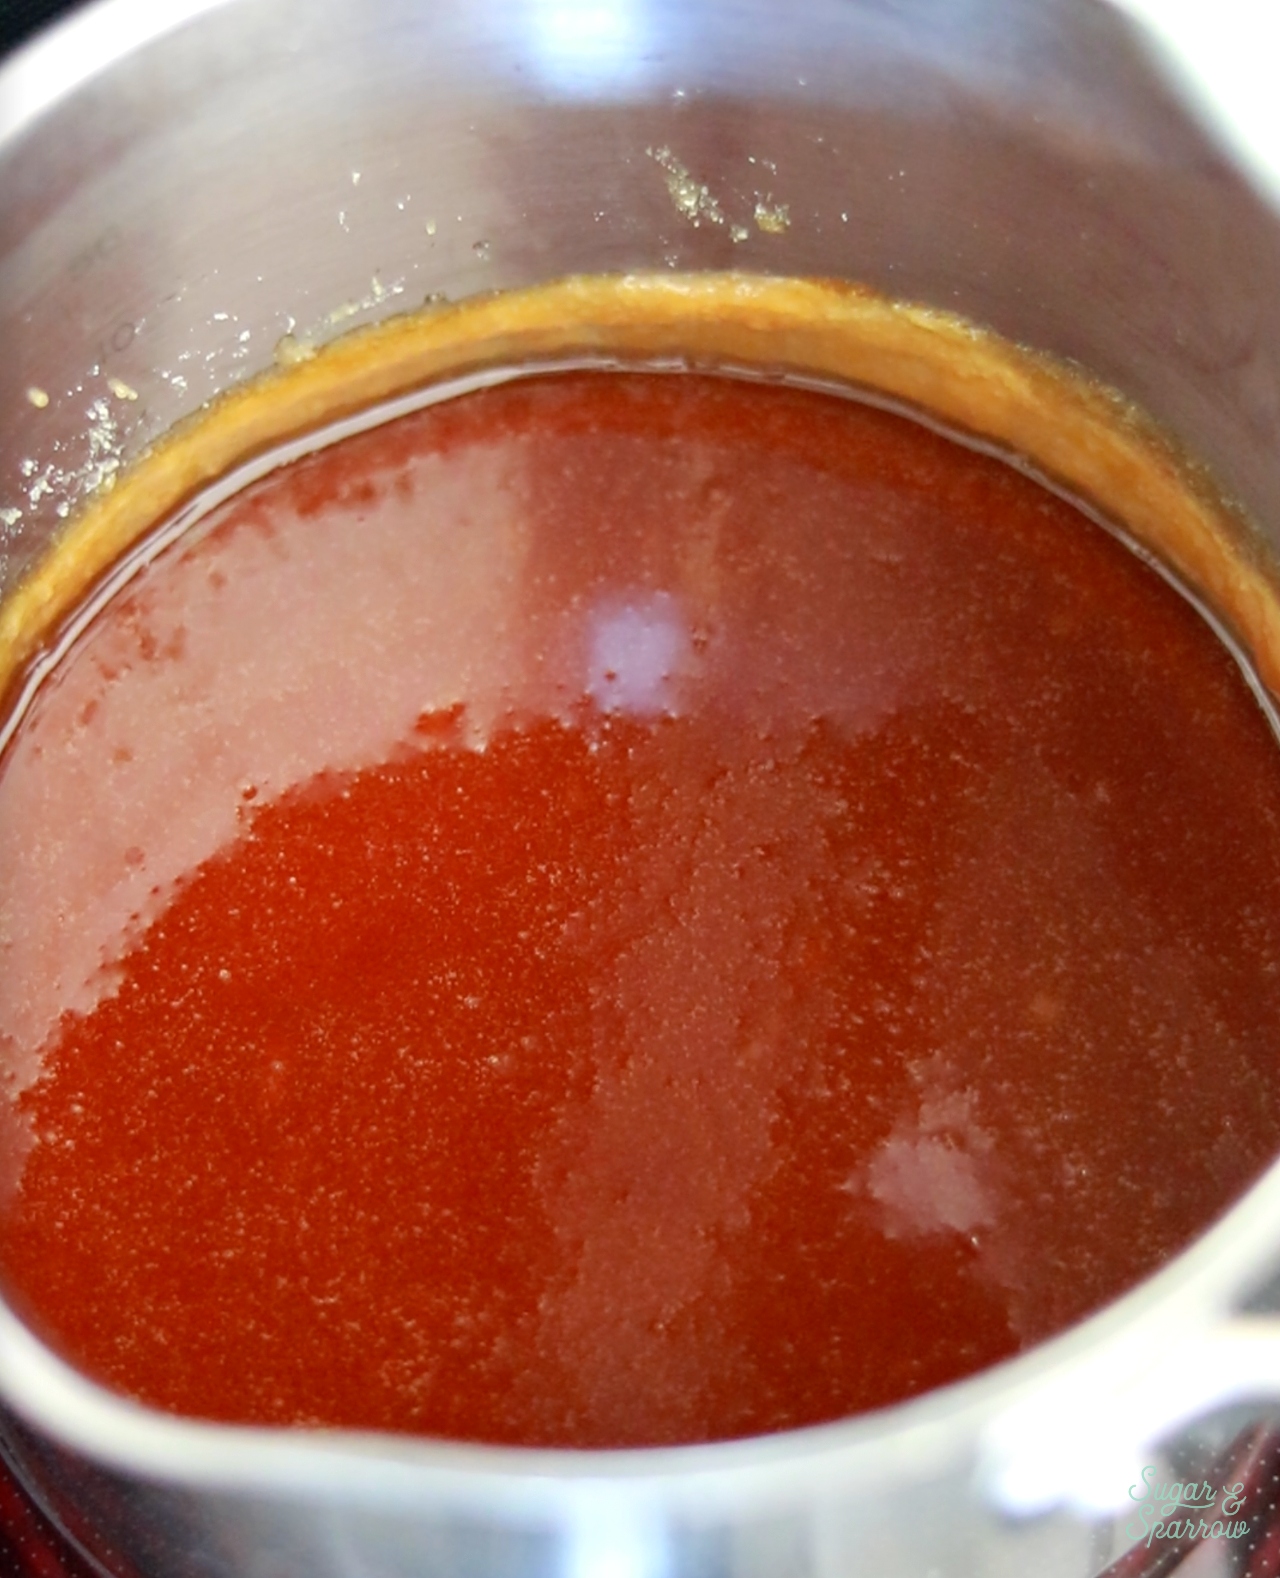
Step 1. Melt the sugar. Add the granulated sugar into a medium saucepan set over medium heat and stir frequently until it melts into an amber colored liquid. Here are the changes you’ll see in the process:
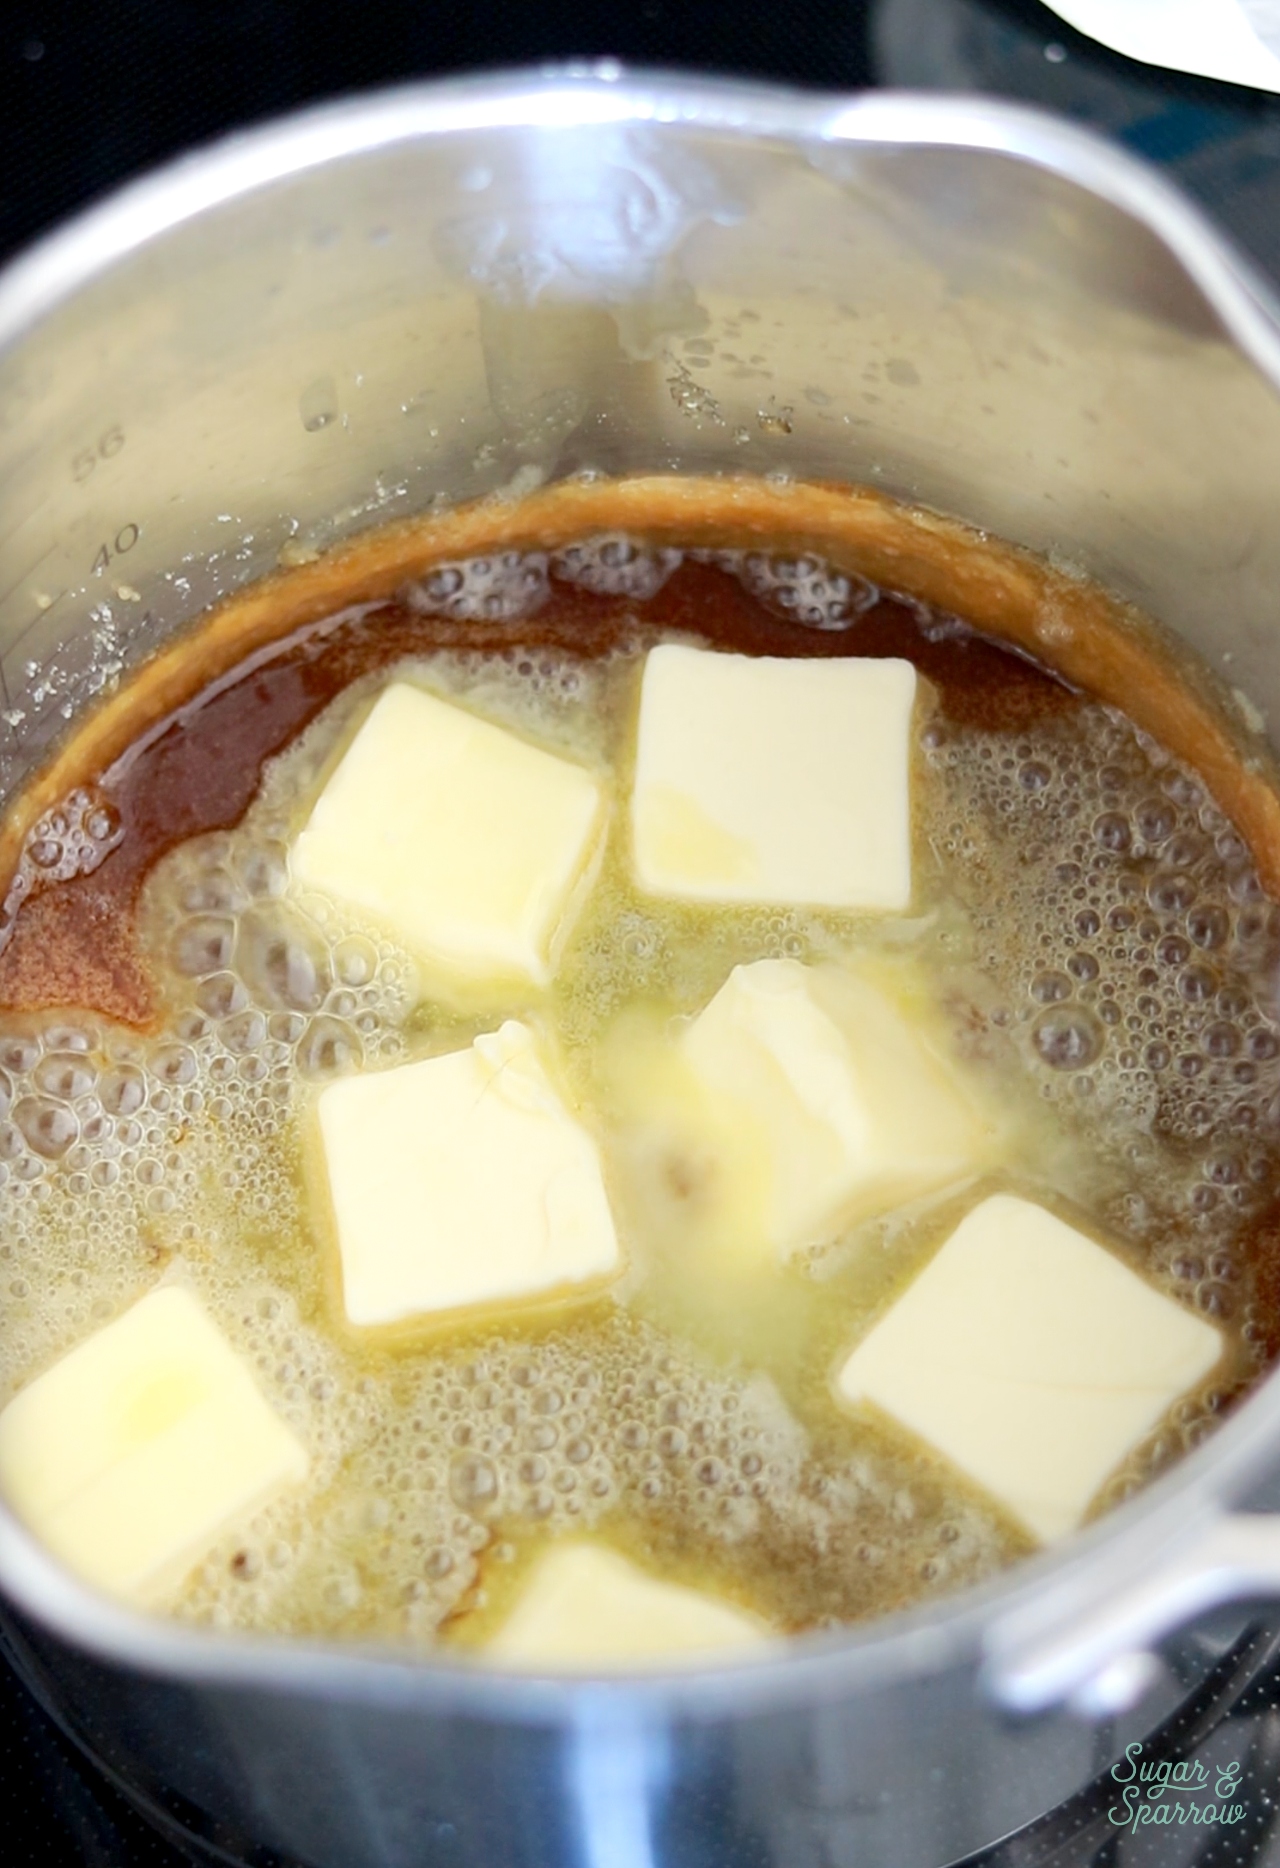
Step 2: Add the butter. Whisk the butter into the melted sugar until the mixture is uniform, about 2-3 minutes.

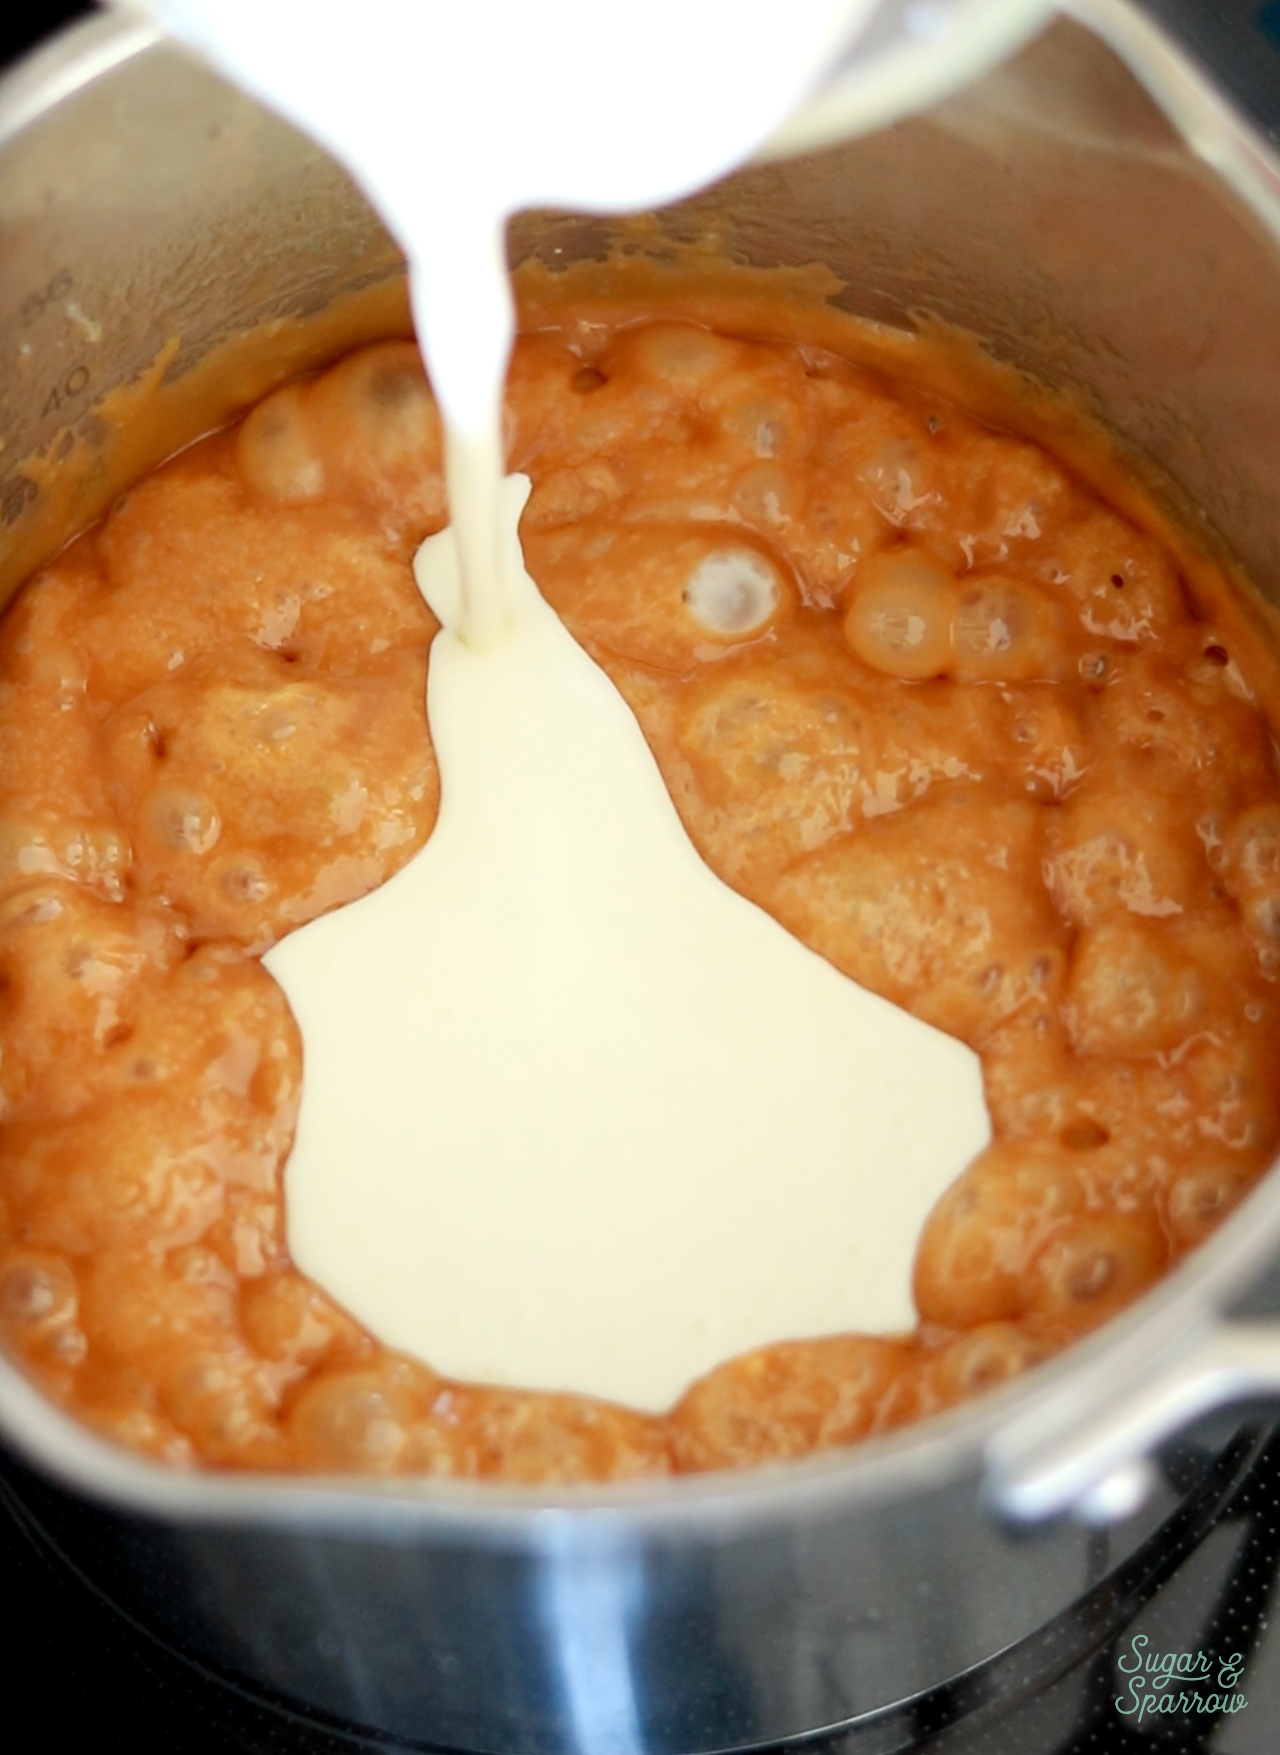
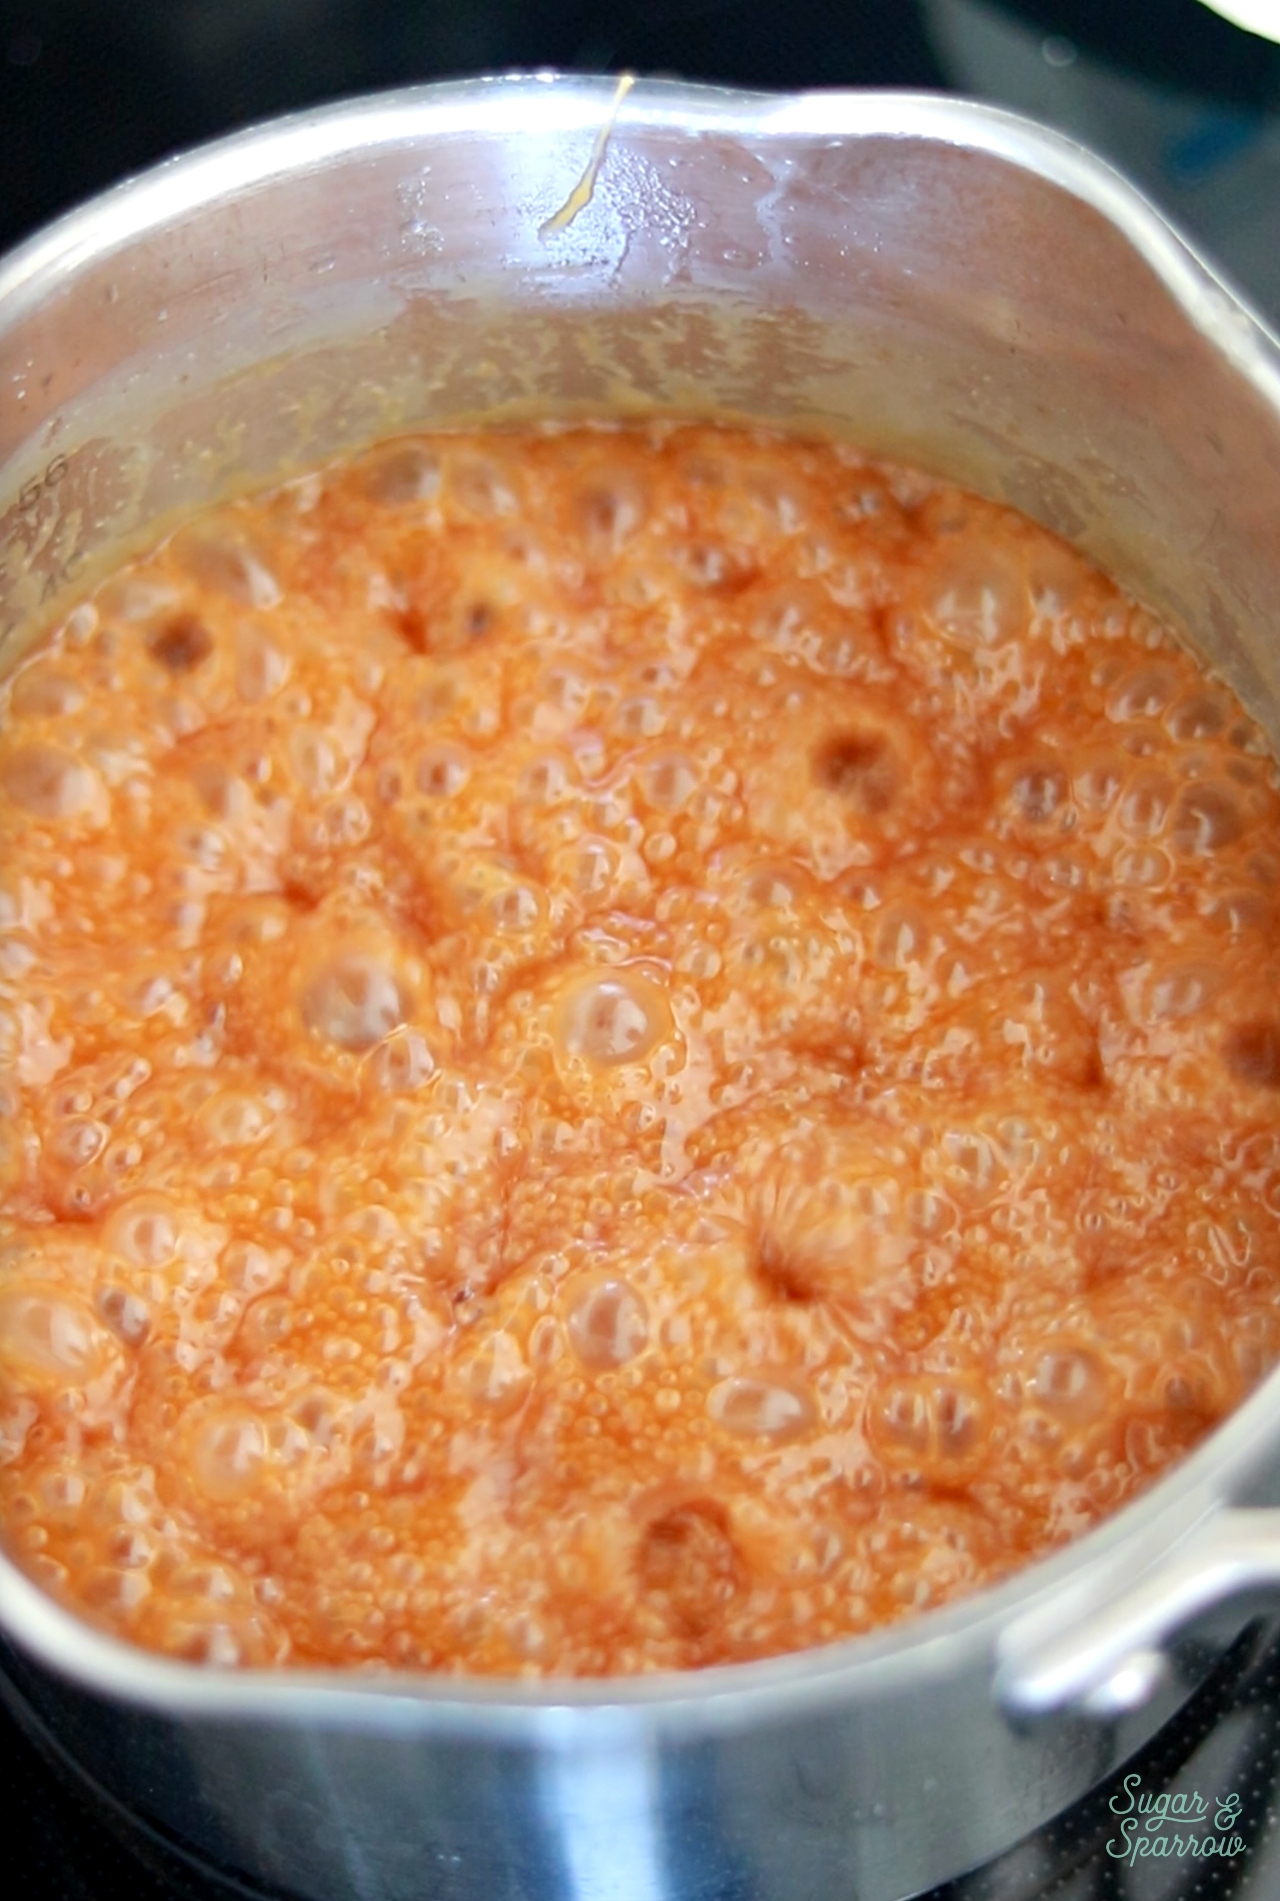
Step 3: Add the heavy whipping cream. Whisk in the heavy whipping cream, then let the mixture boil for one minute without stirring it.
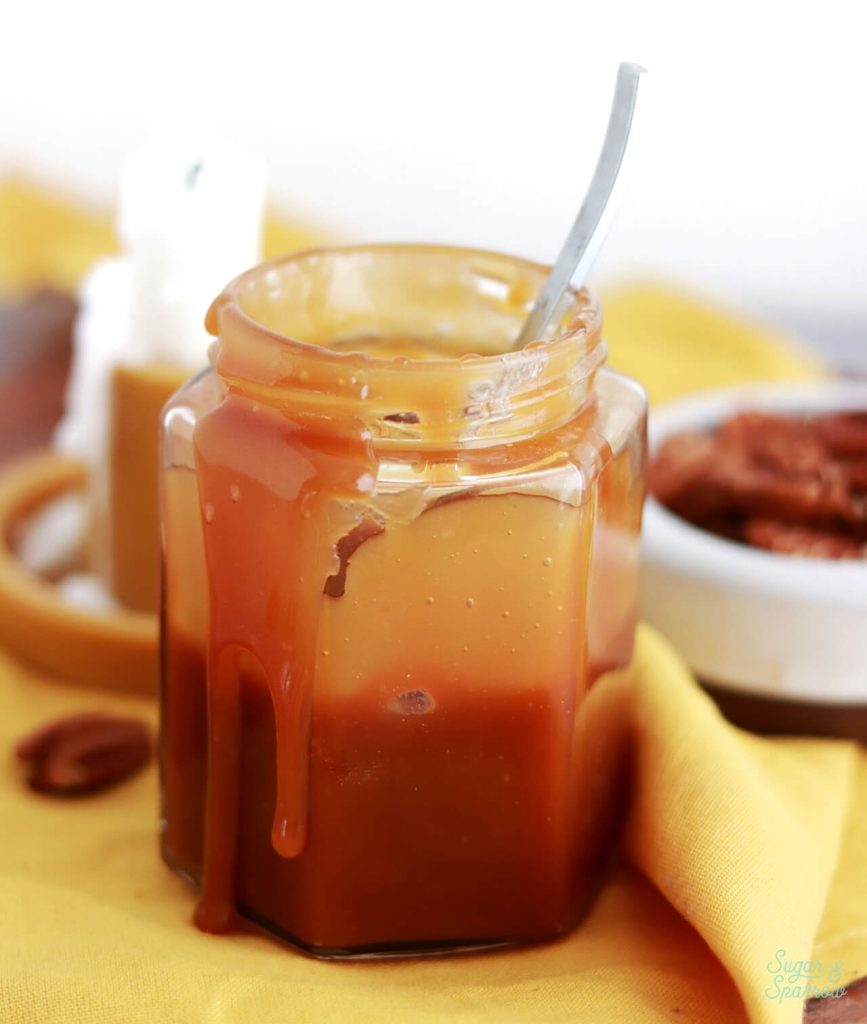
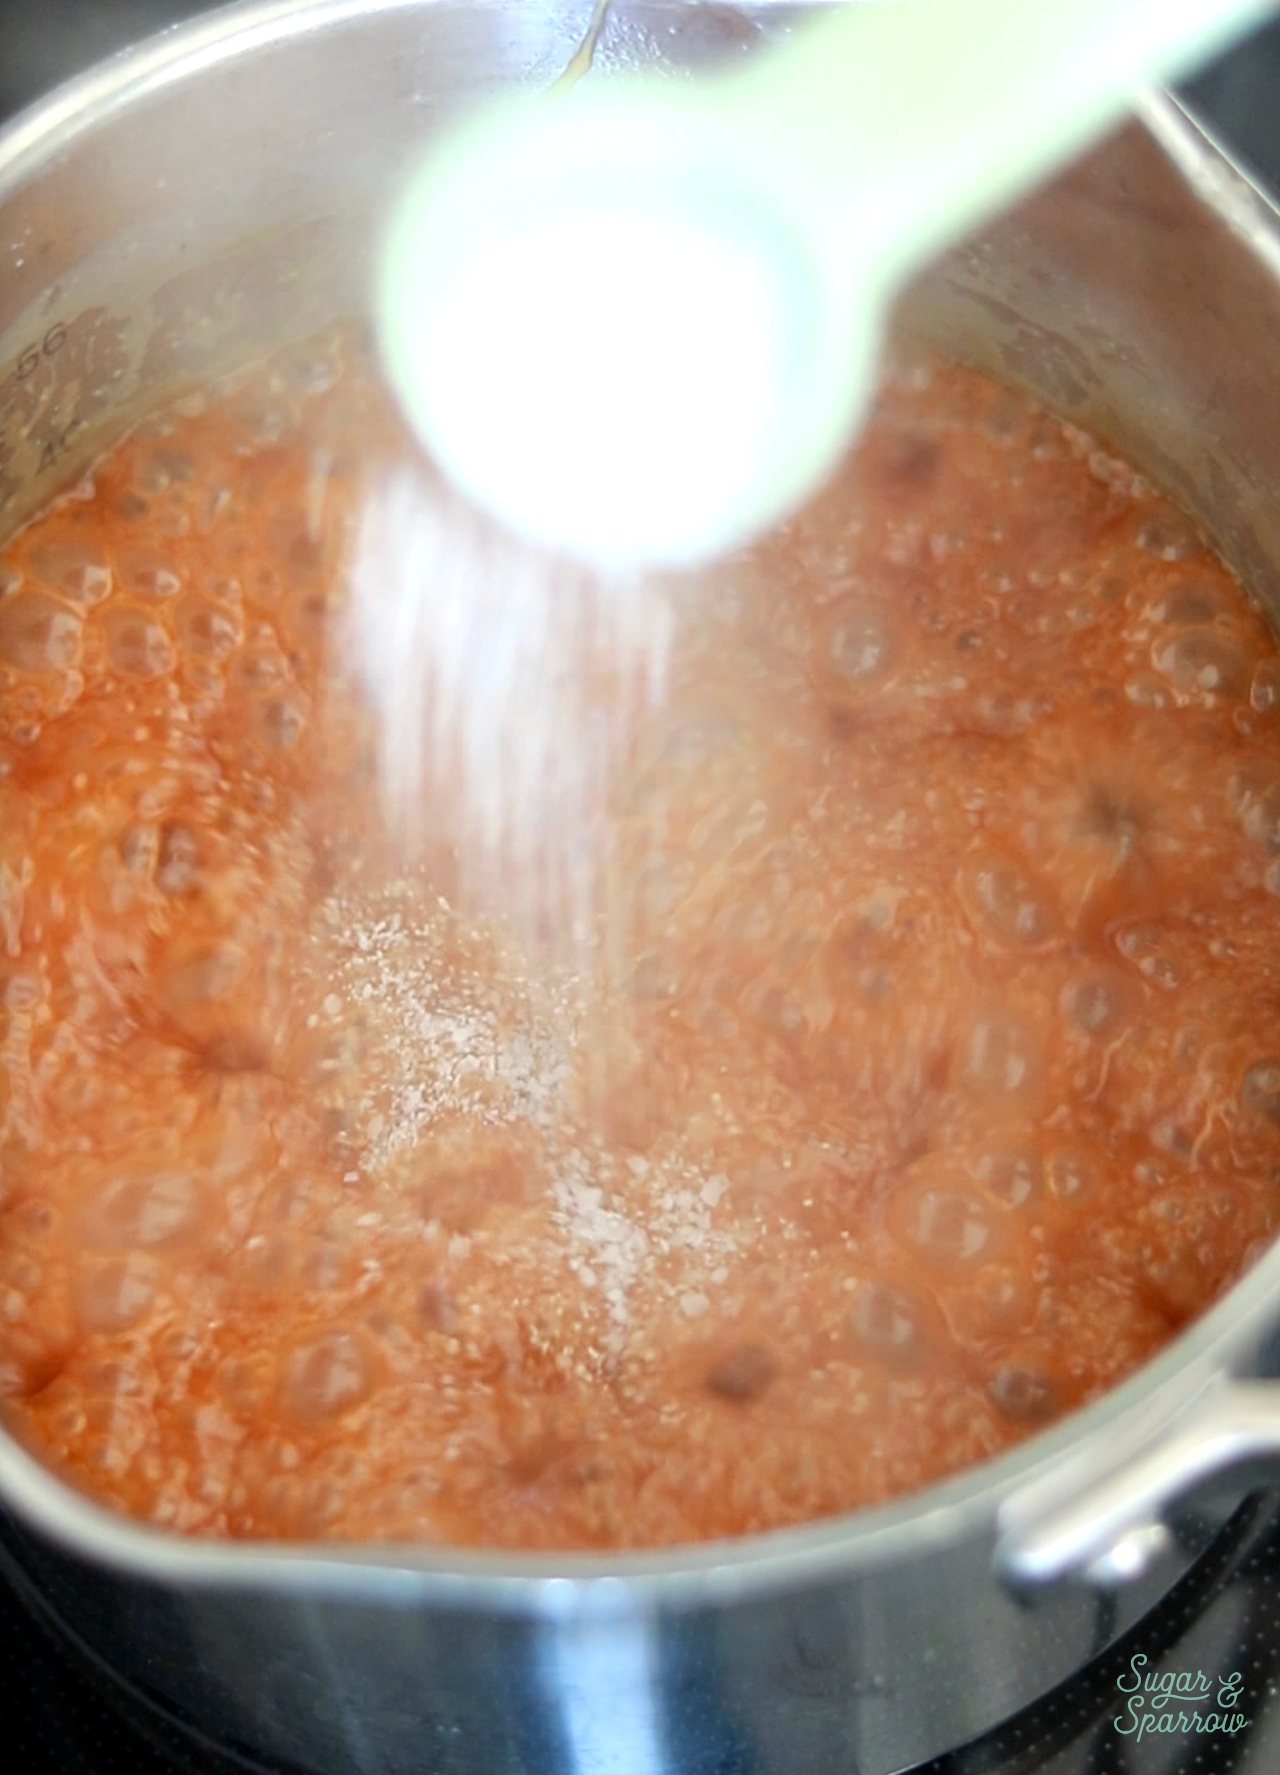
Step 4: Add the salt. Whisk the salt in and remove the salted caramel from the heat and let it cool to room temperature. It will thicken as it cools.
Salted Caramel Buttercream Recipe Video
Here’s a quick video of the process before you read all about it below:
PS: If you’re into recipe videos like this one, be sure to check out my YouTube Channel! You’ll find more of my favorite recipes, cake decorating tutorials, and so much more. Click the Subscribe button while you’re there so you never miss a new video!
How to Use Salted Caramel
Here are some of my favorite ideas + recipes to use with this salted caramel:
- Salted Caramel Apple Cake
- Chocolate Caramel Pecan Pie Cake
- Salted Caramel Buttercream
- Salted Caramel Banana Cake with Brown Butter Frosting
- Use it as an ice cream topping
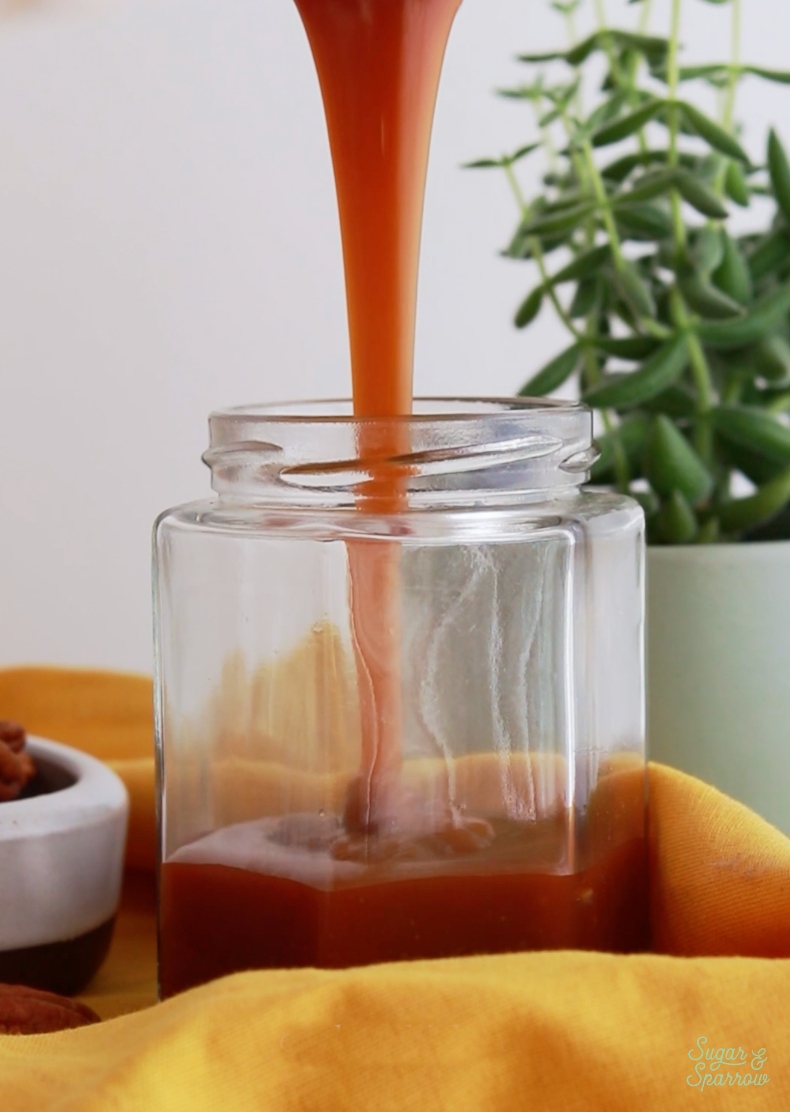
- Gift it in cute jars for the holidays
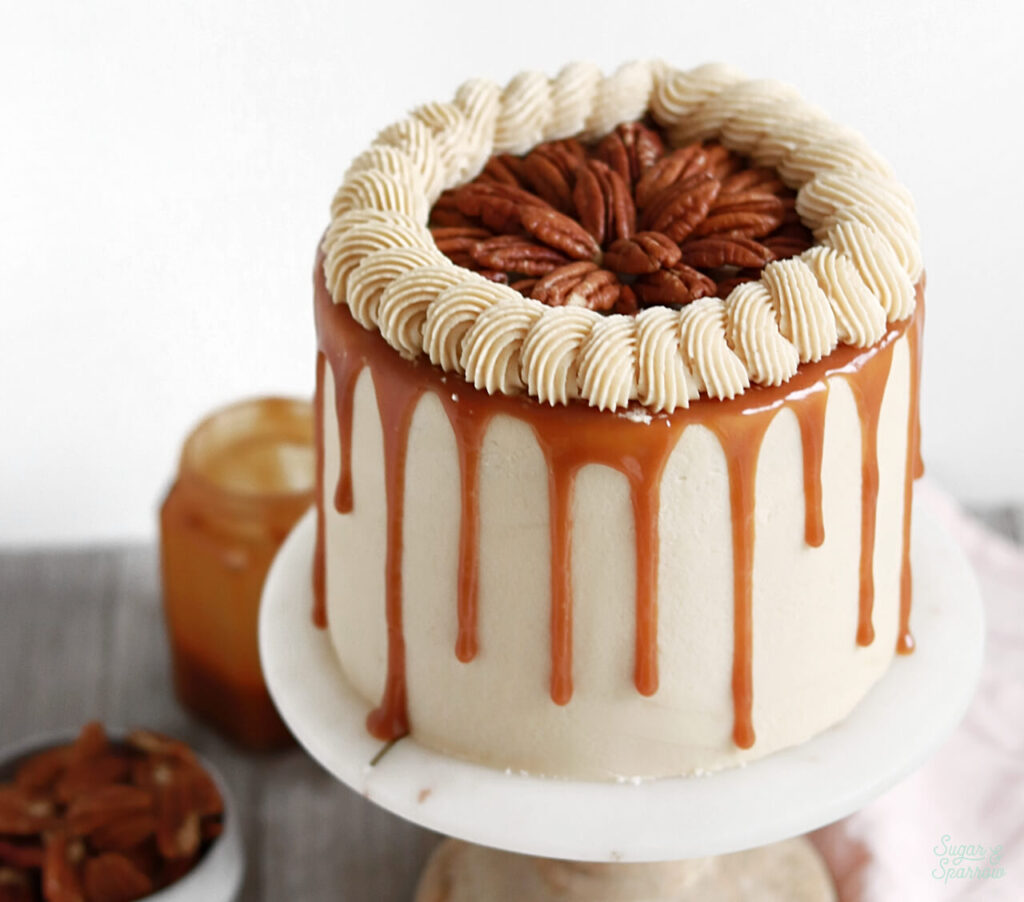
- Use it as a cake drip! Just make sure it’s slightly above room temperature to achieve the perfect drip consistency.
- Drizzle it onto cupcakes or in between cake layers.
- Use it as a dip for apples
I hope you love this salted caramel recipe as much as I do! Let me know if you make it in the comments below and feel free to tag @sugarandsparrowco on Instagram to show me a photo. I love to see what you create with my recipes!

Salted Caramel
Ingredients
- 1 Cup (200g) white granulated sugar
- 6 Tbsp (85g) unsalted butter, room temperature, cut into cubes
- 1/2 Cup (120ml) heavy whipping cream, room temperature
- 1 1/4 tsp kosher salt
Instructions
- Have everything pre-measured and ready to go (you’ll be constantly stirring). Place the sugar in a medium saucepan over medium heat and stir constantly with a wooden spoon, until it melts into an amber-colored liquid and no sugar clumps remain, 5-6 minutes.
- Reduce the heat to medium-low. Carefully add the butter (it will bubble up when you do) and use a whisk to combine it with the sugar mixture until the butter is fully melted and incorporated, 2-3 minutes.
- Add the heavy whipping cream in a steady stream while whisking. As soon as the cream is incorporated, let the caramel boil for a full minute before removing it from the heat and stirring in the salt.
- Let the caramel cool to room temperature* before using it in a buttercream recipe or as a cake topping. If you’re using it to drizzle over ice cream or warm baked goods, you only need to cool it slightly (20 minutes or so). It will thicken as it cools.


Oh my, this is absolutely delicious! So easy! This is the first time I made bbn caramel without burning it. If I can stop eating it I’m going to make the salted caramel frosting
Thanks for sharing
So happy you love the recipe, Melanie!!
How can I turn this wonderful sauce into soft caramel candies?
Hi Susan! I have actually never tried turning the sauce into candy, and I think since it is a sauce recipe the consistency would be too runny for candies. I would recommend this recipe for candies instead (only involves a few more ingredients and is just as easy!): https://sallysbakingaddiction.com/sea-salt-vanilla-caramels/
Hi,
I love this recipe super easy top make and tastes amazing… however I have a question when I want to use it as a drip for things its too warm and makes the buttercream melt, if I let it cool it gets too hard to be a drip and I would have to heat it to get our runny again but then have the same issue. Is there any way top make it remain runny at room temperature? Or am I possible doing something wrong and it should be like that at room temp? As I know in your post you mention you have used it for cake drips.
Hi Kirst! If the salted caramel is too thick at room temp you can always add a couple drops of room temperature water and stir it up until it’s drip consistency. I’ve definitely done that before and it works like a charm!
Hi Whitney!! My ABSOLUTE favorite flavor of “anything ” is salted caramel❣ I put your buttercream on a poke cake that has canned apple pie filling in it. (recipe is here on Pinterest). All I can say is, OMG❣
Oh my word, Shannon! That sounds AMAZING! Totally need to try that. So happy you loved the salted caramel buttercream!
Hi Whitney,
I love this recipe and have had great success with it on its own and in making your salted caramel buttercream. However, I am really struggling with the drip. I’m making a four tiered wedding cake next weekend that is supposed to have caramel drip on every tier, and my practice cakes are not going according to plan. The drip looks stunning when I apply it, but by the next morning, the drips have totally run to the base of the cake. (And the cake is in the fridge overnight.)
Worst case scenario, I can apply the caramel immediately before the wedding ceremony, but I thought it would work to do it ahead of time. Is 24 hours just the shelf like of drip? Or is there something wrong with my method? The buttercream on the cakes is chilled when I apply it, and the caramel is just slightly warmer than room temp. Is the caramel too warm? Or something wrong with the buttercream? I just want a lovely gorgeous drip and not a cake surrounded by puddles. I’m in wedding countdown mode so any insight you can give me would be SO appreciated. THank you so much!`
Hi Margaret! So happy you love the recipe and sorry to hear about your struggles with the drip. I’ve never had the caramel drip run after it’s set, and after reading about your method here’s what I do differently: 1) make sure the cake is chilled and also that the caramel is room temp, not even slightly warmer. If the caramel is too warm it will drip too much/far. 2) If the caramel is too thick at room temperature (aka not ideal for dripping), add a few drops of room temperature water and stir it all together to thin it out just slightly before dripping. 3) Be sure to do a test drip on the cake. If the drip stops completely before reaching the bottom, it shouldn’t run any farther and you should be able to keep dripping, assured that the drips will stay put 4) Make sure your refrigerator temperature isn’t too warm somehow. The ideal fridge temp is between 35 and 39 degrees. The caramel should set perfectly in that environment.
I hope any or all of that info helps!! Good luck with your wedding cake!
Thank you so so much for the extra tips, Whitney! My drips are completely stopped before hitting the bottom, but maybe the extra heat from my quick microwave burst is throwing it off after the fact. The water might just do the trick! Also, fridge temp…that could be part of it. I work in a scratch bakery and had been keeping the cakes in a frequently opened fridge. I’ve got one week to nail this! I’ll let you know how it goes! And thank you thank you!
Do you let the butter melt and boil for a full minute then add the whipping cream or do you melt the butter, adding whipping cream then let it boil to a full minute?
I’d appreciate a response.
Thank you for your time.
Hi Ann! The butter should be fully melted and incorporated with the sugar mixture (takes 2-3 minutes as detailed in step 2 of the recipe) before adding the whipping cream, after which you let the mixture boil for a full minute. Hope that helps!
Hi! I just made this recipe! Looks delish, but I have a question…. do you just let the mixture with the whipping cream boil on its own or do you stir it while it’s boiling? I didn’t stir while boiling, but I was nervous that it would burn. Thank you!
Hi Marie! Yes that’s correct, the mixture should boil for a full minute without stirring after you add the whipping cream. I hope you loved this recipe!
Hi Whitney, Love your recipes! We can tolerate butter but I don’t buy or use cow milk/cream. I would love to make this using the butter but need a suggestion for an alternative that you think would work instead of heavy cream. I’ve made things before with coconut milk and don’t care for the taste it adds to things like this. Do you think homemade cashew cream (or another nut milk) that has the consistency of heavy cream would work or would it curdle? I am going to use this sauce to make your caramel buttercream. I’m a little concerned to experiment due to waste because the ingredients we buy (grass fed, pastured etc) are hard to find where we live and suuuuuper expensive. Thanks in advance!
Hi Holly! So happy to hear you’re loving the recipes! Since I’ve never tried substituting the heavy whipping cream with anything else, I’m not confident that it will turn out with something like cashew cream, etc. After searching for dairy free/vegan versions it looks like a lot of bakers substitute with coconut milk or almond milk, so it seems worth a try with cashew cream but I can’t guarantee that it will turn out since I haven’t tried it. You can always search for a caramel recipe that’s vegan/dairy free and use that in this salted caramel buttercream recipe though. Let me know what you end up doing! I’m curious now!
could you use sea salt bits instead of kosher salt? pls reply asap
Hi Jasmine! I have tried it with sea salt and I prefer the taste of kosher salt, but the recipe does work with sea salt. Hope that helps!
This sounds wonderful. I do have a question. Are you supposed to continue to stir after you add the whipping cream and let it boil? Thanks
Hi Mary Jo! After adding the whipping cream, let it boil for a full minute without stirring, then stir in the salt after that
Just tried this recipe, it’s my first time making caramel sauce ever…! I always dread melting sugar… But I found this recipe to be very helpful with instructions! Thanks!
One question: everything went smoothly untill I decided to scrape the crystallized sugar off my wooden spoon after the rest of the sugar had melted. Melting those bits took forever…also, I ended up with a line of crystallized sugar along the pot wall…do you have any tip or advice on how to avoid that?
Hi Linda! So happy you enjoyed this recipe and found it to be easy! I wouldn’t worry about the crystallized sugar on the spoon/pot wall. It happens to me every time and never seems to affect the overall outcome of the recipe.
use a pastry brush dipped in water to “rinse” them off as your caramel is cooking. It should also prevent it from happening if you do it throughout the boiling process.
Same as when you are making hard candies
Just a wonderful caramel sauce, my go to forever more!!
So happy to hear that, Wendylou!
Hi Whitney, can you use brown sugar in this recipe instead of white?
Hi Pamela! I’ve never tried this recipe with brown sugar before, but I know that some caramel recipes call for brown sugar instead of white so it’s totally worth a try. If you decide to substitute brown sugar let me know how it goes!
Hi! I just made this sauce and it’s delicious. Mine has hardened into a hard candy. What consistency should it be, and what might I correct for next time?
Hi Vicki! I’ve never had it harden before – it should be soft enough at room temperature to dip a caramel apple in. My guess is that either the sugar might have been cooked for too long, the stovetop was too hot, or the heavy whipping cream was omitted. You have to really watch it and make sure you move on to adding the butter as soon as all the sugar clumps have melted (stirring constantly), make sure that the heat is on medium-high and not fully high, and be sure to add all of the ingredients at the specified time. At what point did it harden?
I experienced the same thing! When it was freshly made, it’s nice and runny. Once it’s turned into room temperature, it’s hard like candy. I tried microwaving it, the oil somehow separated from the sauce. Any idea why?
Hi Rosa! If the butter is separating from the sauce after settling that means it wasn’t fully incorporated in the cooking process. When you add the butter to the melted sugar, it will boil rapidly, but you have to whisk it rapidly until it is fully melted and combined with the sugar mixture. The good news is, even though your butter and sauce separated and your caramel is firm, it’s easy to bring back by microwaving it in 10 second increments until it’s runny again, then whisking it all together into a uniform mixture.
Mine was great but now that it is in the refrigerator it’s hardened as well. I can’t scoop it out of the container easily. It’s like the texture of a caramel chew…. any advice? I followed the recipe to a T. The only thing that was different is you said melting the sugar would take about 6 mins but mine took about 12. I did add my sugar to a cold pot though so I think everything was just heating up. It was about 6 mins from when it started getting clumpy until it was fully melted. Any advice is much appreciated! I was going to bring carrot cake with caramel filling and cream cheese frosting to an wasyernparty tomorrow!
Hi Torah-Yah, the caramel will be hard when it’s cold. To bring it back to gooey caramel consistency, you’ll need to microwave it in 15 second increments, stirring after each time, until you’ve reached your ideal consistency.
For caramel apples do we dip right away?
Hi Shamonte! For caramel apples, let the salted caramel come to room temperature before dipping. Let the excess caramel drip off the apple and place each the dipped apples on a sheet of wax paper, then chill them in the fridge for about 15 minutes to set.
Tha I you so much I was going to ask the same exact question.
Fantastic! Thanks so much for being so generous and sharing it
Added about an extra tablespoon of cream to make sure it was soft… and also used it in your salted caramel buttercream icing recipe as directed – absolute hit with my banana cake! fab recipe thank you!
Hi Selena! Why have I never thought to pair banana and caramel?! That sounds like pure heaven. So happy you loved the recipe!
Can you freeze it?
Hi Kendra! Although I’ve never tried it before, I hear you can freeze this recipe in an airtight container for up to three months. When you’re ready to use it, thaw at room temp and then reheat it slightly in the microwave before using. Hope that helps!
I use the same recipe! Has never failed me. It’s delicious!