
Ever since I shared this recipe and tutorial for semi-sweet chocolate ganache drip cakes, I’ve gotten so many questions about making white chocolate ganache drip cakes. I’m so excited to share these tips with you because I know how finicky white chocolate ganache can be if you don’t get the ratio and timing just right. In fact, the first time I made it (using a super popular recipe that won’t be named) the ganache was so thin and runny that the drips just ran down the side of the cake and pooled at the bottom, even after cooling it to below room temperature! I have since experimented with white chocolate ganache to find the perfect ratio of chocolate to heavy whipping cream, and have found some handy tips for making it extra white and beautiful.
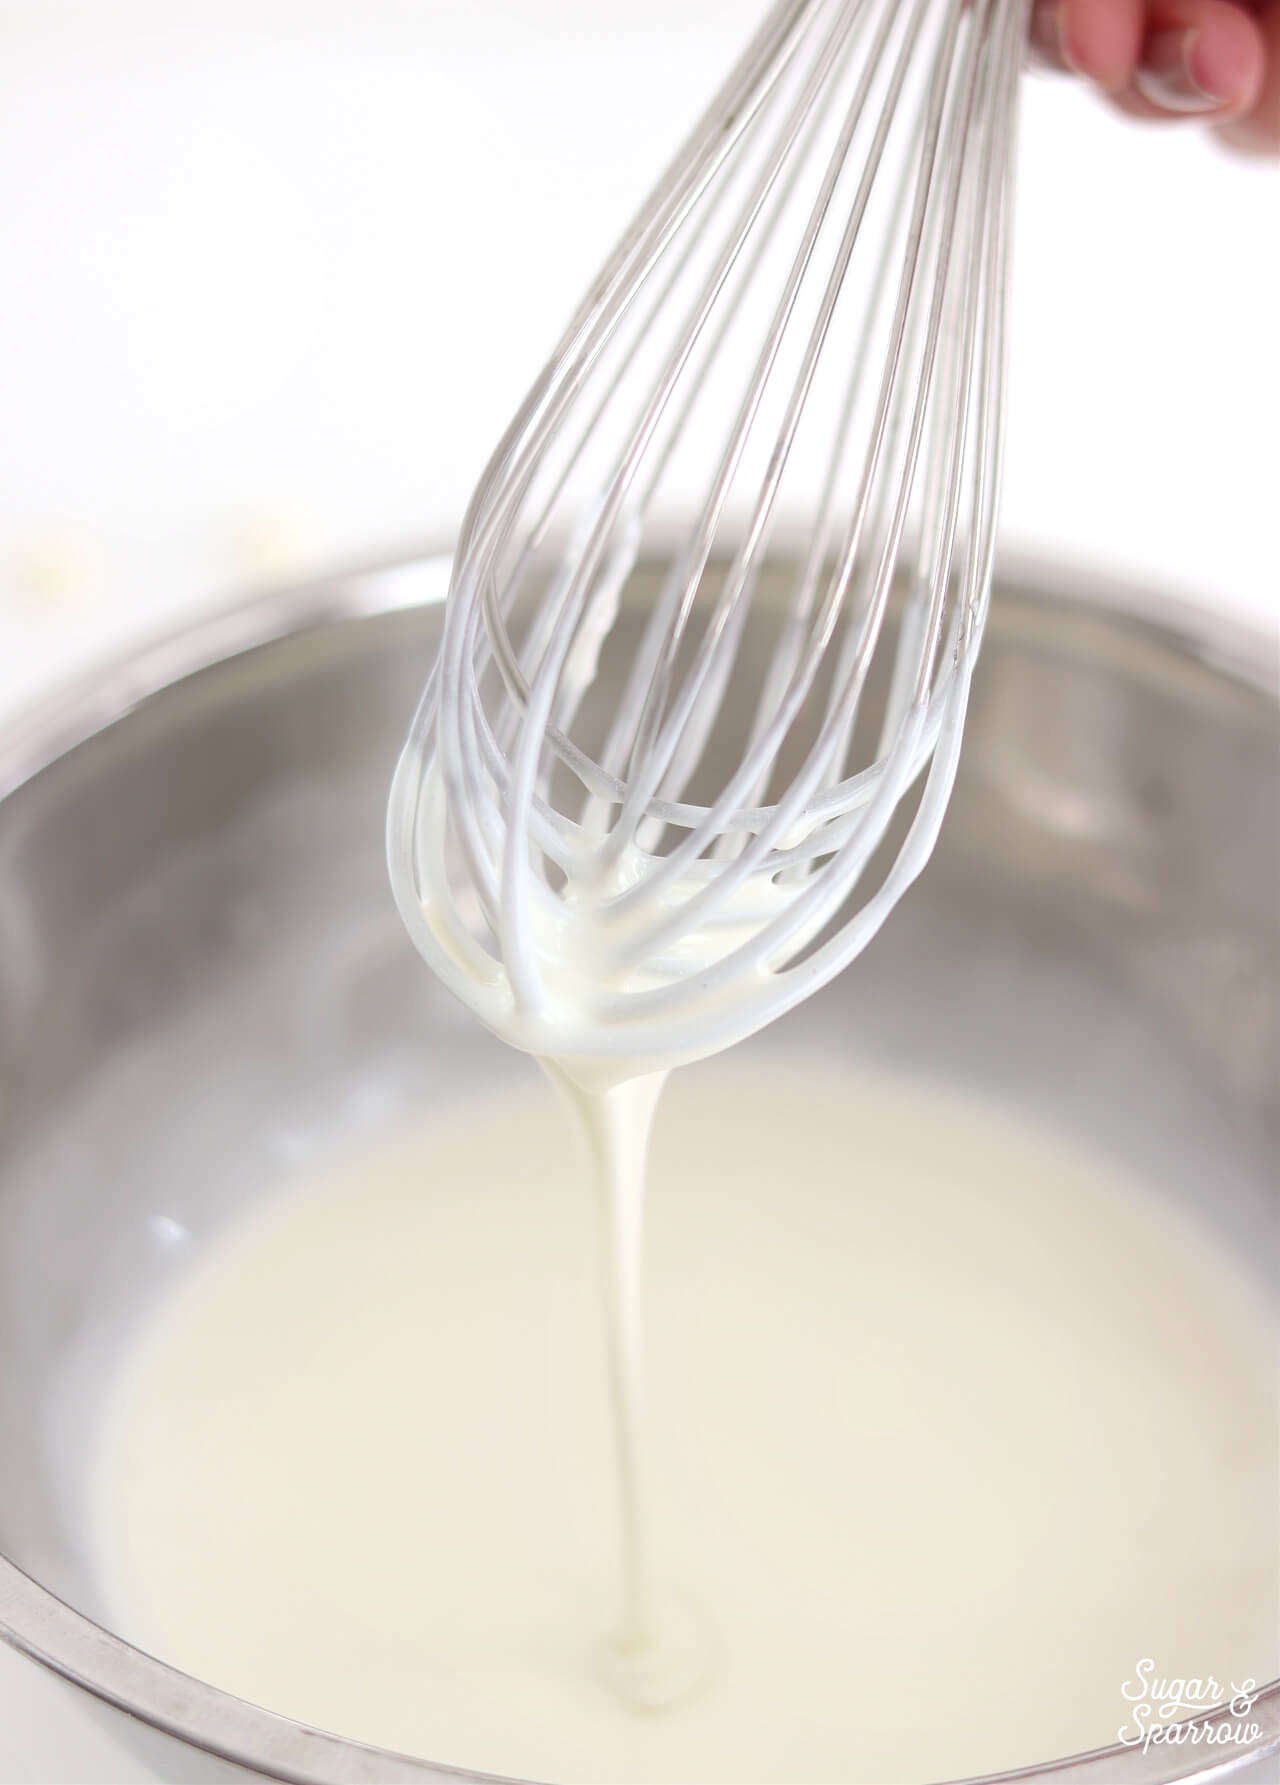
The first thing you need to know about white chocolate is that it’s not a true chocolate, meaning there’s a lack of chocolate solids and therefore doesn’t behave the same as semi-sweet, milk, or dark chocolate. Instead, it’s made from a mixture of sugar, cocoa butter, milk products, vanilla, and some sort of fatty substance called lecithin. Although I’ve never tried making white chocolate ganache with anything fancier than Hershey’s white chocolate chips, you can feel free to go as branded or non-branded as you want. Generic white chocolate chips or a white chocolate bar chopped into small pieces will work just fine.
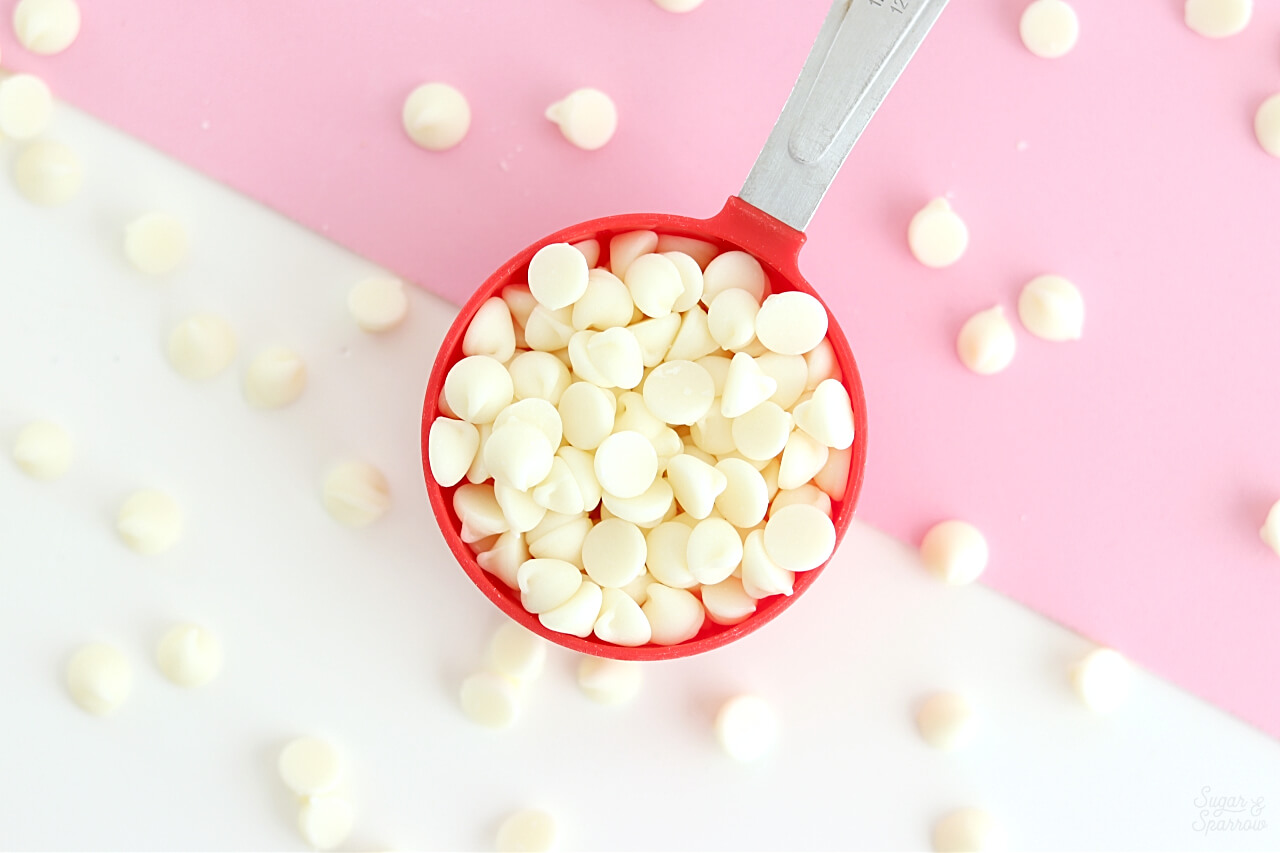
With the absence of chocolate solids, the ratio of heavy whipping cream to white chocolate chips is going to be different than other ganache recipes. I’ve found a 3:1 ratio to be absolutely perfect (exact recipe below), meaning three parts chocolate to one part heavy whipping cream. Just bring the cream to an almost-boil, pour it over the white chocolate chips, whisk it together until it’s uniform, and you’re good.
Here’s a detailed video of the recipe, and you can continue reading below for all of my tips on working with white chocolate ganache:
If you have yet to check out my YouTube channel, head there to see more cake recipe videos, decorating tutorials, and my entire Cake Basics series in video format. Hit the subscribe button while you’re there so you never miss a new video!
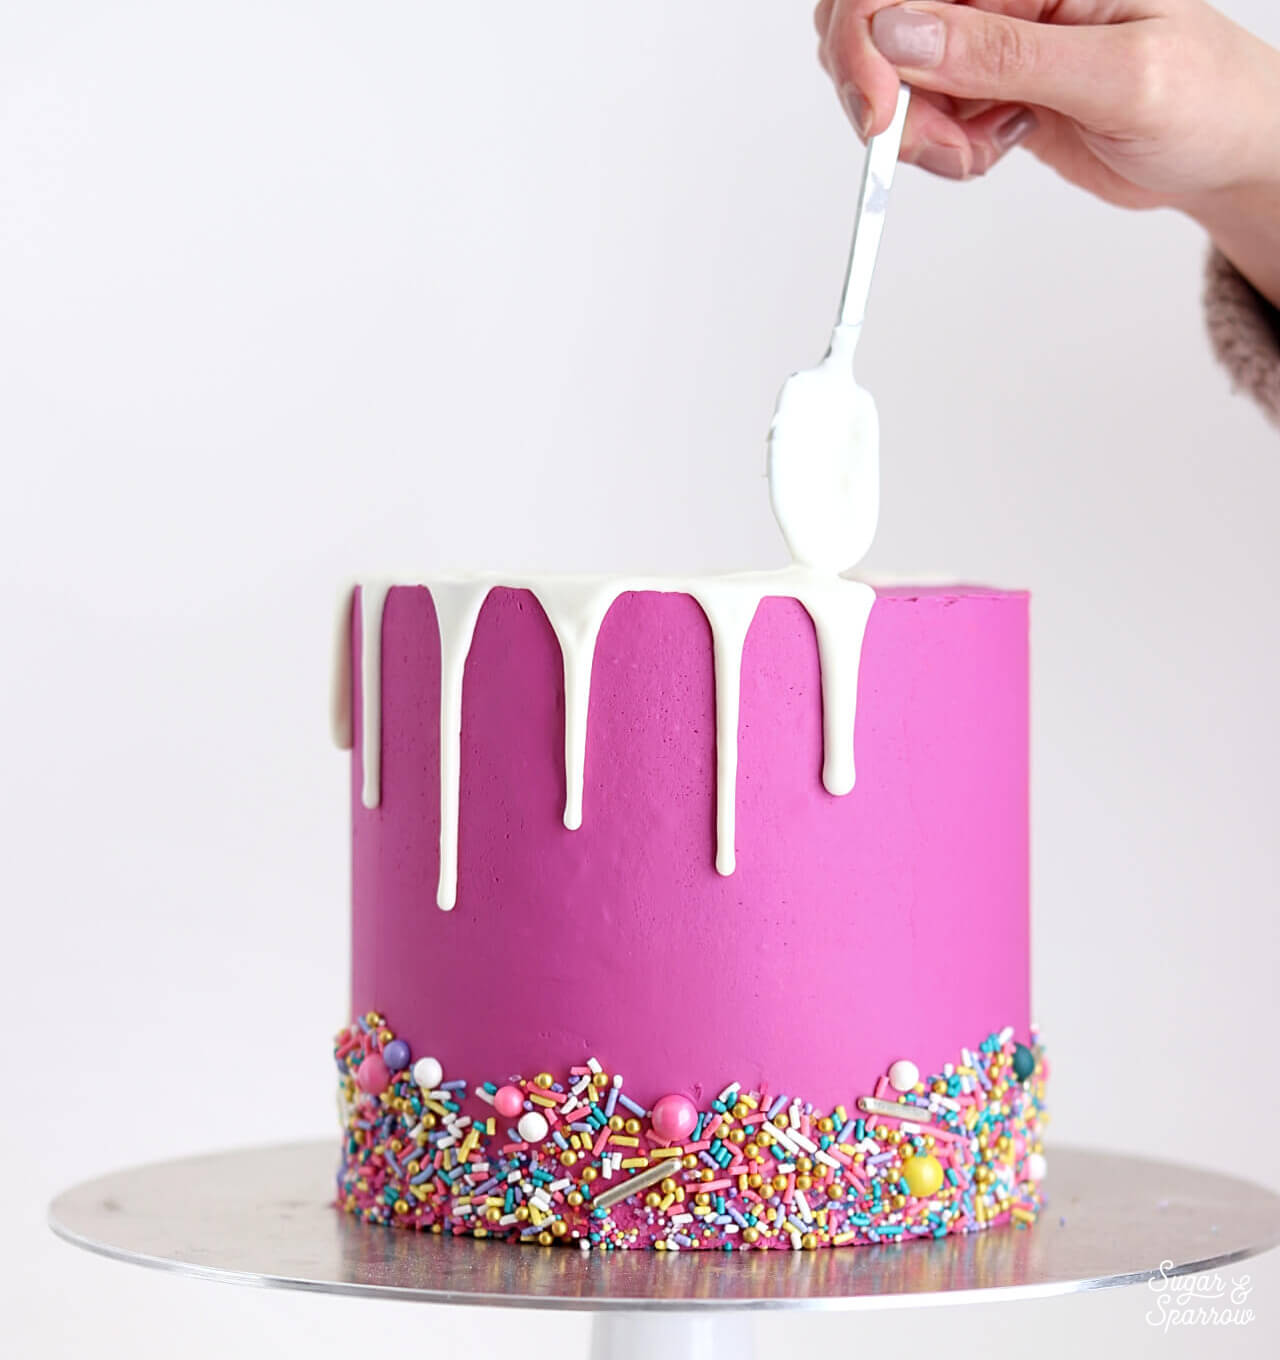
White Chocolate Ganache For Drip Cakes
Ingredients
- 1 Cup (190g) white chocolate chips or bar, chopped into bits
- 1/3 Cup (80ml) heavy whipping cream
- 1/2 tsp food color gel or whitening gel (optional)
Instructions
- Chop the white chocolate chips or bar as finely as you can and place it into a heat resistant bowl (glass or metal).
- In a saucepan over medium-high heat, warm heavy whipping cream until it just starts to simmer, whisking constantly. I always look for small bubbles forming around the edge and a soft boil starting in the middle. When it reaches this stage, pour the cream over the white chocolate.
- Whisk together until the ganache is uniform in consistency and there are no bits of chocolate left on your whisk. It can help to hold the bowl over the residual heat from the burner (once it's turned off) if you're having a hard time whisking everything together.
- Whiten or color the ganache (optional), then cool ganache at room temperature for anywhere from 5-20 minutes (depending on your kitchen environment), or until the ganache itself is slightly above room temperature. See the instructions for dripping a cake with white chocolate ganache + troubleshooting tips in the rest of this blog post below.
Notes
Tip 1: Whiten Your Ganache If It’s Too Yellow
The thing about white chocolate chips is that they aren’t exactly as white in color as they seem to be. To whiten the ganache, I swear by Americolor Bright White food color gel. It works like a dream every time, and you only need about half a teaspoon per batch of white chocolate ganache to get a perfectly bright white.
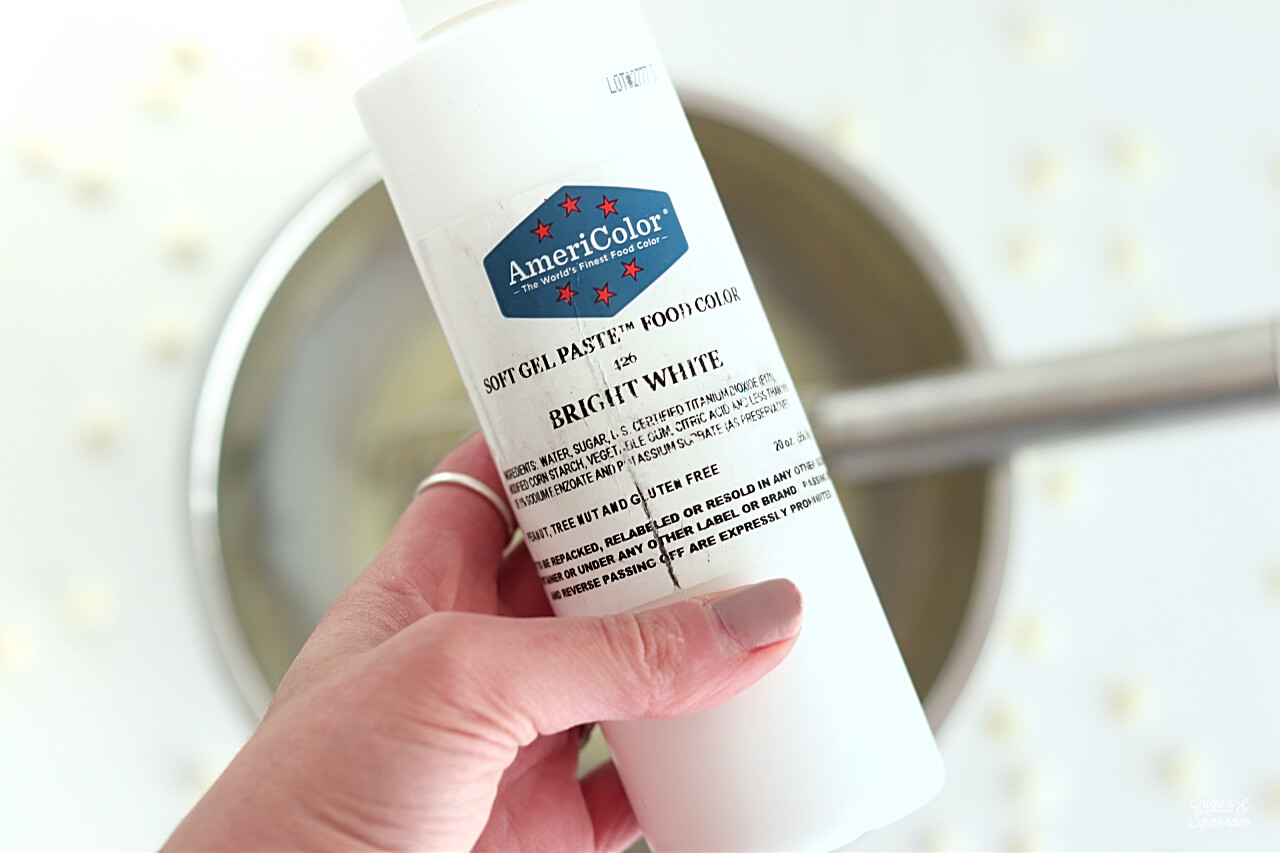
Some bakers like to use white candy melts in place of white chocolate chips to make white ganache, but I don’t like the taste of candy melts. So the whitening method is my favorite option.
Tip 2: Be Patient With The Cooling Process
Once you’ve whisked the ganache together, it’s crucial to let it cool on your countertop until it’s room temperature, about 20-30 minutes depending on how cold your environment is. Trying to speed up this process by placing ganache in the refrigerator doesn’t usually end well – I’ve found that it cools unevenly, leading to thick, globby drips.
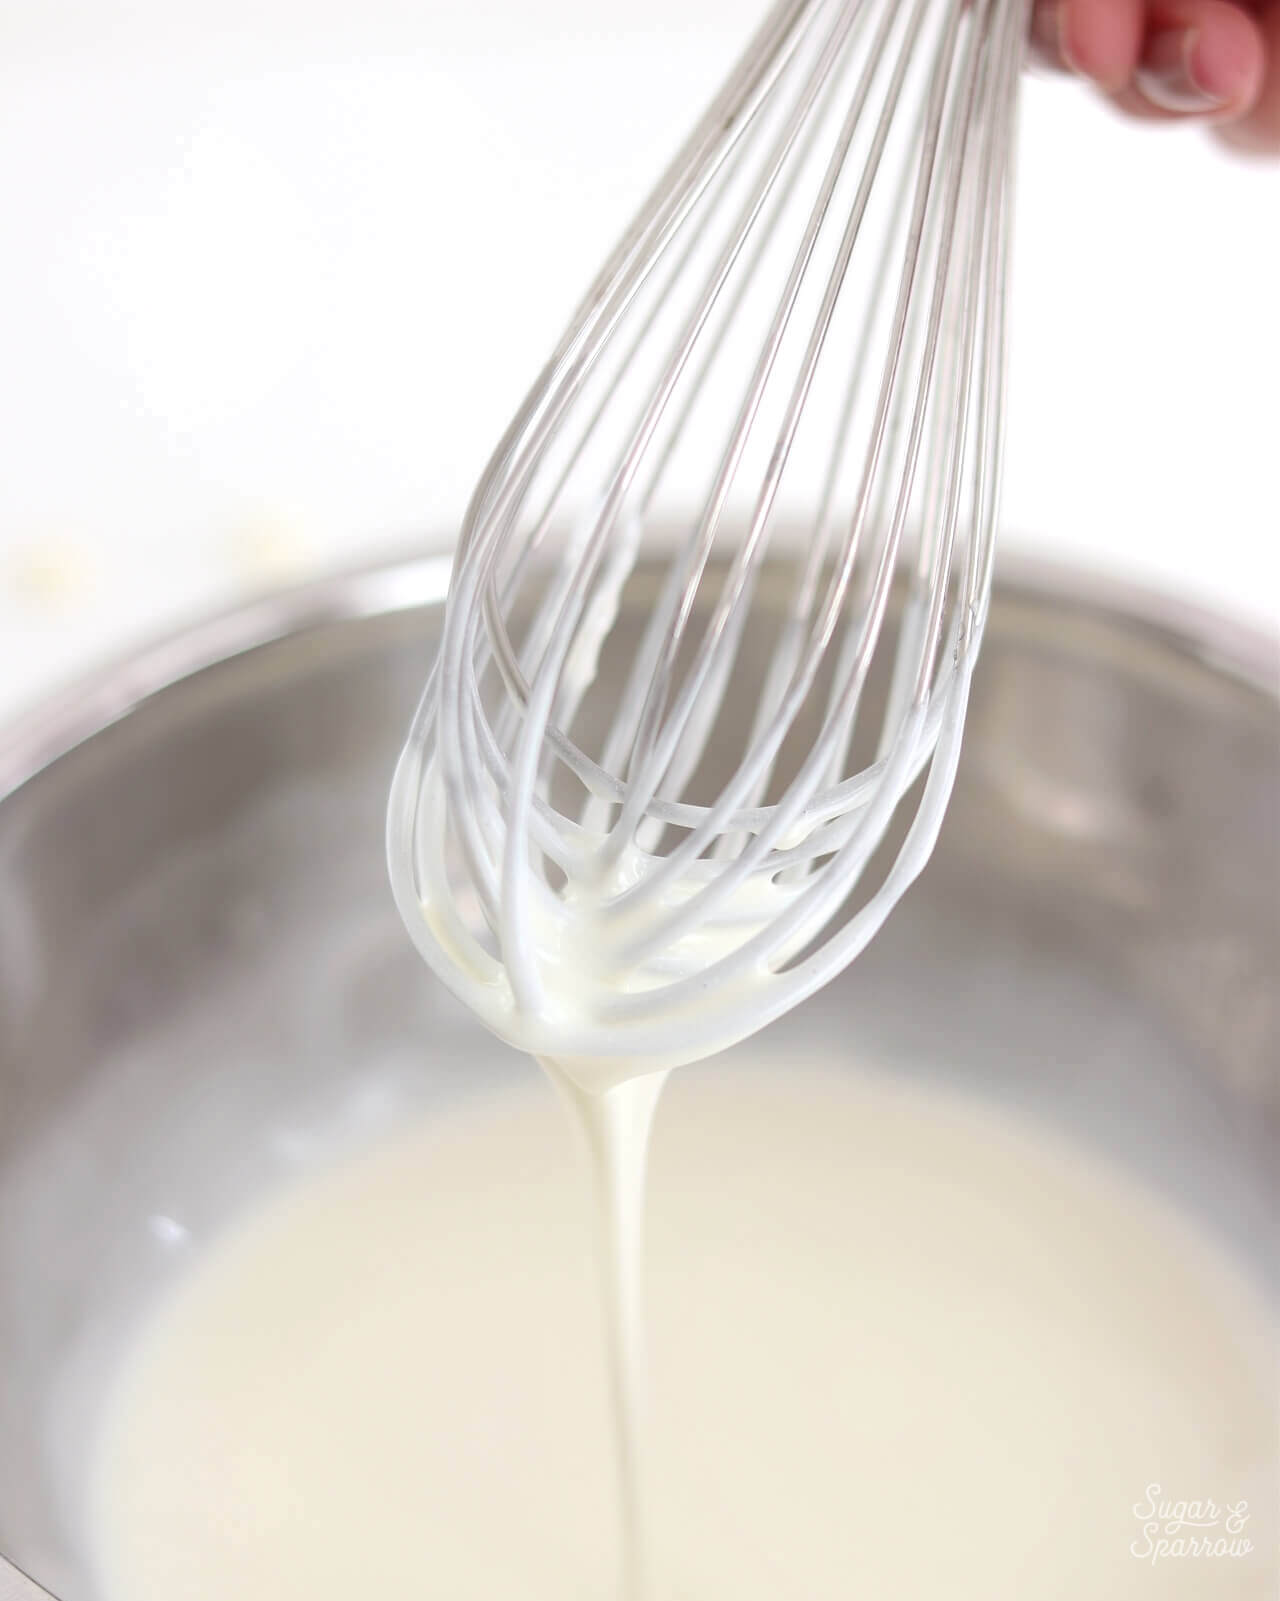
Cooling in the fridge also leads to the urge to stir it too often. Ganache (especially white chocolate!) does not like to be stirred too often, and the end result can mean that your whipping cream starts to separate from the chocolate. You’ll know that this has happened because the ganache will look grainy and dull, or even separated like oil and water. To fix situations like these, you’ll need to reheat the ganache to 92ºF to melt the fat crystals and re-whisk to bring it back together.
Tip 3: Chill Your Buttercream
There’s a science to this tip. Since molecules move more slowly at cooler temperatures (and warp speed at higher temperatures), it makes a lot of sense that you can better control how far the white chocolate ganache drips when the buttercream is chilled. Make sure that after you do your final coat of buttercream, you chill the cake in the refrigerator for at least 30 minutes.
Tip 4: Start With A Test Drip
When your buttercream is nice and chilled, do a test drip by letting the ganache run down the side of your cake. If it travels rapidly and pools at the bottom, your ganache is too warm. Continue to cool the ganache for another 5-10 minutes and try your test drip again. If it’s globby or doesn’t travel very far down the side of the cake, it’s too cold. Reheat the ganache in the microwave for about 10 seconds, stir, and try again. Repeat the reheating process as needed until you get the perfect consistency.
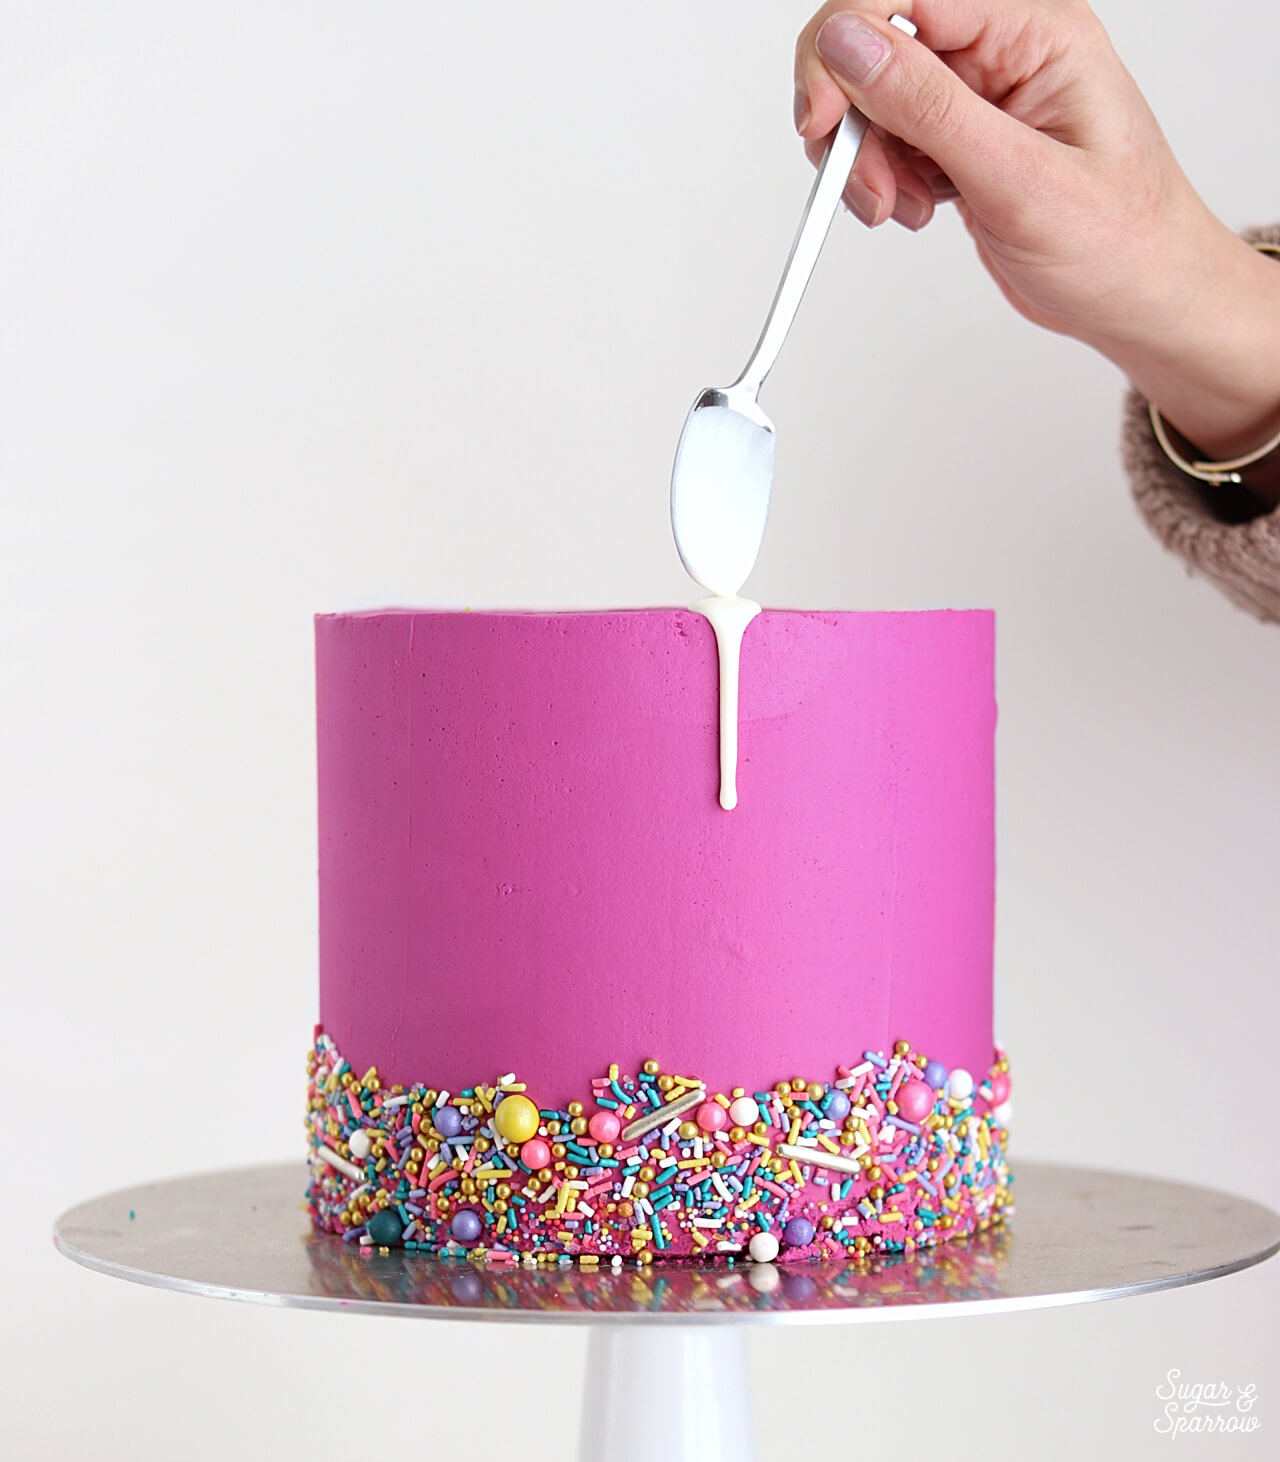
The good thing about a test drip is you’re able to see how the ganache will behave. That way you don’t have to commit until you like what you’re seeing.
Tip 5: Drip The Sides Before Filling In The Top
Whether you’re using a spoon to create drips (like I am!) or you’re into the squeeze bottle method, it’s best to drip the sides of the cake before filling in the top. Although it might be tempting to just dump all of the ganache on the top of the cake and let the drips fall where they may, you’ll have more control over the length of each drip by starting with the sides (after a successful test drip of course).
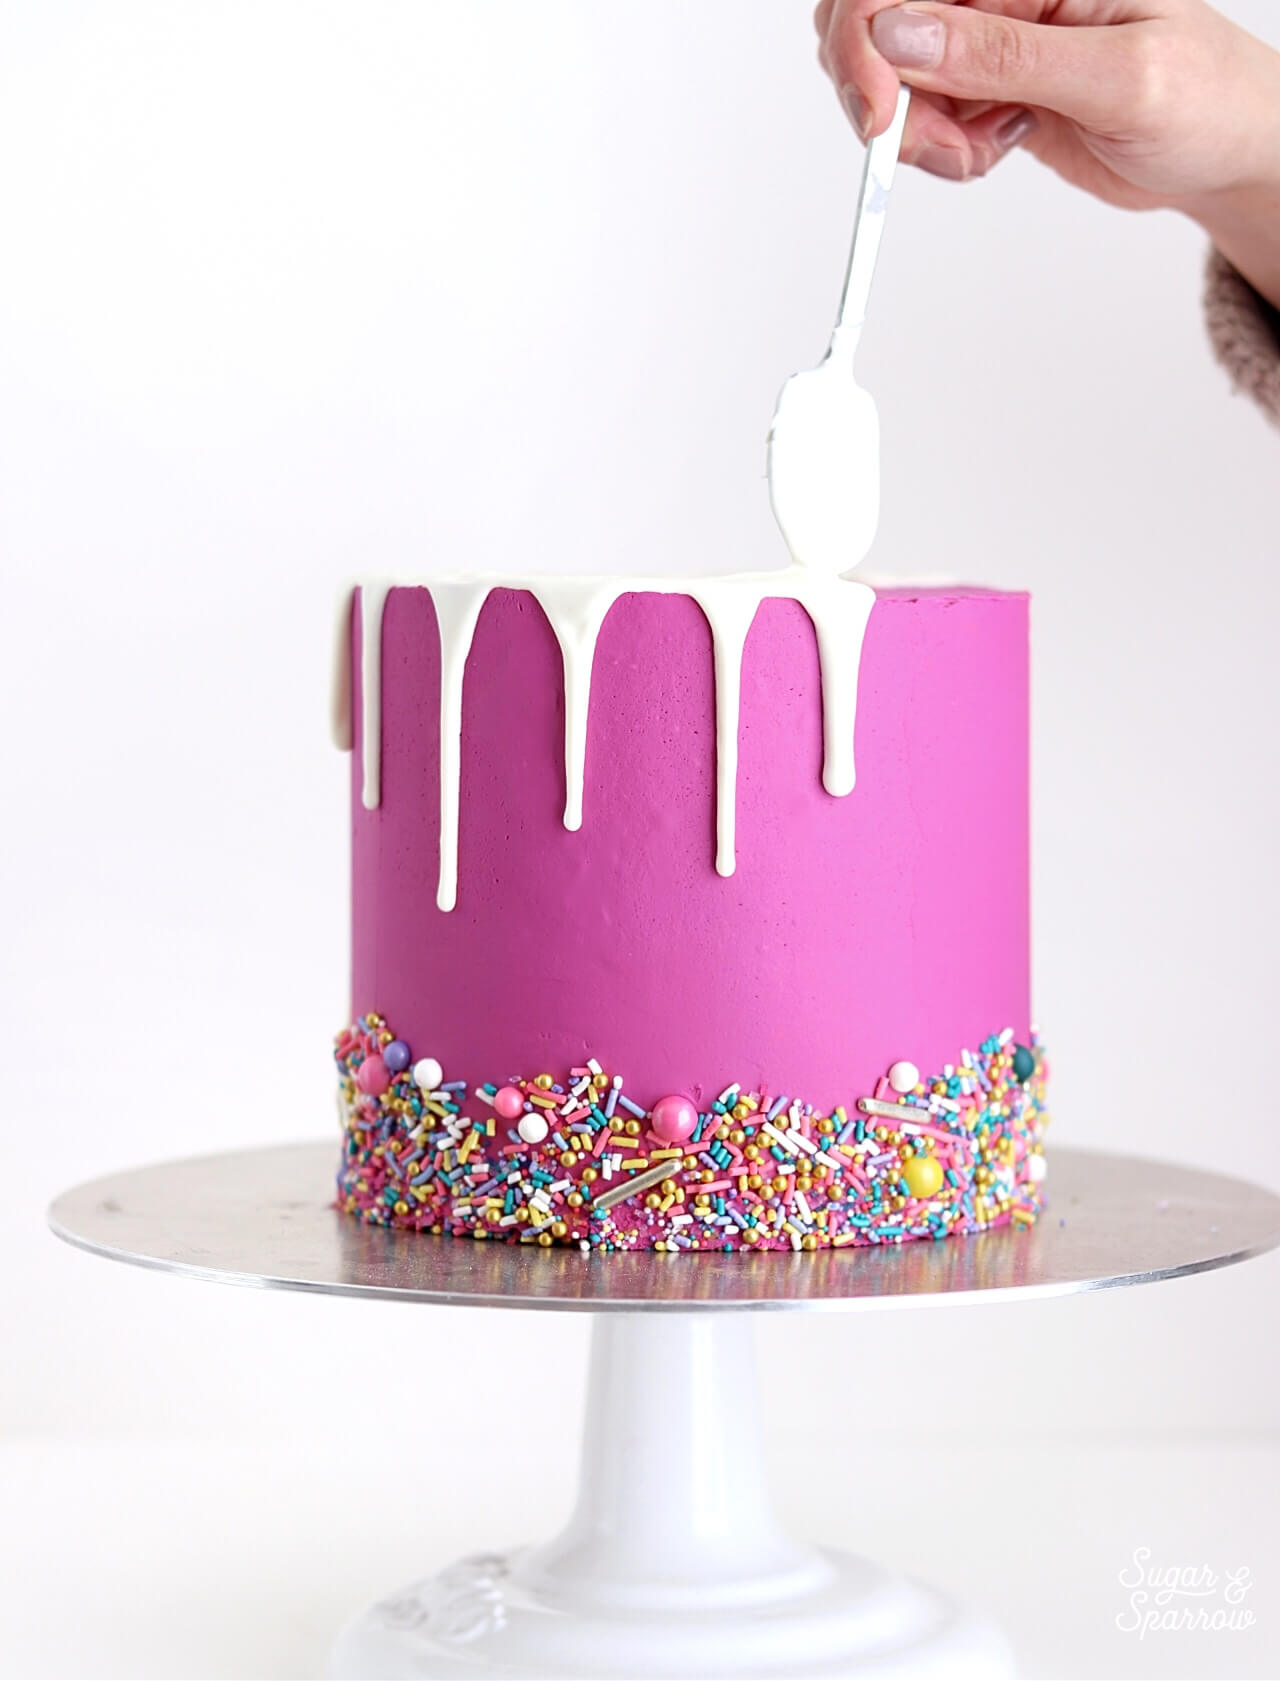
Try not to add too much ganache to the top when filling it in, because if you add any more to the drips you’ve created, it will make them travel farther than you’d like. Instead, try to use just a little ganache and spread it so that it just touches where your drips begin. The ganache on the top should self-level a bit, so don’t worry too much about getting it super smooth.
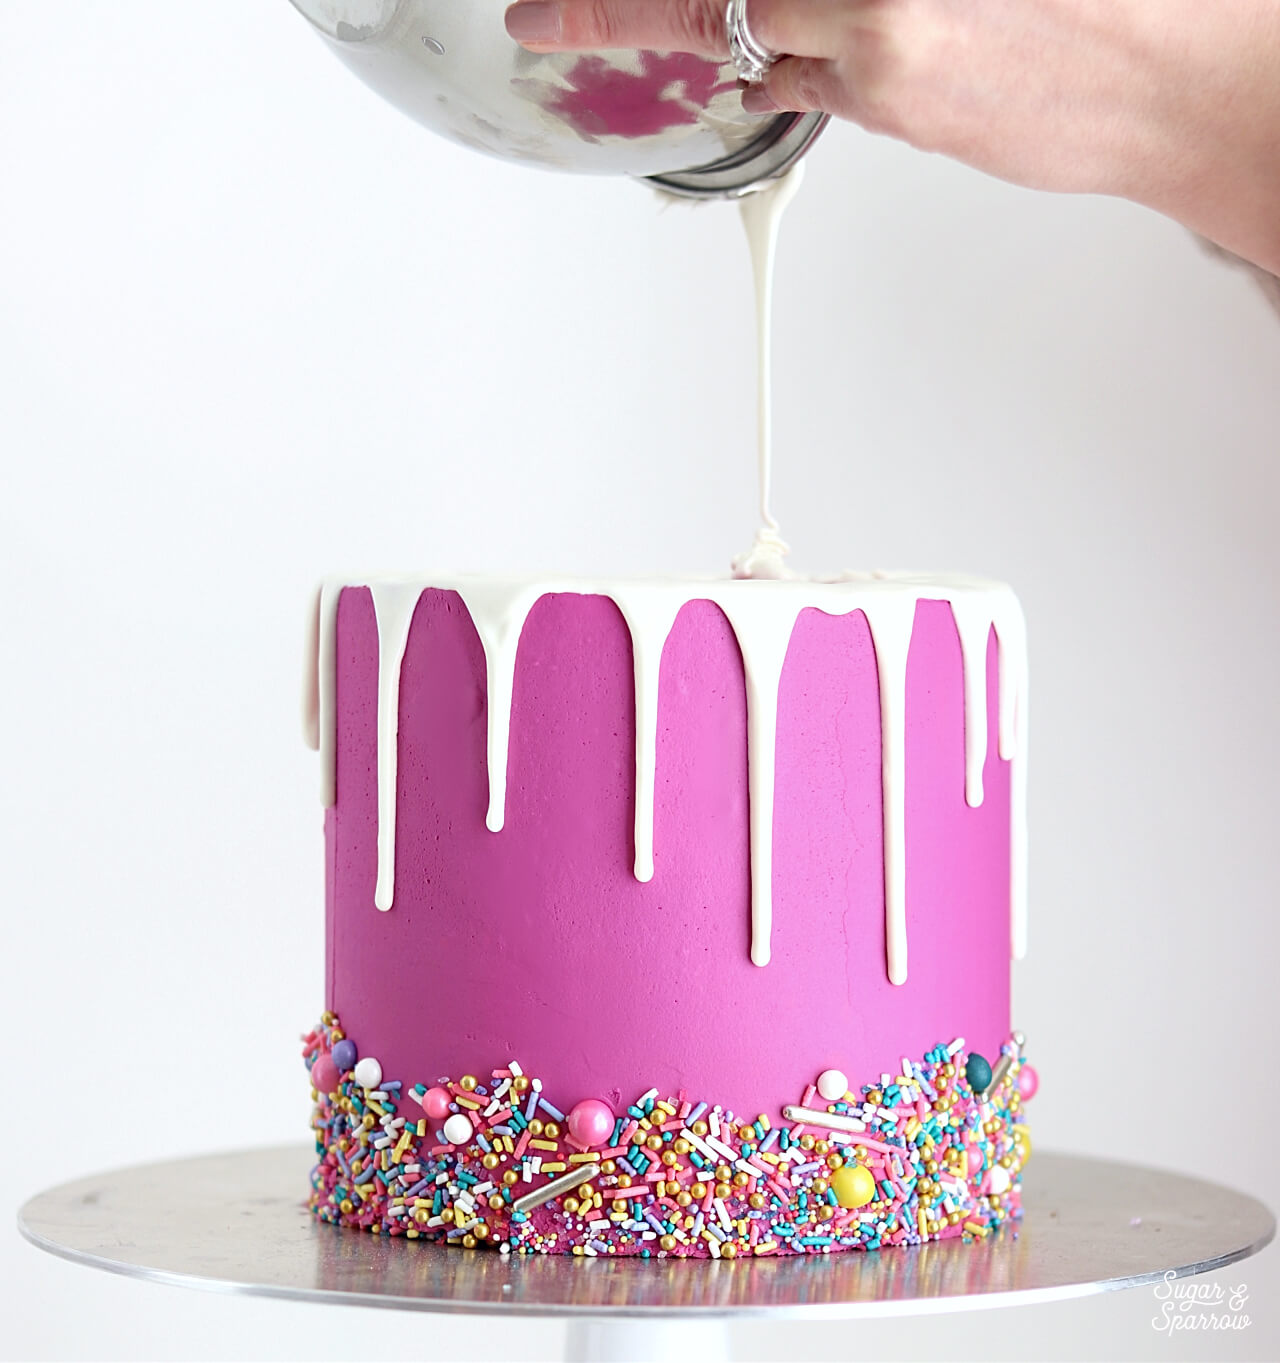
And there you have it – everything I know about dripping cakes with white chocolate ganache. It’s a really good skill to have in your cake decorating repertoire, especially with how versatile white chocolate ganache can be color-wise. Adding a little food color gel can turn it any vibrant color of the rainbow! And whether you keep it white or color it up, I promise it’ll taste a million times better than candy melts.
Is there anything else you’d like to know about drip cakes? I’m certainly not an expert per se, but if you have more questions, let me know in the comments below and I’ll do my best to answer!




I followed your recipe exactly and used high quality white Choco . It was so runny and never set. It continued to drip to the bottom of the cake and pooled on the cake board.
Sorry to hear that, Jo. If the ganache is not setting at room temperature, it means there is too much liquid added. Sometimes this can even be caused by adding too much food color gel (adds to the liquid content). You can easily troubleshoot that by gently reheating the ganache and adding more white chocolate to thicken it up. Remember that for next time.
Hello! If i do a cake with whiped cream instead of buttercream will it work okay?
Hi there! If you frost the cake with a stabilized whipped cream frosting and make sure it’s very cold before adding the ganache, this technique will work just fine.
Hi there,
I don’t have any white food coloring on hand, I was wondering if I could use a very small amount of violet coloring to make the ganache whiter, like how you would with buttercream?
Hi Jennifer! I’ve never tried whitening ganache (or buttercream) with violet food color gel but I hear it works. Give it a try!
Hi
thank you for sharing ur tips on ganache. I make whipped cream cake instead of buttercream. Whenever I use the dripping, my cake corner start falling off . Plz suggest me if this recipe of ganache will work on whipped cream cake or not
Thanks
Hi Sunyana. In my experience, this technique only works with stabilized whipped cream frosting and you have to get the frosting very cold, until it’s firm to the touch, before dripping with ganache. Otherwise it’s too soft to hold its shape under the weight of the ganache (which is why the edges fall).
Hi, would this recipe be enough to drip a 6inch cake?
Hi Steph, it definitely is!
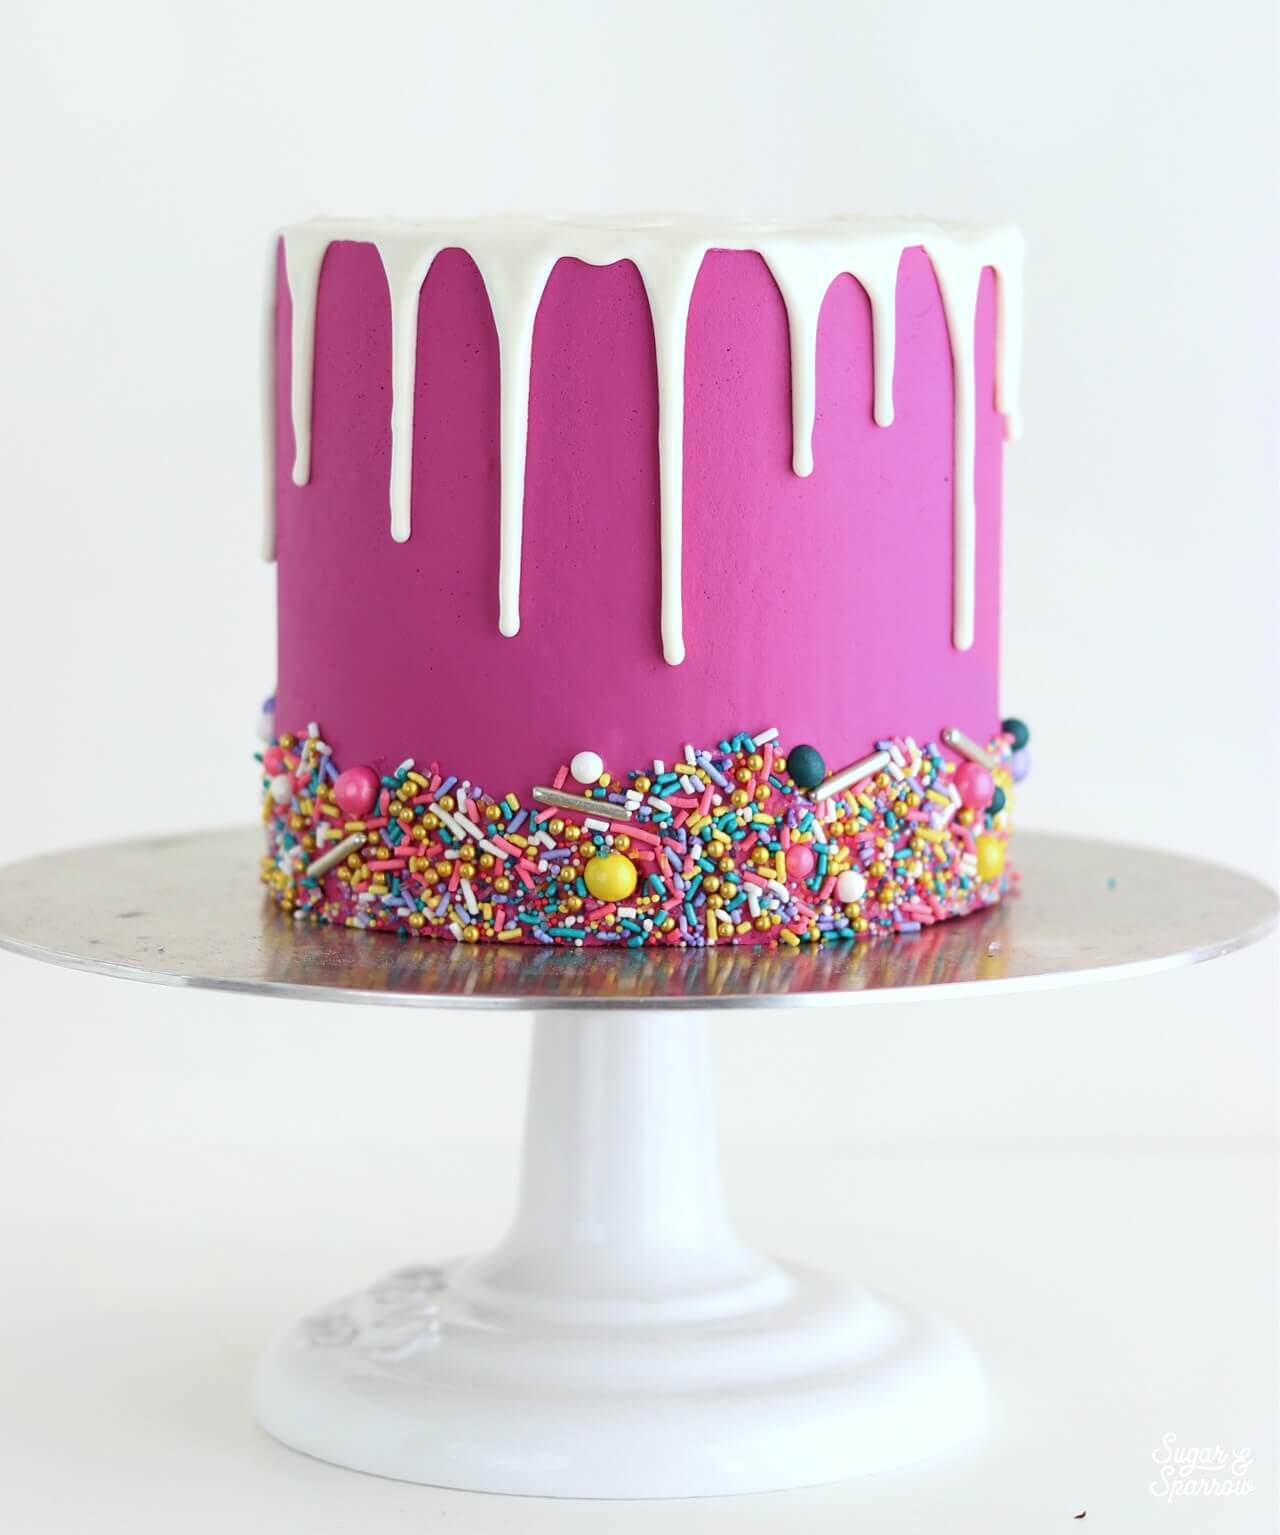
Hi, thankyou for sharing your great tips on chocolate ganache for drips. I was wondering what brand/colour you have used to get that vibrant pink!! It’s gorgeous
Thank you vicki
Hi Vicki! The buttercream color pictured was made with Americolor Fuschia. Here’s a link: https://amzn.to/2TG13rT
Hi, I’m wondering if I can decorate THE ganache with sprinkles or if they will fall off/colour the ganache? Om thinking black sprinkles on the white and also adding other decorations on top (LOL Surprise cake)
Best regards
Hi Frida! You can totally decorate the ganache with sprinkles. Here’s a tutorial with all the details: https://sugarandsparrow.com/sprinkle-drip-cake/
Hi. I’m wondering if you can tell me what colour you used to get the colour on the cake please. It’s beautiful.
Hi Julie. I used Americolor Fuschia to color the buttercream base: https://amzn.to/31LS7nh
Hi,
I was wondering why would a chocolate drip… fall off the cake? Simply slide? I used the ratio you mentioned, the cake was cooled for 30 mins and the ganache was barely dripping but it simply slipped off the cake… it would not stick 😐 sorry I don’t know how to explain it better, hope Ive made myself understood.
Hi Julie! So sorry that happened, I’ve actually never heard of it happening before. What was the base that you dripped on (American Buttercream, Swiss Meringue Buttercream, Fondant, etc)? I always use an American Buttercream base and chill it before dripping and have had absolutely no issues with the drip coming off of the cake.
Hi Whitney,
Do you ever frost the entire cake with white ganache? If so, do you also do the drips?
Thanks,
Hesther
Hi Heather! It is possible to frost a cake with white chocolate ganache but there are different steps involved: use the same recipe as above (make 2-3x the recipe depending on how large your cake is) then place it in a shallow dish and let it sit at room temp until it’s the same consistency as peanut butter. Whip with your stand mixer for one minute to fluff it up, then use it just like buttercream. You can follow the instructions above to create a ganache drip on top of the ganache finish. I don’t usually frost my cakes with ganache, but a lot of bakers who live in warm climates prefer it.
Thanks so much! I really appreciate all
Of your tips, tutorials and posts. They are so inspiring!
Can I ask why the ratio is different for a milk chocolate drip and a white Chocolate drip? I did a milk choc drip yesterday without thinking it would be a different ratio and it was wayyy too runny!
Hi Grace, the ratios are different for a reason. Since white chocolate is not a true chocolate, the chemistry acts differently when made into ganache and requires less heavy whipping cream than milk or dark chocolate. The chocolate ganache may seem runny when hot, but it should thicken as it cools to room temp (it takes a little bit longer to set than white chocolate ganache because there is more liquid). If it was too runny at room temperature, gently reheat the ganache in a double boiler and add a little more chocolate to thicken it up, or add a little less liquid next time.
I love your website, and you are so generous with your advice! I find drips so hit and miss .. I’m finding white ones result in big air bubbles at the end of the drip which look ugly, what have I done wrong??
So happy to hear you’re finding the website helpful, Katy! I’ve honestly never had an air bubble show up on the drip itself. My suggestion would be to gently stir/whisk the white chocolate ganache to eliminate the air bubbles before you start dripping, and try dripping with a spoon (as shown in this post).
Can i color the drip?
Hi Avery! You can totally color the drip with any food color gel of your choice!
Hi
Can i add gold powder to the white chocolate ganache ? I really want a gold drip.
Hi Erna! Adding gold powder to white chocolate ganache won’t result in a gold drip (you’d have to add a LOT of gold powder and it would ruin the consistency). Instead, when doing a gold drip you’ll need to use melted white chocolate (ganache is too soft to paint) and then paint on the gold. I’ve never done a gold drip before, but after researching it sounds like that’s the way to go. Here’s a quick article that details which products to use: https://allthingscakeshop.com/gold-drip-cake/
Can i use this gnash for cream frosting cake? Thank you in advance for the reply
Hi Erlinda! You can use this ganache recipe for frosting a cake. After you make it, store it at room temp in an airtight container for a few hours until it’s nice and set (the consistency of peanut butter). Then, whip it in your stand mixer on medium for about 2 minutes. It will whip into a frosting consistency that’s perfect for cakes!