
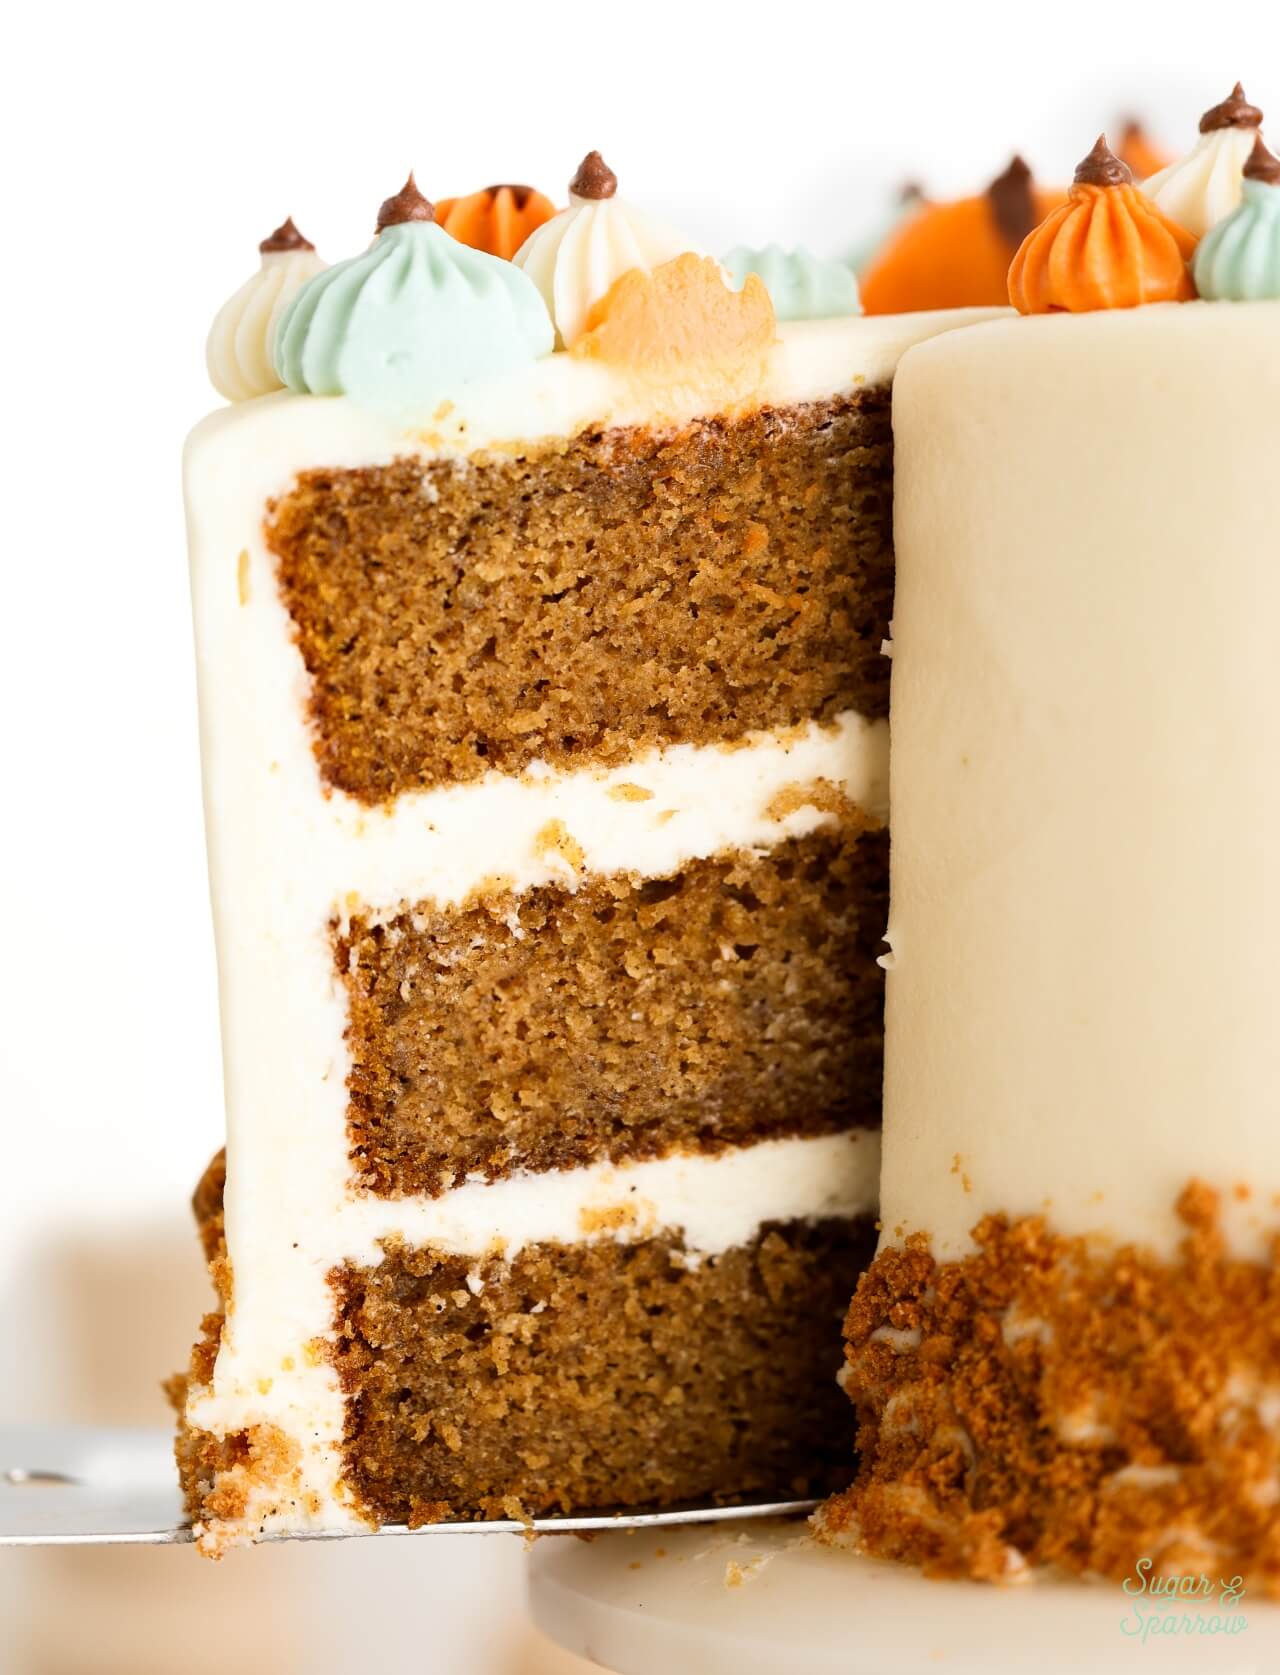
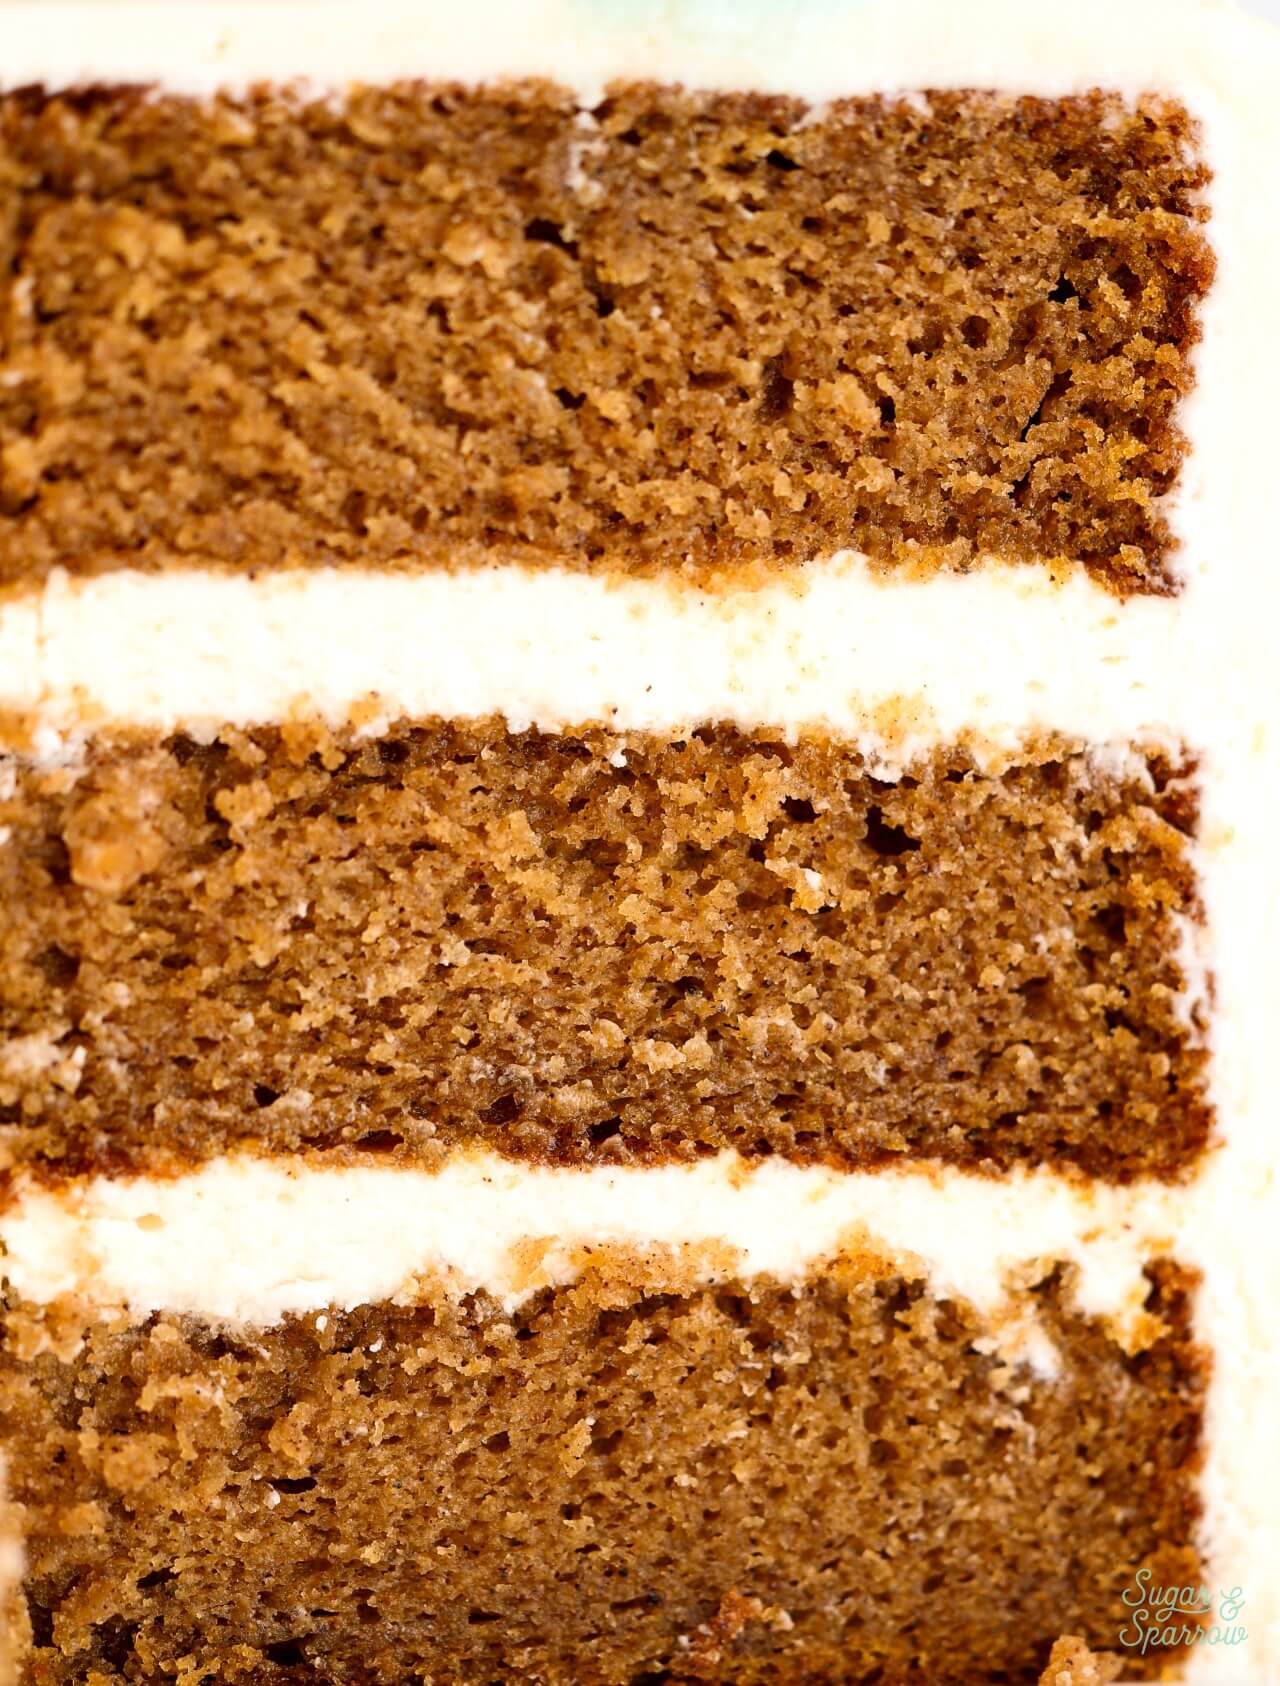
This is my all-time favorite pumpkin layer cake recipe that I can’t help but bake all cozy season long! The cake layers have amazing spiced pumpkin flavor, are so tender and moist, and taste incredible with cream cheese buttercream. Some of my favorite things about this recipe are that it uses an entire 15-ounce can of pumpkin puree and you can use oil and melted butter interchangeably and have an incredibly moist, irresistible texture. It’s the perfect Fall cake you’ll love for years to come!
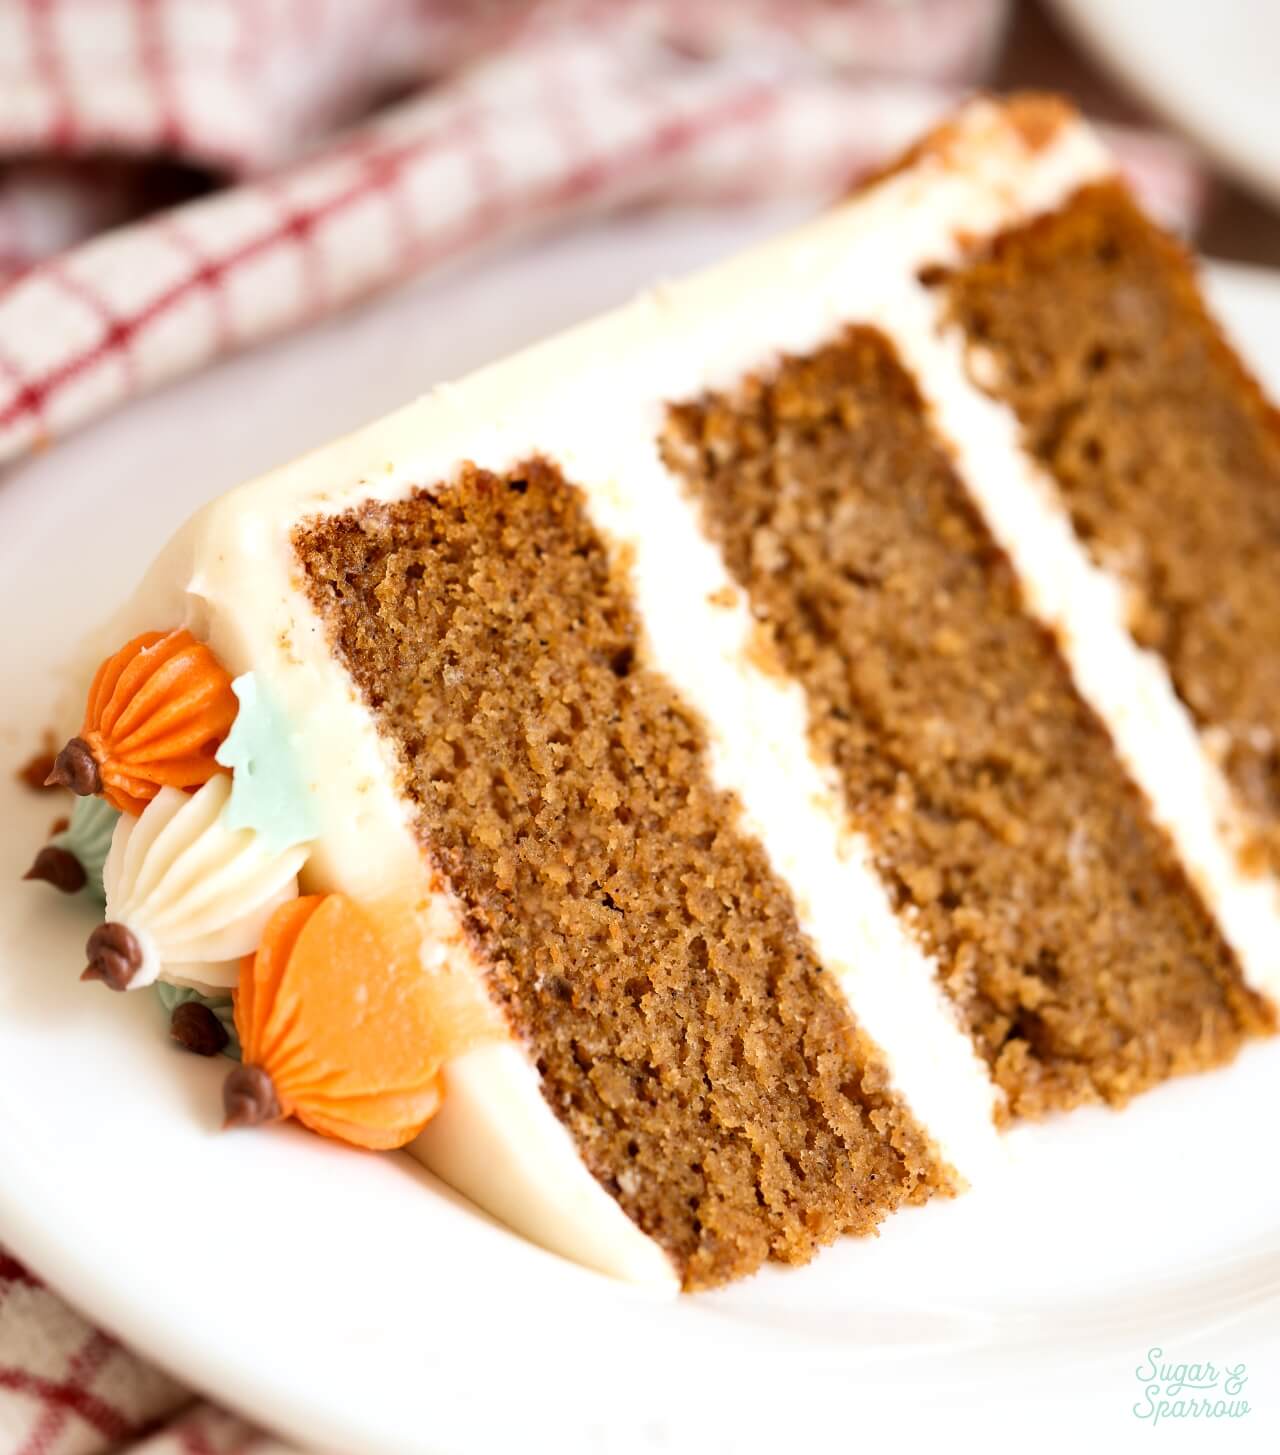
One Reader, Katherine, says: “I just had to come back and say I made this recipe and it was AMAZING! The cake turned out sturdy but moist, and so flavorful.” ★★★★★
Why You’ll Love this Pumpkin Layer Cake
- Incredibly easy to make. Simply whisk together the dry ingredients in one bowl, whisk together the rest of the ingredients in another, and combine the two. The batter comes together in minutes and is super fail proof!
- Perfect spiced pumpkin flavor. The cake is flavored with 100% pumpkin puree and all of the spices compliment it beautifully. You can either use the cinnamon, allspice, nutmeg, and ginger listed in the ingredients or substitute the spices listed with pumpkin pie spice – either way you’ll end up with the ideal spiced pumpkin cake!
- Uses a whole can of pumpkin. This recipe uses all 15 ounces, so there’s no awkward pumpkin leftovers to figure out what to make with!
- Can be made with oil or melted butter. You can make this cake with vegetable oil (or any neutral oil you love for baking), an equal amount of melted butter, or brown butter. All three ingredients yield an incredibly moist cake!
- Everyone’s favorite Fall cake. Pumpkin cake with cream cheese frosting is a flavor combination that few can resist, especially during the coziest time of the year!
Perfect Pumpkin Layer Cake Ingredients
Here are all of the most important ingredients and substitutes you can make if need be:
- Canned pumpkin puree. The pumpkin flavor of this cake comes from an entire 15 oz can of pureed pumpkin (not to be confused with canned pumpkin pie filling). Any brand will do, you’ll just want to make sure that pumpkin is the only ingredient listed on the label.
- All-purpose flour. Also known as plain flour, all-purpose flour gives these pumpkin cake layers the perfect structure.
- Baking powder + baking soda. The leavening agents used to make this cake rise.
- Spices. I use four beautiful warming spices in this recipe: cinnamon, allspice, nutmeg, and ginger. These spices perfectly compliment and enhance the pumpkin flavor! Feel free to experiment with the spices used if you want, or use 4 teaspoons of pumpkin pie spice as a substitute for all four spices listed in this recipe.
- Melted butter or oil. You can choose whether to use melted butter or a neutral oil like vegetable oil, canola oil, or whatever you love for baking. Either ingredient choice will create a super moist crumb, but I do love the extra rich flavor that melted butter adds. If you’re feeling like going the extra mile, brown butter makes an incredible substitute here. Just be sure to start with 1 ¼ cups of butter before browning it since some of that butter will evaporate in the cooking process.
- Brown sugar + granulated sugar. Both sugars together not only sweeten this cake and soften the crumb, but I use more brown sugar in this ratio to add even more moisture.
- Eggs. The main binding agents in this recipe that blend the ingredients together and give the cake structure.
- Pure vanilla extract. A little vanilla rounds out the pumpkin flavor beautifully.
How to Make a Pumpkin Layer Cake
This pumpkin cake batter comes together so easily in minutes! I love that you can whisk it by hand the whole time:
Whisk Together the Dry Ingredients
In a medium bowl, combine the all-purpose flour, baking powder, baking soda, salt, and spices.
Combine the Rest of the Ingredients
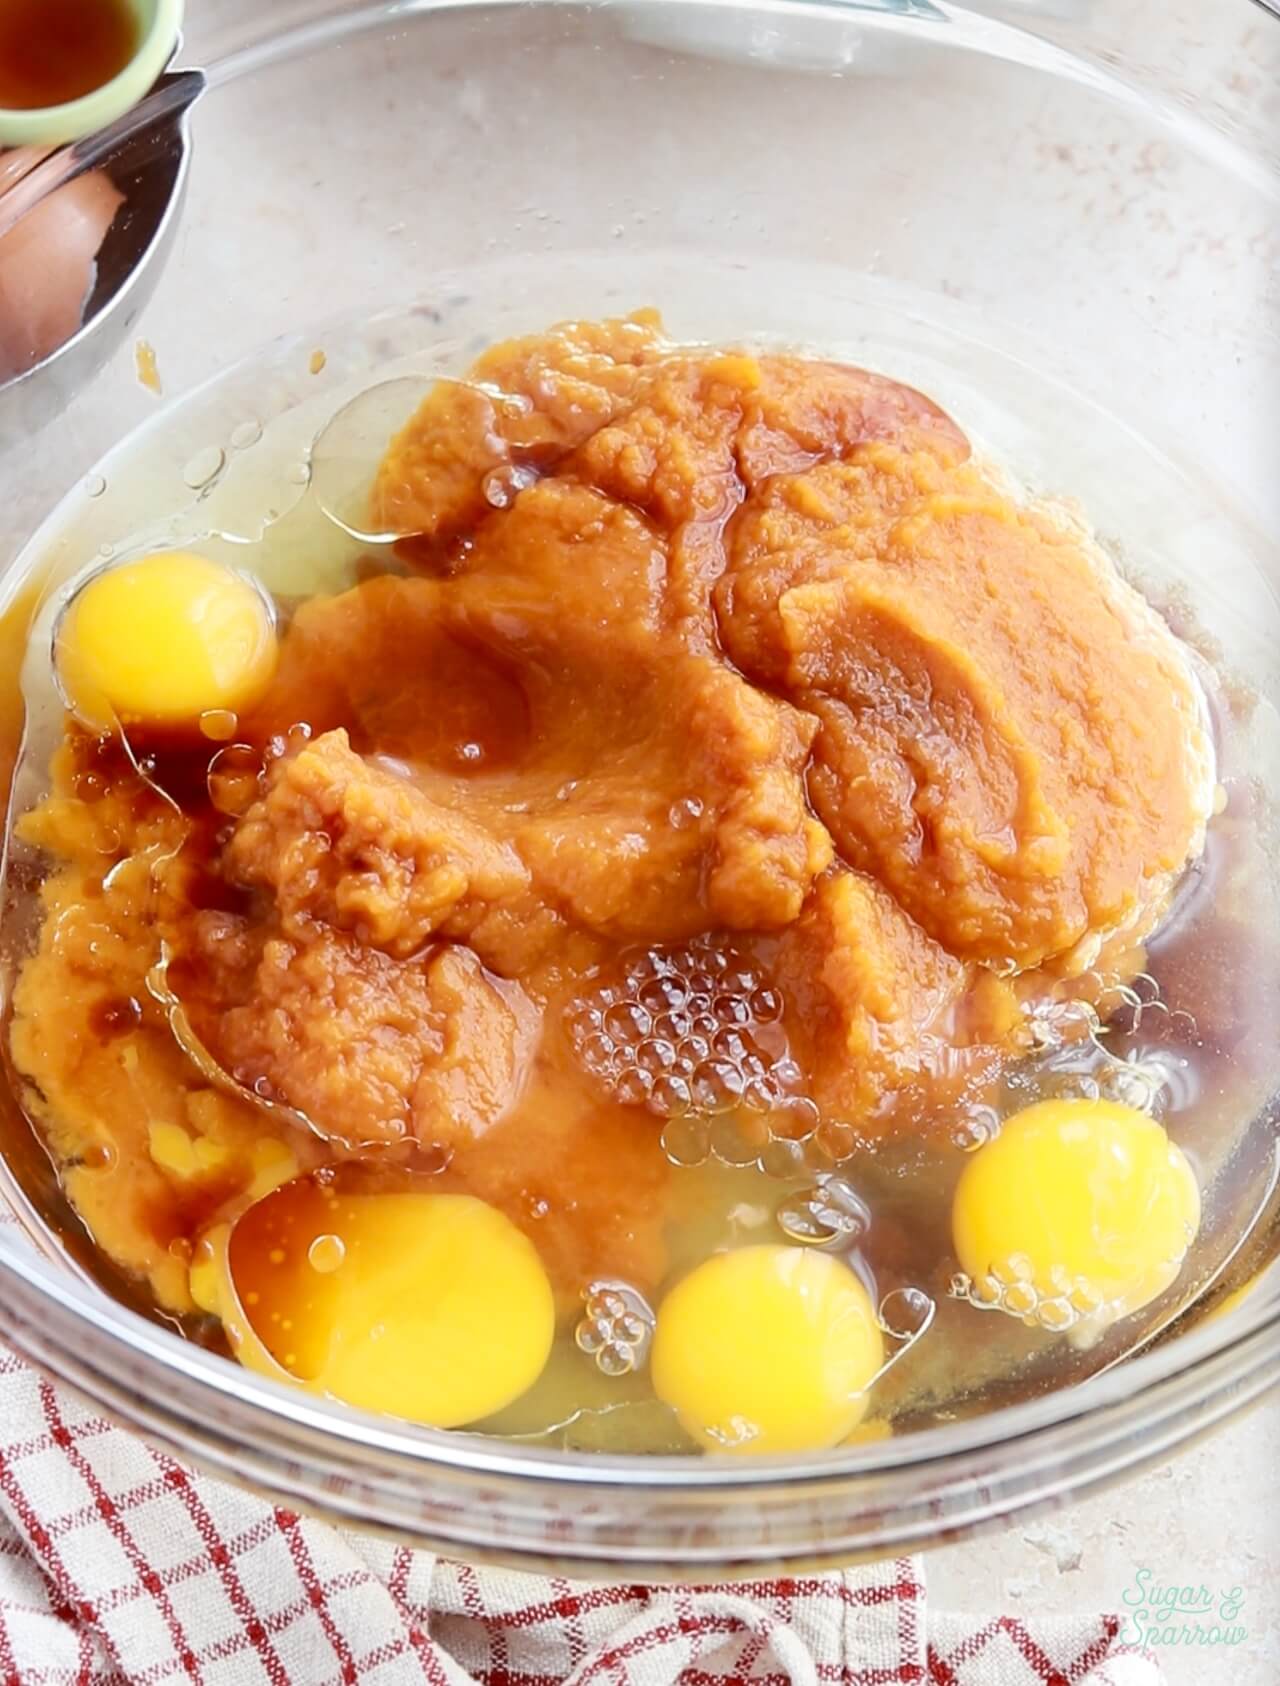
In a large bowl, whisk together the sugars, canned pumpkin, melted butter or oil, eggs, and vanilla.
Whisk the Dry Ingredients into the Wet Ingredients
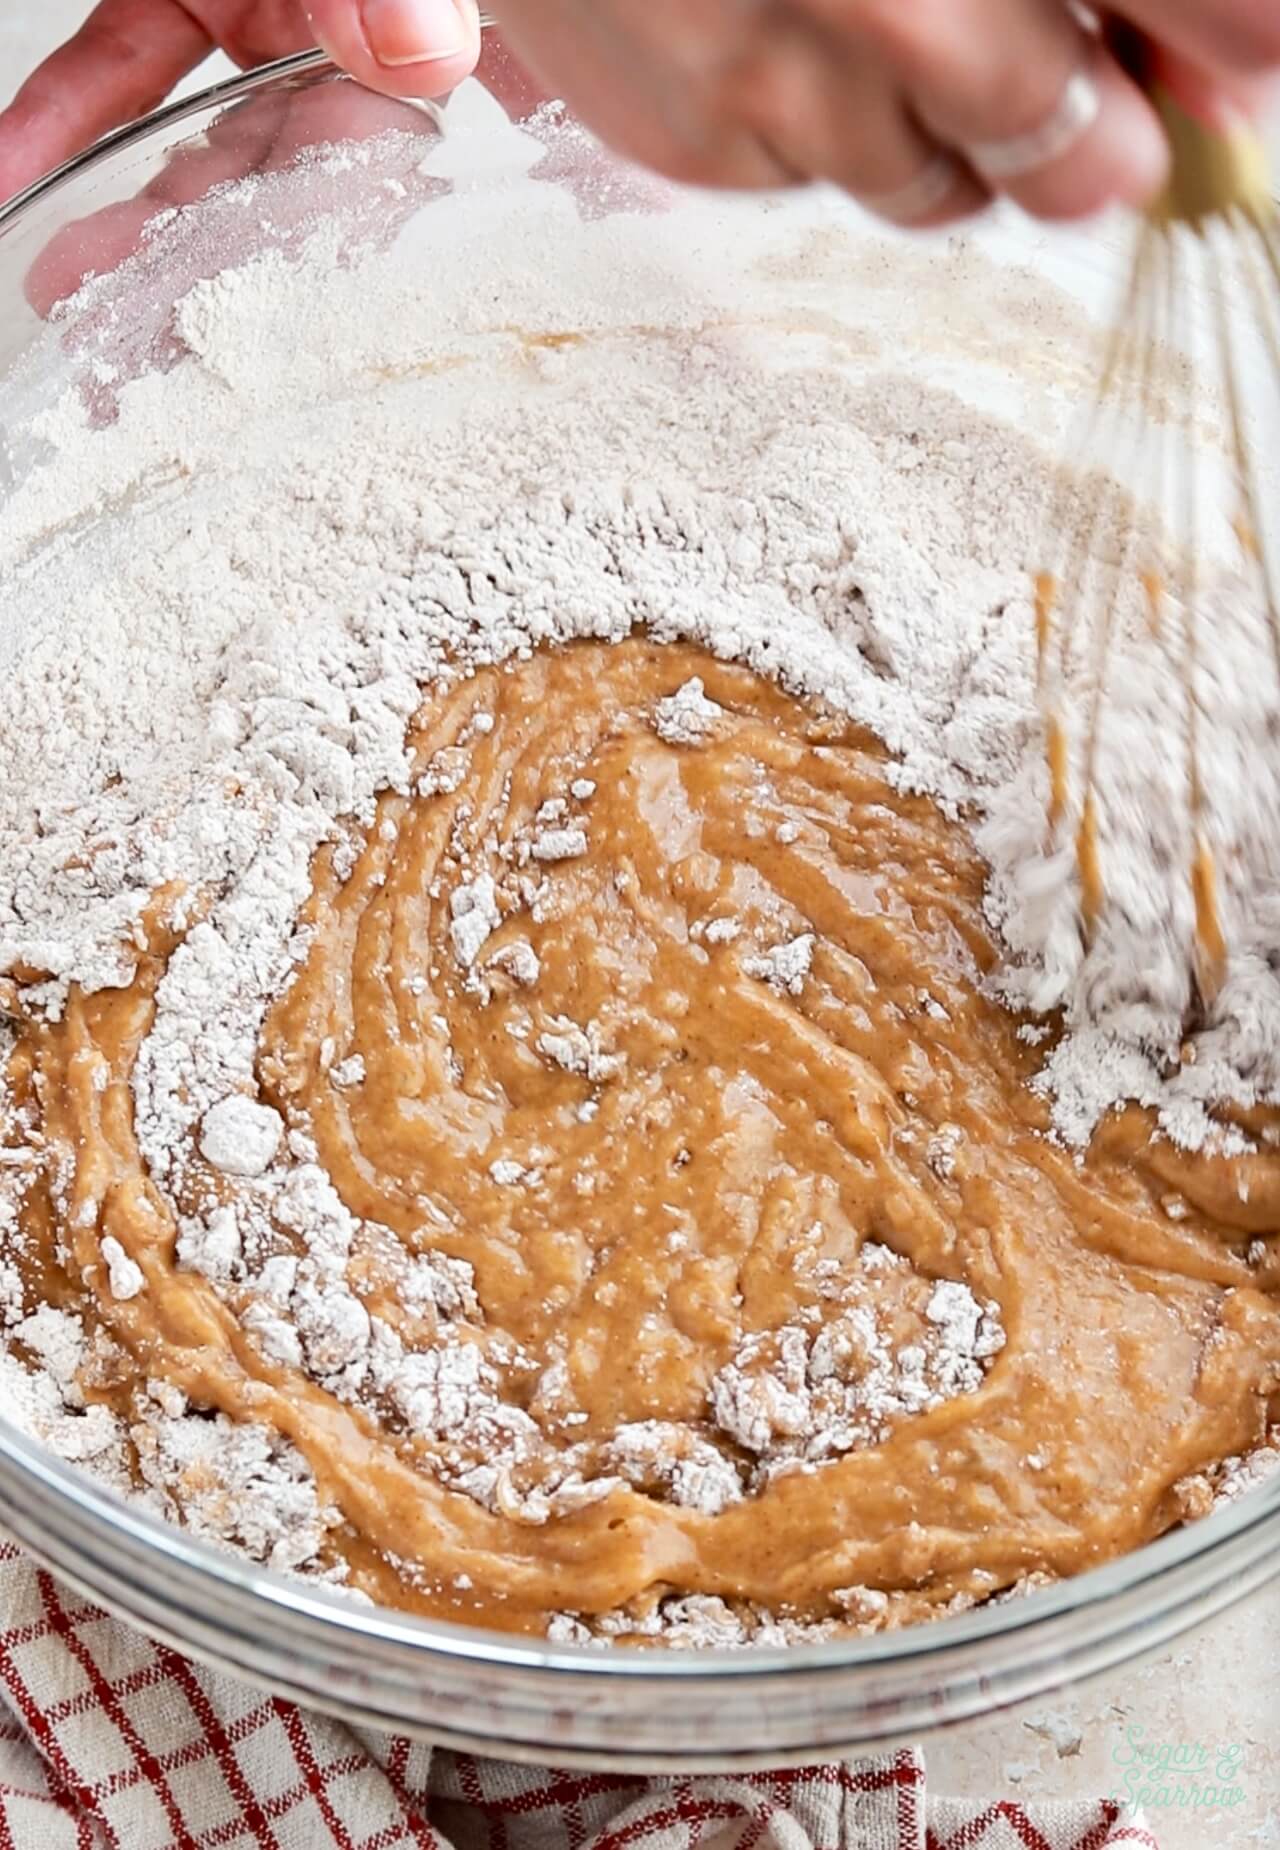
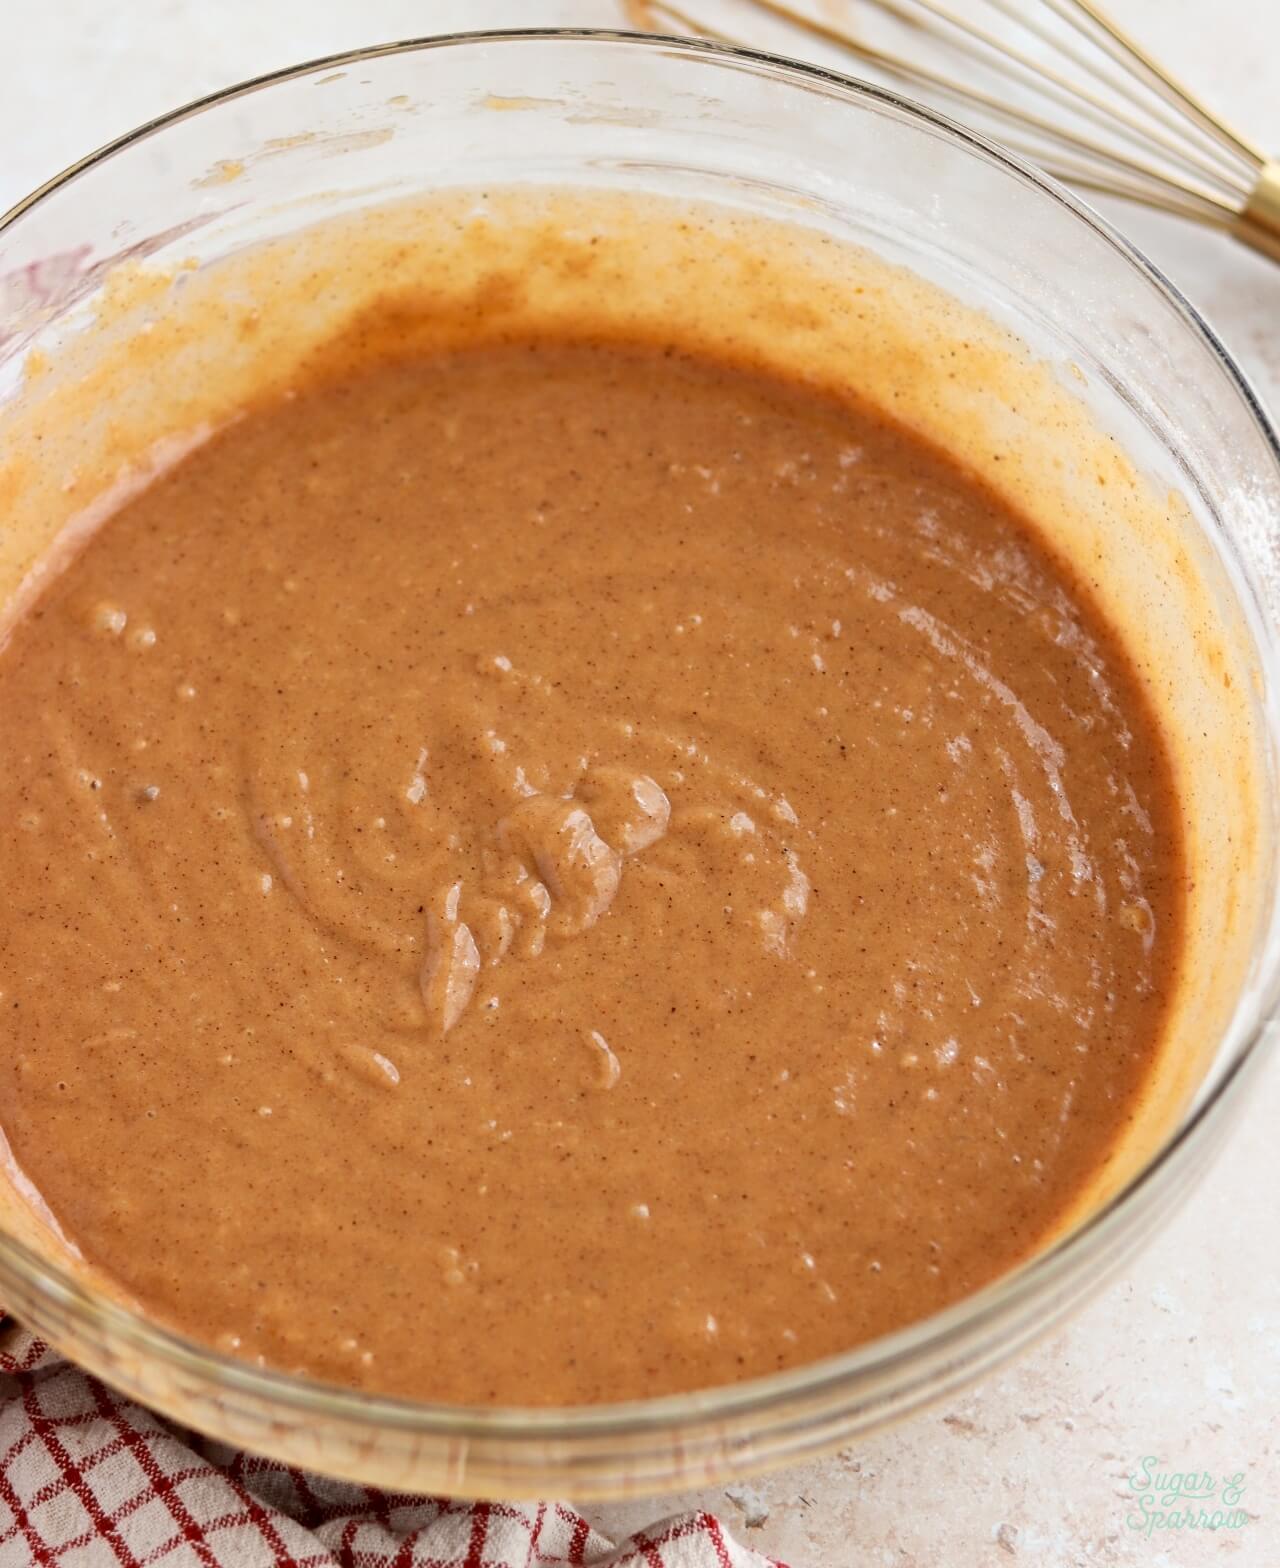
Add the dry ingredients into the wet ingredients and whisk until just combined.
Bake the Pumpkin Cake Layers
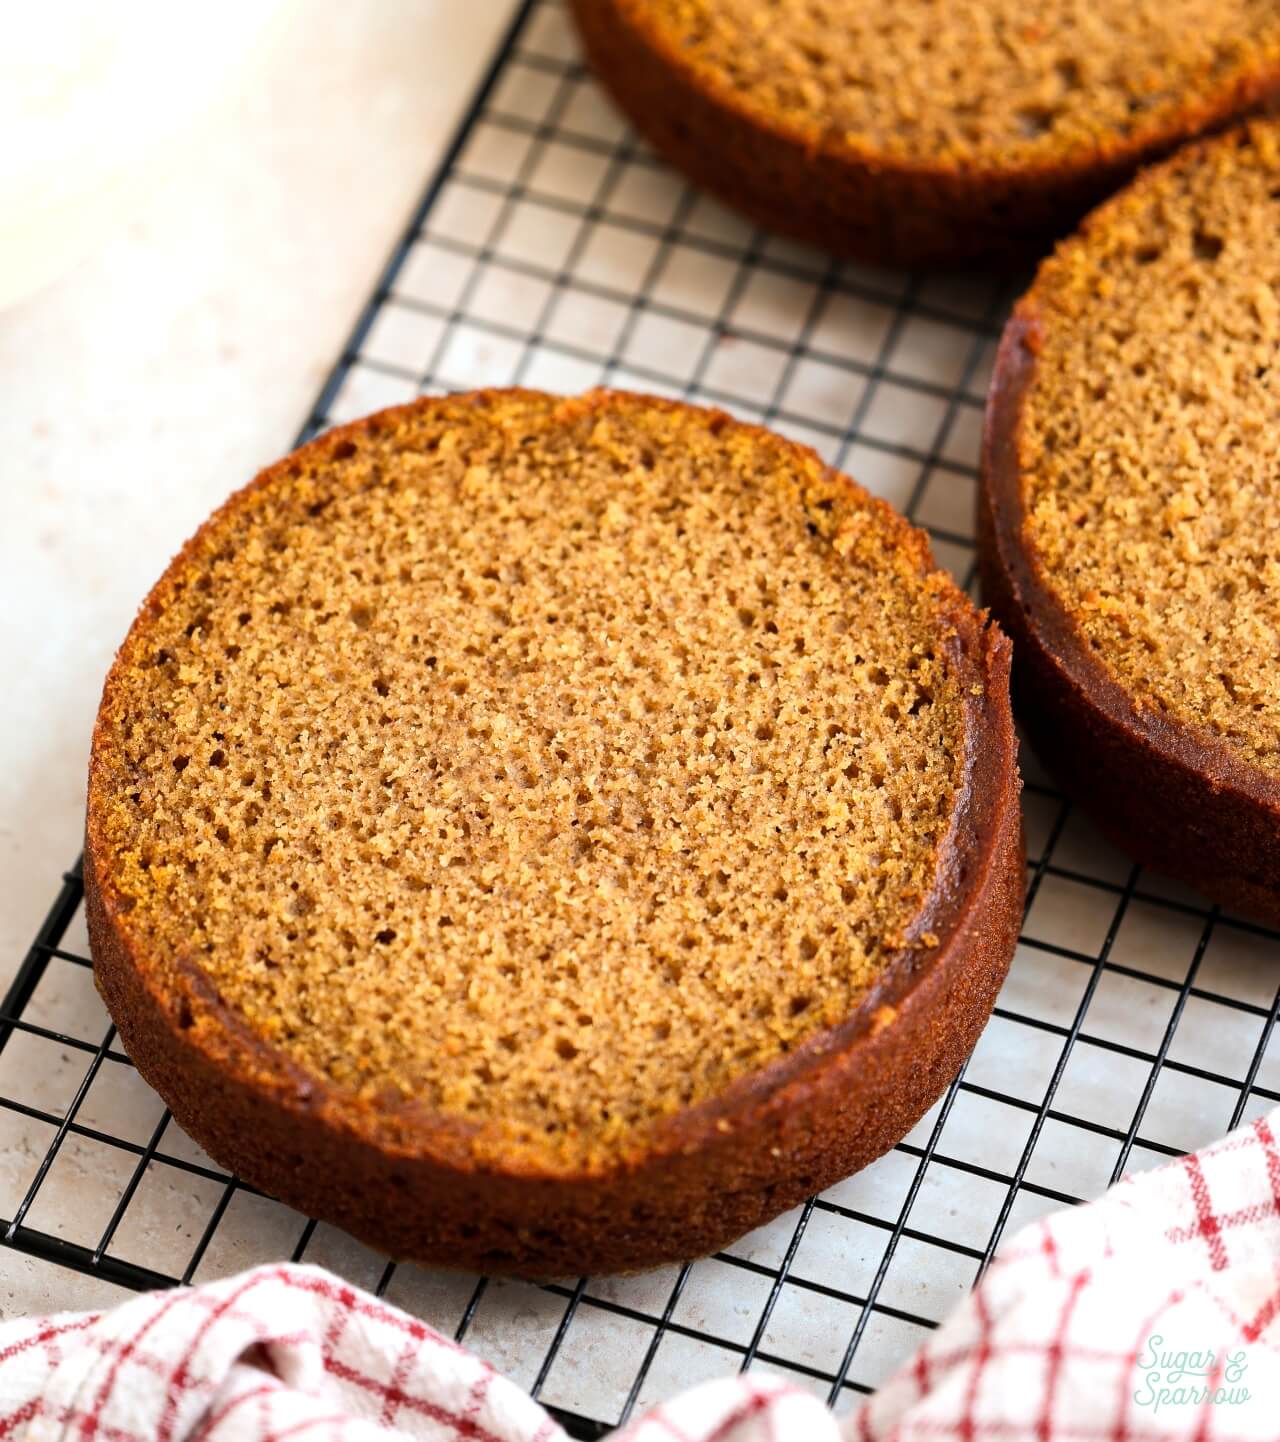
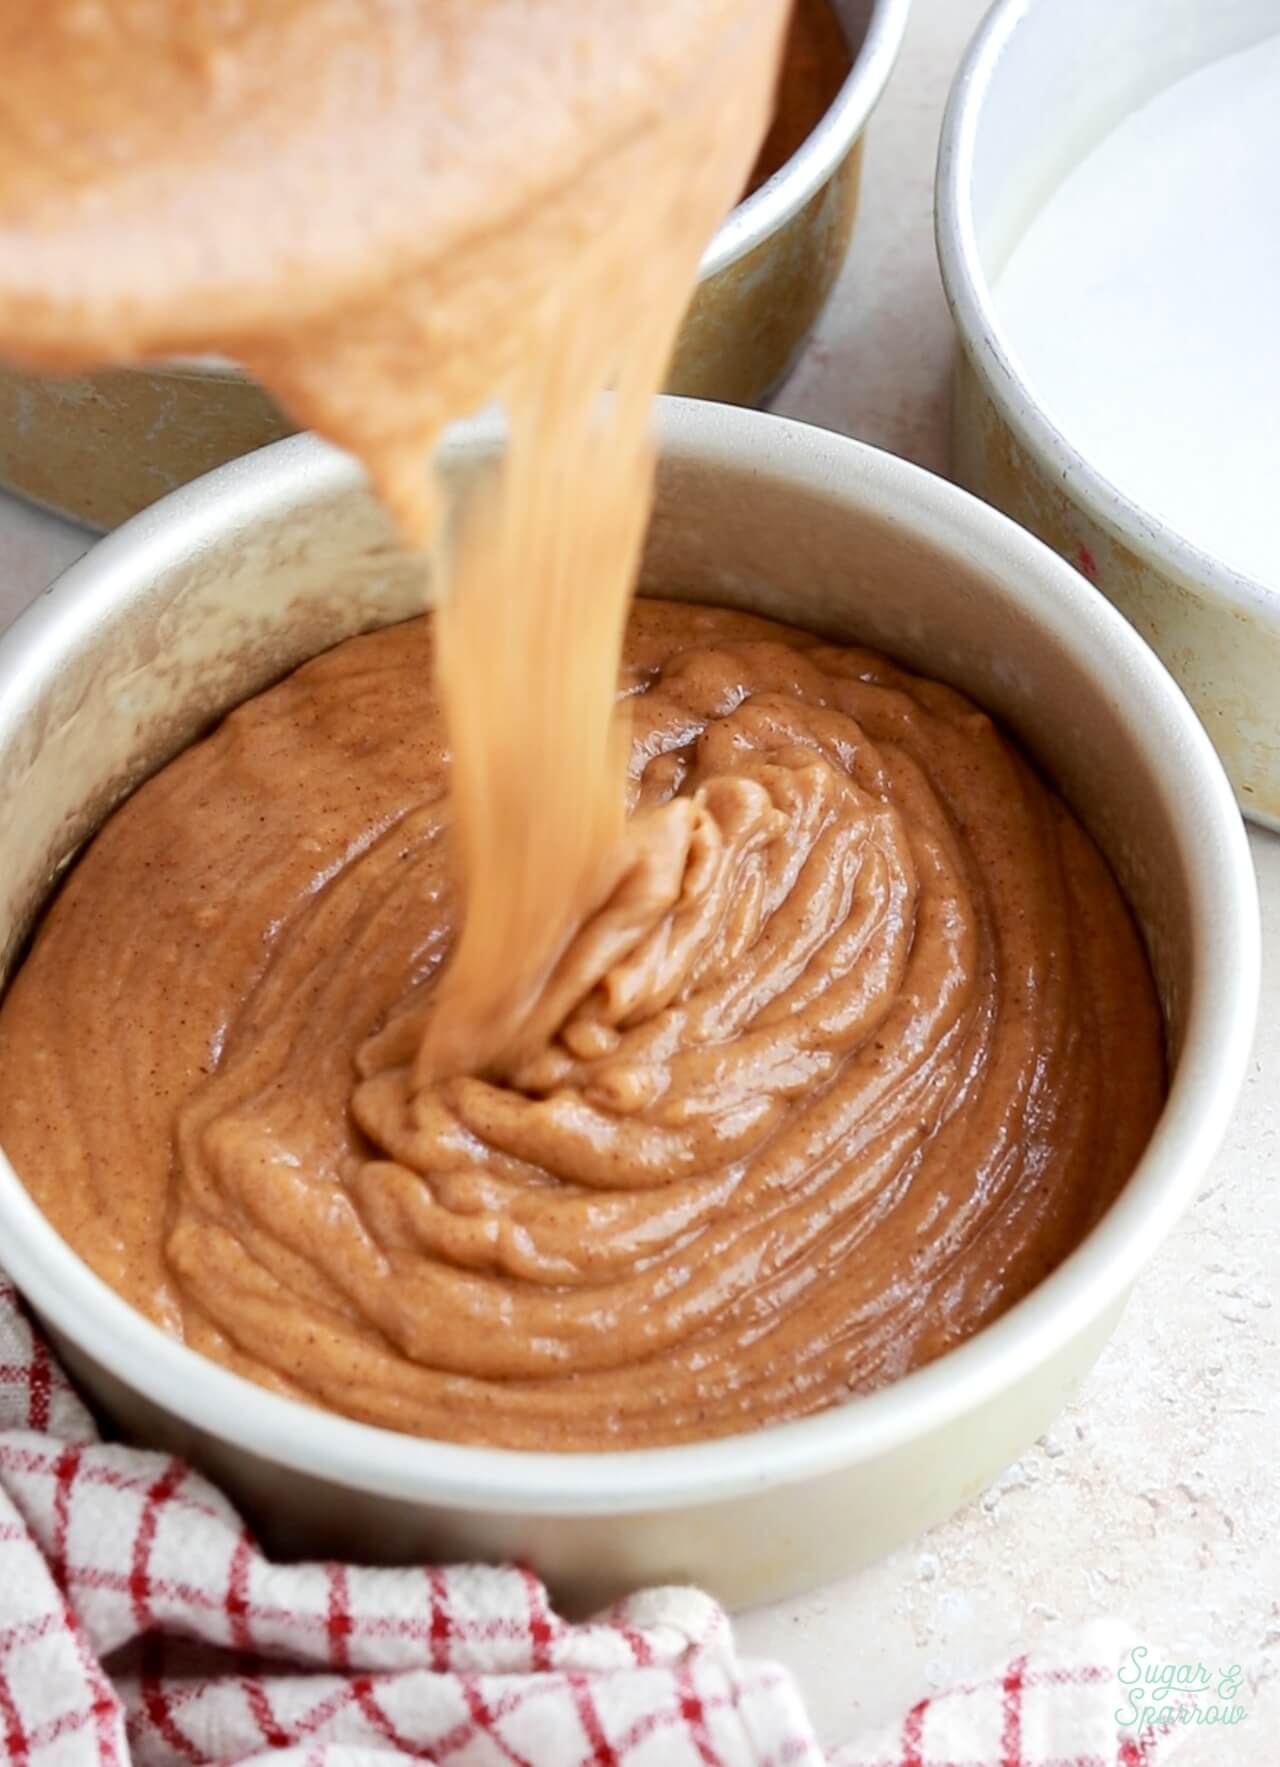
Pour the pumpkin cake batter into three 6-inch cake pans or two 8-inch cake pans that have been previously greased and lined. Bake at 350ºF (177ºC) for 32-36 minutes, or until a toothpick inserted comes out clean.
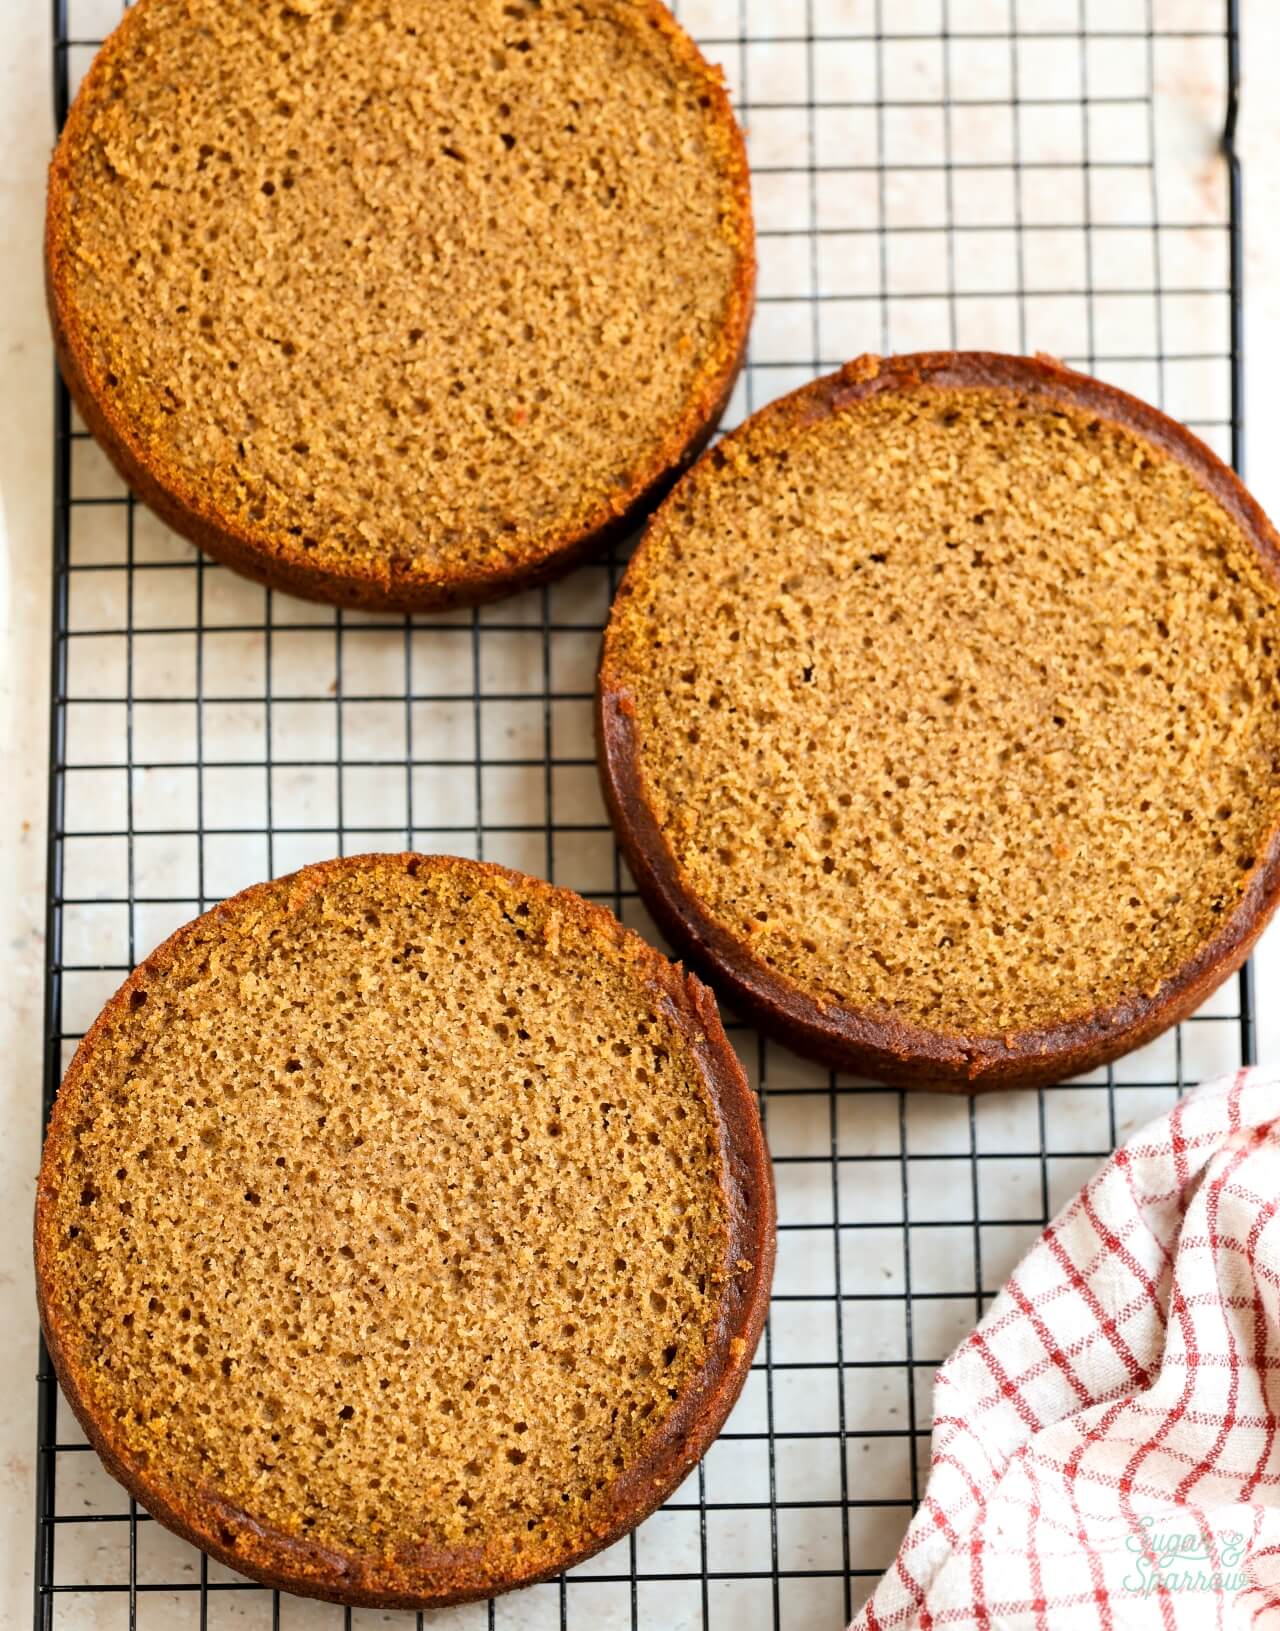
From here, let the cake layers cool in the pan for about five minutes before transferring to a wire rack to cool completely to room temperature.
Stable Cream Cheese Frosting for Cake Decorating
It’s so classic to pair this pumpkin layer cake with cream cheese buttercream, and in my opinion the flavor combo never gets old. Although cheese frosting cream has a reputation for being notoriously soft and frustrating to work with, the cheese buttercream recipe you’ll find below is sturdy and pipeable without being overly sweet, which is why it’s my forever go-to. Here are my best tips for making it the perfect consistency for filling, frosting, and decorating this cake:
- Use full-fat brick style cream cheese. I use Philadelphia brand, but any brick-style cream cheese that’s not low fat will do. Other kinds of cream cheese (low fat or the spreadable kind in the tub) contain too much water content and will always result in a soupy frosting that’s too thin for filling and frosting a cake. If you don’t have access to brick-style cream cheese, make a double batch of my vanilla buttercream to pair with this cake instead.
- Make sure the butter and cream cheese aren’t too soft. Before you start mixing up the buttercream, it’s super important that the butter and cream cheese are room temperature, but not warmer (like from softening in the microwave). These ingredients should be left out on the counter at room temperature for 45 minutes to an hour.
- Refrigerate to thicken the consistency. If you make the cream cheese frosting and find that it’s not thick enough for your liking or your kitchen environment is super warm, pop the frosting in the refrigerator for 20-30 minutes to let the butter solidify a bit. Then, re-mix it on low speed with your stand mixer to make it smooth and uniform. The trip to the refrigerator will thicken the entire buttercream to a workable consistency.
How to Decorate a Pumpkin Layer Cake
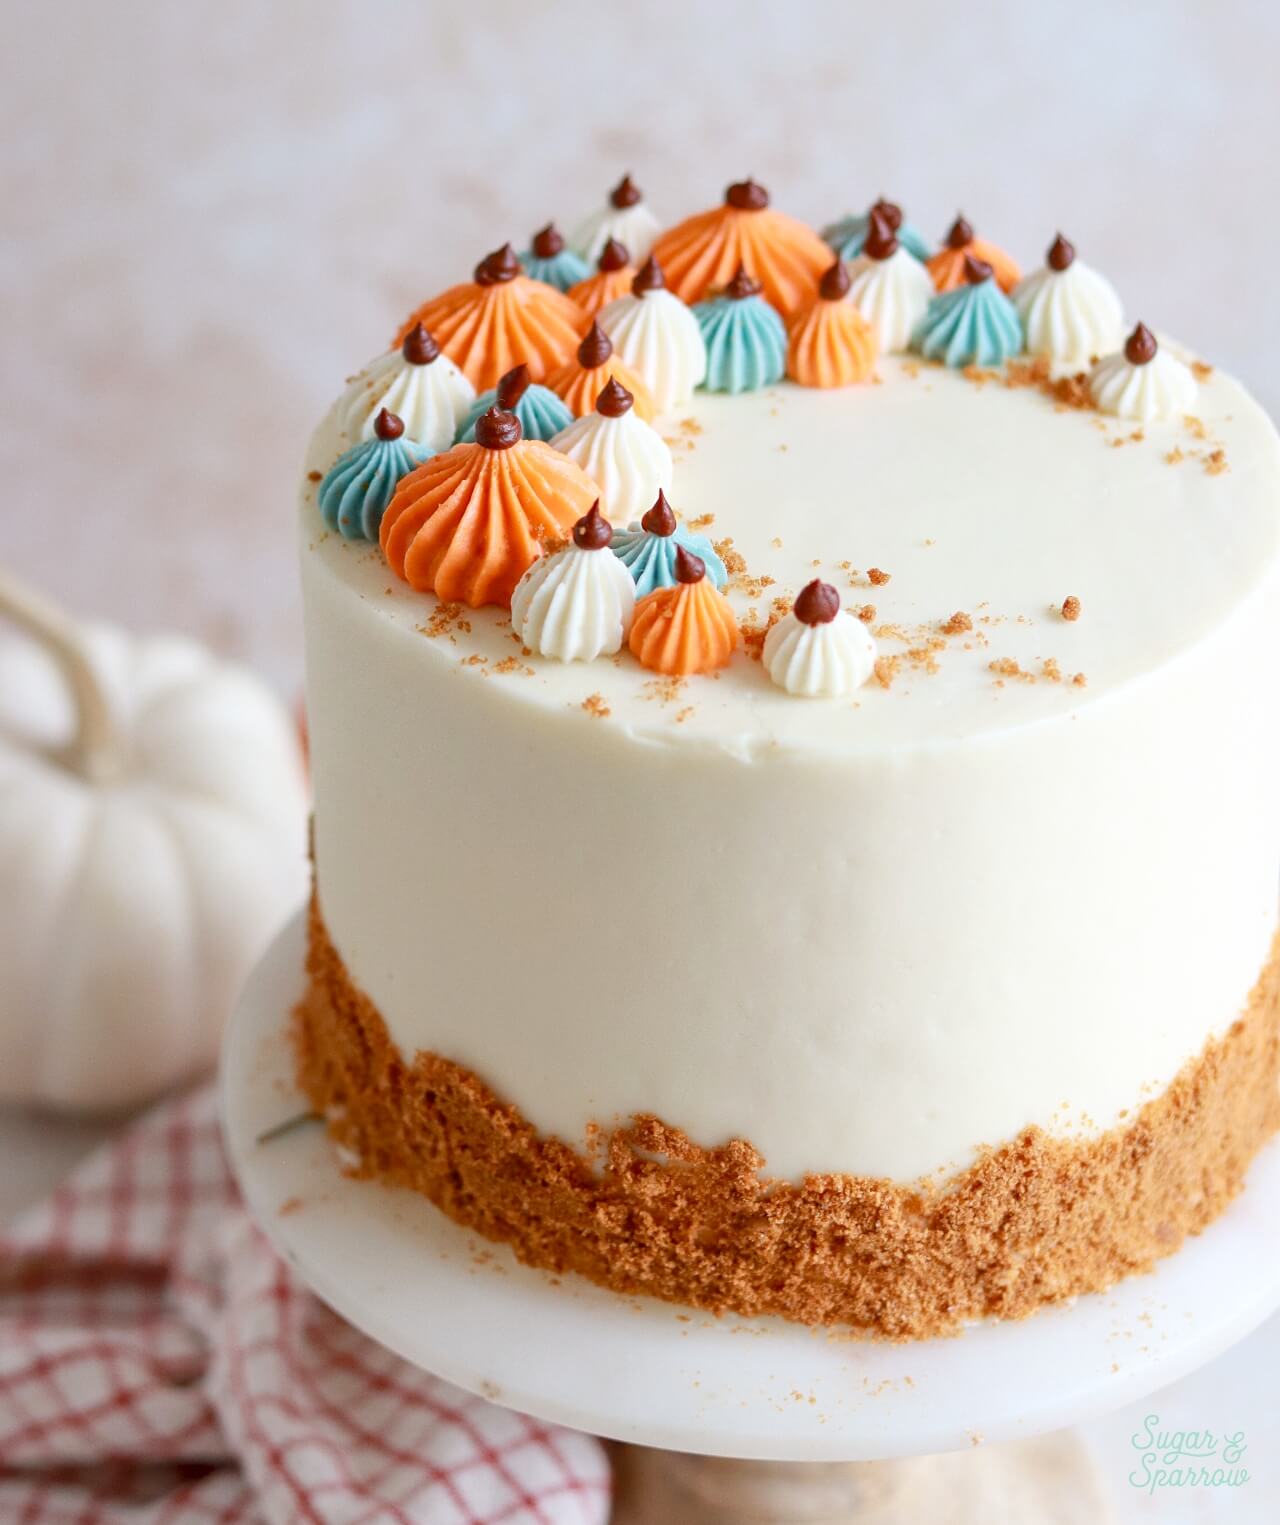
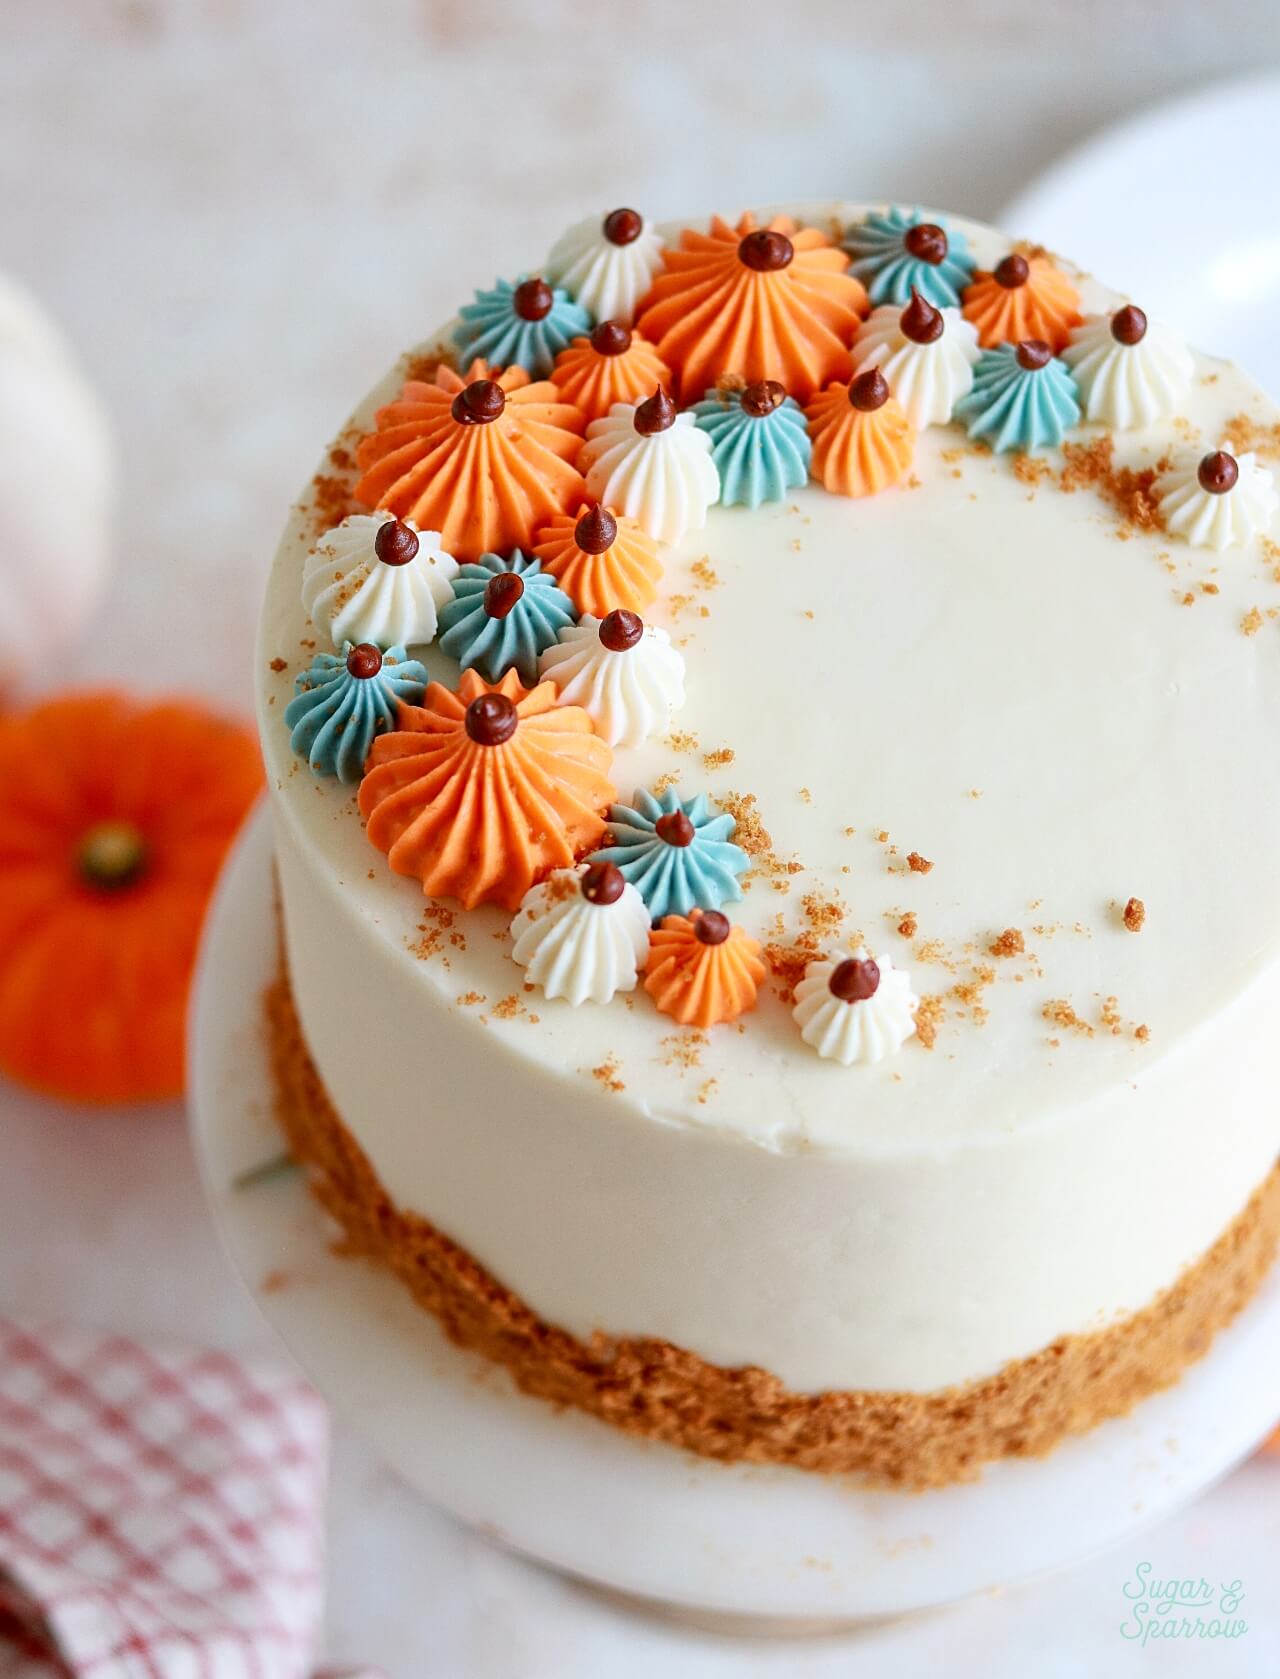
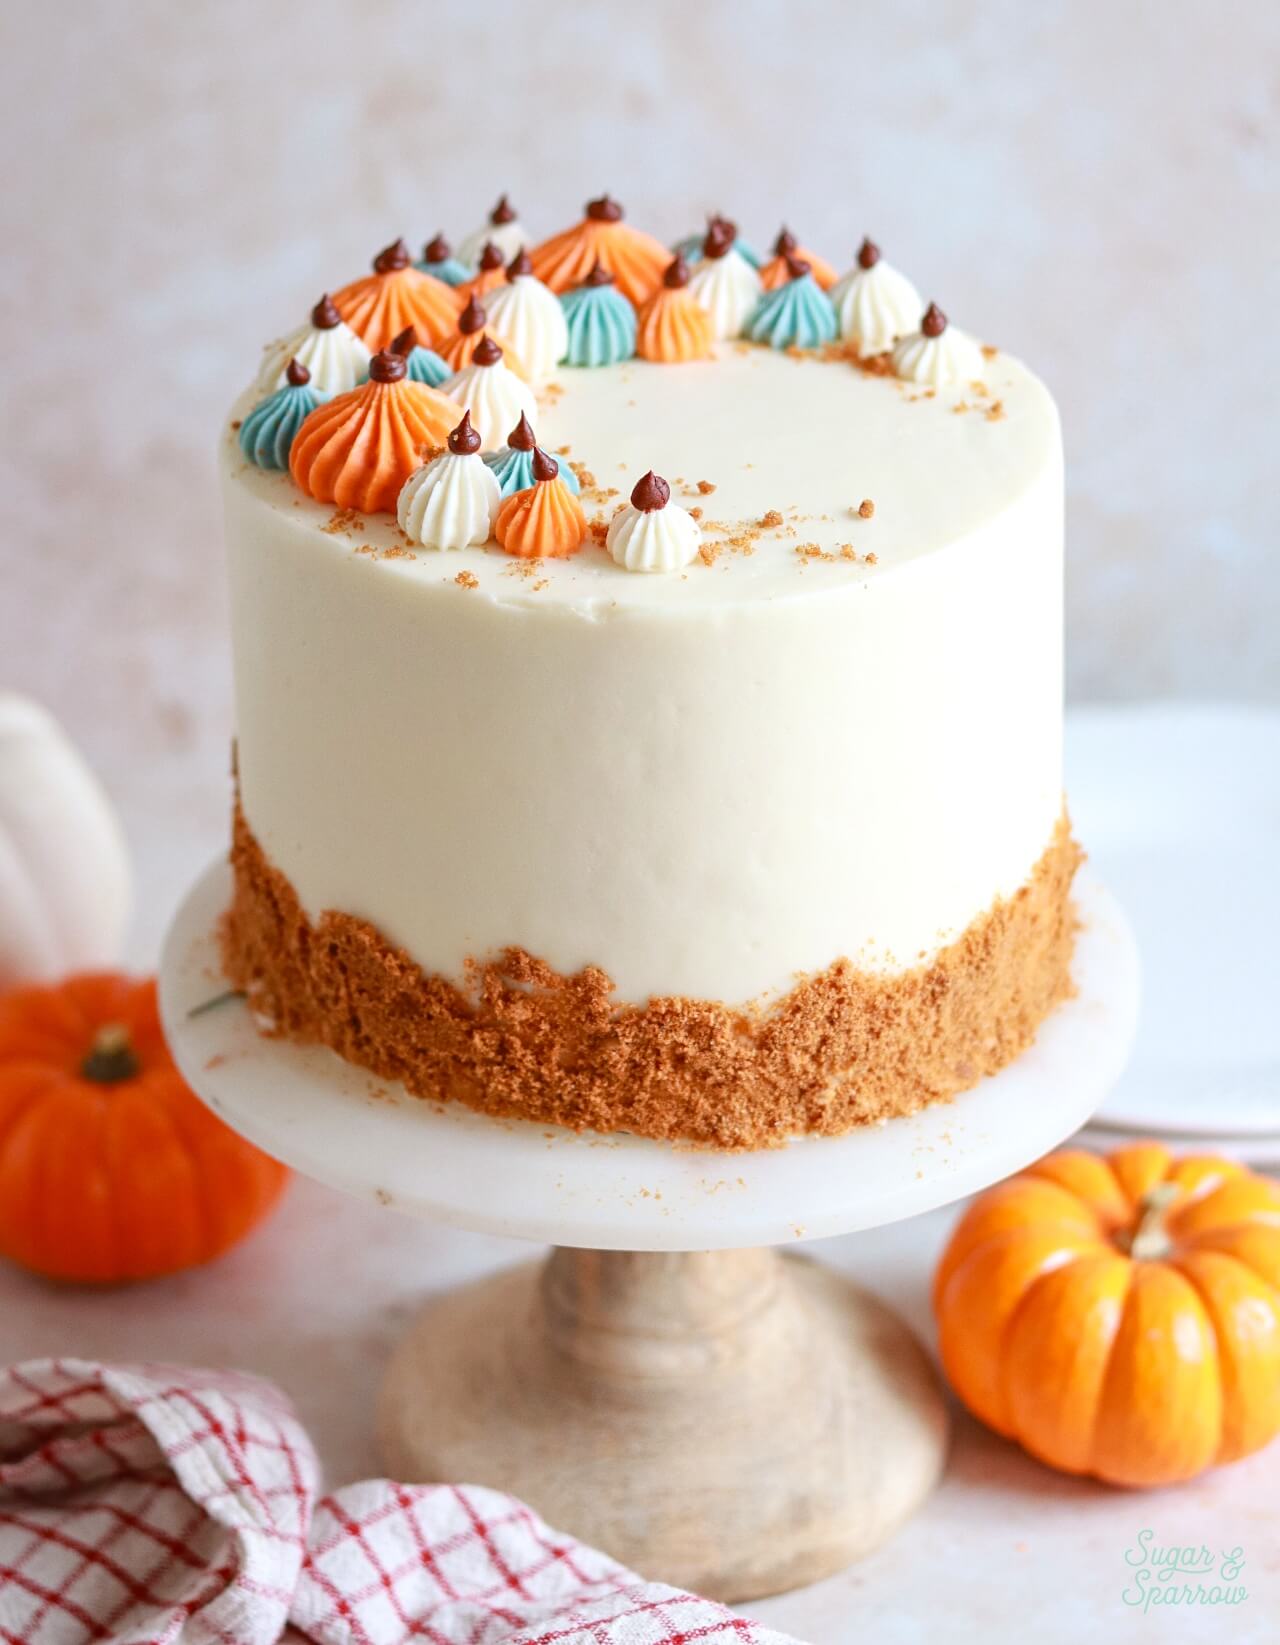
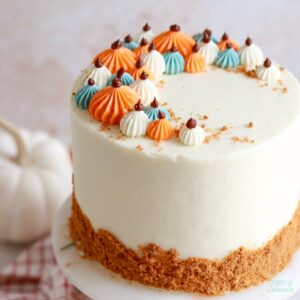
Even though I recently updated these photos, the cake design pictured has been around since 2019 and highly replicated, which I love! Here are all the details so you can replicate it too:
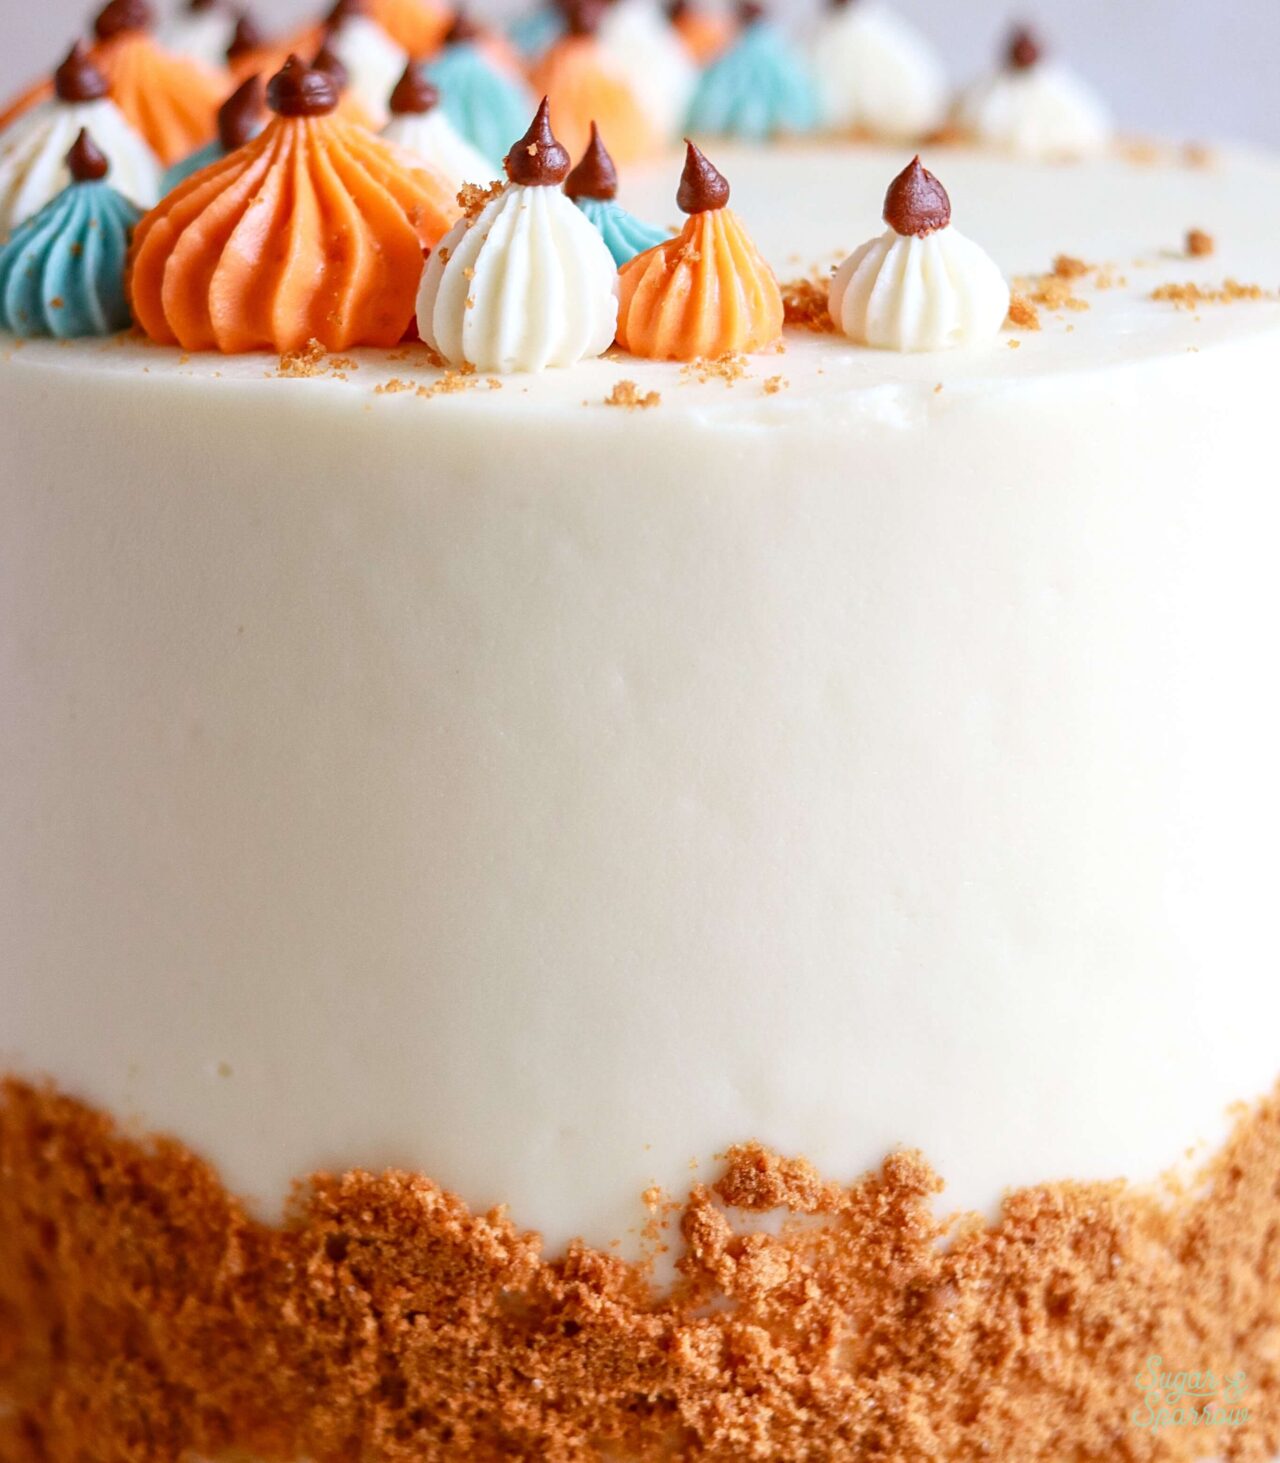
After filling and stacking the cake with cream cheese buttercream, I frosted a smooth buttercream finish and pressed some Biscoff cookie crumbs around the bottom third of the cake.
For the piped pumpkins on top of the cake: I divided the remaining cream cheese frosting into 4 different bowls and colored one bowl with Americolor Orange, the second bowl with a dusty blue called Wedgewood, the third bowl with Chocolate Brown, and left the last bowl uncolored. Then, I fitted one piping bag with Wilton Tip 6B to pipe the large orange pumpkins and three piping bags with Wilton Tip 4B for smaller orange, blue, and white pumpkins. I fitted one piping bag with Wilton Tip 3 for the brown pumpkin stems.
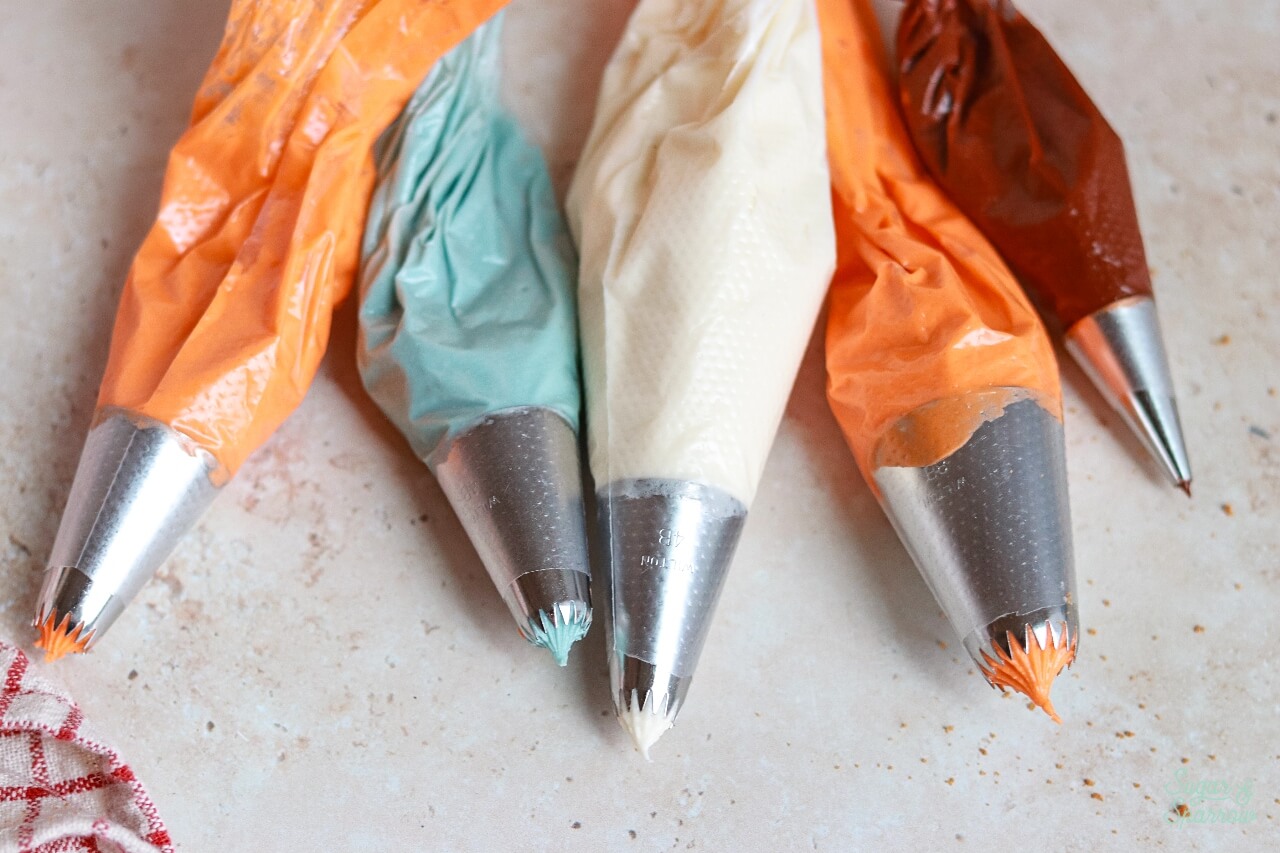
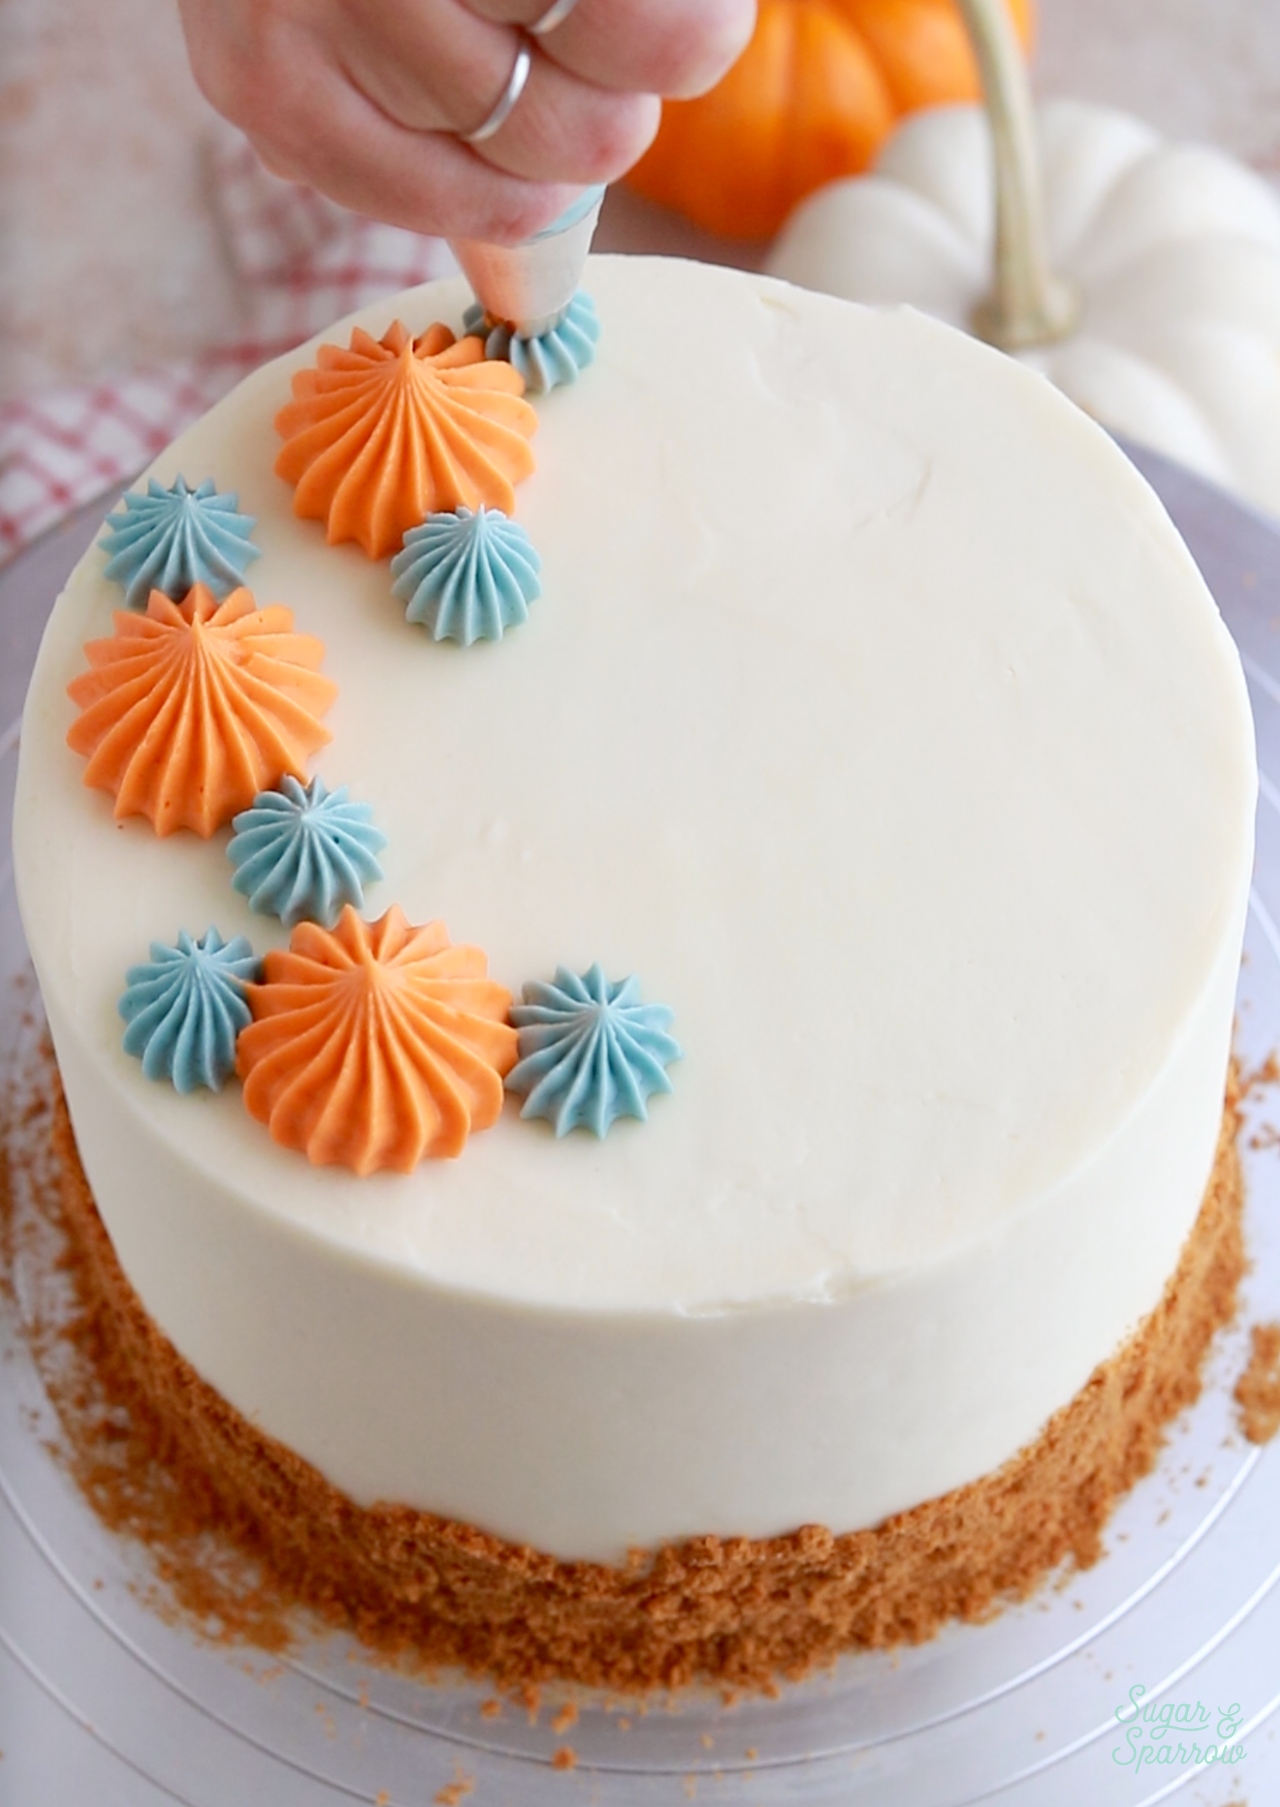
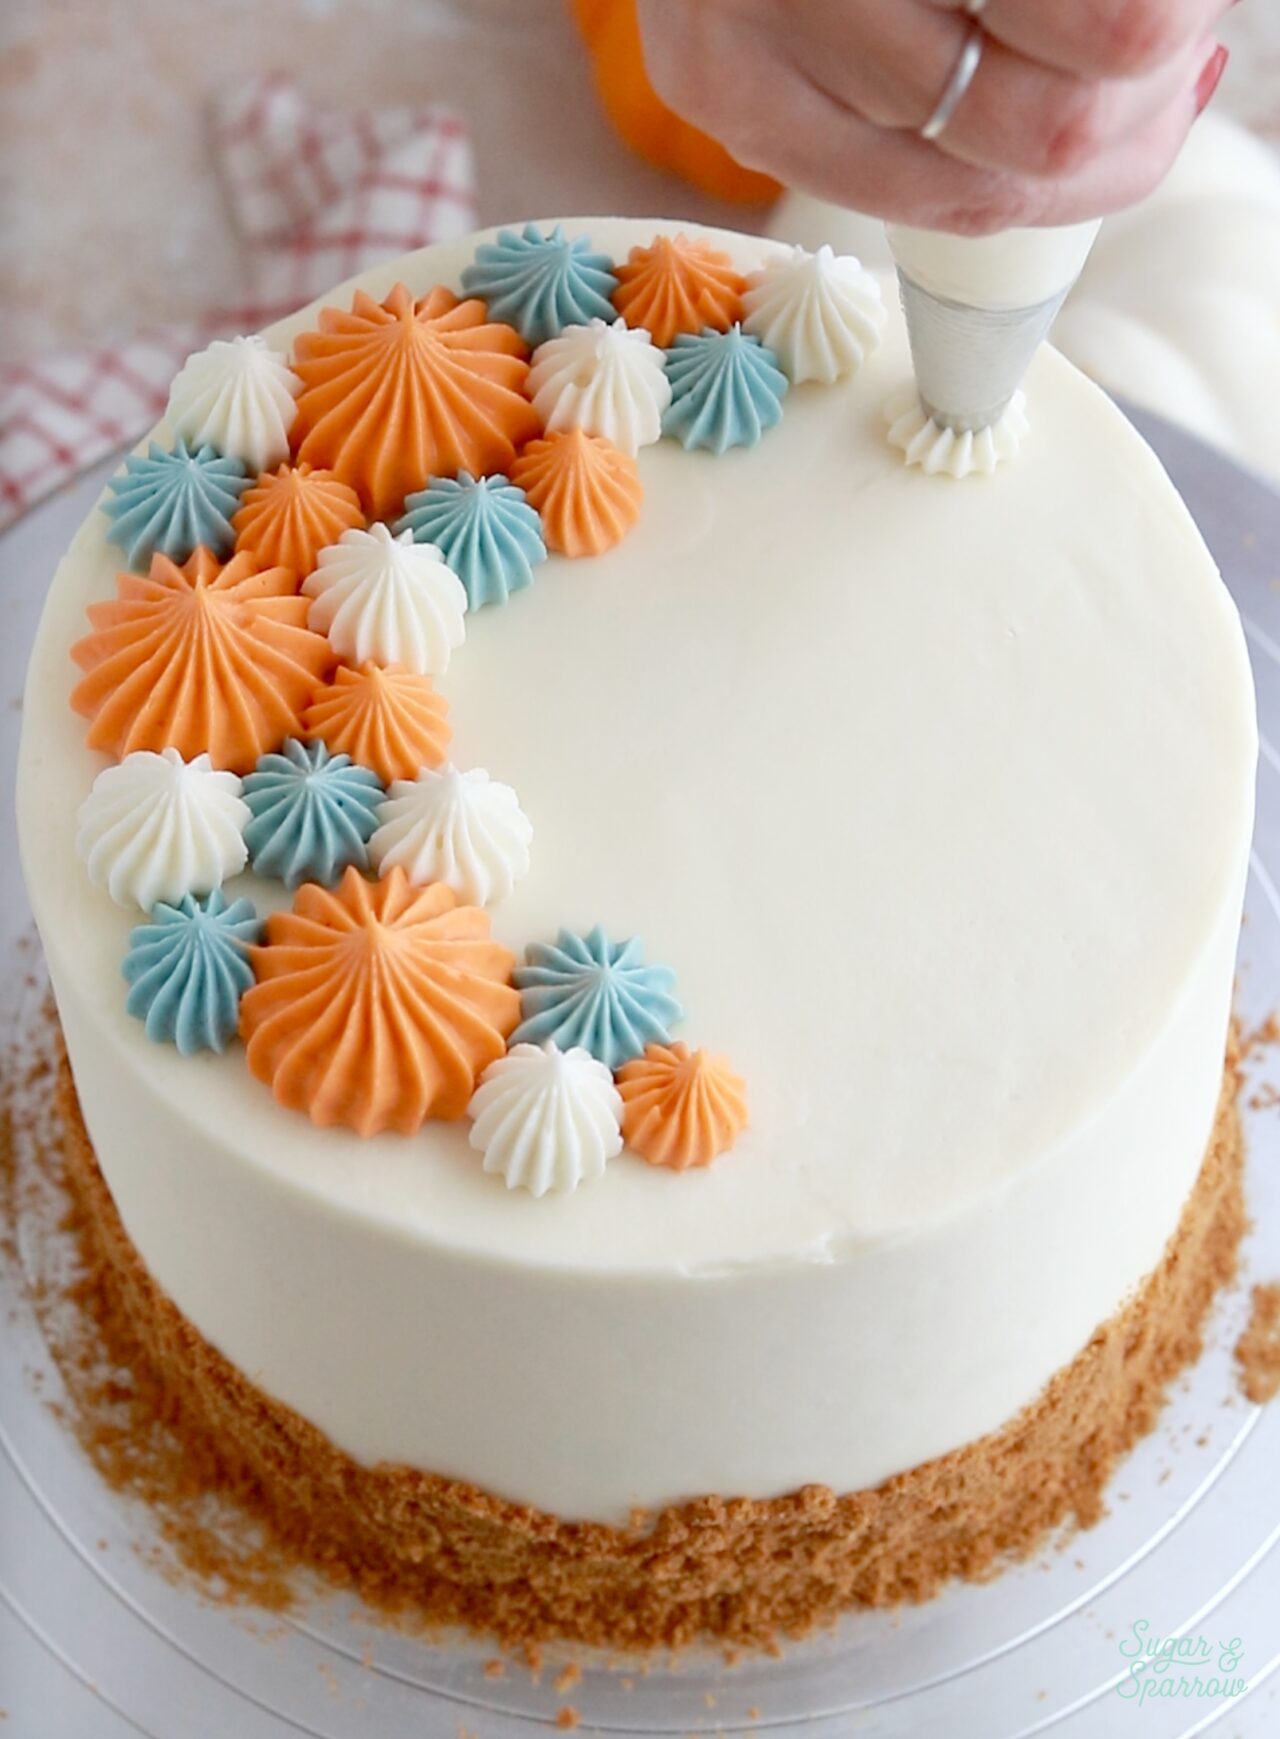

I piped the pumpkins into a crescent moon shape because it gives me all the feels, but you do you.
More Pumpkin Cake Recipes You’ll Love
If you’re a fan of pumpkin cake, here are some other recipes you’re sure to love:
- Pumpkin Biscoff Cake
- Spiced Chai Pumpkin Cake
- Pumpkin Cupcakes
- Pumpkin Chocolate Chip Cake
- Easy Pumpkin Sheet Cake
- Pumpkin Pie Layer Cake
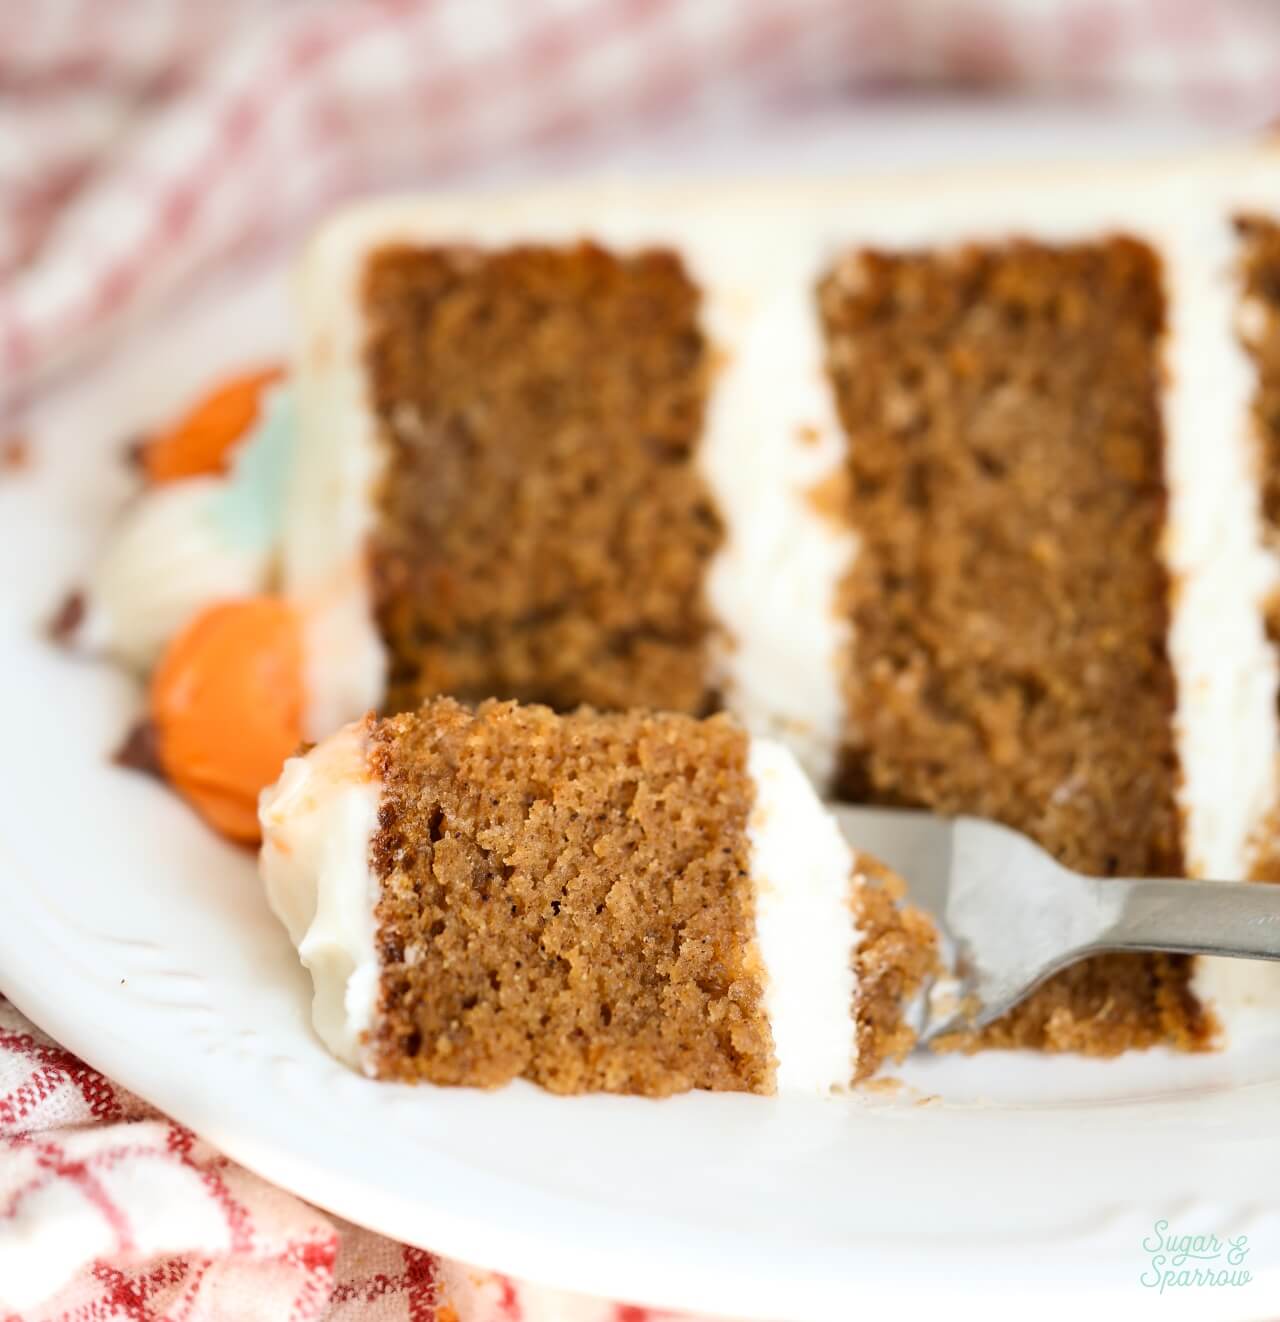
I hope you love this recipe as much as I do! Let me know if you make it in the comments below (be sure to leave a star rating!) and feel free to tag @sugarandsparrowco on Instagram to show me if you post a photo. I love to see what you create with my recipes!
Perfect Pumpkin Layer Cake
Ingredients
Pumpkin Layer Cake
- 2 Cups (265g) all-purpose flour
- 2 tsp baking powder
- 1 tsp baking soda
- 1 tsp salt
- 2 tsp ground cinnamon
- 1 tsp allspice
- 1 tsp nutmeg
- 1/2 tsp ground ginger
- 1 Cup (200g) packed brown sugar
- 1/2 Cup (100g) granulated sugar
- 1 Cup (240ml) vegetable oil or melted butter
- 4 large eggs, room temperature
- 15 Oz (425g) canned pumpkin puree
- 2 tsp pure vanilla extract
Cream Cheese Buttercream
- 1 Cup (226g) unsalted butter, room temperature
- 16 Oz (452g) cream cheese, room temperature brick-style, not the spreadable kind
- 8 Cups (960g) powdered sugar
- 1 Tbsp pure vanilla extract
- 1/2 tsp salt
Garnish (Optional)
- 3 Biscoff cookies, crushed into crumbs
Instructions
Make The Pumpkin Layer Cake
- Preheat the oven to 350ºF (177ºC) and prepare three 6-inch or two 8-inch cake pans by spraying the sides with baking spray and placing a parchment paper circle into the bottom of each one.
- In a medium bowl, whisk together the all-purpose flour, baking powder, baking soda, salt, cinnamon, allspice, nutmeg, and ground ginger. Set aside.
- In a separate large bowl, add the brown sugar, granulated sugar, oil (if using melted butter in place of the oil, cool it for 5-10 minutes prior to adding here), eggs, pumpkin puree, and vanilla extract. Whisk together until uniform, then add the flour mixture and whisk until smooth.
- Pour the batter evenly between the prepared cake pans and bake for 32-36 minutes, until a toothpick inserted comes out clean or with just a few moist crumbs. Cool the cakes in the pan for five minutes before removing and transferring to a wire rack to cool completely to room temperature.
Make The Cream Cheese Buttercream
- In the bowl of a stand mixer fitted with the paddle attachment, cream the butter and cream cheese on high until light, fluffy, and uniform (no lumps), about five minutes. Turn the mixer to low and add the powdered sugar a few cups at a time, mixing thoroughly after each addition. Add the vanilla and salt, mixing on low speed for another 1-2 minutes, until completely uniform and smooth.
Assembly
- Before you begin, make sure your cream cheese frosting is stable enough for cake decorating (it can be notoriously soft, especially in a warm kitchen). If it seems too soft, refrigerate the whole bowl for about 15-20 minutes before re-mixing with your stand mixer on low speed.
- Once the pumpkin cake layers have cooled completely, level them to your desired height. Add a swipe of cream cheese frosting onto a cardboard cake round and place one of the cake layers on top. Place onto a turntable with a non-slip pad underneath. Add cream cheese frosting on top of the cake layer and smooth it down until it’s about ½ inch tall, then place the next cake layer on top and repeat. When you reach the final cake layer, place it upside down so that the bottom of the layer is the top of the cake. Then, crumb coat the cake with a thin layer of cream cheese frosting and refrigerate the cake for 15-20 minutes to let the crumb coat firm up.
- To create the look pictured, use the cream cheese frosting to create a smooth buttercream finish on the cake and press the Biscoff cookie crumbs onto the bottom third of the cake. Divide the remaining cream cheese frosting amongst four small bowls.
- Create the Piped Pumpkin Design: Add orange food coloring to the first bowl, dusty blue food coloring to the second bowl, chocolate brown to the third bowl, and keep the fourth bowl uncolored. Fit a piping bag with Wilton Tip 6B and fill it with the orange frosting, then fit two piping bags with Wilton Tip 4B and fill one with the white frosting and one with the blue frosting. Fit a final piping bag with Wilton Tip 3 and fill it with the brown frosting. On the top of the cake, use the piping bag with the orange buttercream to pipe pumpkins of various sizes in a crescent shape (halfway along the top edge with space in between for other pumpkin colors). Fill in the spaces of the crescent shape with white and blue pumpkins. Finish the look by piping stems on each pumpkin using the brown frosting.
Notes
- The pumpkin cake layers can be made ahead and stored, wrapped in plastic wrap, at room temperature for up to two days. Alternatively, you can store the wrapped cake layers in the freezer for up to 2 months before thawing and frosting.
- The cream cheese buttercream can be made ahead and stored in an airtight container in the refrigerator for up to two weeks. When you’re ready to use it, bring it back to room temperature and re-whip in your stand mixer to bring back to smooth buttercream consistency.
- The assembled pumpkin layer cake can be made ahead and must be stored in the refrigerator. It will last 4-5 days refrigerated, but is freshest closer to the assembly date. When you’re ready to serve, bring the cake back to room temperature by taking it out of the refrigerator 1-2 hours beforehand.
Looking for the Original Recipe? This pumpkin layer cake has been a Sugar & Sparrow favorite since 2019! I’ve continued to test and refine the recipe over the years, and the recipe above is the version I currently recommend. If you’ve made the original version and would like to revisit it, I’ve saved a copy here.

Hi, how many servings will the 3 – 6” cake make? I like the height but not sure it’s enough for our Thanksgiving crowd…love your recipes BTW!
Hi Diana! It serves about 15. Here’s a chart I made that shows how many servings each cake size makes and how to alter the recipe to suit your needs: https://sugarandsparrow.com/cake-serving-guide/
Making today, what would be the bake time for 8” pans 40-45 minutes? Thank you
Hi Mary! The time for 8″ cakes will still be in the 35-40 min range. Hope that helps!
I made it for a cake and was great!!! Do you think will be posible to use the same recipe for a Bundt pan?
Yay, Lola! So happy to hear that you loved this recipe! I think it’ll work just fine in a bundt pan, I’m just not sure about the exact baking time. I’d check for doneness around the 45 minute mark and add 5-10 minutes from there. Hope that helps!
Thanks a lot <3
Could you possibly swap out the flour for a gluten free flour and add cornstarch to make it work like a cake flour?
Hi Linda, I’ve never tried that before so I’m not sure what the results will be! But let me know if you try it.
Yummy and super duper soft! I personally would add a little bit more spice next time but that’s just a preference. So moist that I slightly under baked it (noticeable in the cross section) but did not ruin it. Paired well with brown butter frosting 🙂
So happy you loved this recipe, Samantha! I love this cake with brown butter frosting too 🙂
Can I make this in a bundt pan? Any changes you would recommend if I do that?
I just saw the above comment about a bundt cake! I will give it a try.
Yay! Perfect timing on that comment 🙂
Made this for Thanksgiving because my mom was wanting a Nothing Bundt Cakes Pumpkin Spice cake and I thought I could probably make one just as good. It got rave reviews and worked well in a bundt tin — although I would do 1 1/2 times the recipe next time, just to fill the pan up the right amount.
Yay, Caitlin! I’m so pleased to know that this recipe works well in a bundt pan! Thanks for letting me know. I’m so happy it was a hit!
Great cake. Delicately spiced. One taster remarked it was like pumpkin pie in cake form! Next time I make it I’ll make the pumpkins in buttercream, not cream cheese frosting. The CC frosting is too “stretchy” and my pumpkins were a bit long and pointy for my liking. This made a ton of frosting…more than enough for 3 six inch layers! Left overs for carrot cake pancakes this weekend! =)
Delicious! I doubled the recipe and made a three layer cake and 18 cupcakes for a baby shower for my daughter-in-law! Thank you for this wonderful recipe, everyone loved it! I will definitely try more of your recipes for other items!
Yay, Tammi! That makes me so happy! Thanks for letting me know it was a hit 🙂
I have been baking with the fervor of an April 2020 Portlander. I made this cake today, with your Vanilla Chai Buttercream recipe. I am a gluten-free baker, and opted to not transform my flour blend to cake flour. It was a little dense as i expected it would be (I may have underbaked one layer) but so flavorful! I went by measurement, not weight, since gf flour can be a little heavier, which may have also contributed. But OMG! this was so good!
Oh my gosh that flavor combo sounds heavenly! I need to try that asap! I’m so glad the GF version worked out
Definitely make this but I am going to use sweet potato puree instead of pumpkin because I don’t like pumpkin flavor I will let you know how it turned out thanks for the recipe
What would be a corresponding number tips for the pumpkins. I have a huge a selection but none of them have letters
Hi Cathy! You can use pretty much any open star tips for the pumpkins. If yours don’t have numbers on them, just look for a tip that looks similar to Wilton Tip 4B and 6B. Hope that helps!
I’m making my niece’s wedding cake in October and had already decided on pumpkin spice with cream cheese frosting when I saw this on Pinterest! Have you baked a 10- or 12-inch layer with this recipe, and if so, do you know how many batches of batter 8 should make?
Hi Jessica! I haven’t baked this cake in pans that size but it should totally work! This recipe makes about 7 Cups of batter. You’ll need about 6 cups of batter per 10×2 inch pan and 8 Cups of batter per 12×2 inch pan. Hope that helps!
Baked this yesterday and frosted it today for my niece’s wedding! 6, 9 and 12 inch layers. Delicious! Received so many compliments! And I was pretty pleased with my piped pumpkins and the toasted cake crumbs on the sides!
Yay, Jessica! I’m so happy to hear that this recipe was a hit and was fun to make!
Is it possible to cut back on the powdered sugar in the frosting? I like frosting to be buttery/rich as opposed to sweet.
Thanks!
Hi Karn! I’ve already cut back on the sugar in this recipe (most cream cheese frosting use 5-6 cups with this amount of other ingredients). That said, you could decrease the powdered sugar by 1/2 Cup and balance it out by not adding as much liquid. Hope that helps!
Hi! I am making this recipe today for my sons bday. I just have a question with the powdered sugar. Is it 8 cups of powdered sugar? I feel like it’s too many, can I cut to lesser sugar?
Thank you!
Hi Keysi! Yes, 8 cups is correct. It makes enough to fill and frost a triple layer cake. You can certainly try adding less powdered sugar, but the less you add the thinner the frosting will be. The salt and cream cheese in this recipe help cut the sweetness though. Enjoy!