
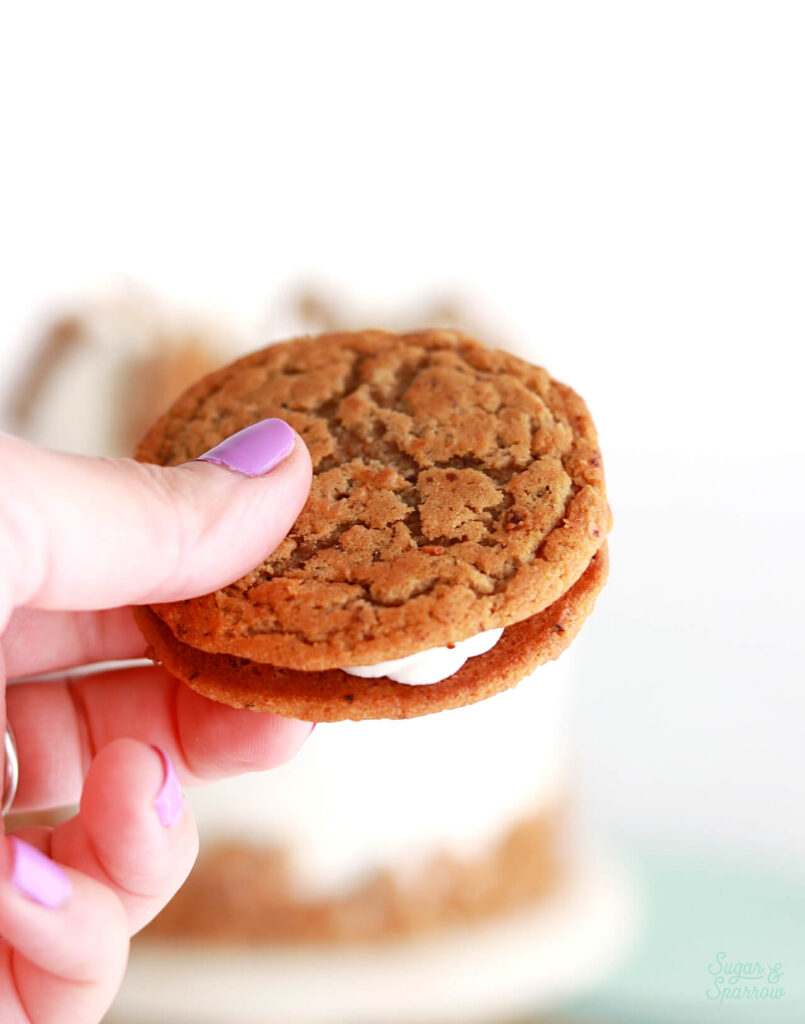
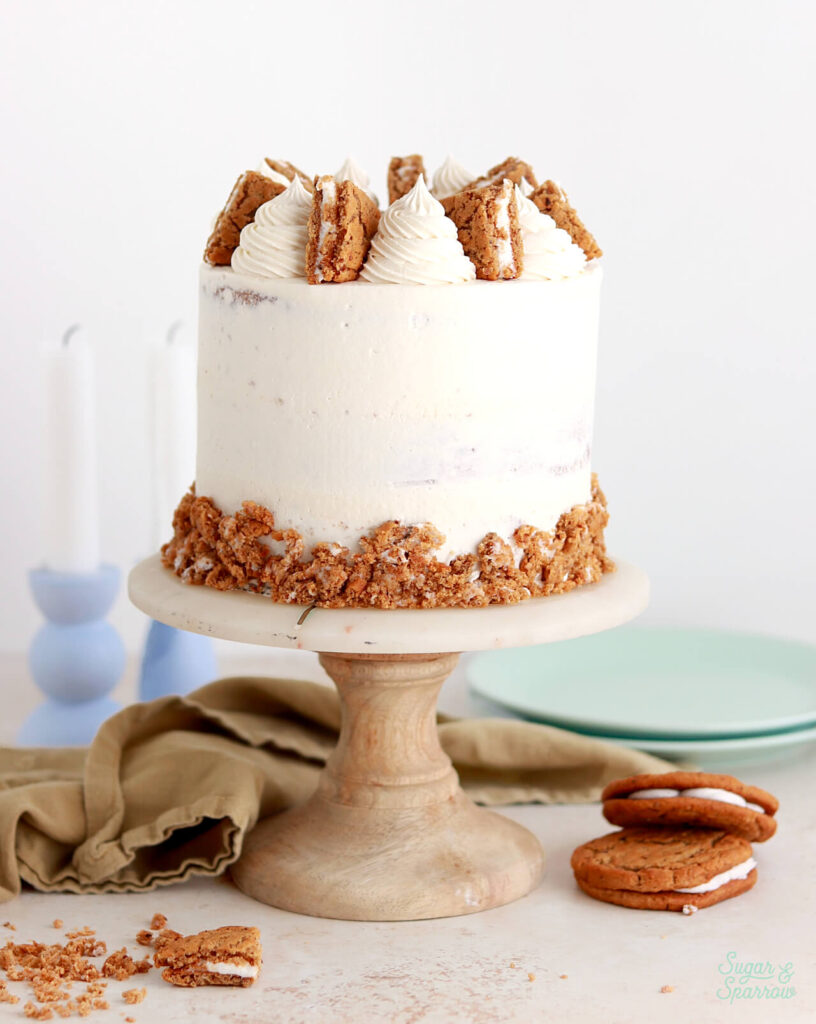
This oatmeal creme pie cake is heavily influenced by my grade school era, which conjures memories of Oatmeal Creme Pies and so many other delicious, processed treats (it was the 90’s, y’all)! Inspired by those chewy marshmallow-filled oatmeal cookies, the cake version is brown sugar oatmeal cake layers with the ideal oat texture, filled with deliciously gooey marshmallow filling. If Oatmeal Creme Pies make you nostalgic, you’re going to LOVE this recipe!
This post may contain affiliate links. For more information, see our disclosure policy.
Why You’ll Love This Recipe
- The perfect Oatmeal Creme Pie flavor profile. The flavors going on in this cake are spot on when compared to an actual Oatmeal Creme Pie, but I would say it’s even better because the marshmallow filling is thicker and softer.
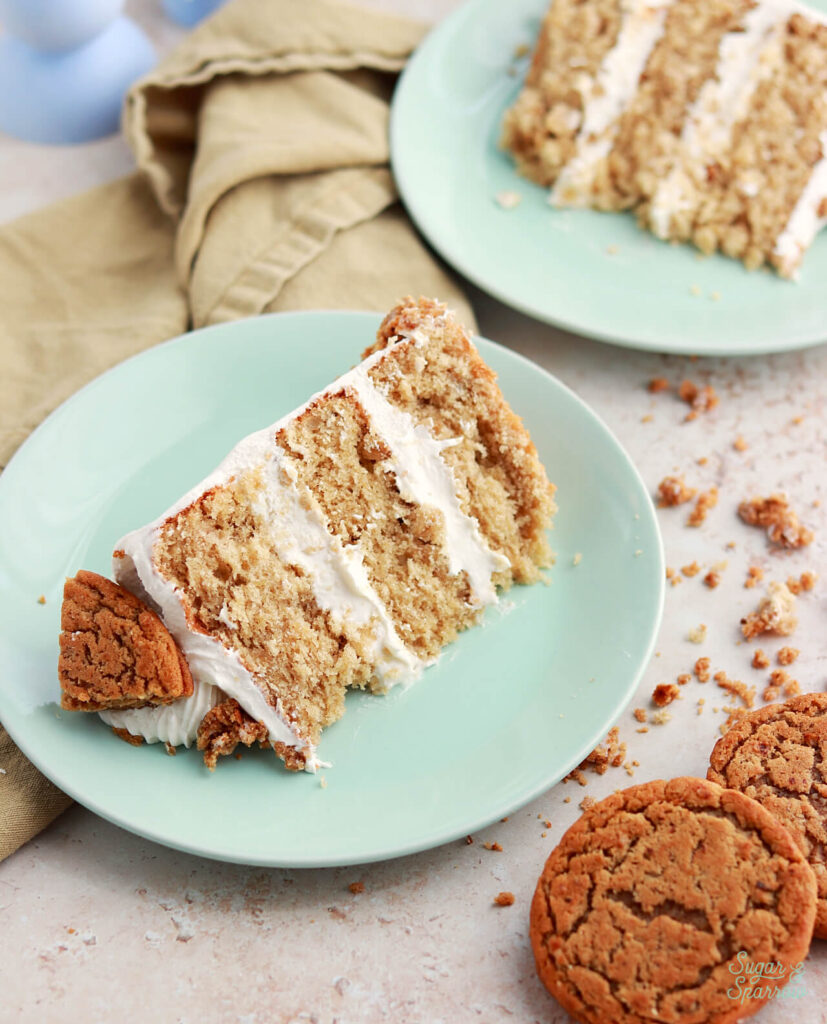
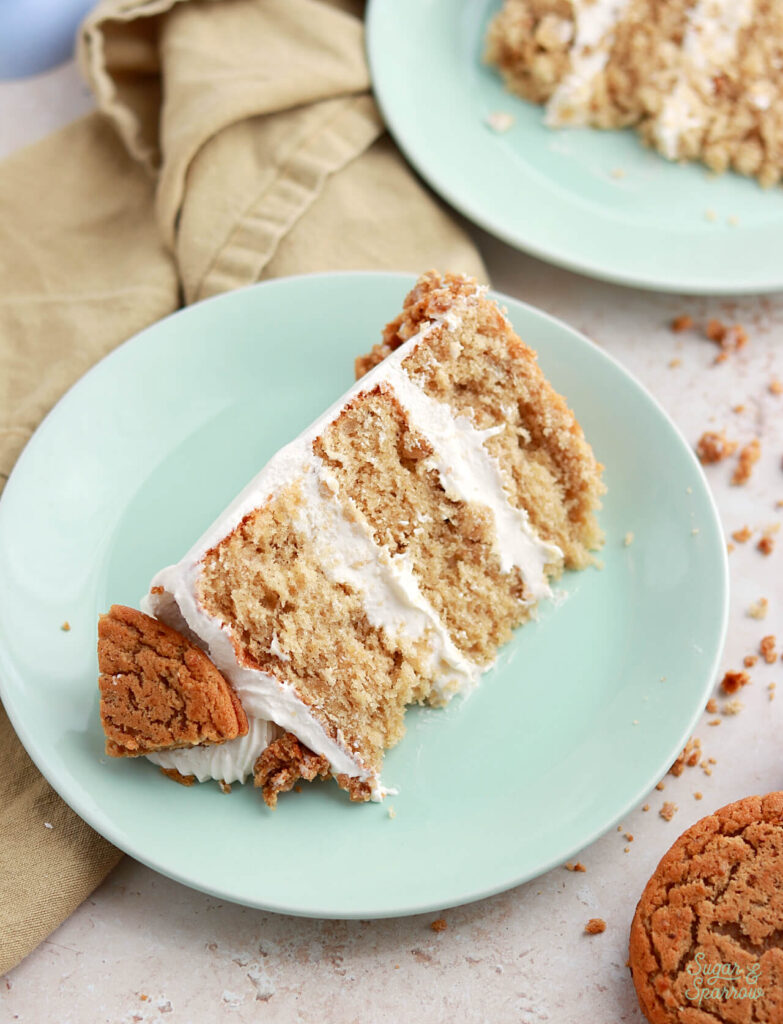
- The ideal oatmeal cake layers. I spent a lot of time perfecting the oatmeal cake layers and it shows! They’re super moist with the addition of brown sugar, sour cream, and oil, and have incredible oatmeal flavor and texture from ground quick oats.
- Deliciously gooey marshmallow filling. I use an entire 7 oz can of Jet-Puffed Marshmallow Creme in the marshmallow filling recipe, which gives it the ideal flavor and gooey texture.
- So nostalgic. Anyone who grew up enjoying Oatmeal Creme Pies will be giddy over this cake and consider it a fun throwback!
Moist Brown Sugar Oatmeal Cake
It took me several attempts to get the perfect oatmeal layer cake down, but this tried-and-tested version was worth it all. It’s soft, moist, and basically tastes like a delicious oatmeal cookie in cake form! The first couple attempts I tried soaking old fashioned rolled oats in milk to soften them, then tried actually making oatmeal (with hot water) and cooling it down before adding it to the cake batter. Neither of those versions turned out quite right. What did work was pulsing the rolled oats in a food processor to grind them into tiny pieces before adding it in with the dry ingredients. Perfect oatmeal flavor, no giant bits of oats in the cake, and the texture of the cake is ideal.
Here are some key ingredients that make the cake layers so special:
- Old-Fashioned Rolled Oats. As mentioned earlier, I used a food processor to grind the oats into a fine consistency before adding them to the cake batter with the dry ingredients. This yields the ideal flavor and texture! As an alternative to the old-fashioned rolled oats, you could use quick oats. They’re already chopped pretty small, but if you have a small food processor I still recommend giving them a pulse or two to make the pieces even finer.
- Cake Flour. This keeps the overall texture of the cake light and soft even with the addition of the oats. If you don’t have easy access to store bought cake flour, here’s a recipe for homemade cake flour.
- Brown Sugar. Adding brown sugar along with granulated sugar enhances the moisture level of this cake, softens the crumb, and adds richness to the overall flavor.
- Cinnamon and Vanilla. The ideal flavor enhancers for the brown sugar oatmeal flavor in this cake.
- Vegetable Oil. This is still a butter-based cake, but adding a little vegetable oil moistens the crumb perfectly. You can use plain vegetable oil or any neutral oil you prefer for baking.
- Sour Cream. I love adding sour cream to this cake to create a richer crumb in addition to making it extra moist. If you don’t have sour cream on-hand you can easily substitute it with an equal amount of plain yogurt or creme fraiche.
- Whole Milk. Since it has a high fat and protein content, whole milk is best for creating a moist, rich crumb for these cake layers. You can technically substitute this with any dairy or non-dairy milk, but use whole milk for best results.
Gooey Marshmallow Cake Filling
This homemade marshmallow creme filling is so soft and gooey, rich with marshmallow flavor, but not overly sweet. It’s better than actual Oatmeal Creme Pie filling (in my humble opinion), and just perfect for this cake! Most of the marshmallow flavor and billowy texture comes from Jet-Puffed Marshmallow Creme. If you can’t find this ingredient locally, here’s what I recommend as a substitute:
- Make this marshmallow meringue frosting instead but halve the recipe to make just enough for the filling, OR
- Double the vanilla buttercream frosting recipe and add 1 tsp of marshmallow flavoring, then use it as the filling and frosting for this recipe.
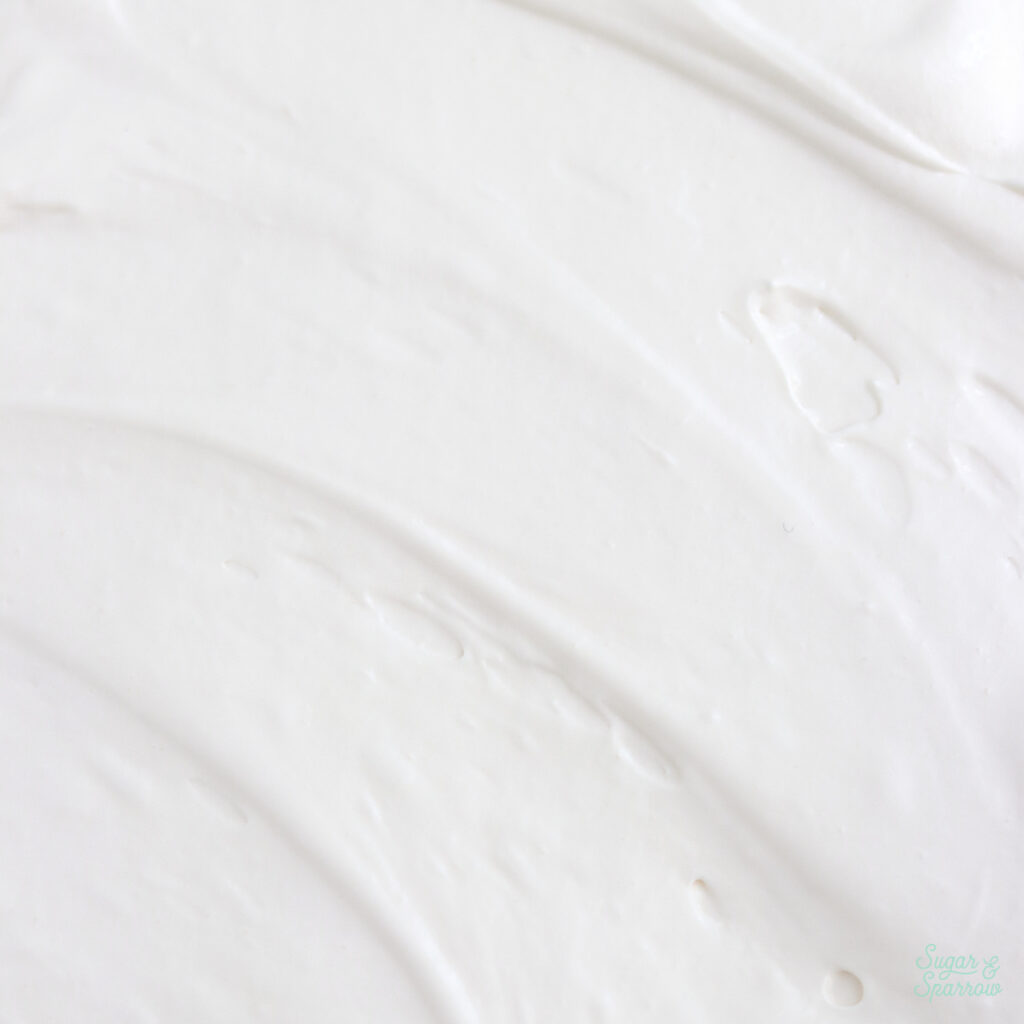
Since the marshmallow creme filling is so soft and gooey, it does need some extra support in the form of a buttercream dam, which is why you see vanilla buttercream in the recipe below. You basically pipe a ring of buttercream around the edge of the cake layer before filling in the center with the marshmallow creme filling. When you place the next cake layer on top, the ring of buttercream upholds the weight of it and keeps it from squishing out all of your precious marshmallow filling. The soft fillings section of this blog post explains exactly how it’s done.
How to Decorate an Oatmeal Creme Pie Layer Cake
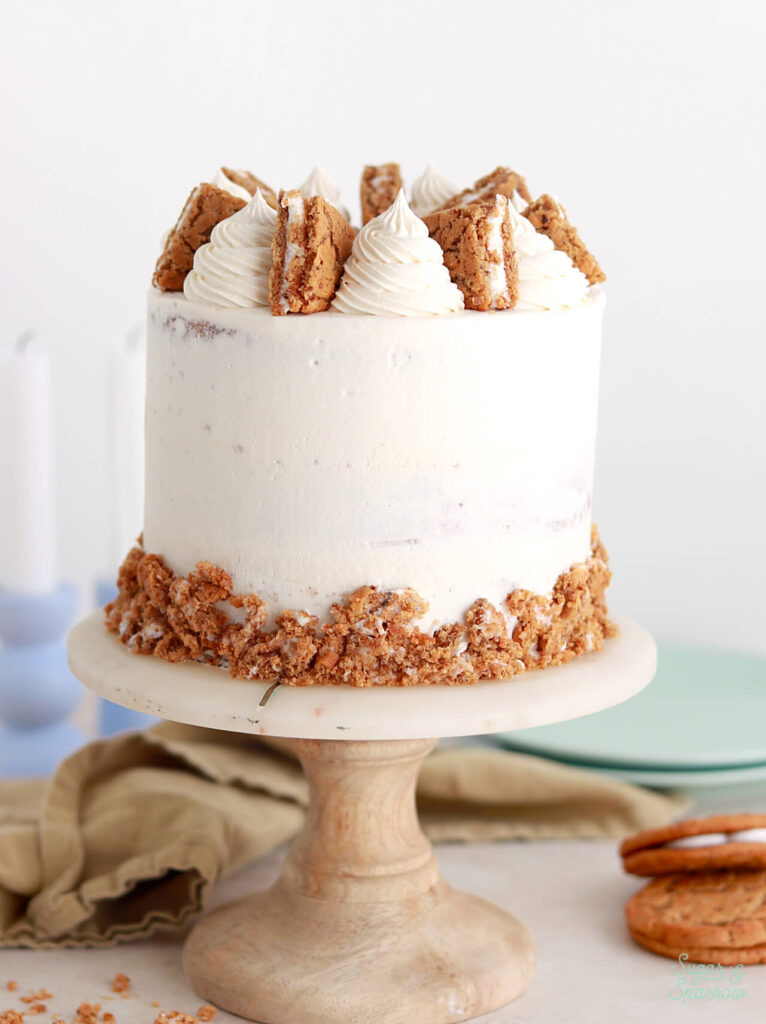
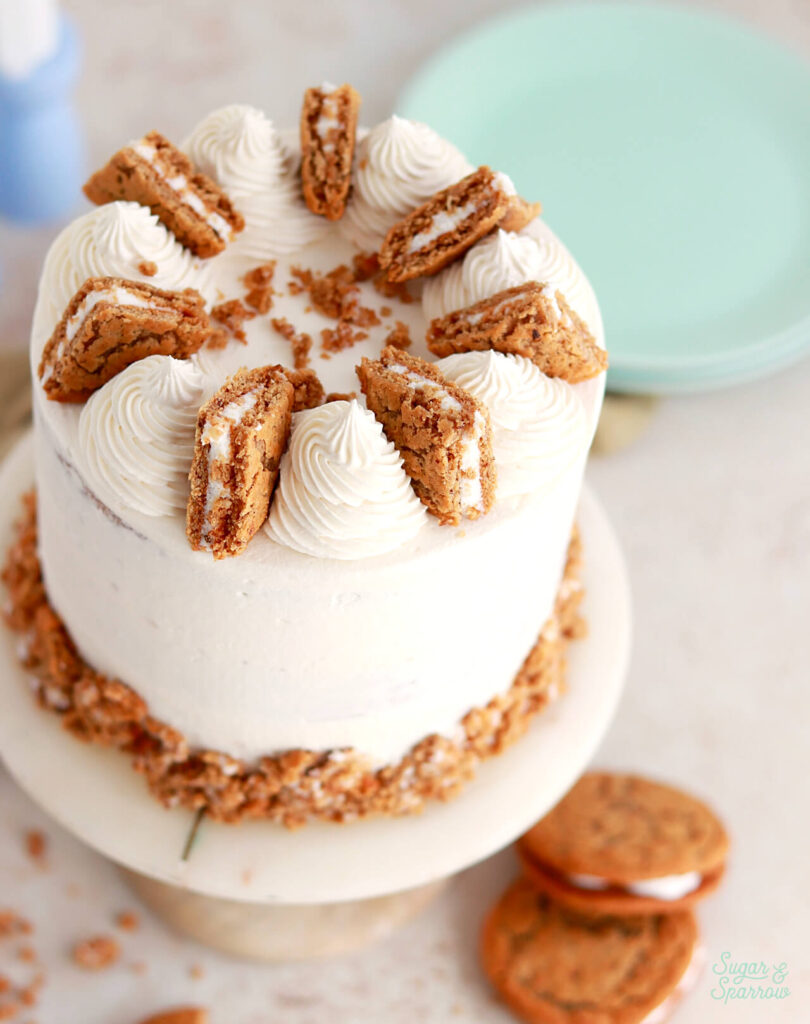
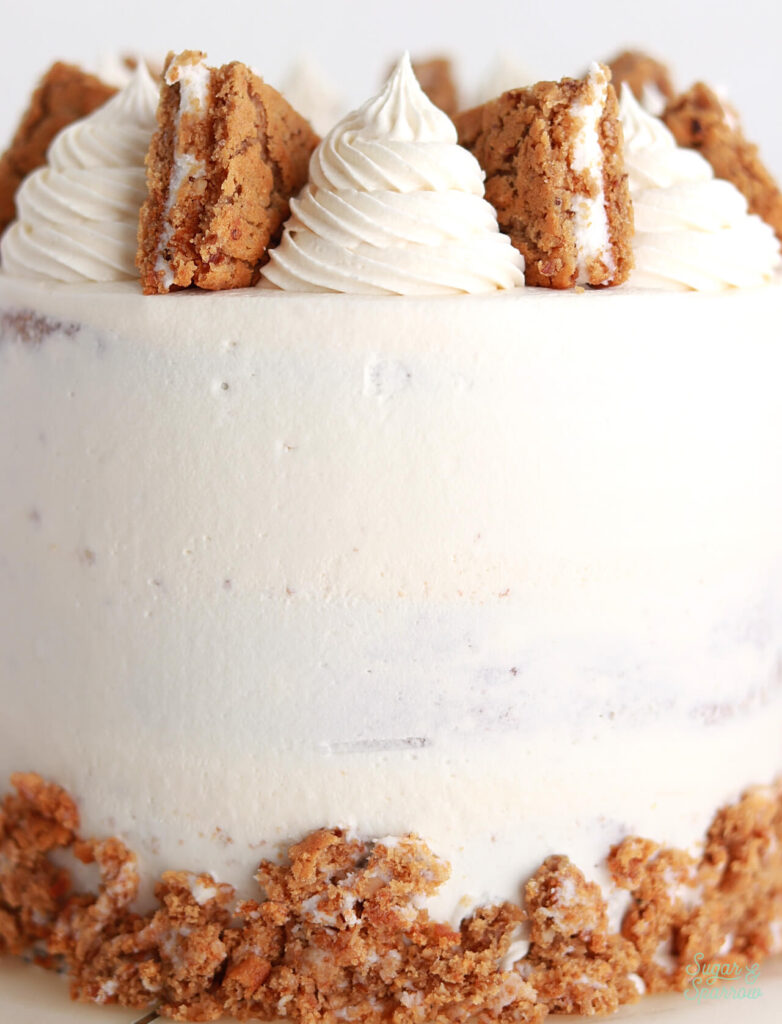
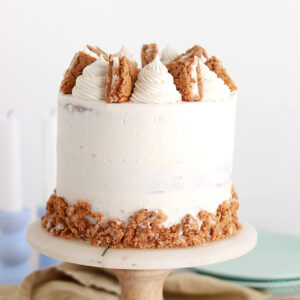
After filling and stacking the oatmeal cake layers with marshmallow filling, I wanted to keep things simple for the cake decorating and focus mostly on highlighting flavor. I used the vanilla buttercream to frost a semi-naked frosting finish, then crumbled up some actual Oatmeal Creme Pies and pressed them onto the bottom third of the frosting. To finish the cake, I piped swirls with Wilton Tip 4B and placed a quartered Oatmeal Creme Pie in between each one. It turned out so cute!
Nostalgic Cake Recipes to Try Next
If this oatmeal creme pie cake has you feeling nostalgic, here are some more throwback cake recipes to add to your baking list:
- Hostess Cupcake Layer Cake
- Dunkaroos Layer Cake
- Cherry Chip Cake
- Oreo Layer Cake
- The Ultimate Snickers Cake
I hope you love this oatmeal creme pie cake as much as I do! If you make it, let me know how it went in the comments below (don’t forget to leave a star rating!) and feel free to tag @sugarandsparrowco on Instagram if you post a photo. I love to see what you create with my recipes!
Oatmeal Creme Pie Cake
Ingredients
Brown Sugar Oatmeal Cake
- 3/4 Cup (71g) old-fashioned rolled oats, ground into small pieces quick oats work as well
- 1 3/4 Cups (186g) sifted cake flour* DIY recipe in notes
- 1 1/2 tsp baking powder
- 1/4 tsp baking soda
- 1 tsp ground cinnamon
- 1/2 tsp salt
- 1/2 Cup (113g) unsalted butter, room temperature
- 2 Tbsp (30ml) vegetable oil
- 1/2 Cup (100g) granulated sugar
- 1/2 Cup (100g) packed brown sugar (light or dark)
- 2 large eggs, room temperature
- 1/4 Cup (60g) sour cream, room temperature
- 2 tsp pure vanilla extract
- 1 Cup (240ml) whole milk, room temperature
Marshmallow Creme Filling
- 1/2 Cup (113g) unsalted butter, room temperature
- 1 Cup (105g) powdered sugar
- 7 Oz (198g) Jet-Puffed Marshmallow Creme**
- 1 tsp pure vanilla extract
- pinch of salt, or to taste
Vanilla Buttercream Frosting
- 1 Cup (226g) unsalted butter, room temperature
- 3 1/2 Cups (420g) powdered sugar
- 2 tsp pure vanilla extract
- 2 Tbsp whole milk, room temperature
- pinch of salt, or to taste
Garnish
- 2 Oatmeal Creme Pies, quartered
- 2 Oatmeal Creme Pies, crumbled
Instructions
Make the Brown Sugar Oatmeal Cake
- Preheat the oven to 350°F. Prepare three 6-inch cake pans or two 8-inch cake pans by spraying the sides with baking spray and fitting a wax or parchment paper circle to the bottom of the pans. Alternatively, you can grease and lightly flour the pans.
- Using a food processor, pulse the old-fashioned rolled oats into small pieces and place them into a medium bowl. Add the cake flour, baking powder, baking soda, cinnamon, and salt. Whisk to combine and set aside.
- In the bowl of your stand mixer (a handheld mixer works fine too!), cream the butter on high until creamy, about 2 minutes. Add the vegetable oil, granulated sugar, and brown sugar and continue mixing on medium-high for another 2 minutes. Scrape down the bowl and paddle.
- Turn the mixer to low speed and mix in the eggs one at a time. Add the sour cream and vanilla, then turn the mixer to high speed and beat for 1 minute.
- With the mixer on low speed, add in the dry ingredients and mix until just combined, then add the milk in a slow stream and mix until just incorporated. Scrape down the sides and bottom of the bowl and give it a few stirs by hand to make sure there are no large lumps. The batter will be thick.
- Divide the batter evenly between the prepared cake pans and bake for 30-35 minutes. They're done when they spring back to the touch and a toothpick inserted into the middle comes out clean. Let the cakes cool in the pan for five minutes before turning them out onto a wire rack for an additional few hours of cooling. Make sure they're entirely room temperature before applying any frosting.
Make the Marshmallow Creme Filling
- In the bowl of a stand mixer with the paddle attachment or using a hand mixer, whip the butter on high speed until smooth and creamy, about 5 minutes. Turn the mixer to low speed and add the powdered sugar. Mix until fully combined, about 2 minutes.
- Add the Jet-Puffed Marshmallow Creme, vanilla, and salt. Continue to mix on low speed until combined and uniform, 1-2 minutes.
Make the Vanilla Buttercream Frosting
- With a hand mixer or paddle attachment on your stand mixer, cream the butter on medium-high until it’s creamy and light (almost white) in color. About 7 minutes.
- Turn the mixer to low speed and add the sifted powdered sugar one cup at a time, scraping down after each addition and making sure each cup is fully incorporated before adding the next one.
- Add the vanilla, milk, and salt and mix on low for another minute until fully incorporated, 1-2 minutes.
Assembly
- Once the cake layers have cooled completely, level and torte each layer to your desired height. Add about 1 Cup of vanilla buttercream into a piping bag and snip off 1/2 inch opening.
- Place the first cake layer on a turntable and pipe a circle of vanilla buttercream around the edge of the cake layer. Fill in the center with half of the marshmallow cream filling. Here's a detailed tutorial on this filling method in case this is your first time working with a soft filling.
- Place the next cake layer on top and repeat the process of piping the vanilla buttercream and filling in the center with the rest of the marshmallow cream filling. Place the final layer on top, upside down so that the bottom of the cake layer is the top of the cake. Crumb coat the cake with vanilla buttercream and place it in the refrigerator for at least 20 minutes to let everything set up.
- To create the look pictured, use an icing smoother to create a semi-naked frosting finish with vanilla buttercream, then press the crumbled Oatmeal Creme Pies onto the bottom third of the cake. Place the cake into the refrigerator for about 10 minutes to let the frosting set while you add the rest of the vanilla buttercream into a piping bag fitted with Wilton Tip 4B. Pipe swirls around the top edge of the cake, leaving about 1/4 inch between each swirl, then place a quartered section of Oatmeal Creme Pie in between each swirl.
Notes
- The cake layers can be made ahead and stored at room temperature, covered tightly in plastic wrap, for up to two days. Alternatively, you can cover with plastic wrap and store in the freezer for up to two months before thawing to room temperature.
- The marshmallow cream filling can be made ahead and stored in an airtight container for up to two weeks.
- The vanilla buttercream can be made ahead and stored in an airtight container in the refrigerator for up to two weeks. When you’re ready to use it, bring it back to room temperature and re-mix with your mixer on low speed until smooth and creamy.
Did you make this cake? I want to know how it went. Let me know what you think in the comments below and feel free to tag @sugarandsparrowco on Instagram to show me! I love to see your bakes.

I have a curious question, I would love this recipe could I add an apple compote between layers or in cake? I am wanting to make soon it looks incredible!!
Hi Theresa! This cake would be amazing with apple compote in between the layers! I would recommend that rather than adding it into the cake batter. Enjoy!
I can’t wait to try this!
Yay, Ty! Let me know what you think when you make it!
Can I use this to make cupcakes?
Hi Erin! Yes, you can make this cake as cupcakes. Fill the cupcake tins no more than 2/3 full and bake at 350F for 15-18 minutes. Fill with the marshmallow creme filling and top with vanilla buttercream. Hope that helps!
I made this for my 63rd birthday and it was spectacular! I used three 8-inch pans b/c I wanted a 3-layer cake and didn’t have 6-inch and baked for 23 minutes and they were perfect. I’ve been drafted to make this for my Nephew’s birthday in 2 weeks as he also has the same favorite snack and will absolutely love it. Thoughts on increasing the recipe for three 8-inch layers and get taller layers? We have a big family, so I hope it will go further and the Nephew can save a slice or two for the freezer (because it freezes well!). Thanks for an excellent recipe!
Hi David! Happy birthday!! I’m so glad you loved this recipe and want to make it again for your nephew. To make three 8-inch layers, you’ll want to make 1.5x the recipe, so multiply each ingredient by 1.5. This will make the perfect amount of batter for that cake size and give you 2″ tall layers. Hope that helps!
Question…do you measure then sift the flour or sift the flour then measure it??
Hi Danielle! I sift and then measure the flour.
What type of oats do you use, quick cooking or old fashioned?
Hi Rebecca! I have made this recipe with old fashioned rolled oats and with quick oats, both work great!
I’m planning on making this for my husbands birthday this weekend! I can’t wait to see how it turns out! I’ll be using old fashioned oats…
Yay! I hope he loves it!