
UPDATE 2023: I recently found a way to make black buttercream with ZERO food color gel, so if you’re looking for a dye-free alternative be sure to check out this recipe.
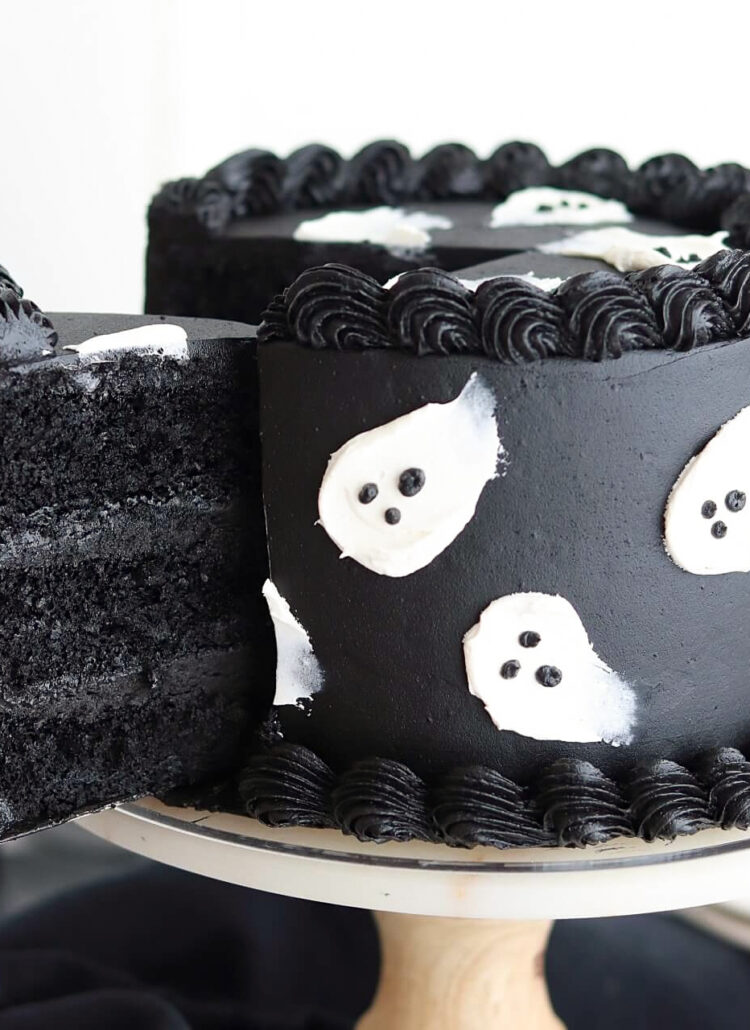
Spooky season is here and with it, lots of black buttercream cakes. I’m no stranger to the trend and before now I’ve stuck with a method of making my Favorite Chocolate Buttercream recipe and adding a few Tbsp of AmeriColor Super Black. Since this food color gel is tasteless, the black buttercream still tastes like chocolate buttercream but there is one little problem: it stains teeth temporarily (among other things). So I thought I’d do a little research and experimenting to see if I could create a black buttercream recipe that not only tastes great, it uses as little food coloring as possible to get a nice deep color.
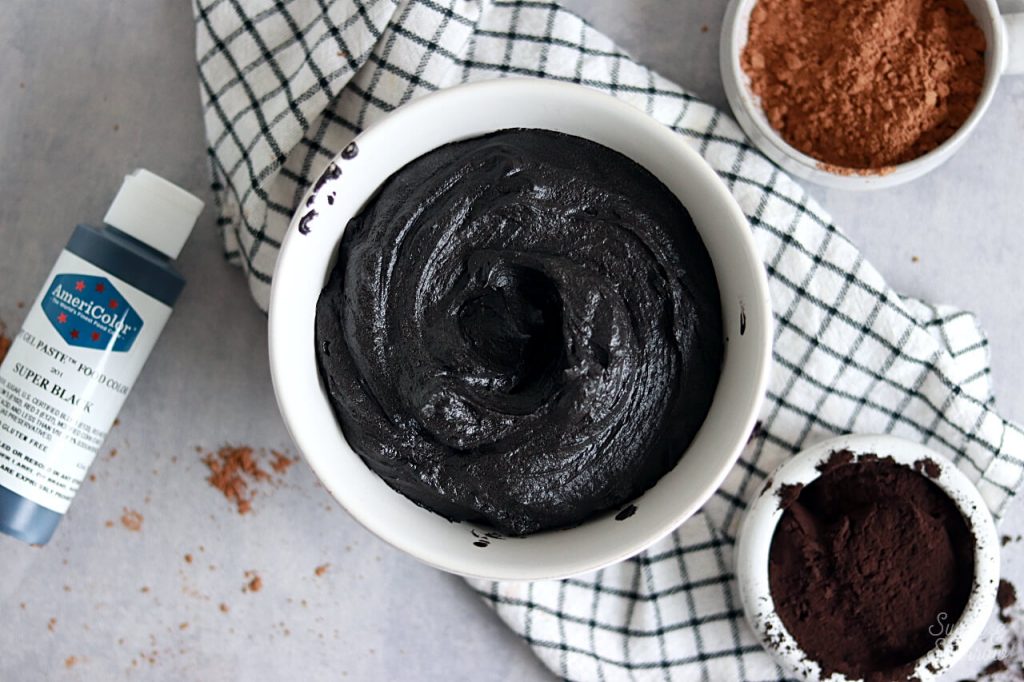
First, I ordered some black cocoa powder. It’s cocoa powder that has been heavily Dutched, aka alkalized. It helps provide a rich black color, so I swapped the cocoa powder in my Chocolate Buttercream recipe with it to see if it would be all it took. The results: a really dark brown buttercream that tasted a bit bitter, almost like a dark chocolate buttercream. I still needed to use about ½ tsp of AmeriColor Super Black to get it looking right, and it passed the “no teeth stain” test, but I really wanted to make it taste amazing. If flavor isn’t an option (or if you’re a fan of dark chocolate unlike myself), this route is definitely worth a try!
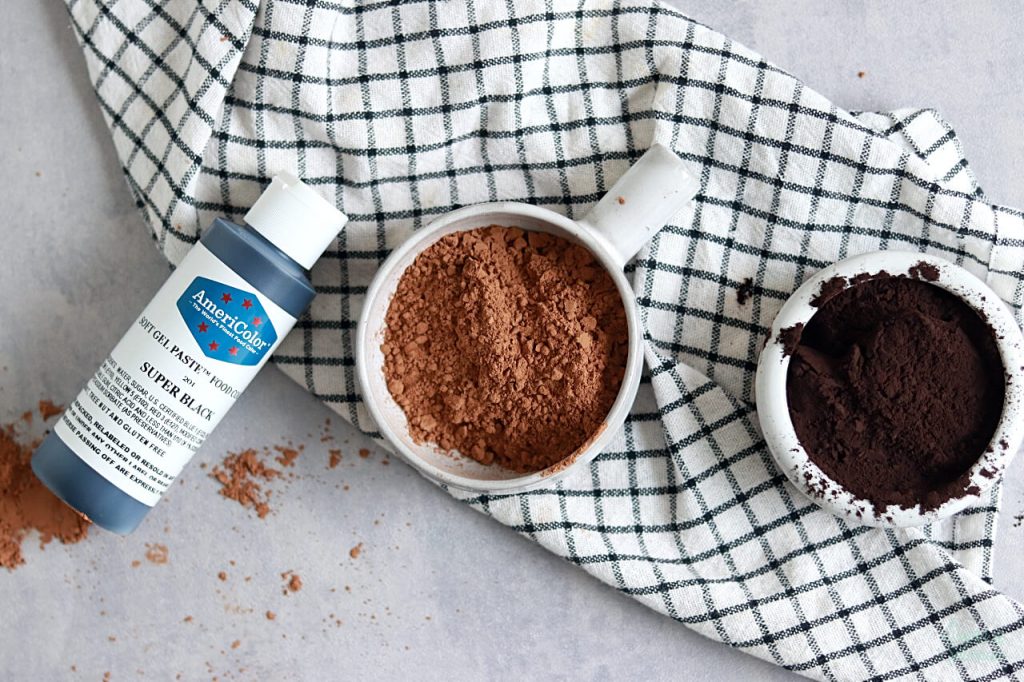
Since I wanted to get that perfect balance of chocolate flavor, deep black color, and perfect consistency without using too much food coloring, I tried again. This time, I used a mix of half black cocoa powder and half regular (Hershey’s) cocoa powder. The results were again a dark brown color, and this time I had to use about ¾ tsp AmeriColor Super Black. BUT all that to say, this one is the winning black buttercream recipe in my eyes – it passes the “no teeth stain” test, has the perfect black color, and tastes just like my Favorite Chocolate Buttercream recipe. It’s the one I’ll put below.
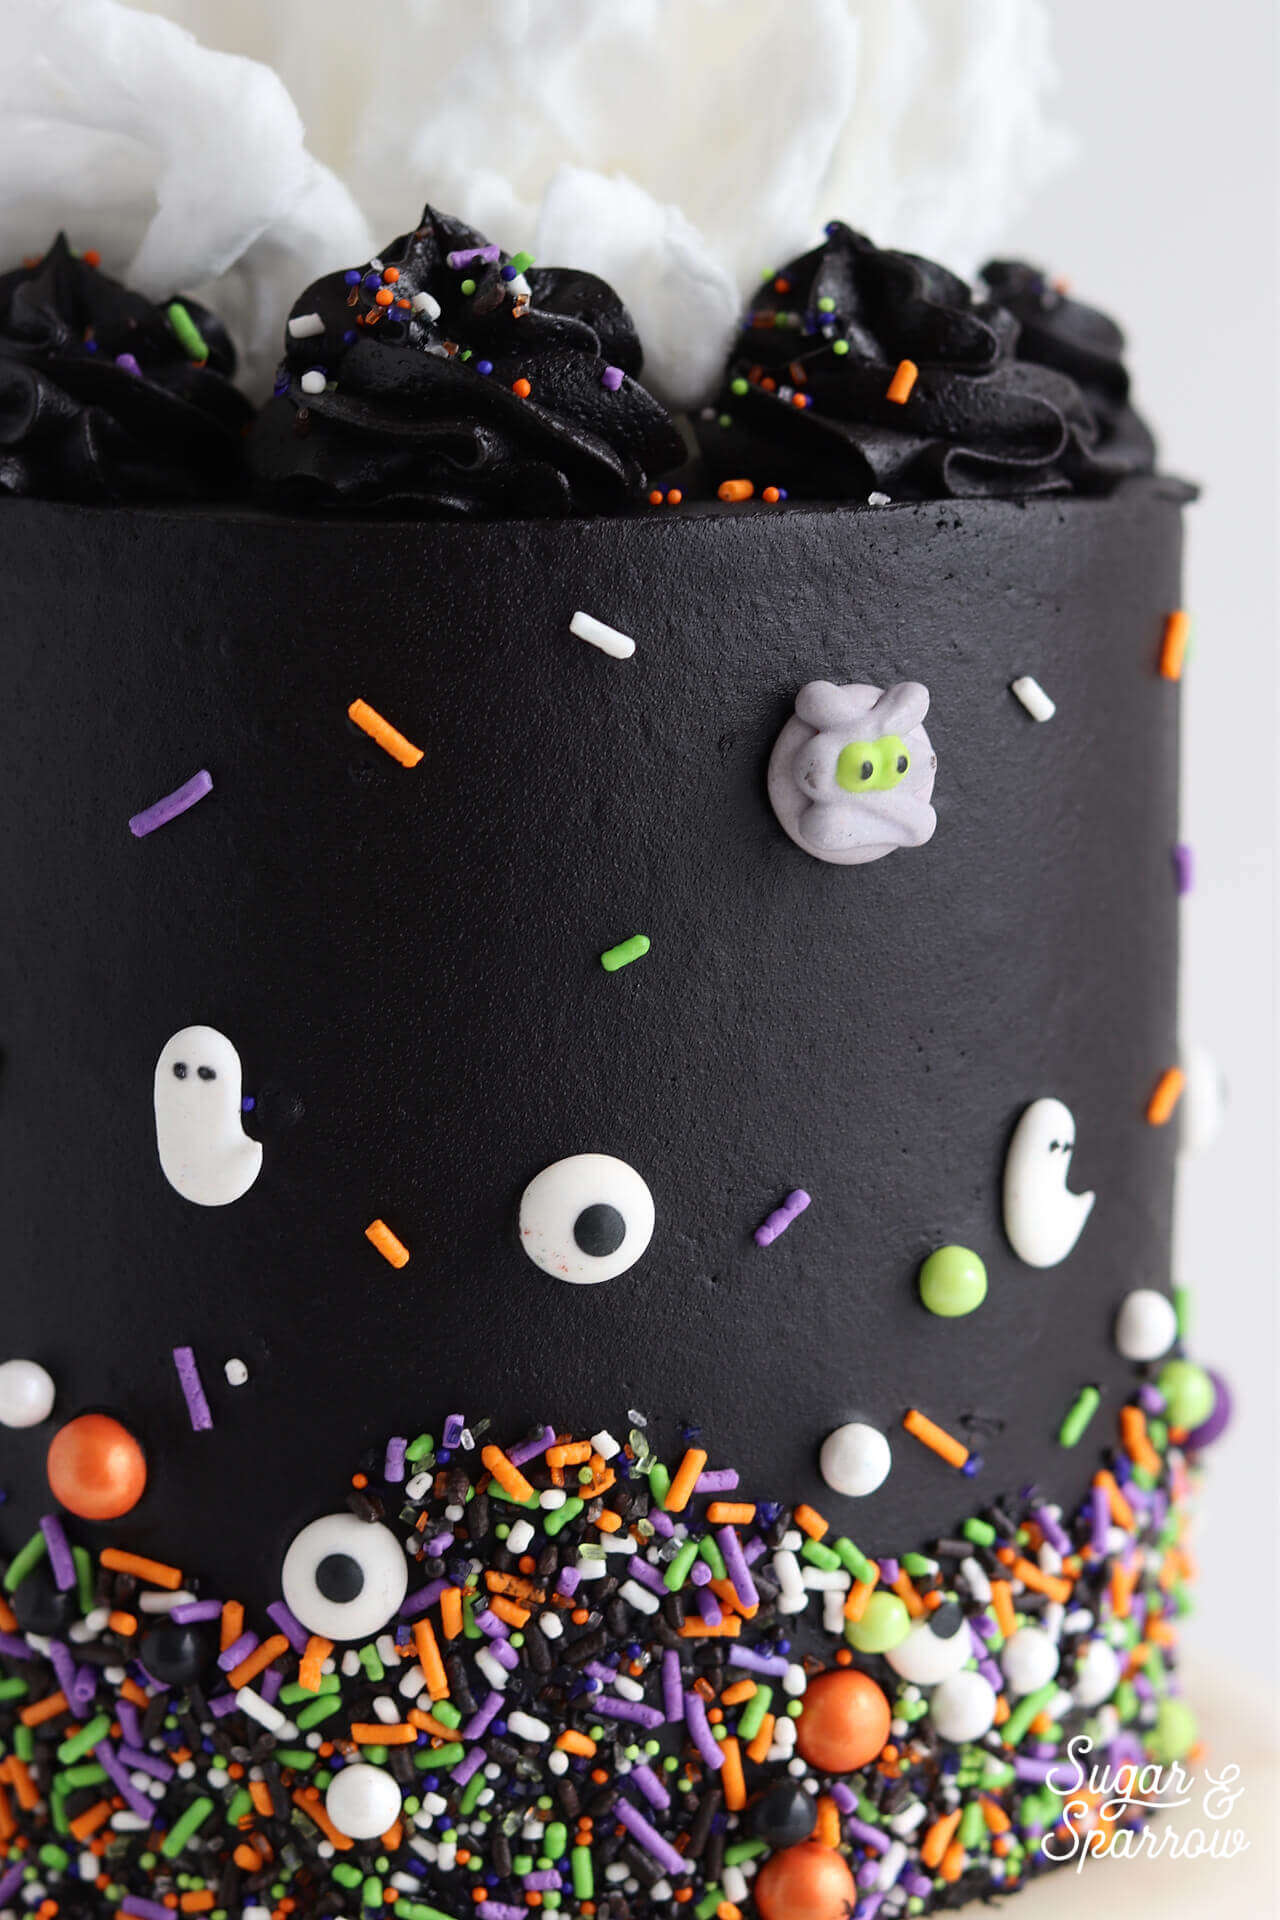
3 Key Elements for Black Buttercream Success
If you’ve ever tried to turn a big batch of vanilla buttercream black using only food coloring, you know that it takes a lot of coloring. So much that it can not only ruin the flavor and consistency of your buttercream, it’s costly and isn’t really fun to eat because everyone is left with a black mouth. Instead, going from a deep brown color (aka chocolate buttercream) to black is much easier and takes a lot less coloring. Before you get to buttercream making, here are three key things to keep in mind for black buttercream success:
- Start with a chocolate buttercream recipe. It’s much easier to go from brown buttercream to black than it is to go from white to black. By adding cocoa powder into the mix, you save yourself a lot of food color gel (and stress!). I prefer using half black cocoa powder + half regular cocoa powder in my recipe below. You can certainly substitute the regular cocoa powder in the recipe with all black cocoa to use even less food color gel, but the taste will be more like a dark chocolate as opposed to a milk chocolate buttercream.
- Use a concentrated black color gel. I swear by AmeriColor Super Black because it’s so concentrated that you truly don’t have to use a whole lot to get a rich black color. It’s also formulated in such a way that it won’t affect the flavor or consistency of your buttercream.
- Give it 24 hours to deepen in color. It may look like wet concrete when you first mix it up, but time is magic with this stuff. Give it at least 24 hours to deepen in color and you’ll be blown away at how dark it gets. This is definitely worth making ahead.

Here’s a quick video that shows you how to whip this black buttercream recipe up.
PS: If you’re into recipe and cake decorating videos like this one, be sure to follow along on my YouTube channel! You’ll find my entire Cake Basics series in video format there, plus tons of recipes and cake decorating tutorials as well. Hit the subscribe button so you never miss a new one! Without further ado, here’s the recipe:

Black Buttercream Recipe
Ingredients
- 1 Cup (226g) unsalted butter, room temperature
- 3 1/2 Cups (420g) powdered sugar
- 1/4 Cup (30g) black cocoa powder
- 1/4 Cup (20g) natural unsweetened cocoa powder
- 4 Tbsp whole milk, room temperature
- 2 tsp pure vanilla extract
- 1/4 tsp salt
- 3/4 tsp AmeriColor Super Black or other black food color gel
Instructions
- In a stand mixer fitted with a paddle attachment, whip the butter on medium speed until creamy and light in color, about 4 minutes. Scrape down the bowl and paddle, then add the powdered sugar, cocoa powders, milk, vanilla extract, and salt. Turn the mixer to low until all ingredients start to come together.
- Add the black food color gel, increase the speed to medium and beat for two full minutes. The color will resemble wet concrete at first, but will darken as time goes on.
- Place the buttercream in an airtight container and allow the color to deepen for 24 hours or more.
Notes
- Frost 12-15 cupcakes with a piping bag
- Fill and crumb coat a three-layer 6-inch cake or two-layer 8-inch cake. To have enough for frosting and decorating as well, double the recipe.
Did you make this black buttercream recipe? I want to know how it went! Let me know in the comments below and feel free to tag @sugarandsparrowco on Instagram and show me. I love to see what you create!


This was not dark black, it was a dark charcoal grey shade. I left it overnight and it only slightly darkened. I melted 1/4 cup and added it back in, it only slightly darkened it. Overall the color was not deep enough.
Then when it came to covering the cake and especially when I tried to use it to pipe decorations on, it was insanely gritty and grainy. It made the decorative piping look terrible.
The only good thing about this recipe was the flavour, which was delicious.
I did everything right and I ended up with a grainy, gritty, almost unusable textured frosting, that was most definitely not black.
Fail. Would not recommend if you’re looking for a good smooth black frosting, do not use this recipe.
Hi Mikaela! I’m so sorry the texture turned out that way and that the color wasn’t deep enough. Can I ask what brand of powdered sugar, cocoa powder, and food coloring you used? And did you make any substitutions? Just trying to figure out what might have caused your frosting to turn out differently than when I make this frosting.
Hello, I’m interested to know if you think this recipe would compliment a vanilla bean cake.
Thanks in advance for your response.
Hi Katrina! Yes, this recipe would pair beautifully with a vanilla bean cake. Enjoy!
10 in taste 2-3 on performance.
Used the recommended black cocoa powder. Dyed beautifully. This tastes like a dream, exactly like oreo butter. Tastes like the classic “fudge” flavor you remember as a kid.
However for cake decorating it’s horrible. You cannot warm it up to get a different consistency or it turns into fudge and splits. This means you have to wait and wait for it to get whatever temp you need. It is dry and grainy and even if you add more milk it will not smooth properly. It’s a nightmare to work with and forms caverns when trying to use acrylic discs and while the recipe is tasty as heck it’s not suited for cake decorating anything besides a basic cake that’s not sellable but will be plenty tasty eatable.
Hi Liz! Glad you loved the flavor of this buttercream! I’m curious why you would want to heat the buttercream up to get a different consistency. Usually to create a thinner consistency buttercream in a recipe like this I would add more room temperature milk, 1-2 teaspoons at a time, until the desired consistency is reached. For best results, you’ll want to keep this buttercream at room temperature for decorating. Hope that helps if you want to try it again.
I came in search of a black buttercream that would not leave your lips and teeth black, and I was not disappointed. I am more excited now for the Star Wars cake I have planned for a birthday this month. I tested the recipe early on a graduation cake, black with gold accents. I used Wilton’s gel dye and it still worked well. I pre-made the icing and refrigerated it in a sealed container. The next day it still looked like wet cement but once it got to room temperature it turned completely black. The cake looked stunning and the icing tasted so good, very creamy and not too sweet. No one’s lips or teeth turned black and I had stellar reviews! Thank you so much for all your hard work and experimenting!
That’s awesome, Stacy! I’m so glad this recipe was such a hit!
Hiya, I am here for an advice 🙂
I am making a blueberry vanilla cake for my friend’s baby shower and since she’s a goth, I was thinking to cover the cake with black Italian meringue buttercream.
Would this recipe work well with this cake? Thank you
Hi Zita! I’ve never made black Italian meringue buttercream before, so I’m not sure which point you would add the black cocoa powder and food coloring. But I’m sure this buttercream recipe would be delicious!
The buttercream tasted amazing! However, I can’t figure out what I did wrong. 36 hours later, and I will just have gray frosting. I used the cocoa powder, the black cocoa powder, the recommended black food coloring gel, everything. I don’t know how to make it better, unless I just modify completely what I wanted to do on the cake. The party is in four days, so I don’t have much time left to keep tinkering. I doubled the recipe, so I used 1.5 tsp of black food coloring gel for my recipe.
Hi Amanda! One trick to make the frosting darker is to take about 1/4 Cup of the frosting out and microwave it for a few seconds until it’s melted but still cool, then mix that into the rest of the buttercream. The heat will bloom the food color gel and make it more activated. If it still isn’t dark enough you’ll just need to add a little more food color gel until the desired color is reached. Hope that helps!
What if I don’t have black cocoa but extra dark cocoa hersheys brand and regular unsweetened cocoa.. can I still achieve the black buttercream?
Hi Petra! I have not tried that myself but I’ve heard that extra dark hershey’s cocoa powder is nearly as dark as black cocoa powder, so it should work.
I find that it still dyes my mouth black, but it’s the first black buttercream I’ve tried that delivers on a deep black color AND a delicious chocolate buttercream. Thank you for the recipe!
This is a great recipe for very tasty black buttercream. Thank you for sharing! Great colour with a small amount of food colouring, Love it!
This is such a brilliant idea! I have two questions:
1. Does this black buttercream work well for piping through a small round tip for writing on a cake and drawing spider web designs on top of buttercream? I will use your heat stable vanilla buttercream recipe – it is fantastic! Someone mentioned that black buttercream dries too quickly to pipe easily.
2. Should I add some meringue powder to this buttercream recipe, also, since the cake will be outside in the heat?
Thank you so much for your wonderful recipes and tips.
Hi! This black buttercream pipes really well and will not dry too quickly to pipe. I would thin it out a little (add 1-2 tsp more milk) to make it nice and thin consistency for piping writing. If you’re worried about heat I would definitely add 1 Tbsp of meringue powder per batch. Hope that helps! Enjoy!
Followed the recipe exactly but doubled it, I only had around 5 hours but in this time the colour already looks great and tastes so good! I was cynical after previous fails but this worked perfectly. I couldn’t get the food dye mentioned in the recipe but the concentrate I found worked perfectly. Thank you so much!
Yay, Jade! So happy this recipe was a hit!
You just saved my life. Wednesday Addams birthday cake – check. I tried another recipe with 987 steps and I now have a blender full of black soup. Your recipe is perfect and like a previous commenter said – it came out of the mixing bowl JET BLACK. Thank you so much.
Yay, Dee! That makes me so so happy to hear!!
So I was on the search for a black buttercream that was not only jet black but also one that tasted good. It was then that I came upon your recipe and boy, did it deliver! My worry about the colour not deveoping over time were needless. I used this recipe to decorate a Stranger Things birthday cake and it was just perfect so thank you so much for sharing.
So happy you loved this recipe, Nishat! It’s pretty magical to watch that color develop 🙂
Hello! I am getting ready to make this next weekend and I’m excited to try this recipe! I was just curious do you slowly add in the powdered sugar and coco etc or do you add it all at once? Also I don’t have a paddle attachment for my mixer just whisk. Will that make a difference?
Hi Kaitlyn! For this recipe I just add everything in at once if I’m just making one batch. If I’m making multiple batches I’ll add the dry ingredients a few cups at a time, then add the wet ingredients and salt. The whisk attachment should work but it might incorporate more air into your frosting. Be sure to keep the mixer on low to minimize the air added (so you don’t end up with too many air bubbles in your frosting). Hope that helps!
Hi
I have been searching for a way to make black buttercream so I can make my little boy a space cake! This looks perfect, will be trying over the next few weeks. I do have a question though; what sort of sponge would go with this? I can’t decide if plain vanilla or a chocolate sponge would be best. Also, depending on this, which filling between the layers? If you have any thoughts on this I would be most grateful!
So glad I found this page.
Hi Beckie! This buttercream is great with either of those flavors. And the filling options are truly endless whether you go with chocolate or vanilla cake! You could do vanilla buttercream as filling and color it some fun, bold colors or use any of these buttercream recipes as filling: https://sugarandsparrow.com/category/recipes/frosting/
Thank you so much for your help. Think I’m going to go with chocolate sponge as my son loves chocolate cake! x
Hi,
I need to make 4 carrot cakes for a 60th bday party and need to decorate them the day before.
Do you think the black will bleed onto the cream cheese frosting in the refrigerator overnight?
Thank you
Hi Brenda! This black buttercream will not bleed onto the cream cheese frosting in the refrigerator overnight. Good luck with all your cakes!