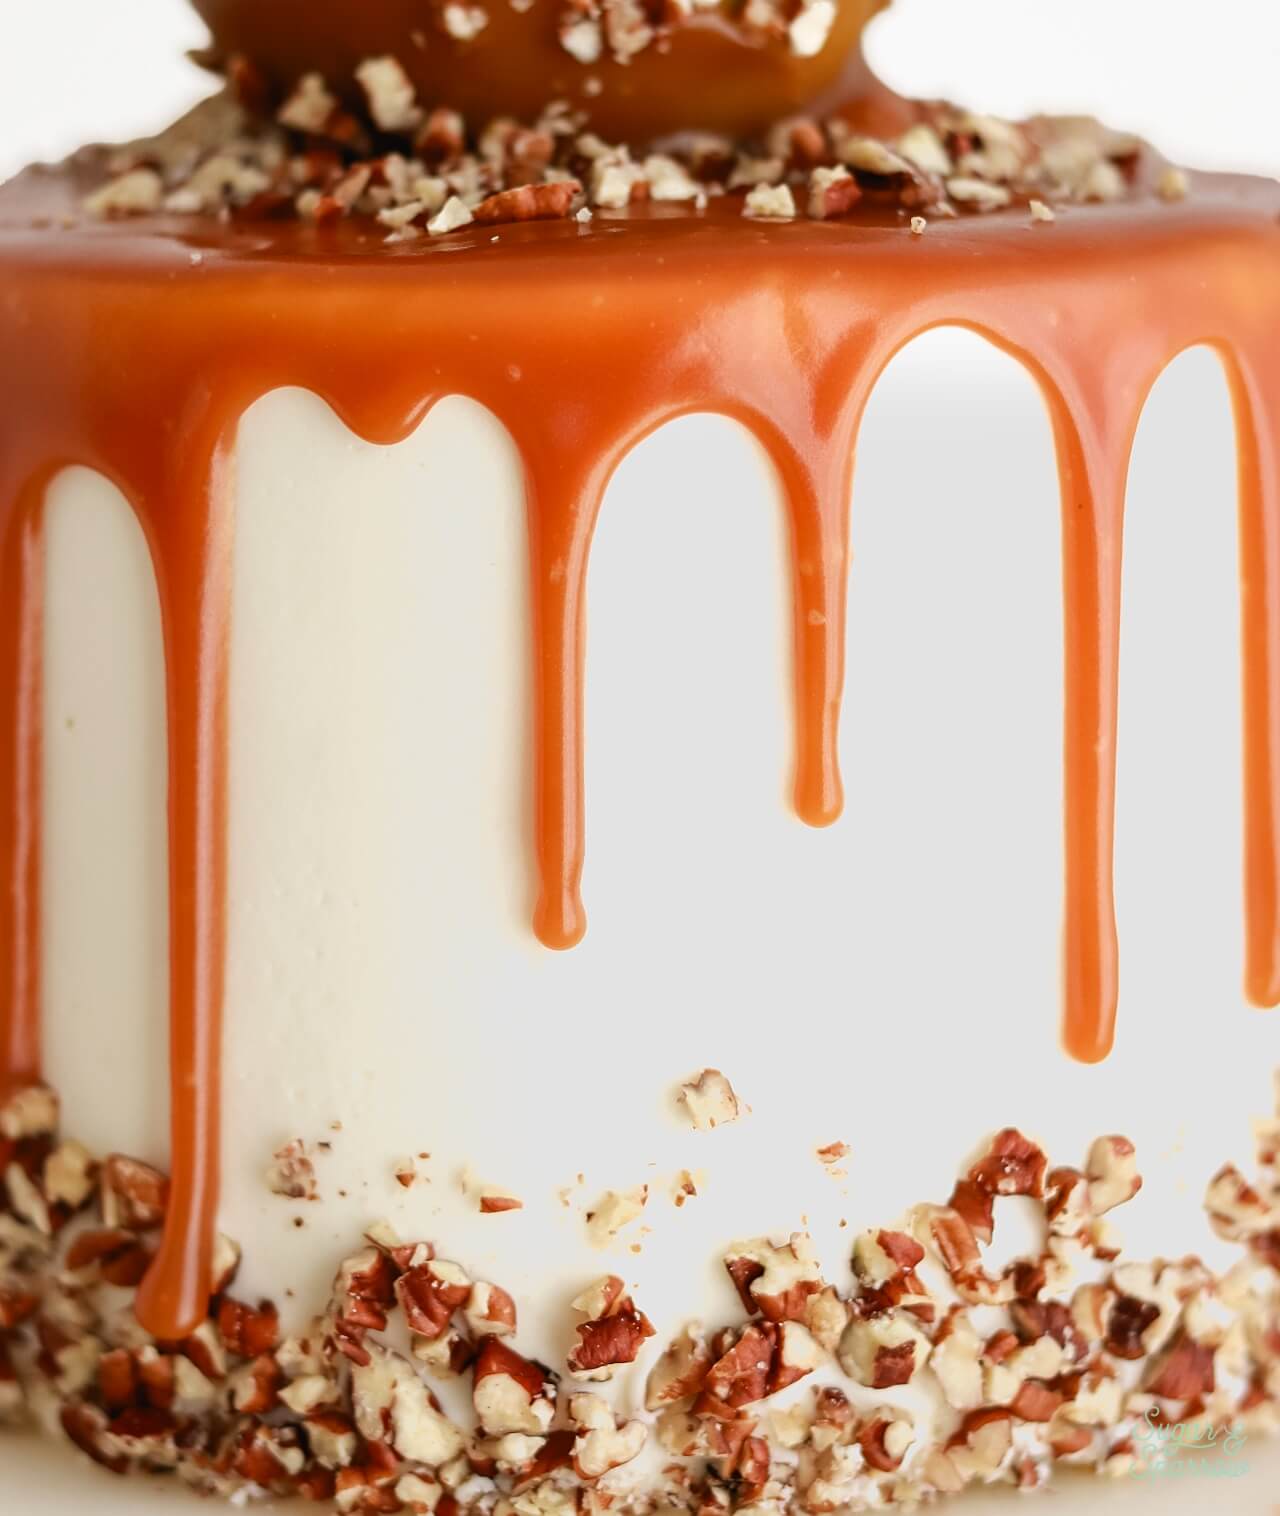
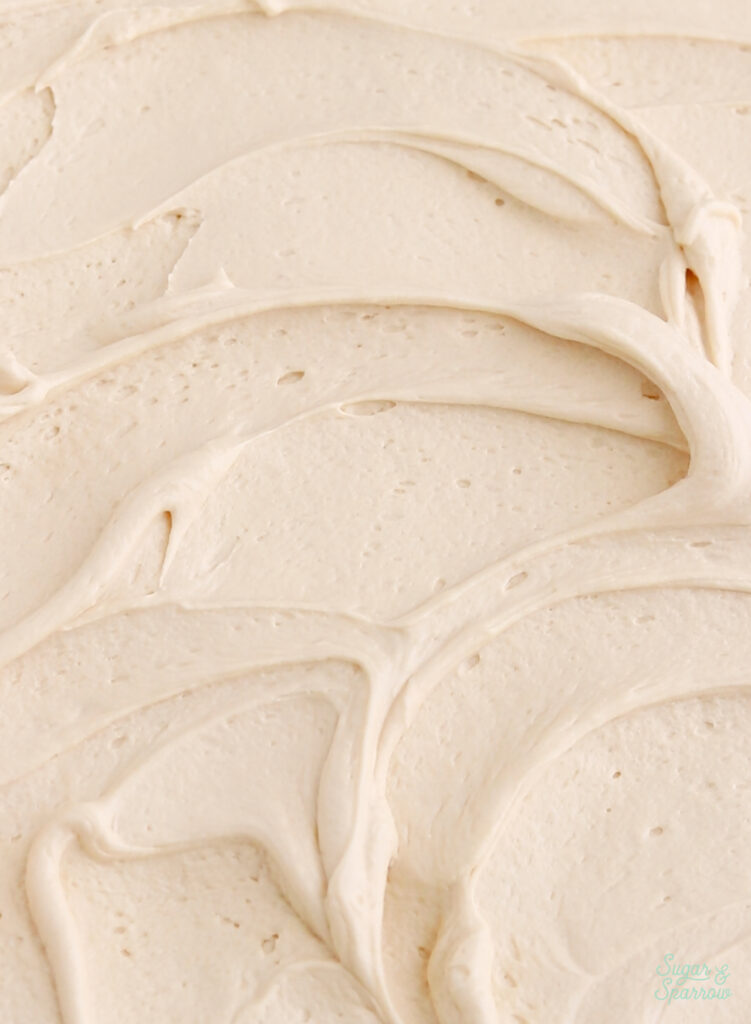
• Cake
  • Frosting
  • YouTube
  • My Favorite Tools
  • Nav Social Icons

  • Skip to primary navigation
  • Skip to main content
  • Skip to primary sidebar
  • Skip to footer
  • Recipes
    • Cake
    • Cupcakes
    • Frosting
    • Ice Cream
    • Vegan
  • Cake Basics
  • Tutorials
  • Blog
  • About
  • Mobile Menu Widgets

    Connect

    Search

Sugar & Sparrow logo in script font

Sugar & Sparrow

Lifestyle and Cake from Portland Oregon

  • Cake Basics
  • Recipes
    • Cake
    • Cupcakes
    • Cookies & Bars
    • Filling
    • Frosting
    • Ice Cream
    • No-Bake
    • Small Batch
    • Vegan
  • Tutorials
  • Book
  • Blog
  • About

Easy Salted Caramel Recipe

September 20, 2022 · In: Fall, Featured, Recipes, Seasonal

Jump to Recipe

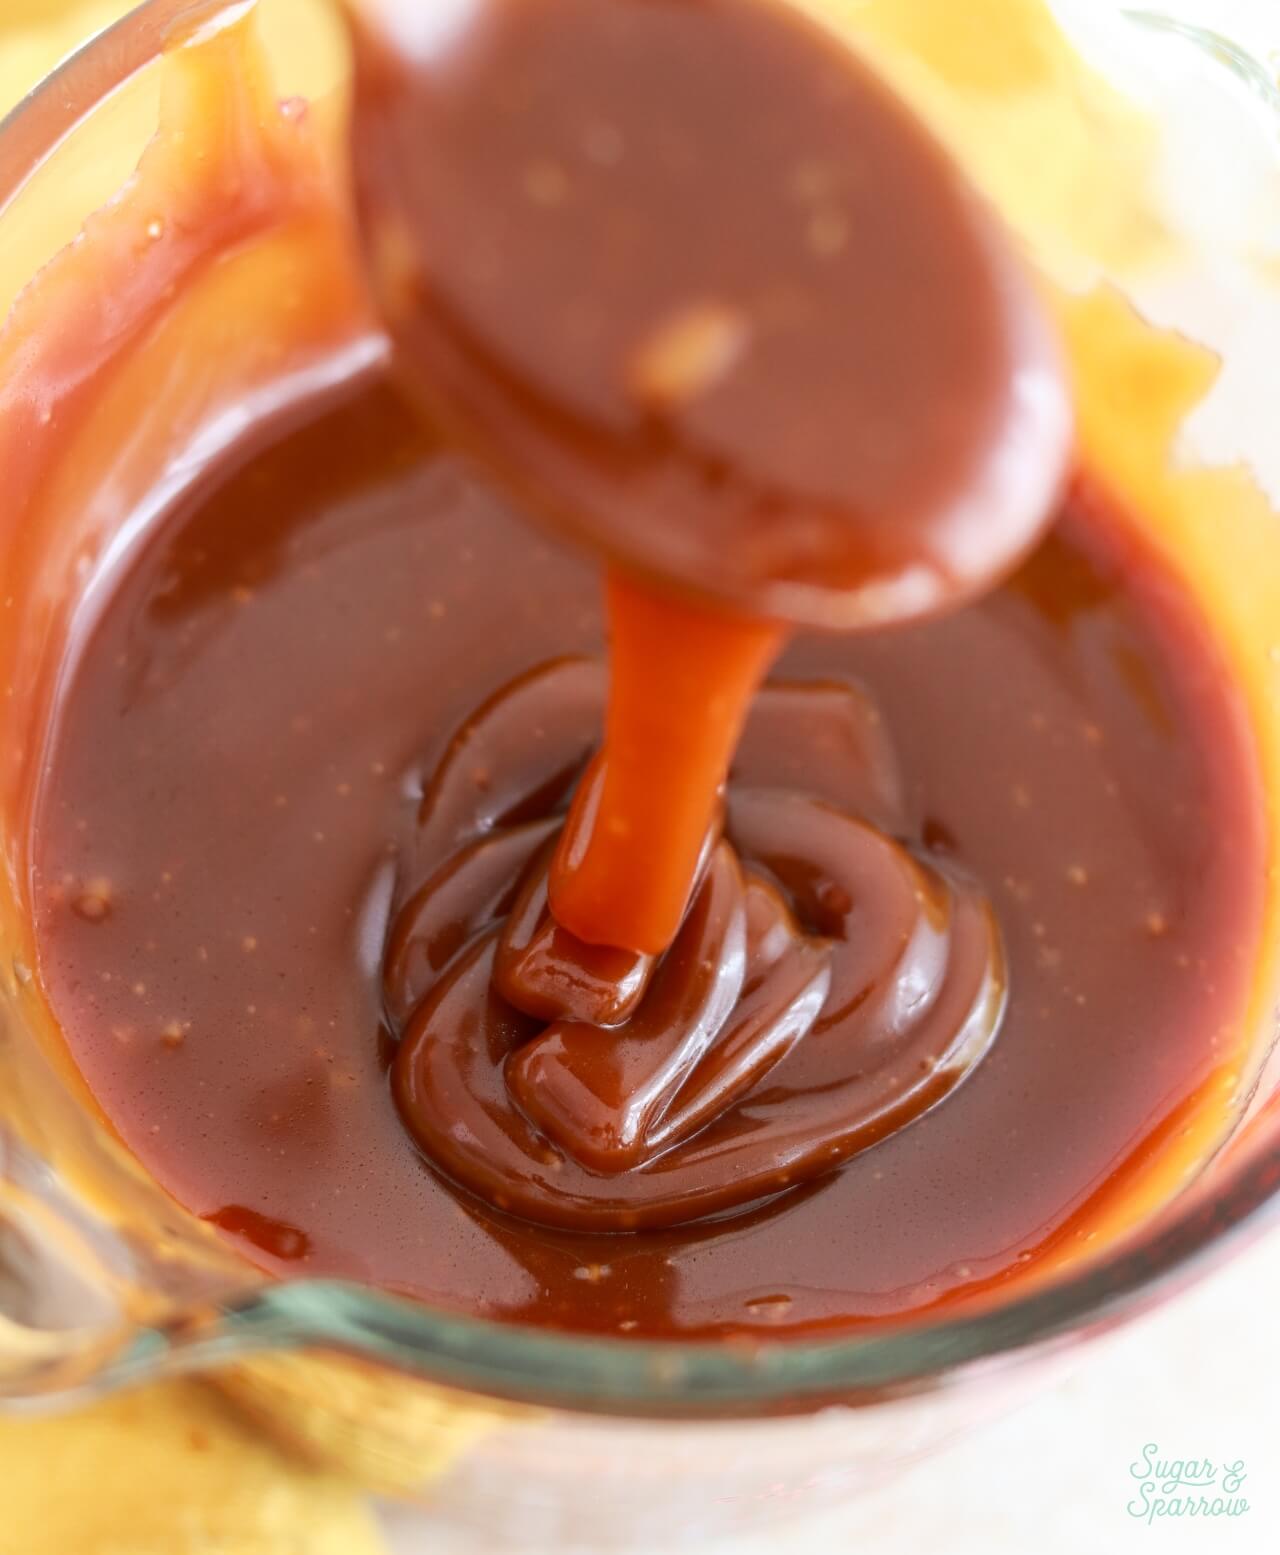
When it comes to salted caramel, this recipe is as versatile as can be. I’ve used it to drip cakes, drizzle cupcakes, dip apples, top ice cream, and have even used it to make salted caramel buttercream! With only four ingredients and fail-proof instructions, it is truly the easiest caramel I’ve ever made and has never let me down. If you’ve ever struggled with making salted caramel before, I hope recipe changes everything for you.
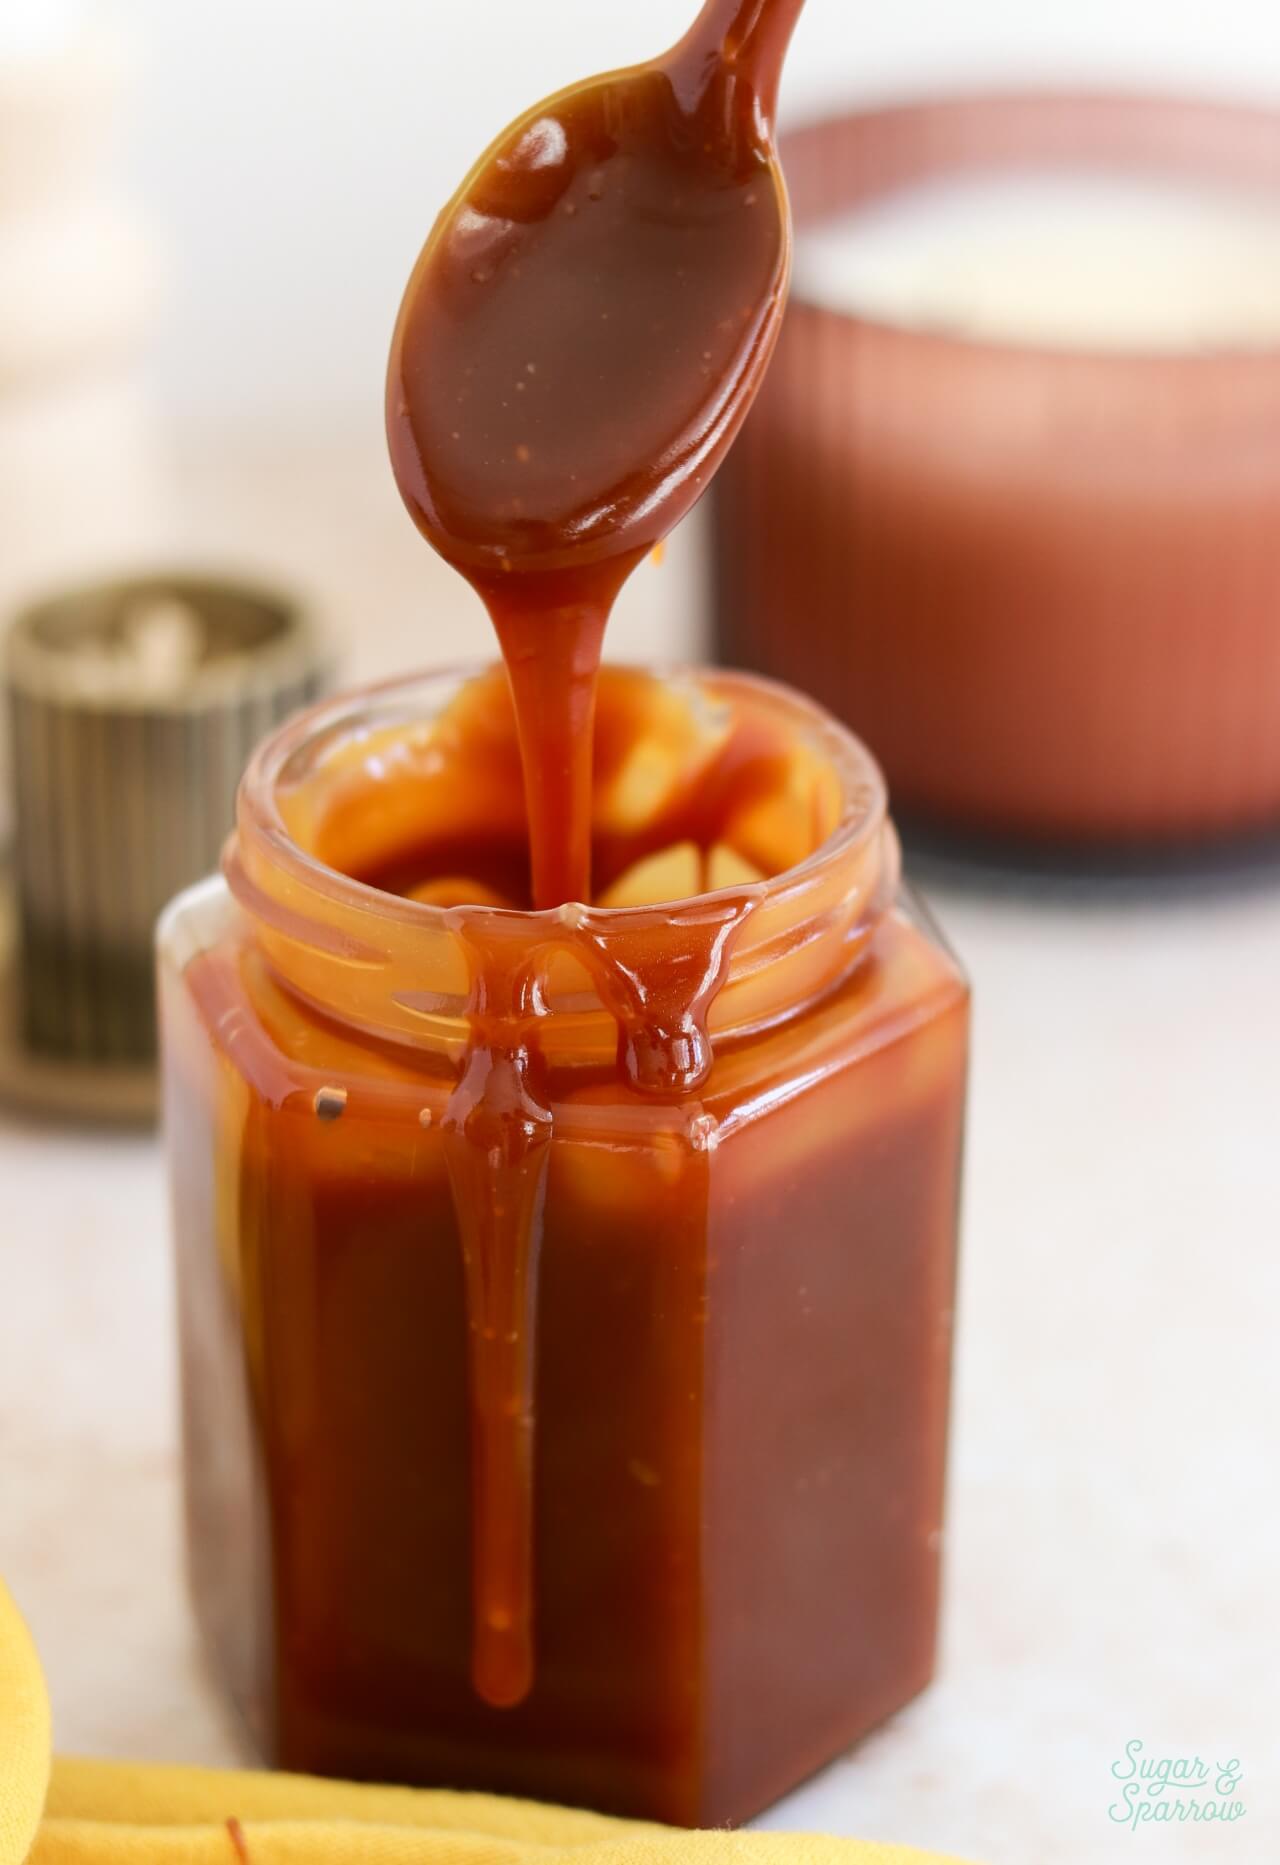
easy salted caramel recipe

One Reader, Hilary, Says: “This was my first attempt at anything caramel. I was scared to death to heat a pile of sugar and was sure it was going to burn. I did what you suggested and had everything pre-measured and room temperature, followed all the steps, and once it cooled and I ventured a taste, it was AMAZING! I was stunned. Thank you for taking the fear out of caramel for me!” ★★★★★

Why You’ll Love This Salted Caramel Recipe

While I’ve tried my hand at some more intricate salted caramel recipes before, this one is my favorite for a few reasons:

  • Only four ingredients. All it takes to make this salted caramel is granulated sugar, unsalted butter, heavy whipping cream (or double cream), and salt.
  • No candy thermometer necessary. Unlike other salted caramel recipes, you won’t need a thermometer to measure this one! Instead, you’ll be going by time markers and simple visual cues.
  • It’s nearly fail proof with consistent results. I’ve written super detailed instructions to help you make this recipe, and when followed properly you’ll always end up with amazing salted caramel.
  • Perfect amount of sweet and salty. The flavor of this salted caramel is absolutely divine! I’ve been known to eat it by the spoonful.
  • It’s versatile. You can use this recipe as a caramel sauce, as a cake drip, drizzle it in between cake layers, or use it in my salted caramel buttercream recipe.
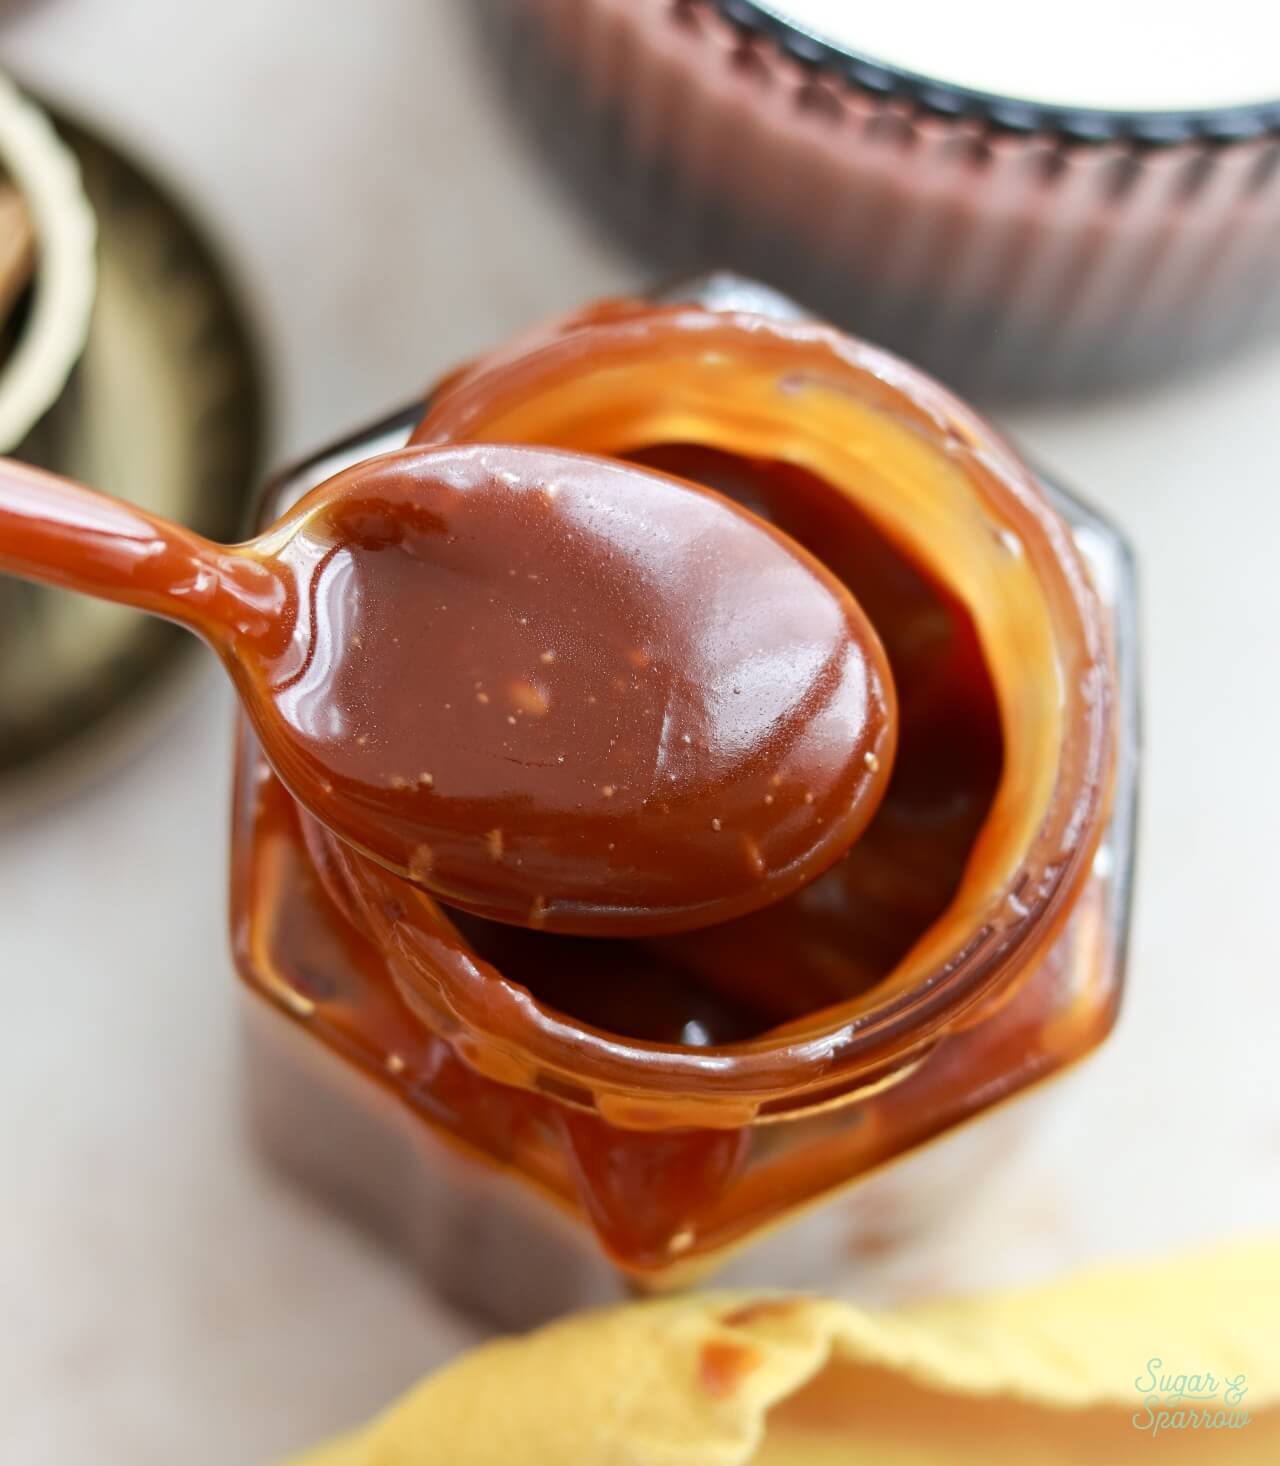
easy salted caramel recipe from scratch
salted caramel recipe for cakes

Homemade Salted Caramel Ingredients

There are only four ingredients needed to make this salted caramel:

  • Granulated Sugar. The recipe begins with cooking the granulated sugar until it melts into an amber-colored liquid. Heating the sugar breaks down its molecules, transforming them into a new compound and giving the caramel its signature rich and nutty flavor notes.
  • Unsalted Butter. The butter gets combined with the melted sugar to add a velvety texture, rich flavor, and stability.
  • Heavy Whipping Cream. The cream provides the liquid base that makes the caramel smooth, pourable, and creamy. It’s important to use heavy whipping cream that contains at least 36% milkfat, as milks with lower fat will cause the final caramel to be too thin and possibly lead the mixture to separate.
  • Salt. To create the best salty caramel flavor, use kosher salt or a flaky sea salt like Maldon.
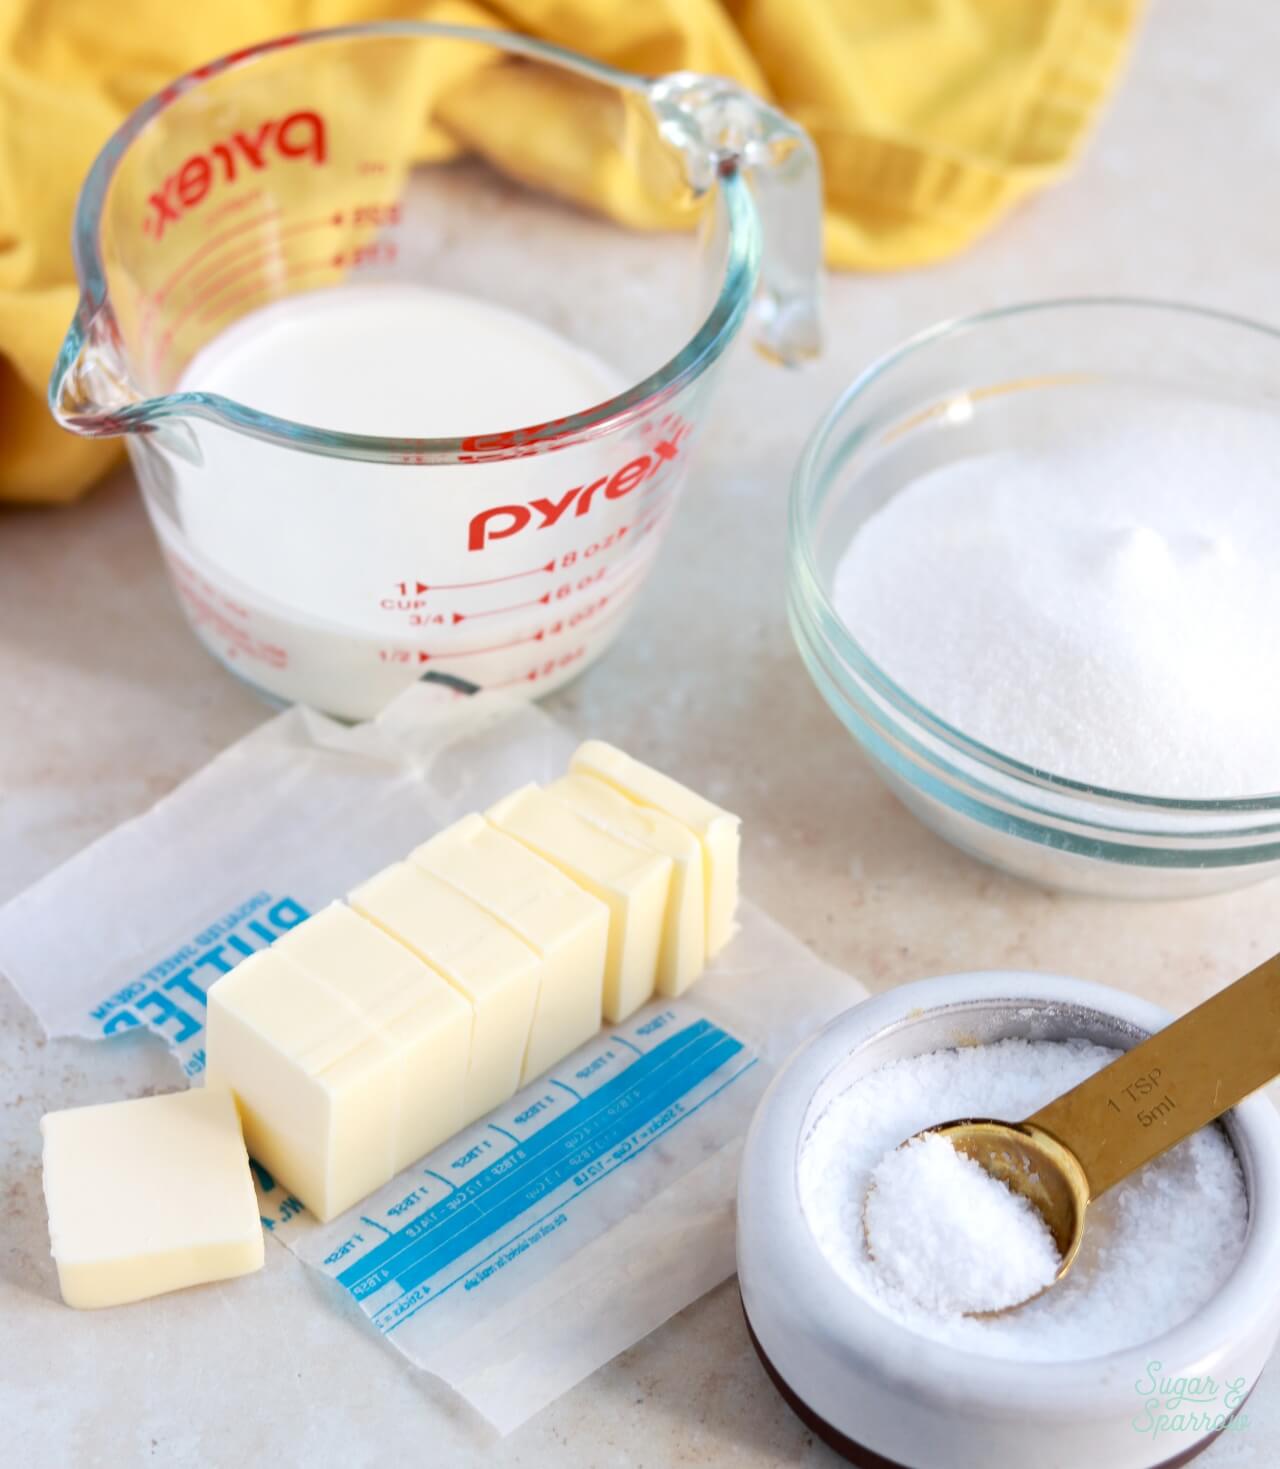
homemade salted caramel ingredients

Tips for Best Results

Like I mentioned previously, you’ll find detailed instructions on how to make this salted caramel below. Here are some tips for success that will keep you cool, calm, and collected throughout the entire caramel-making process:

  • Read through the entire recipe first. You’ll want to know what’s coming next in this recipe. It involves a lot of stirring and whisking, and it’s a known fact that caramel likes to burn when you top stirring even for a few seconds to read your next step (it’s sneaky like that!). Having even a vague idea of what’s involved will be a key to your success.
  • Prepare your ingredients. Have your ingredients pre-measured, room temperature, and ready to go.
  • Protect your hands. There are some points in this recipe where ingredients will bubble up and cause a lot of steam, like when adding the butter and the heavy whipping cream. Keep an oven glove nearby to protect your hand while you whisk and stir if needed.
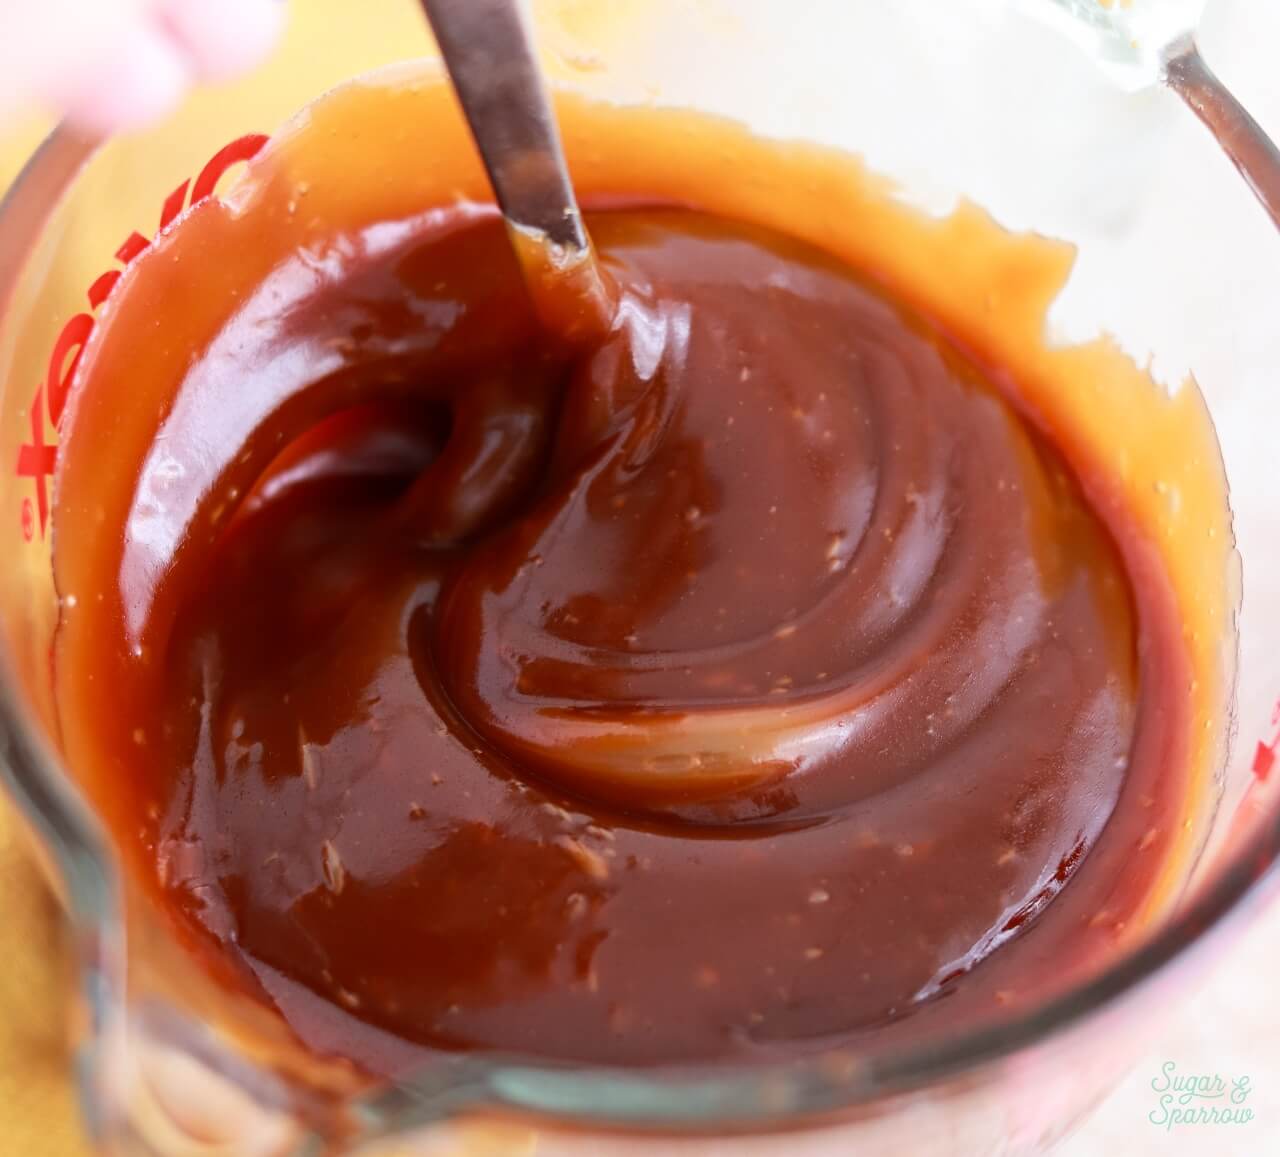
  • Allow time for cooling. This caramel will thicken beautifully as it cools. It takes a few hours left on the counter or one hour in the refrigerator to cool to room temperature.
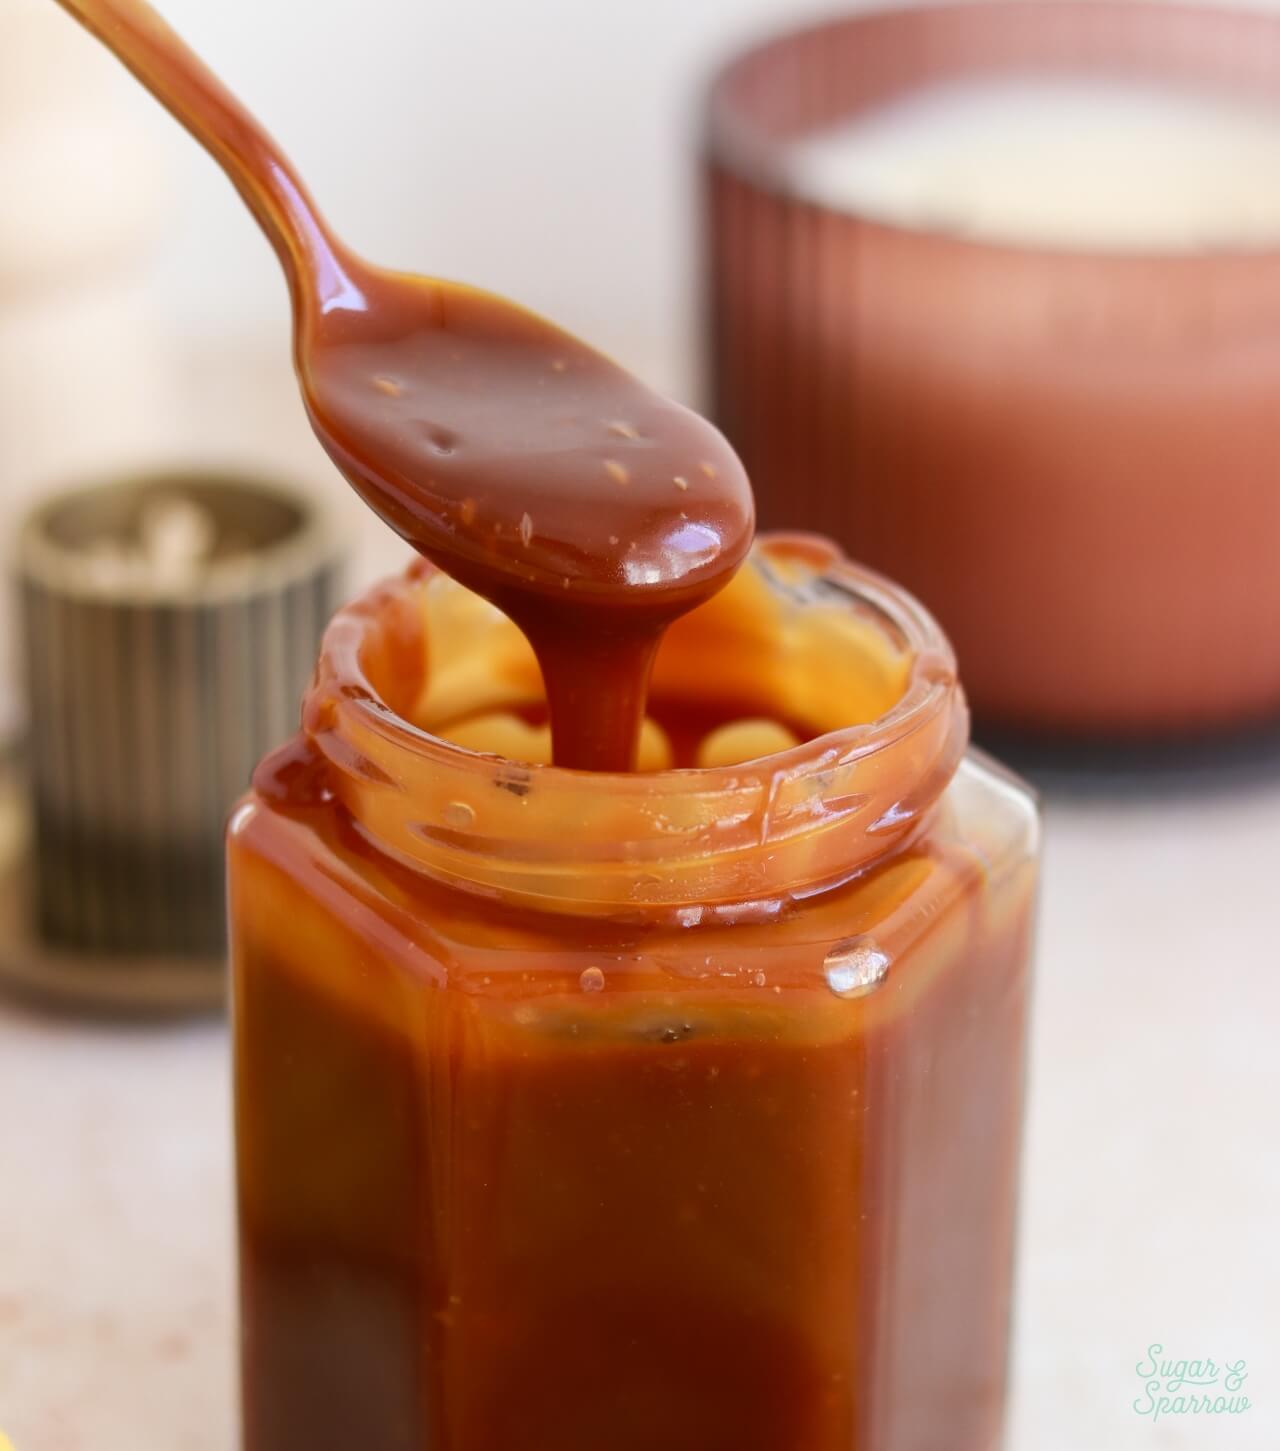
salted caramel for drip cake
thick salted caramel sauce from scratch

How to Make Homemade Salted Caramel

Here’s how to make this salted caramel from start to finish:

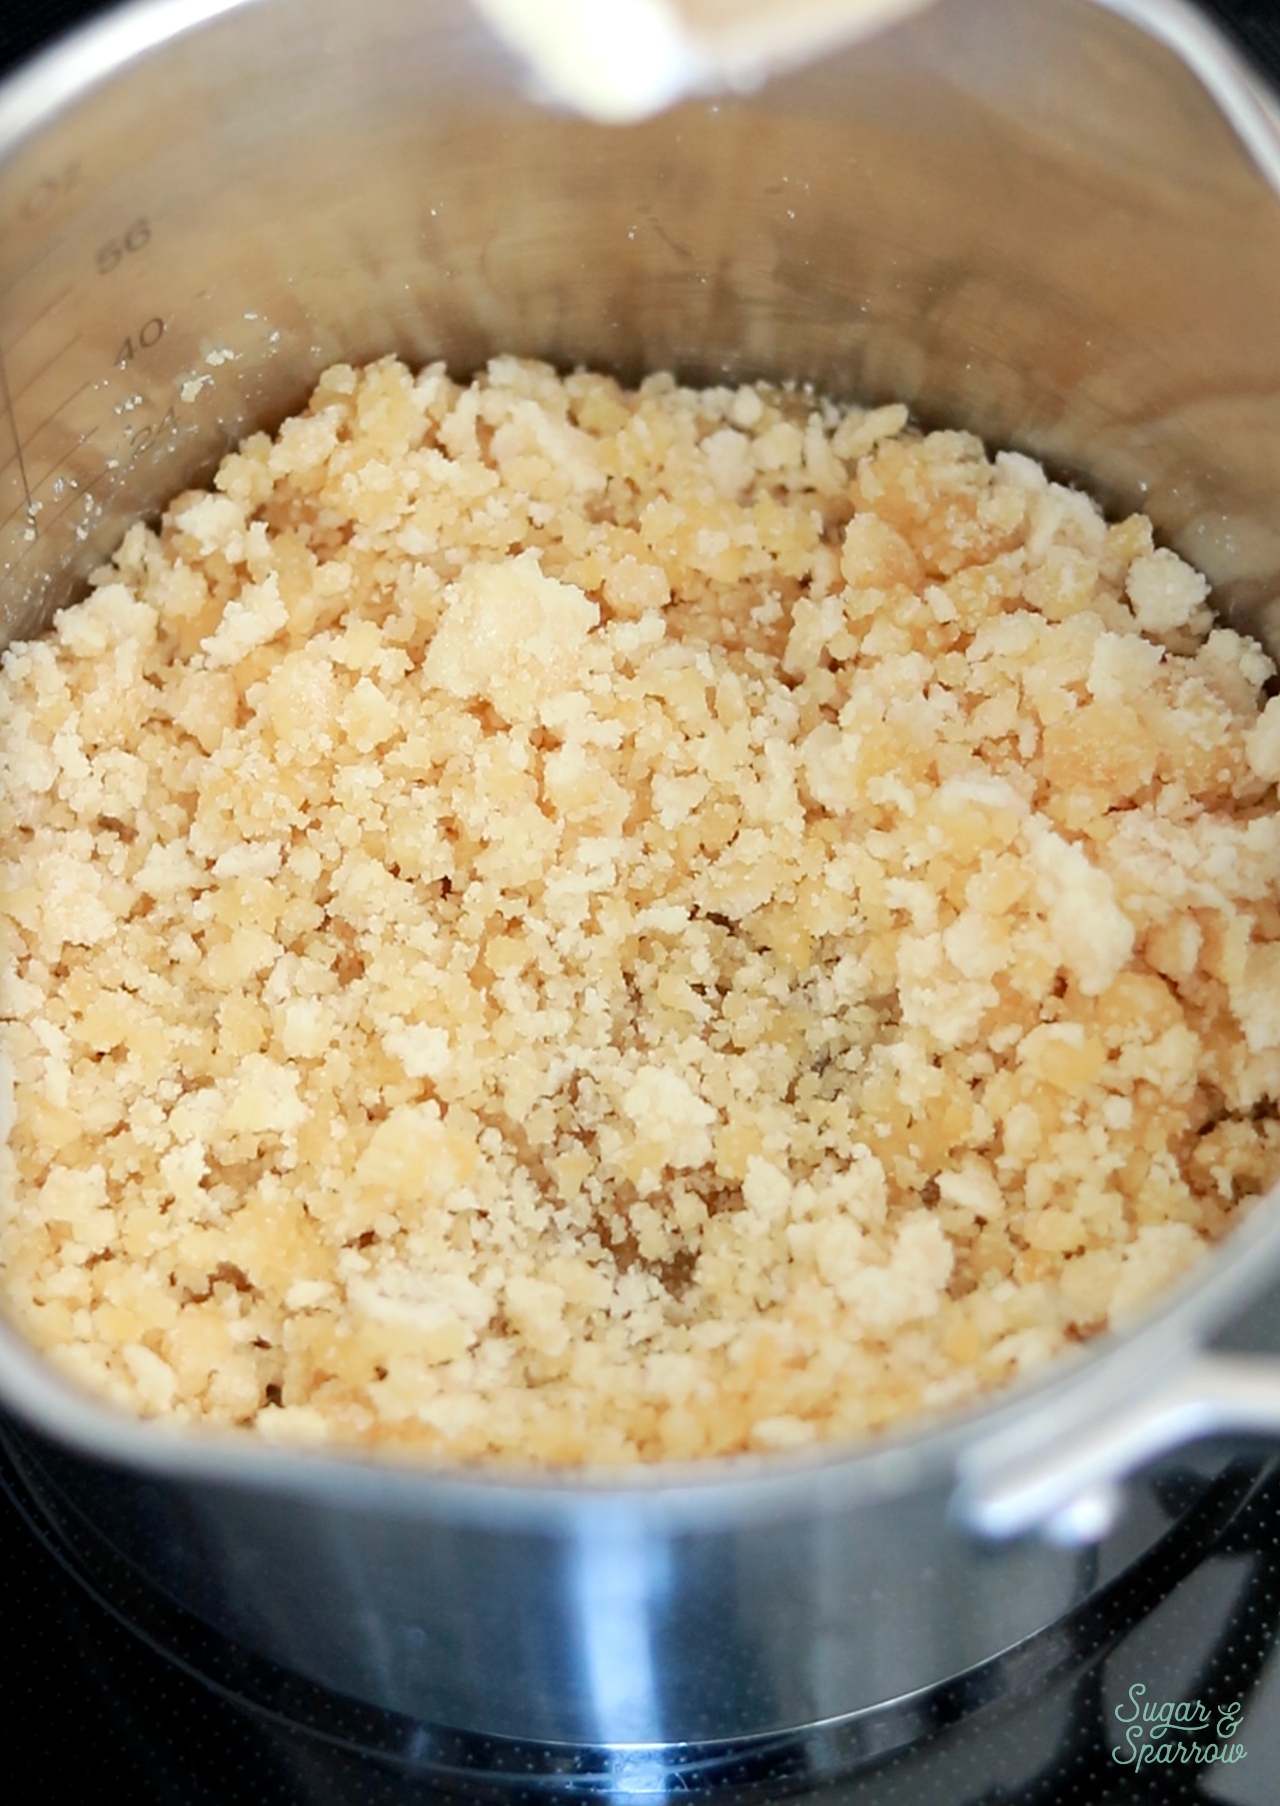
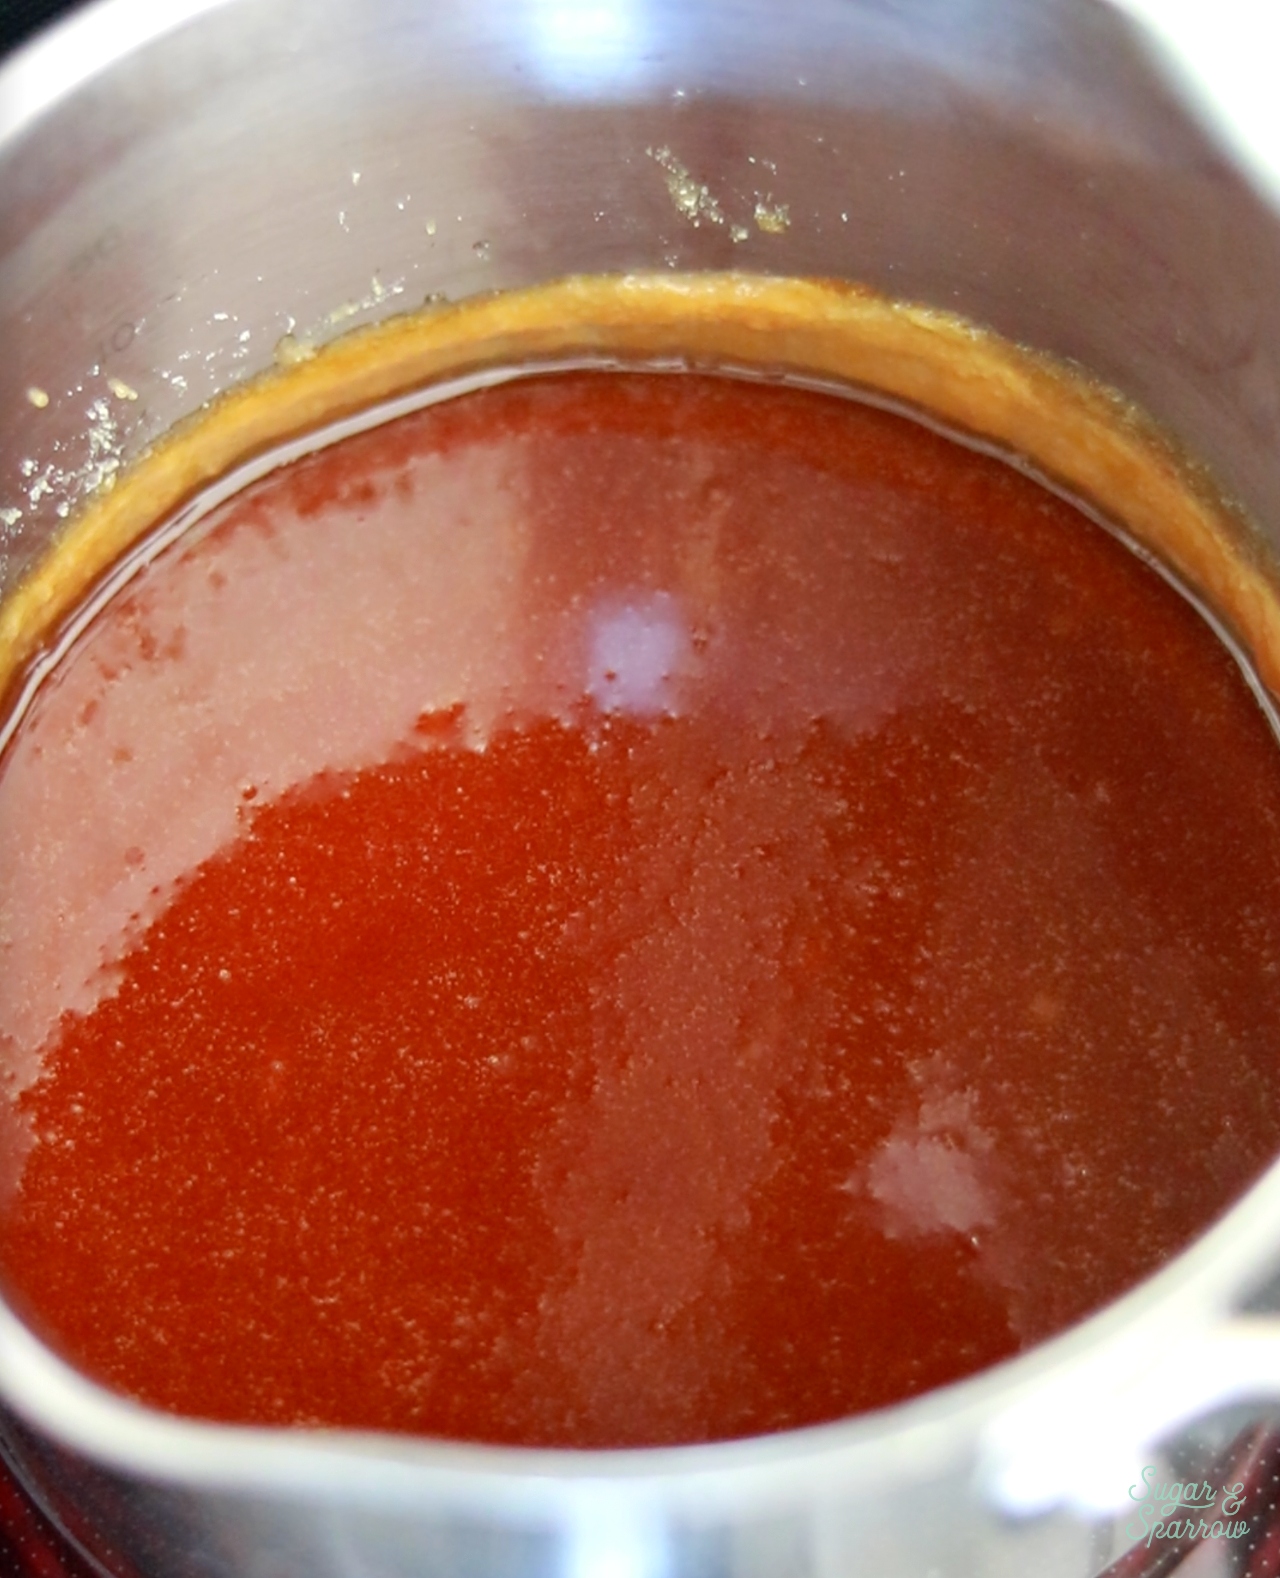
Step 1. Melt the sugar. Add the granulated sugar into a medium saucepan set over medium heat and stir frequently until it melts into an amber colored liquid. Here are the changes you’ll see in the process:
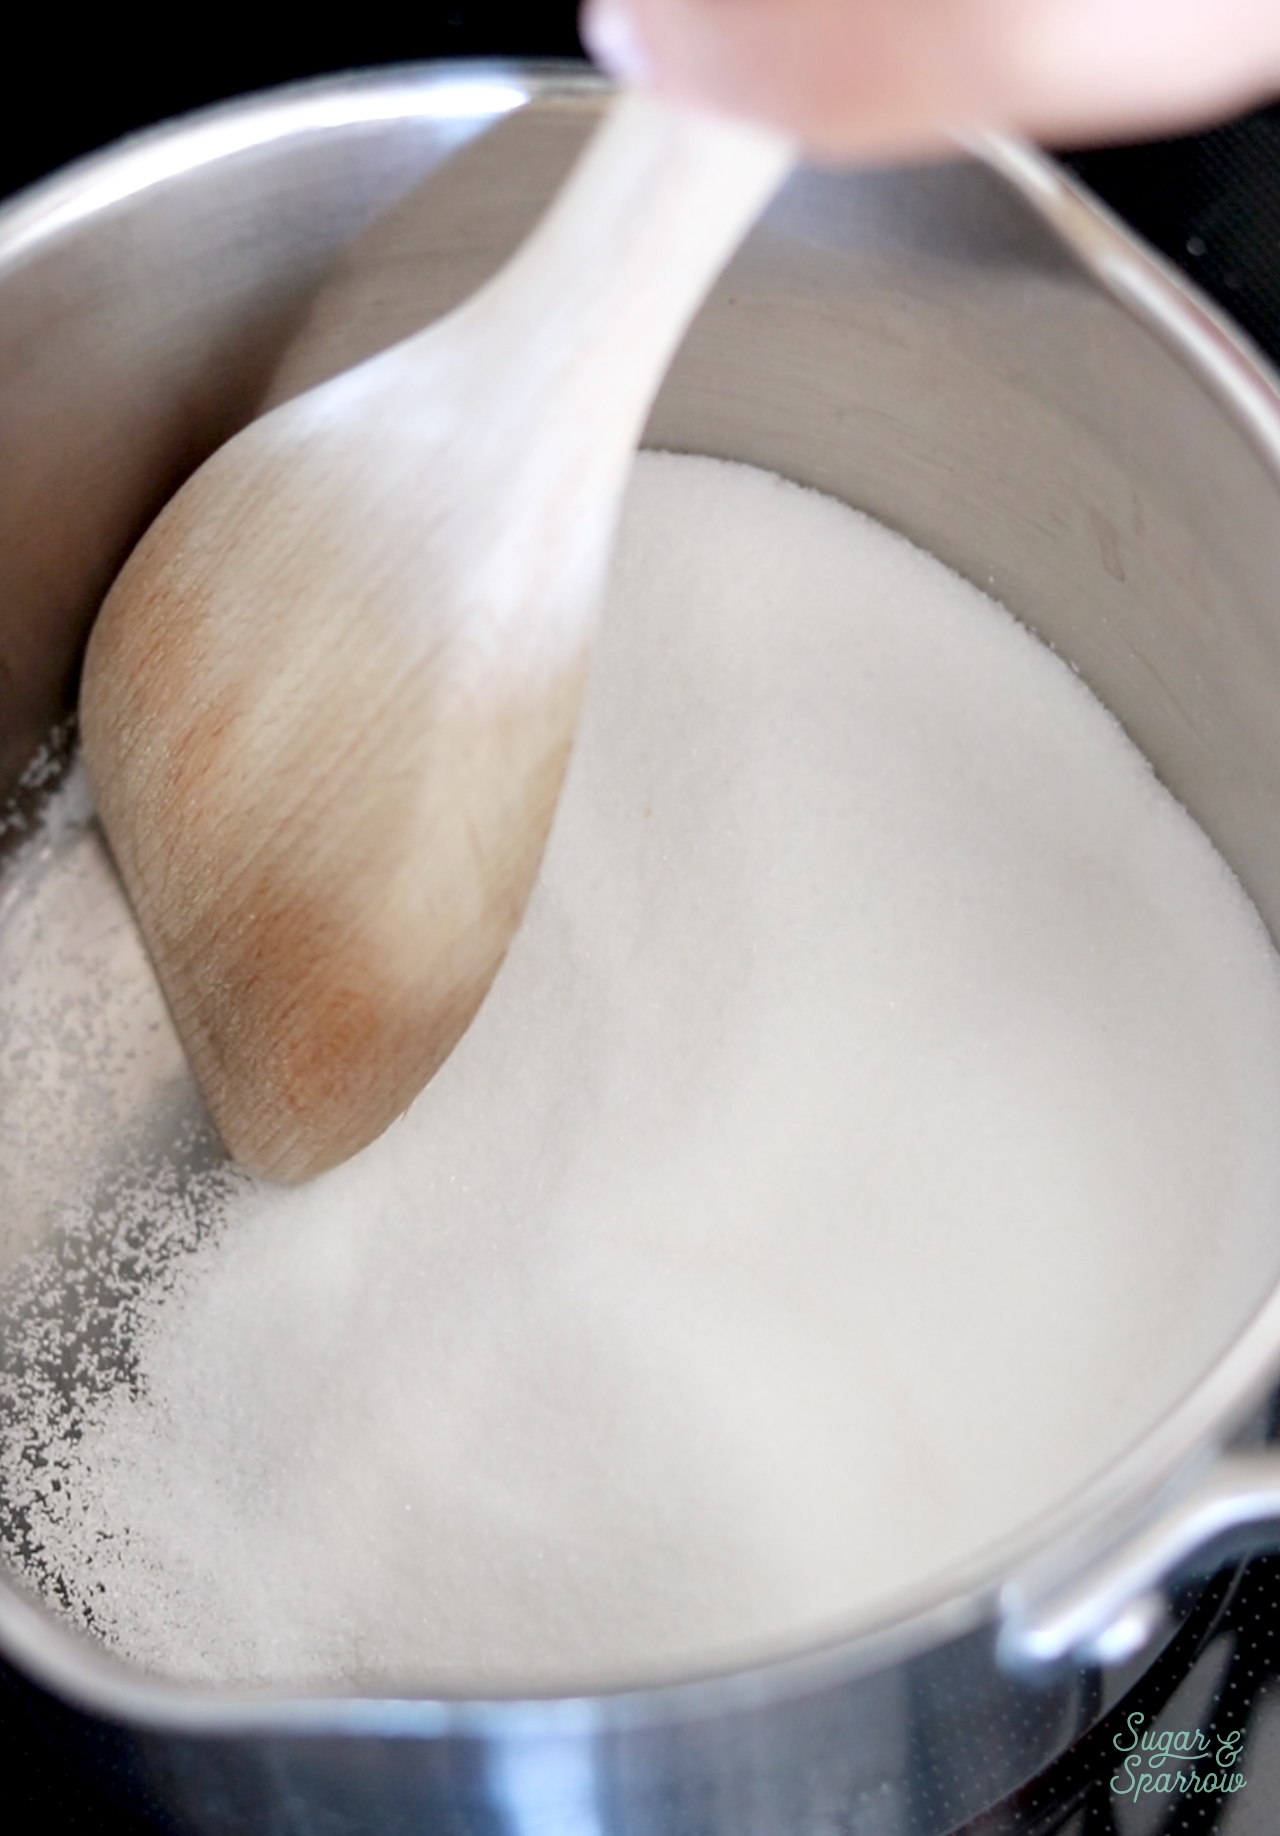
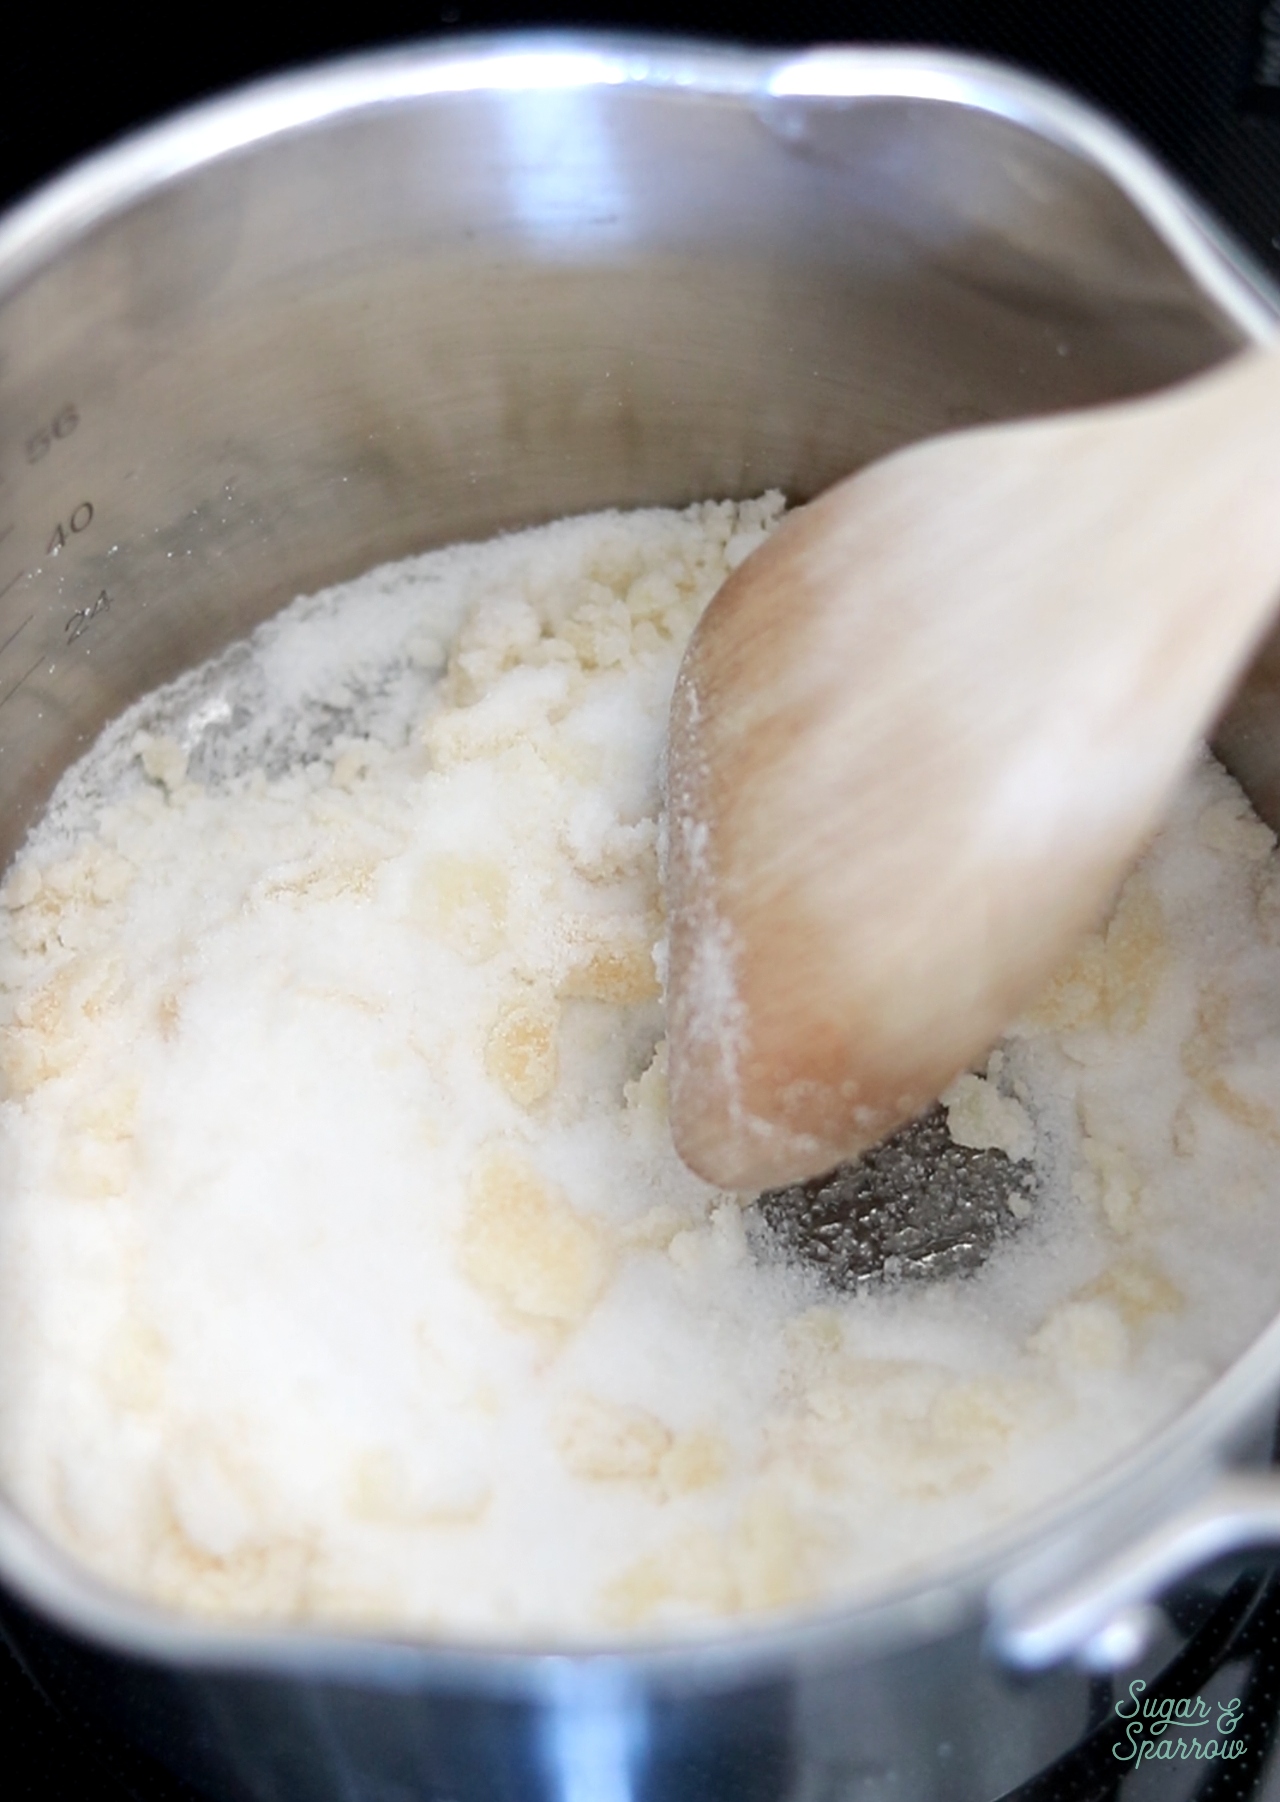
granulated sugar in a saucepan
granulated sugar melting in a saucepan
granulated sugar clumping as it melts
granulated sugar melted into an amber colored liquid

Step 2: Add the butter. Whisk the butter into the melted sugar until the mixture is uniform, about 2-3 minutes.
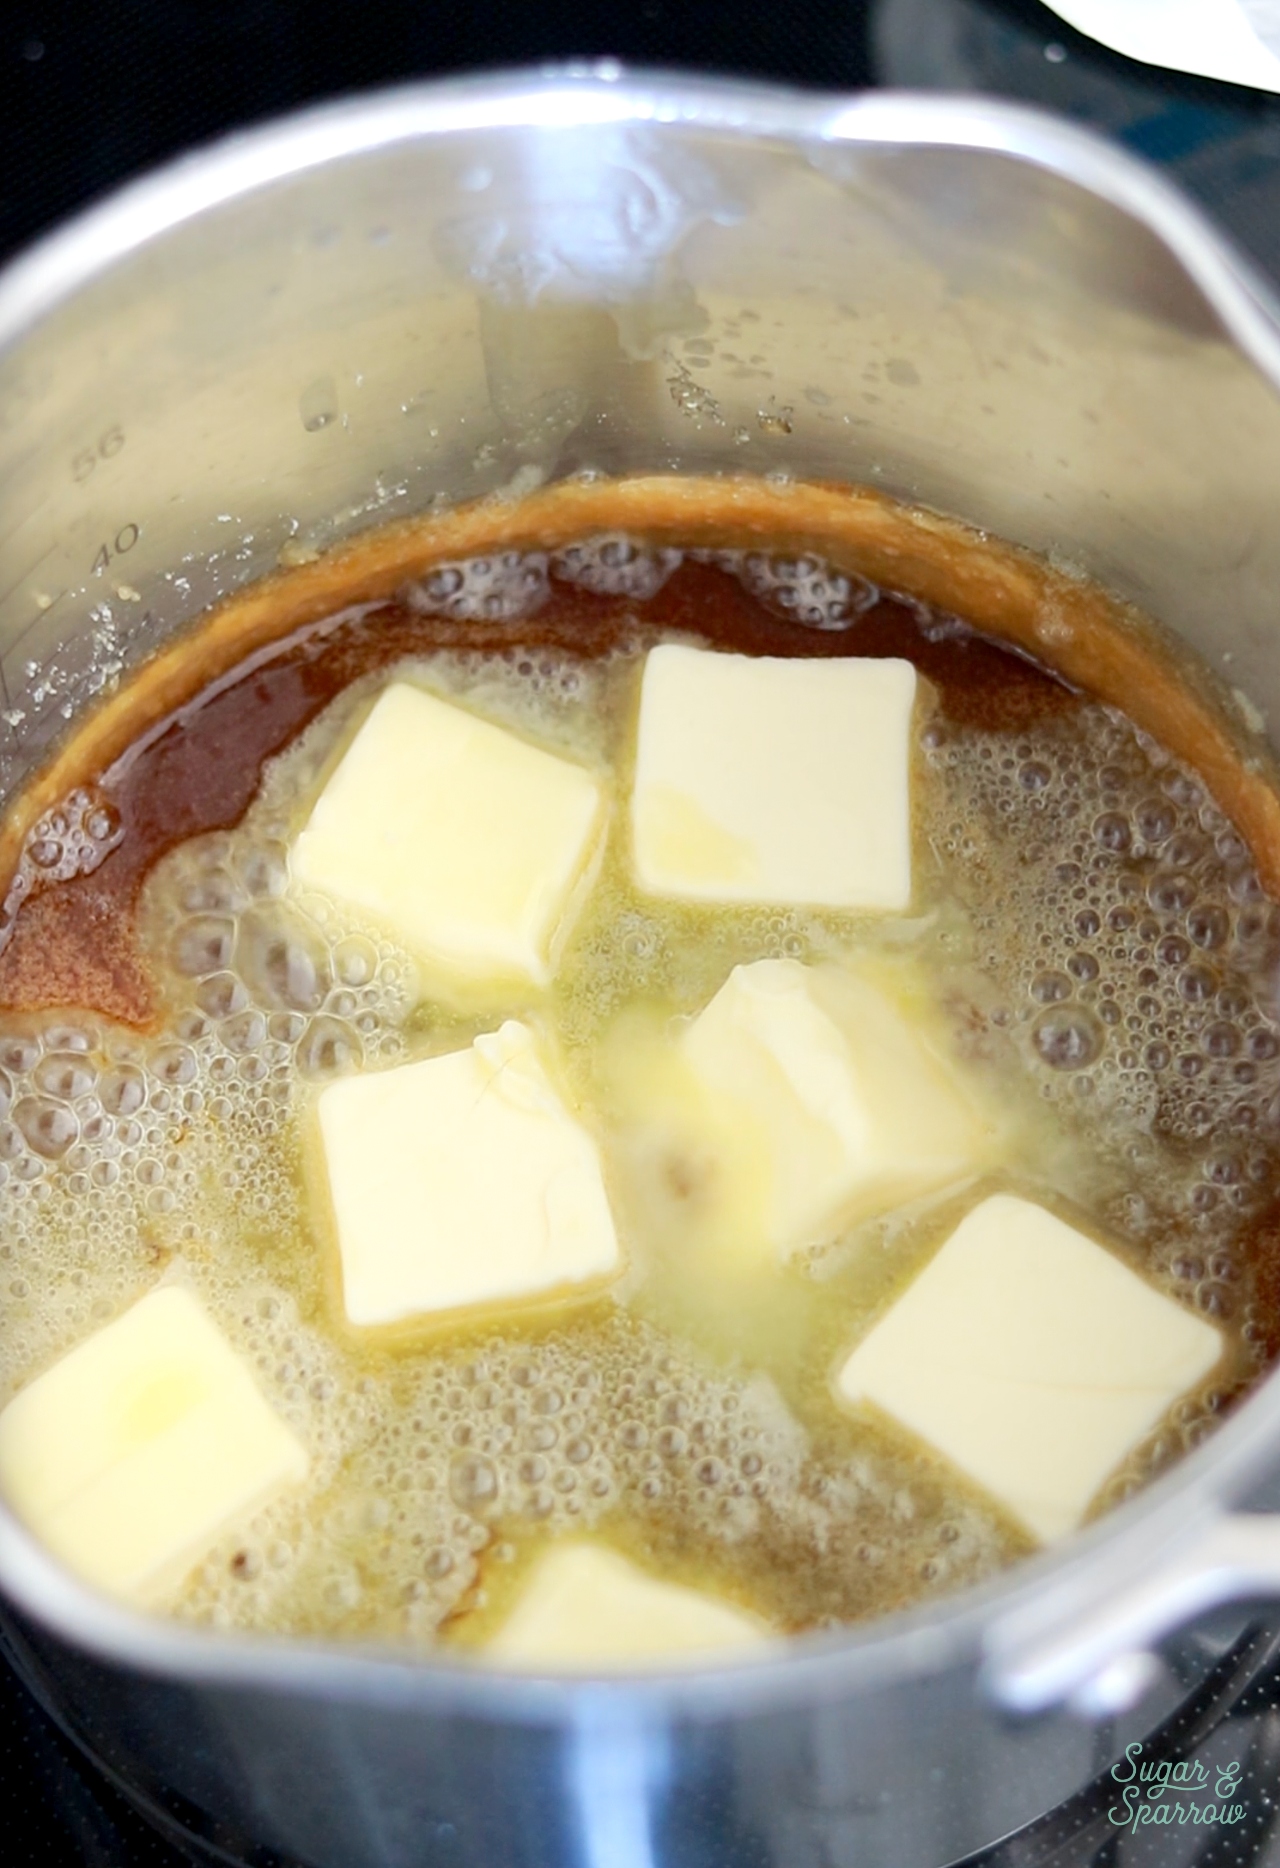
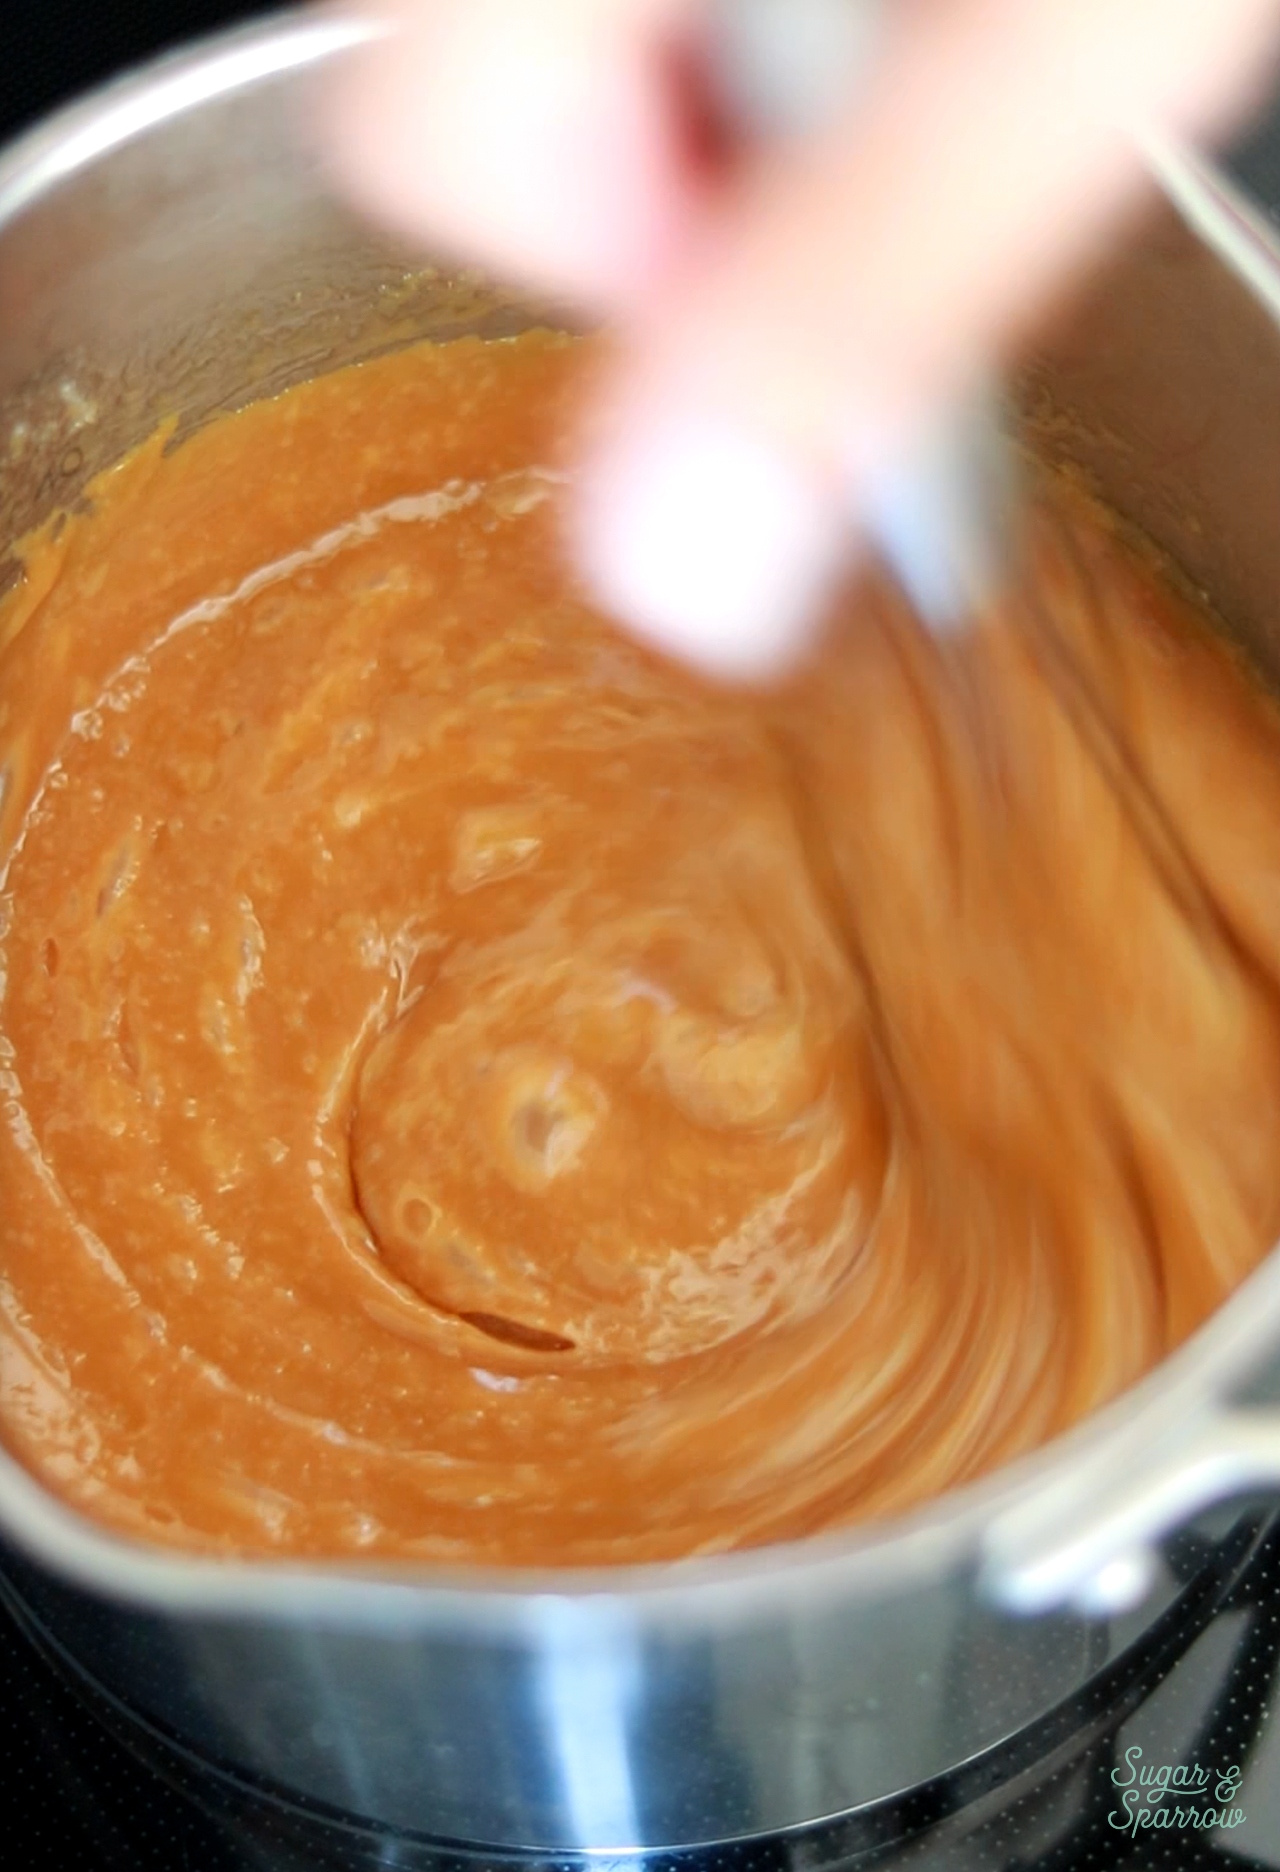
butter added to melted sugar
making salted caramel from scratch

Step 3: Add the heavy whipping cream. Whisk in the heavy whipping cream, then let the mixture boil for one minute without stirring it.
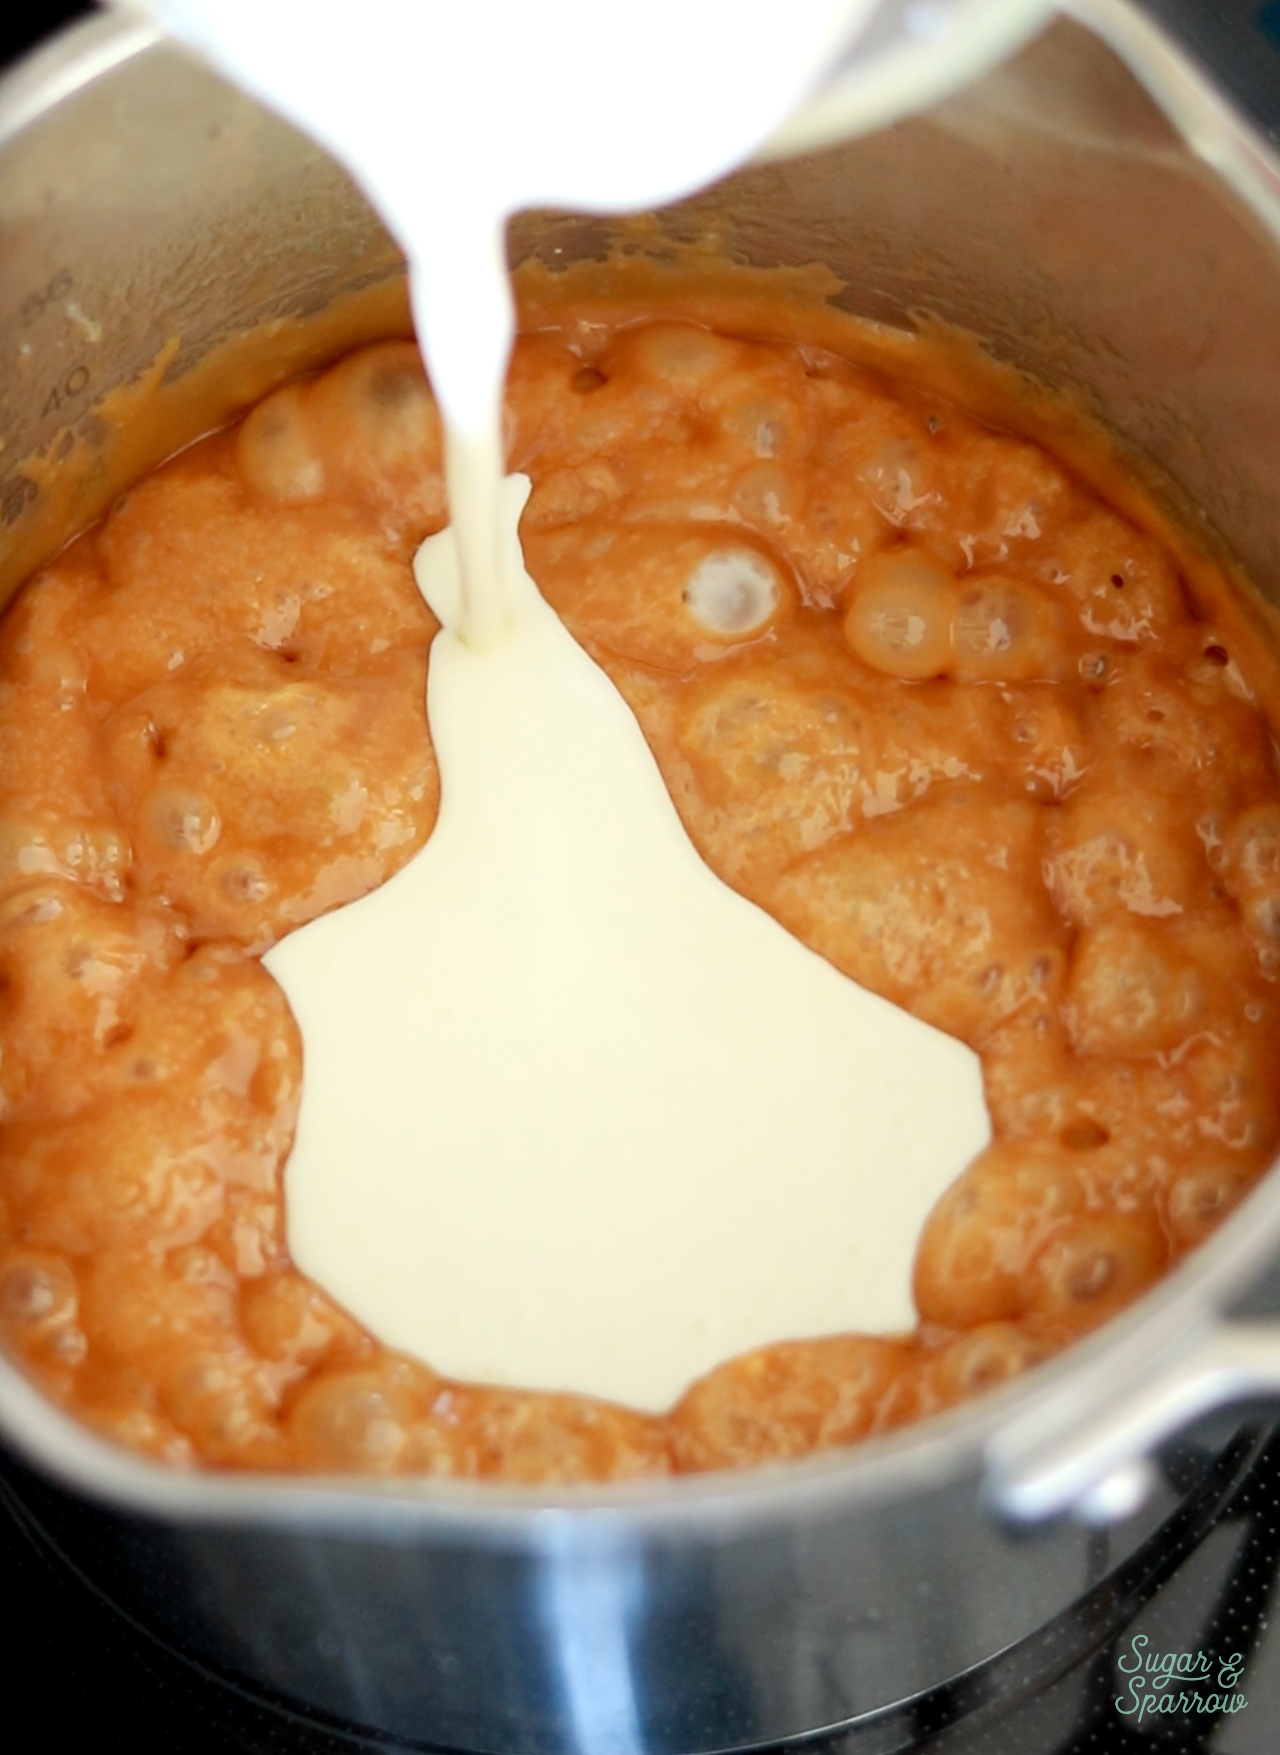
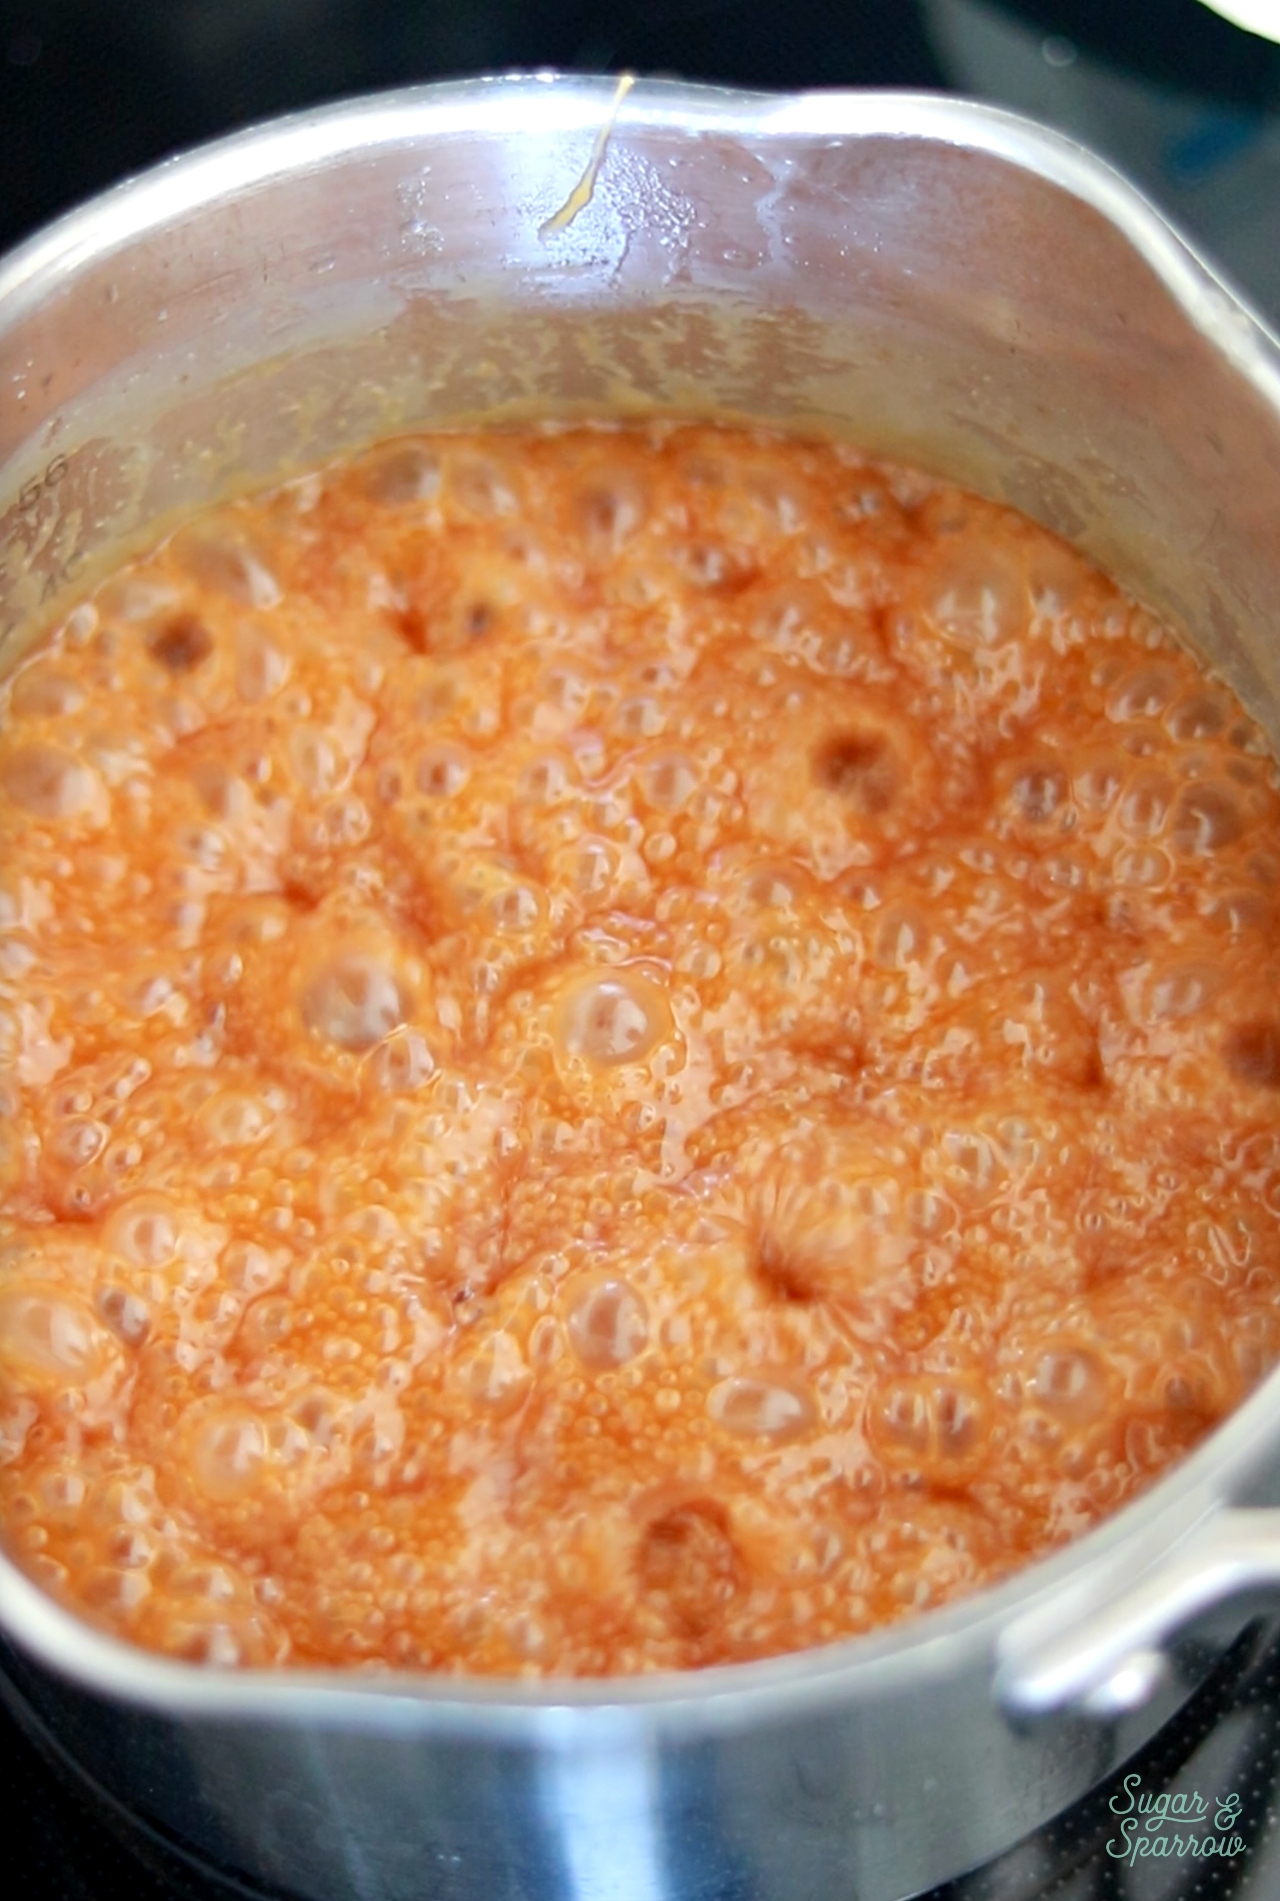
adding heavy whipping cream to salted caramel
boiling salted caramel

Step 4: Add the salt. Whisk the salt in and remove the salted caramel from the heat and let it cool to room temperature. It will thicken as it cools.
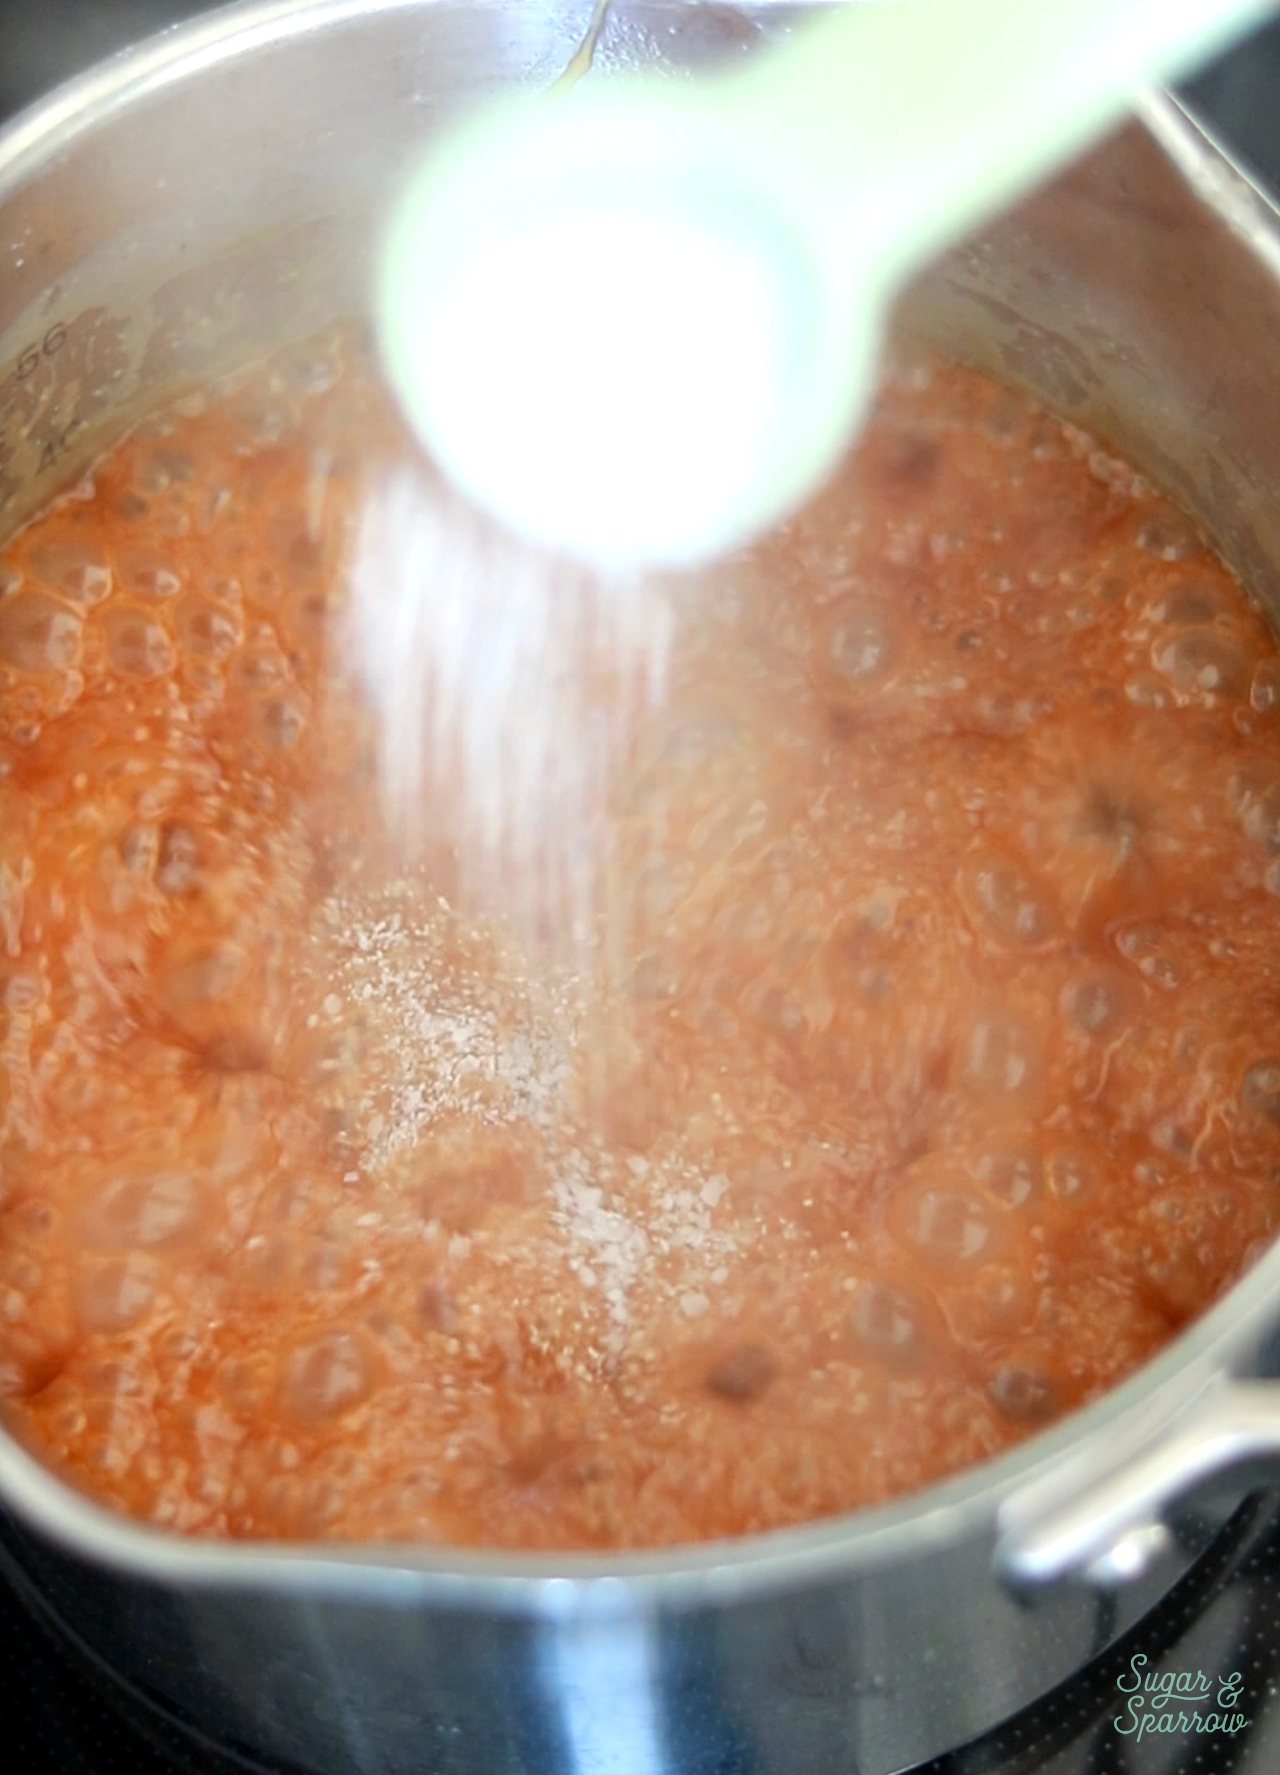
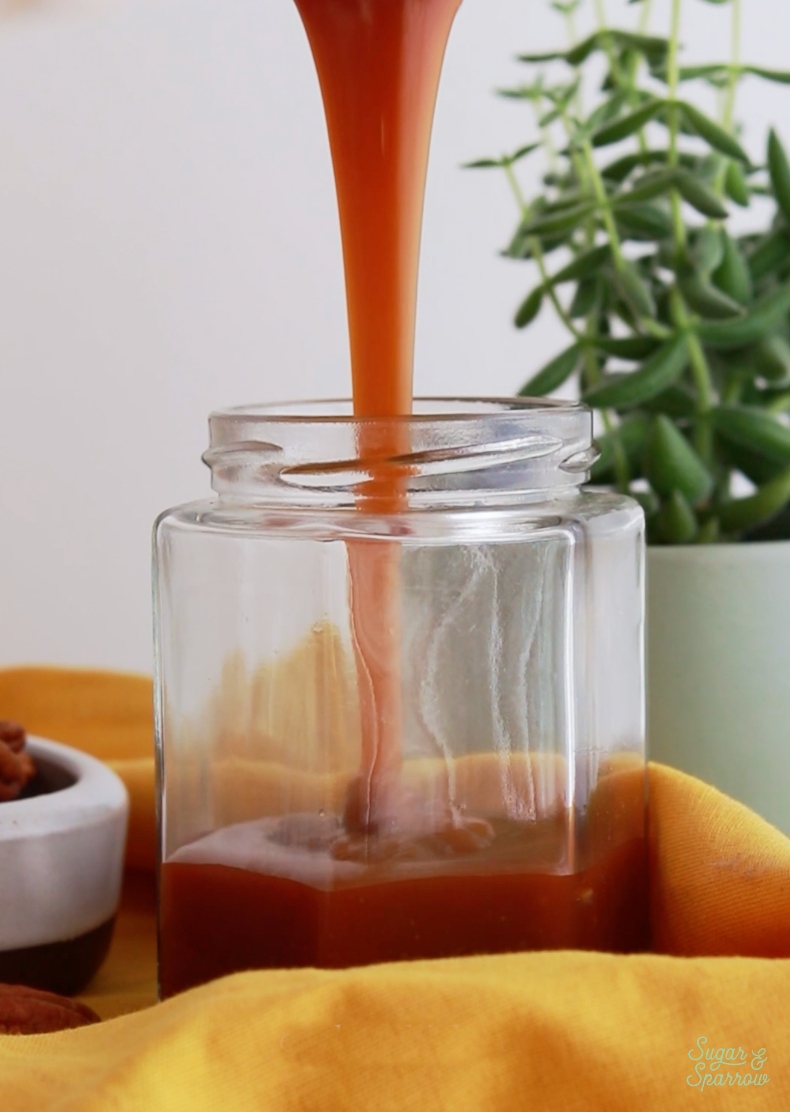
pouring salted caramel into separate container

Salted Caramel Buttercream Recipe Video

Here’s a quick video of the process before you read all about it below:

PS: If you’re into recipe videos like this one, be sure to check out my YouTube Channel! You’ll find more of my favorite recipes, cake decorating tutorials, and so much more. Click the Subscribe button while you’re there so you never miss a new video!

How to Use Salted Caramel

Here are some of my favorite ideas + recipes to use with this salted caramel:

  • Salted Caramel Apple Cake
  • Chocolate Caramel Pecan Pie Cake
  • Salted Caramel Buttercream
  • Salted Caramel Banana Cake with Brown Butter Frosting
  • Use it as an ice cream topping
  • Gift it in cute jars for the holidays
  • Use it as a cake drip! Just make sure it’s slightly above room temperature to achieve the perfect drip consistency.
  • Drizzle it onto cupcakes or in between cake layers.
  • Use it as a dip for apples
salted caramel drip cake recipe
salted caramel buttercream recipe by sugar and sparrow

I hope you love this salted caramel recipe as much as I do! Let me know if you make it in the comments below and feel free to tag @sugarandsparrowco on Instagram to show me a photo. I love to see what you create with my recipes!
easy salted caramel sauce recipe

Salted Caramel

4.90 from 28 votes
An easy and versatile salted caramel recipe that’s perfect for dripping cakes, drizzling over desserts, dipping apples, or eating by the spoonful. 
Print Recipe Pin Recipe
Prep Time:5 minutes mins
Cook Time:10 minutes mins
Total Time:15 minutes mins
Course: Dessert
Cuisine: American
Servings: 1.25 cups

Ingredients

  • 1 Cup (200g) granulated sugar
  • 6 Tbsp (85g) unsalted butter, room temperature, cut into cubes
  • 1/2 Cup (120ml) heavy whipping cream, room temperature
  • 1 1/4 tsp kosher salt

Instructions

  • Have everything pre-measured and ready to go (you’ll be constantly stirring). Place the sugar in a medium saucepan over medium heat and stir constantly with a wooden spoon, until it melts into an amber-colored liquid and no sugar clumps remain, 5-6 minutes. 
  • Reduce the heat to medium-low. Carefully add the butter (it will bubble up when you do) and use a whisk to combine it with the sugar mixture until the butter is fully melted and incorporated, 2-3 minutes. 
  • Add the heavy whipping cream in a steady stream while whisking. As soon as the cream is incorporated, let the caramel boil for a full minute before removing it from the heat and stirring in the salt. 
  • Let the caramel cool to room temperature* before using it in a buttercream recipe or as a cake topping. If you’re using it to drizzle over ice cream or warm baked goods, you only need to cool it slightly (20 minutes or so). It will thicken as it cools. 

Notes

Make Ahead Tip: You can make this salted caramel ahead and store in an airtight container in the refrigerator for up to two weeks. When you’re ready to use it, reheat it in the microwave in 15 second intervals until it reaches room temperature. 
*The term “room temperature” will vary depending on your environment. This caramel should be soft and set at about 70ºF. If it’s too firm at room temperature, simply microwave it in 10 second increments until it’s runny enough for dripping/pouring but not hot enough to melt buttercream. 
Cake Filling: If you need a thicker caramel recipe that you can use as a cake filling, this recipe is my go-to! 
 

By: Whitney · In: Fall, Featured, Recipes, Seasonal · Tagged: caramel drip cake, caramel sauce recipe, fall, homemade salted caramel, salted caramel, salted caramel apples, salted caramel buttercream, salted caramel recipe

you’ll also love

pumpkin layer cake recipe by sugar and sparrowPerfect Pumpkin Layer Cake Recipe
chocolate caramel pecan pie cake recipe by sugar and sparrowChocolate Pecan Pie Cake with Salted Caramel
sprinkled caramel applesHow To Make Sprinkled Caramel Apples

Join the List

Stay up to date & receive the latest posts in your inbox.

Reader Interactions

Comments

  1. DONNA says

    October 17, 2025 at 7:27 am

    Can I use a nonstick pot for this (I do have a silicone whisk)?

    Reply
    • Whitney says

      October 17, 2025 at 8:38 am

      Hi Donna! That should work just fine. Enjoy!

      Reply
  2. Natalie says

    June 24, 2025 at 2:38 pm

    Is it super imperative that the butter be room temperature?

    Reply
    • Whitney says

      June 25, 2025 at 8:28 am

      Hi Natalie! Yes, it’s important to use room temperature butter so that the caramel doesn’t cool down too much after adding the butter.

      Reply
  3. Addie says

    November 30, 2024 at 7:03 am

    5 stars
    Wow. Just wow. This is such an easy and deliciously tasting recipe, and now I can finally check it off my bucket list! Thanks Whitney!

    Reply
  4. Addie says

    October 7, 2024 at 12:11 pm

    Hi Whitney! This caramel looks absolutely delicious. I am planning on using it as a drip for a six-inch cake, and for one batch of your salted caramel buttercream. Would one batch of this recipe be enough? I saw that 1/2 a cup of caramel was needed for the buttercream, but I am not sure how much I will need for the drip! Hope this makes sense! Thanks so much!

    Reply
    • Whitney says

      October 8, 2024 at 8:21 pm

      Hi Addie! Yes, one batch will be enough to use in the buttercream and as a drip. Enjoy!

      Reply
      • Addie says

        October 16, 2024 at 12:27 pm

        I am so sorry!!! I got confused, and I wrote one batch and thought I was doing one batch of buttercream!!! But I am not, I need to do two. I am so sorry for the confusion!! Would one batch of caramel still be enough/ Thank you Whitney! You are amazing!

        Reply
  5. Rachel Lee says

    June 18, 2024 at 12:23 pm

    Hello, thank for your recipe and handy instructions. I had a 300ml tub of cream so decided to increase ingredients 2.5 times to match. The downside I discovered is that heating more sugar for longer introduces a slight bitterness (like treacle). I would also use a bit less salt. My son still loves it though, which is good because I have three jars! I will freeze two

    Reply
    • Whitney says

      June 21, 2024 at 2:38 pm

      I’m glad the recipe still worked scaled up that much! I normally don’t recommend doubling the recipe because of the risk of burning the sugar with the increased amount/time. I’m glad your son loves it and you found a great use for that cream!

      Reply
    • Theresa says

      May 16, 2025 at 1:13 pm

      this is super easy to follow and I got so excited making it my caramel looks perfect. I followed the instructions to a T. I’m not sure what happened, but it’s extremely bitter . I don’t wanna say it taste burnt because it doesn’t taste burnt, but it almost taste like chemical like any suggestions?

      Reply
      • Whitney says

        May 16, 2025 at 7:05 pm

        Hi Theresa! If it tastes bitter that means the sugar was overcooked. Basically when sugar is over heated it starts to form new compounds that can taste bitter. Next time try melting the sugar at a lower temperature, maybe try medium-low instead of medium. I’m so sorry it didn’t turn out this time!!

        Reply
  6. Clare says

    July 11, 2023 at 1:40 pm

    5 stars
    I made this recipe two times. First time was wonderful but the second time my toddler needed rescued right when my sugar was fully melted so it had a slightly burnt taste to it And I don’t have enough cream right now to try again:( Guess I have to wait till tomorrow!

    Reply
    • Whitney says

      July 13, 2023 at 2:14 pm

      So sorry about the second time!! I hope your redo is as wonderful as that first time 🙂

      Reply
  7. Julia says

    June 20, 2023 at 9:55 pm

    5 stars
    Hi. I have made this recipe before and it is delicious! This time I’m planning to whip it up as I saw someone doing it and it looked amazing! Recipe was similar. Have you tried this? Do you think it would work? Many thanks.

    Reply
    • Whitney says

      June 25, 2023 at 2:48 pm

      So happy you love this recipe, Julia! I have never tried whipping the caramel but let me know if you end up trying it. I’d love to know how it goes!

      Reply
  8. Yonna Helgerson says

    March 19, 2023 at 8:08 am

    5 stars
    I just finished making this recipe for the second time and as I forgot to comment the first time, I’ll do both now!!
    I absolutely love this recipe. Both times I have followed the recipe to a T and it turns out perfect! Thank you!
    First time was a drizzle and this time I’ll be using it for your salted Carmel buttercream recipe!

    Reply
    • Whitney says

      March 20, 2023 at 9:20 pm

      Yay, Yonna! Thanks so much for letting me know 🙂 I’m so happy it was a hit!

      Reply
  9. Nicole Gosselin says

    December 28, 2022 at 8:59 am

    5 stars
    This is my go to recipe now, it is amazing and so easy.

    I was just about to make a batch this morning and realized I only have half & half cream and no whip cream. Do you know if it’s possible to use half & half instead?

    Reply
    • Whitney says

      January 2, 2023 at 1:31 pm

      Hi Nicole! I’m so happy this recipe has become your go-to! I’ve never tried it with half and half so it would definitely be an experiment. I can only recommend heavy whipping cream at this point. Let me know if you try the half and half though!

      Reply
  10. Diane says

    December 19, 2022 at 1:18 pm

    Hi,

    I’d like to make several batches. Can you please advise on whether i can just do6bke or triple this without running into problems with the sugar not melting properly? If so do I need to start with clean utensils for each batch or can I just restart with the ones I just used? Sorry if this seems ridiculous, but I saw something about this with making caramels.

    Reply
    • Whitney says

      December 23, 2022 at 9:48 am

      Hi Diane! That is a great question! Caramel does get finicky when scaling it up because of the sugar not melting evenly. That said, I do recommend making one batch at a time for best results, with clean utensils for each batch. Hope that helps!

      Reply
  11. Joanne says

    October 5, 2022 at 3:56 am

    Roughly how much salted caramel does this make volume-wise (in cups)? I plan on making a 4 layer 8in cake, with a double batch of your salted caramel buttercream (so I’ll need 1 cup of caramel for that), plus a caramel drip on top, and possibly caramel in the layers as well, if that wouldn’t be overkill!

    Reply
  12. Dereth says

    September 21, 2022 at 4:19 pm

    5 stars
    Ok, you are my hero. I had my heart set on a salted caramel buttercream for my birthday cake and had tried a different recipe and, while the caramel worked, the frosting was rubbish. I ended up trying it again, but the caramel wouldn’t set up. ARGH! Then I tried this caramel (and subsequent buttercream recipe) and it was perfect and exactly what I wanted. Now, I am planning out 1000 more recipes that I can use this for. My boyfriend has used up all the extra caramel on his Peanut butter sandwiches lol I have been pouring over your recipes and tutorials for the last week. I am obsessed.

    Reply
    • Whitney says

      September 21, 2022 at 9:01 pm

      I’m so happy to hear that you found your new go-to caramel recipe, Dereth! Also I laughed out loud when I read that your boyfriend put the caramel on his peanut butter sandwiches! Thanks so much for letting me know it was a hit 🙂

      Reply
  13. Ashley Perry says

    August 7, 2022 at 10:16 am

    5 stars
    OMG this was so easy! It came out perfectly and in an hour or two it will go into the salted caramel buttercream recipe!

    Reply
    • Whitney says

      August 7, 2022 at 8:47 pm

      Yay, Ashley!! I’m so happy to hear that and I hope you love the salted caramel buttercream 🙂

      Reply
  14. Stacy says

    November 16, 2021 at 1:54 pm

    Hi. Can it be left out overnight at room temperature before using in buttercream? I don’t have a microwave to reheat after refrigeration. Thank you!

    Reply
    • Whitney says

      November 17, 2021 at 4:35 pm

      Hi Stacy! I don’t think leaving it out for one night will be a problem, so long as it’s in an airtight container. Enjoy!

      Reply
  15. Tosin says

    September 30, 2021 at 6:50 am

    5 stars
    I have made this recipe twice and came out beautifully both times! I have always had a fear of caramel as it failed more often than not. This recipe is simple, delicious and I haven’t had any form of crystallization at all even after several days. Thank you very much!

    Reply
    • Whitney says

      October 3, 2021 at 2:58 pm

      I’m so happy to hear that, Tosin! Thanks for taking the time to let me know!

      Reply
« Older Comments
Newer Comments »

Leave a Reply Cancel reply

Your email address will not be published. Required fields are marked *

Recipe Rating


Next Post >

Monster Shag Cake Tutorial

Primary Sidebar

Welcome to Sugar & Sparrow

Welcome to Sugar & Sparrow

Helping you whip up pretty desserts with confidence and creativity. And hopefully sharing a few laughs with you along the way!

Learn More

Connect

let’s bake!

Get my very best recipes, baking tips, and decorating tutorials sent to your inbox

Featured Posts

Rainbow layer cake with rainbow frosting

The Ultimate Rainbow Cake (Inside and Out!)

strawberry cake recipe by sugar and sparrow

The Tastiest Strawberry Cake Recipe

easy pumpkin cake with cream cheese frosting

Easy Pumpkin Sheet Cake

Search

Archives

Follow Along

@sugarandsparrowco

DYE-FREE BLACK BUTTERCREAM 🖤 (recipe below) there DYE-FREE BLACK BUTTERCREAM 🖤 (recipe below) there is ZERO food coloring in this black buttercream recipe which means it won’t turn your mouth black (or anything else 💩) + it tastes like Oreo cookie butter so it’s a win all around!! The key is to use EXTRA dark black cocoa powder, which also comes in handy in my black velvet cake recipe 🙌🏼 ideal secret ingredient for your Halloween cakes! 
⁣
Full recipe (and the black cocoa powder I use!) is linked in my bio and at https://sugarandsparrow.com/dye-free-black-buttercream/
⁣
DYE-FREE BLACK BUTTERCREAM⁣⁣
Yield: 2.5 Cups⁣⁣
⁣⁣
INGREDIENTS:⁣⁣
1 Cup (226g) unsalted butter, room temp
2 1/2 Cups (300g) powdered sugar⁣⁣
1/2 Cup (56g) EXTRA DARK black cocoa powder⁣⁣*
1 tsp pure vanilla extract⁣⁣
2 Tbsp whole milk, room temp
pinch of salt⁣⁣
⁣⁣
INSTRUCTIONS:⁣⁣
1. In a stand mixer fitted with the paddle attachment, whip the butter on medium speed until creamy and light in color, 4 min. Add half of the powdered sugar and mix on low until just combined, then add the rest of the powdered sugar. With the mixer still in the off position, sift in the black cocoa powder and add the vanilla, milk, and salt. Mix on low until all ingredients are thoroughly combined, 2-3 minutes, scraping down the bowl and paddle as needed.⁣⁣
2. Place the buttercream in an airtight container and allow the color to deepen for 24 hours or more. ⁣⁣

*I use a brand called The Cocoa Trader that I get on Amazon. It’s the darkest black cocoa powder I’ve seen so far!!
⁣⁣
#blackbuttercream #naturalfoodcoloring #blackcake #buttercream #blackcocoapowder
SMALL BATCH pumpkin cake with cream cheese frostin SMALL BATCH pumpkin cake with cream cheese frosting 🧡 This mini cake is a scaled down version of my favorite pumpkin cake recipe + makes the perfect amount for 2-4 people! Bake it as a 4-inch mini layer cake or a single layer 6-inch cake, either way is absolutely delicious and the perfect for date night, a small gathering, or any time you’re craving pumpkin cake without having to make a huge dessert 🙌🏽

Comment RECIPE and I’ll send you the full recipe (with thick and stable cream cheese frosting!) or find it linked in my bio + at https://sugarandsparrow.com/small-batch-pumpkin-cake/ 

INGREDIENTS 
2/3 Cup (88g) all-purpose flour
1 tsp baking powder
1/4 tsp baking soda
1/4 tsp salt
1 tsp ground cinnamon
1/2 tsp allspice
1/4 tsp nutmeg
1/8 tsp ground ginger
1/3 Cup (67g) packed brown sugar
2 Tbsp (25g) granulated sugar
1/3 Cup (80ml) vegetable oil or melted butter
1 large egg, room temp
1/2 Cup (125g) canned pumpkin puree
1/2 tsp pure vanilla extract

INSTRUCTIONS
1. Preheat the oven to 350ºF (177ºC). Grease and line three 4-inch cake pans or one 6-inch cake pan.
2. In a medium bowl, whisk together the all-purpose flour, baking powder, baking soda, salt, cinnamon, allspice, nutmeg, and ground ginger. Set aside.
3. In a separate medium bowl, add the brown sugar, granulated sugar, vegetable oil (if using melted butter in place of the oil, cool it for 5-10 minutes prior to adding here), egg, pumpkin puree, and vanilla extract. Whisk together until uniform, then add the flour mixture and whisk until smooth.
4. Pour the batter evenly between the prepared cake pan(s). If using 4-inch cake pans, bake for 22-26 minutes. If using a 6-inch cake pan, bake for 25-30 minutes. Cool completely before frosting (full recipe with cream cheese buttercream is linked in my bio!)

#pumpkincake #smallbatchcake #minicake #creamcheesefrosting #fallbaking
TOP 10 FALL CAKES 🍂 These are not only MY favorite TOP 10 FALL CAKES 🍂 These are not only MY favorite Fall cake recipes, they’re yours too! 🥰

Comment “FALL” and I’ll send you all of the cake recipes shown here and all 36+ of my favorite Fall baking ideas – classic cakes like pumpkin cake with cream cheese frosting, spice cake, and cranberry orange cake, more complex flavor combinations like chocolate pecan pie cake with salted caramel and apple crisp cake, and cozy recipes like no-bake pumpkin cheesecake, homemade salted caramel, and my favorite brown butter chocolate chip cookie bars. 

https://sugarandsparrow.com/fall-baking-recipes/

#pumpkincake #applecake #fallcake #cakeinspiration #cakeideas
The BEST pumpkin cake with cream cheese frosting 🧡 The BEST pumpkin cake with cream cheese frosting 🧡 this pumpkin layer cake is easy to make, perfectly spiced, so moist, irresistible with cream cheese frosting, and uses the ENTIRE 15oz can of pumpkin (no awkward leftovers!). Top it with pretty piped pumpkins to make it extra cute 🥰

Comment RECIPE to get the full recipe (with frosting + cake decorating tutorial) or find it linked in my bio and at https://sugarandsparrow.com/pumpkin-layer-cake-recipe/

INGREDIENTS
2 Cups (265g) all-purpose flour
2 tsp baking powder
1 tsp baking soda
1 tsp salt
2 tsp ground cinnamon
1 tsp allspice
1 tsp nutmeg
1/2 tsp ground ginger
1 Cup (200g) packed brown sugar
1/2 Cup (100g) granulated sugar
1 Cup (240ml) vegetable oil or melted butter
4 large eggs, room temp
15 Oz (425g) canned pumpkin puree
2 tsp pure vanilla extract

INSTRUCTIONS
1. Preheat the oven to 350ºF (177ºC). Grease and line three 6-inch or two 8-inch cake pans.
2. In a medium bowl, whisk together the all-purpose flour, baking powder, baking soda, salt, cinnamon, allspice, nutmeg, and ground ginger. Set aside.
3. In a separate large bowl, add the brown sugar, granulated sugar, oil (if using melted butter in place of the oil, cool it for 5-10 minutes prior to adding here), eggs, pumpkin puree, and vanilla extract. Whisk together until uniform, then add the flour mixture and whisk until smooth.
4. Pour the batter evenly between the prepared cake pans and bake for 32-36 minutes, until a toothpick inserted comes out clean or with just a few moist crumbs. Cool the cakes completely to room temp before frosting!

#pumpkincake #creamcheesefrosting #layercake #cake #fallbaking
EASY HOMEMADE SALTED CARAMEL✨(recipe below) even i EASY HOMEMADE SALTED CARAMEL✨(recipe below) even if you’ve never made salted caramel from scratch before, this recipe is VERY beginner friendly + nearly fail proof! There are only 4 ingredients involved, no candy thermometer required, and takes just 10 minutes to make 👏🏽 this is my go-to caramel for drip cakes, drizzling desserts, flavoring coffee, adding it to buttercream, and so much more! 🍯  
 
Full recipe (with video + detailed instructions) linked in my bio or at https://sugarandsparrow.com/salted-caramel-recipe/
⁣ 
SALTED CARAMEL 
Yield: 1.25 Cup⁣s
⁣⁣ 
Ingredients:⁣⁣ 
1 Cup (200g) white granulated sugar⁣⁣ 
6 Tbsp (85g) unsalted butter, room temperature, cut into cubes⁣⁣ 
1/2 Cup (120ml) heavy whipping cream, room temperature⁣⁣ 
1 1/4 tsp kosher salt⁣⁣ 
⁣⁣ 
Instructions:⁣⁣ 
1. Place the sugar in a medium saucepan over medium-high heat and stir constantly until it melts into an amber-colored liquid and no sugar clumps remain, 5-6 minutes. ⁣⁣ 
2. Reduce the heat to medium. Carefully add the butter (it will bubble up when you do) and use a whisk to combine it with the sugar mixture until the butter is fully melted and incorporated, 2-3 minutes. ⁣⁣ 
3. Add the heavy whipping cream in a steady stream while whisking. As soon as the cream is incorporated, let the caramel boil for a full minute before removing it from the heat and stirring in the salt. ⁣⁣ 
4. Let the caramel cool to room temperature before using it in a cake recipe or as a drip. If you’re using it to drizzle over ice cream or warm baked goods, you only need to cool it slightly (20 minutes or so). It will thicken as it cools. ⁣⁣ 
⁣⁣ 
#caramel #saltedcaramel #bakedfromscratch #caramelcake #caramelsauce

Footer

On the Blog

  • Cake Basics
  • Recipes
  • Tutorials

Info

  • About
  • Privacy Policy & Disclosure

stay in the know

Copyright © 2026 · Theme by Sugar & Sparrow