
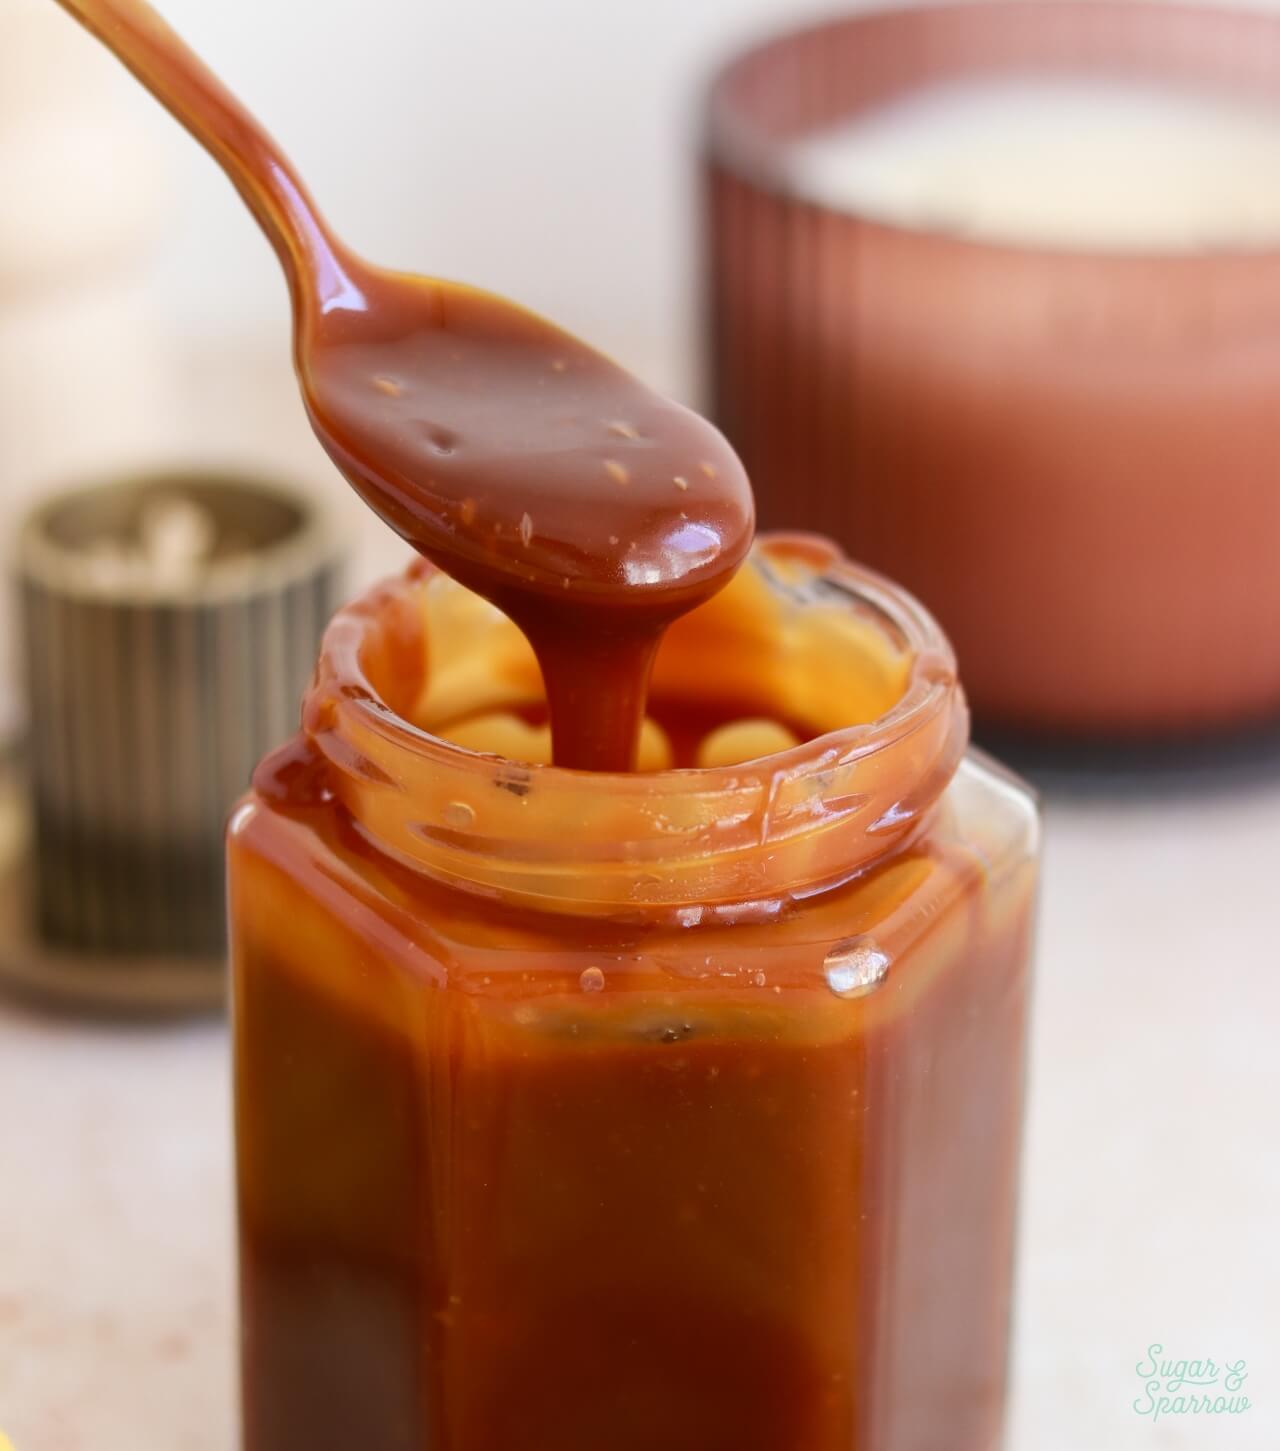
When it comes to salted caramel, this recipe is as versatile as can be. I’ve used it to drip cakes, drizzle cupcakes, dip apples, top ice cream, and have even used it to make salted caramel buttercream! With only four ingredients and fail-proof instructions, it is truly the easiest caramel I’ve ever made and has never let me down. If you’ve ever struggled with making salted caramel before, I hope recipe changes everything for you.
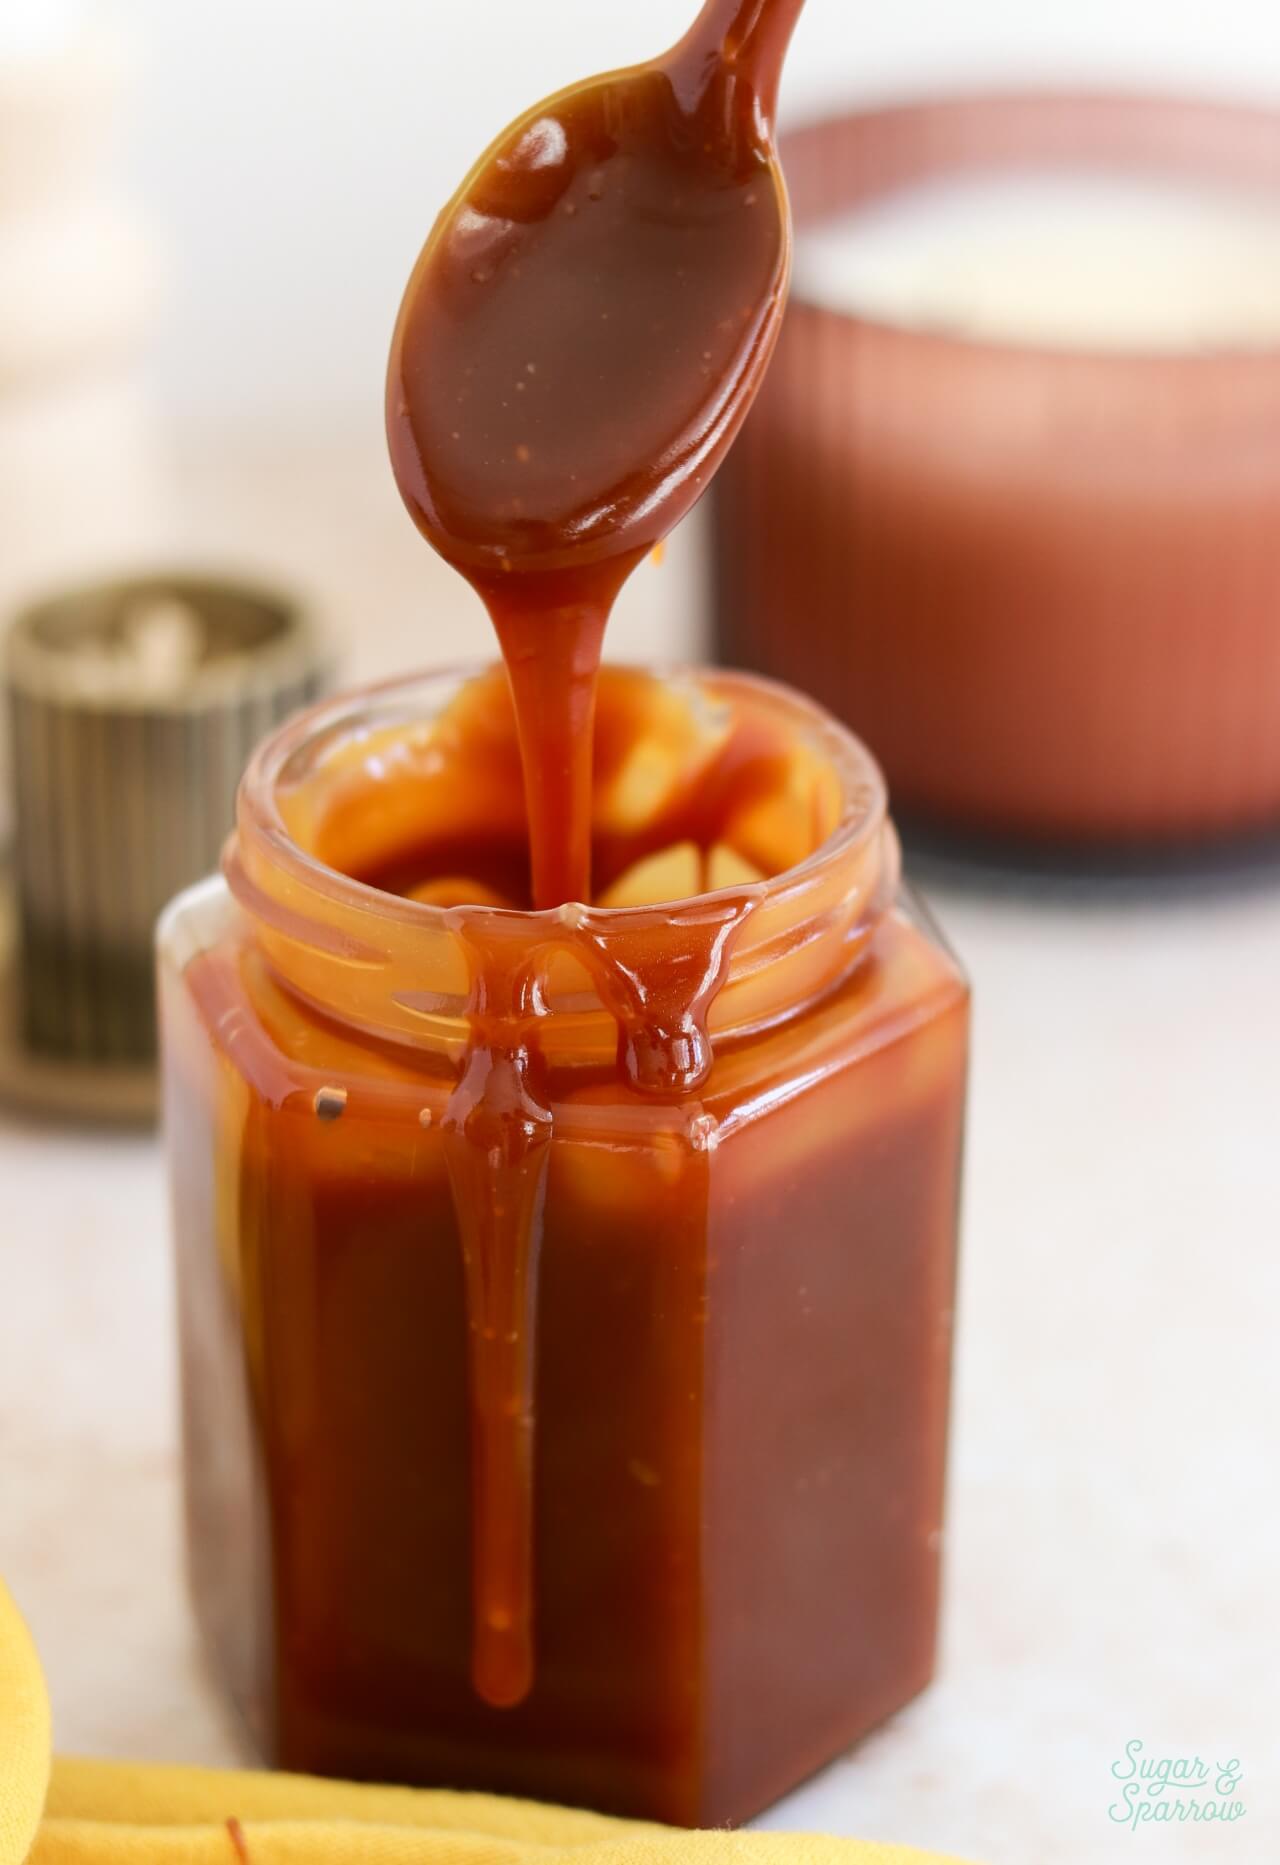
One Reader, Hilary, Says: “This was my first attempt at anything caramel. I was scared to death to heat a pile of sugar and was sure it was going to burn. I did what you suggested and had everything pre-measured and room temperature, followed all the steps, and once it cooled and I ventured a taste, it was AMAZING! I was stunned. Thank you for taking the fear out of caramel for me!” ★★★★★
Why You’ll Love This Salted Caramel Recipe
While I’ve tried my hand at some more intricate salted caramel recipes before, this one is my favorite for a few reasons:
- Only four ingredients. All it takes to make this salted caramel is granulated sugar, unsalted butter, heavy whipping cream (or double cream), and salt.
- No candy thermometer necessary. Unlike other salted caramel recipes, you won’t need a thermometer to measure this one! Instead, you’ll be going by time markers and simple visual cues.
- It’s nearly fail proof with consistent results. I’ve written super detailed instructions to help you make this recipe, and when followed properly you’ll always end up with amazing salted caramel.
- Perfect amount of sweet and salty. The flavor of this salted caramel is absolutely divine! I’ve been known to eat it by the spoonful.
- It’s versatile. You can use this recipe as a caramel sauce, as a cake drip, drizzle it in between cake layers, or use it in my salted caramel buttercream recipe.
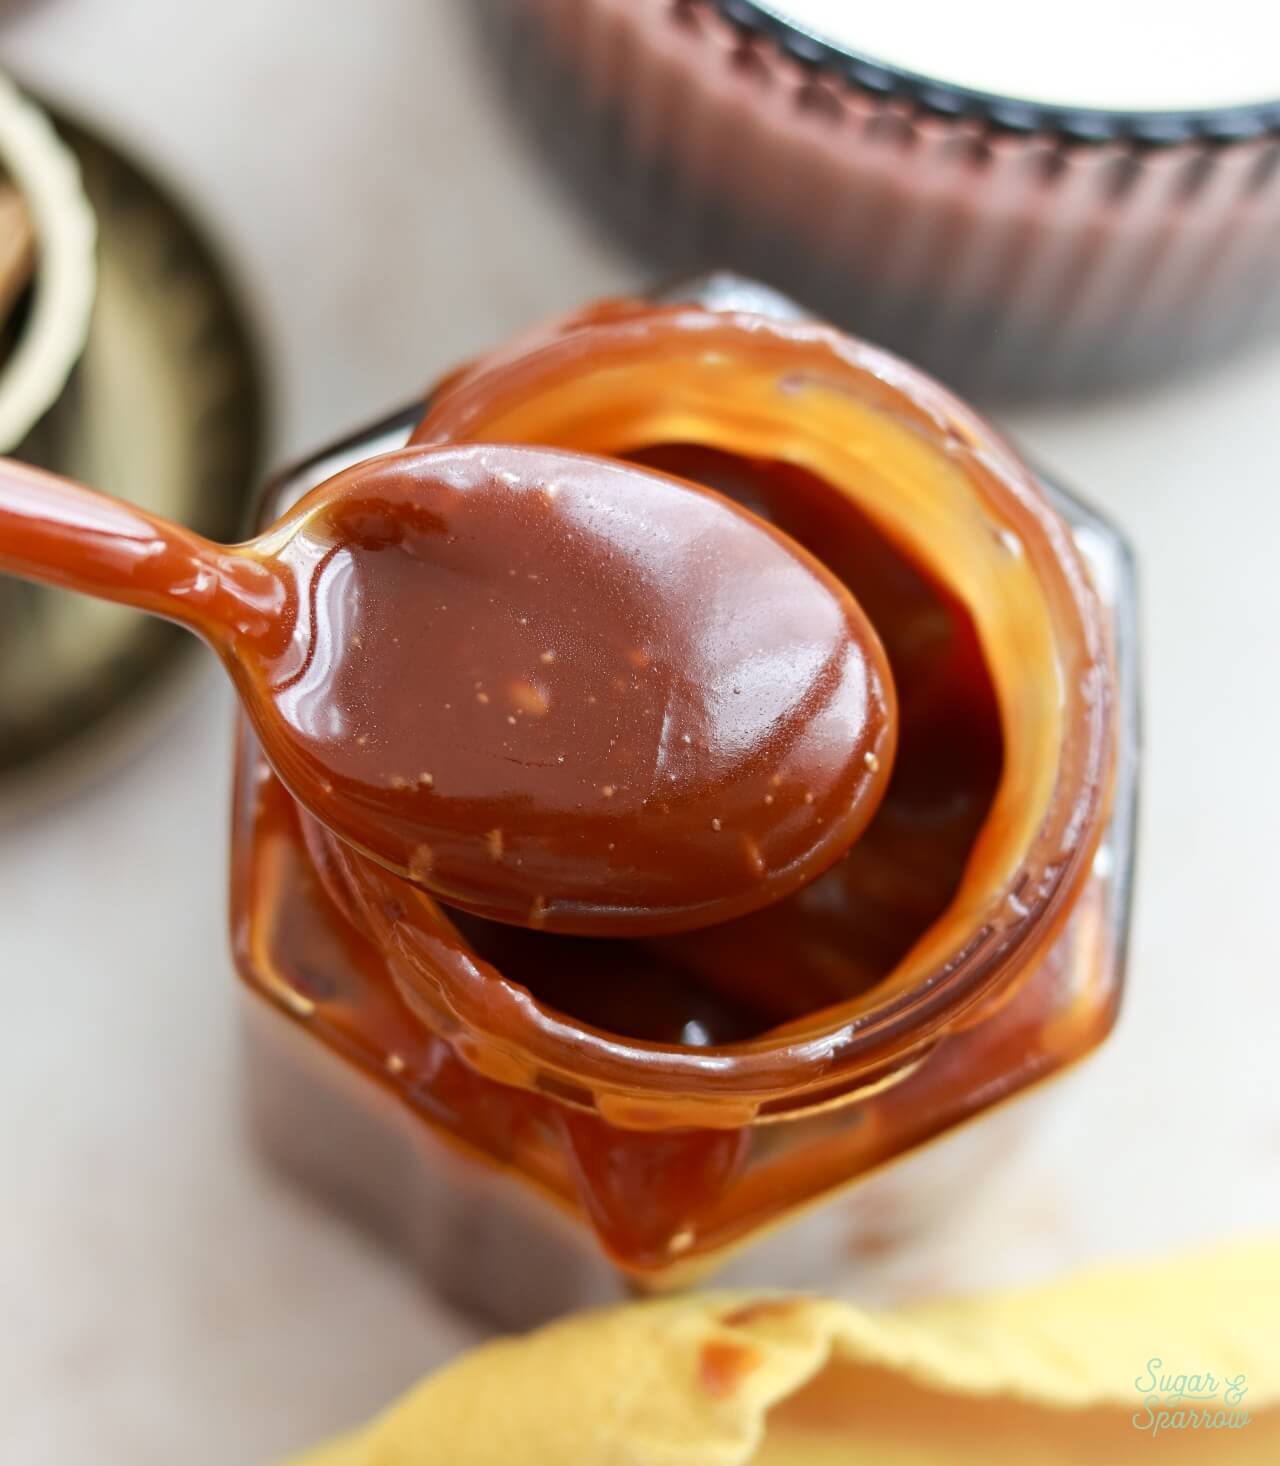
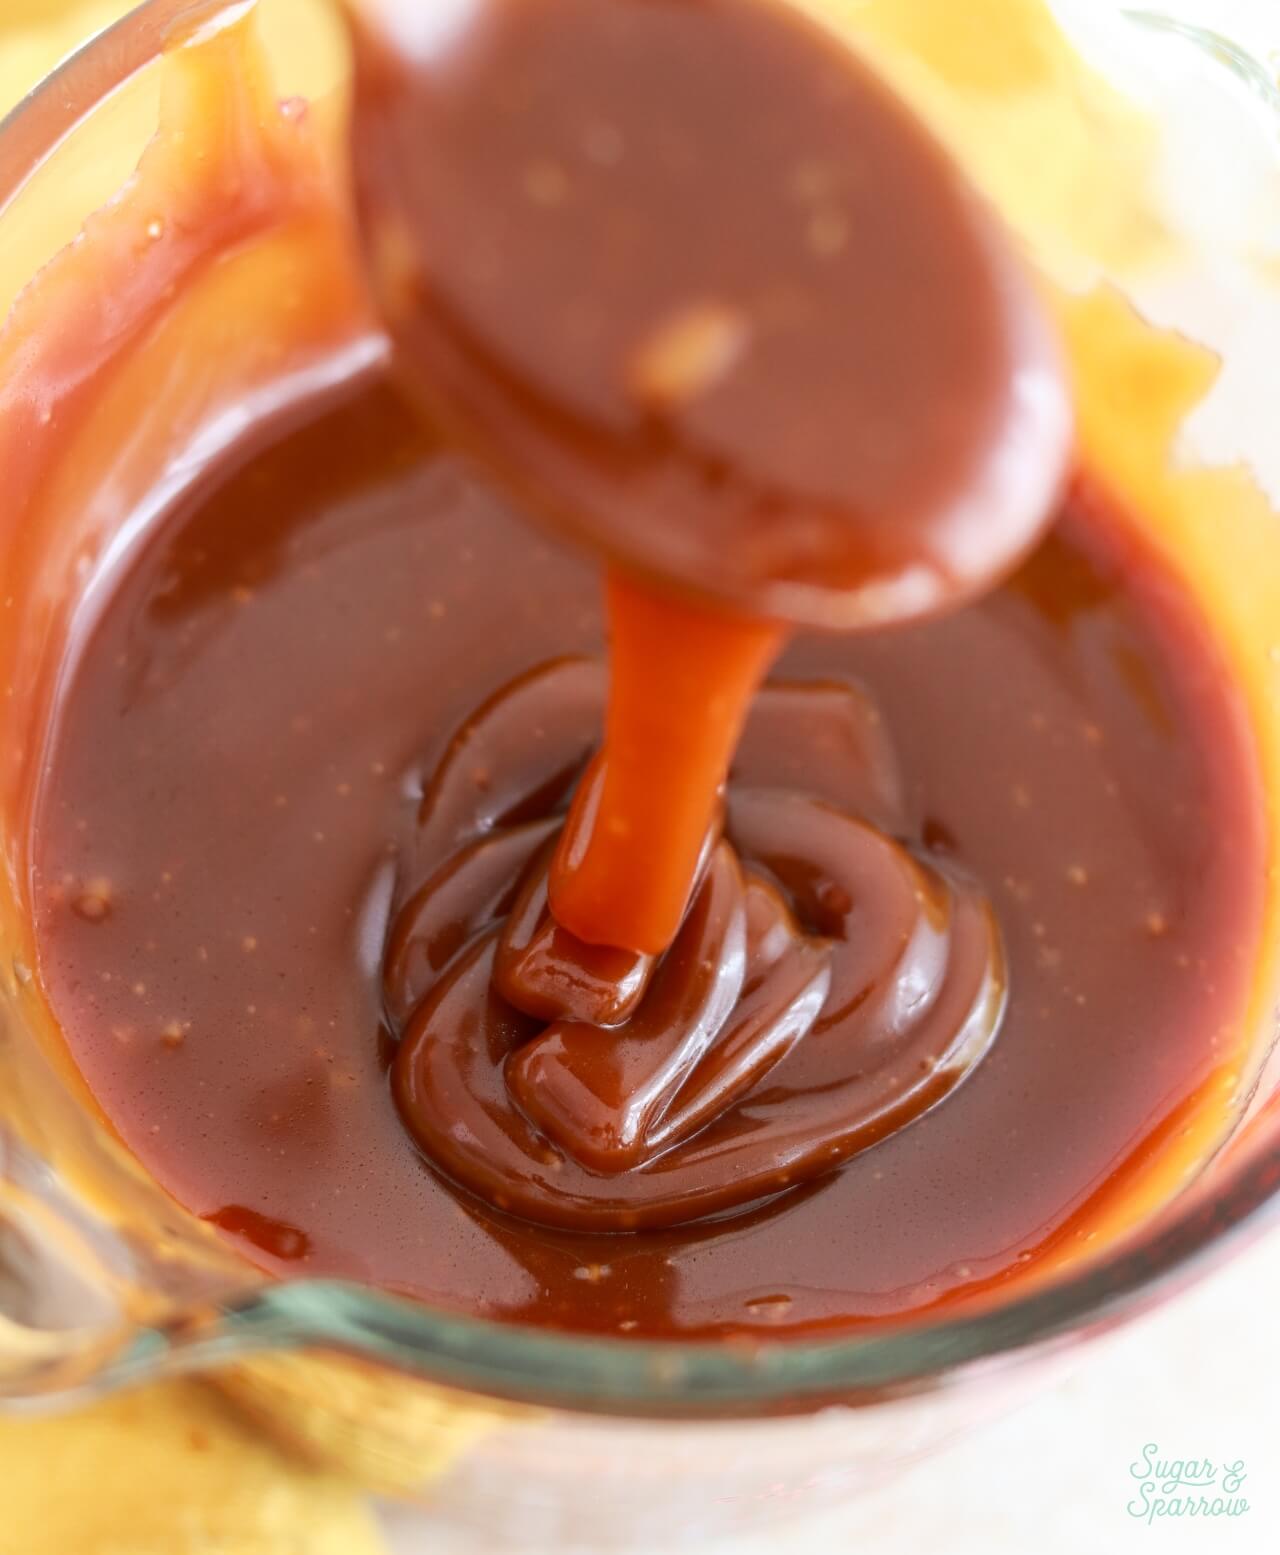
Homemade Salted Caramel Ingredients
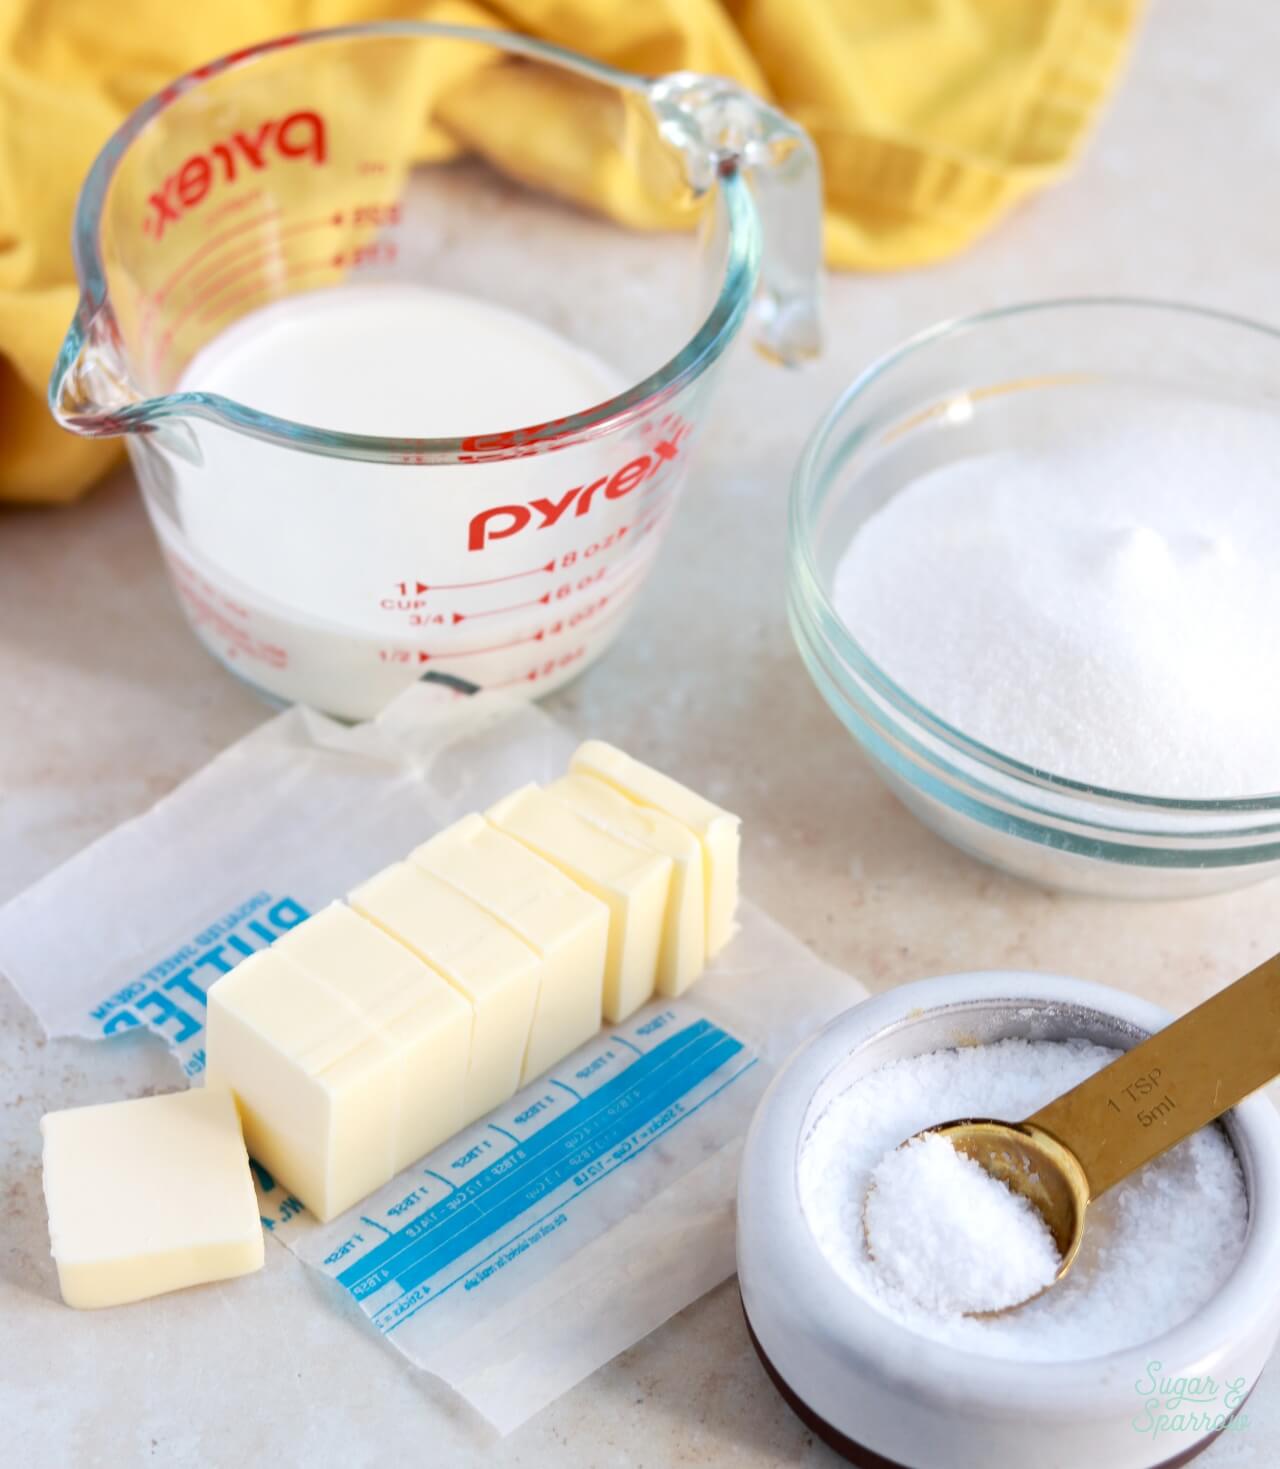
There are only four ingredients needed to make this salted caramel:
- Granulated Sugar. The recipe begins with cooking the granulated sugar until it melts into an amber-colored liquid. Heating the sugar breaks down its molecules, transforming them into a new compound and giving the caramel its signature rich and nutty flavor notes.
- Unsalted Butter. The butter gets combined with the melted sugar to add a velvety texture, rich flavor, and stability.
- Heavy Whipping Cream. The cream provides the liquid base that makes the caramel smooth, pourable, and creamy. It’s important to use heavy whipping cream that contains at least 36% milkfat, as milks with lower fat will cause the final caramel to be too thin and possibly lead the mixture to separate.
- Salt. To create the best salty caramel flavor, use kosher salt or a flaky sea salt like Maldon.
Tips for Best Results
Like I mentioned previously, you’ll find detailed instructions on how to make this salted caramel below. Here are some tips for success that will keep you cool, calm, and collected throughout the entire caramel-making process:
- Read through the entire recipe first. You’ll want to know what’s coming next in this recipe. It involves a lot of stirring and whisking, and it’s a known fact that caramel likes to burn when you top stirring even for a few seconds to read your next step (it’s sneaky like that!). Having even a vague idea of what’s involved will be a key to your success.
- Prepare your ingredients. Have your ingredients pre-measured, room temperature, and ready to go.
- Protect your hands. There are some points in this recipe where ingredients will bubble up and cause a lot of steam, like when adding the butter and the heavy whipping cream. Keep an oven glove nearby to protect your hand while you whisk and stir if needed.
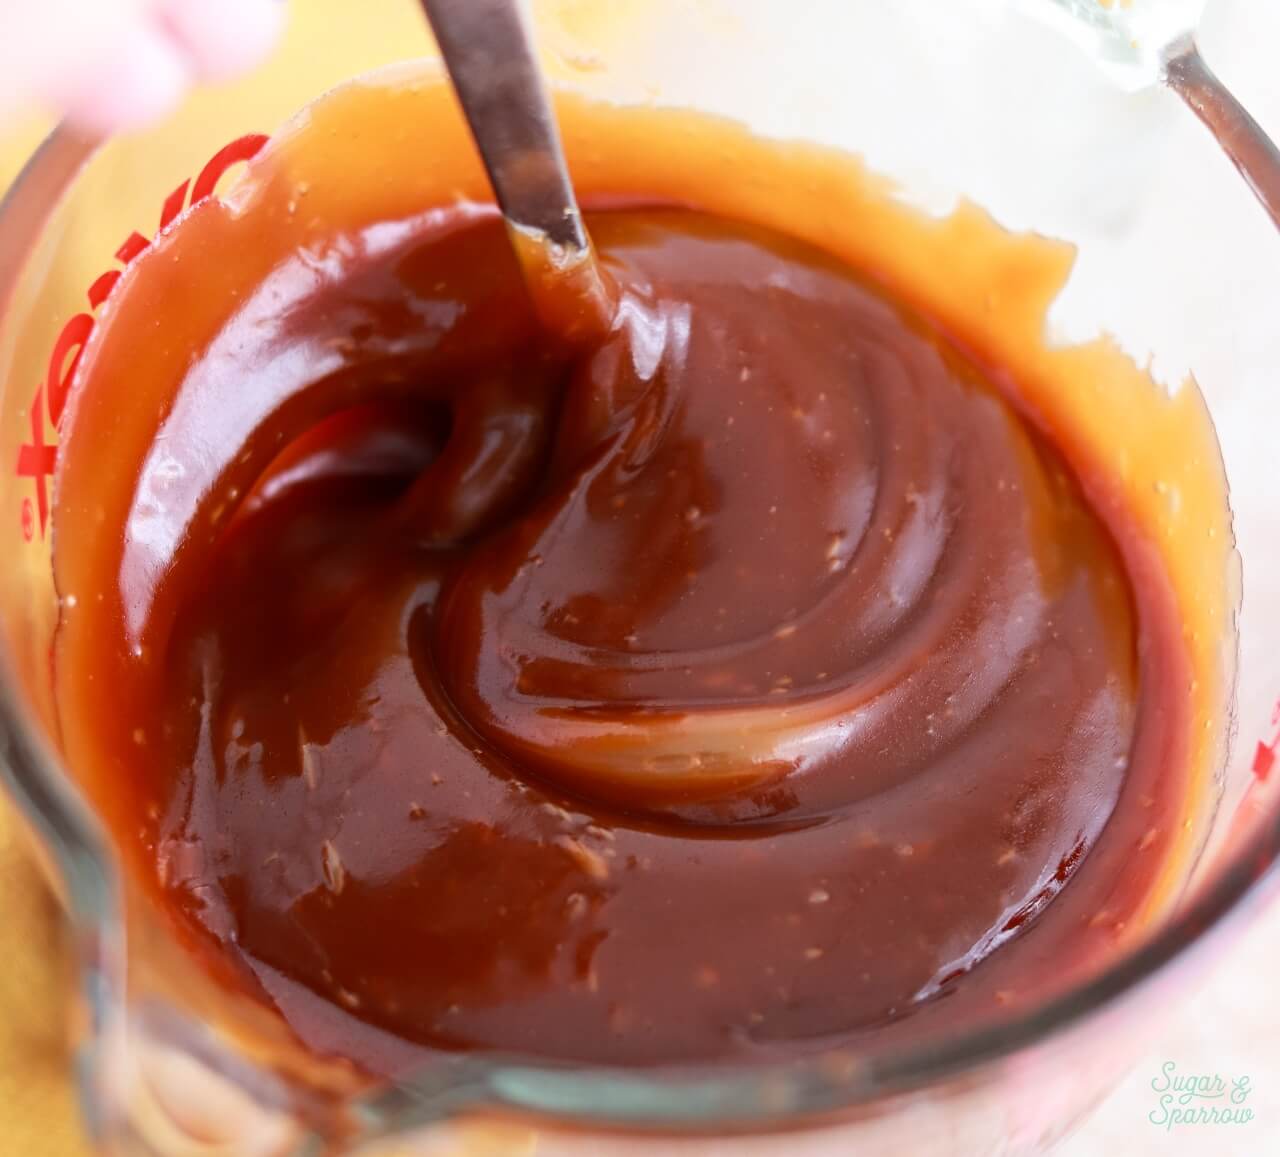
- Allow time for cooling. This caramel will thicken beautifully as it cools. It takes a few hours left on the counter or one hour in the refrigerator to cool to room temperature.
How to Make Homemade Salted Caramel
Here’s how to make this salted caramel from start to finish:
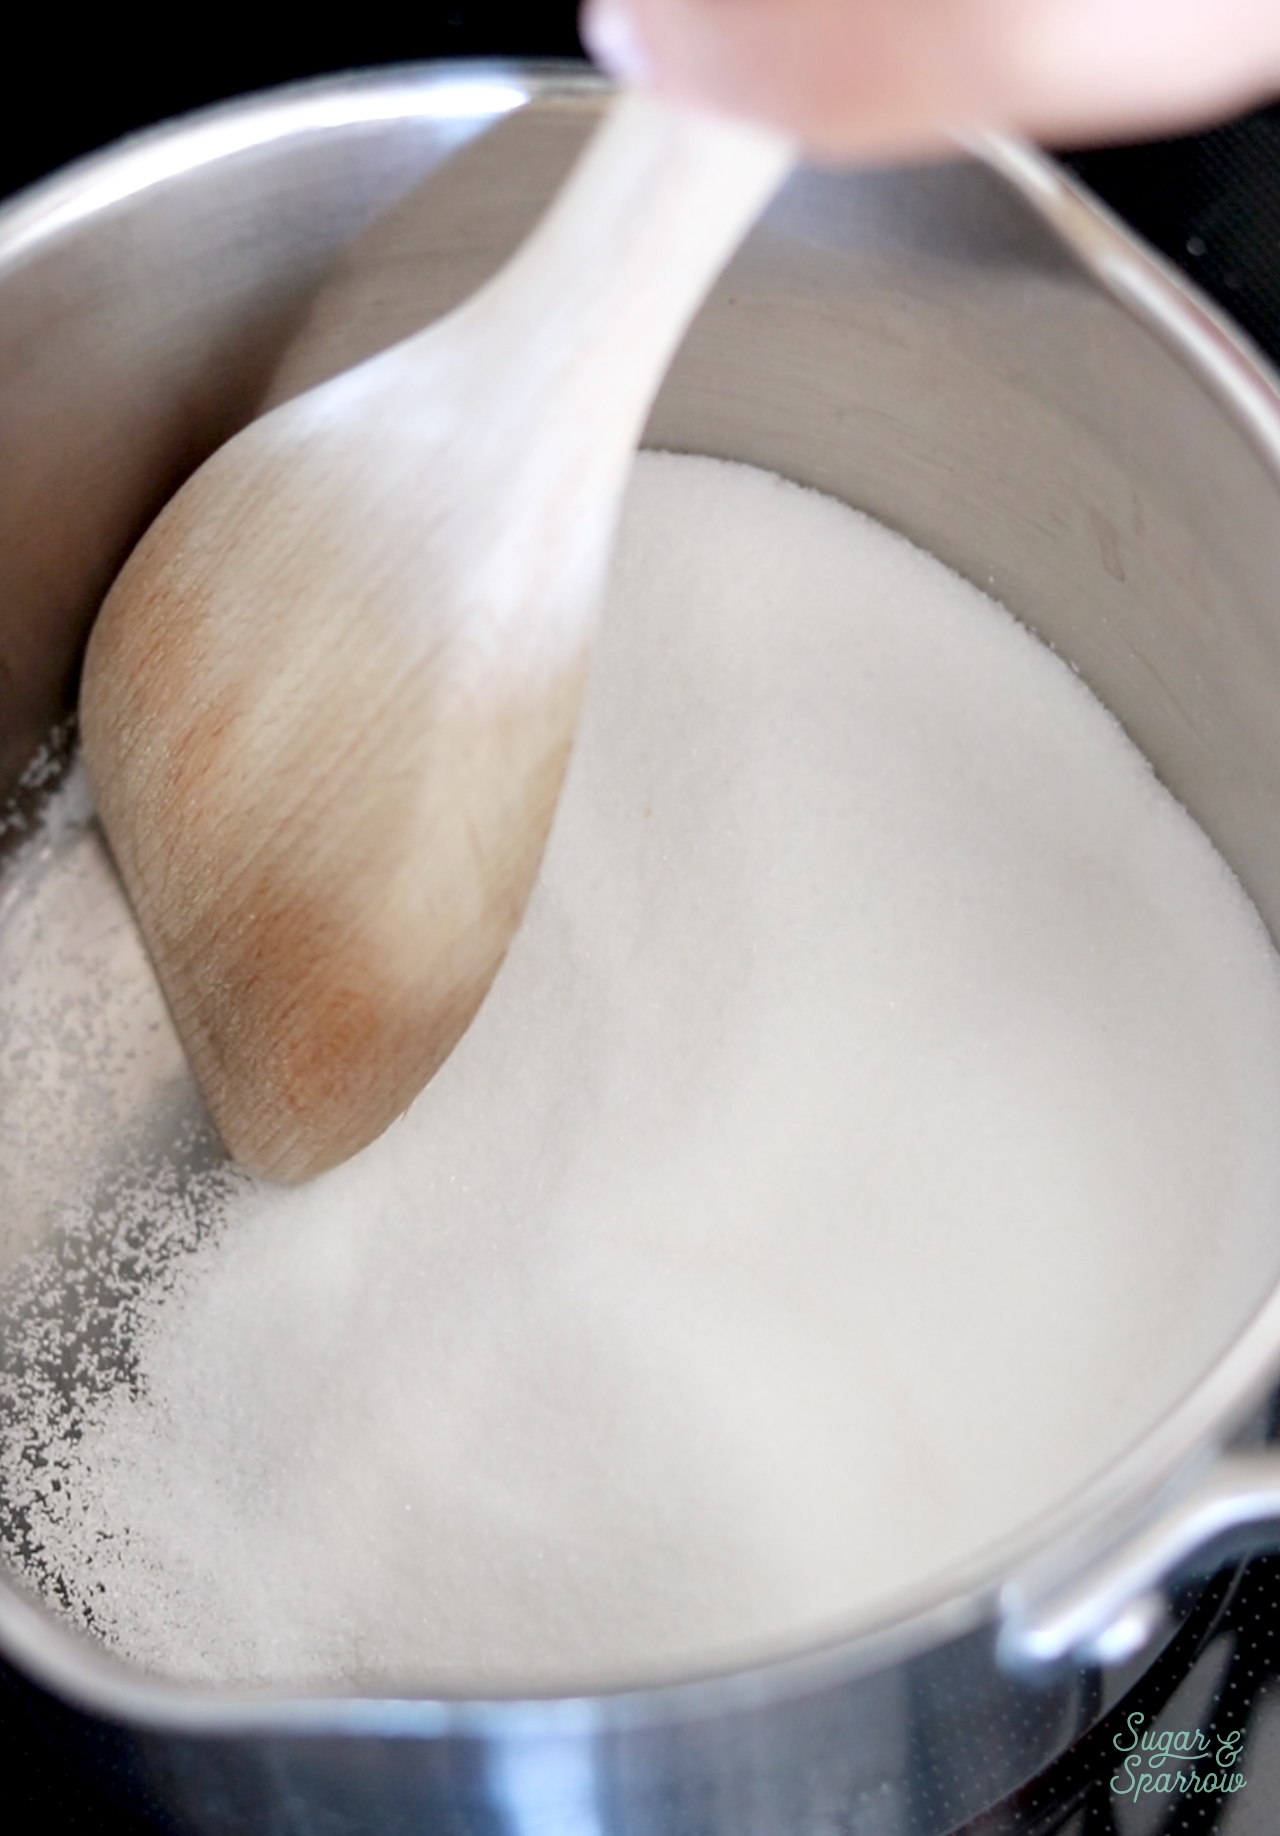
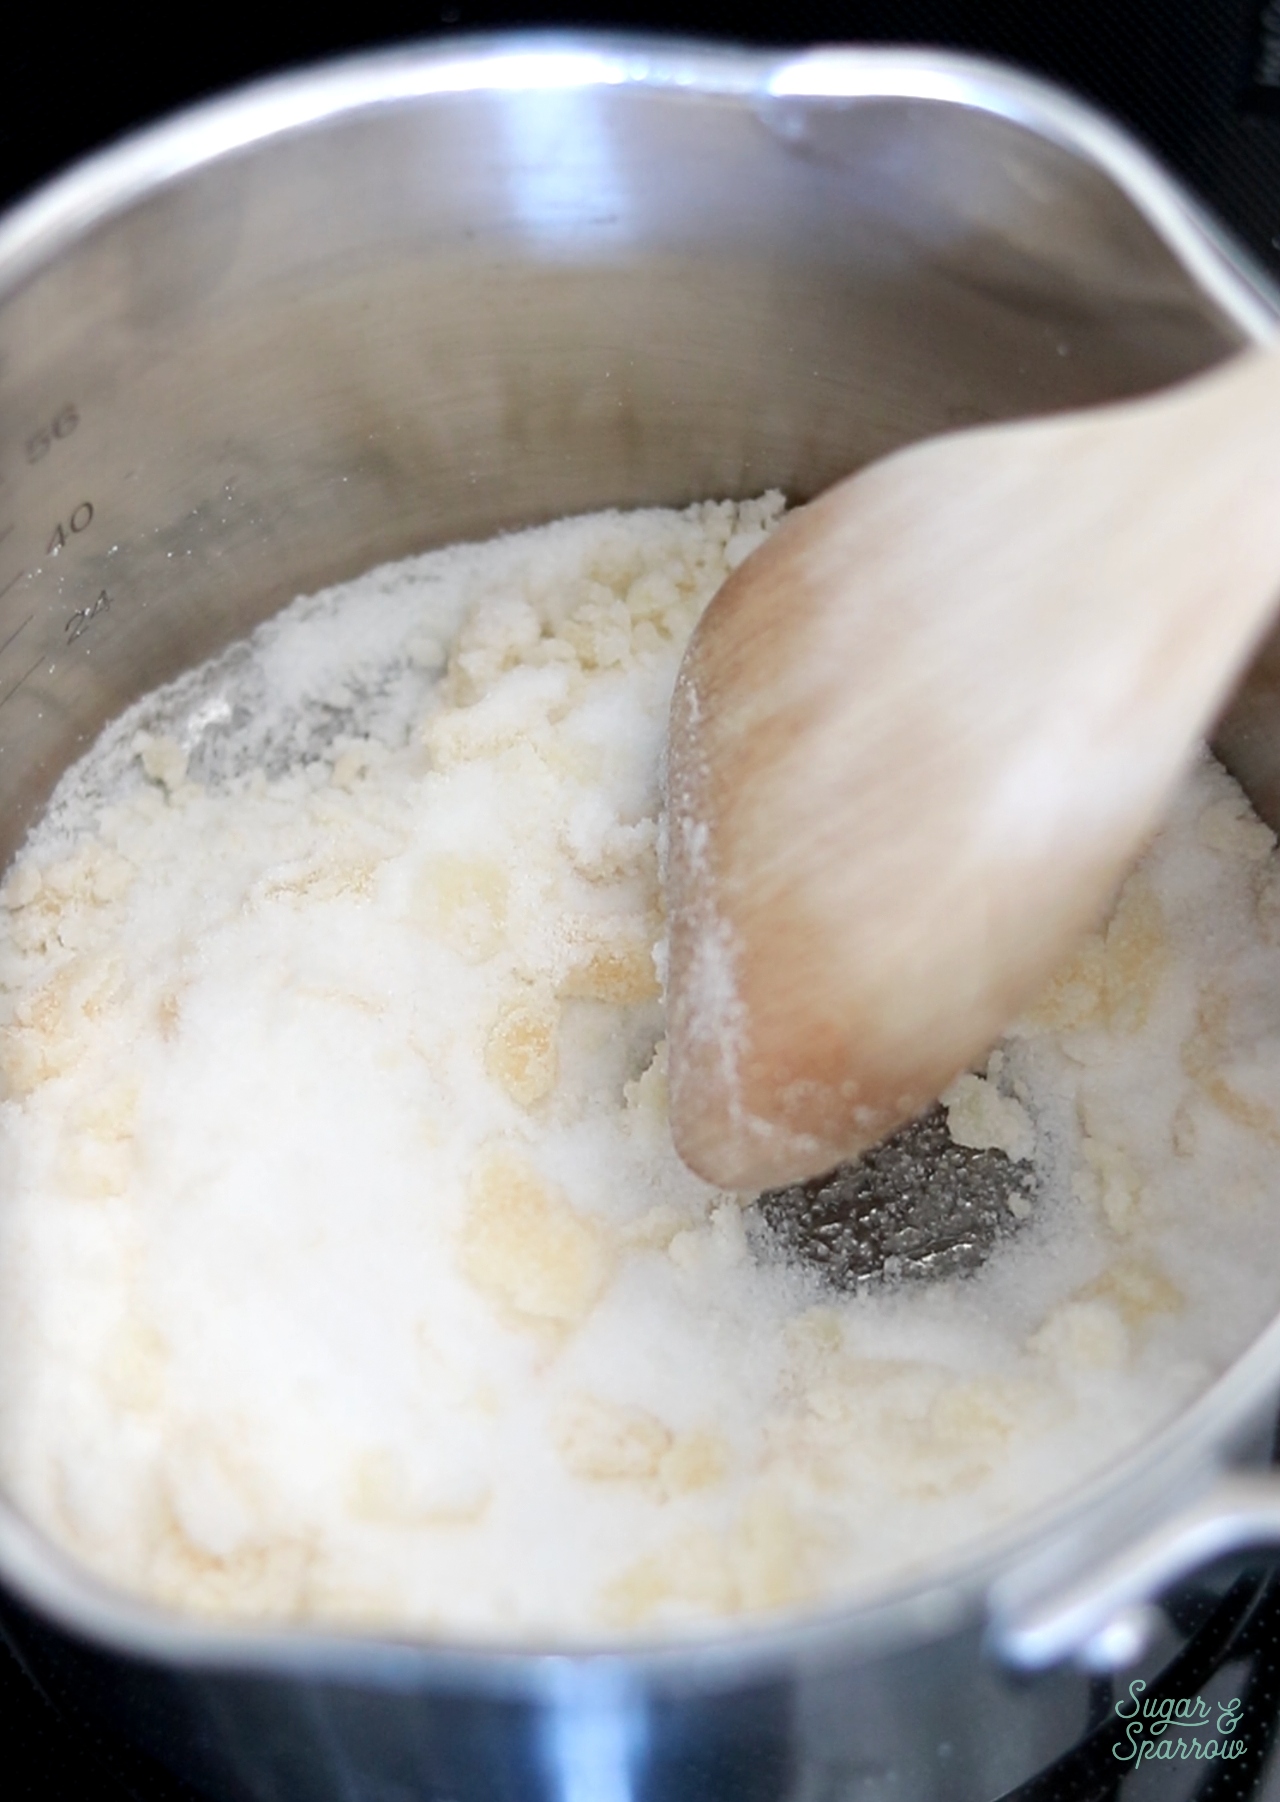
Step 1. Melt the sugar. Add the granulated sugar into a medium saucepan set over medium heat and stir frequently until it melts into an amber colored liquid. Here are the changes you’ll see in the process:
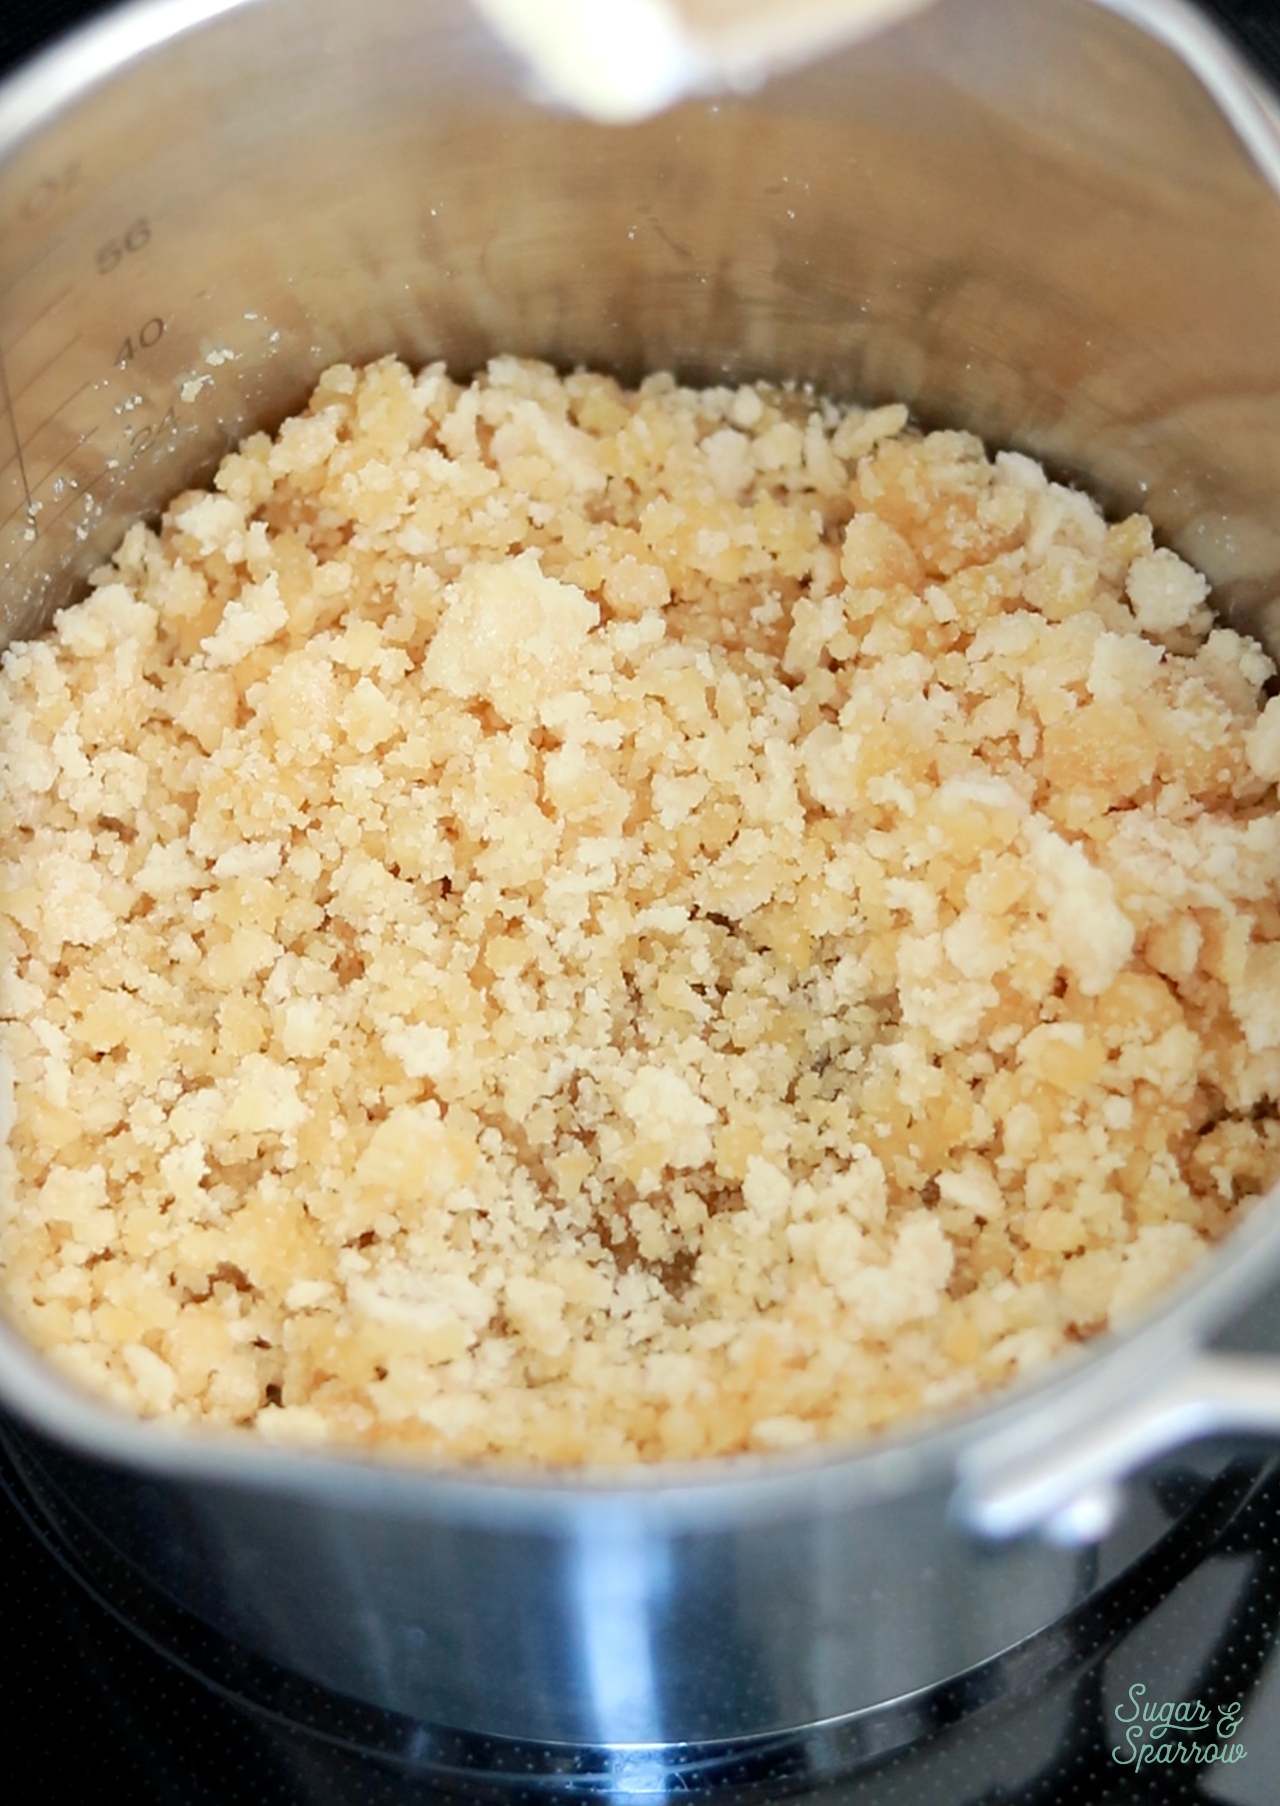
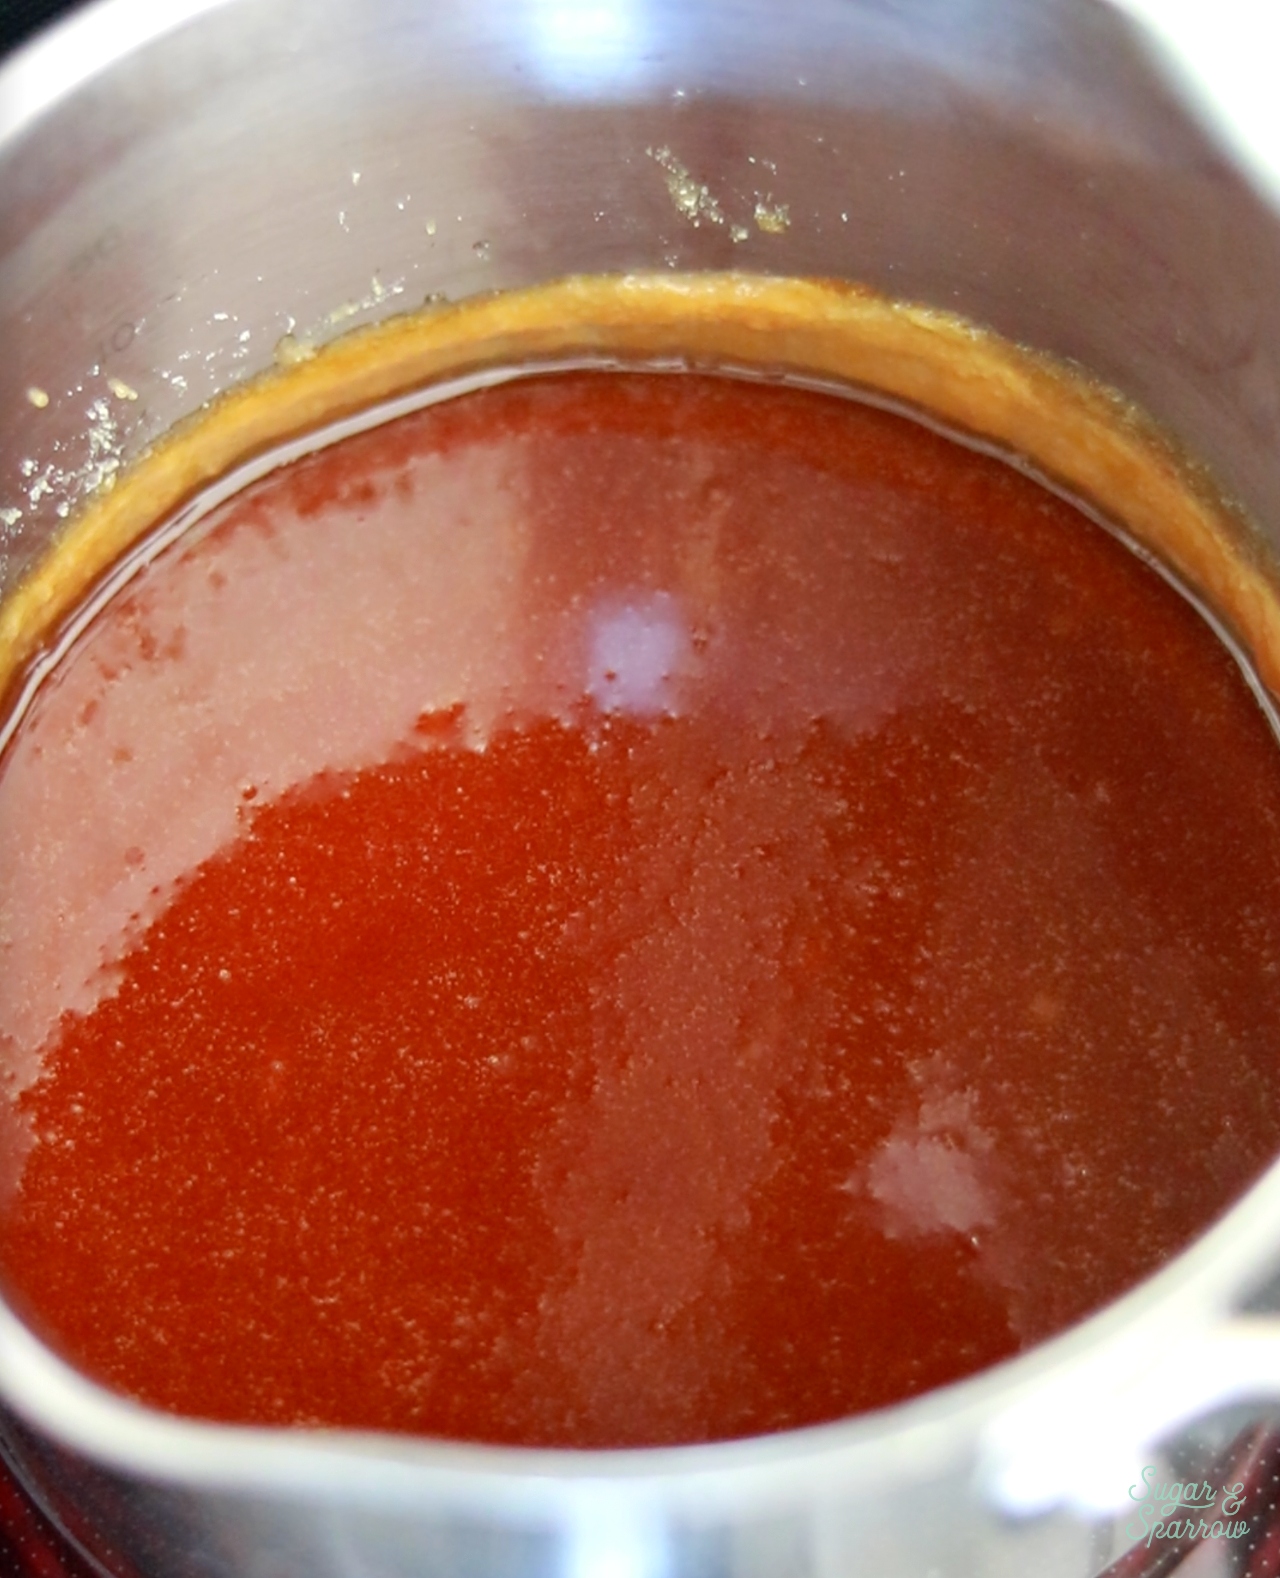
Step 2: Add the butter. Whisk the butter into the melted sugar until the mixture is uniform, about 2-3 minutes.
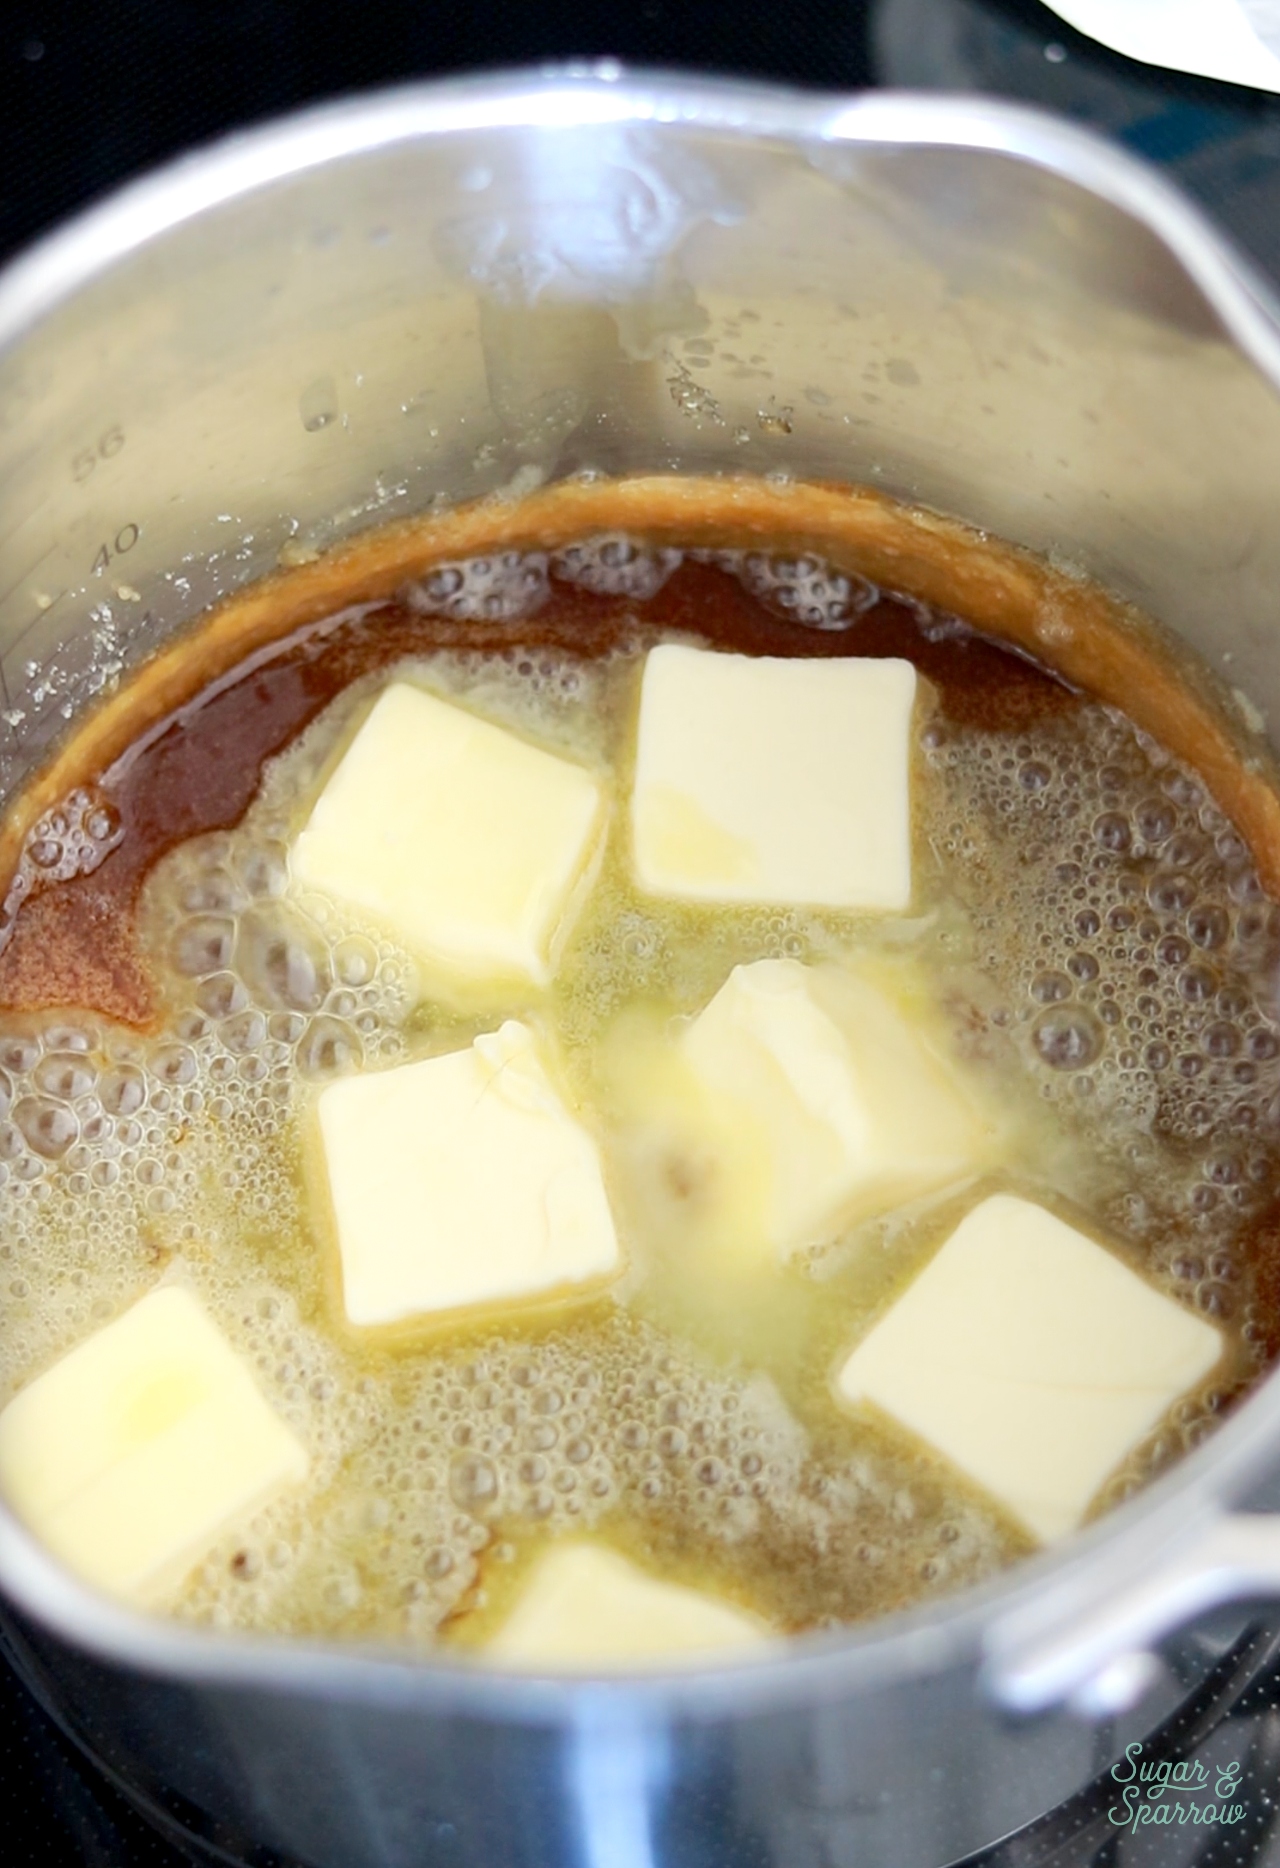
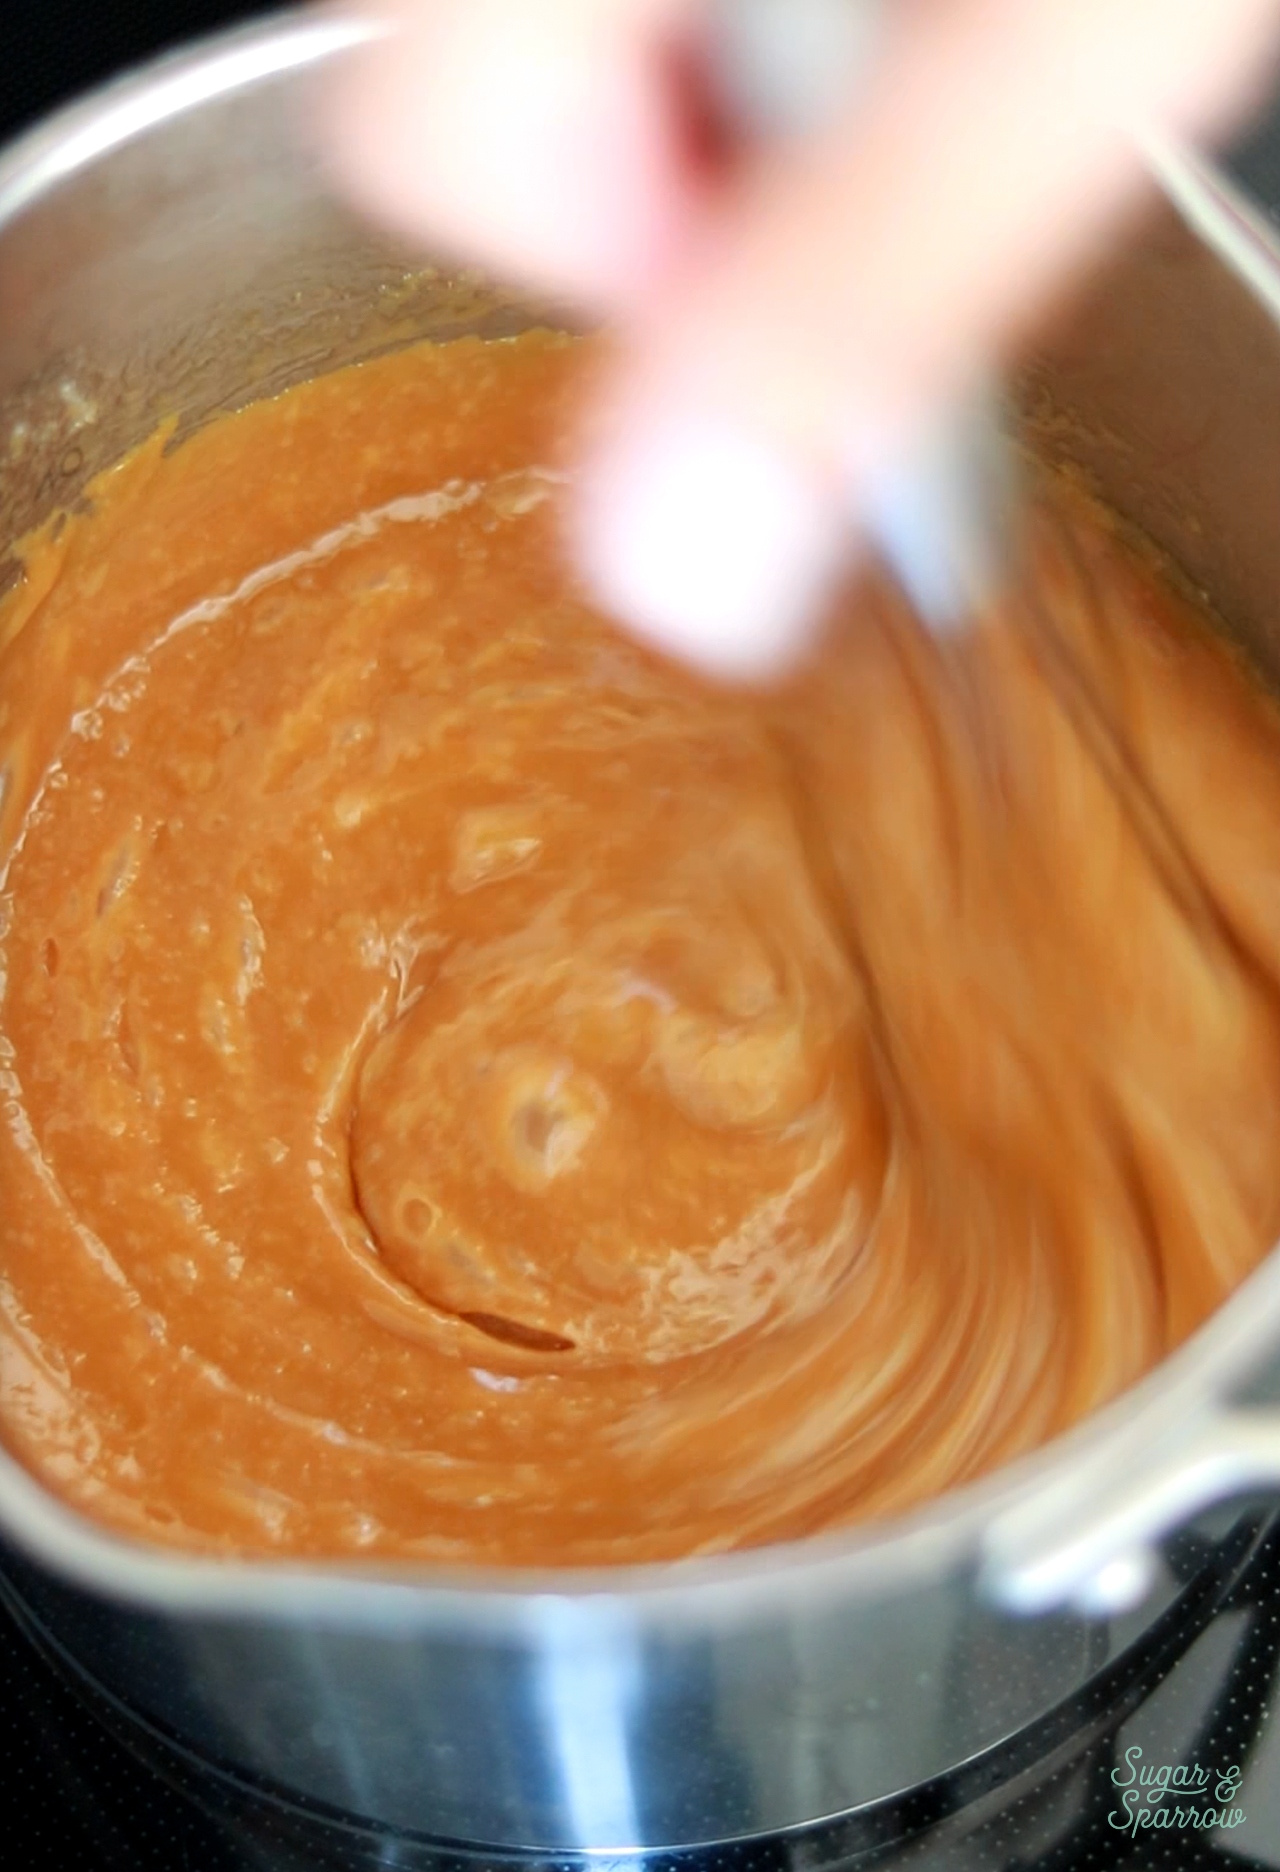
Step 3: Add the heavy whipping cream. Whisk in the heavy whipping cream, then let the mixture boil for one minute without stirring it.
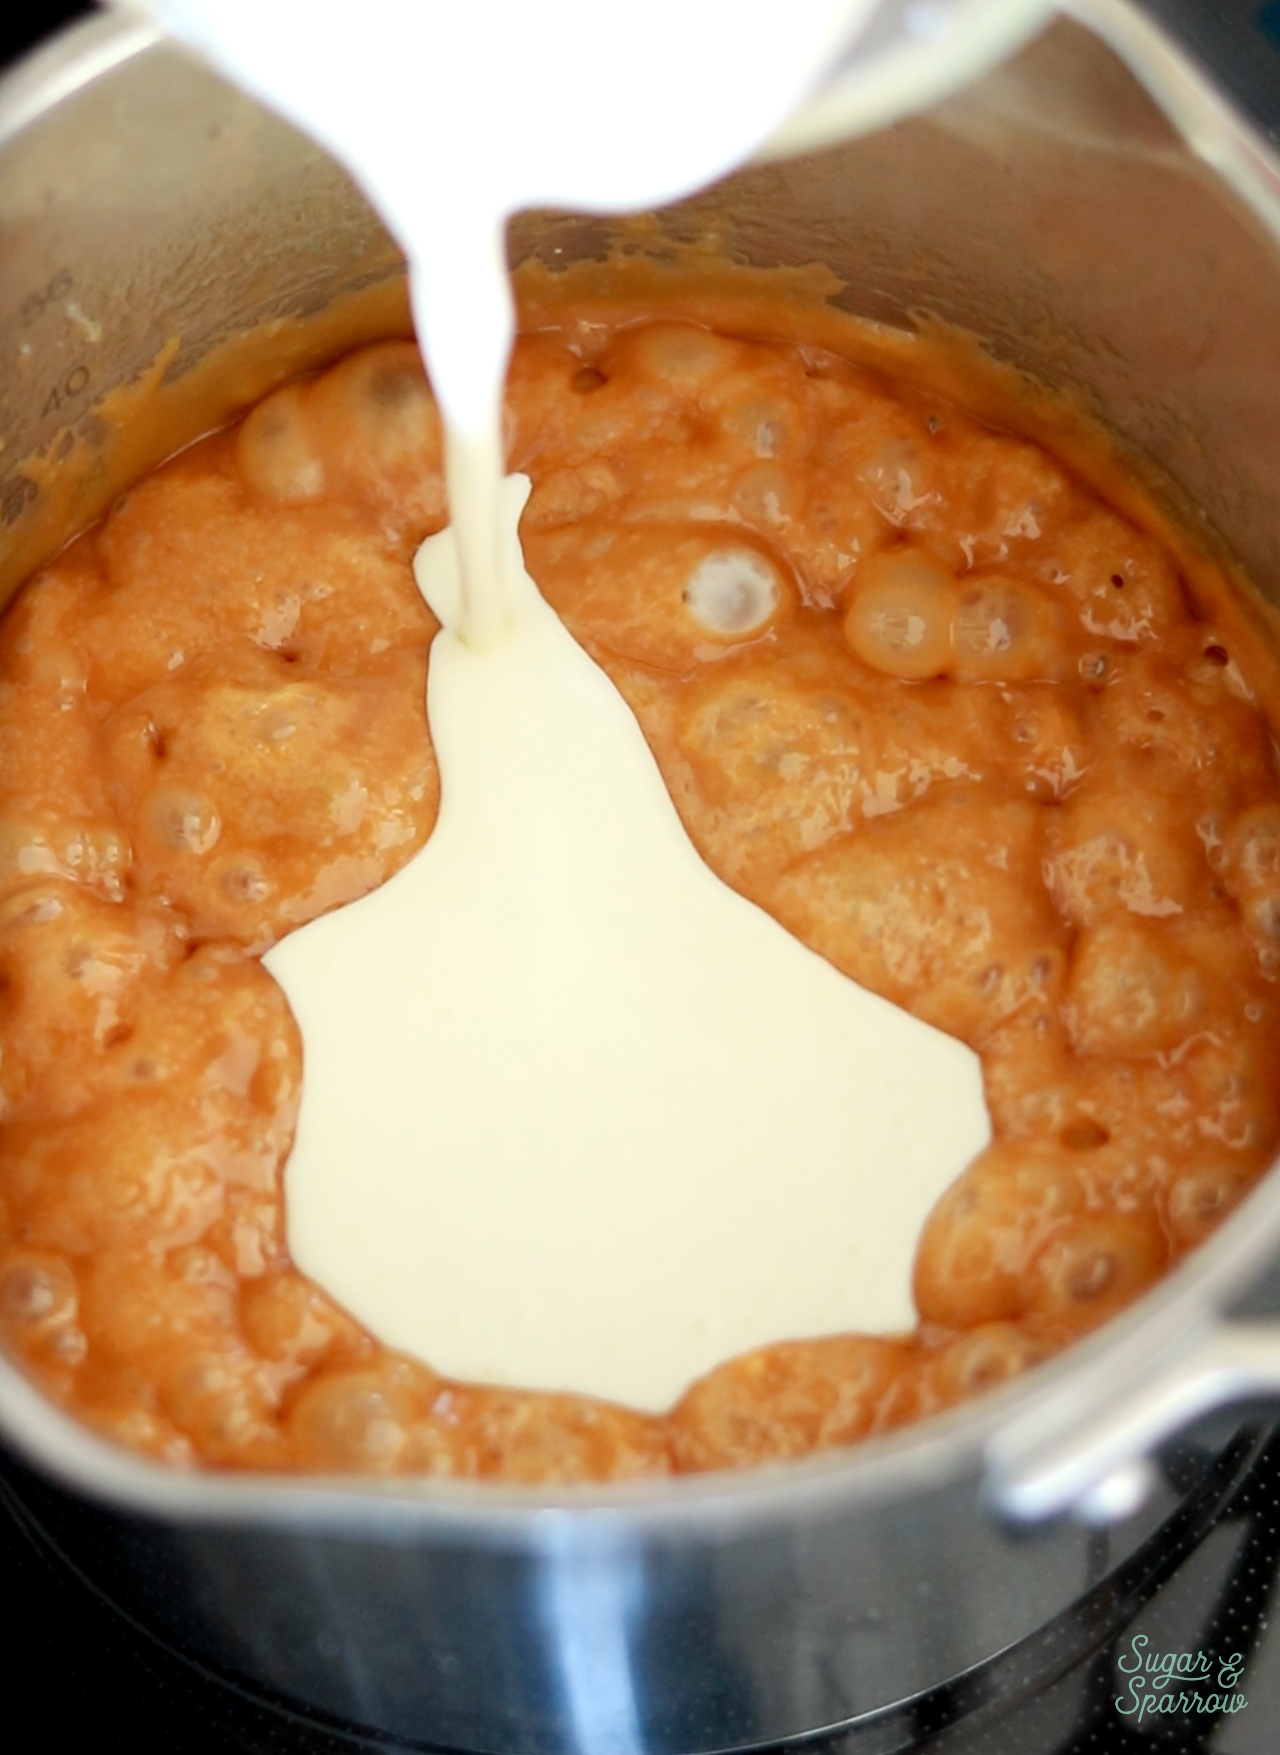
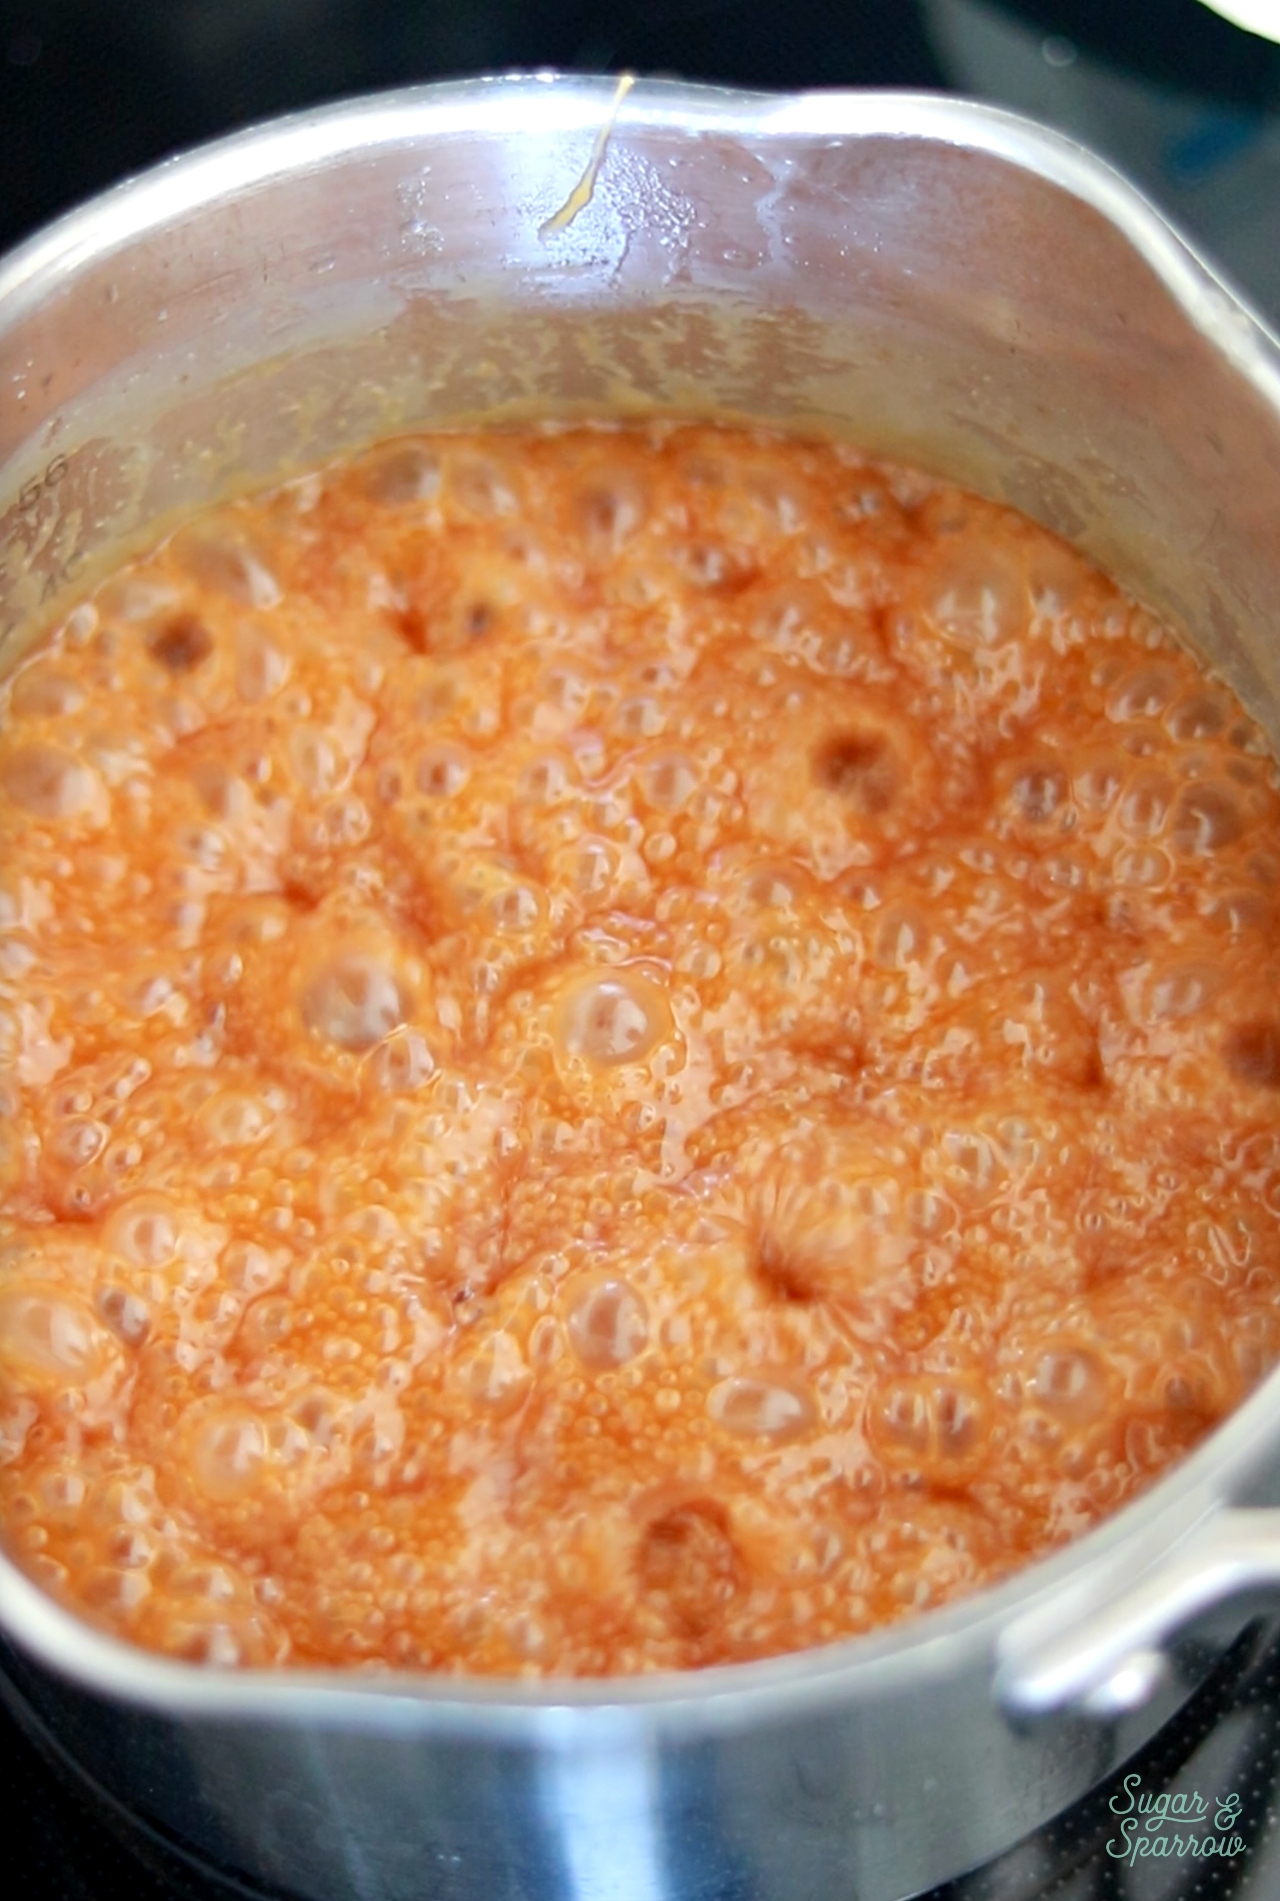
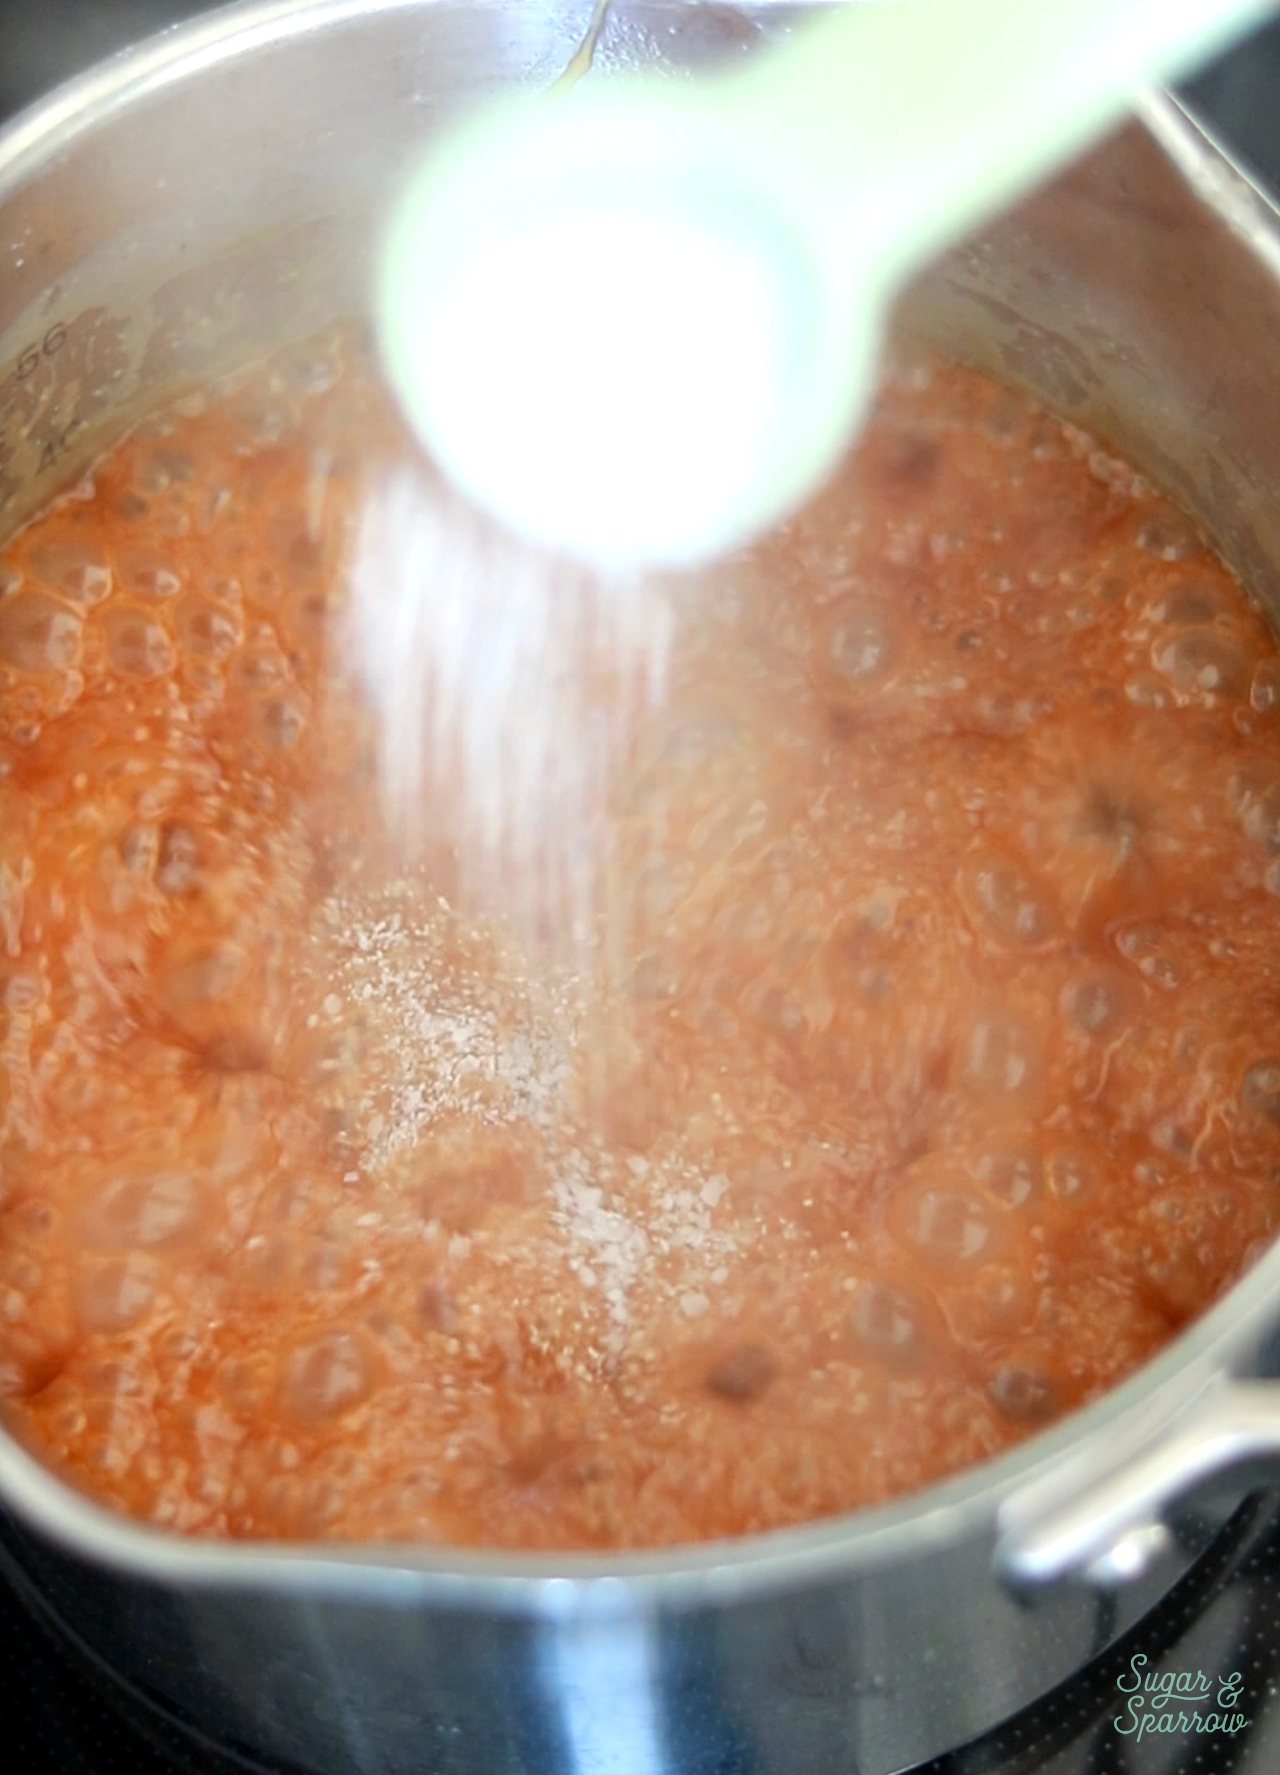
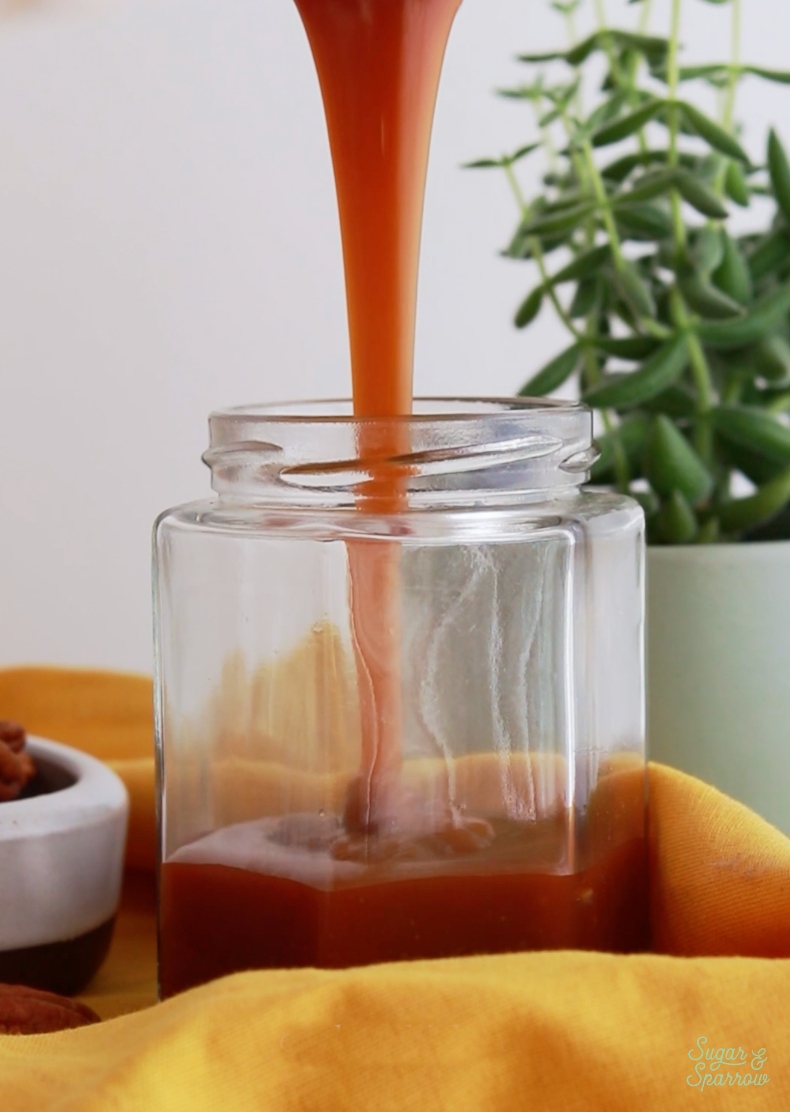
Step 4: Add the salt. Whisk the salt in and remove the salted caramel from the heat and let it cool to room temperature. It will thicken as it cools.
Salted Caramel Buttercream Recipe Video
Here’s a quick video of the process before you read all about it below:
PS: If you’re into recipe videos like this one, be sure to check out my YouTube Channel! You’ll find more of my favorite recipes, cake decorating tutorials, and so much more. Click the Subscribe button while you’re there so you never miss a new video!
How to Use Salted Caramel
Here are some of my favorite ideas + recipes to use with this salted caramel:
- Salted Caramel Apple Cake
- Chocolate Caramel Pecan Pie Cake
- Salted Caramel Buttercream
- Salted Caramel Banana Cake with Brown Butter Frosting
- Use it as an ice cream topping
- Gift it in cute jars for the holidays
- Use it as a cake drip! Just make sure it’s slightly above room temperature to achieve the perfect drip consistency.
- Drizzle it onto cupcakes or in between cake layers.
- Use it as a dip for apples
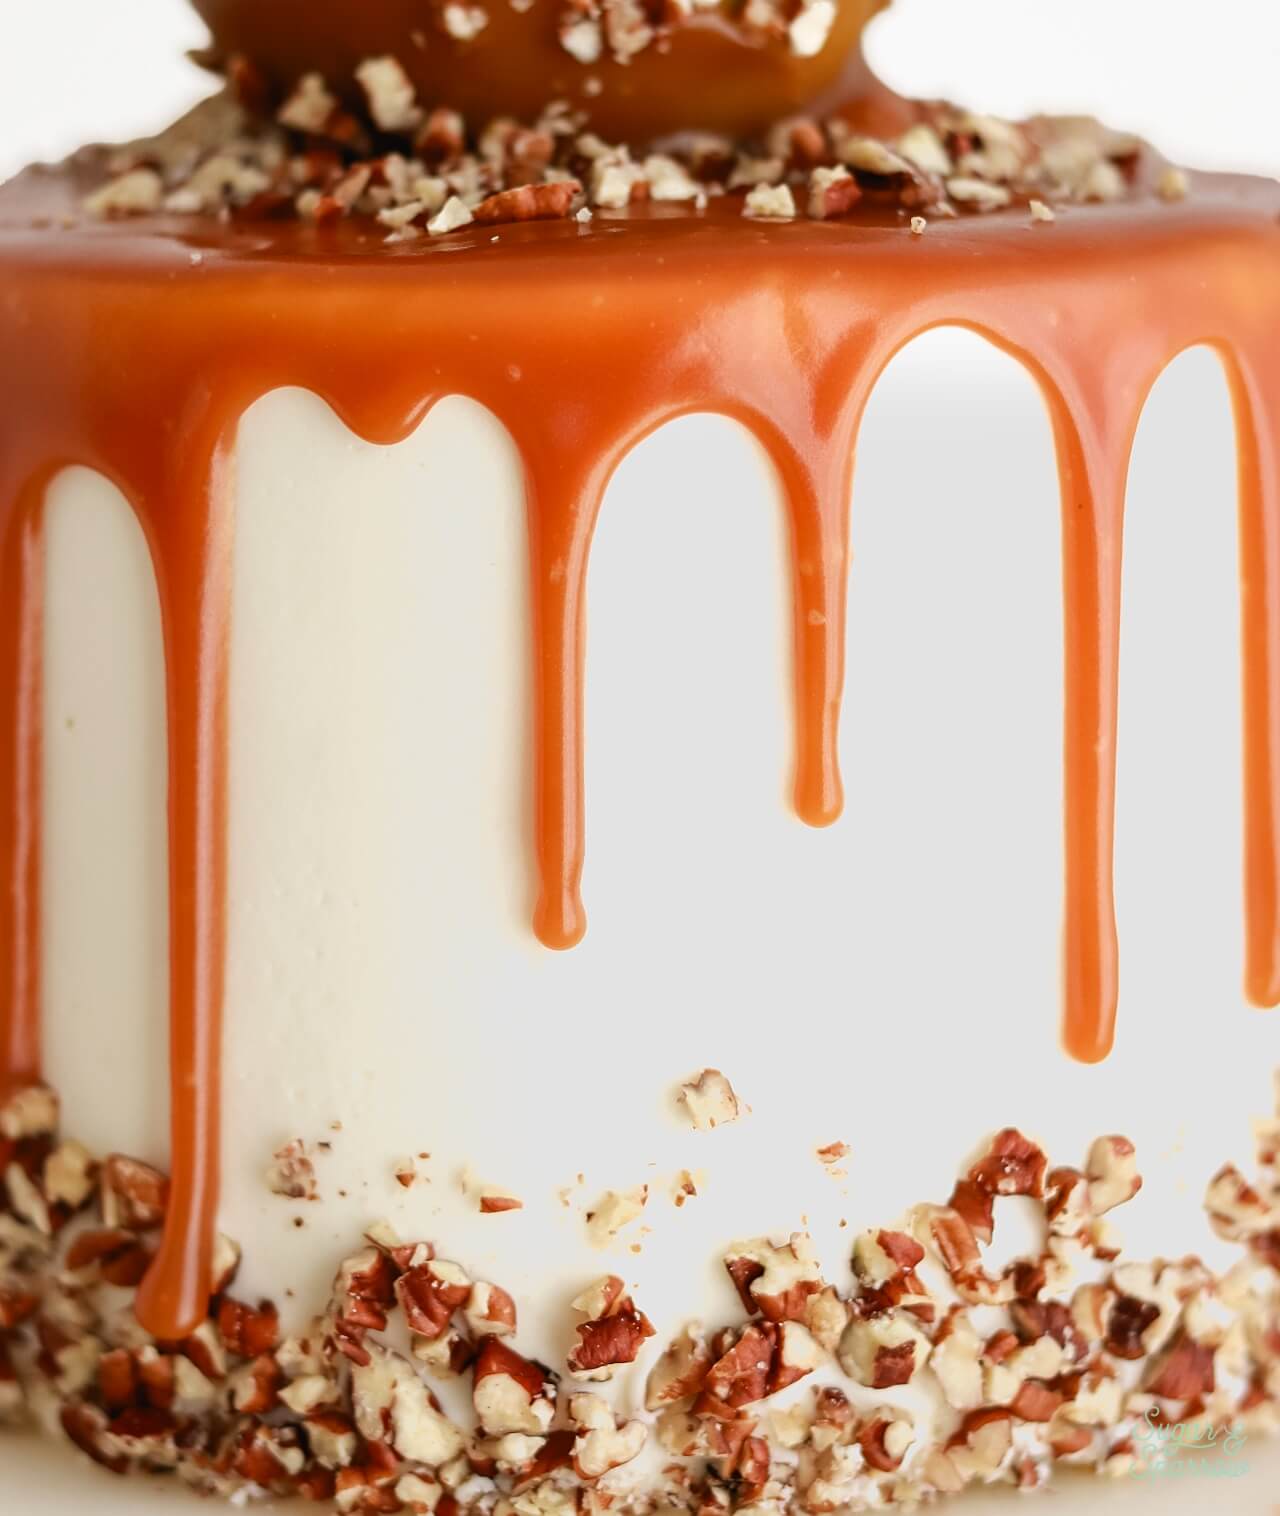
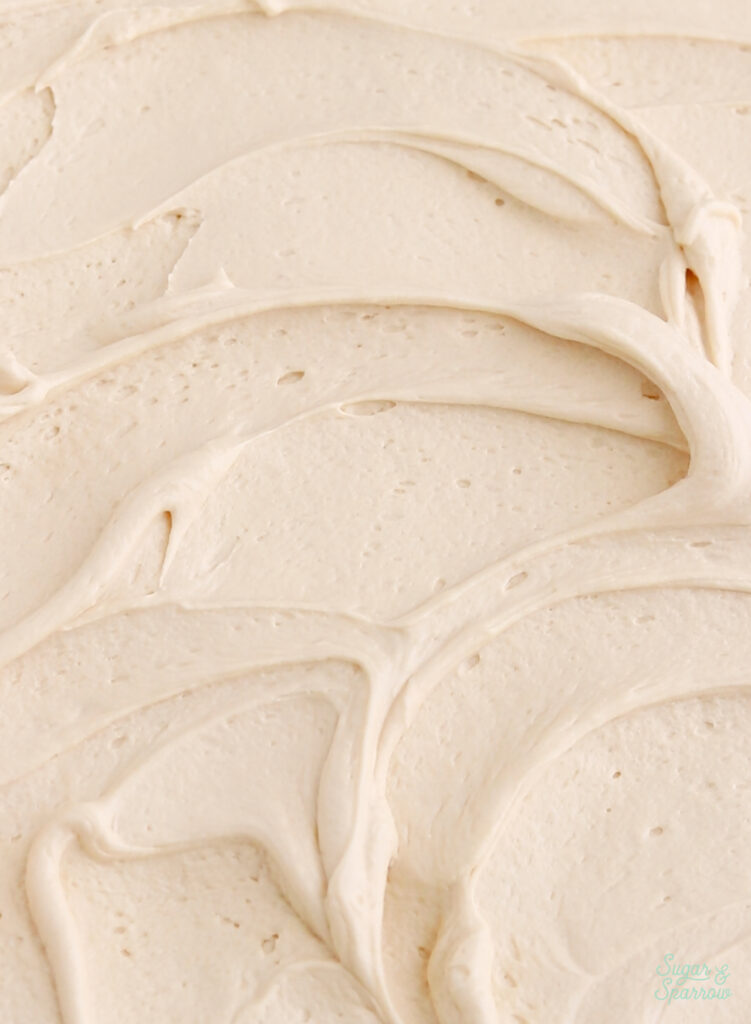
I hope you love this salted caramel recipe as much as I do! Let me know if you make it in the comments below and feel free to tag @sugarandsparrowco on Instagram to show me a photo. I love to see what you create with my recipes!
Salted Caramel
Ingredients
- 1 Cup (200g) granulated sugar
- 6 Tbsp (85g) unsalted butter, room temperature, cut into cubes
- 1/2 Cup (120ml) heavy whipping cream, room temperature
- 1 1/4 tsp kosher salt
Instructions
- Have everything pre-measured and ready to go (you’ll be constantly stirring). Place the sugar in a medium saucepan over medium heat and stir constantly with a wooden spoon, until it melts into an amber-colored liquid and no sugar clumps remain, 5-6 minutes.
- Reduce the heat to medium-low. Carefully add the butter (it will bubble up when you do) and use a whisk to combine it with the sugar mixture until the butter is fully melted and incorporated, 2-3 minutes.
- Add the heavy whipping cream in a steady stream while whisking. As soon as the cream is incorporated, let the caramel boil for a full minute before removing it from the heat and stirring in the salt.
- Let the caramel cool to room temperature* before using it in a buttercream recipe or as a cake topping. If you’re using it to drizzle over ice cream or warm baked goods, you only need to cool it slightly (20 minutes or so). It will thicken as it cools.



This was delicious but a few things to note! The recipe calls for kosher salt and I had table/iodized salt so the caramel was a bit saltier than I would have liked. So next time I will half the salt amount. Definitely make sure the butter and heavy cream is room temp (I warmed up the heavy cream in the microwave)! My caramel had a slight bitter/burnt taste and I think next time I’ll be more careful about keeping the heat low/using a heavy bottomed pot and not cooking the sugar for too long.
Can I pipe this into the inside of a cupcake?
Hi Jennie! Yes, it makes a wonderful cupcake filling! Just be sure to cool it to room temperature before filling the cupcakes. Enjoy!