
There’s no flavor more celebratory than funfetti, so when I started recipe testing small batch cakes I knew I had to include a tiny funfetti cake! It’s extra soft and moist, packed with vanilla flavor, and studded with just the right amount of rainbow sprinkles. But what makes it extra FUN is its size! You can either make it as a mini layer cake or a single layer 6-inch cake, which makes the perfect amount for just 2-4 people. So whether you’re having a small get together, want to do something fun for date night, need a smash cake for a first birthday party, or simply want to make yourself a cake, this small batch funfetti cake recipe is perfectly sized to make any day feel like a party!
This post may contain affiliate links. For more information, see our disclosure policy.
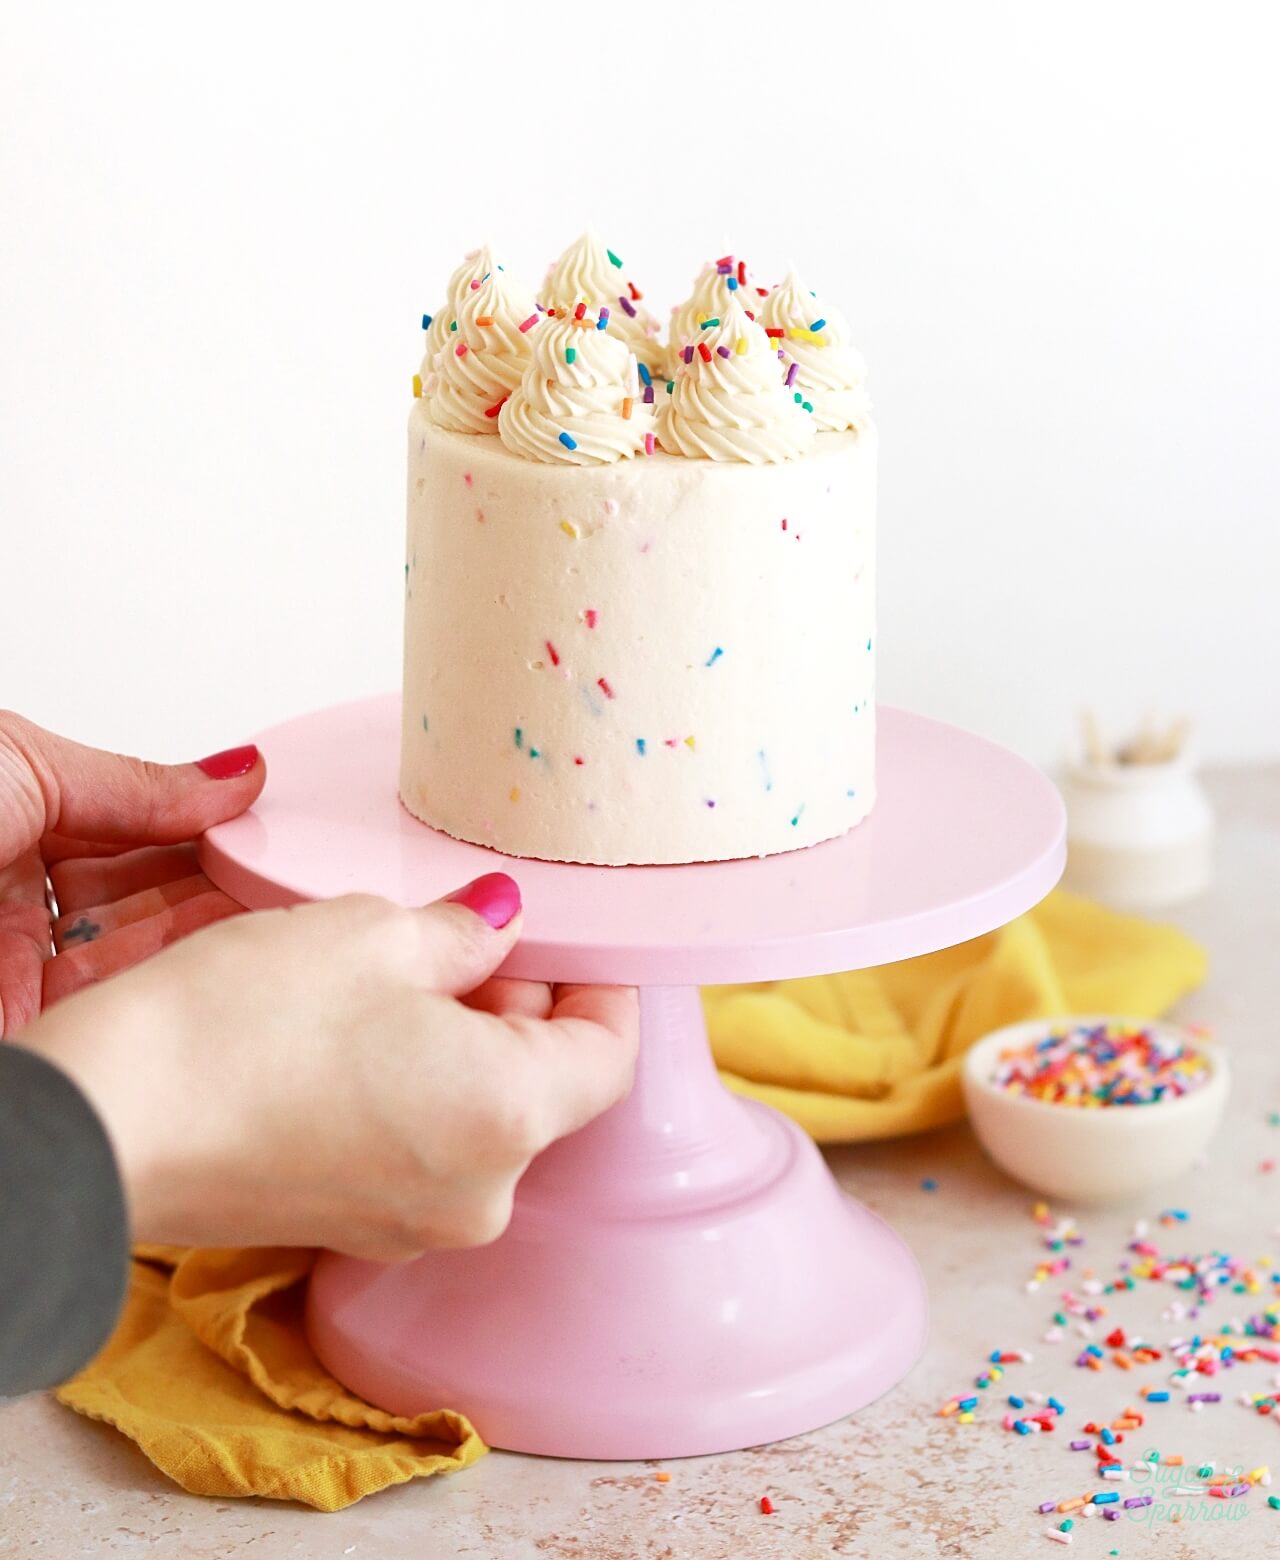
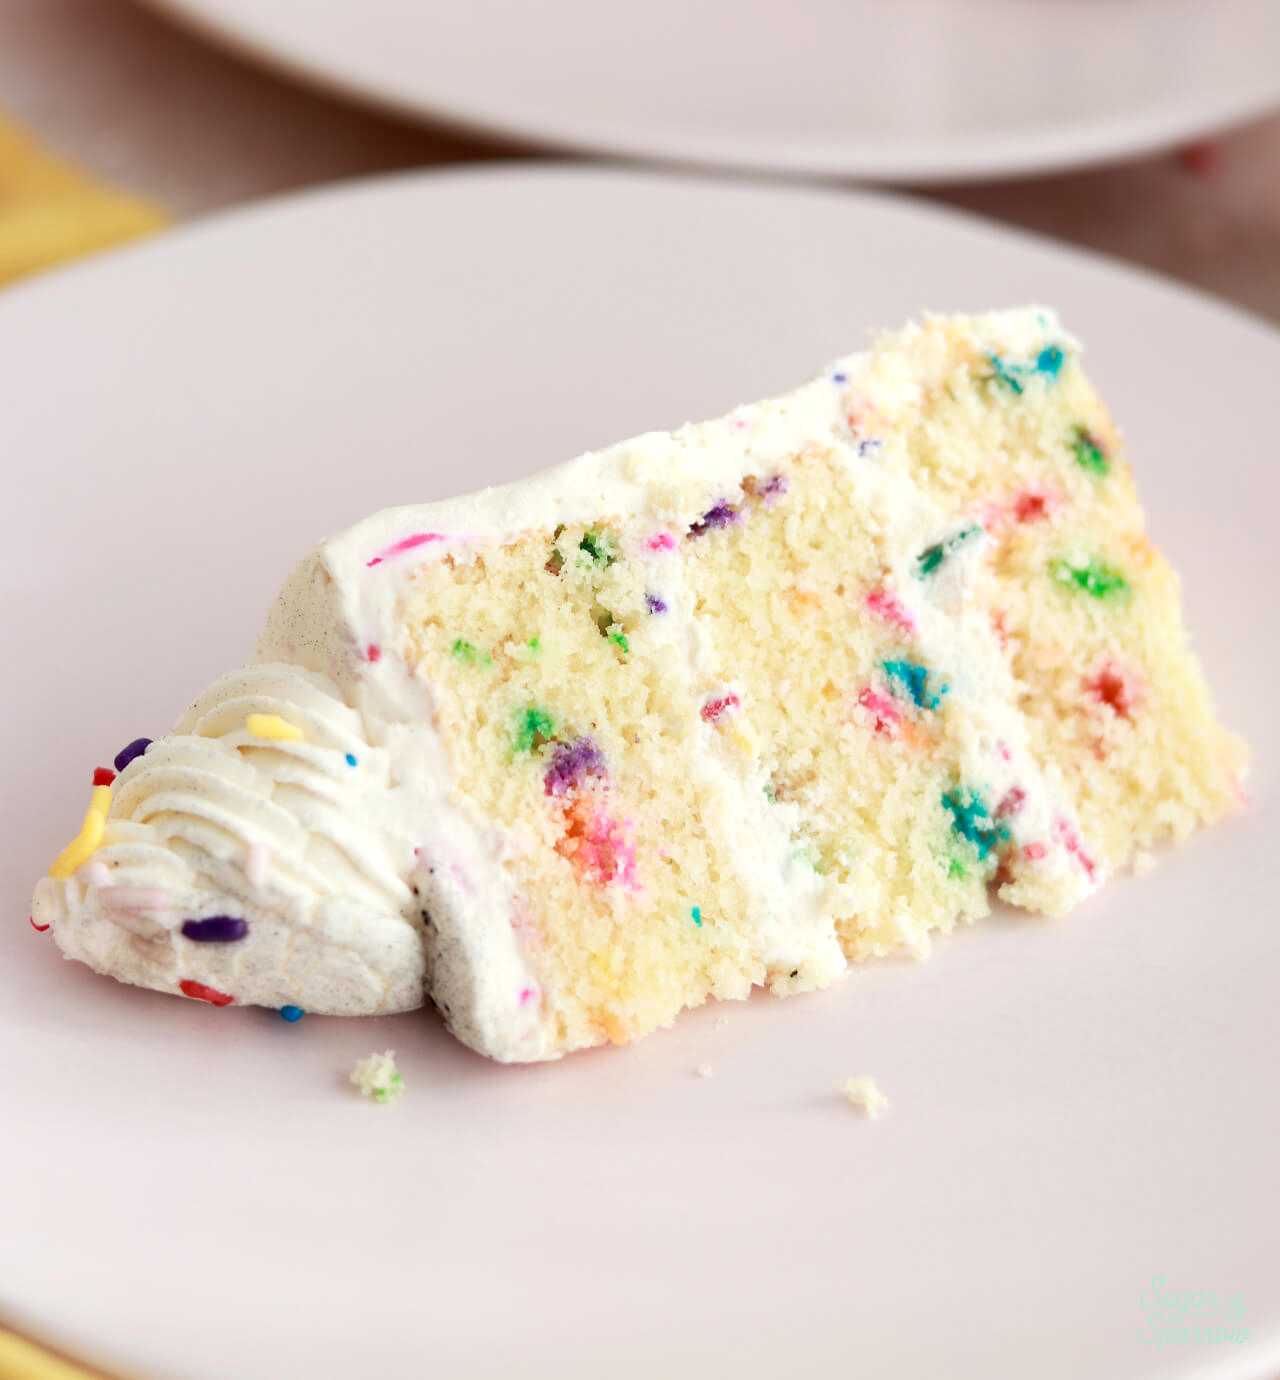
This small batch funfetti cake is essentially my small batch vanilla cake recipe with rainbow sprinkles folded in at the end. The mini vanilla cake recipe was such a success that there was no need to tweak anything to turn it into a funfetti flavor. There is one caveat to success with this recipe though: you have to use sprinkles that don’t bleed their color. I’ve had the best success with rainbow jimmies that are coated with confectioner’s glaze and/or carnauba wax. These ingredients help keep all the color contained in the baking process, and here are some tried-and-tested rainbow sprinkle brands from Amazon:
- Sprinkle Pop Ultimate Unicorn Rainbow Jimmies
- Chef’s Select Rainbow Sprinkles
- Unpretentious Baker Rainbow Sprinkles
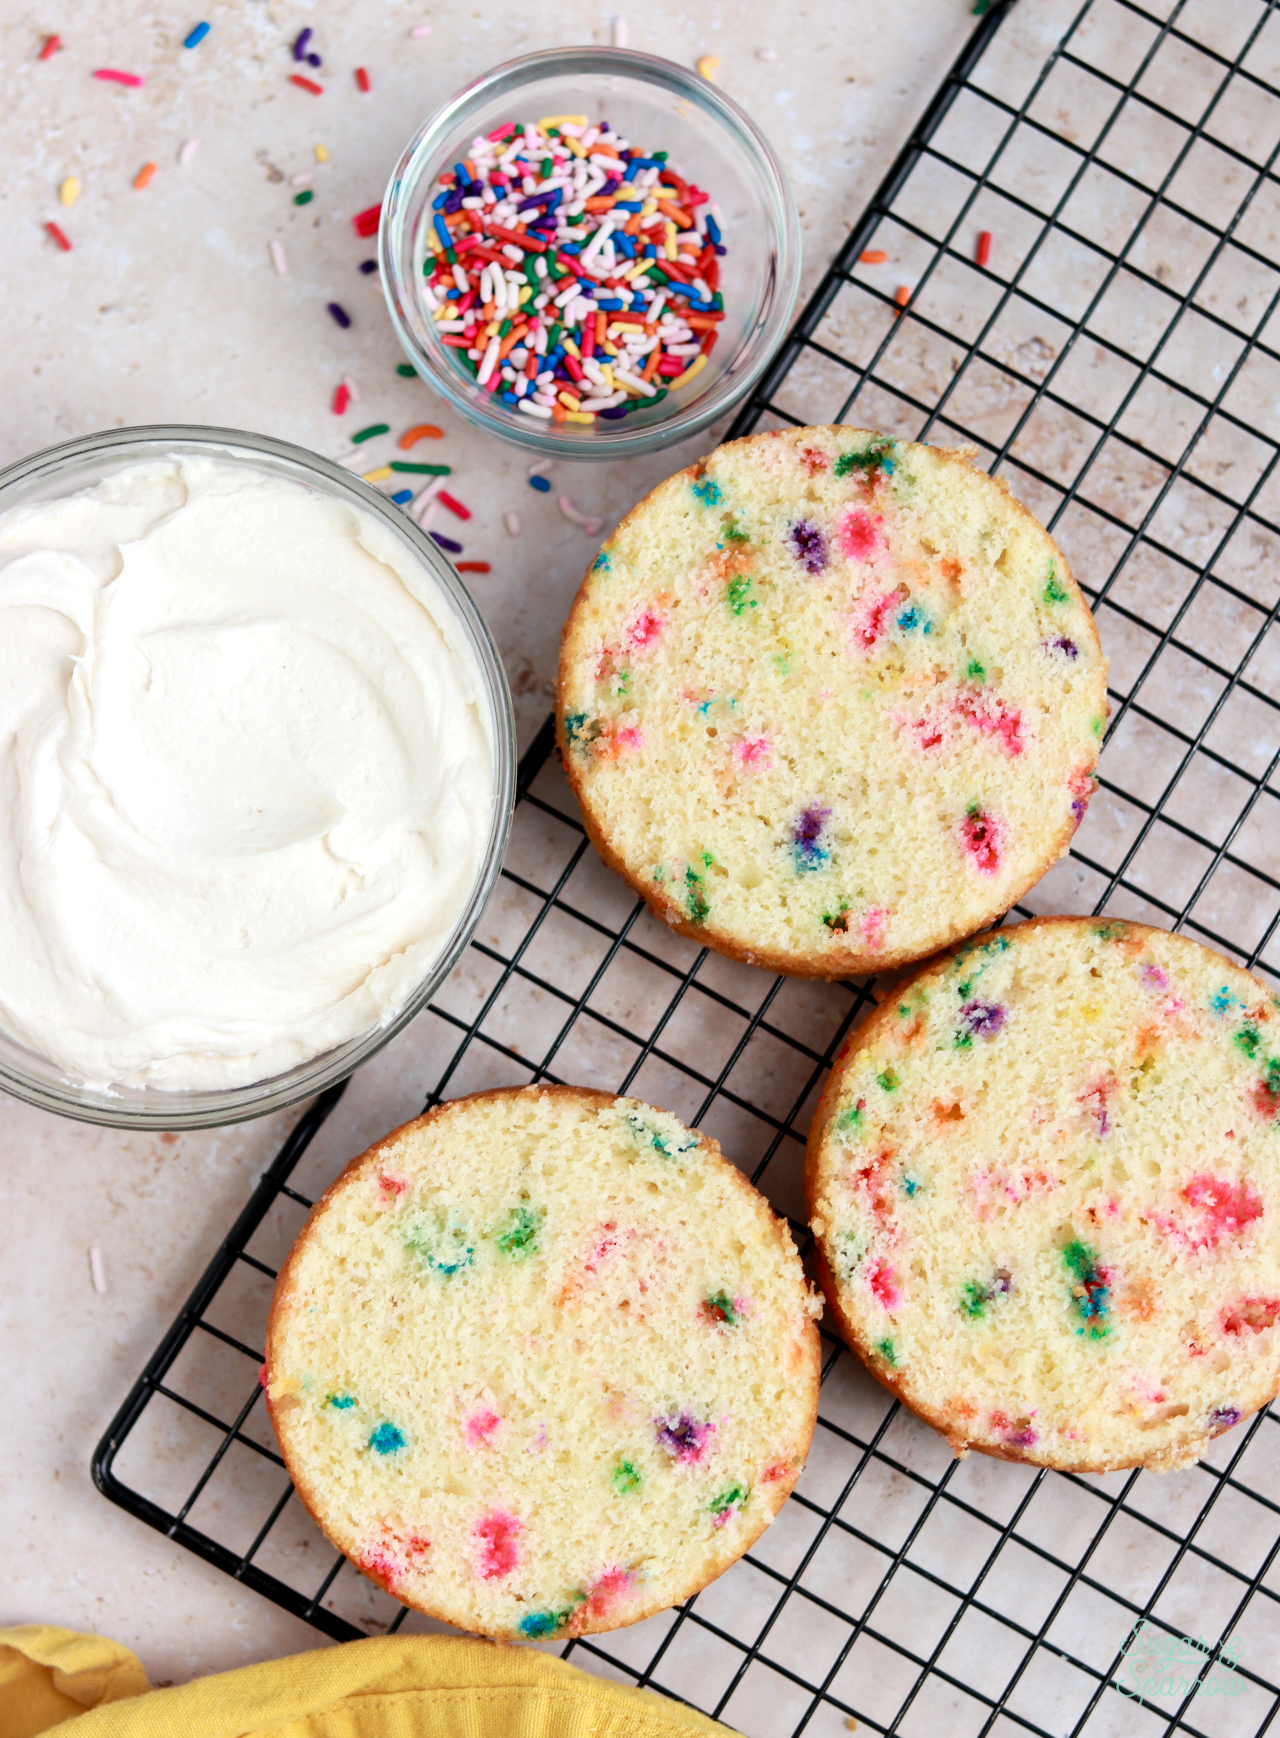
You can bake this small batch funfetti cake as a three layer 4-inch cake or a single layer 6-inch cake. I am absolutely obsessed with the mini layer cake version, and if you’re squealing with delight at the thought of making a tiny layer cake you’re gonna need a few 4-inch cake pans if you don’t already have them! The best part is that once you have a set of 4-inch pans, you can whip up any of my small batch recipes into tiny layer cakes.

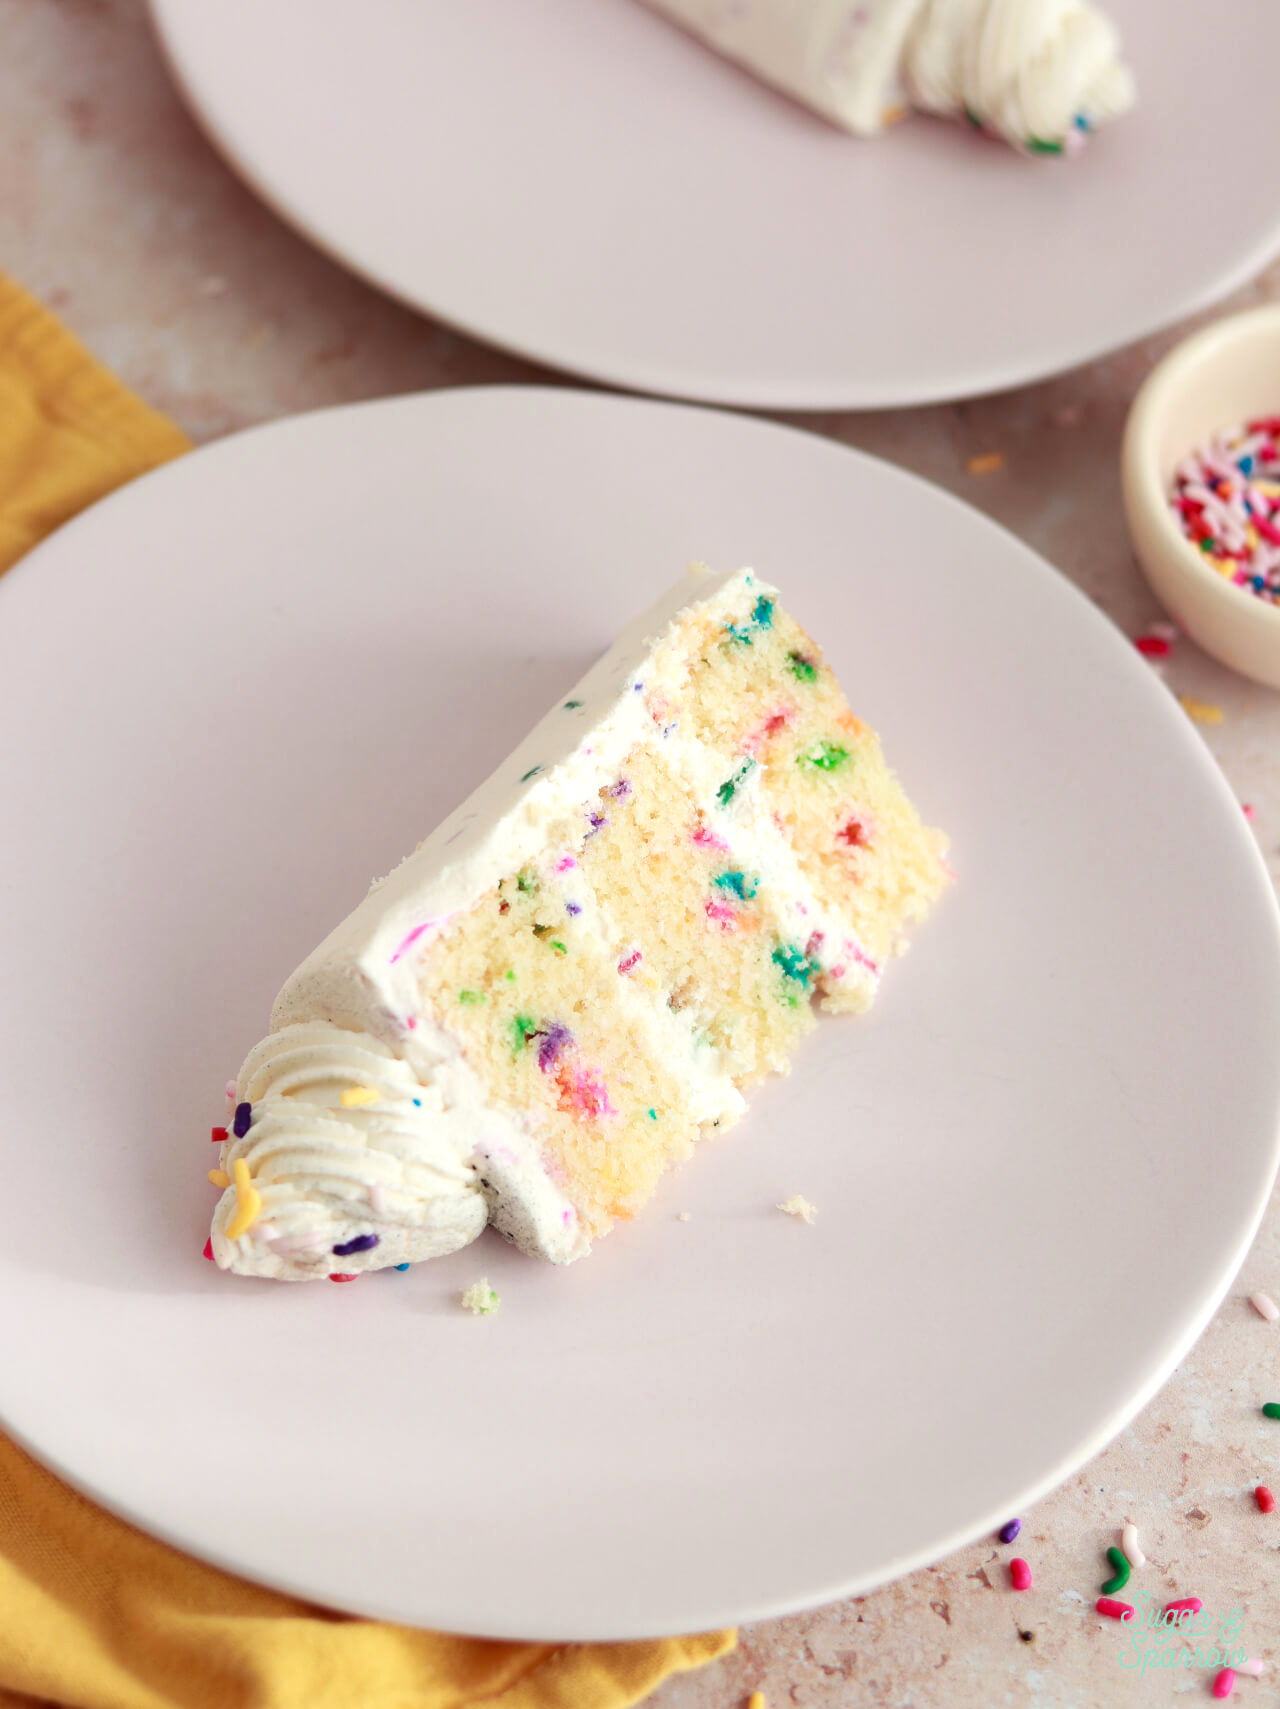
These mini funfetti cake layers are extra soft and moist with lots of credit to a couple key ingredients: cake flour and sour cream. While the sour cream makes this cake incredibly moist, the cake flour creates a soft and fluffy texture that locks in all that moisture. I love using cake flour in vanilla-based cakes because it creates a soft, fluffy cake more easily than all-purpose (or plain) flour due to its lower protein content (the more protein in your flour the stiffer the dough and less ability to maintain moisture).
Pro Tip: You can find cake flour in the baking aisle at most grocery stores, but if all you’ve got is all-purpose flour in your pantry, here are instructions for how to make your own cake flour in a pinch.
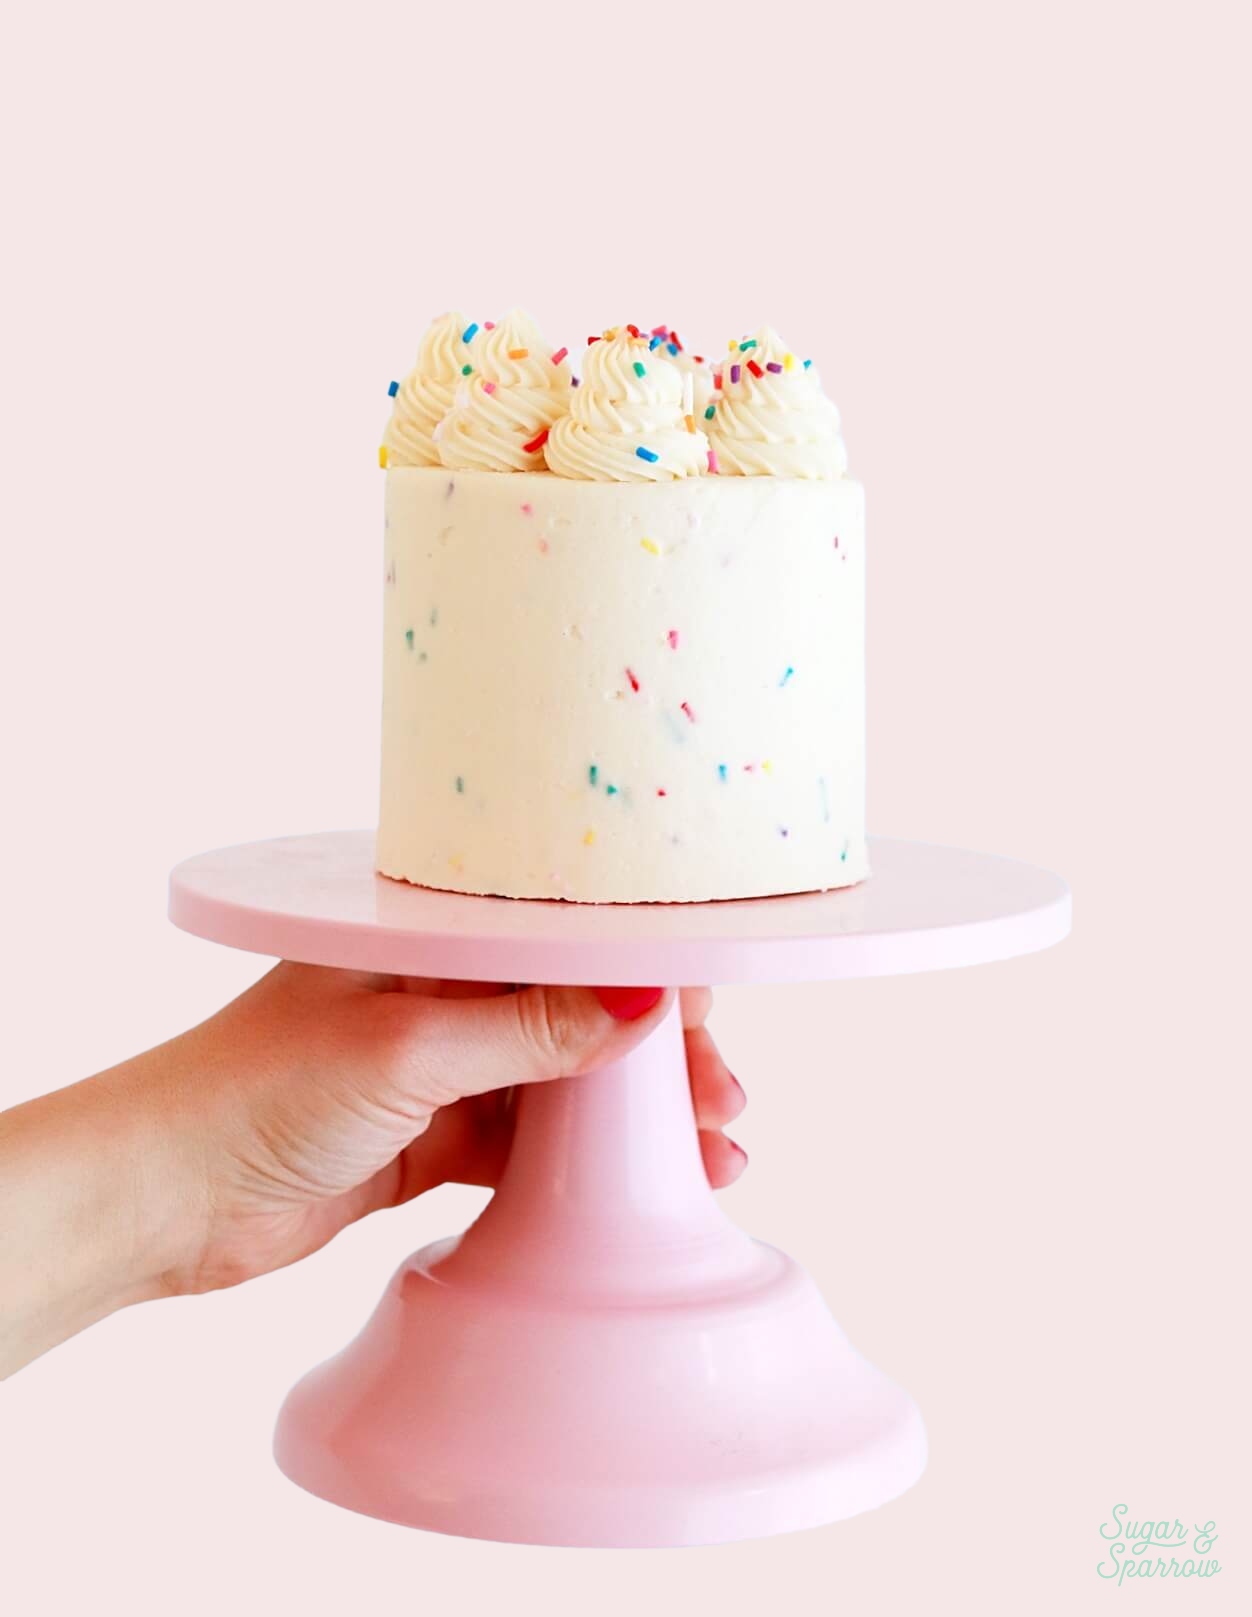
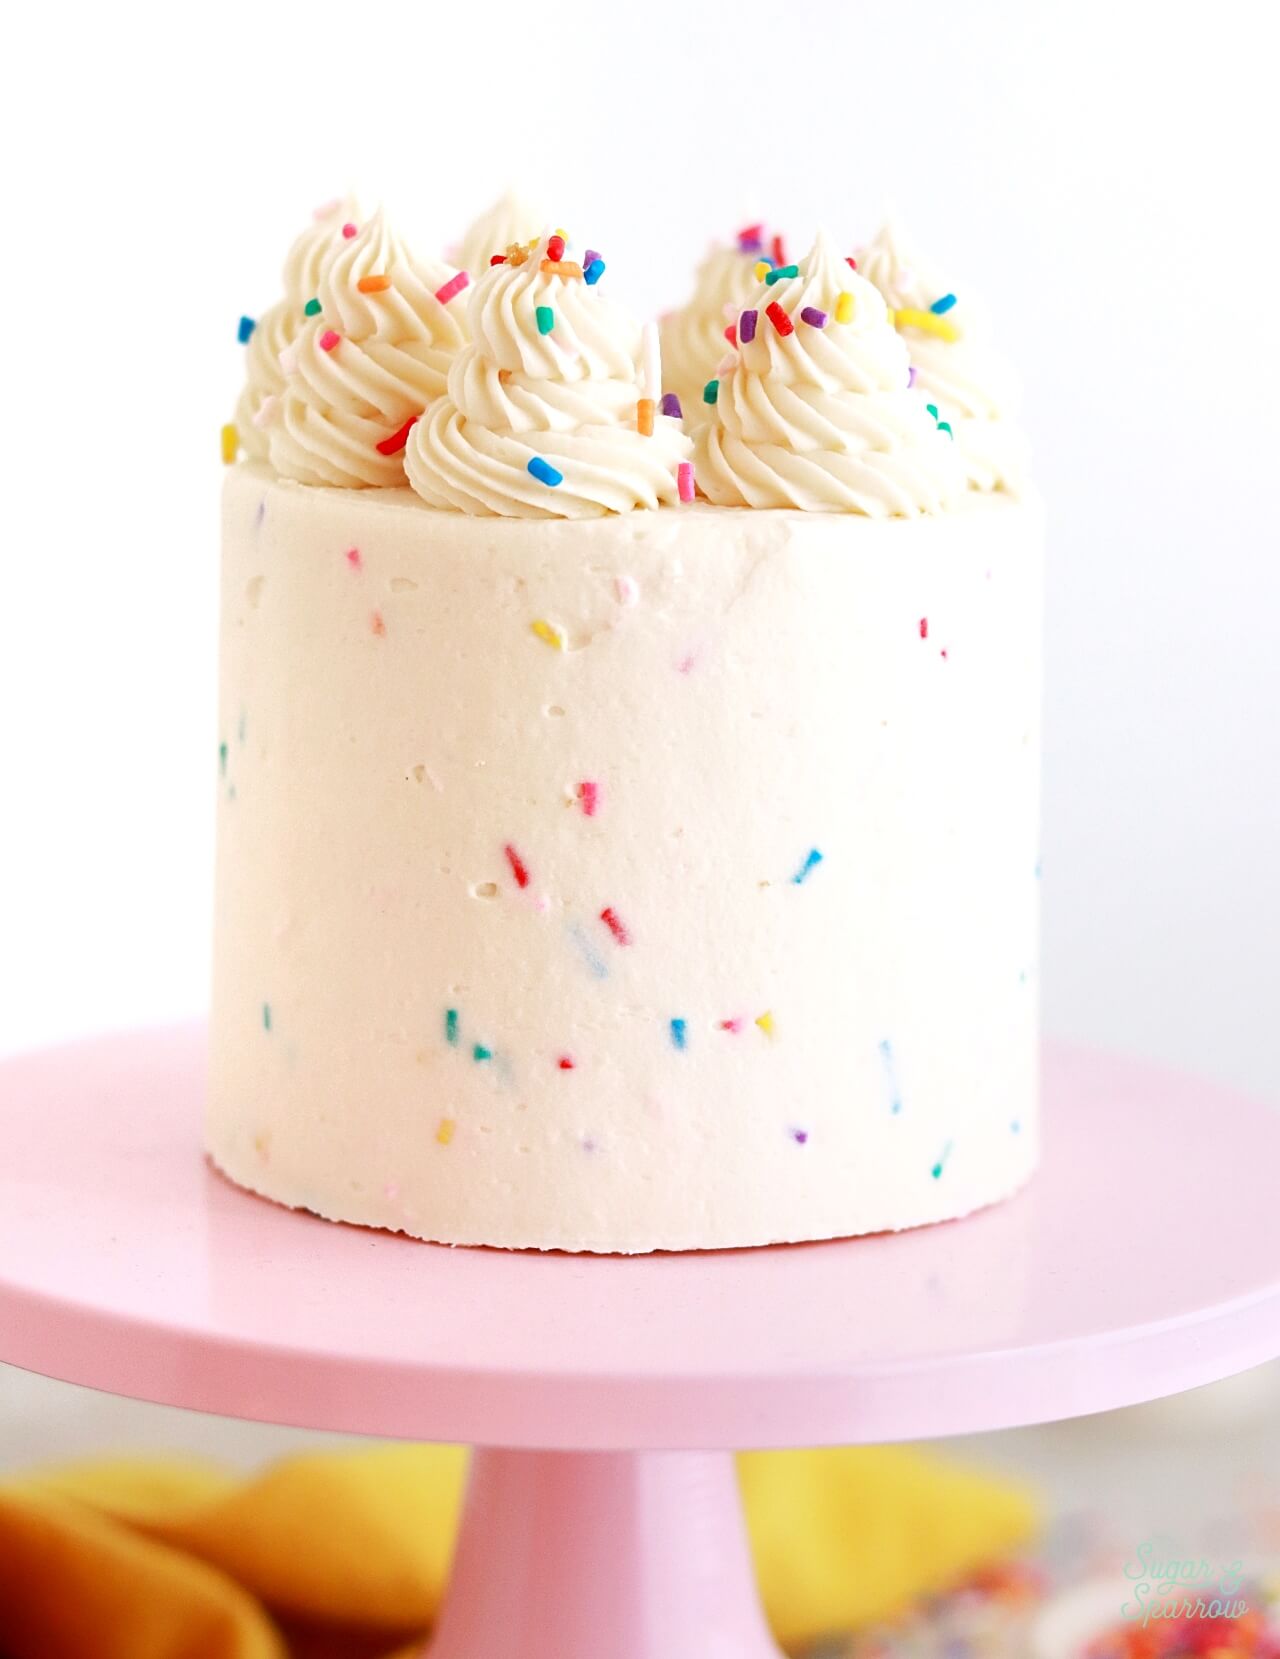
To make things extra celebratory, I paired this mini funfetti cake with funfetti buttercream and let the sprinkles be the star of the show throughout. If you’d rather use a different frosting, you can pair this cake with pretty much any buttercream or frosting flavor imaginable. It goes with pretty much everything! Here are some alternative ideas:
- Vanilla Buttercream
- Chocolate Buttercream
- Nutella Buttercream
- Blueberry Buttercream
- Strawberry Buttercream
- Raspberry Buttercream
- Lavender Buttercream
- Cream Cheese Buttercream
- White Chocolate Buttercream
UPDATE 2026: After some of your feedback, I revisited this recipe to make it more soft, fluffy, and fail-proof. The new recipe has the perfect amount of sprinkles (too many sprinkles made the old recipe crumbly) and the batter is slightly thicker to suspend those sprinkles more easily in the baking process. Enjoy!
Small Batch Funfetti Cake
Equipment
- 3 4-inch cake pans OR
Ingredients
Small Batch Funfetti Cake
- 3/4 Cup + 2 Tbsp (93g) sifted cake flour* DIY recipe in notes
- 1 tsp baking powder
- 1/4 tsp salt
- 1/4 Cup (57g) unsalted butter, room temperature
- 1/2 Cup (100g) granulated sugar
- 1 large egg, room temperature
- 2 Tbsp (30g) sour cream, room temperature
- 1 tsp pure vanilla extract
- 1/3 Cup (80ml) whole milk, room temperature
- 2 Tbsp rainbow sprinkles, coated in 1/4 tsp flour
Funfetti Buttercream
- 3/4 Cup (170g) unsalted butter, room temperature
- 2 1/2 Cups (300g) powdered sugar
- 1 1/2 tsp pure vanilla extract
- 1 1/2 Tbsp whole milk, room temperature
- small pinch of salt
- 2 Tbsp rainbow sprinkles
Instructions
Make the Small Batch Funfetti Cake
- Preheat the oven to 350ºF and prepare three 4-inch or one 6-inch cake pan by spraying the sides with cooking spray and fitting the bottom(s) with a wax paper or parchment paper cake circle.
- In the bowl of your stand mixer (a handheld mixer works fine too!), cream together the butter and sugar on medium-high until light and fluffy, about 3-4 minutes. Turn the mixer to low and add the egg, mixing until just combined and scraping down the bowl and paddle as needed. Add the vanilla and sour cream, turn the mixer to high, and beat for one full minute. It may look a little curdled at this point, but don’t worry – it will become smooth cake batter by the end.
- Turn the mixer to low speed and add the dry ingredients all at once. Mix until just combined, then slowly pour in the milk. Continue to mix on low speed until just combined, about 30 seconds. Scrape down the sides and bottom of the bowl and give it a few stirs with a whisk to make sure there are no lumps.
- Gently fold in the flour-coated rainbow sprinkles with a rubber spatula, then pour the batter evenly between the prepared cake 4-inch pans (or all into one 6-inch cake pan). If using 4-inch cake pans, bake for 18-22 minutes. If using a 6-inch cake pan bake for 24-28 minutes. The cake is done when it springs back to the touch and a toothpick inserted comes out clean. Cool completely before assembling and decorating.
Make the Funfetti Buttercream
- With a hand mixer or stand mixer fitted with the paddle attachment, cream the butter on high until creamy and light (almost white) in color, about 7 minutes.
- Turn the mixer to low speed and add the powdered sugar in two additions, scraping down the bowl and paddle after each one is fully mixed in. Add the vanilla, milk, and salt and mix on low for another minute until fully incorporated and smooth.
- Reserve about 1/4 Cup of buttercream and set it aside for the swirl border on top. To the remaining buttercream, fold in the rainbow sprinkles with a rubber spatula.
Assembly
- Once the funfetti cake is completely cooled, frost and decorate with the funfetti buttercream. To create the mini layer cake pictured, level the cake layers to your desired height. Add a swipe of funfetti buttercream onto a cardboard cake circle and place the first cake layer on top. Fill and stack the cake with funfetti buttercream, then crumb coat the cake with funfetti buttercream. Place the crumb coated cake in the refrigerator for at least 30 minutes to let the buttercream set firm.
- Use the remaining funfetti frosting to create a smooth buttercream finish and add the reserved (non-sprinkled) buttercream into a piping bag fitted Wilton Tip 4B. Pipe a swirl border on top of the cake and decorate with more rainbow sprinkles.
Notes
- The small batch funfetti cake layer(s) can be made ahead and stored at room temperature, covered tightly in plastic wrap, for up to two days. Alternatively, you can cover with plastic wrap and store in the freezer for up to two months before thawing to room temperature.
- If making the funfetti buttercream ahead, refrain from adding the sprinkles until right before you’re ready to use the buttercream. This buttercream (sans sprinkles) can be made ahead and stored in an airtight container in the refrigerator for up to two weeks. When you’re ready to use it, bring it back to room temperature and re-whip in your stand mixer to bring back to smooth buttercream consistency, then fold in the sprinkles.
I hope you love making this small batch vanilla cake recipe! Let me know who you made it for in the comments below + be sure to tag @sugarandsparrowco on Instagram to show me. I love to see what you create!


I tried to make the cake today, but the batter was very thin, which I thought might be OK from the recipe tips. But when it baked, the cake was very dense, and the sprinkles sunk to the bottom. Any suggestions? Thank you!
Hi Loretta! I’m sorry to hear that the batter was too thin the first time you made this. I recently updated this recipe to make the batter slightly thicker, so if you decide to make this cake again it will be more fail-proof!
Tried making this today. I made the old recipe and it was great. Was excited to make it again, especially after seeing your note that it was updated and even better. The cakes sunk in the middle. Such a bummer! I’ve never had this happen with a recipe. I measure ingredients by weight. I did some investigating, comparing your other small batch recipes and your regular funfetti cake, and I think the sugar amount here might be wrong. Are you sure 150gm is correct? Or should it be 100gm? I love your recipes and will definitely make again, once I can figure out what happened! Thank you!
Oh no, Erica! You’re right, the sugar amount should be 1/2 Cup (100g). I’m so sorry for the typo. I would double check your baking powder before you try it again just in case. It expires every 6 months, and expired baking powder is one of the most common reason for cakes sinking, along with over-creaming the butter/sugar. I hope you get a chance to try this one again!
Thanks for the reply! It was definitely the sugar. Made it again today with the updated, correct amount. Turned out perfectly.
Hi Debbie! What brand of sprinkles did you use? If they aren’t coated with certain ingredients (carnauba wax and confectioner’s glaze) the color tends to disintegrate in the baking process. If they did keep their color and sank to the bottom, the batter was too thin (happens when the butter is too soft or too much liquid was added). This batter should be thick enough to suspend the sprinkles in the baking process.
Would this work in an 1/8th sheet pan? The walls are about 1″ high and the dimensions are 10″x7″
I made this for a 1st birthday smash cake and it was perfect.
I don’t have 4 inch pans, but I do have 3 inch pans, how would I adjust the cooking time?
Hi Natalie! I didn’t know they made 3 inch cake pans. How cute! I’d try baking those for 15-20 minutes.
Can I use 2 4 inch pans?
Hi Richard! Yes, you can use two 4-inch cake pans but you’ll have batter left over. After making the batter, fill your two cake pans no more than 2/3 full and bake for 18-22 min. If you want to make a third layer with the leftover batter, simply bake another round by adding it into one cake pan right after the first two layers bake.
Hi Whitney, I was wondering if I halved the recipe would it be enough for 2 four inch pans?
Just curious, thanks!
Hello, this cake came out delicious and moist but very crumby. Did I not cook it long enough or did I not wait long enough for it to cool? Is there anything else you could think of that I am doing wrong? I love the flavor and want to figure out it out so I can make it again, thank you for any help!
Hi Michelle! At what point was it crumbly? When you were taking the layers out of the pans/building the layer cake? Or when you were eating the slices?
Would it taste strange if I used lactose free milk?
Hi Katie! The milk will slightly flavor the cake if it has a strong flavor by itself. I recommend soy milk for the best texture and flavor. Hope that helps!
This was my first time ever making a cake. I ended up using regular milk. It was SO GOOD. I’m not really a cake person, but I loved it. I used two, 5-inch cake pans as that was more the size/shape I wanted. I was terrible at decorating it but I just wanted to say it turned out so well!
Hi! Can the recipe be doubled for two 6in pans?
Hi Jaleesa! Yes, you can double this recipe for two 6-inch pans. Enjoy!
Hiya! Just wondering if it would be possible to substitute the sour cream for yogurt? Do u think that would work? Thanks! :))
Hi Lilly! Yes, yogurt will work well in place of the sour cream. Enjoy!
Are there changes that you would suggest for an elevation of about 5k feet?
Hi Heather! I don’t know much about high altitude baking, but here’s a blog post I found that shows how to adapt recipes for high altitude: https://blog.wilton.com/high-altitude-baking/ I also have a friend who writes cake recipes specifically for high altitude baking, so I’d recommend giving her recipes a try as well: https://curlygirlkitchen.com/
Hi! Can I use cane sugar instead of granulated sugar? Thanks
Hi Yazmeen! I’ve never tried cane sugar in my cake recipes, but after some research it looks like you can substitute it for granulated sugar. The flavor and texture of the cake might be slightly altered since cane sugar granules are more coarse than granulated. Hope that helps!
Can you substitute something for the eggs and still be good?
Hi Marie! I’ve never tried an eggless version of this cake recipe so if you tried an egg replacer it would be an experiment. I would instead recommend finding an egg-free funfetti recipe to use as a starting point.
I tried it this evening. My first scratch cake. I didn’t have 3 4” pans (tomorrow I’ll buy 3rd). I used a mini Bundt pan. And oh boy talk about moist and delish. Thank you. Tomorrow I plan on doing cake/buttercream.
Yay, Gloria! I’m so happy you loved this recipe and how fun that you baked it in a mini bundt pan!
Thank you so much for your small batch recipes! My hubby and I love cake and I only make your recipes. But the only time I get to make a cake is when there’s a large gathering and that’s just not often enough for me to have cake. So I’m very grateful that you’re doing small batch with your cakes. Your recipes have never let me down. Thanks again.
Eileen
Aw yay, Eileen! I’m so happy you’ll get to make these small batch recipes to enjoy any time!
I just LOVE the small patch recipes!! I am just starting my business and the small batch allows me to publish without spending a lot of money on full batches. Your style is right up my alley and I’m so glad I found you. Thank you so much!