
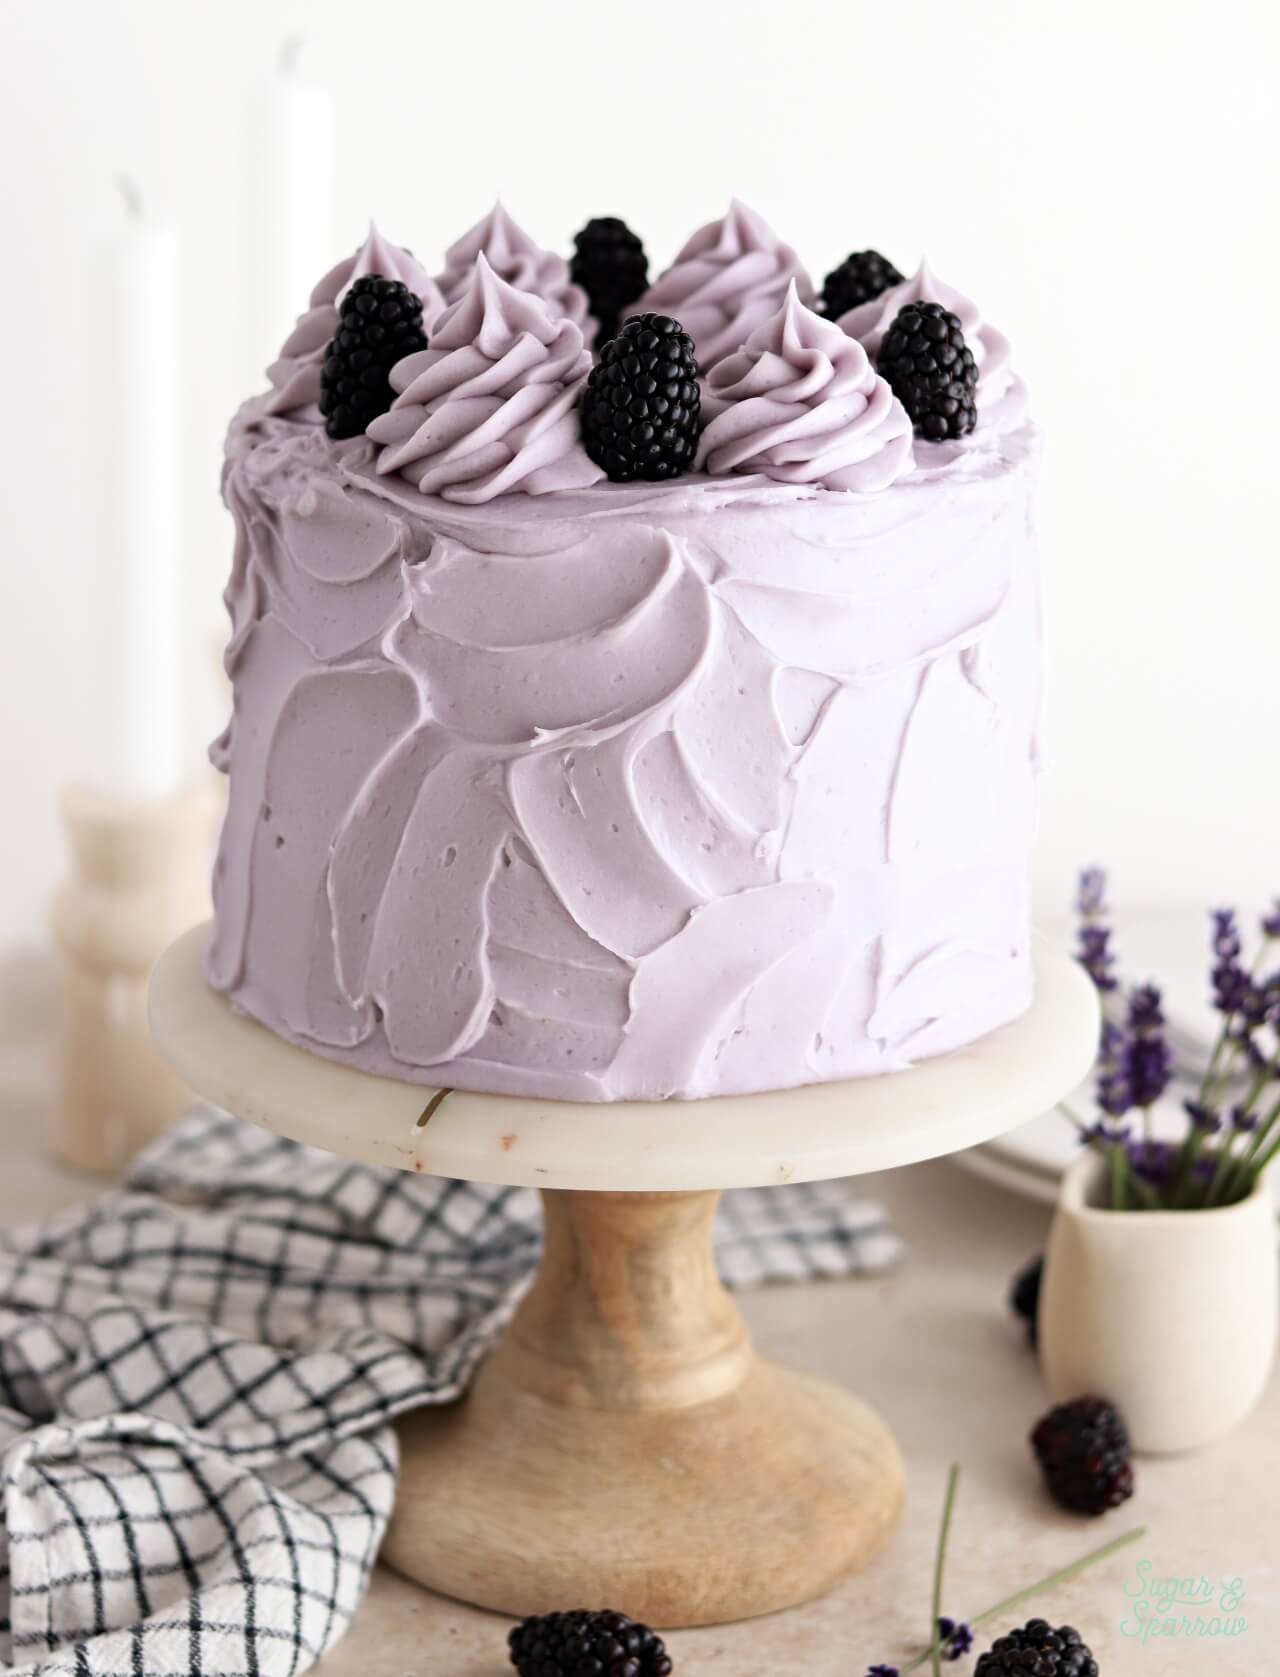
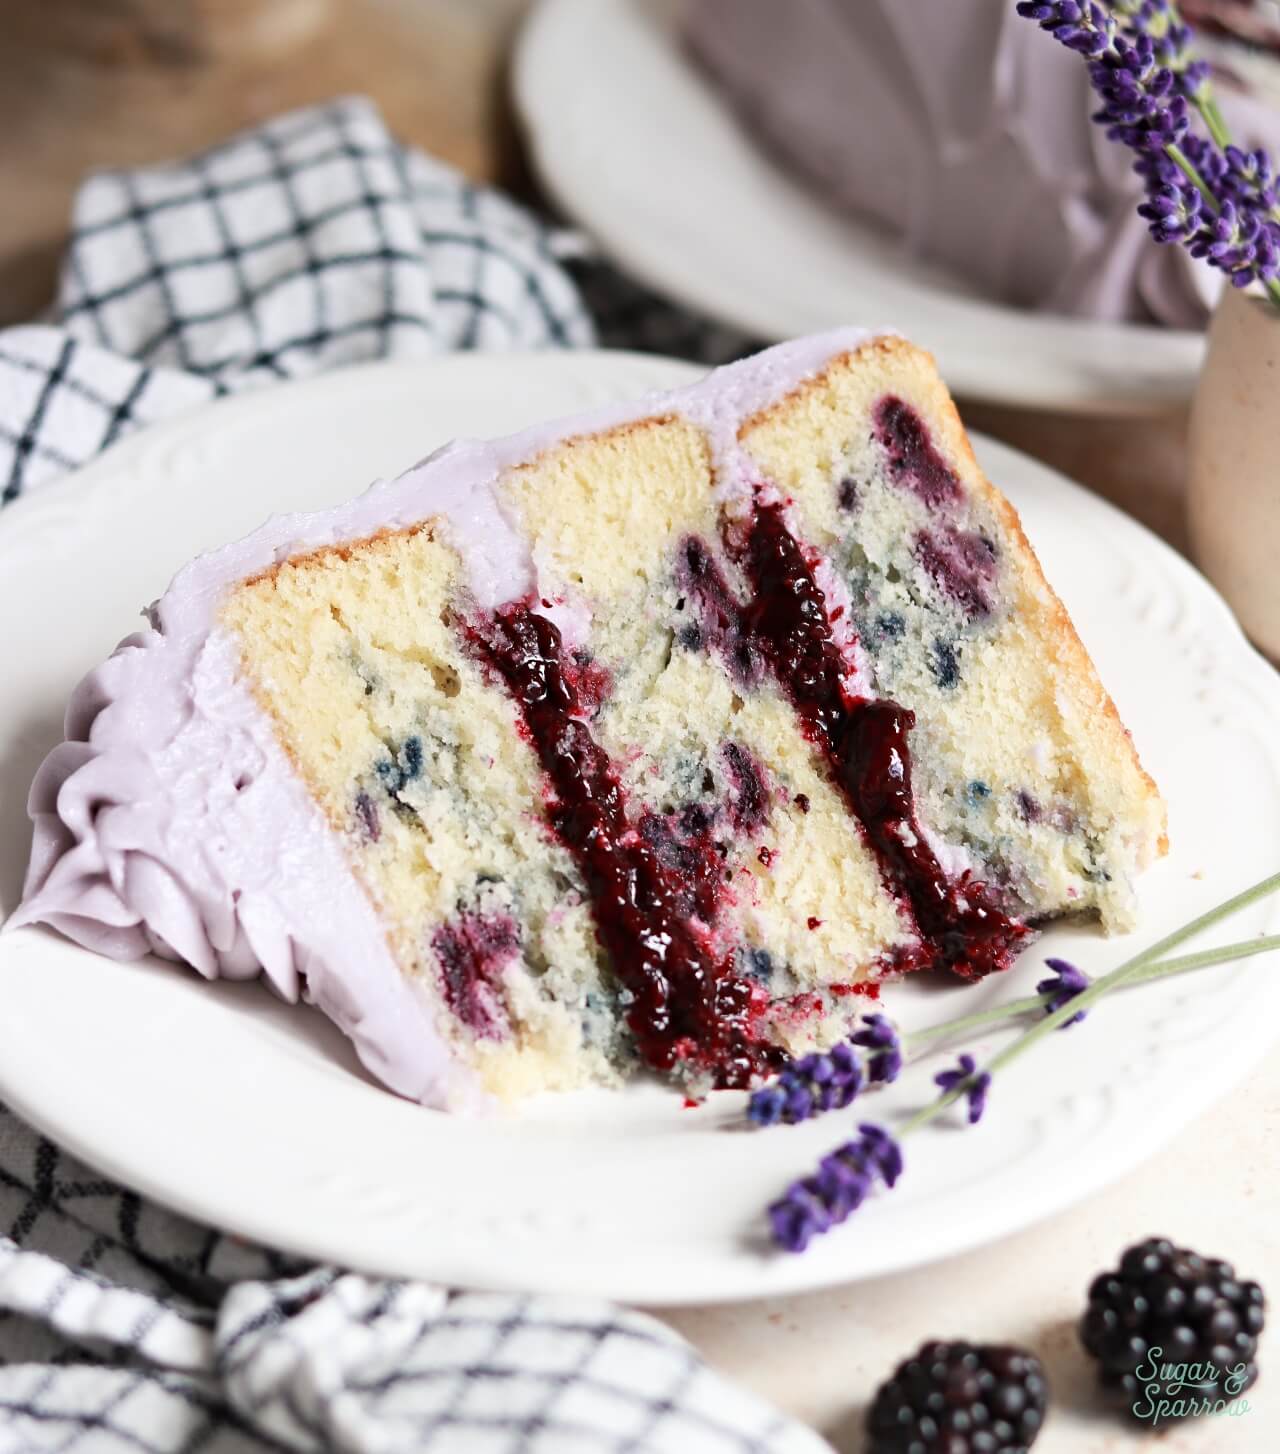
This blackberry lavender cake is the kind of dessert that adds a bit of magic to any ordinary gathering! Featuring layers of soft vanilla cake with swirls of blackberry baked in, homemade blackberry filling, and perfectly flavored lavender buttercream, it’s elegant yet earthy and effortlessly Summer. Whether you’re planning a garden party, celebrating a special occasion, or looking for a unique cake recipe to impress your friends and family, this blackberry lavender cake delivers stunning flavor in every bite.
Blackberry Lavender Cake Components
There are three main components that come together to make the most delicious blackberry lavender cake. I’ll talk about them in more detail in the next sections, but here’s an overview:
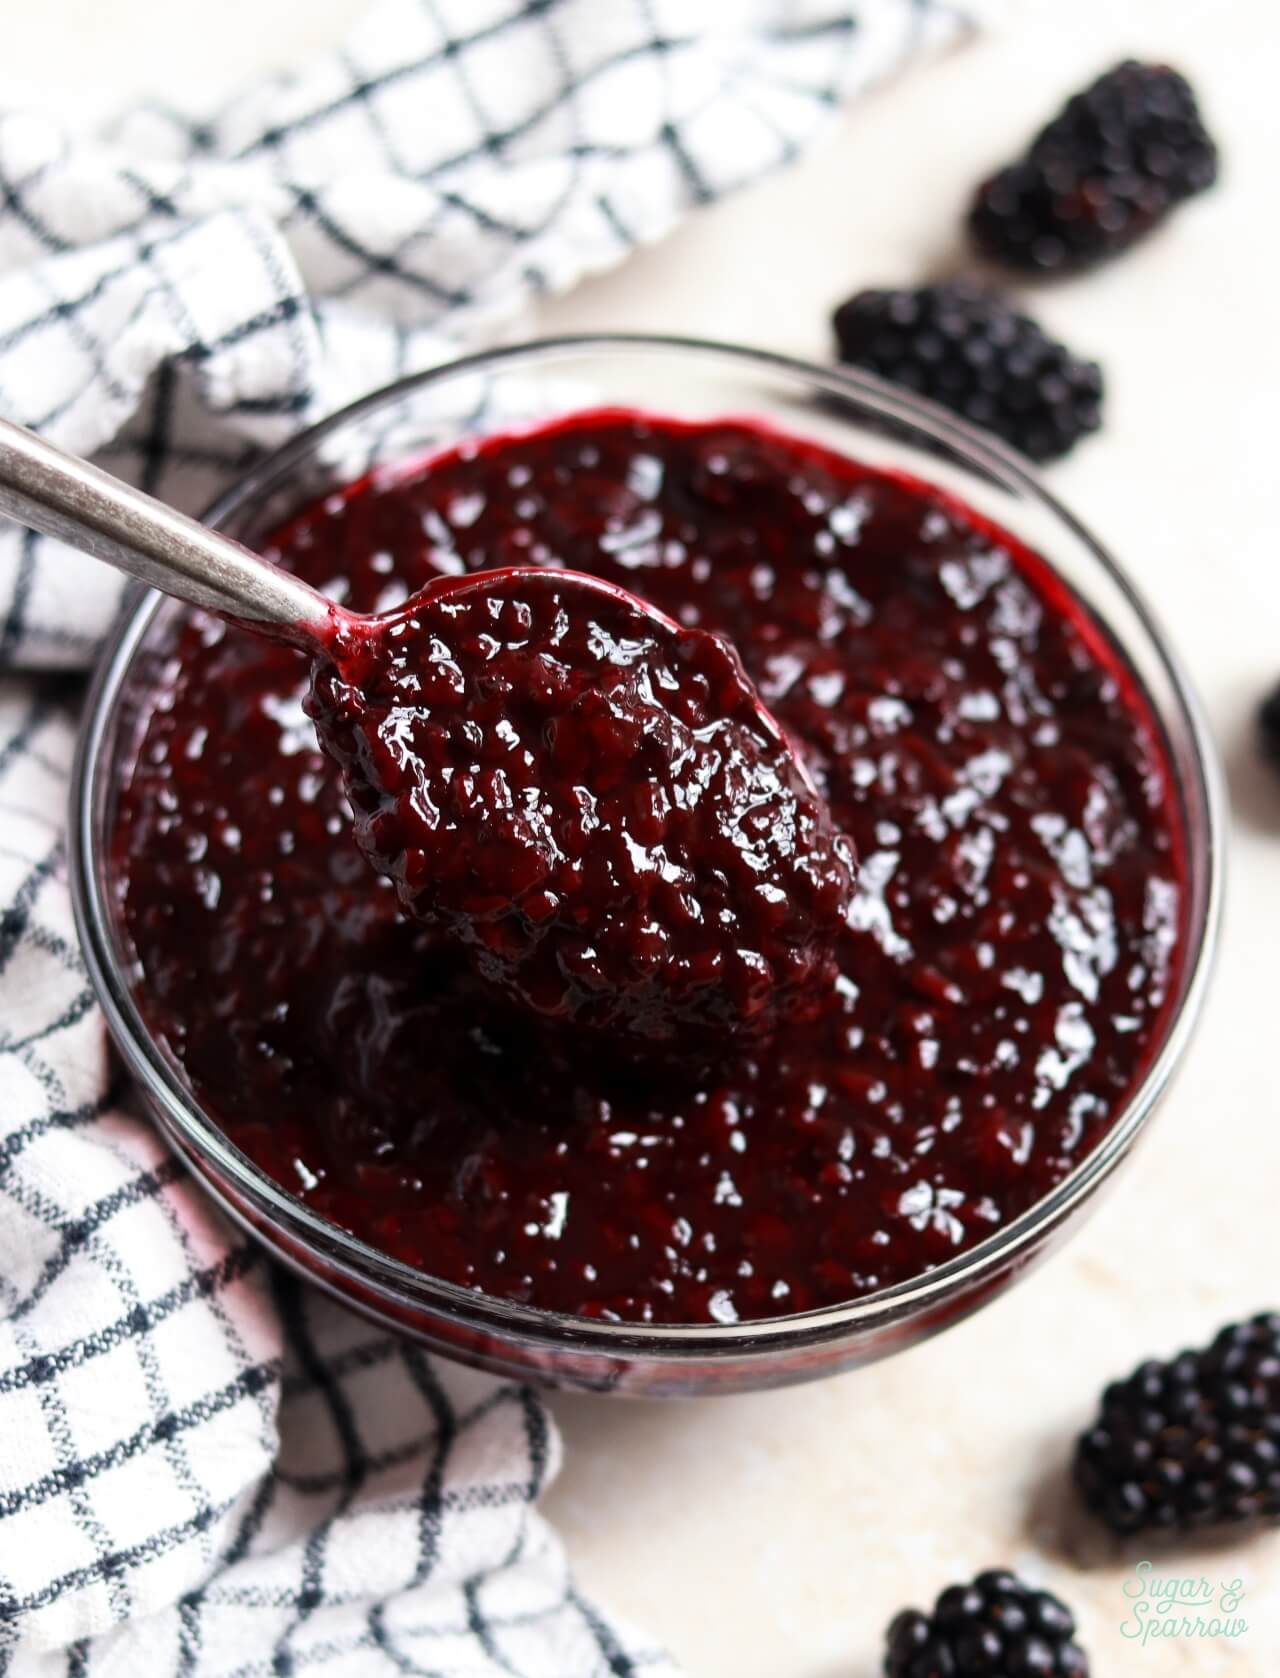
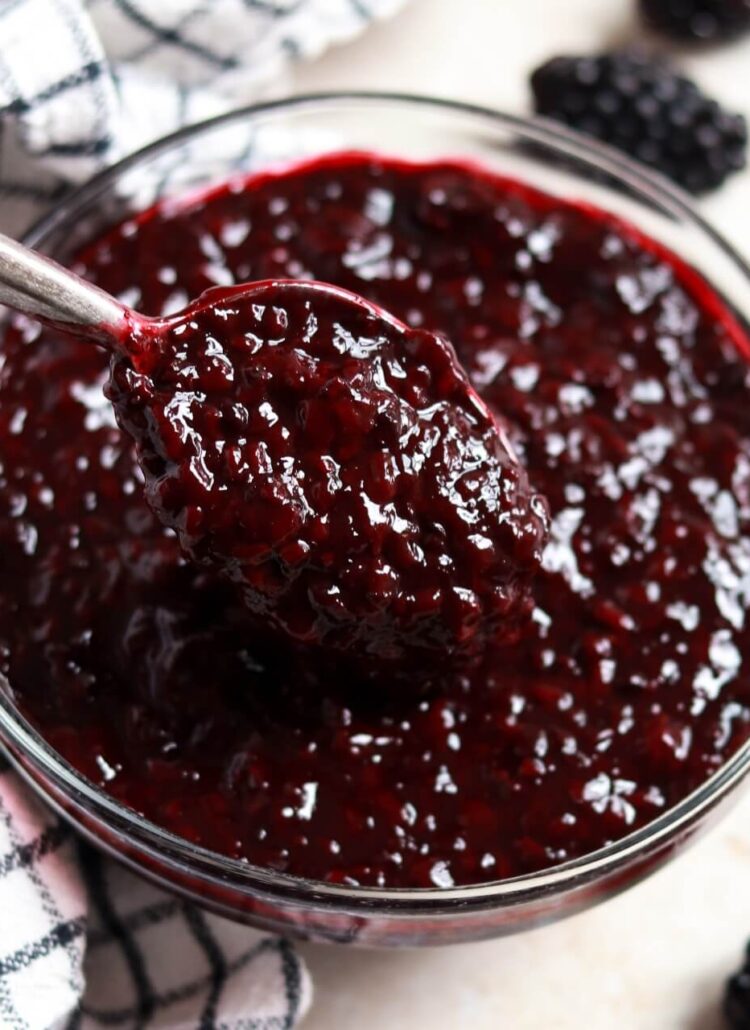
- Homemade blackberry puree. This recipe begins with making a homemade blackberry puree which gets swirled into the vanilla cake batter, and is used as the filling in between the cake layers. It can be made with fresh or frozen blackberries, plus a handful of simple ingredients that you’ll cook into the ideal thick, delicious blackberry filling that adds the most amazing blackberry flavor to this cake.
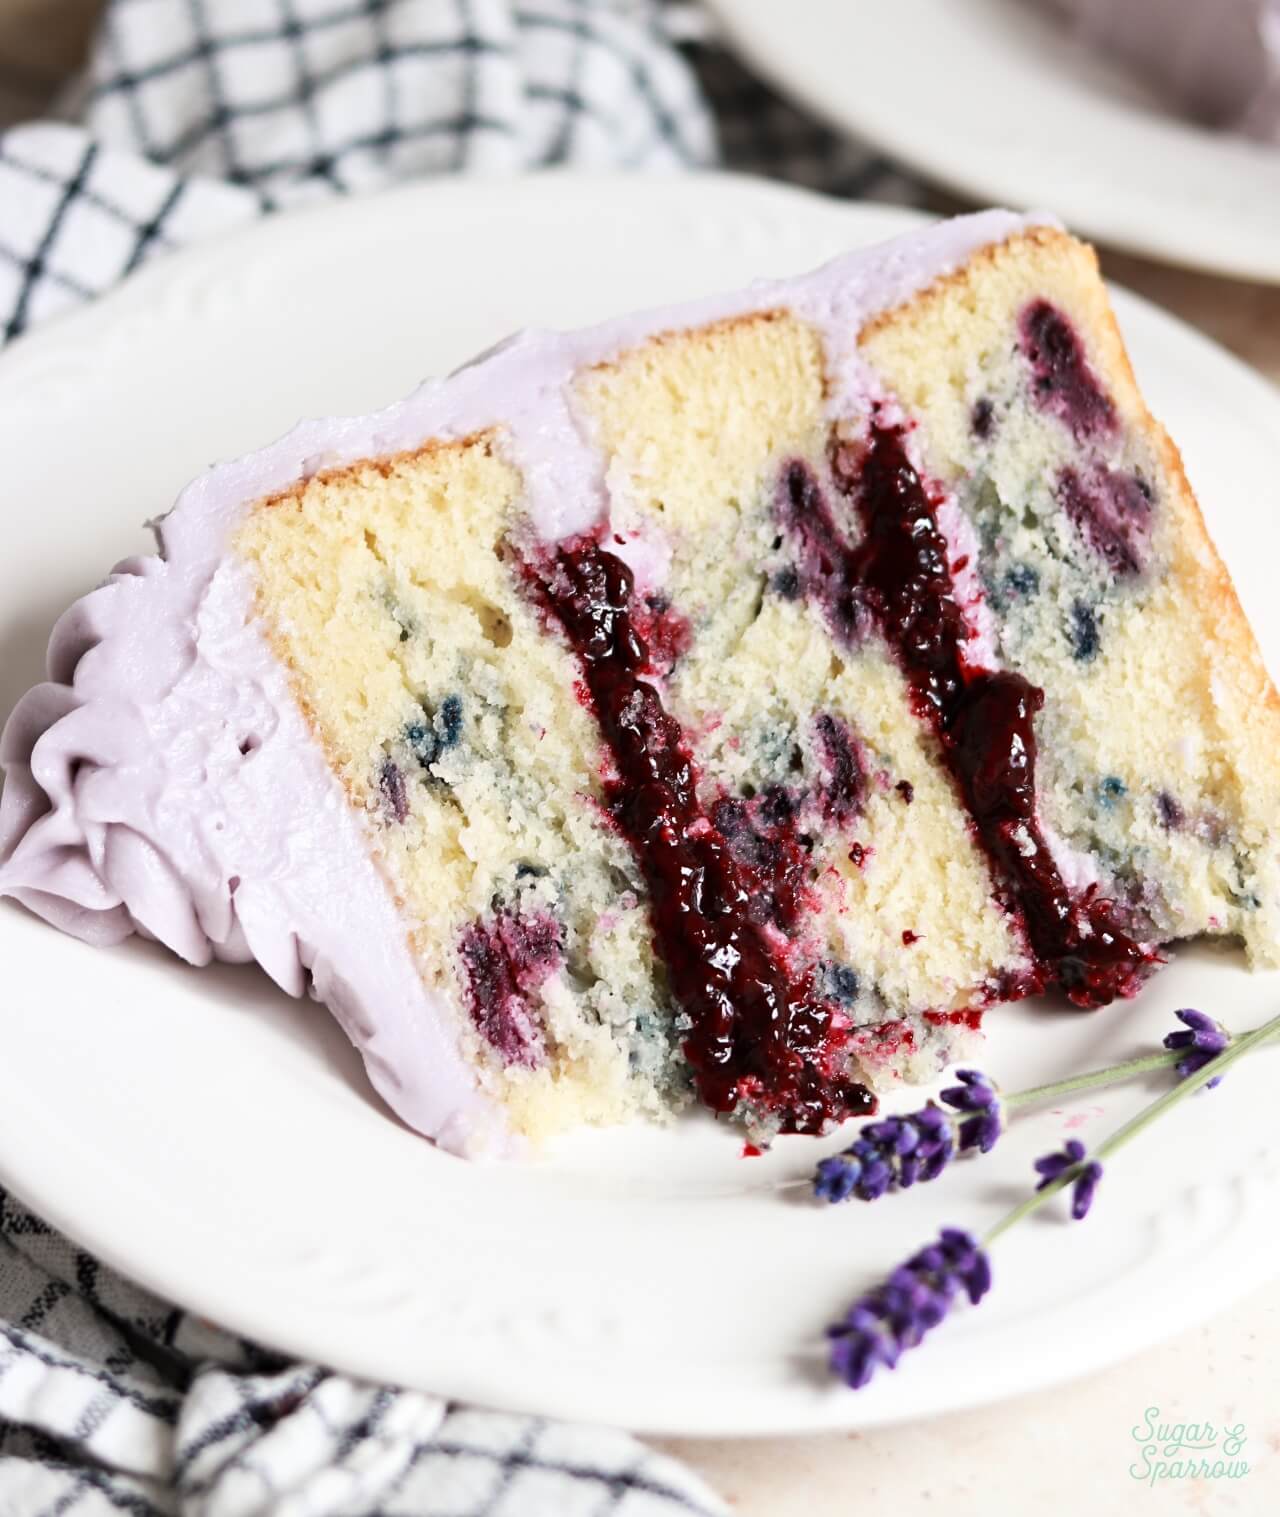
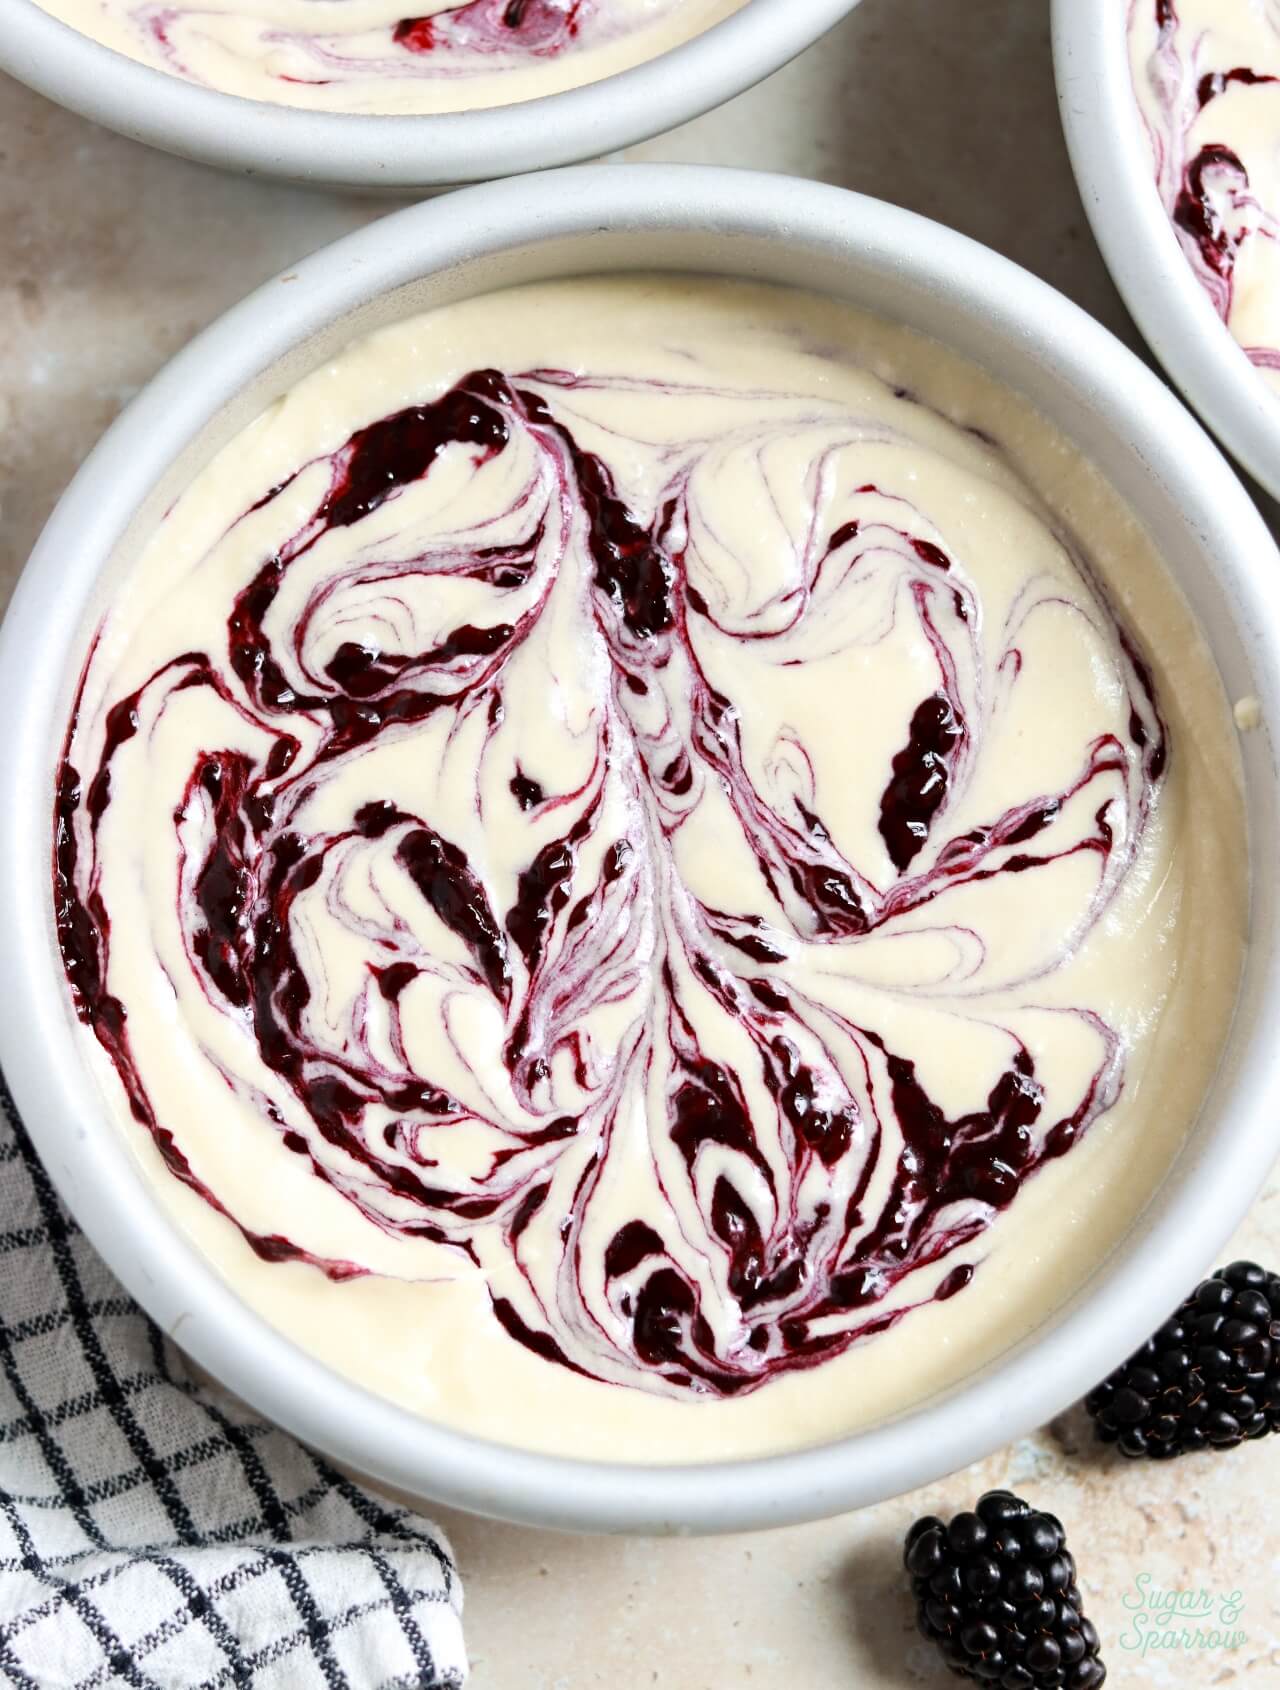
- Blackberry-swirled vanilla cake. Once cooled, about half of the blackberry puree gets swirled into vanilla cake batter to create the prettiest cake layers. They’re super soft, moist, and have the perfect hint of blackberry flavor.
- Lavender buttercream. I used my favorite lavender buttercream recipe to fill each cake layer (along with the blackberry filling), and frost the cake. The lavender flavor is created by infusing the milk portion of the recipe with dried culinary lavender. The lavender milk is then mixed into the buttercream and creates the most incredible flavor that’s not overpowering. It’s perfectly balanced and works so well with the blackberry flavor in this cake!
Homemade Blackberry Puree
I took inspiration from my blackberry crisp cake recipe, which starts with making this same blackberry puree for swirling into the cake layers. It’s so easy to make with simple ingredients: fresh or frozen blackberries, lemon zest and juice, brown sugar, cornstarch, cinnamon, and a little salt. All of these ingredients are added into a saucepan and cooked until the blackberries break down and release their juices. Then, the mixture is simmered until the puree is reduced slightly and thickens. It will continue thickening as it cools into the most beautifully thick blackberry puree that is so flavorful!
Soft Blackberry-Swirled Vanilla Cake
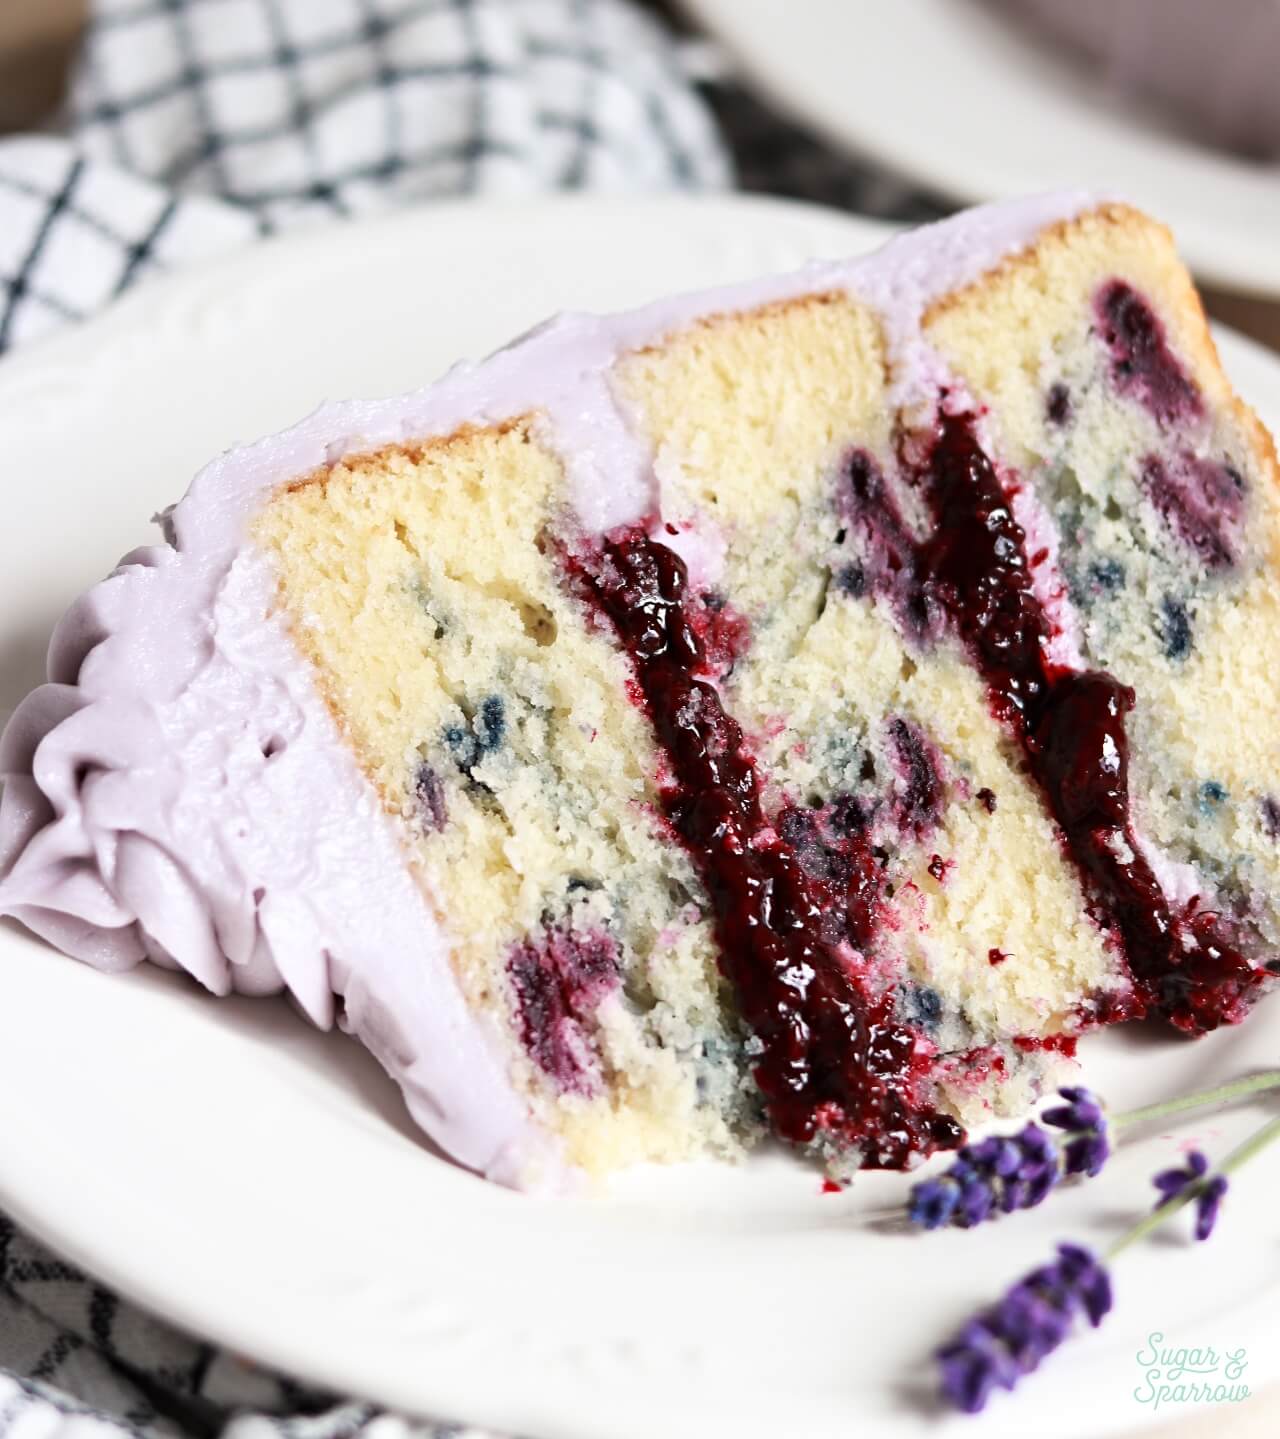
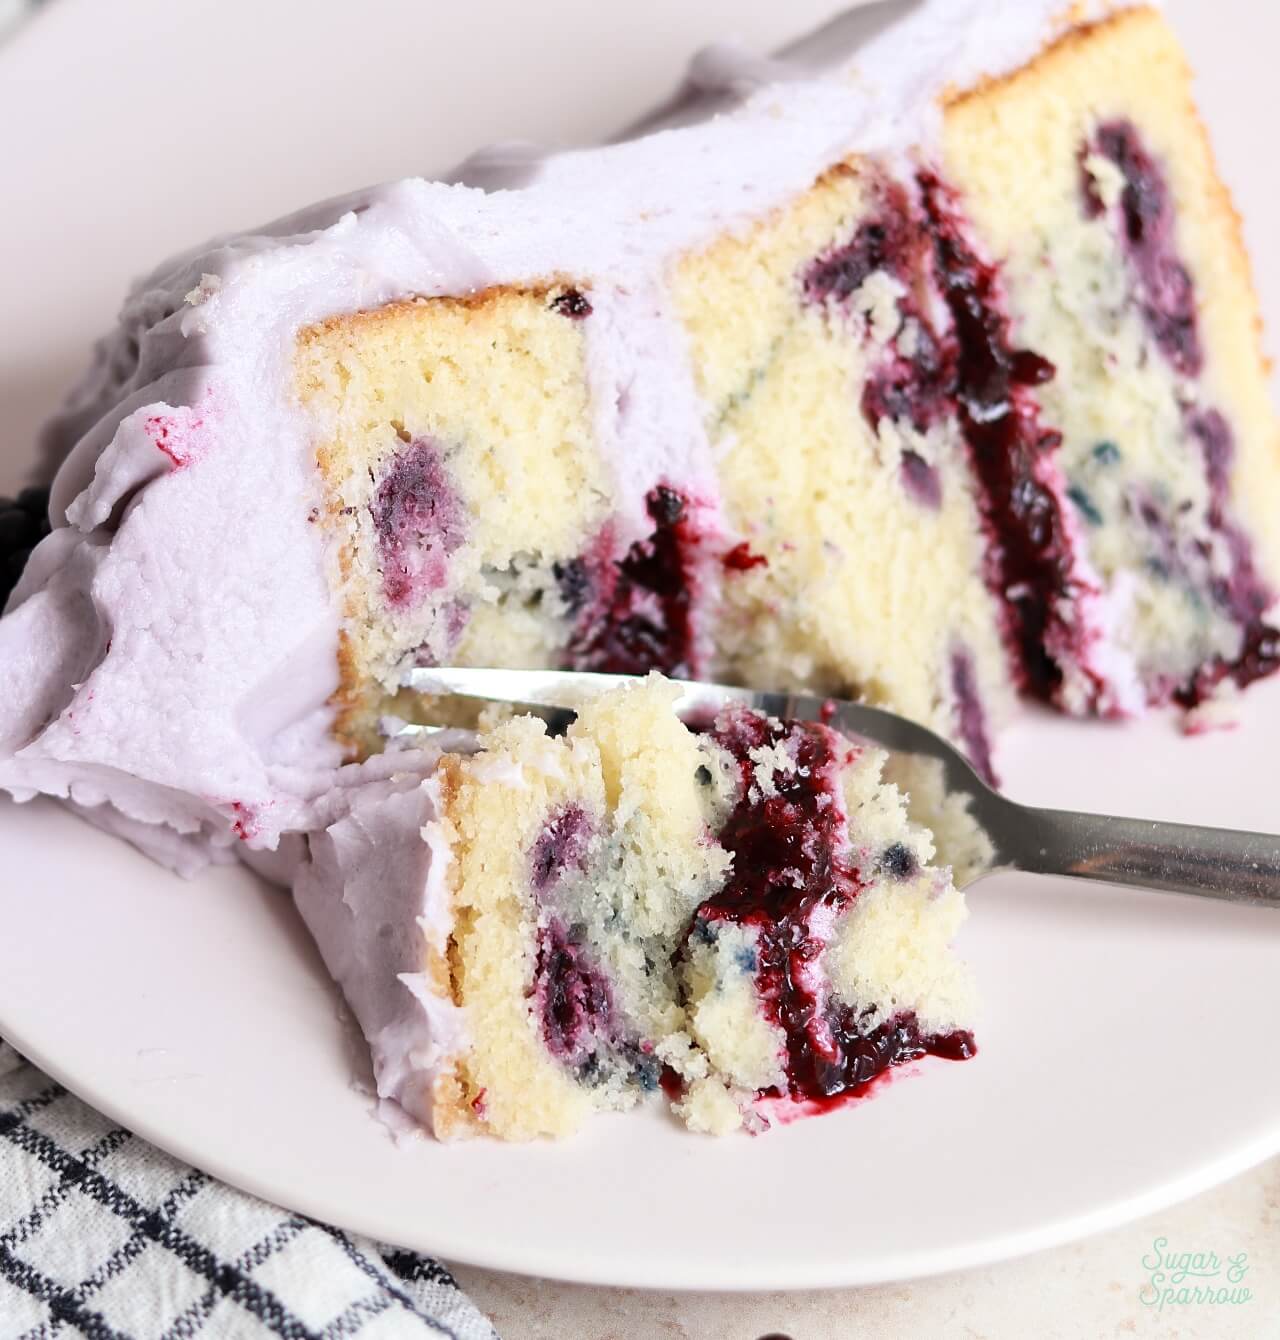
I use my favorite vanilla cake recipe as the base for the blackberry cake layers, which get swirled with spoonfuls of the blackberry puree before baking. The baked cake layers are not only visually stunning with the marbles of blackberry, they’re also so soft and moist with the ideal pop of blackberry flavor in each bite!
There are a few ingredients that create the perfect texture and flavor in this blackberry-swirled vanilla cake:
- Cake Flour. To achieve the super soft texture in this cake, I swear by cake flour. It produces a much fluffier cake than all-purpose (or plain) flour because of its lower protein content (the more protein in your flour the stiffer the dough and less ability to maintain moisture). You can find cake flour at most grocery stores, but if all you’ve got is all-purpose flour in your pantry, here are instructions for how to make your own cake flour. Keep in mind that if you do use the homemade version, the gram measurement will weigh more (325g instead of 290g) since all-purpose flour is heavier than cake flour.
- Baking Powder + Baking Soda. The leavening agents in this recipe. Using both makes it the perfect amount of fluffy.
- Unsalted Butter. The main fat in this recipe, which adds lots of moisture, great structure, and rich flavor. If you only have salted butter on hand, you can substitute that but be sure to omit the salt in the recipe if you do.
- Granulated Sugar. This not only sweetens the cake, it creates a tender crumb as well. You can substitute this with caster sugar if you wish and it will be even more soft.
- Whole Eggs + Egg Whites. I use two large eggs and two large egg whites in this recipe. The egg whites keep the cake lighter while adding the perfect amount of protein and binding power.
- Sour Cream. Sour cream adds the perfect amount of moisture to this cake. If you don’t have that locally you can substitute it for plain yogurt or Crème fraîche.
- Pure Vanilla Extract. I use an entire tablespoon of vanilla extract in this cake, which takes the flavor beyond! I recommend using a quality vanilla extract here (not imitation). You can substitute the extract for vanilla bean paste if you wish.
- Whole Milk. Since it has the highest fat percentage of any milk (aside from buttermilk), the whole milk creates a rich crumb while binding the ingredients together. You can technically substitute this for another kind of milk, but whole milk is going to yield the best results.
- Blackberry Puree. This is a given, but the homemade blackberry puree that is swirled into each layer bakes into the most gorgeous marble that guarantees amazing blackberry flavor in every bite.
Beautifully Balanced Lavender Buttercream
Lavender has a reputation for being overpowering (even described as “soapy”) in baking recipes, but not this one! Instead of using lavender extract to flavor the buttercream for this cake (which is easy to overdo), I infused the small amount of milk in the buttercream with dried culinary lavender. This involved simmering the lavender in the milk and letting it steep like a tea, then straining out the lavender. Once cooled, this lavender milk is added to the buttercream to create the ideal earthy, floral flavor without being too strong.
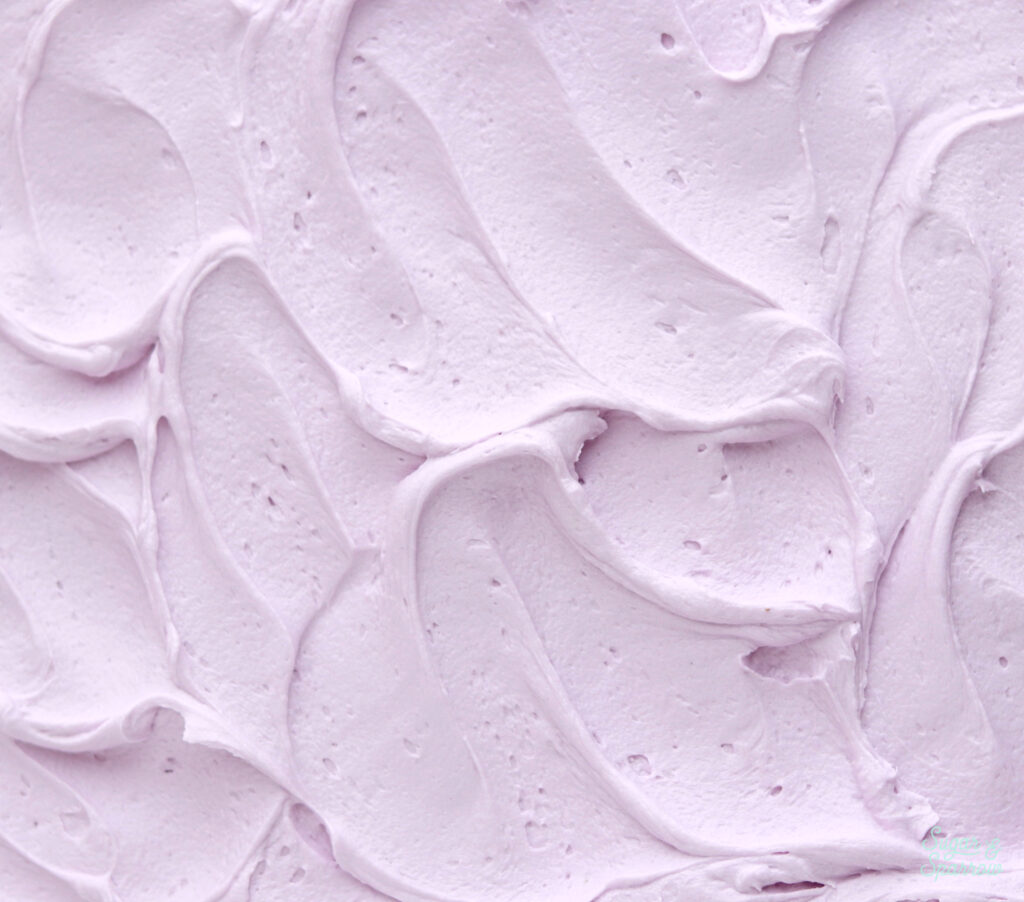
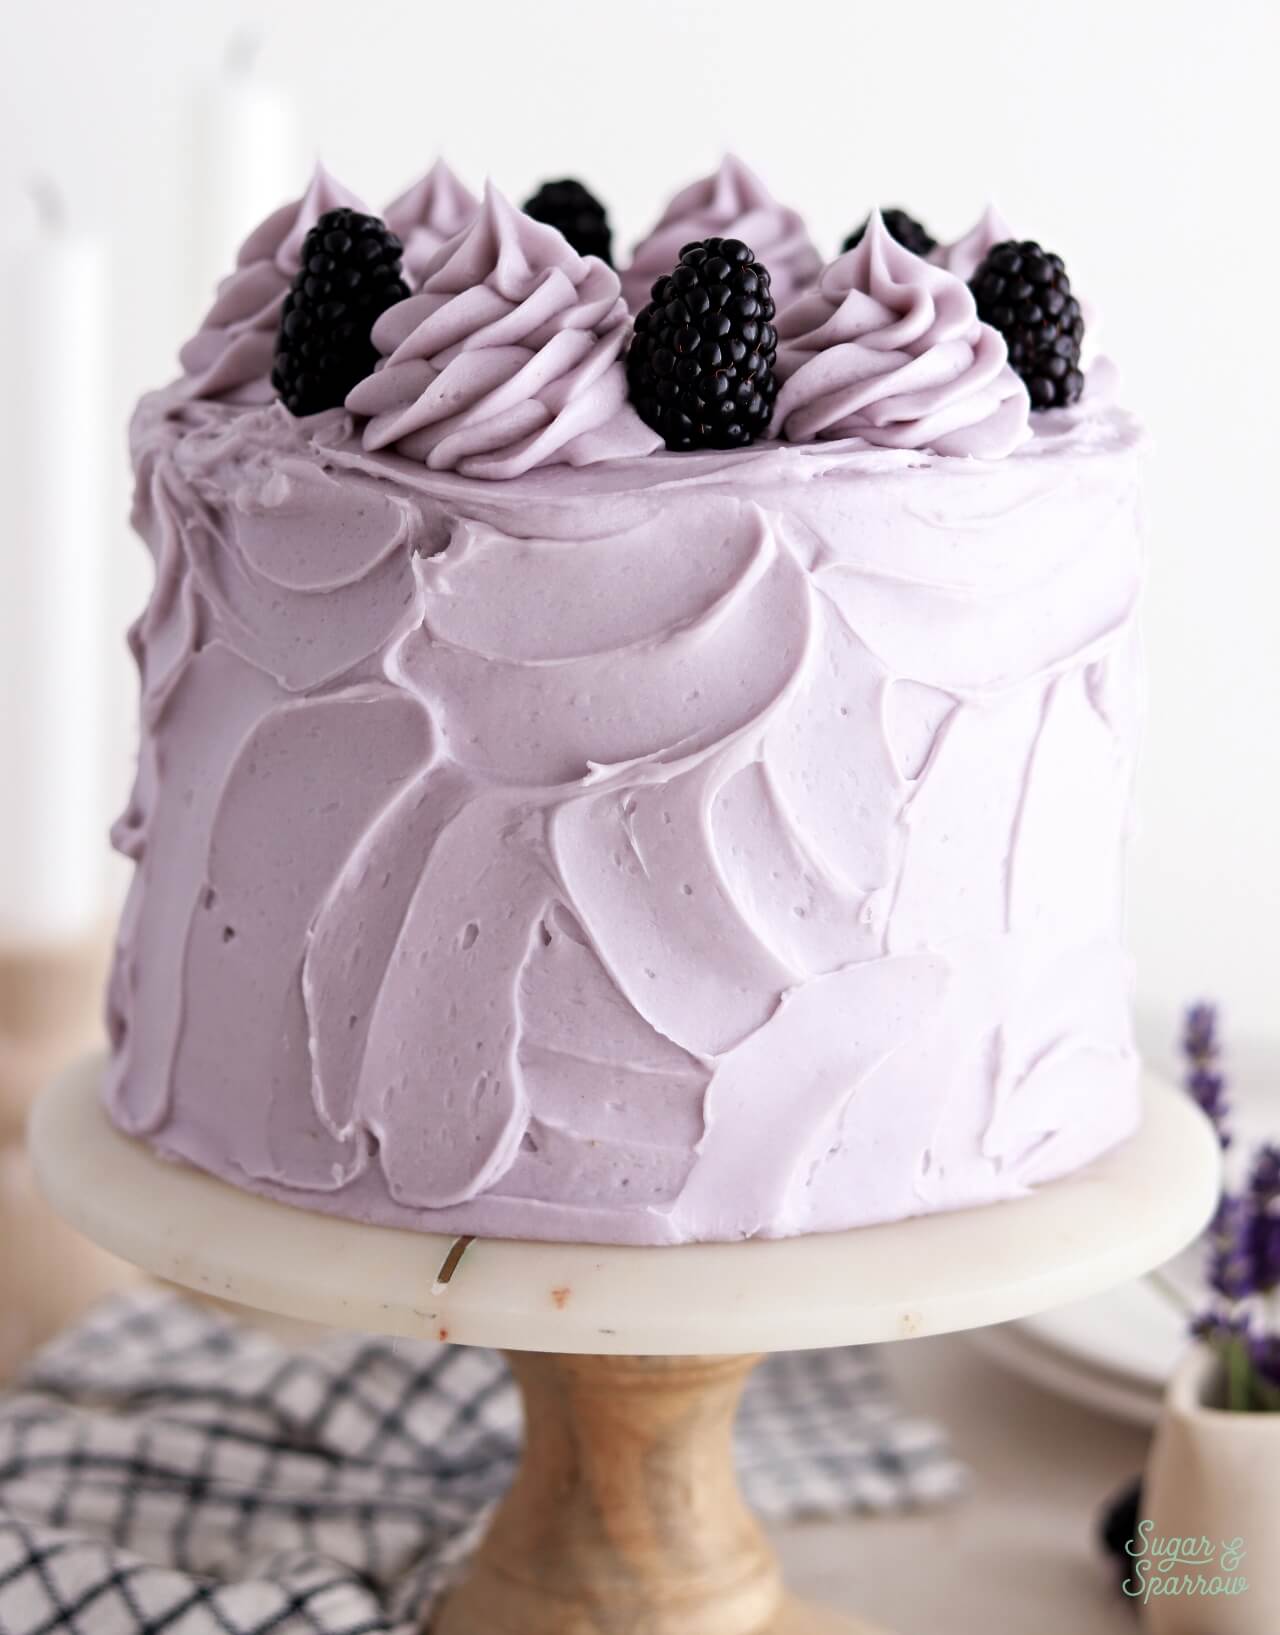
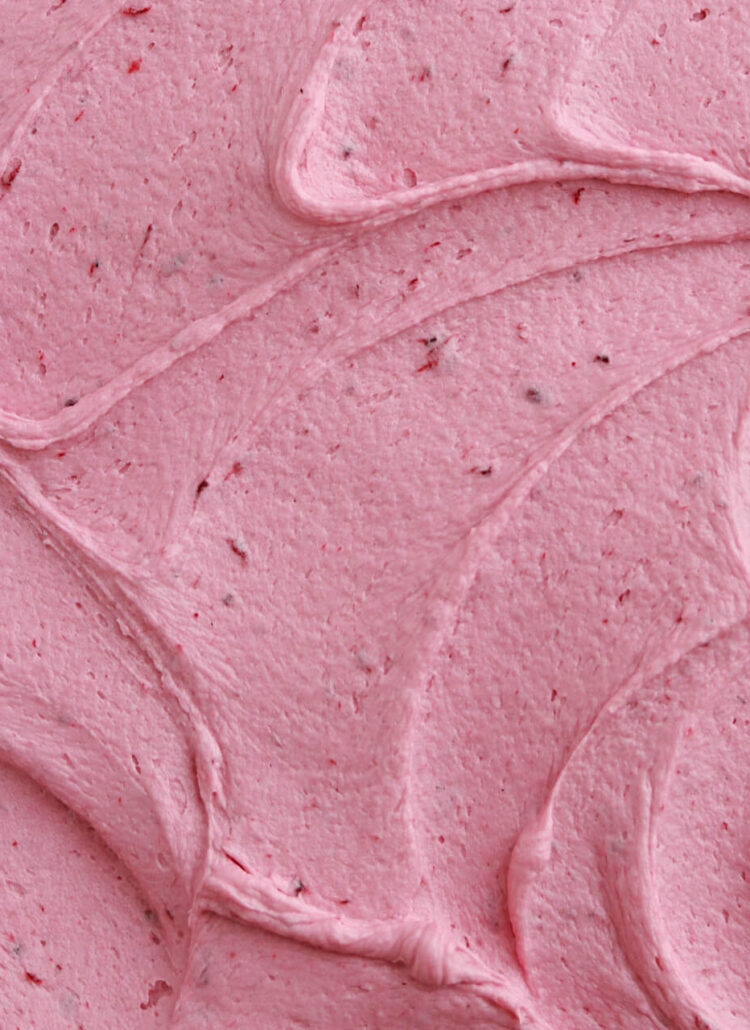
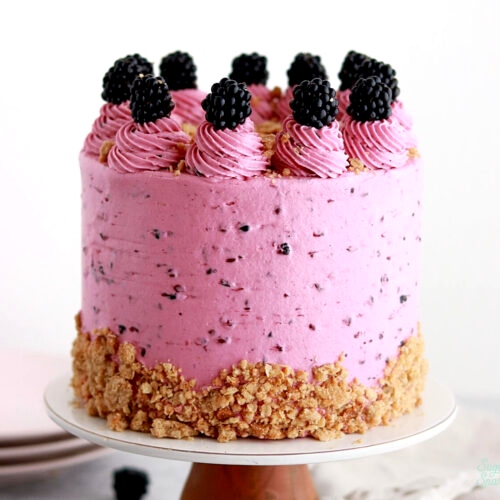
The lavender buttercream is used to partially fill the cake layers alongside the blackberry puree, then frost the cake in a beautiful rustic design. It’s the perfect consistency for filling, frosting, and piping the swirls on top. And if you’re wondering whether the purple color is natural, it’s not. I did add a small amount of purple food coloring to create the lavender color, but you are welcome to keep it uncolored!
How to Assemble this Blackberry Lavender Cake
Once all the components are made and cooled, here’s how to create the blackberry lavender cake as pictured:
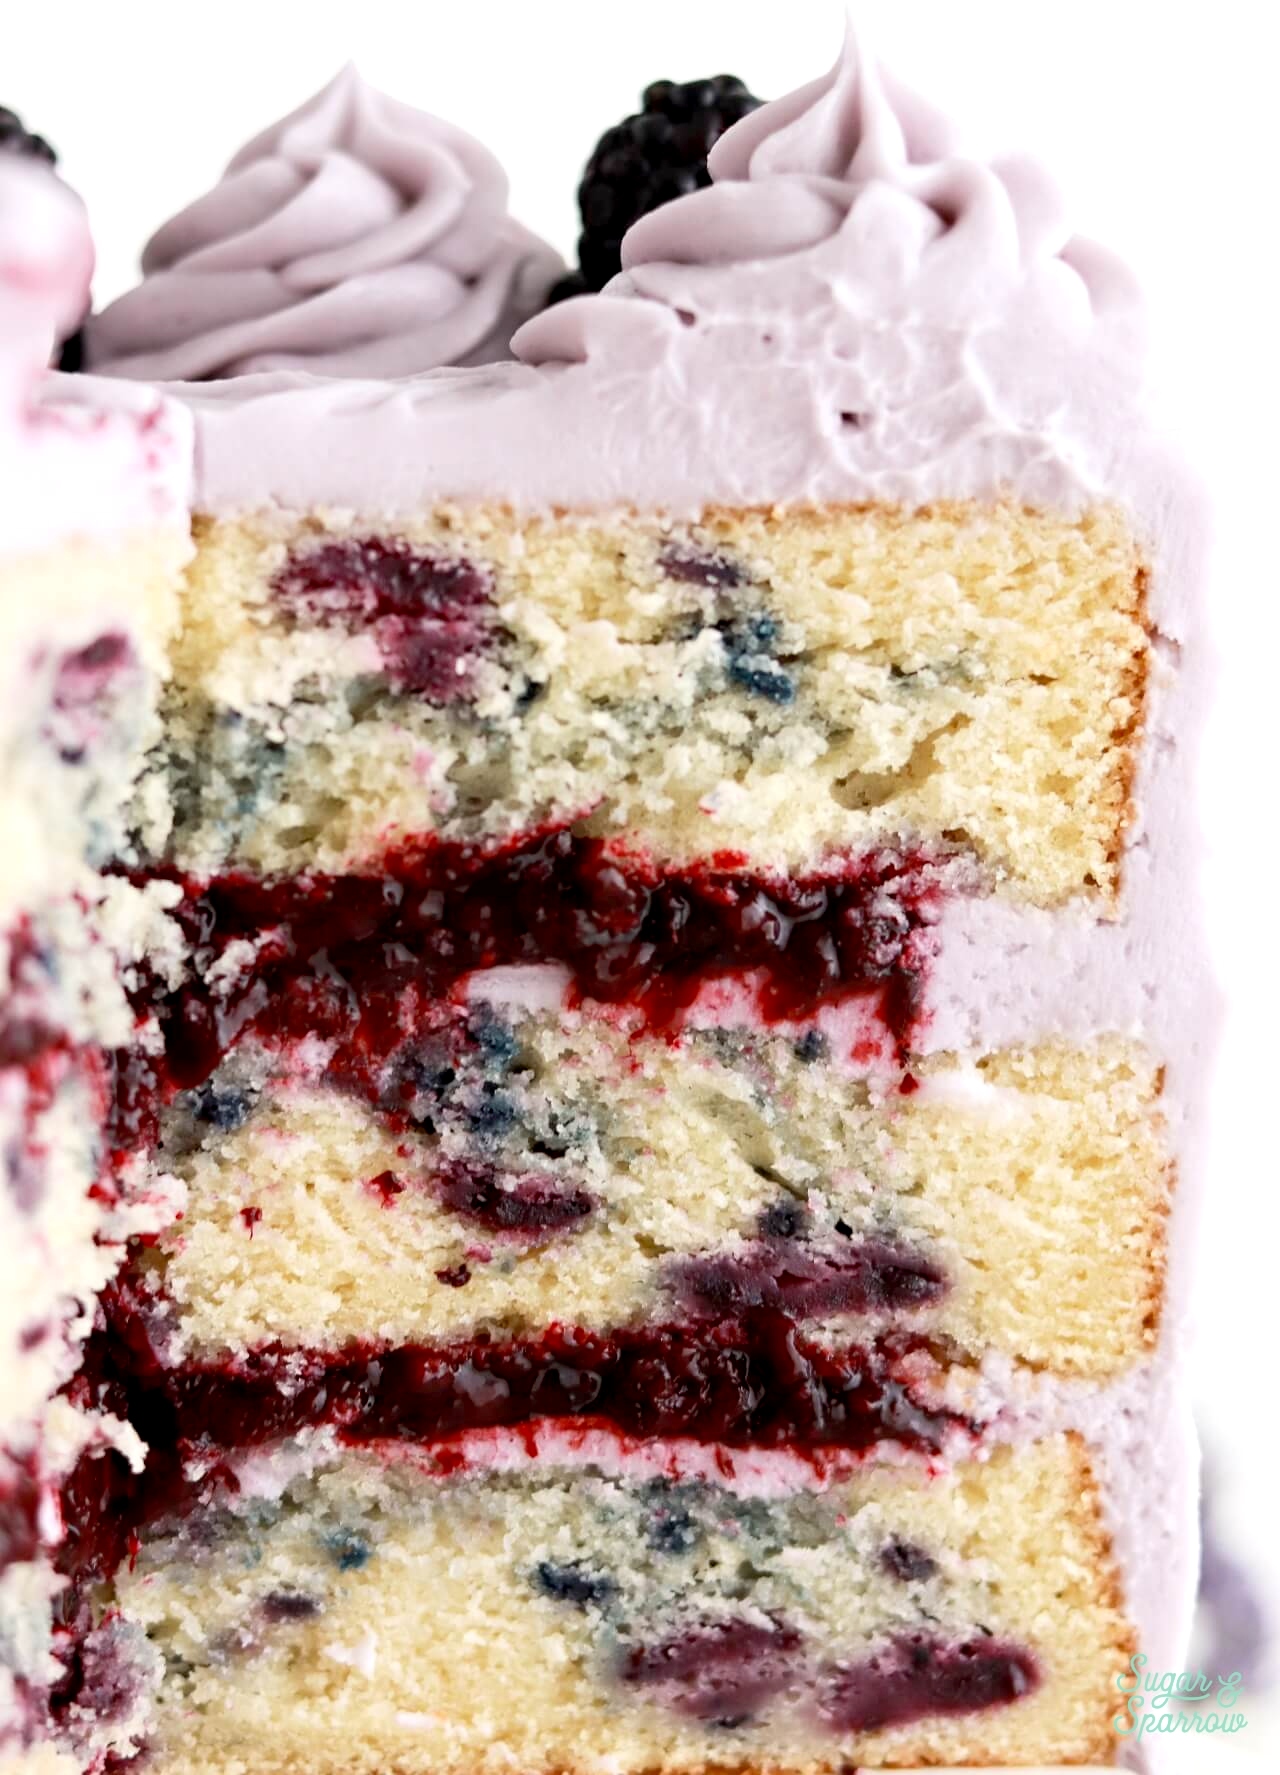
Step 1: Fill and stack the cake layers. Level the blackberry cake layers to your desired height, then place the first one onto a cake turntable (glued with a swipe of buttercream onto a cake board). Add a few cups of lavender buttercream into a piping bag and snip off a ½ inch opening, then pipe a circle around the edge of the cake layer to create a buttercream dam. I like to pipe two circles on top of each other for a double filling like this cake will have.
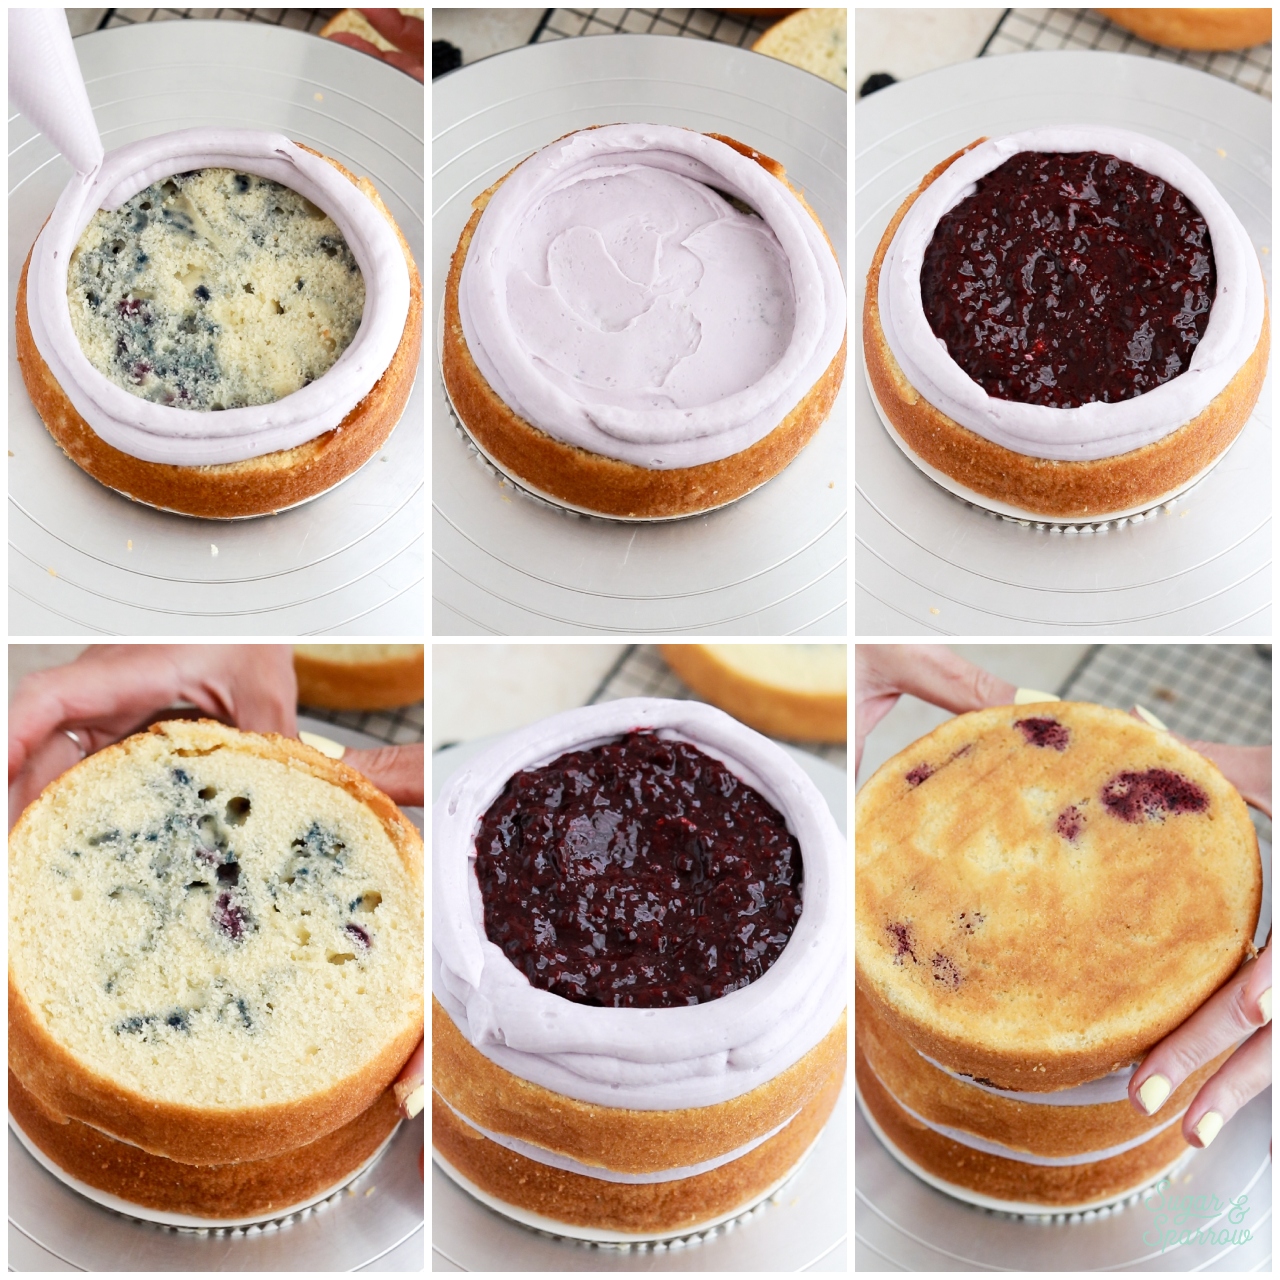
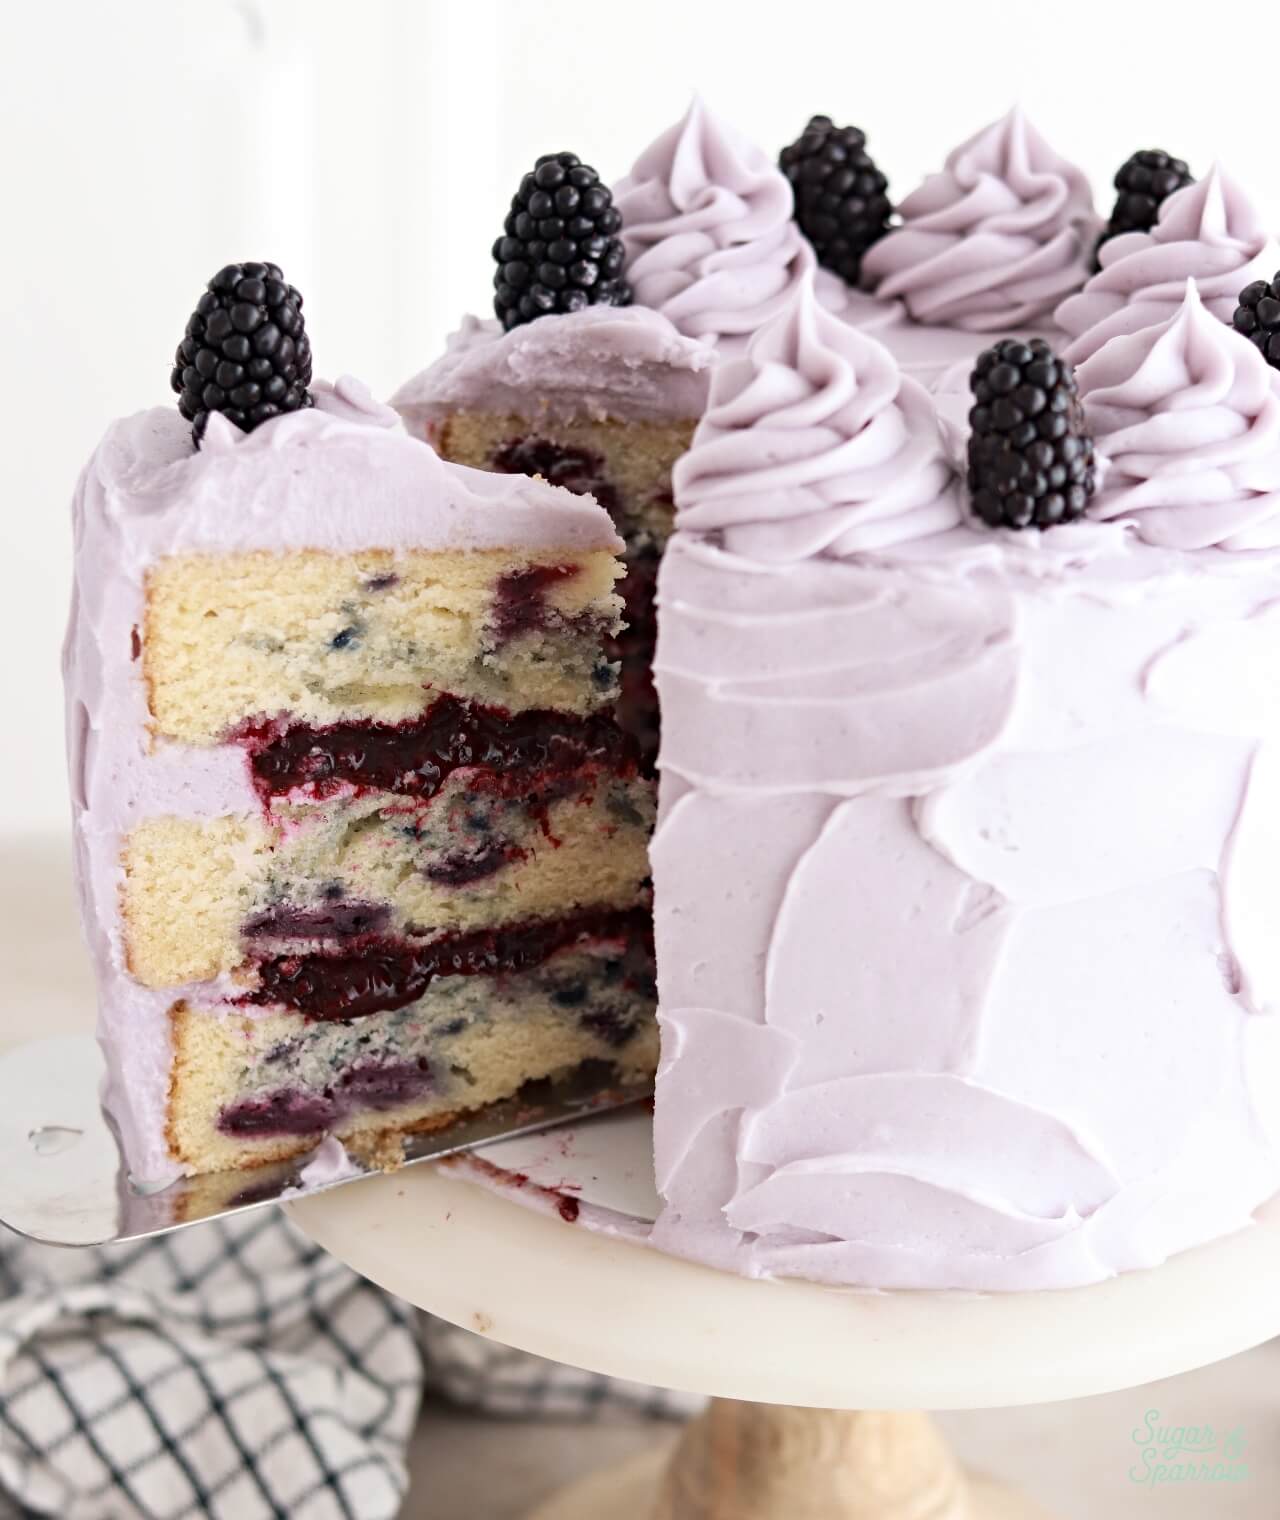
Fill in the center of the dam partially with lavender buttercream, then top with blackberry puree until you reach just below the top of the dam. Place the next cake layer on top and repeat the process of filling the cake before placing the final cake layer on top, upside down so the bottom of the cake layer becomes the top of the cake.
Step 2: Crumb coat the cake. Add a thin layer of lavender buttercream all over the cake to lock in any crumbs, then refrigerate until the lavender buttercream is firm to the touch.
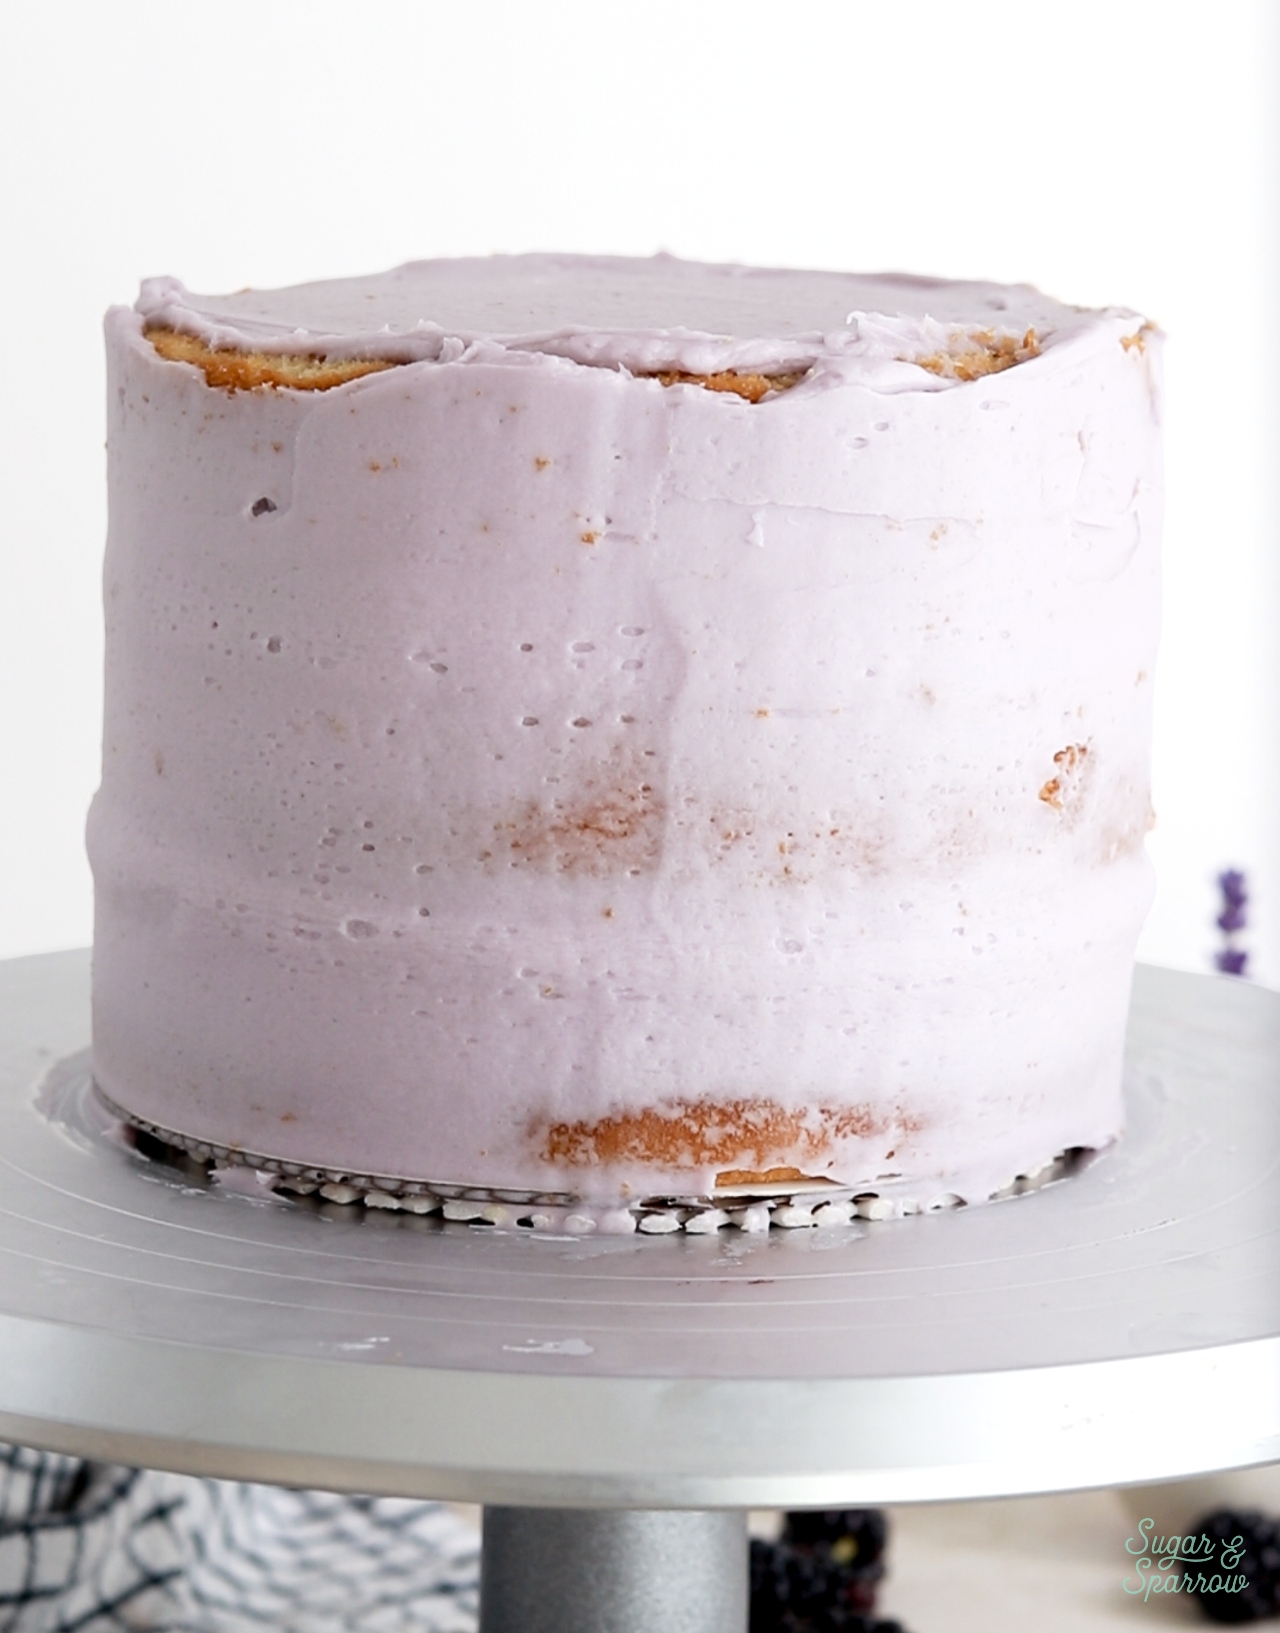
If the cake layers are sliding around, you can wrap the cake in plastic wrap instead, then place in the refrigerator until the lavender buttercream between the cake layers is firm (about 20-30 minutes).
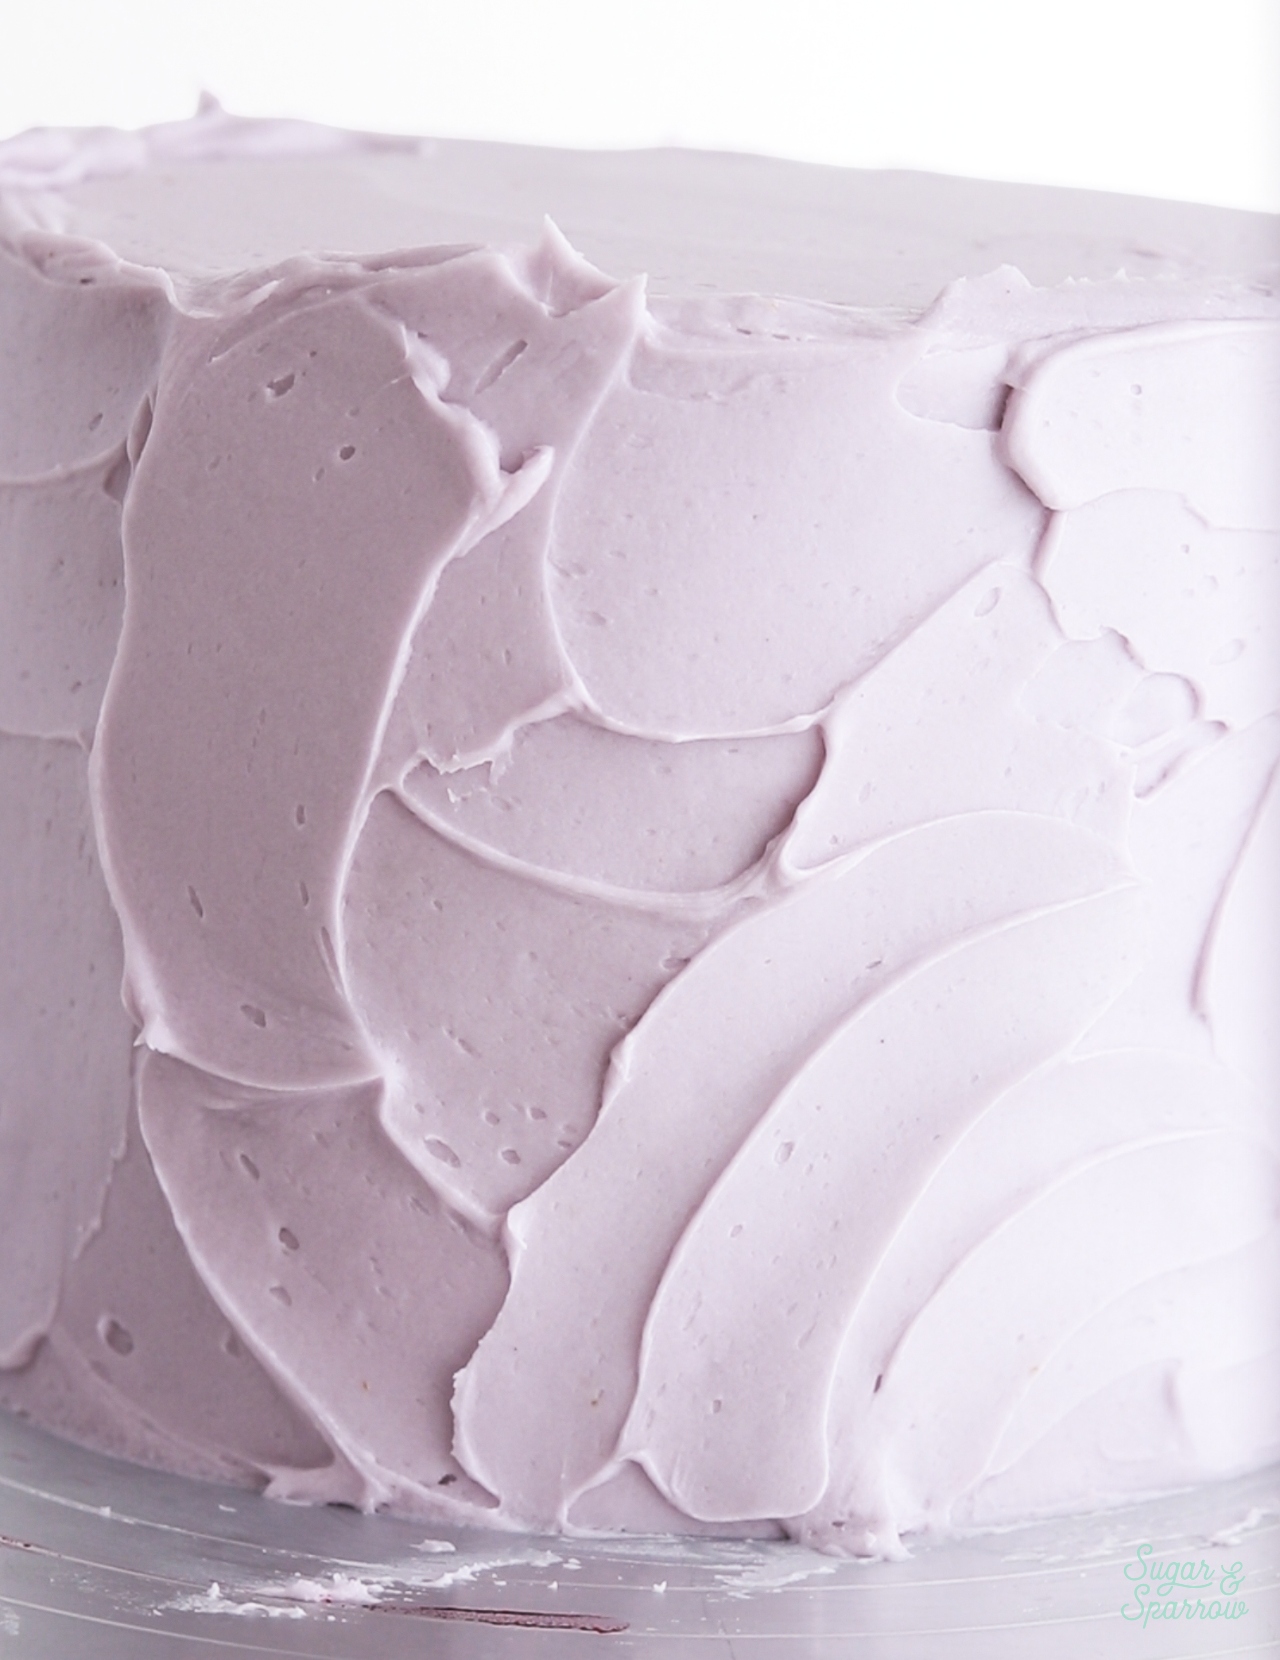
Step 3: Frost the cake. Reserve about 1 cup of lavender buttercream for the swirls on top, then use the rest to frost a rustic finish all over the cake. I used a small angled spatula to create the swoops and swirls.
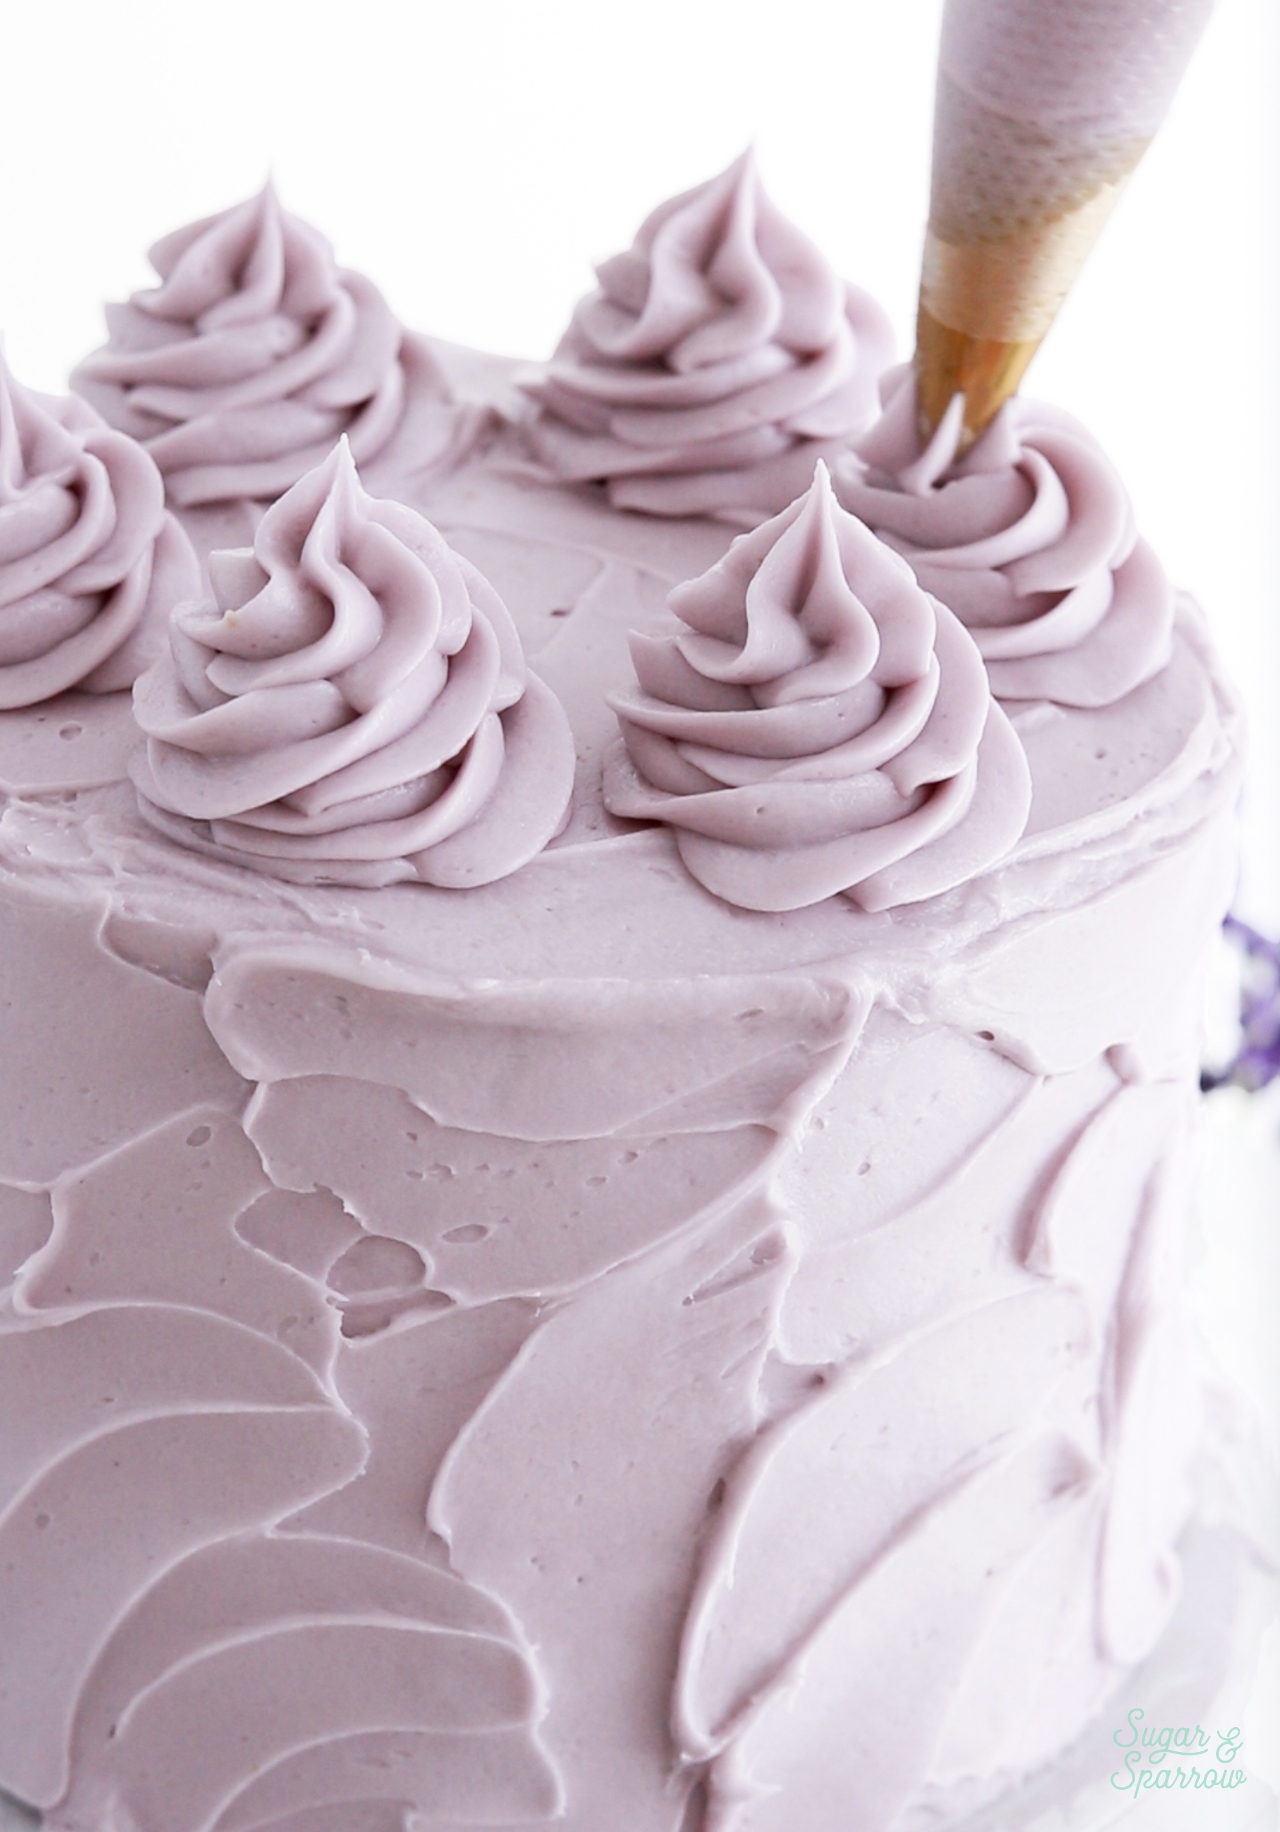
Step 4: Pipe the swirls and garnish. Add the remaining lavender buttercream into a piping bag fitted with Wilton Tip 1M, then pipe swirls on top of the cake spaced about ½ inch apart. Place a fresh blackberry in between each swirl.
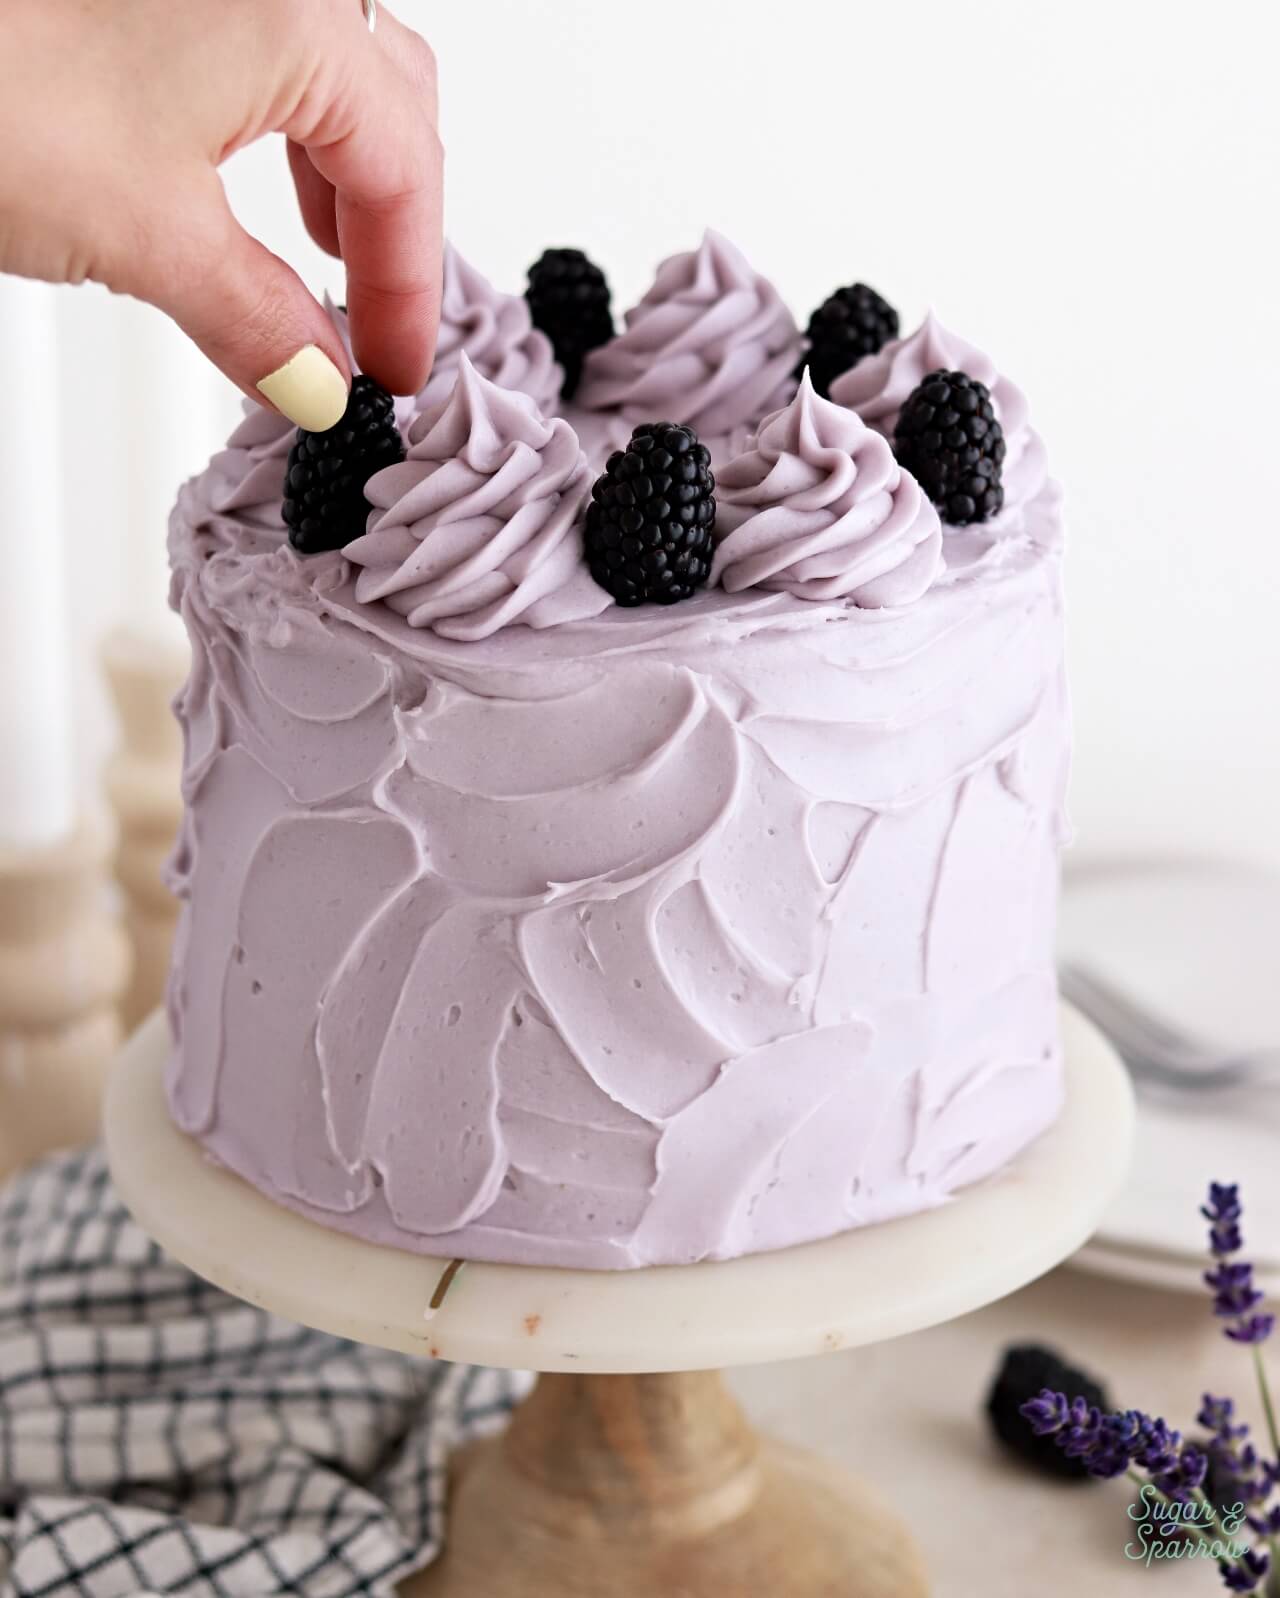
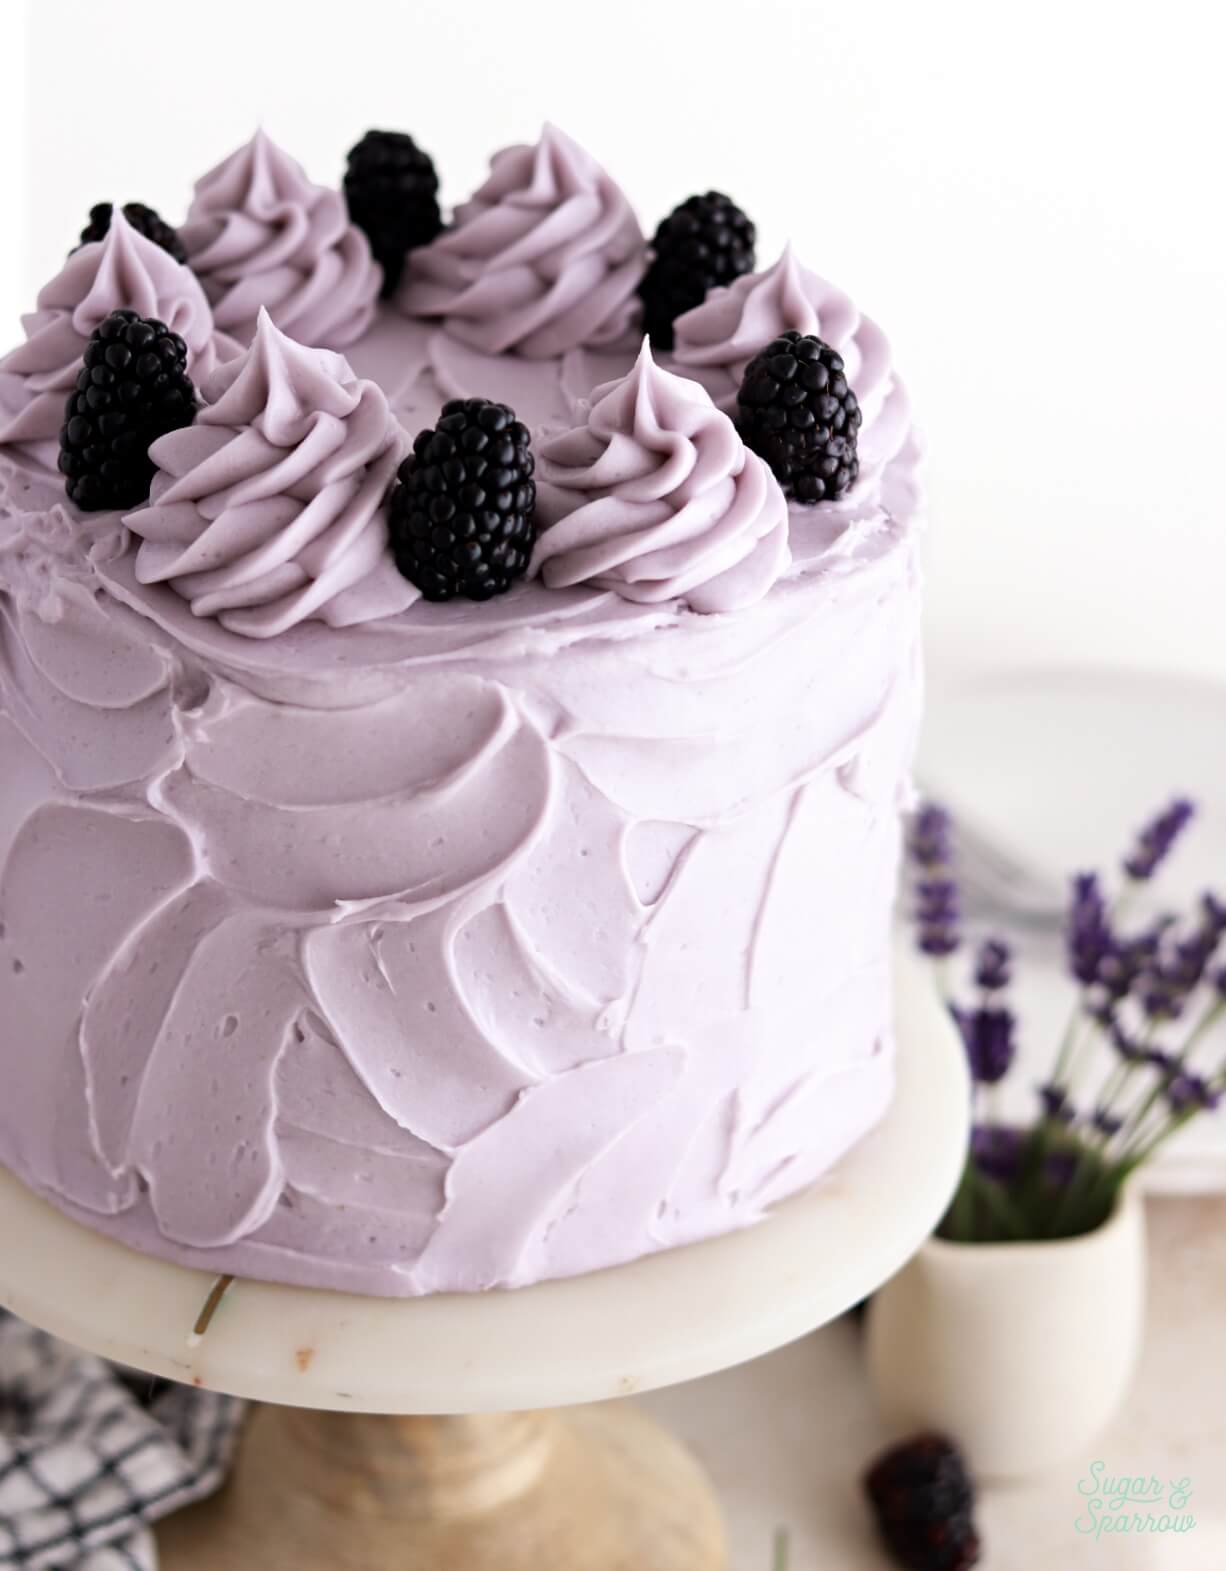
This blackberry lavender cake turned out so stunning inside and out! I can’t stop thinking about how delicious these flavors are together – sophisticated, earthy and floral, yet approachable and perfect for any Summer gathering.
Similar Recipes You’ll Love
If you love this blackberry lavender cake, here are some other recipes from my blog you might want to add to your baking list:
- Blackberry Crisp Cake
- Lemon Lavender Cake
- No-Churn Blackberry Lavender Ice Cream
- No-Churn Berry Crisp Ice Cream
I hope you love this blackberry lavender cake as much as I do! Let me know if you make it in the comments below (be sure to leave a star rating!) and feel free to tag @sugarandsparrowco on Instagram to show me if you post a photo. I love to see what you create with my recipes!
Blackberry Lavender Cake
Ingredients
Blackberry Puree
- 10 Oz (283g) fresh or frozen blackberries
- 1 1/2 tsp lemon zest
- 1 1/2 tsp lemon juice
- 1 Tbsp packed light brown sugar
- 2 tsp cornstarch
- 1/4 tsp ground cinnamon
- 1/8 tsp salt
Blackberry Cake
- 2 3/4 Cups (290g) sifted cake flour*
- 2 tsp baking powder
- 1/2 tsp baking soda
- 1/2 tsp salt
- 3/4 Cup (170g) unsalted butter, room temperature
- 1 1/2 Cups (300g) granulated sugar
- 2 large eggs + 2 large egg whites, room temperature
- 1/2 Cup (120g) sour cream, room temperature
- 1 Tbsp pure vanilla extract
- 1 Cup (240ml) whole milk, room temperature
- 1/2 Cup (120ml) blackberry puree, room temperature recipe above
Lavender Buttercream
- 1/3 Cup whole milk
- 2 Tbsp dried culinary lavender
- 2 Cups (452g) unsalted butter, room temperature
- 7 Cups (840g) powdered sugar
- 2 tsp pure vanilla extract
- 1/4 tsp salt, or to taste
- 2-4 drops purple food coloring* optional
Garnish
- 6-8 fresh blackberries
Instructions
Make the Blackberry Puree
- Add the blackberries, lemon zest, lemon juice, brown sugar, cornstarch, cinnamon, and salt into a medium saucepan. Cook over high heat until the mixture begins to boil, then use a fork to mash up the berries. Continue to cook for 10-15 minutes or until the puree has thickened and reduced by about 1/3. You should have around 1 Cup of blackberry puree after the reduction. Remove from the heat and place into an airtight container in the refrigerator to let cool for about 30 minutes, or until room temperature. It will thicken as it cools.
Make the Blackberry Cake
- Preheat the oven to 350°F. Prepare three 6-inch or two 8-inch cake pans by spraying the sides with a cooking spray (Baker's Joy is my favorite) and fitting a parchment paper circle to the bottom of the pan.
- Sift the cake flour and then measure by spooning and leveling it in your measuring cup. Add the cake flour, baking powder, baking soda, and salt into a bowl and whisk to combine. Set aside.
- In the bowl of your stand mixer (a handheld mixer works fine too!), beat the butter on high for two minutes until it's light and creamy. Add in the sugar and continue to mix on medium-high for another two minutes. Turn the mixer to low and add the eggs and egg whites, one at a time, mixing until just combined and scraping down the bowl and paddle as needed. Add the vanilla and sour cream, turn the mixer to high, and beat for one full minute. It will look curdled at this point, but don’t worry – it will become smooth cake batter at the end.
- Add in the dry ingredients all at once and turn the mixer to low speed. Mix until just combined, then slowly pour in the milk. Continue to mix on low speed until just combined, about 30 seconds. Scrape down the sides and bottom of the bowl and give it a few stirs with a whisk to make sure there are no lumps. The batter will be slightly thick.
- Pour the batter evenly into the prepared cake pans. Reserve 1/2 cup of the blackberry puree for the filling (place it back into the refrigerator), then add the remaining 1/2 cup of puree by the spoonful into each batter-filled cake pan. Use a skewer or butter knife to swirl the puree into the batter, then bake for 30-35 minutes. The cake layers are done when they spring back to the touch and a toothpick inserted into the middle comes out clean or with just a few moist crumbs. Let the cakes cool in the pan for five minutes before turning them out onto a wire rack for an additional few hours of cooling. Make sure they're entirely room temperature before assembling.
Make the Lavender Buttercream
- Add the milk into a small saucepan. Cook over medium heat, stirring frequently, until the milk begins to simmer. Remove from the heat and stir in the dried culinary lavender. Let the lavender steep in the milk for 15 minutes, then strain the milk through a fine mesh sieve set over a small bowl. Press all the excess milk out of the lavender buds before discarding them. Allow the lavender milk to cool completely before adding it to the buttercream.
- In the bowl of a stand mixer fitted with the paddle attachment (a hand mixer works fine too!) cream the butter on medium-high until it’s creamy and light in color, about 5 minutes.
- With the mixer on low speed, add the powdered sugar a few cups at a time, scraping down after each addition and making sure each cup is fully incorporated before adding the next one. Add the lavender milk, vanilla, salt, and food coloring (if using) and continue mixing on low speed until fully combined and smooth, scraping down the bowl and paddle as needed.
Assembly
- Once the blackberry cakes are completely cooled, level them to your desired height. Add a swipe of lavender buttercream onto a cardboard cake circle and place the first cake layer on top. Add a few cups of lavender buttercream into a piping bag and snip off a ½ inch opening, then pipe a circle around the edge of the cake layer to create a buttercream dam. Fill in the center of the dam partially with lavender buttercream, then top with blackberry puree until you reach just below the top of the dam. Repeat the filling and stacking process with the remaining cake layers, placing the final layer on top, upside down so that the bottom of the layer is the top of the cake. Crumb coat the cake with lavender buttercream, then place it in the refrigerator for at least 30 minutes to let the buttercream set firm. If the cake layers are slipping around during the crumb coating process, wrap the whole cake tightly in plastic wrap to lock in the shape, then refrigerate until the lavender buttercream in between the cake layers is firm (about 20-30 minutes).
- To create the look pictured, reserve about 1 cup of lavender buttercream for the swirls on top, then use the rest to frost a rustic finish all over the cake. I used a small angled spatula to create the swoops and swirls. Add the remaining lavender buttercream into a piping bag fitted with Wilton Tip 1M, then pipe swirls on top of the cake spaced about ½ inch apart. Place a fresh blackberry in between each swirl.
Notes
- The blackberry puree can be made ahead and stored in an airtight container in the refrigerator for up to two days. Bring it back to room temperature before using it in the cake and buttercream recipes.
- The blackberry cake layers can be baked ahead and stored at room temperature, wrapped in plastic wrap, for up to two days. Alternatively you can store the cakes in the freezer for up to two months.
- The lavender milk (for the lavender buttercream) can be made 2-3 days ahead and stored in an airtight container in the refrigerator. Bring it back to room temperature before adding it to the buttercream.
- The lavender buttercream can be made ahead and stored in an airtight container in the refrigerator for up to two weeks. When you’re ready to use it, bring it back to room temperature and re-mix in your stand mixer to bring it back to smooth buttercream consistency.
- The assembled cake must be stored in the refrigerator (because of the fresh fruit filling). It will last 4-5 days in the refrigerator, but is freshest closer to the assembly date. When you’re ready to serve, bring the cake back to room temperature by taking it out of the refrigerator 1.5-2 hours beforehand.
Hi I was just wondering if I could stir frozen blackberries into the mix instead of making the puree? Thank you! X
Hi Maddie! Do you mean stir frozen blackberries into the cake batter? I haven’t tried that myself but you are welcome to, I think it will work!
Made a gluten free version of this for a birthday party. It was a big hit! So delicious. I normally don’t like lavender in my bakery items, but this buttercream had just the right amount and it went so well with the blackberry.
Yay, Jen! I’m so happy that the gf variation was such a hit! And so encouraging to hear that the cake has just the right amount of lavender.
This cake looks fabulous but I hate seeds. Can I strain out the seeds somewhere along the way?
Hi Helen! Yes, you can make a seedless filling for this cake by doubling the blackberry puree recipe, then following these instructions for seedless raspberry filling: https://sugarandsparrow.com/seedless-raspberry-cake-filling/ be sure to reserve the cornstarch before cooking/straining, then add it as a slurry like the seedless raspberry cake filling instructs. Hope that helps!