
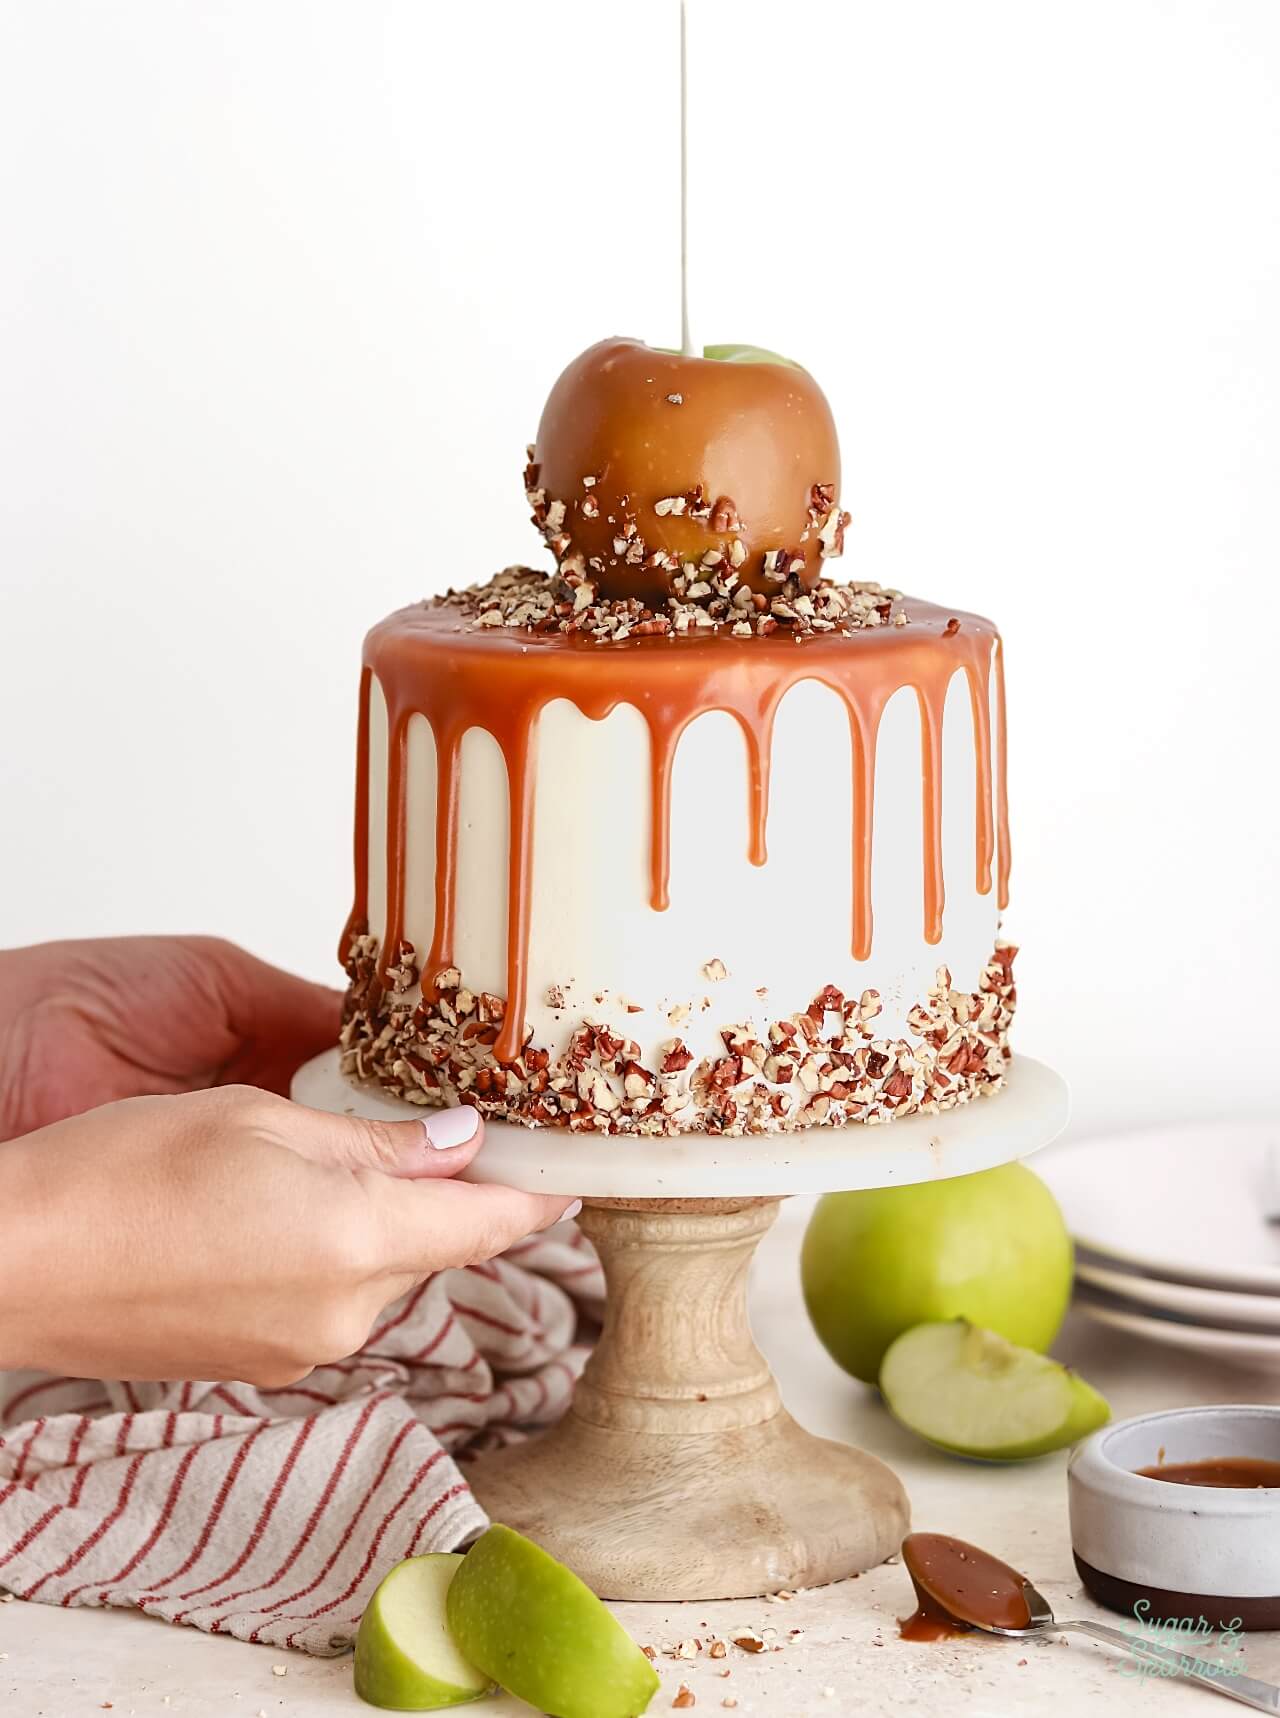
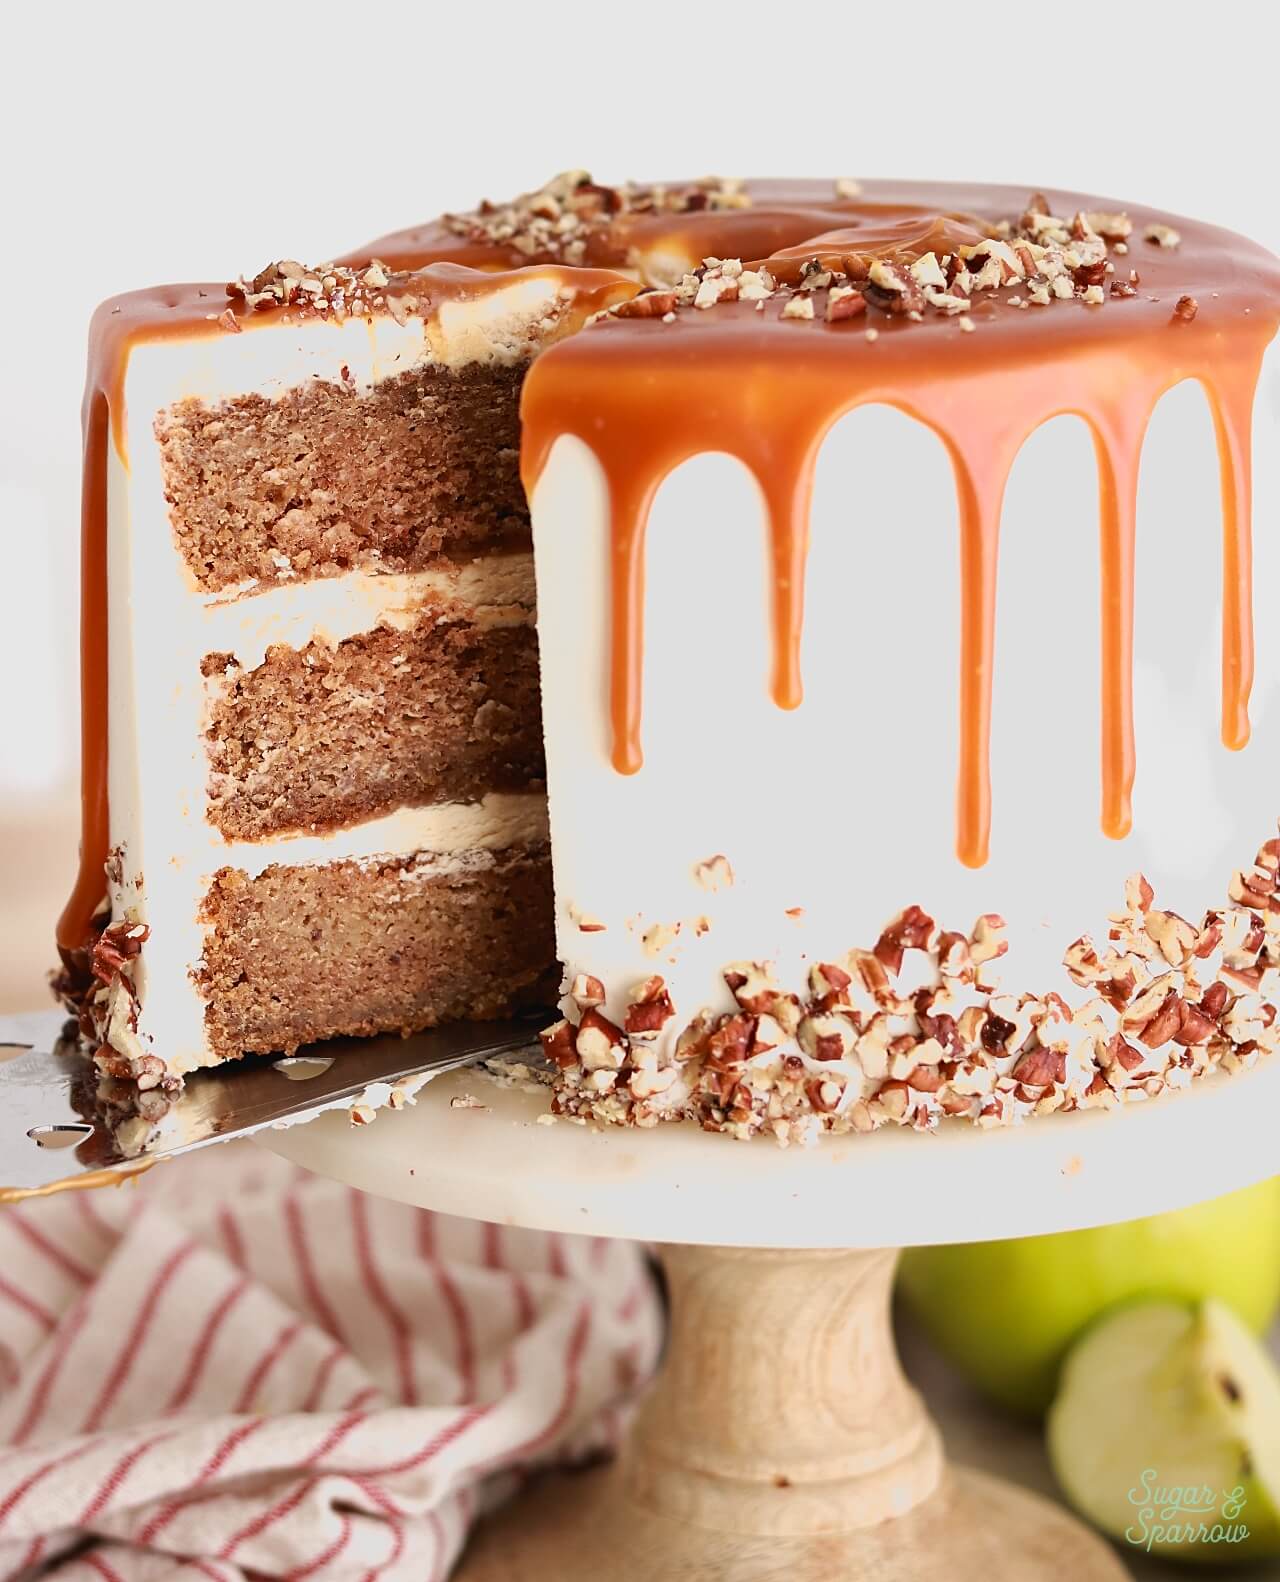
Fall is officially here and this salted caramel apple cake is the perfect way to celebrate! It features layers of super moist, perfectly spiced apple cake with an easy homemade salted caramel that you’ll use to flavor the buttercream filling, drizzle in between the layers, use as a cake drip, and coat the apple cake topper. This dripping apple cake design makes it a showstopper at any gathering and it’s so fun to assemble! If you love the sweet and salty complexity that caramel adds to apple flavored things, this cake is going to be right up your alley.
One Reader, Emily, Says: “This cake is one of the most delicious cakes I have ever had in my life! My husband also said he wants this for his birthday from now on! Fantastic recipe!” ★★★★★
My Favorite Spiced Apple Cake
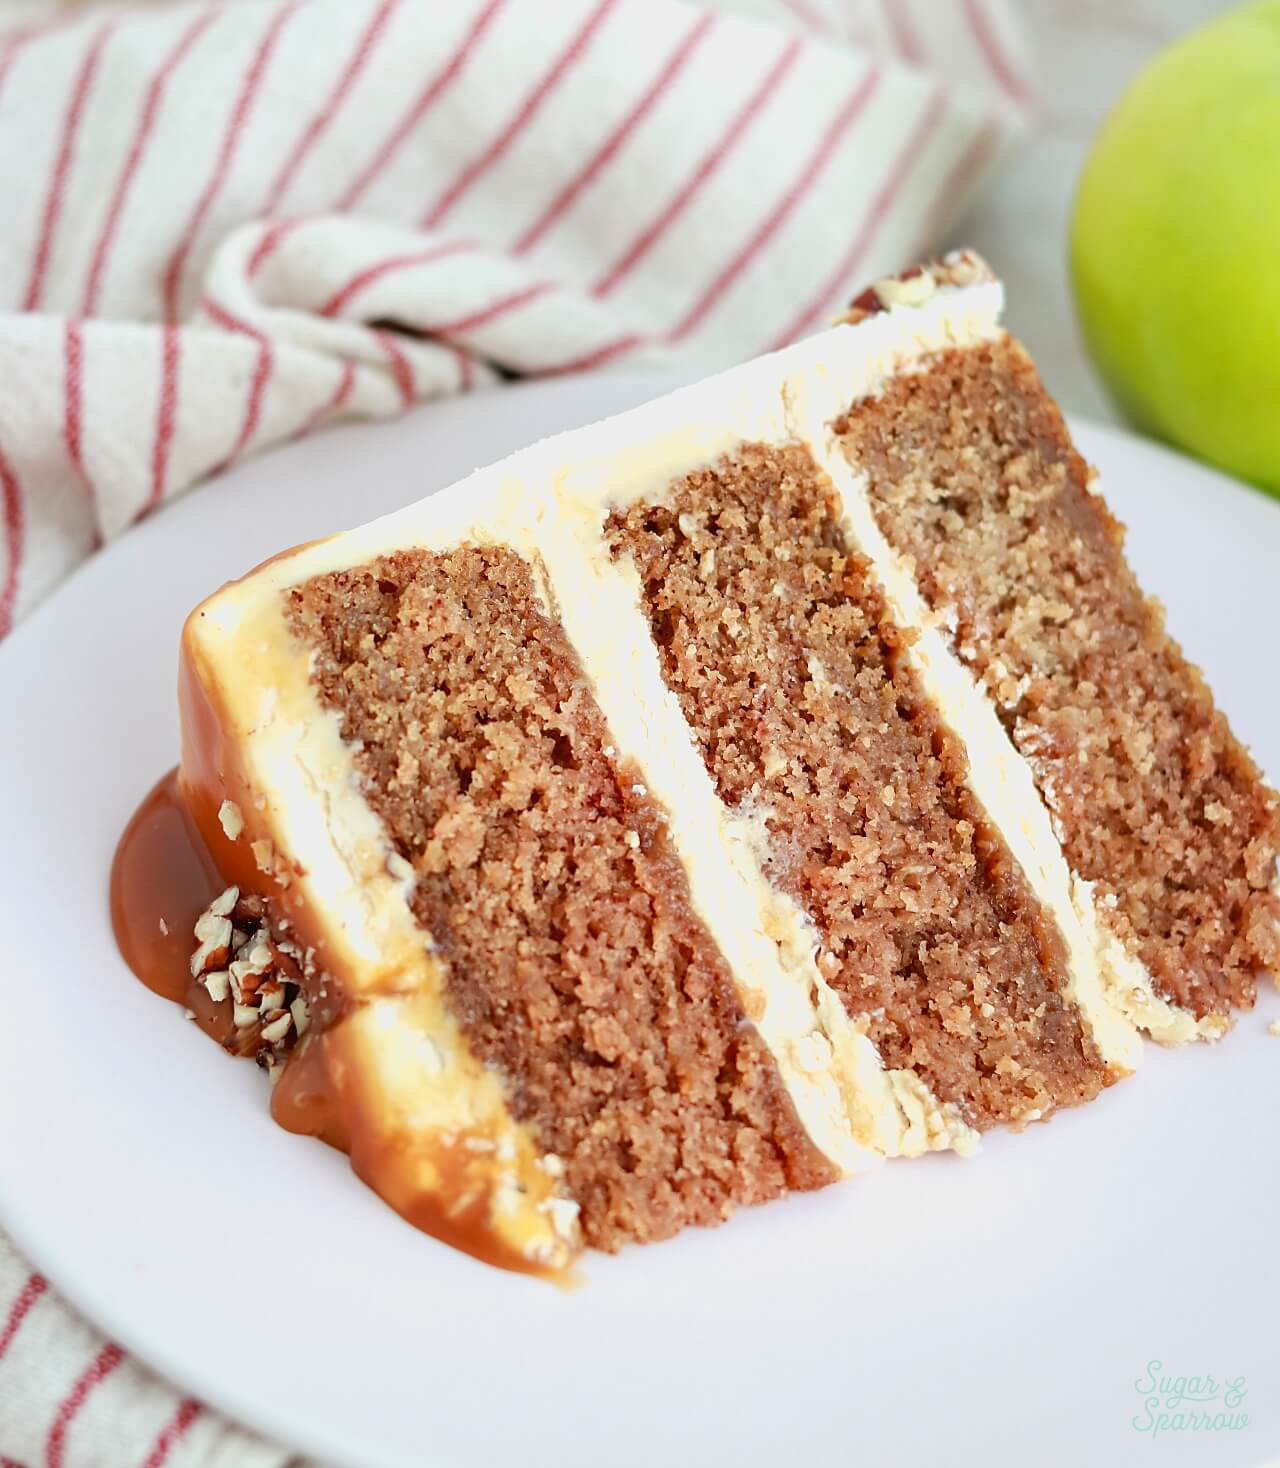
First, let’s talk about this apple spice cake, because it’s the starting point of this recipe and the foundation of all this flavor. It’s made with unsweetened applesauce to give it a nice apple flavor and make it ultra-moist. I tested this recipe with shredded apples and chopped apples, and at the end of the day the applesauce won out for both flavor and texture. Amplifying the apple flavor with the cinnamon, allspice, and nutmeg not only gives this cake the perfect spice, it also makes your kitchen smell amazing as it’s baking! There’s nothing more cozy than the aroma of this cake in the oven, especially on a picturesque Fall day.
Easy Salted Caramel That’s So Versatile
The next step in this caramel apple cake is making homemade caramel. If you’ve never made caramel before, fear not! This from-scratch salted caramel recipe couldn’t be easier. There are only four ingredients involved, no candy thermometer necessary, and only takes about 15 minutes from start to finish. Once you make it and cool it to room temperature, you’ll be using this caramel to:
- Make salted caramel buttercream that you’ll use as the filling and crumb coat.
- Drizzle it in between the cake layers for extra caramel flavor
- Drip the cake
- Coat an apple that you’ll use as the cake topper
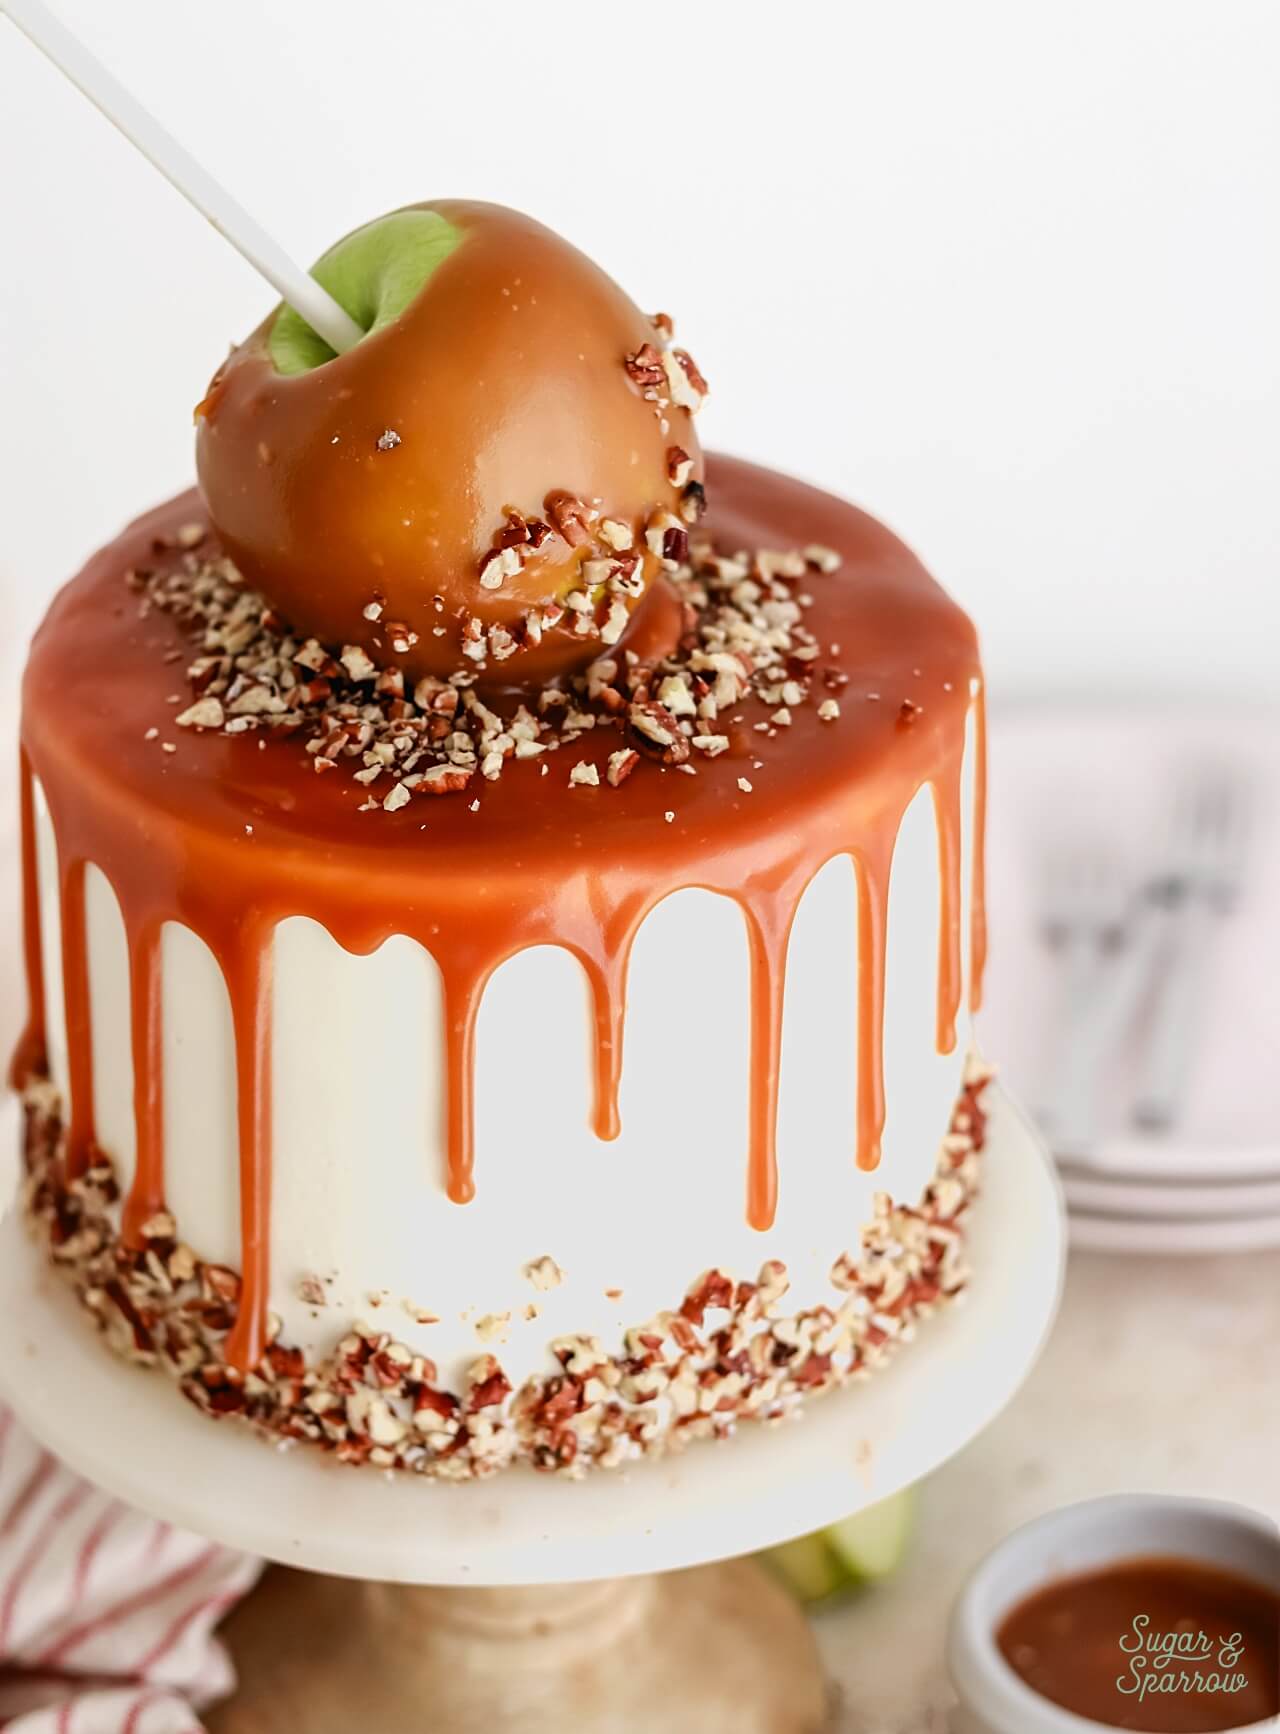
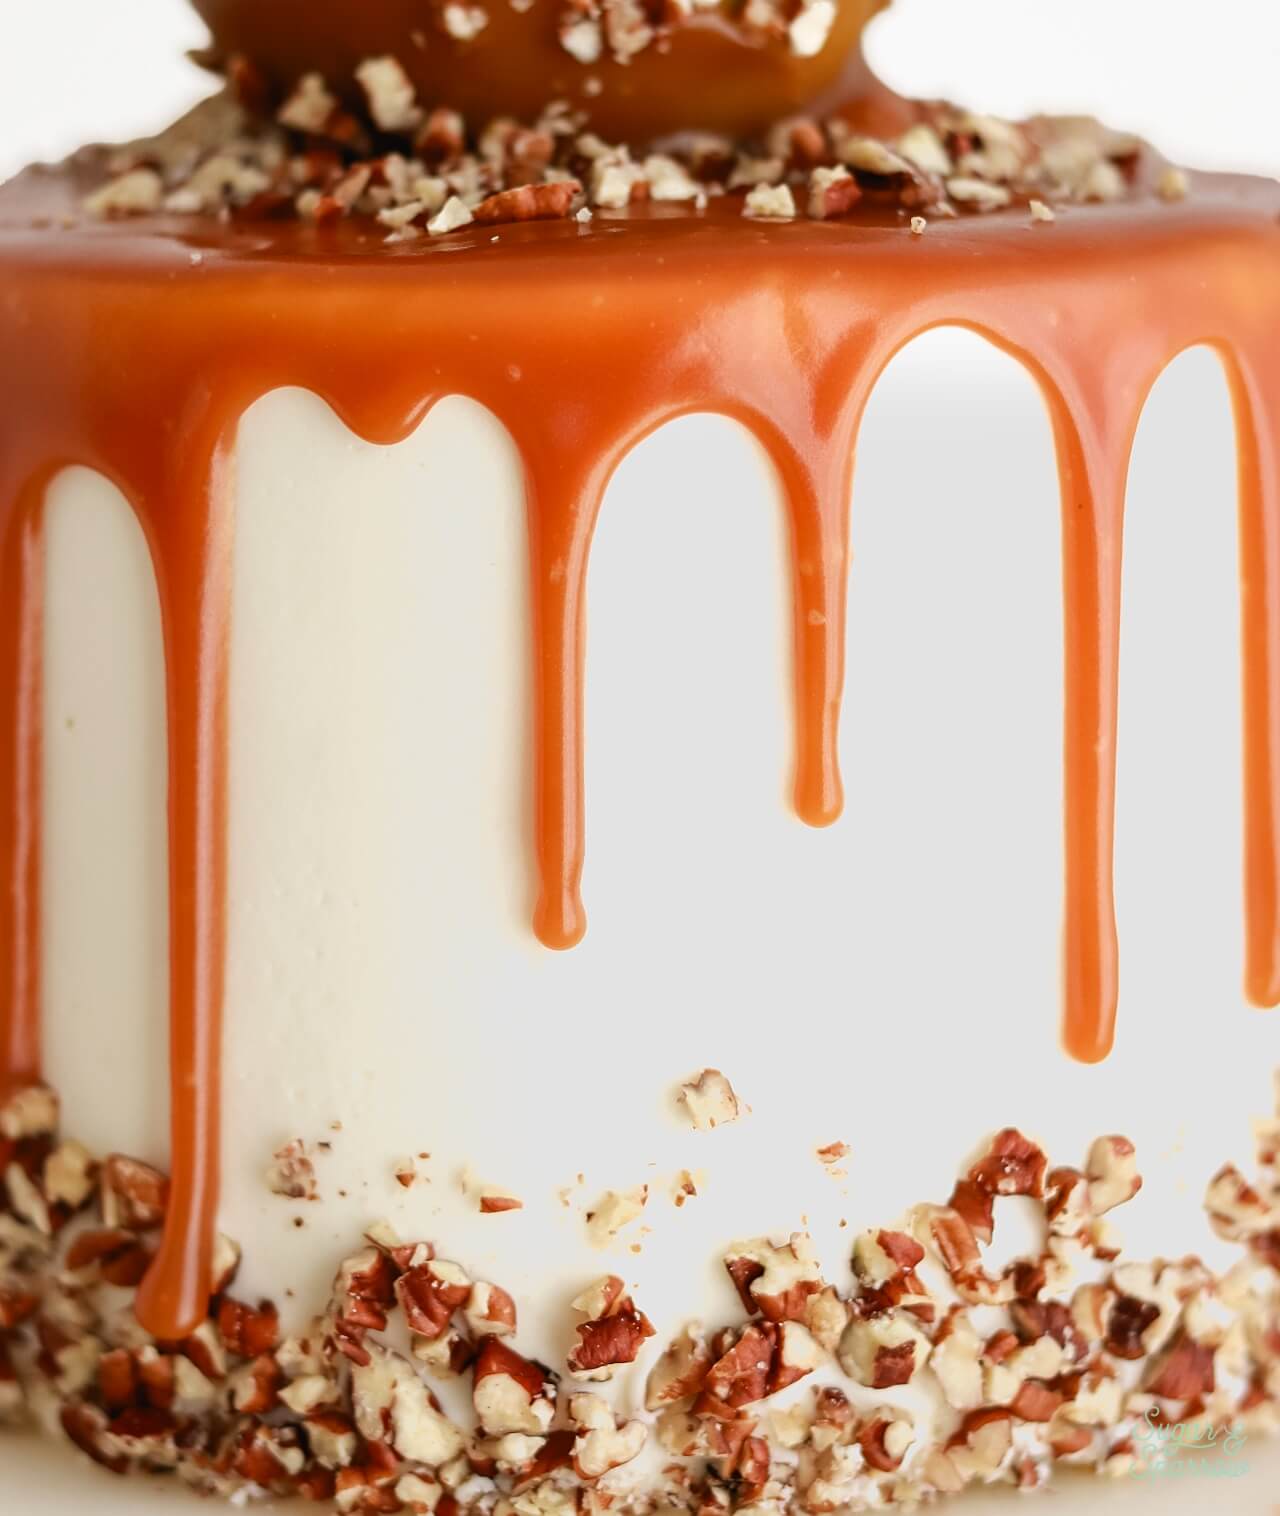
So versatile! It’s one of my favorite Fall staples.
Two Flavors from One Vanilla Buttercream Recipe
The original salted caramel apple cake recipe I wrote in 2018 had you making the salted caramel buttercream and vanilla buttercream separately, but after revisiting this recipe in 2025 I had some new thoughts about efficiency. Since the salted caramel buttercream is essentially vanilla buttercream with the homemade salted caramel added at the end, I thought it would be easier to just make the vanilla buttercream and divide it in half, then add the salted caramel to one half of the recipe. It’s much more efficient this way!
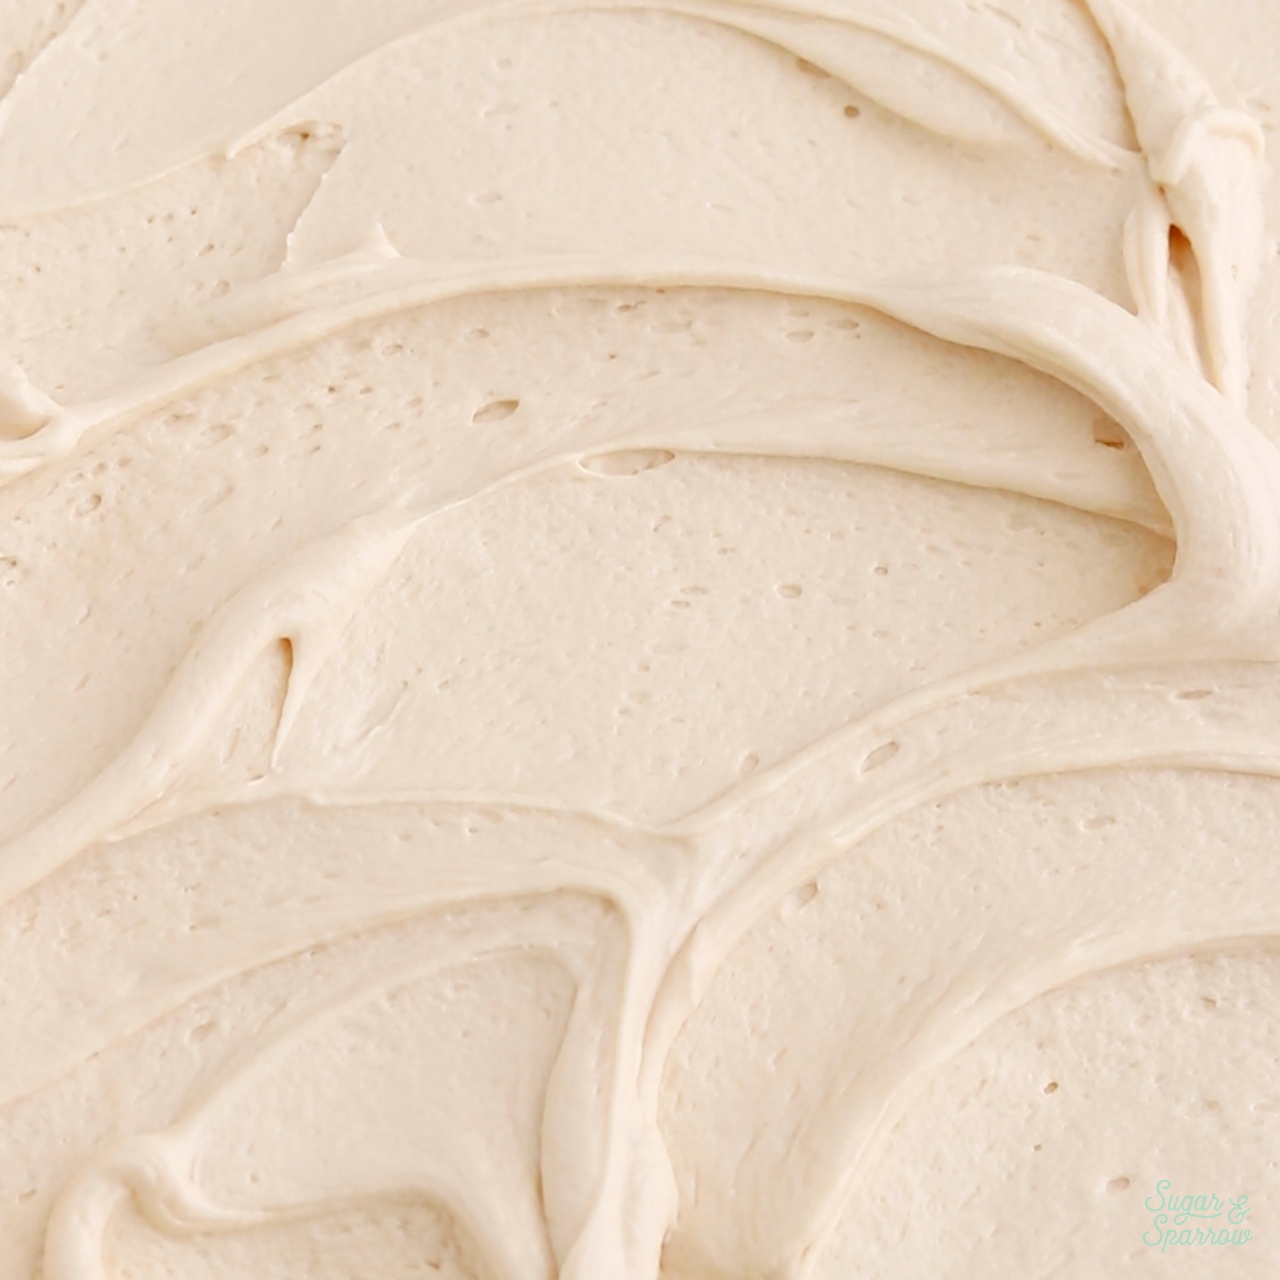
You’ll use the salted caramel buttercream as cake filling (along with some drizzled salted caramel) and also use it to crumb coat the cake. Then, you’ll use the rest of the vanilla buttercream to frost the cake with a smooth finish.
How to Decorate a Caramel Apple Cake
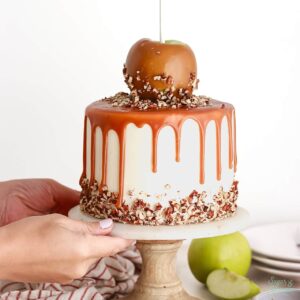
Decorating this cake is my favorite part! For my final cake presentation, I garnished the bottom edges with chopped pecans, then dripped the cake with salted caramel before placing a caramel apple on top. The goal here was to make it look like the caramel apple was dripping down the sides of the cake. Here’s a video I made (in 2019) to show you the process:
Note that I’ve updated the recipe slightly since that video was made! If you like watching videos like this, I have a ton of decorating tutorials and recipe videos on my YouTube channel. Don’t forget to hit the subscribe button while you’re there so you never miss a new video from me!
More Fall Cake Recipes You’ll Love
If you’re looking for more cake recipes to make this Fall, try these recipes from my blog:
- Apple Spice Cake
- Apple Crisp Cake
- Spice Cake with Brown Butter Cream Cheese Frosting
- Perfect Pumpkin Layer Cake
- Spiced Pumpkin Biscoff Cake
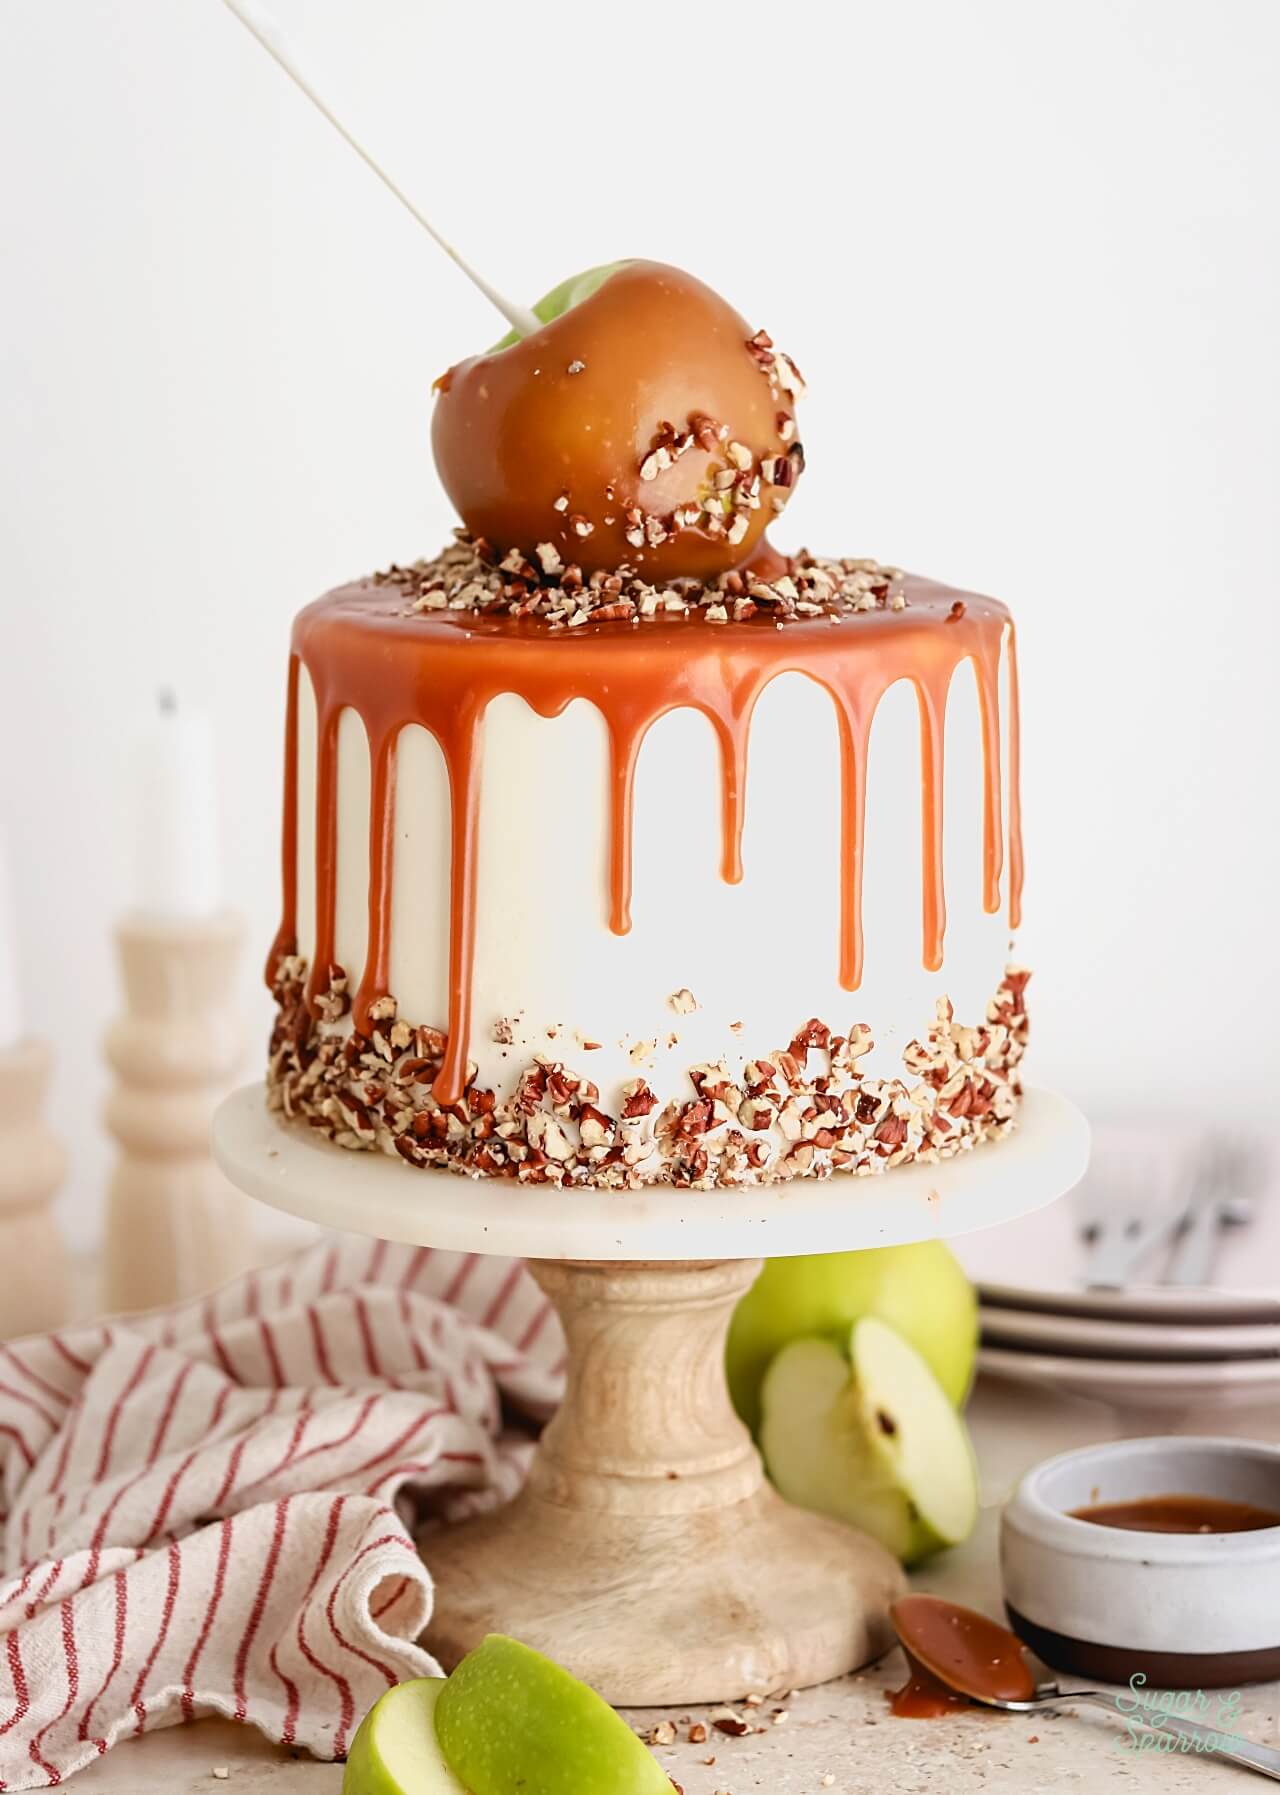
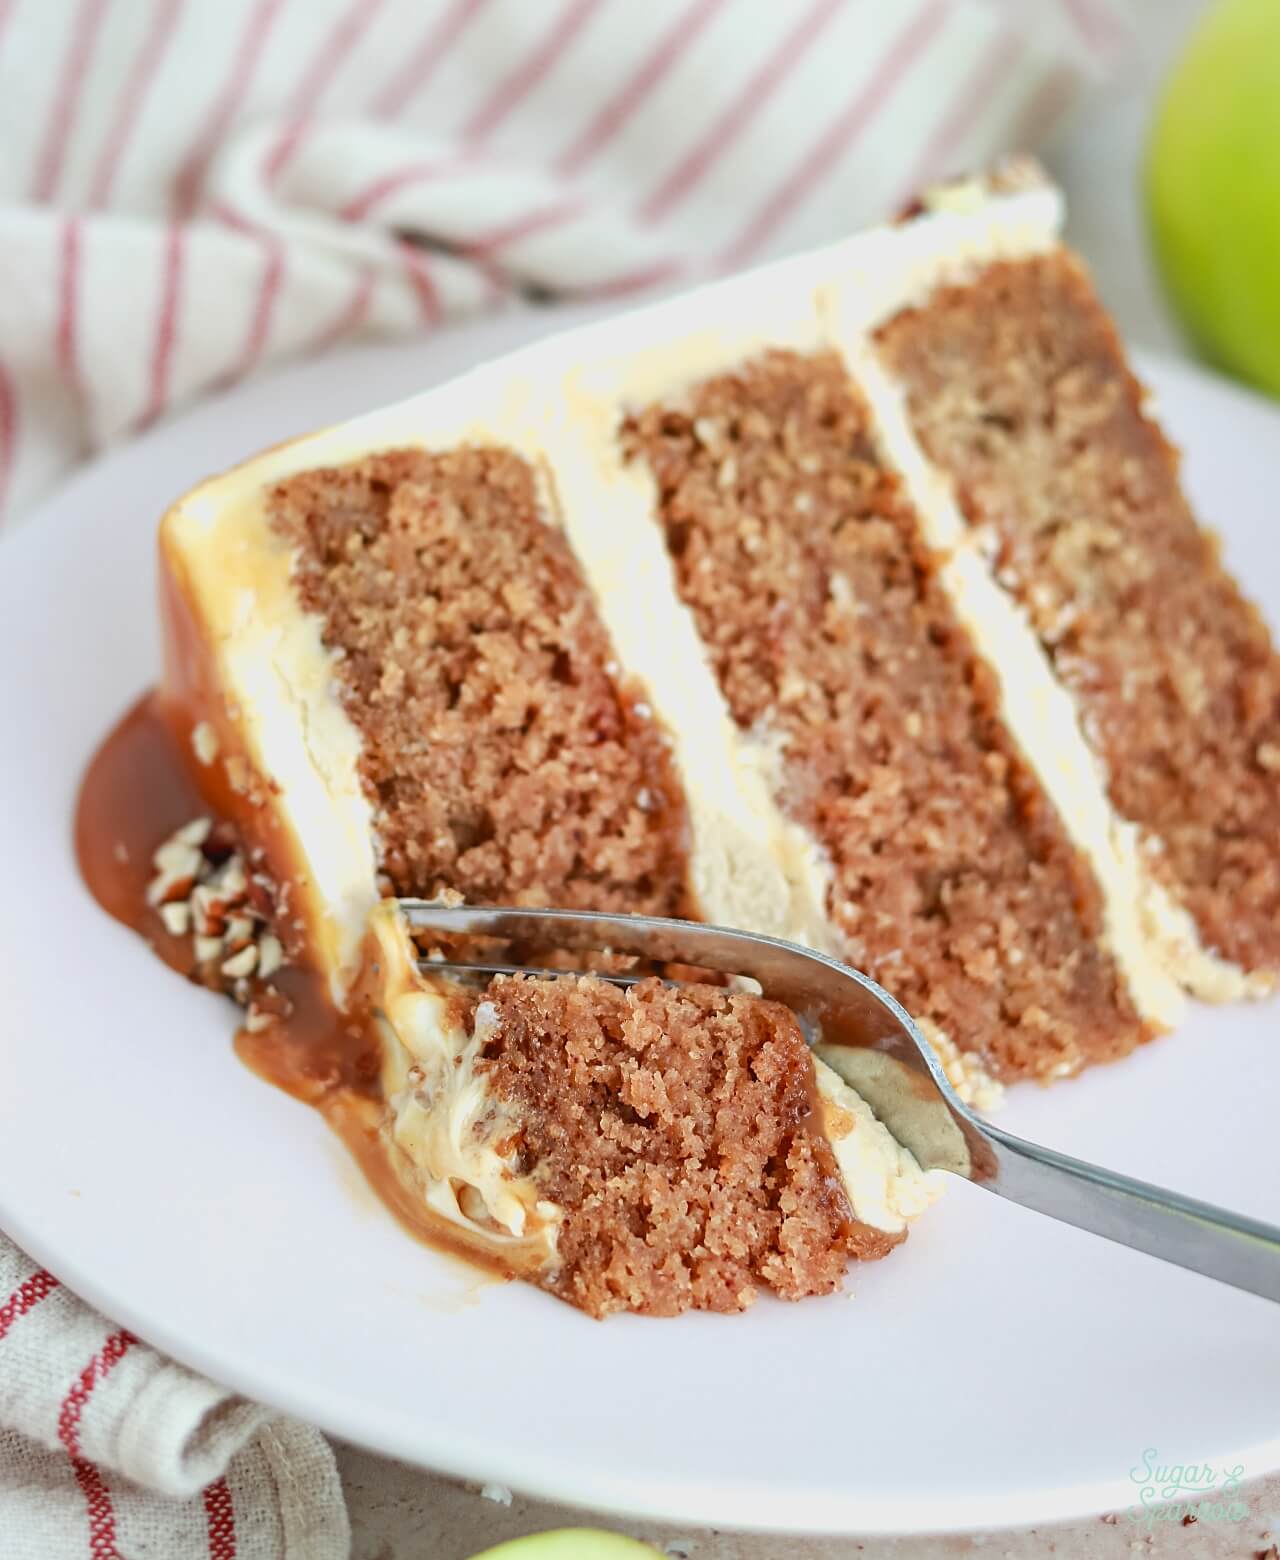
I hope you love this caramel apple cake as much as I do! Let me know if you make it in the comments below and feel free to tag @sugarandsparrowco on Instagram if you post a photo. I love to see what you create with my recipes!
Salted Caramel Apple Cake
Ingredients
Apple Spice Cake
- 2 1/2 Cups (332g) all-purpose flour
- 1 1/2 tsp baking soda
- 1/2 tsp baking powder
- 1/2 tsp salt
- 2 tsp cinnamon
- 1 tsp nutmeg
- 1/2 tsp allspice
- 1 Cup (226g) unsalted butter, room temperature
- 1 1/4 Cups (250g) granulated sugar
- 3/4 Cup (150g) packed brown sugar light or dark
- 1 tsp pure vanilla extract
- 1 large egg, room temperature
- 2 Cups (500) unsweetened applesauce
Homemade Salted Caramel
- 1 1/2 Cups (300g) granulated white sugar
- 9 Tbsp (128g) unsalted butter, room temperature cut into Tbsp sized slices
- 3/4 cup (180ml) heavy whipping cream, room temperature
- 1 1/2 tsp salt
Vanilla Buttercream
- 1 1/2 Cups (339g) unsalted butter, room temperature
- 5 Cups (600g) powdered sugar
- 1 1/2 tsp pure vanilla extract
- 2 Tbsp whole milk, room temperature
- 1/4 tsp salt, or to taste
Salted Caramel Buttercream
- 2 Cups (432g) vanilla buttercream (recipe above)
- 1/2 Cup (120ml) salted caramel, room temperature (recipe above)
- pinch of salt, or to taste
Additional Garnish
- 1 medium apple
- 1/2 Cup chopped pecans
Instructions
Make The Apple Spice Cake
- Preheat the oven to 350ºF (177ºC) and prepare three 6-inch or two 8-inch cake pans by spraying the sides with cooking spray and fitting the bottoms with a parchment paper circle.
- In a medium bowl, add the flour, baking soda, baking powder, salt, cinnamon, nutmeg, and allspice. Whisk together and set aside.
- In the bowl of a stand mixer fitted with the paddle attachment (or with a hand mixer and a large bowl), beat the butter on high speed until light and creamy, about 2 minutes. Add the brown and white sugars and continue to beat on medium-high until light and fluffy, 2-3 minutes. Scrape down the bowl and paddle as needed.
- Turn the mixer to low speed and add the vanilla and the eggs. Turn the mixer to medium and beat for one full minute.
- Turn the mixer back to low speed and add the flour mixture in three parts, alternating with the applesauce, beginning and ending with the flour mixture. When it begins to come together after the last flour addition, turn off the mixer and give it a few stirs by hand to make sure everything is incorporated. The batter will be very thick.
- Divide the batter between your prepared cake pans (fill no more than 2/3 full) and smooth the tops, then bake for 36-42 minutes, or until a toothpick inserted comes out clean. Let the cakes cool completely before filling and frosting.
Make The Homemade Salted Caramel
- Have everything pre-measured and ready to go (you’ll be constantly stirring). Place the sugar in a medium saucepan over medium-high heat and stir constantly with a wooden spoon, until it melts into an amber-colored liquid and no sugar clumps remain, 6-8 minutes.
- Reduce the heat to medium. Carefully add the butter (it will bubble up when you do) and use a whisk to combine it with the sugar mixture until the butter is fully melted and incorporated, 1-2 minutes.
- Add the heavy whipping cream in a steady stream while whisking. As soon as the cream is incorporated, let the caramel boil for a full minute before removing it from the heat and stirring in the salt.
- Let the caramel cool completely to room temperature before using it in a buttercream recipe, dipping a caramel apple, or dripping the cake. It will thicken as it cools.
Make The Vanilla Buttercream
- With a hand mixer or paddle attachment on your stand mixer, cream the butter on medium-high until it’s creamy and light (almost white) in color, about 7 minutes.
- Add the powdered sugar a few cups at a time, mixing on low speed and scraping down the bowl and paddle after each addition is mixed in. Keep the mixer on low speed while you add the vanilla, milk, and salt. Continue mixing until fully incorporated and smooth, about two minutes.
- Set about 3 Cups (648g) of the vanilla buttercream aside in an airtight container, keeping about 2 Cups (432g) of the vanilla buttercream in the mixing bowl for making the salted caramel buttercream.
Make the Salted Caramel Buttercream
- Once the salted caramel is room temperature and thick, add 1/2 Cup (120ml) to the 2 Cups of vanilla buttercream in your stand mixer from the previous step. Mix on low speed until incorporated and smooth, adding a pinch of salt to balance the sweetness.
Assembly
- When the apple spice cake layers are cooled completely, level them to your desired height. Place the first cake layer on your turntable and add a layer of salted caramel buttercream as filling. Drizzle with cooled salted caramel before placing the next cake layer on top and repeating the process of filling and stacking. Place the final apple spice cake layer on top, upside down so that the bottom of the cake becomes the top. Crumb coat the cake with the remaining salted caramel buttercream and refrigerate until firm to the touch, about 30 minutes.
- To create the look pictured, frost the cake with a smooth buttercream finish using the vanilla buttercream and garnish the bottom edge with chopped pecans. Refrigerate the cake once more to let the frosting firm up, about 15 minutes this time.
- While the cake is chilling, pour the remaining Homemade Salted Caramel into a small bowl. Insert a popsicle or cookie stick into the apple and dip it into the caramel, coating it thoroughly. Let the excess caramel drip off of the apple and then set it onto a sheet of wax paper, then place it into the refrigerator with the cake to let the caramel set slightly.
- To create the caramel drip effect, first do a test drip on the chilled cake with room temperature salted caramel. If it’s too thick, microwave it in 15 second bursts to bring it to perfect drip consistency without heating it too much. Drip the sides of the cake with salted caramel and partially fill in the top before topping with the caramel apple. Garnish with more chopped almonds on top of the cake and apple.
Notes
- The spiced apple cake layers can be made ahead and stored, wrapped in plastic wrap, at room temperature for up to two days. Alternatively, you can store the wrapped cake layers in the freezer for up to 2 months before thawing and frosting.
- The homemade salted caramel can be made ahead and stored in an airtight container in the refrigerator for up to two weeks. When you’re ready to use it, reheat it in the microwave in 15 second intervals until it reaches room temperature.
- Both of the buttercream flavors can be made ahead and stored in airtight containers in the refrigerator for up to two weeks. When you’re ready to use them, bring them back to room temperature and re-whip each in your stand mixer to bring back to smooth buttercream consistency.
What are some of your favorite Fall flavors? Besides caramel apple, I love a good Chai Latte and am hoping to incorporate those tasty flavors into a cake and/or cupcakes SOON! In the meantime, if you make this caramel apple cake, I’d love to know how you like it. Tag me on Instagram or let me know in the comments below!


Hi, I recently found your wonderful cake and can’t wait to give it a try however I don’t have a stand mixer, is there an alternative method – basic whisking, electric hand-whisk that would still be effective please? What would you recommend?
Hi Amy! My recipes should still work with an electric hand mixer and that’s what I would recommend over basic whisking. Enjoy!
I have made both cupcakes and the salted caramel cake with apple from your recipe. Both were awesome! Thank you for the recipe. Is it possible to pipe the caramel buttercream on top of the caramel drip? Would I just let it set up in the fridge and then pipe? Will it melt off when it comes to room temp? Thanks!
Yay, Kelly! I’m so happy to hear that those recipes have been hits! And yes, you can absolutely pipe the caramel buttercream on top of the caramel drip. After you drip the cake, put it in the refrigerator for about 10 minutes to let the drip firm up, then proceed with piping the buttercream on top. It won’t melt at room temperature. Hope that helps!
Thank you Whitney!It turned out perfectly. This is my go to fall cake recipe. Love it and your salted caramel frosting is dreamy.
Yay, Kelly! I’m so happy to hear that!
If I wanted to do a 3-layer cake with 4 inch pans, would I halve the recipe?
Hi Lindsay! Yes, you’ll want to halve this recipe for a cake of that size. You will most likely have batter left over, so be sure to fill the pans no more than 2/3 full so they don’t overflow. Enjoy!
I was a little confused because it said 4 x 6in or 3 X 8 in at the beginning but the later on it mentions 3x 6 in. Either way I only had 3 6in pans so starting from the beginning I tried to make 3/4s of the cake recipe. Obviously some measurements were difficult. Here’s what I ended up using:
2 2/3 cups flour, 1.5 tsp baking soda, 3/4 tsp baking powder, 1tsp kosher salt, 1.5tsp cinnamon, 3/4 tsp each allspice & nutmeg, 1cup butter, 3/4 cup packed brown sugar, 1 cup white sugar, 2eggs and 640ml of apple sauce (the size of my apple sauce jar). I baked it in 3x 6in pans and it turned out perfectly. I made the regular amounts of everything else. And changed the bits to pecans. The cake was a massive hit with my 11 year old, apple loving daughter.
So happy this recipe was a hit, Rachel! And thank you for catching that typo – I have since corrected it. So happy the recipe worked out with your measurements as 3/4 of the recipe and thank you for posting them here for others who would like to make three 6-inch layers!
I just made this cake for Thanksgiving (Canadian), and it was a hit. Rather than decorate it with drizzled caramel, I iced an apple orchard scene on the buttercream. I wish I had made more of the delicious salted caramel buttercream to ice the cake with (beyond the crumbcoat). It perfectly offset the “spiciness” of the spiced apple cake. If you’re looking for a cake that celebrates fall flavors, I highly recommend it.
Yay, Shannon! I’m so happy to hear that this recipe was a hit! It’s one of my forever Fall favorites!
I baked this cake last week and the caramel just didn’t set. It kept on dribbling down the cake continuously and wouldn’t stop even after being in the fridge overnight. Any idea why this would have happened?
Hi there! Sounds like the caramel sauce somehow had too much liquid in it. Did you substitute anything in the recipe? It should set semi-firm in the refrigerator.
No I didn’t… It looked fine and was a good consistently but it just didn’t set….
Hey!
My oven is very small so I need to bake every layer separately. Can I put the batter aside for a bit or will it lose its volume like with biscuit?
I also want to make a 10-inch cake. How many layers would you recommend to make to make the cake look as tall as your 6-inch one and is doubling the recipe enough batter?
Thank you so much!
Hi Leyla! The batter can be left at room temp during one round of baking, but after that it might start to lose its volume. I’d recommend making the recipe as-is to make your first two layers, then making another batch for the final two (four layers should make the cake nice and tall). I’m not entirely sure how long the baking time will be for a 10 inch cake though, so be sure to check it at about 45 minutes and see if it needs more time from there.
I’m probably in the minority but I don’t like salted caramel. Would this work without the salt?
You can certainly omit the salt, Marjie!
I just baked this cake with intentions to sell by the slice but once I posted it someone wanted to buy it… RIGHT NOW!!! Thanks for the recipe ❤️
That’s amazing, Brenda! So happy the recipe is a hit!
Hi! The 6 inch pans that you use, is that 6 x 2 or 6 x 3? Thank you!!
Hi Ornella! They are 6 x 2 pans 🙂
Hi Whitney
I am a novice Baker!
How much of the applesauce should I use for this recipe in grams please?
Thank you 🙂
Hi Ronnie! I usually measure the applesauce in ml since it’s so liquidy. That would make the measurement 840ml. I looked up the gram measurement for applesauce and it appears to be 250g per cup, so the gram measurement would be 875g. Hope that helps!
Did you need any support for the apple on top? Just wondering if I need to put something in there to keep it from collapsing any.
Hi Joellen! I didn’t put any support underneath, but you could always stick a boba straw or dowel in the center of the cake to hold up the weight of the apple if you’re worried about it! Can’t hurt.
Hey, I wanted to make this cake tomorrow for my dad’s birthday on saturday. Just wondering how 1,5 cups of white sugar are almost 500g? I guess it’s a mistake, hopefully you can tell me the right amount. Also I only have one high 6-inch pan, so I wanted to cut it in layers after baking. Should I reduce temperature to about 300 degrees? Thanks so much. 🙂
Hi Franzi! Wow, good catch. That was totally a typo. I just measured it out with my kitchen scale and it’s 300g. I just double checked all of the other gram measurements in this recipe to be sure that they’re correct and all should be good now! As for baking this in a tall pan, I’ve never tried it myself, so I can’t say for sure how long the baking time will be on this particular recipe. From what I’ve read on Google the oven should be reduced to 325ºF and the cake should bake for longer (in this case maybe check it at 65 min?) but just keep an eye on it and let me know how it goes.
I love this cake I made it and it turned out exactly like this.
Yay, Alexis! So happy to hear you love the recipe!!
Can this cake be stacked? As for a wedding cake design. Thank You
Hi Sara! It definitely can be stacked and think it would make a lovely tiered cake!
Thank You!