
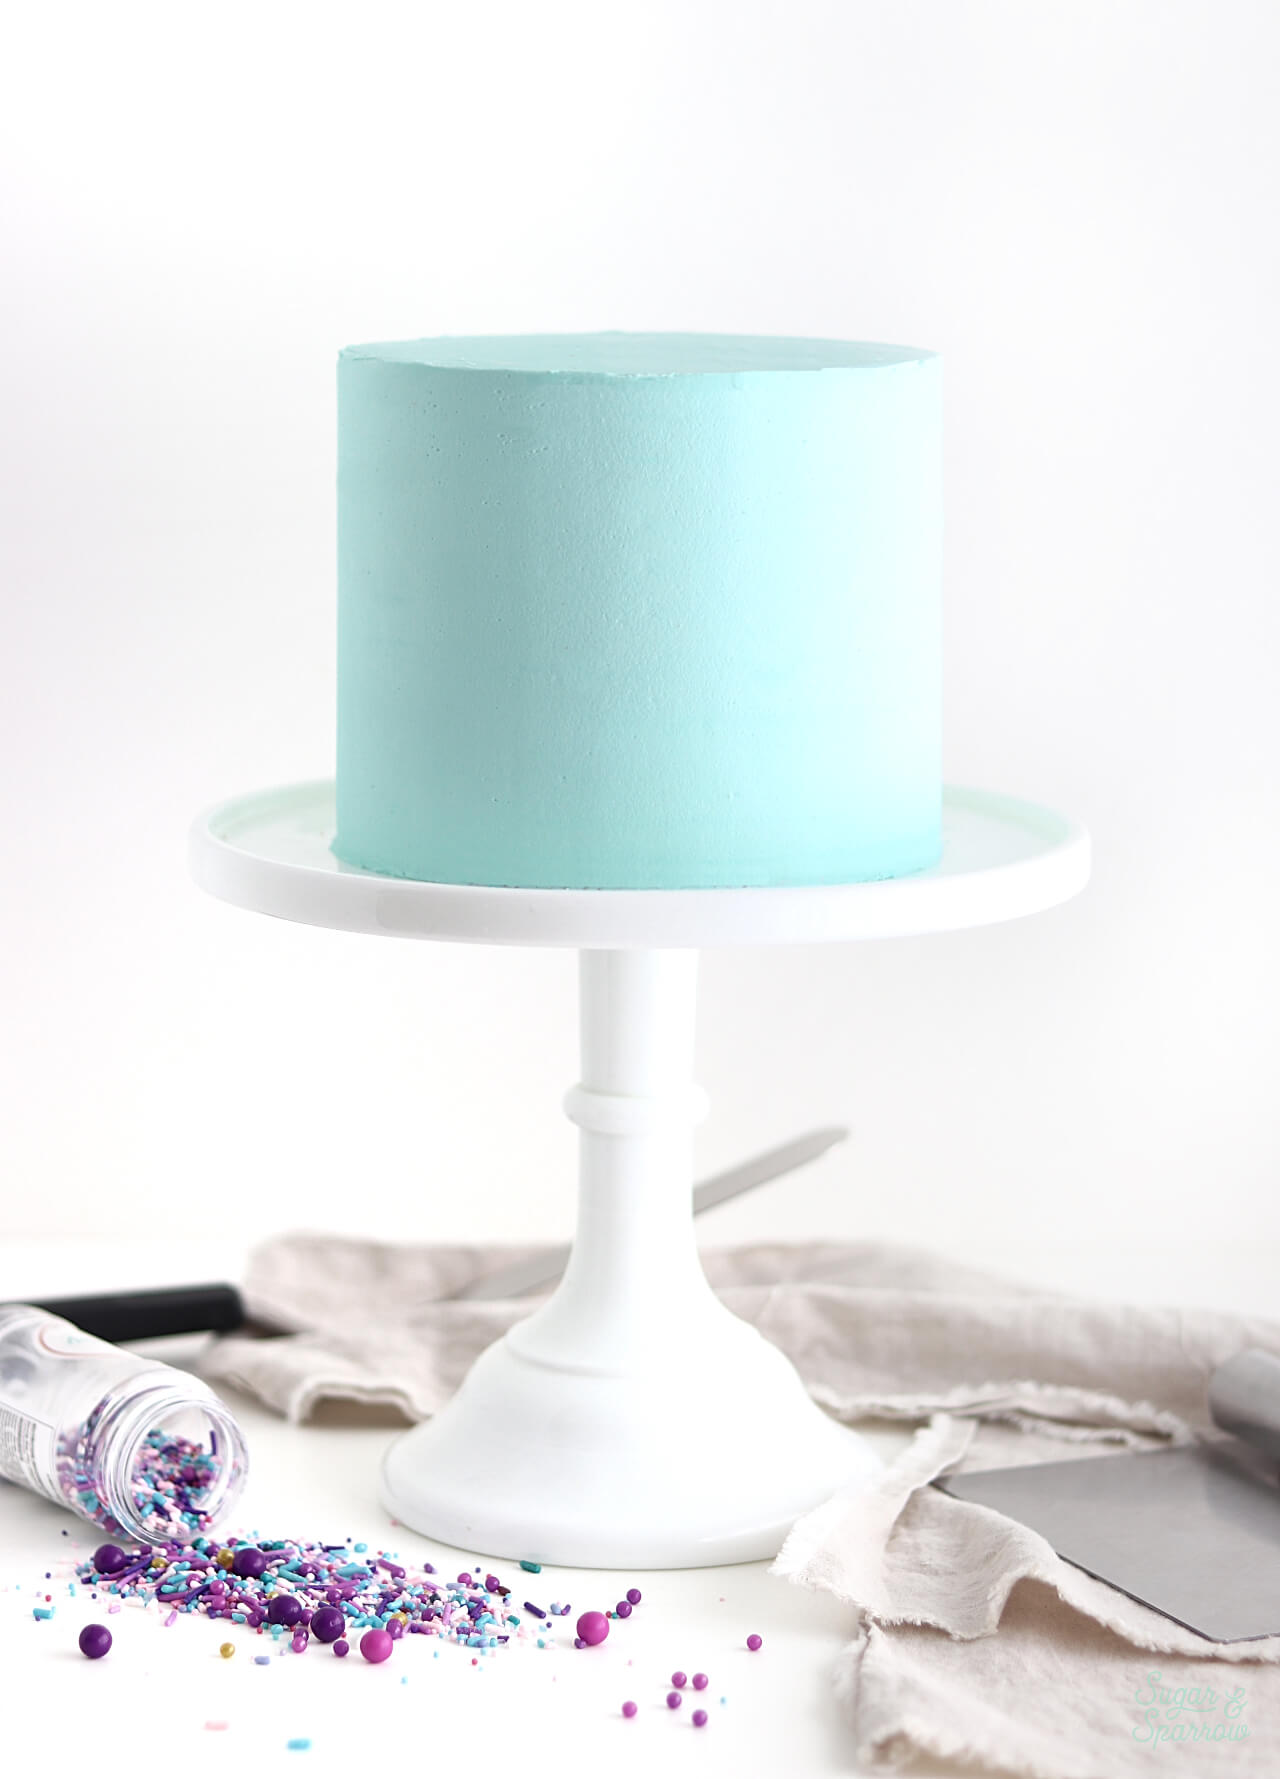
Would you believe me if I told you that once upon a time it took me hours to frost a smooth buttercream cake? It was mainly due to my perfectionism, but also because I didn’t know as much as I do now about frosting techniques. I remember agonizing over every flaw and just smoothing the cake over and over again until I reached a point where I was okay with the finish. These days, I’ve got the frosting process down to about 15 minutes and I can’t wait to share my best tips with you so you can eliminate some of the anxiety that seems to come along with cake decorating.

I’ve got an older video on my YouTube channel that shows some of these smooth buttercream frosting techniques, but I’ve learned even more since then and wanted to shoot a new video with voiceover and more info. This way, you’re more up to speed on my current processes and have something more detailed to reference as you frost your future cakes. Give it a watch before you read all about these frosting tips and techniques below!
Want to see more Cake Basics videos like this one? Head to my YouTube Channel to see the growing collection. You’ll also find tons of cake recipes and decorating videos to inspire you and broaden your skill set – be sure to hit the subscribe button so you never miss a new one!
What Kind of Buttercream Works Best?
I use this American Buttercream recipe for nearly everything I do – filling, crumb coating, frosting cakes, piping cupcakes, and beyond. I’ve purposefully tweaked it to be the best consistency for frosting cakes and to make it less sweet than your average American Buttercream. I also have a Swiss Meringue Buttercream that works great if you prefer that, or note that there are many other buttercream types out there to try.
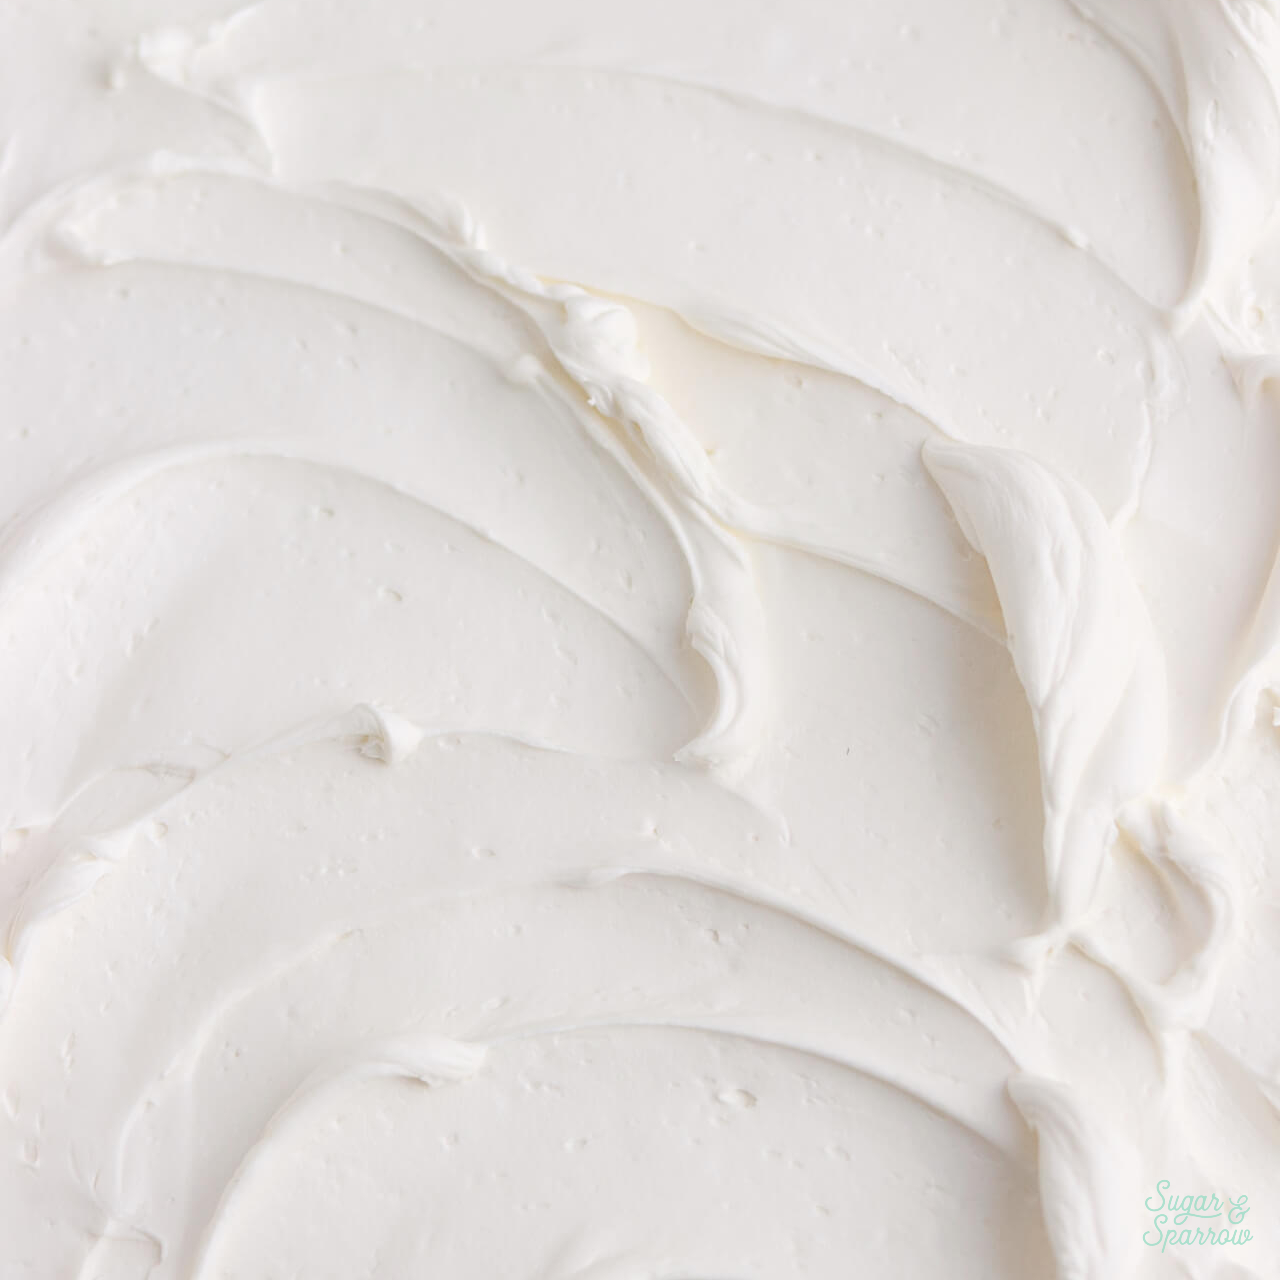
The good news is, no matter what kind of buttercream you’re used to using, these techniques will work just fine for frosting a cake. So whether you prefer American Buttercream, Swiss Meringue, Italian Meringue, German Buttercream, stabilized whipped cream, or anything else that’s meant for frosting a cake, you can follow these tips and techniques for best results. They’ll work with all of my frosting recipes (which are all American) but feel free to use your own personal fave and follow along with this post.
3 Tools You Need
The techniques I’m about to share work wonderfully as long as you have the right tools. Here are the ones I’ve come to swear by for every cake I make:
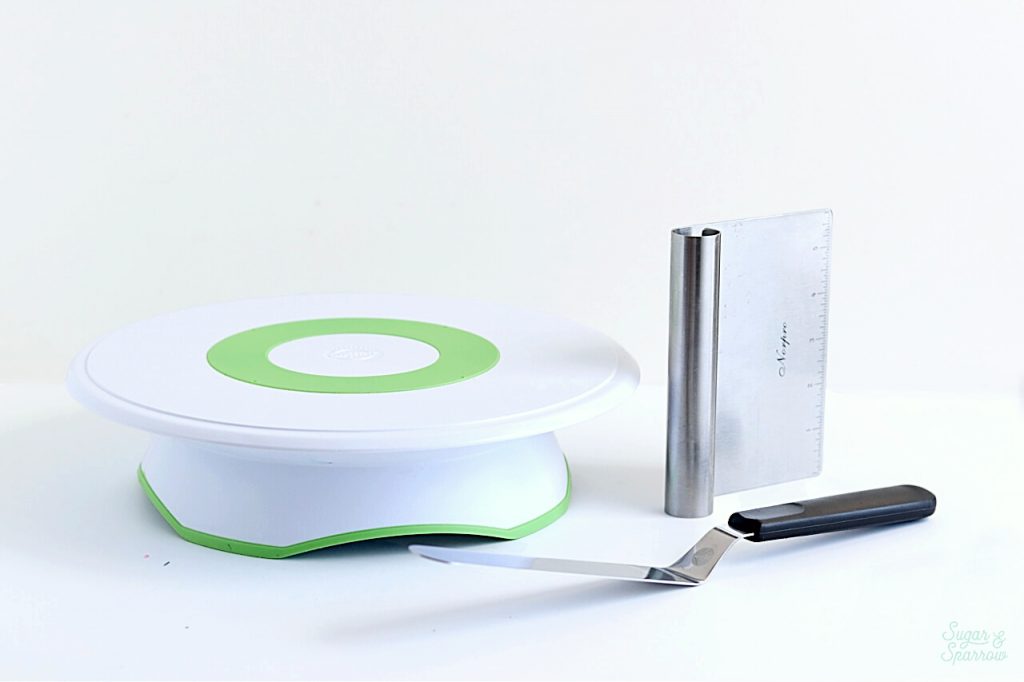
A Cake Turntable: The turntable pictured is no longer available but here is the one I currently use. You’ll want to use an anti-slip pad underneath your cardboard cake circle so it doesn’t slide around.
An Angled Spatula: This 9” Wilton spatula is ideal for applying frosting to the cake and also achieving a smooth, level finish on top. The angle in it gives you more grace as you smooth than a straight spatula would – aka it’s just easier to create those sharp edges around the top (in my opinion).
An Icing Smoother: I don’t know if this Norpro Bench Scraper that I use is technically an icing smoother, but it’s the best I’ve found for the task. It’s easy to hold at a 90-degree angle for getting super straight edges, plus it’s made of stainless steel so it’s easy to clean and apply a small amount of heat if necessary. I’ve tried a lot of icing smoothers in my day, but I always go back to this one.
Start With a Chilled, Crumb Coated Cake
Having a solid foundation for your final layer of frosting is essential, and there’s nothing more solid than a crumb coated cake that’s been chilled for at least 30 minutes.
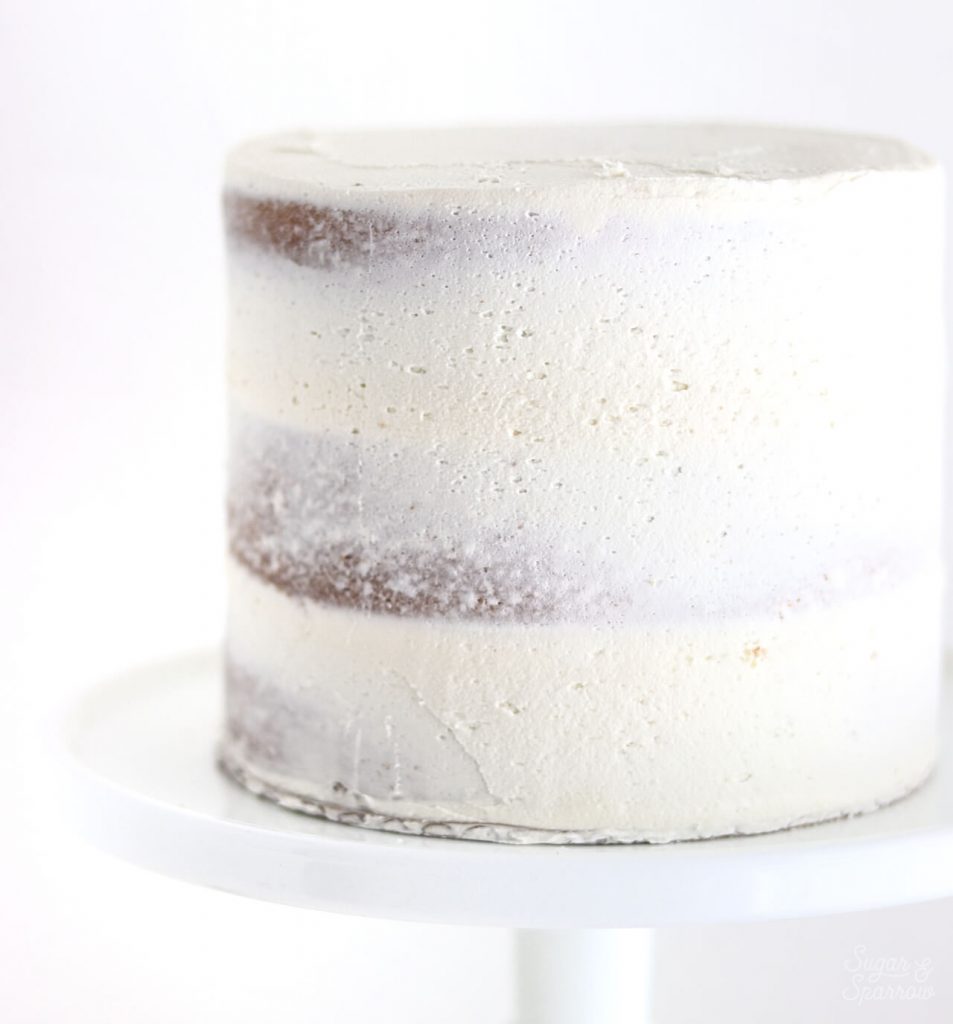
Crumb coating helps shape the cake’s foundation and reduces the chances that crumbs will end up in your final layer of buttercream. Chilling the crumb coated cake makes all that buttercream firm up so that the layers and fillings don’t shift while you’re frosting on top of them.
Step 1: Frost the Top of the Cake
With your chilled, crumb coated cake on the turntable, use your angled spatula to add a few scoops of buttercream to the top of the cake. Rotate the turntable as you smooth the buttercream down flat.
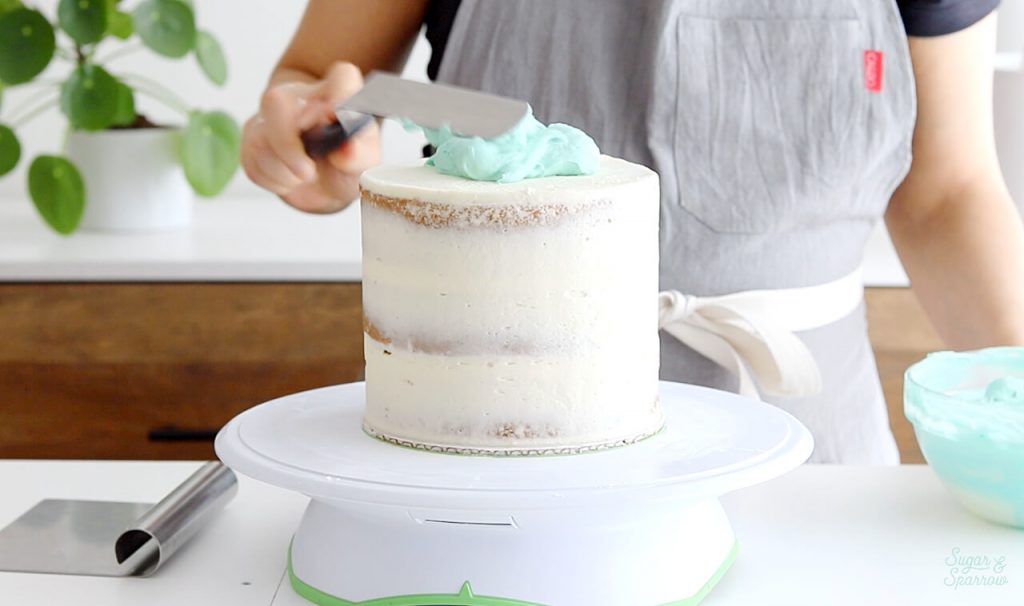
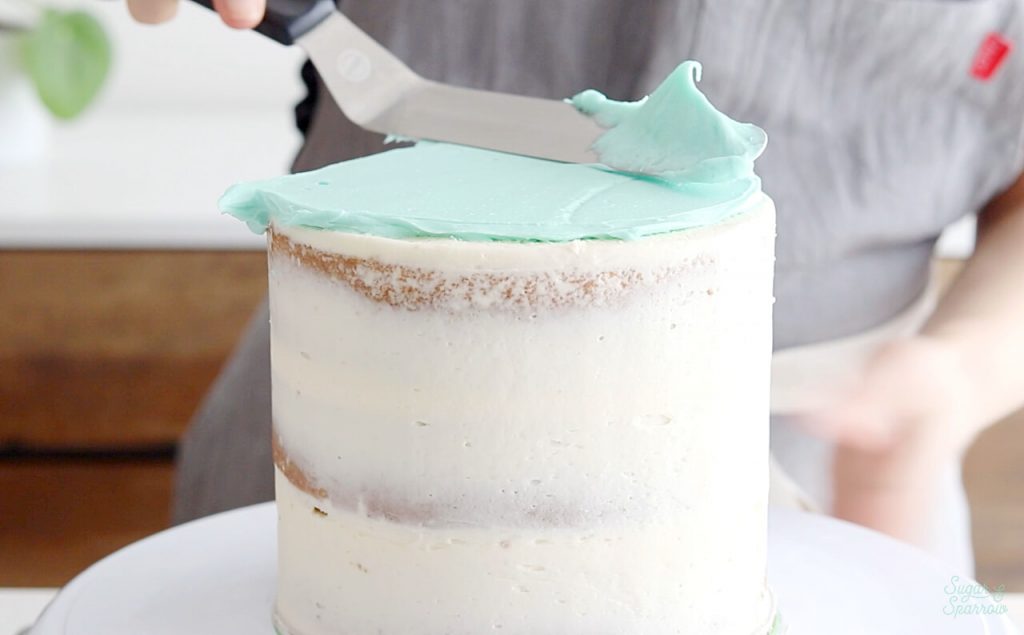
Holding the angled spatula as parallel to the cake as you can while you rotate the turntable will help you achieve a level finish. Keep smoothing and rotating until your buttercream reaches over the cake’s edge slightly.
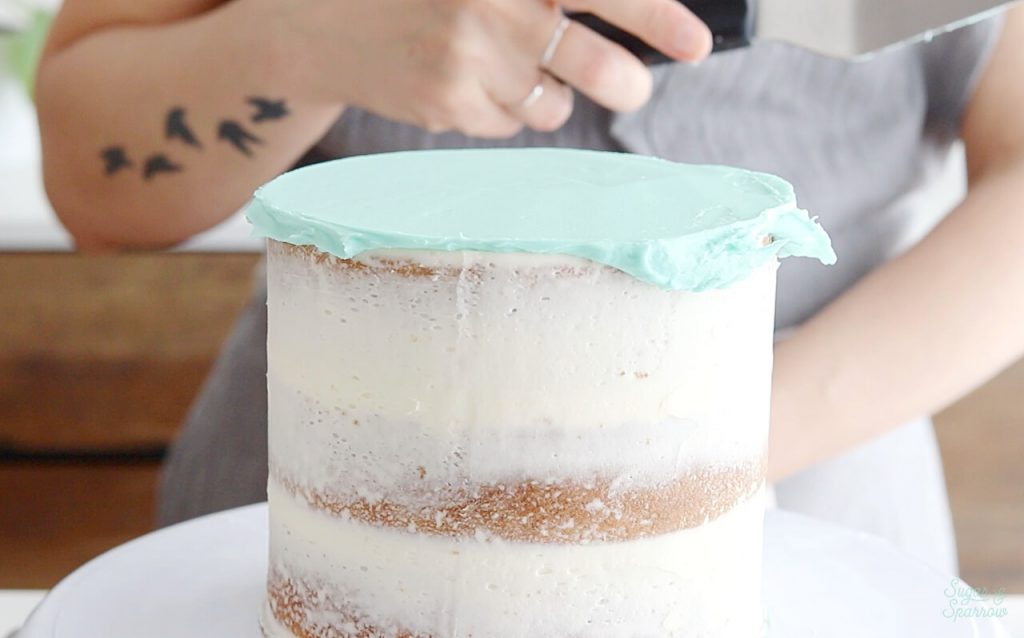
If you need to add more buttercream to the top as you go, feel free! But don’t worry too much about getting the top perfect at this point. We’ll be revisiting the top of the cake during Step 3, so the most important goal in this current step is to make sure the frosting is level and reaches over the edge.
Step 2: Frost the Sides of the Cake
Next, use your angled spatula to apply about ¼ inch layer of buttercream all around the sides of the cake. I like to start at the bottom of the cake and work my way to the top.
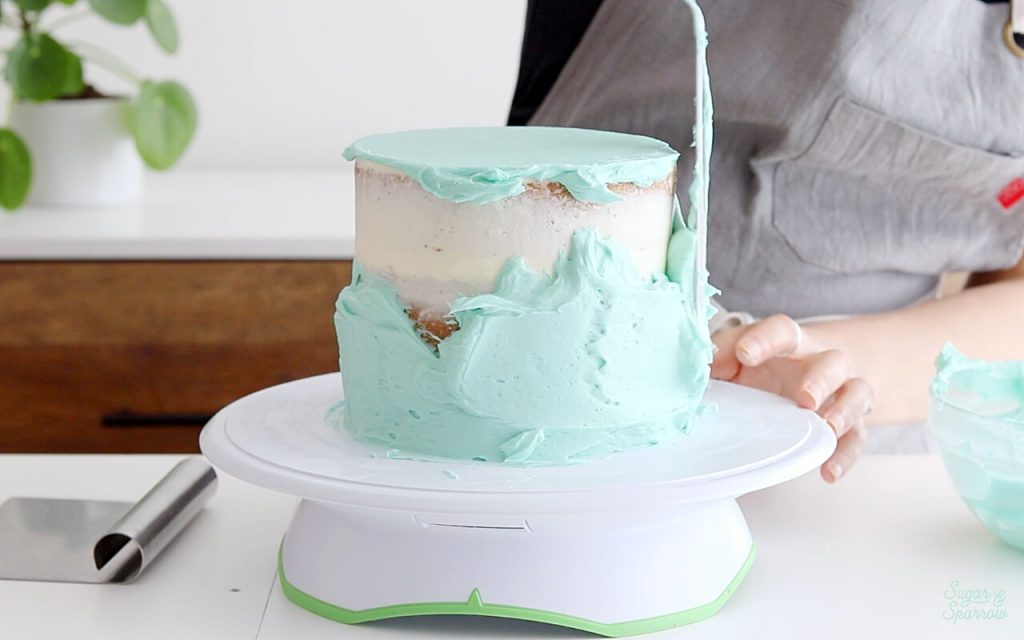
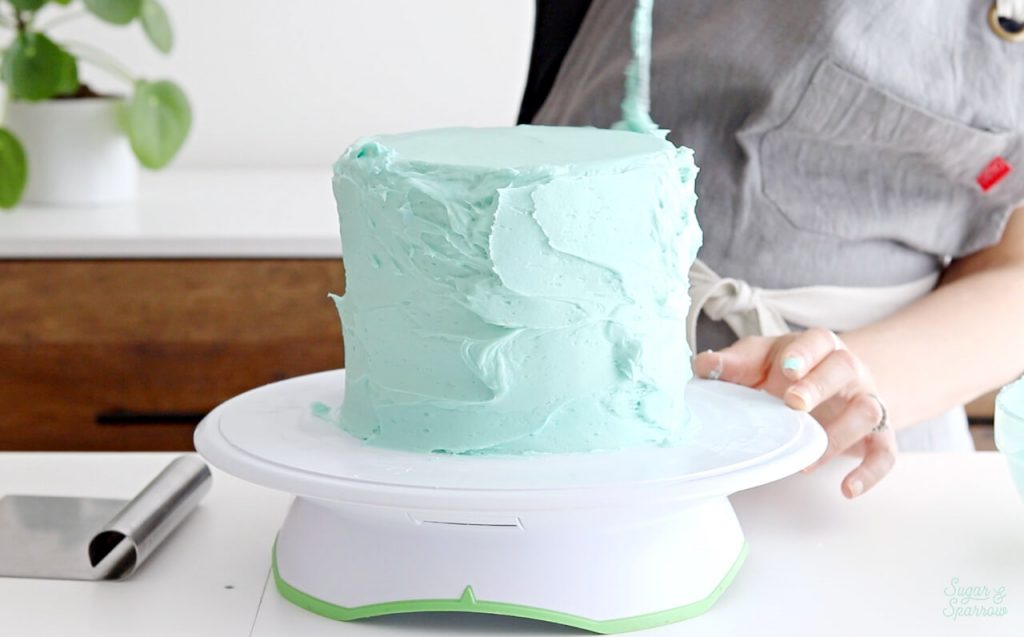
When the sides are covered, hold your icing smoother at a 90-degree angle parallel with the cake as you rotate the turntable. The tighter you can angle the icing smoother with the sides of the cake, the easier it will be to smooth the cake.
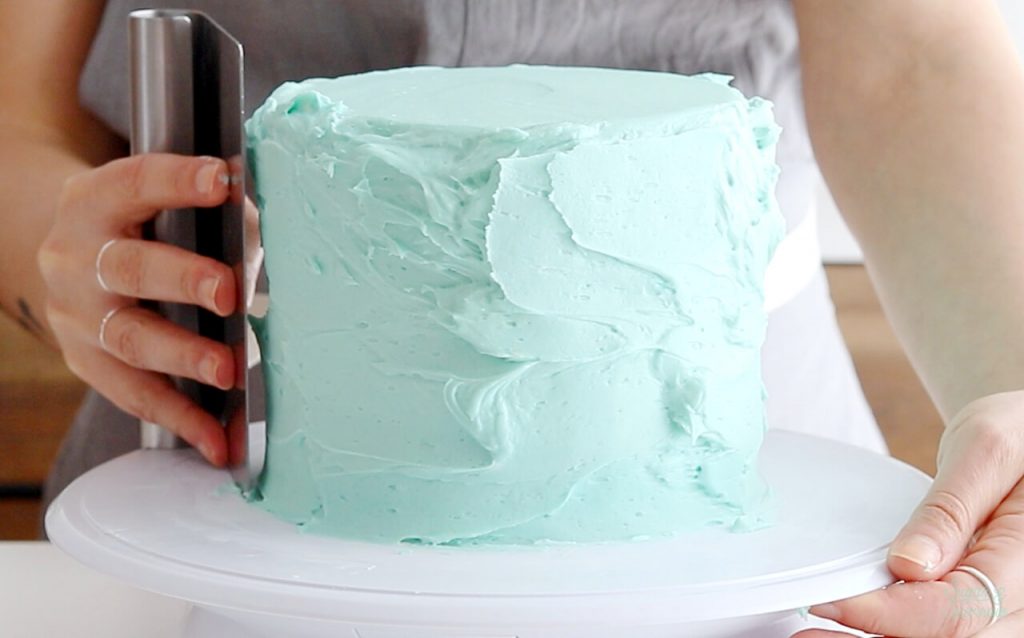

You may find that you need to fill in some gaps in the buttercream after smoothing a few times. If so, just apply more buttercream in those areas and continue smoothing with your icing smoother.
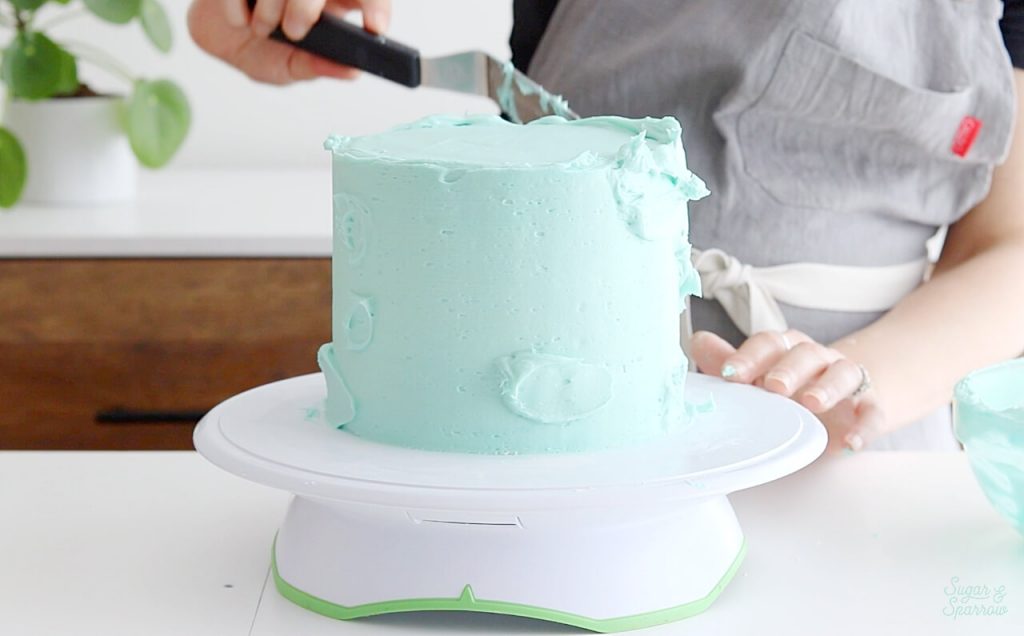
At this point, it’s super helpful to hold your hand directly in front of the cake on the turntable and smooth as you rotate a full 360 degrees. This ensures that you begin and end your smoothing in the same place, reducing the changes of multiple “seams” around the sides of the cake.
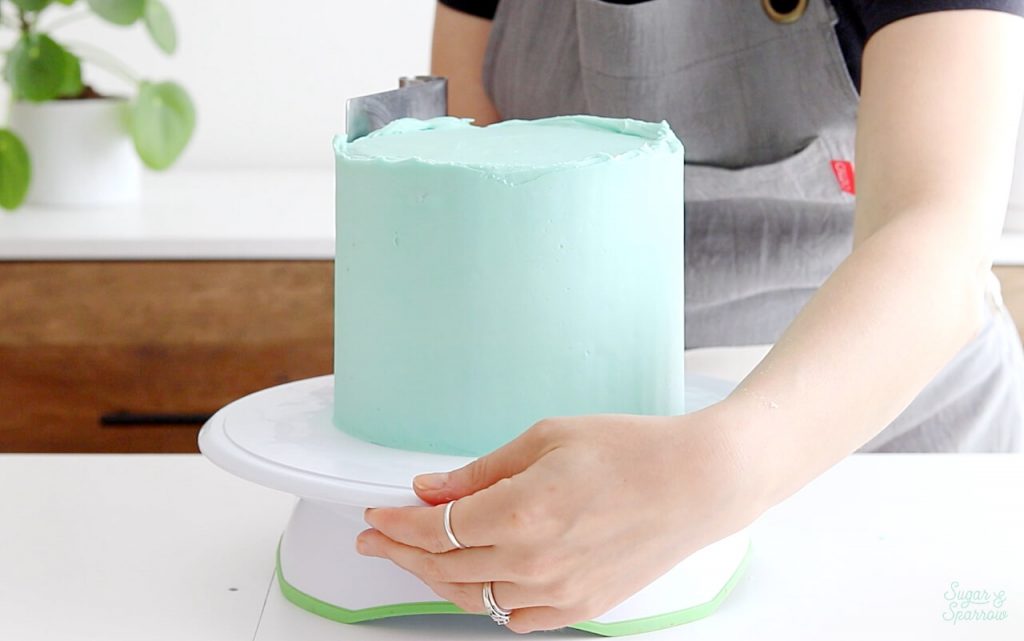
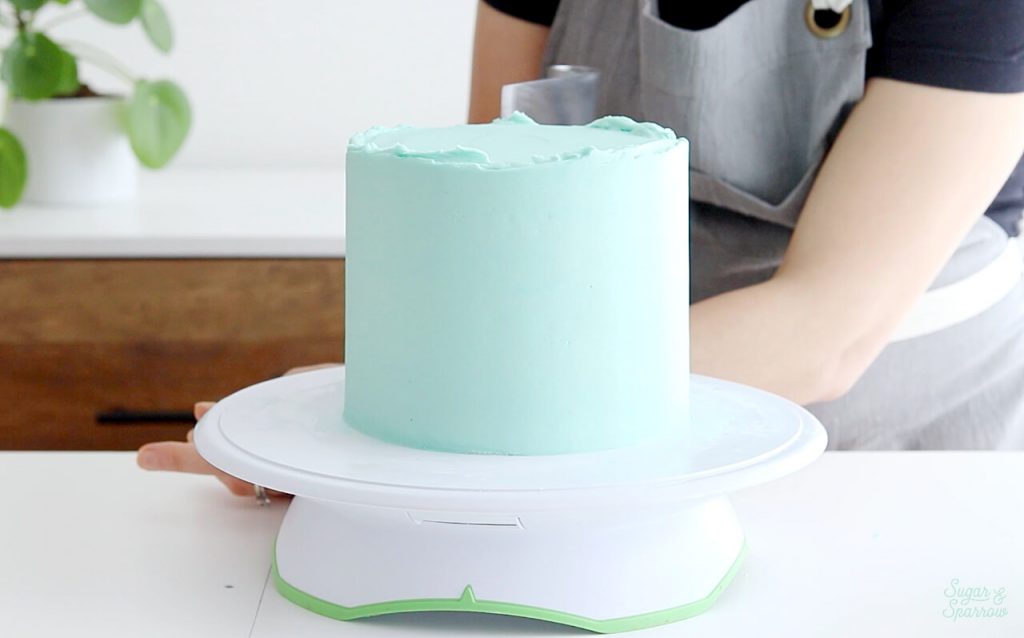
Another helpful tip with this step is to gently heat your icing smoother (if it’s made of stainless steel) by running it under hot water, drying completely, and letting it cool slightly before smoothing the cake. This works like an iron running over any wrinkles in your cake finish, but you have to be careful not to get the icing smoother hot enough to melt your buttercream.
Keep going until you’re happy with the finish. If you just can’t seem to get to a place where you’re happy with the sides though, feel free to give this step a rest and move onto Steps 3 and 4. Trust me, moving through to Step 4 will help you get smooth sides quicker than spending too much time agonizing over Step 2!
Step 3: Create Sharp Edges
You’ll notice that Step 2 left you with a buttercream crown around the top edge of the cake. This is what you want, as it’s essential for creating sharp edges.
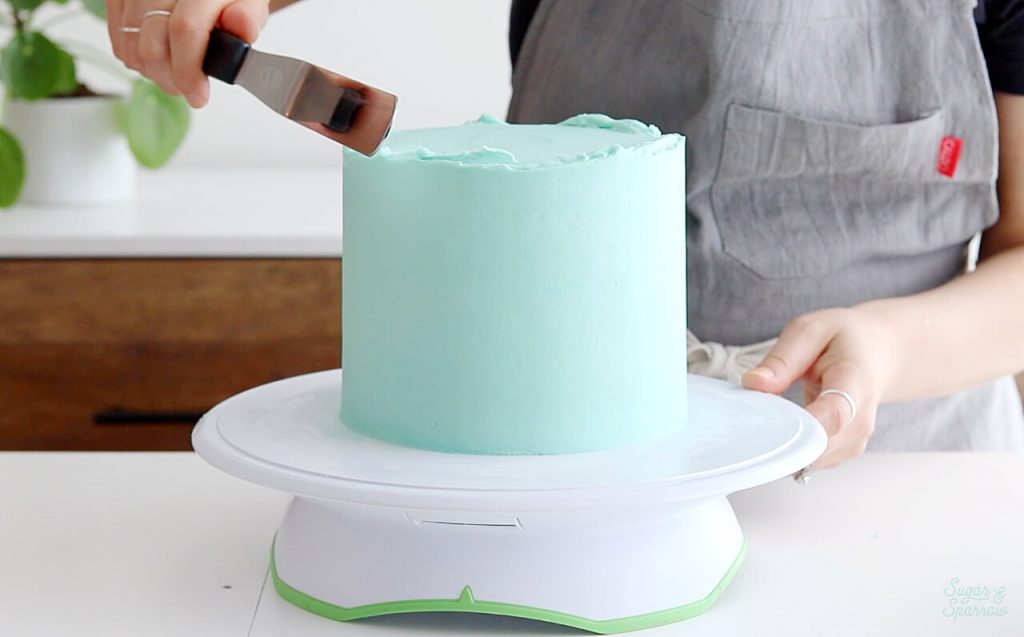
Using your angled spatula, swipe the outer edges of the buttercream crown toward the center of the cake. You’ll want to make sure you keep your angled spatula as level as possible as you go around the entire top.
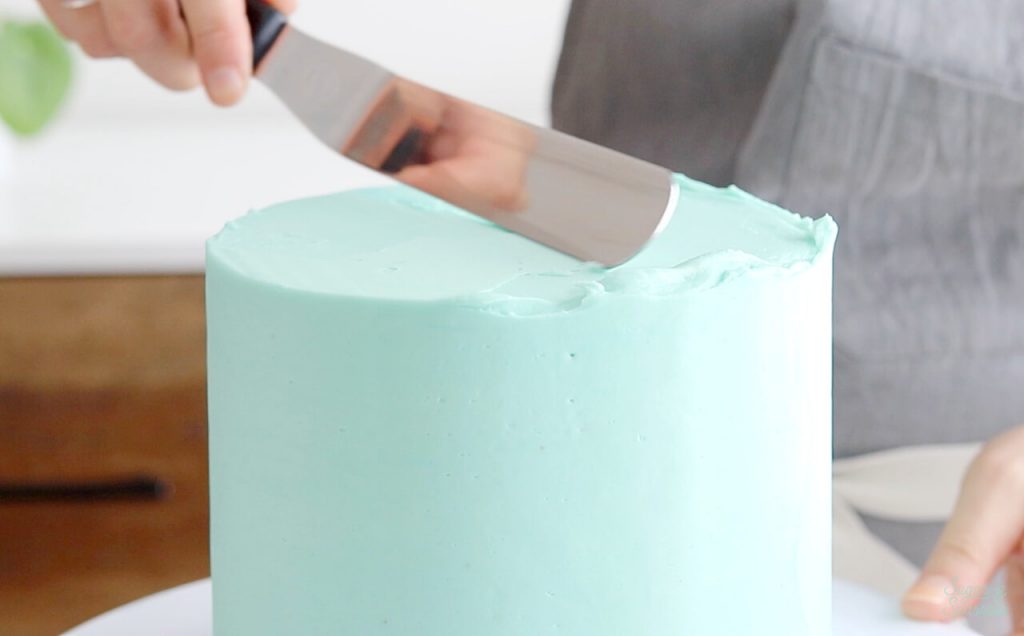
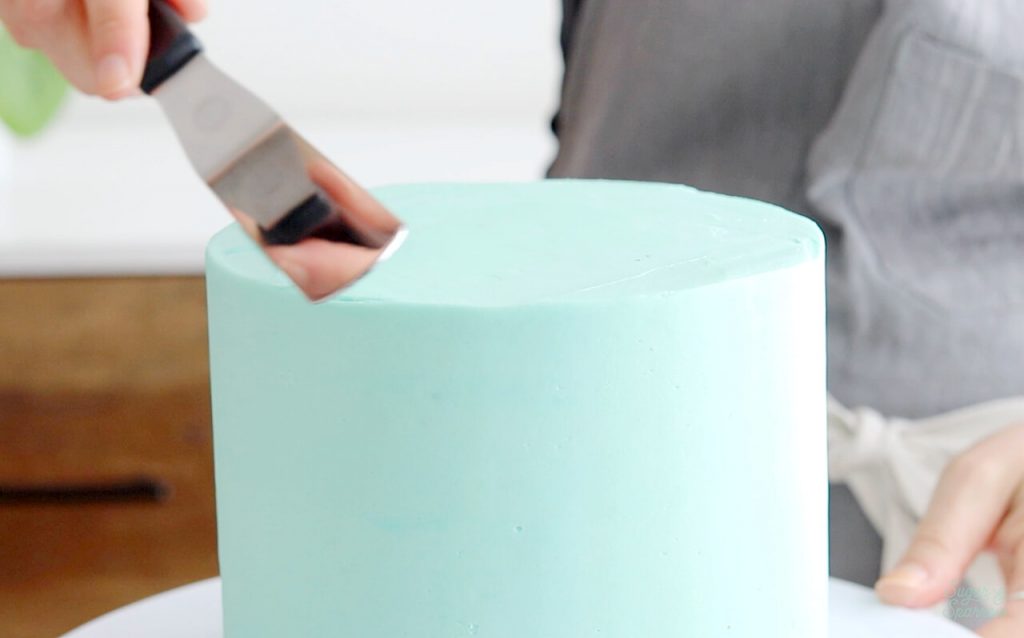
Once you’ve got all the edges looking nice and sharp, you’re ready to move on in your decorating process unless you’ve decided that you want the sides of the cake to be smoother. In that case, move on to Step 4.
Step 4 (Optional): Chill and Repeat
If you went through all the previous steps and still feel like your cake could be smoother, the best thing you can do is pop the cake in the refrigerator for at least 20 minutes. This is much better than agonizing over your cake finish and over-smoothing it. By placing the cake in the refrigerator, you’re allowing the finish to firm up and provide a really sturdy foundation for a final (super thin, super smooth) coat of buttercream.
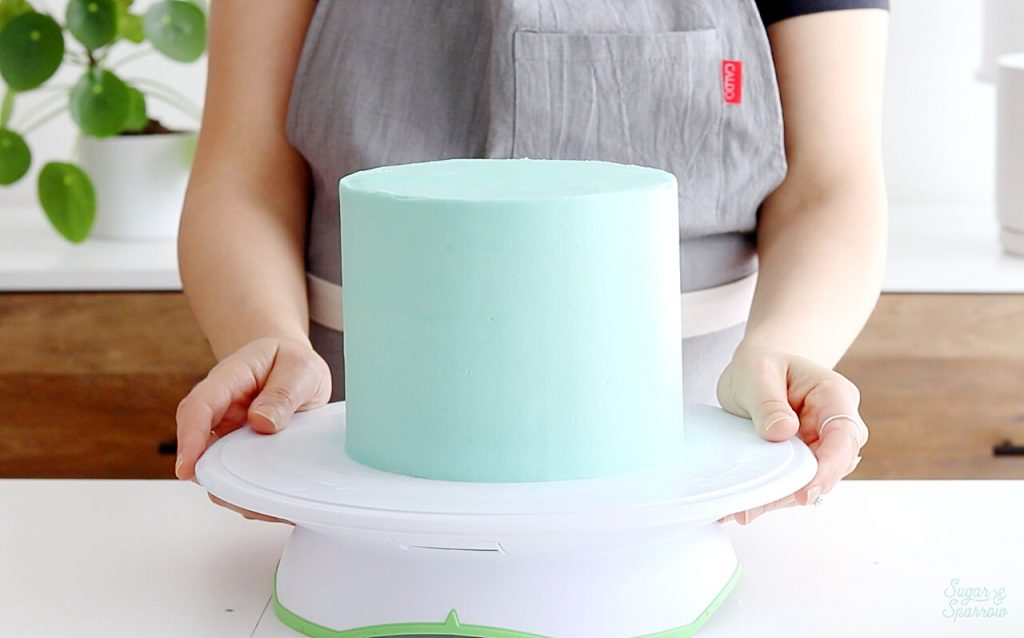
After refrigerating your cake, repeat Steps 1 through 3, but this time apply a very thin coat of buttercream all over the cake. This coat will fill in any wrinkles and gaps, and since the buttercream layer beneath is so solid, you’re able to apply more pressure and get a smooth finish in a more failproof way.
Here’s a video that shows the process:
What to Do Next
Once you’re happy with the smooth cake finish, you can move on to the next steps in your decorating process. I’ll be applying sprinkles to the sides of this cake and adding some piping on top, but you could also do things like:
- Add a chocolate ganache drip
- Add an edible letter or number cake topper
- Add some pretty piping
- Browse my collection of cake decorating tutorials for inspiration

Want more Cake Basics? Head here to see all of the posts and learn the methods of caking I’ve come to love over the years. I’m cheering you on every step of the way!


I am making a 6 inch 3 layer cake… crumb coat and frosting…I also am planning on decorating with some icing tips… should I make 2 1/2 times the recipe for the American buttercream? That is a great buttercream. Also after I frost the cake do I decorate immediately or does the cake need to go in the fridge for some time?
Hi! This recipe is just awesome!!! Loved it! The buttercream came soo perfect! I am a new baker and the tips on your page are just amazing. Thank you!!!!
Also, hellow from Portland too!!!
Yay, Shabina! That makes me so happy to hear that my blog has been helpful. Thanks for taking the time to let me know 🙂 And so fun that you’re from Portland too!
Thanks so much. Question: I only have a hand mixer but no paddle attachment. Can I just use the stainless steel attachments it came with?
Hi Diane! Sure, those will totally work.
How would we get smooth icing on a shaped cake? I’m making one this week that is shaped like a number three, so would it be harder to get smooth icing?
Hi Nat! I’ve actually never smoothed a shaped cake before, so I don’t have a go-to technique. I would look around on YouTube and see if there are videos that show different techniques for smoothing a number or letter cake and go from there. Hope that helps!
What temperature is the buttercream you use? Do you cool it at the same time as your cake for the crumb coat or leave it at room temperature? Thank you
Hi Jenna! I always use room temperature buttercream for decorating cakes. I leave it covered at room temperature in between coats. The only time it gets chilled is after applying it to the cake 🙂 Hope that helps!
can we use one of those rubber spatulas?
Hi there! I have never tried this technique with a rubber spatula before, but you are more than welcome to experiment!
This is so helpful. What are your tips for moving the cake from turntable to plate/cake stand?
Hi Amy! I’m actually working on a tutorial for that topic and hoping to get it out soon as part of my Cake Basics series! Here’s how I do it: I make sure the cake is chilled for at least 30 minutes in the refrigerator (or until the buttercream is firm), then heat up an angled metal spatula under hot water and run it around the bottom edge of the cake to make a clean separation between the frosting and the turntable. Then I slide the spatula underneath the cake to lift it and balance it on the spatula and my hands while I move it to the cake stand. Since the buttercream is so cold it doesn’t end up messing up the cake finish to hold the cake for a second. Hope that helps!
So helpful, thank you! Love your work.
Yay, Amy! So happy to hear this post is helpful!
What’s the process to have the buttercream on the cake in different coloured stripes? I want to make a cake for a birthday but can’t find any info on that…
Hi Christine! I have a tutorial for striped buttercream here: https://sugarandsparrow.com/striped-buttercream-cake-tutorial/ hope that helps!
I get frustrated each time I try this,I bought all necessary equipments ( except a turntableand still cant get it right) but ur explanation makes it so simple,will they again,luv u
Hi Gbemi, the turntable is actually super important for this technique, so if you do want a smooth buttercream cake I recommend investing in one. It’s nearly impossible to get a smooth buttercream finish without it!
please tell me how to get thos perfect cake layers from start to finish please
Hi Valerie! I have an entire Cake Basics series that walks you through everything you need to know: https://sugarandsparrow.com/category/cakebasics/
Thank you.
Got my daughters birthday coming up and will definitely be using your tips..Jane
Yay, Jane! Excited for you to make a cake for your daughter’s birthday and hope these tips help!
Thank you for this! I get really frustrated when I’m trying to smooth my icing and it sort of drags and ruins the cake and I have to go back and try again. Your tips are very helpful.
So happy to hear that these tips are helpful, Nicole!
Nice, I really learned a lot from your tips
Yay, that makes me so happy!!
How much icing do you use to cover a 6in and 8 in. Love your work!
Hi Alphonso! Thanks so much for your kind words 🙂 to cover a 6in cake + an 8 inch cake (once they’ve been filled and crumb coated), I would use a double batch of this vanilla buttercream recipe: https://sugarandsparrow.com/vanilla-buttercream-recipe
Thank you for the professional tips. You make it look so simple and using the right tools make a big difference.
Thank you so much, Linda! Happy to help!
Hi excellent video very helpful, what size of cake board did you use
Thanks so much, Pamela! I used a 6 inch cake circle for this 6 inch cake. You’ll want to use the same size cake circle for whatever size cake you’re building on top of it.
Thank you so much, Whitney, for the excellent video. I have all the tools you use, except I have the Ateco cake stand and a different scraper. I like the scraper you use, so I ordered it today from Amazon. Love your videos and tutorials. Attempting another one of your magnificent cake creations today..wish me luck!!!
Hope you are doing well!! Bet you are excited!!!!
Yay! So happy this video is helpful and I’m excited for you to try the icing scraper!
This is amazing thank you. It is reassuring to know that the process takes a pro like you a while as I always feel like it becomes an icing obsession. As always thank you for sharing 🙂
Yes, Chesca! I totally feel you on the icing obsession! It takes a lot of practice but after awhile you’ll get quicker 🙂
Simple, easy and complete instructions. Thank you!