
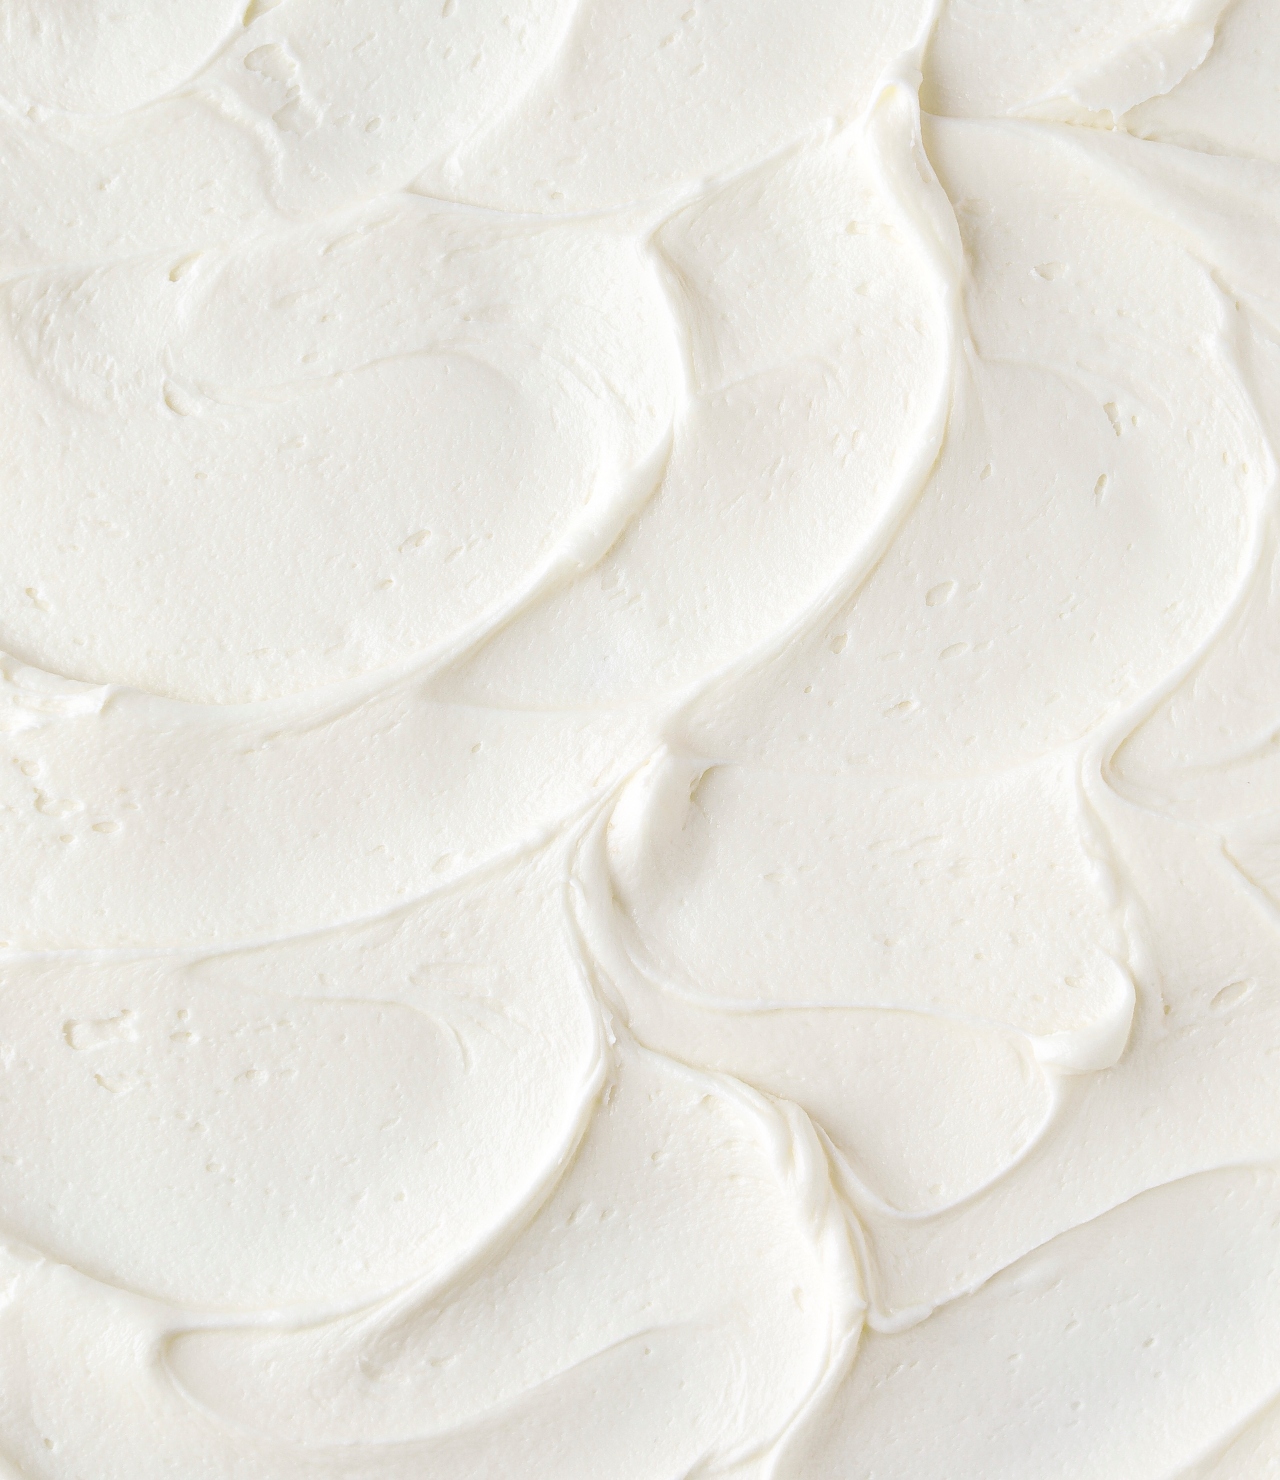
This easy vanilla buttercream recipe is my go-to American buttercream for cakes and cupcakes. It’s rich, creamy, full of vanilla flavor, and less sweet than traditional American buttercream thanks to the perfect balance of butter, powdered sugar, vanilla, and salt. It has a smooth, spreadable consistency that’s ideal for filling and frosting layer cakes, topping cupcakes, and piping intricate designs. It also firms up in the refrigerator, making it perfect to use as a frosting base under fondant!

One reader, Iqra, says: “I LOVE this recipe, I have been making buttercream for some time now but I wanted to see if I could make it better, creamier and less sweet. And this recipe was just that! It was so creamy, light, fluffy and the perfect amount of sweetness. Best recipe I have found!” ★★★★★
I’ve tested countless buttercream recipes over the years, and this is the vanilla frosting I come back to again and again. It’s simple enough for beginner bakers but versatile enough for detailed cake decorating, and you can easily adjust the consistency depending on how you plan to use it.
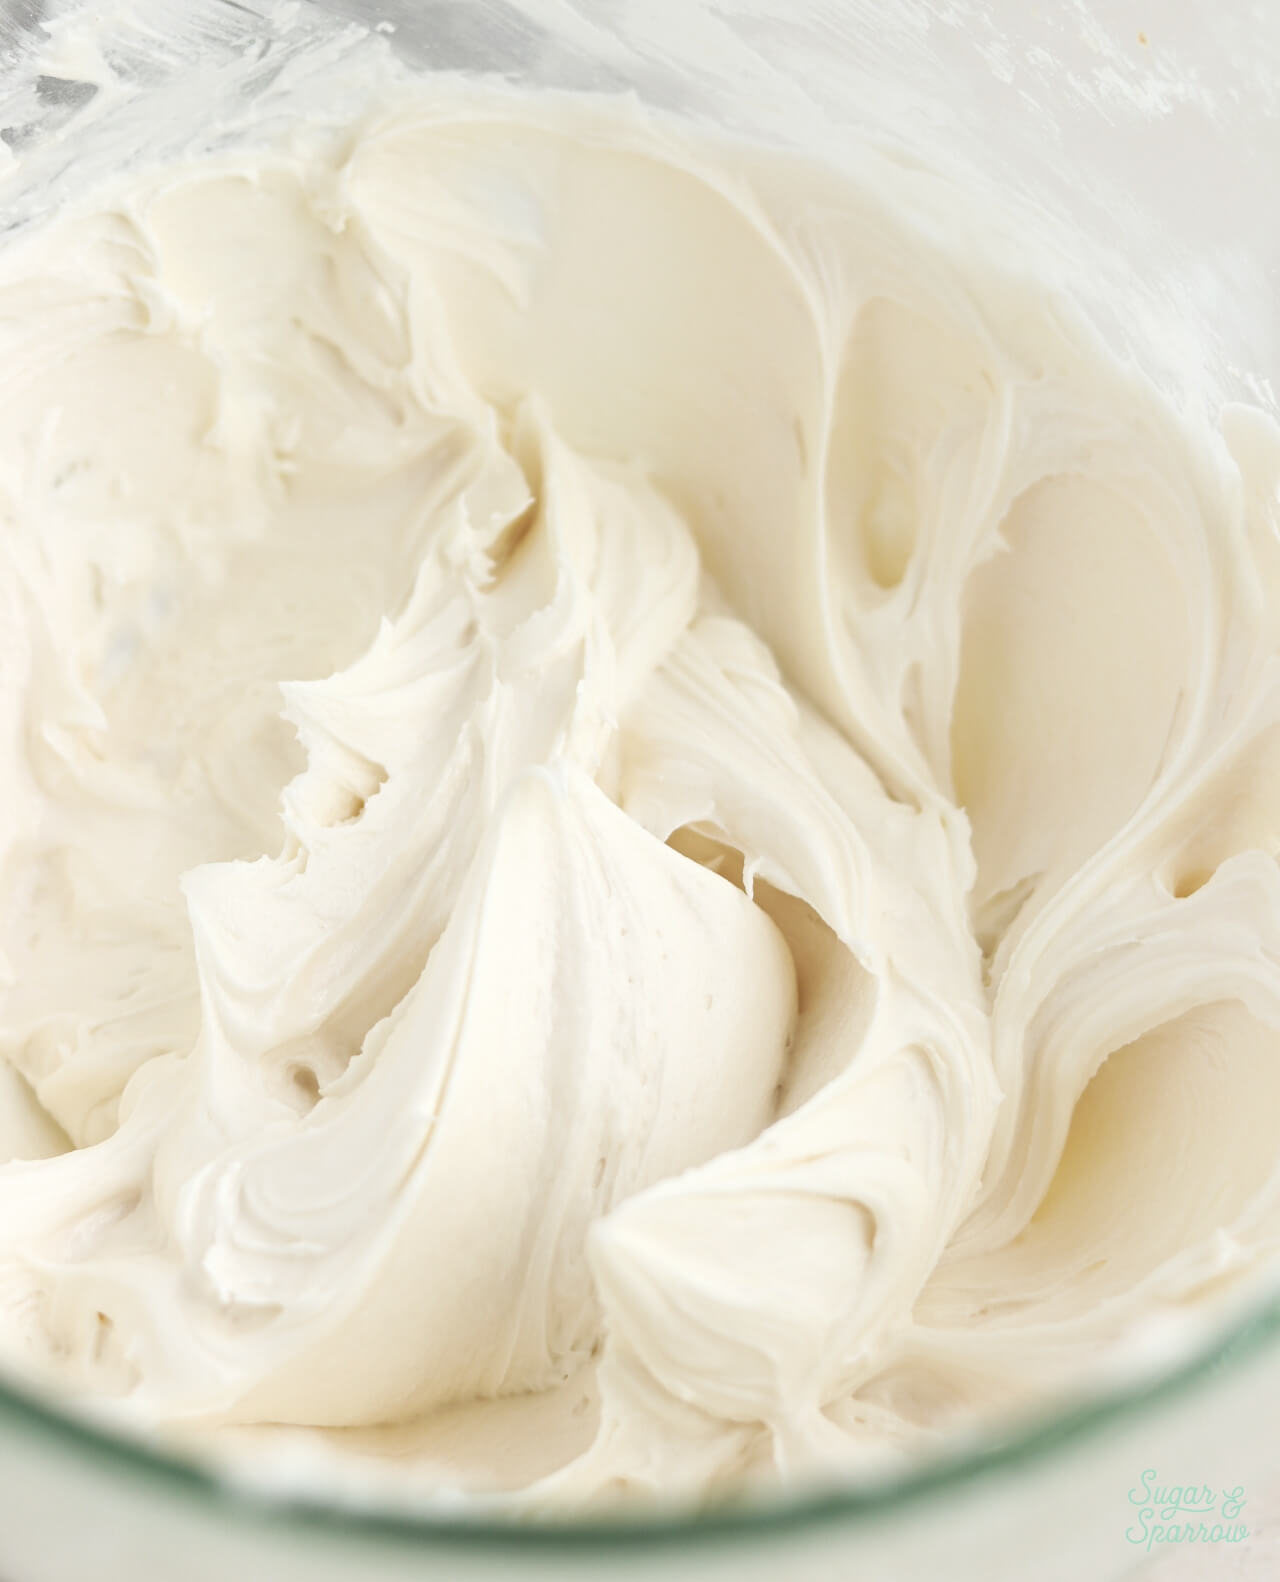
Why You’ll Love This Vanilla Buttercream
- Beginner-Friendly. No cooked sugar, egg whites, or complicated techniques necessary here. This vanilla buttercream comes together in minutes with a stand mixer or hand mixer.
- Less Sweet. This recipe uses less powdered sugar than the average American buttercream and balances the sweetness with salt.
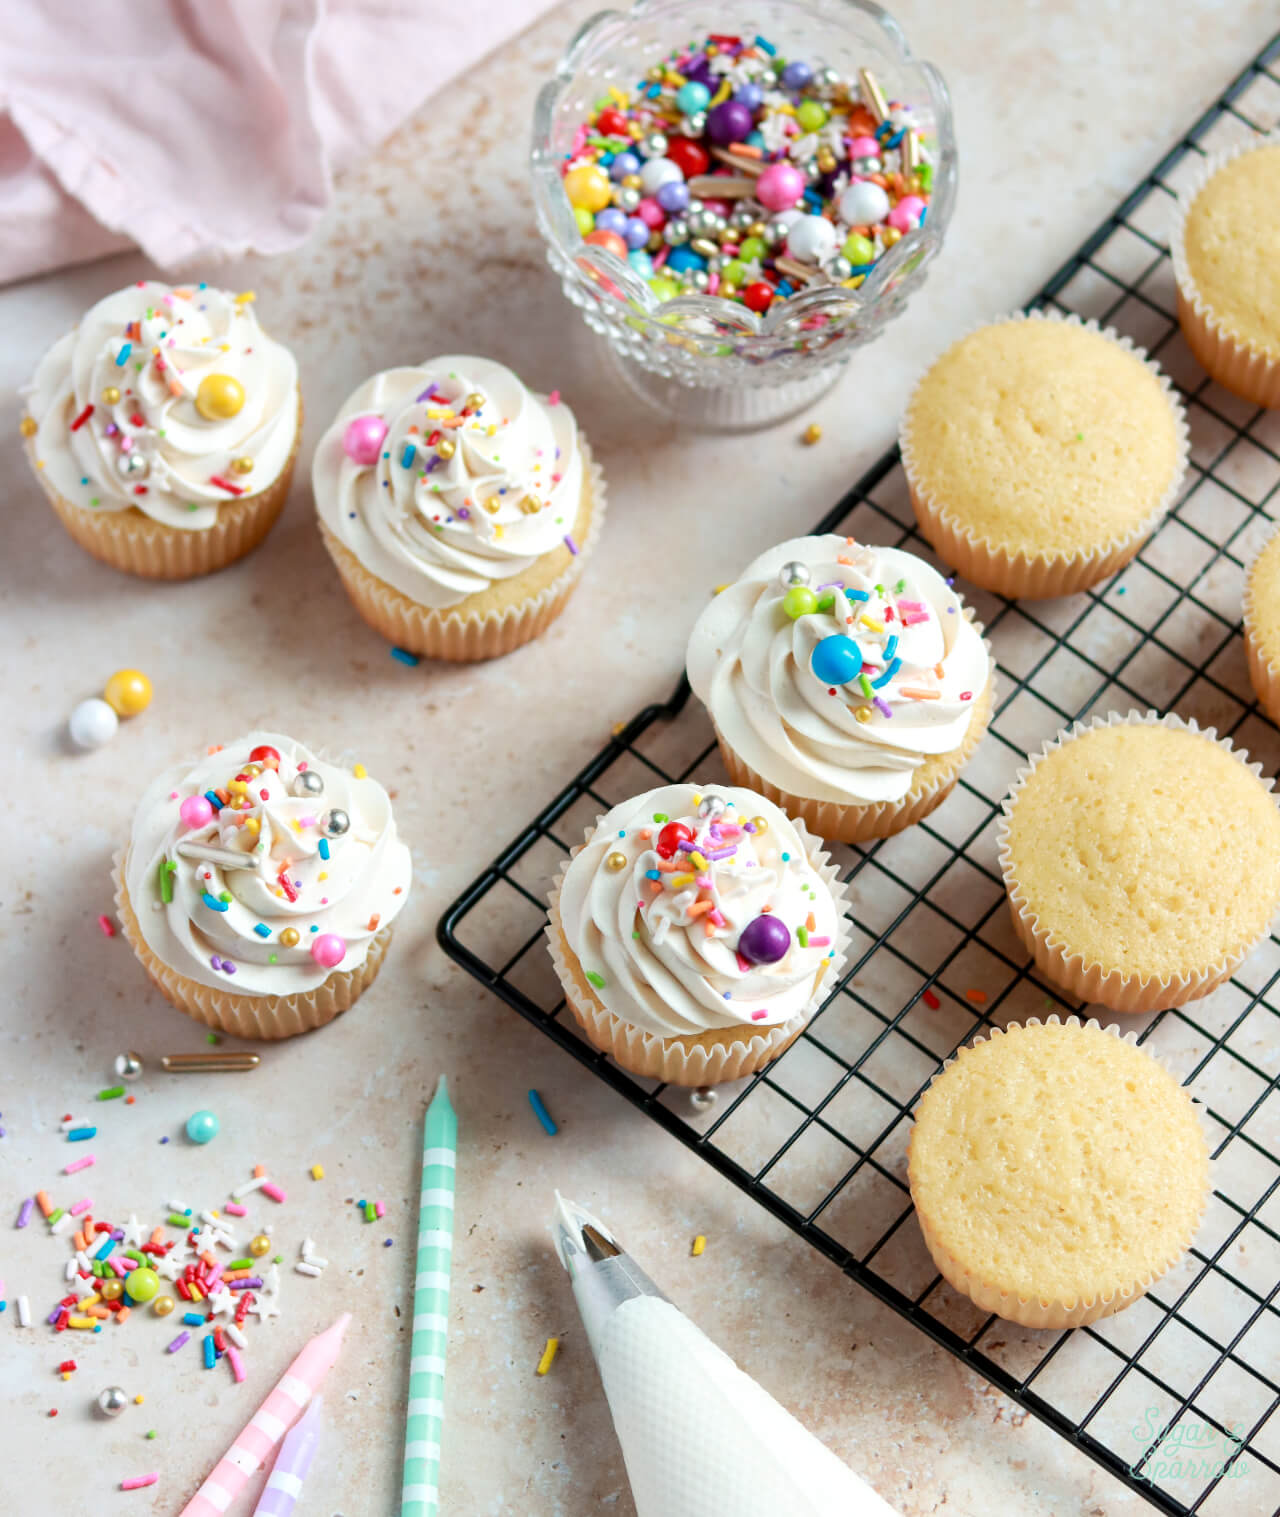
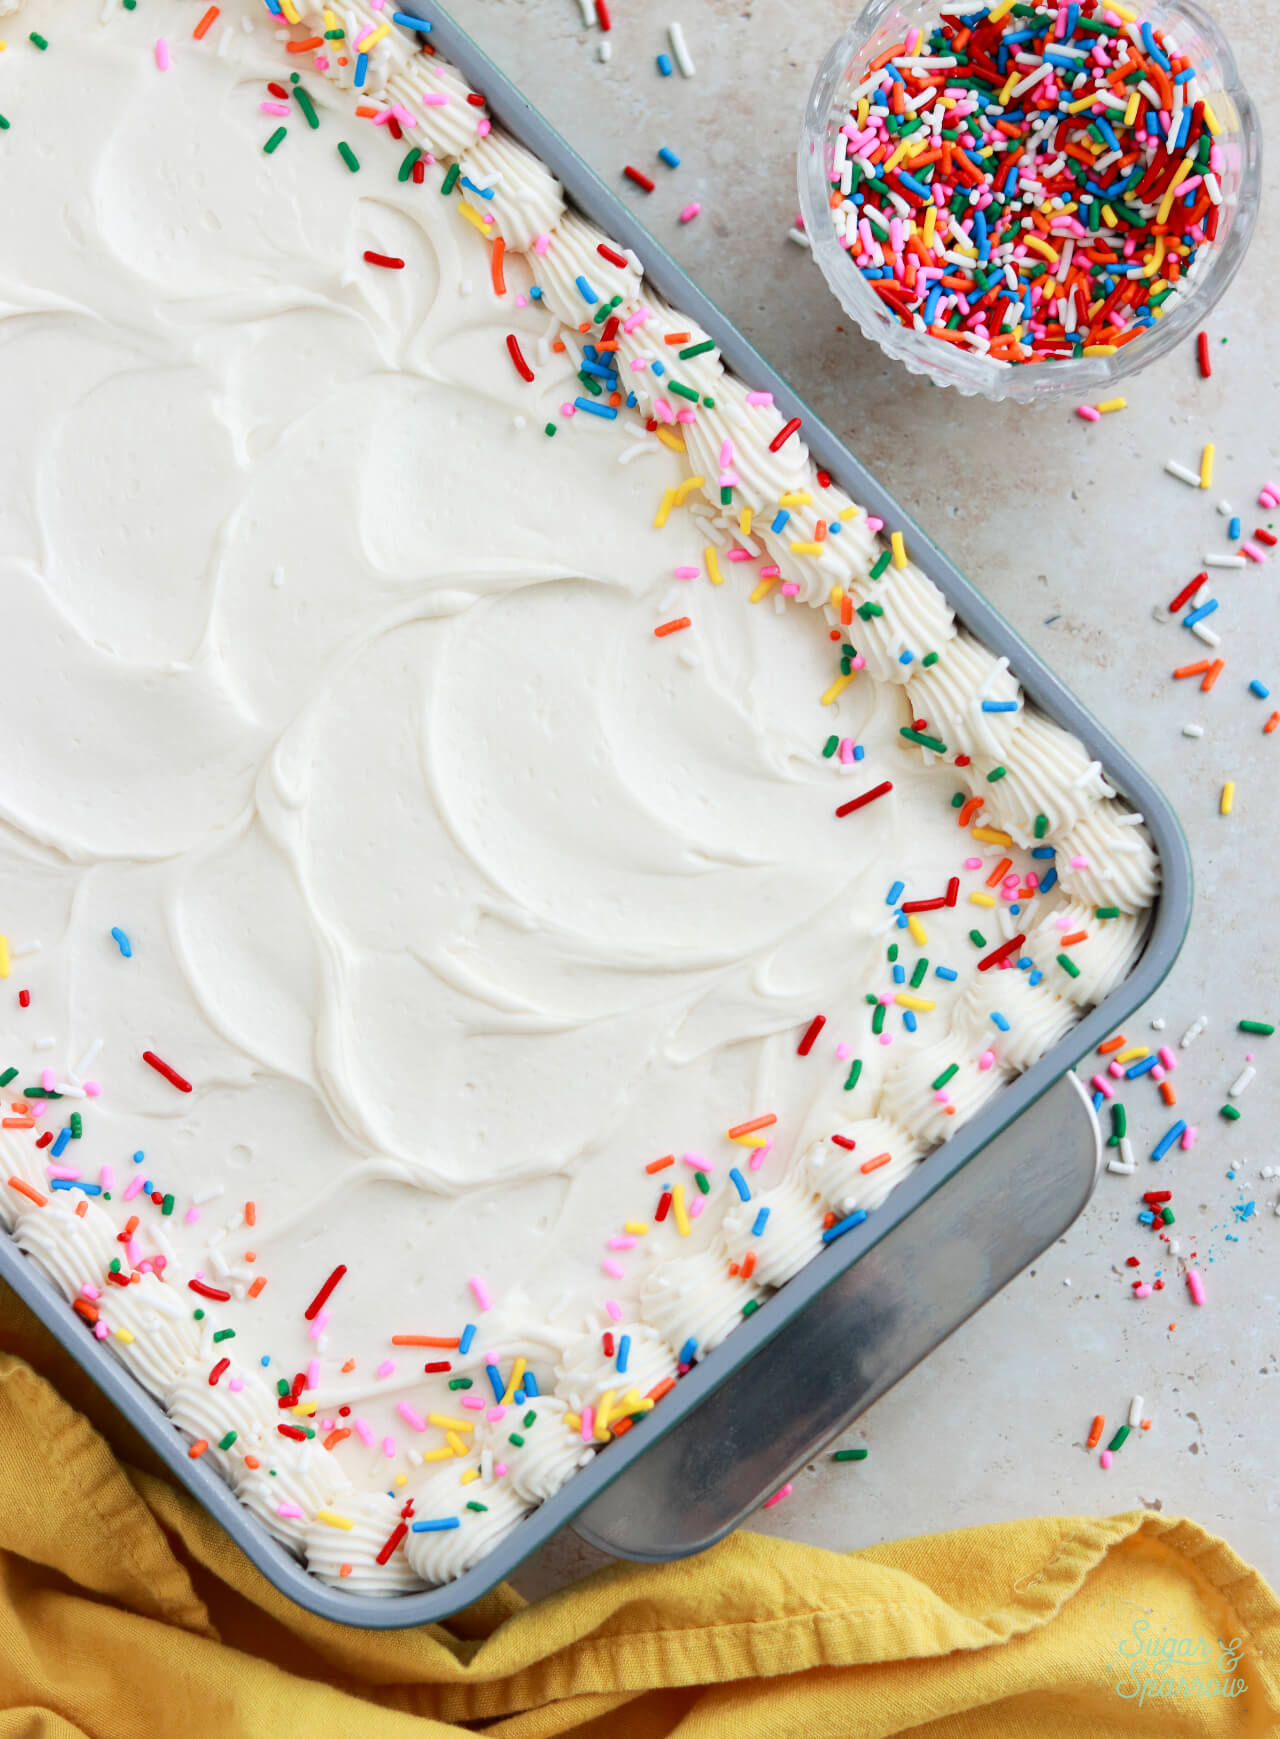
- Perfect for Cake Decorating. The consistency of this buttercream is ideal for filling and frosting layer cakes and decorating cupcakes. You can easily adjust the consistency to make it thinner or thicker depending on what you need it for.
- Strong Vanilla Flavor. You can use vanilla extract or vanilla bean paste here, either way you’ll end up with amazing vanilla flavor.
- Easy to Make Ahead. You can make this vanilla frosting up to two weeks ahead of time stored in the refrigerator, or up to two months ahead if you want to freeze it.
Vanilla Buttercream Ingredients
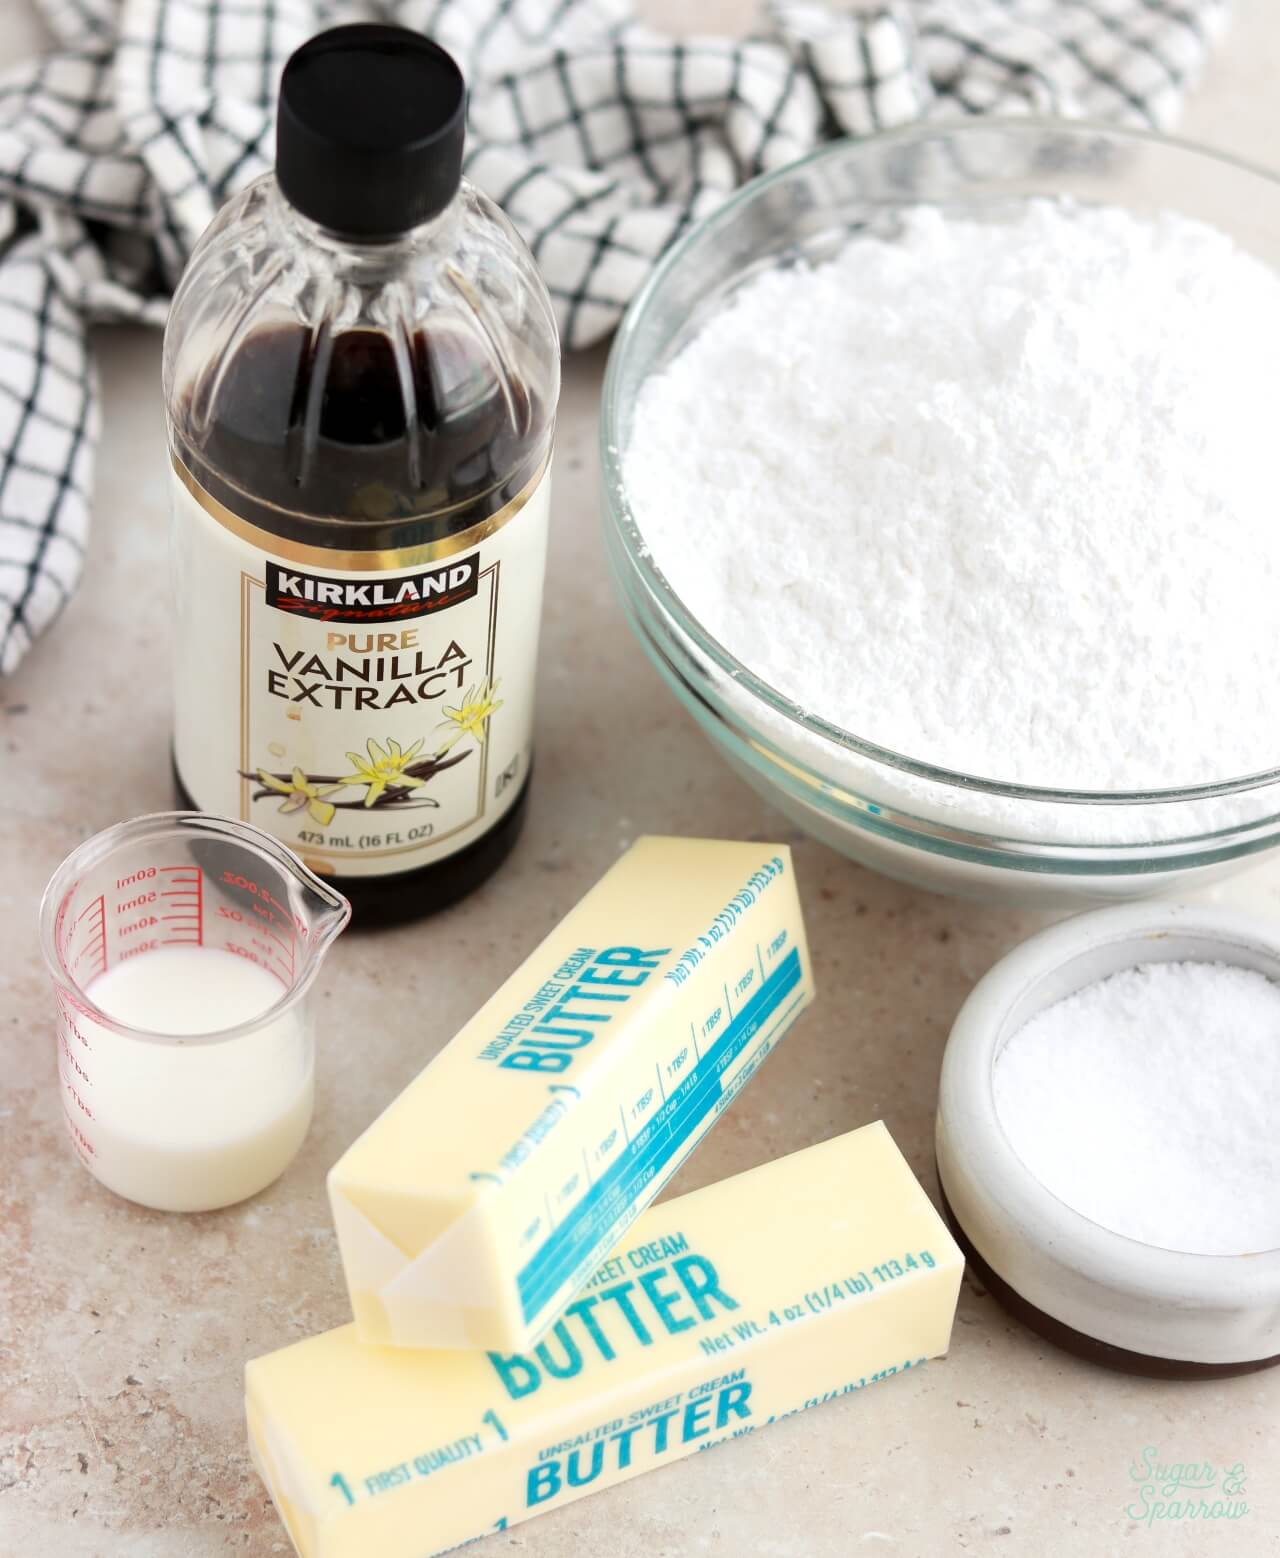
There are just a handful of ingredients you’ll need for this recipe and it’s simple to whip up for people of all skill levels. I’ll explain what role each ingredient plays in the buttercream and any substitutes you can use:
- Unsalted Butter. This is the base of the buttercream and gives the frosting a rich buttery flavor and velvety smooth texture. If you only have salted butter on hand, you can use that instead and omit the salt at the end of the recipe. And if you want a vegan version of this buttercream, you can follow this recipe which uses vegan butter sticks.
- Powdered Sugar. This adds stability to the frosting while sweetening. I like to use less powdered sugar than the average American buttercream so that the frosting doesn’t end up cloyingly sweet, but if you’d like it even less sweet you can reduce the powdered sugar amount by up to ½ cup (60g). Just keep in mind that the consistency of the buttercream will be thinner.
- Vanilla. You can use either vanilla extract or vanilla bean paste to flavor the buttercream, and making sure you use a quality brand is one of the secrets to success. You can use any kind of vanilla extract or paste, but my favorite brands are Trader Joe’s and Kirkland Signature (from Costco) for vanilla extract, and Nielsen-Massey for vanilla bean paste. If you’re looking for more flavor options, I have all of my frosting recipes here.
- Milk or Heavy Whipping Cream. This thins out the buttercream while binding all the ingredients together. I like to use a liquid with lots of fat for this part because it makes the final frosting more velvety smooth, so whole milk or heavy whipping cream are my go-to’s. If you’d rather use a dairy-free option you can substitute this with any milk alternative, but keep in mind that the flavor of the liquid will affect the overall frosting flavor.
- Salt. A pinch of salt helps balance the sweetness beautifully.
How to Make Vanilla Buttercream
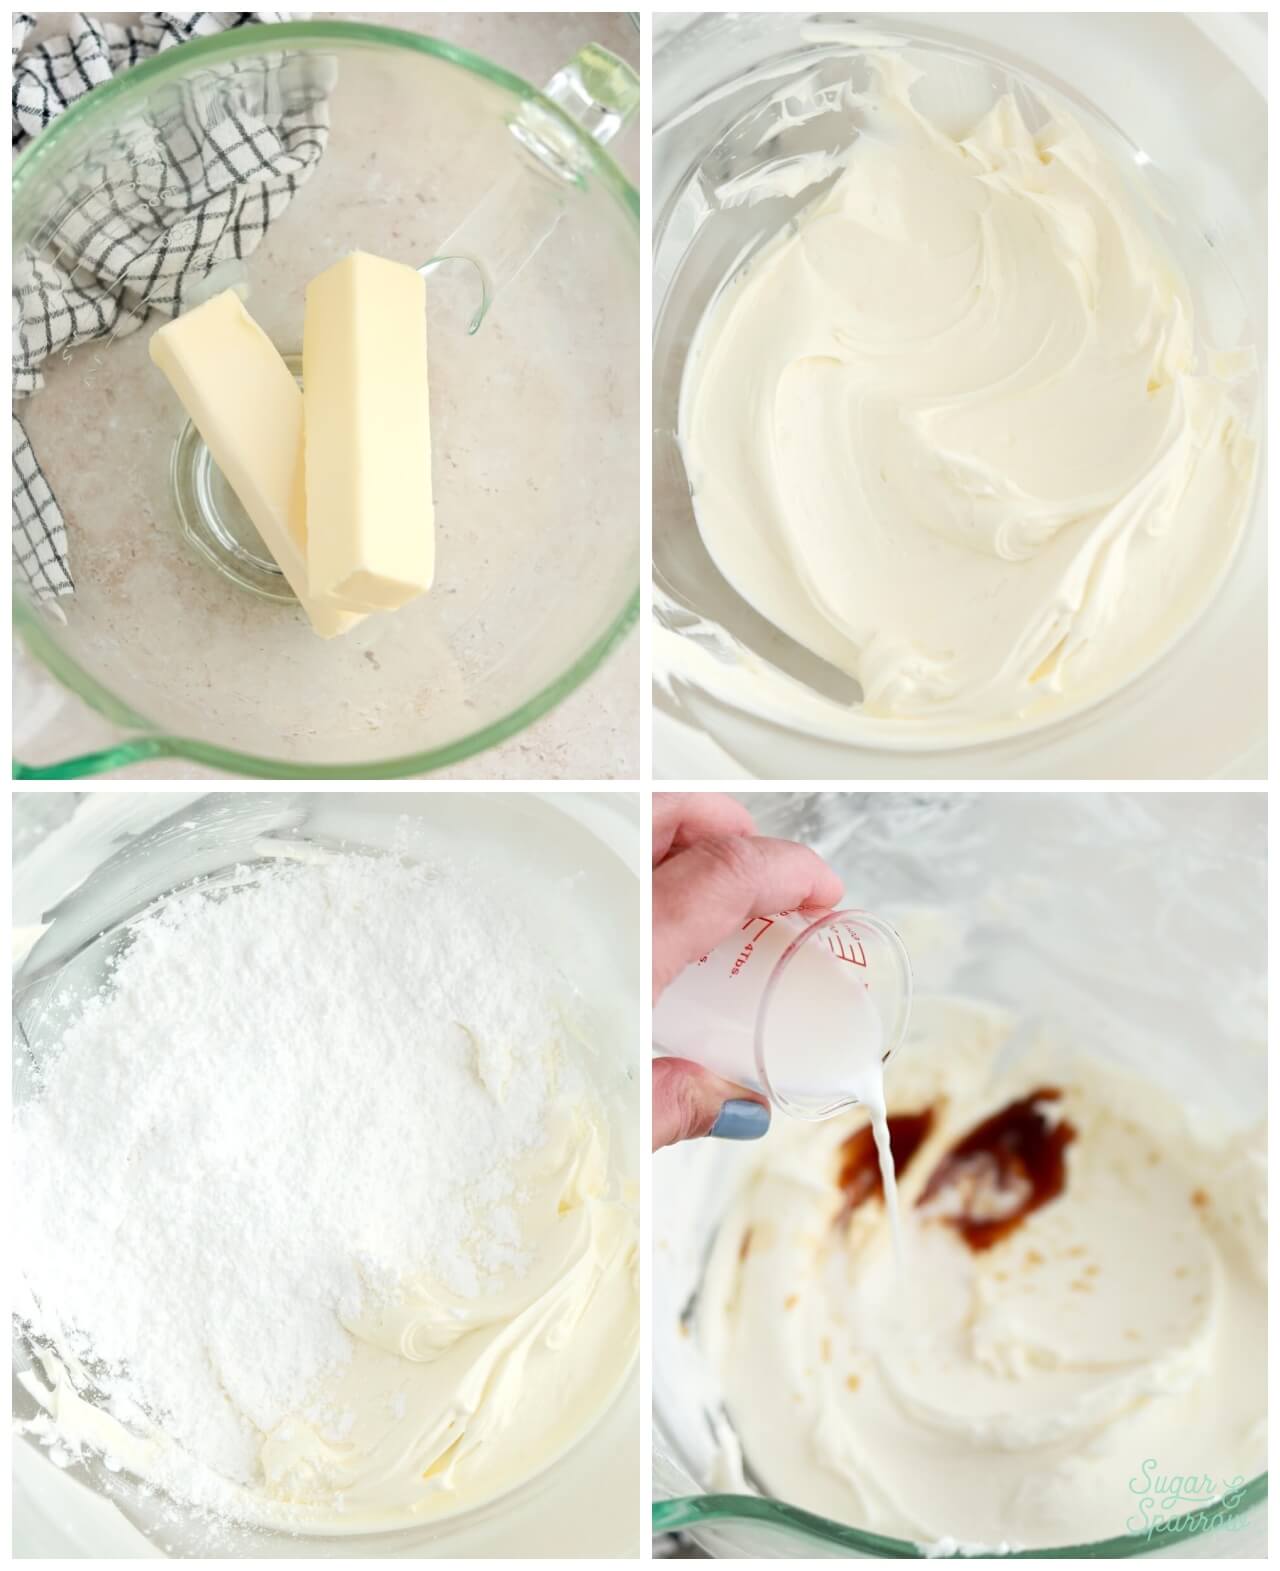
- Whip the Butter.
- Add the Powdered Sugar
- Add the Vanilla, Milk, and Salt.
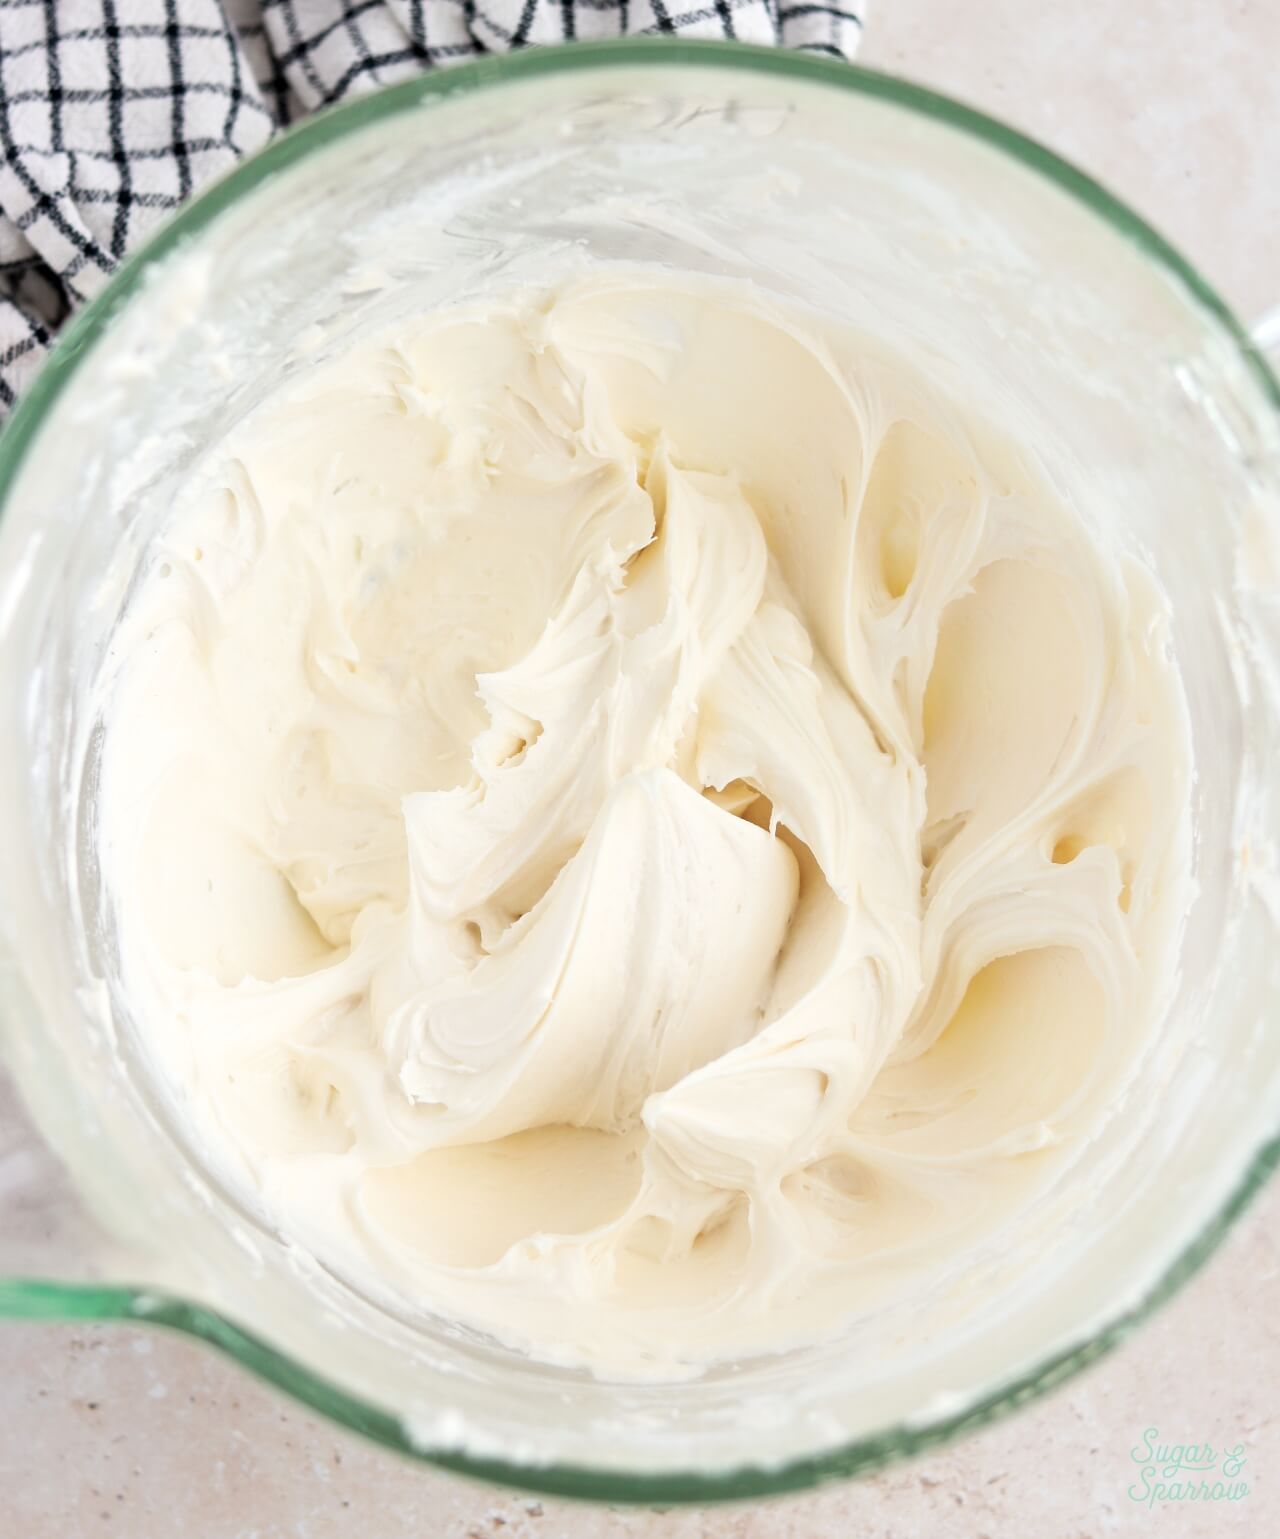
- Mix Until Smooth.
How to Make the Right Buttercream Consistency
Depending on what you’re using this vanilla buttercream recipe for, you’ll want to consider the final consistency of the buttercream (in other words, how thick or thin it is). I have a detailed blog post on how to achieve the perfect buttercream consistency if you want additional resources. Here are the 3 types of buttercream consistency and what they’re best used for:
| Buttercream Consistency | Best For | How to Make It |
| Medium Consistency (the recipe as-is) | -Filling and stacking cakes -Crumb coating -Frosting a smooth buttercream finish -Piping a buttercream border -Piping swirls onto cupcakes | Follow the exact recipe below |
| Thin Consistency | -Piping a message with frosting -Buttercream painting -Getting a super smooth final coat of frosting (like what I use in this smooth buttercream hack) | Add one extra tablespoon of whole milk or heavy whipping cream at the end of the recipe |
| Stiff Consistency | -Piping buttercream flowers -Piping intricate designs that need to stand upright against gravity (like ruffles on a lambeth cake) -Piping a really sturdy buttercream dam before filling cakes with a soft filling. | Add extra powdered sugar to the recipe, about 2-3 tablespoons at a time, until the desired consistency is reached |
Vanilla Buttercream Tips for Success
This buttercream is simple for anyone to make, but there are a few things to keep in mind when making, storing, and working with it.
- Room Temperature Ingredients. Be sure to use room temperature ingredients. This is important for ingredients to combine and create a smooth consistency. Over the years I’ve found that cutting corners like adding cold milk will create a curdled look in the final frosting because the temperature hinders the ingredients from coming together smoothly. Not the best look! So, take your ingredients like butter and milk out of the refrigerator for about an hour prior to making the frosting.
- Use the Paddle Attachment on Your Stand Mixer. Also known as the flat beater attachment, the paddle attachment is designed to incorporate just the right amount of air into the buttercream. This makes it easier to make smooth buttercream without a ton of air bubbles.
- Whip the Butter for a Long Time. To achieve the smoothest buttercream that’s also nearly white in color, you’ll want to whip the butter for a long time – about 7 minutes. In this amount of time, the butter should go from yellow to almost white and be extra smooth.
- Then Mix Everything Else on Low Speed. After you whip the butter, it’s important to keep the mixer on low speed any time you’re mixing in the additional ingredients. Even though it will take longer to mix the ingredients, keeping the mixer on low speed helps prevent air bubbles from forming in the buttercream.
- Let the Ingredients Fully Combine. After I mix in the final ingredient (salt) I like to run the mixer on low speed for another minute or two to allow everything to combine fully. This gives the powdered sugar time to dissolve as well, so the buttercream will taste smooth and not grainy.
Vanilla Buttercream Troubleshooting + FAQs
- How much buttercream do I need to make for my cake project? It depends! I made this handy chart to help you calculate how many batches of buttercream to make for your specific cake size.
- How do I make my buttercream whiter? This buttercream is pretty white as-is from whipping the butter for so long, but to get it even more white, you’ll either want to add an icing whitener like AmeriColor Bright White or the tiniest amount of purple food coloring (it helps cancel out yellow hues).
- Do I need to sift the powdered sugar? It’s not absolutely required, but to get the smoothest texture for your buttercream, you’ll want to sift the powdered sugar.
- How do I get rid of air bubbles in my frosting? There are a few techniques! I detail them all in this blog post.
- Why is my buttercream grainy? Your powdered sugar isn’t fully dissolved. Keep mixing on low speed until it’s no longer grainy.
- Why does my buttercream look curdled? The most common reason is adding liquid (like the milk in the recipe) that is cold. This seizes up the butter content and creates a curdled look. To fix it, scoop out about ¼ cup of the buttercream and place it into a microwave-safe bowl. Heat it for 5-10 seconds, until it’s melted but not hot. Then, mix it into the rest of the buttercream to re-emulsify the separated fats and liquids.
- Why is my buttercream too thin? This recipe will end up thinner than usual if you start with butter that is too soft or your kitchen environment is too warm. In either of these cases, refrigerate the whole bowl of buttercream for 15-20 minutes to let the butter re-solidify slightly, then re-mix with your stand mixer on low speed until smooth.
- Why is my buttercream hard to spread? Sometimes after storing buttercream, it can thicken naturally and become hard to spread when you’re frosting a cake. In this case, I recommend re-mixing on low speed with your stand mixer and adding 1-2 teaspoons of room temperature milk until the consistency is silky and easy to spread.
- How do I store buttercream? Place the buttercream in an airtight container and store at room temperature for 1-2 days, or in the refrigerator for up to 2 weeks. When you’re ready to use it, bring it back to room temperature and re-mix with your stand mixer on low speed until smooth. You can also freeze buttercream in a Ziploc bag for up to 2 months, then thaw it in the refrigerator overnight before bringing it back to room temperature and re-mixing until smooth.
Vanilla Buttercream Video Tutorial
This video shows my vanilla buttercream recipe from start to finish and includes all my best tips for success. Be sure to subscribe to my YouTube channel for all my latest recipe videos and cake decorating tutorials!
Cake Recipes to Pair with Vanilla Buttercream
The great thing about vanilla buttercream is that it pairs well with pretty much any cake flavor! Here are a few of my favorite recipes to pair it with:
- Vanilla Cake
- Vanilla Cupcakes
- One-Bowl Chocolate Cake
- Chocolate Cupcakes
- Funfetti Sheet Cake
- Funfetti Cupcakes
I hope this vanilla buttercream recipe becomes your new go-to! Let me know what you think in the comments below (be sure to leave a star rating!) and feel free to tag @sugarandsparrowco on Instagram to show me a photo.
Vanilla Buttercream
Ingredients
- 1 cup (226g) unsalted butter, room temperature
- 3 1/2 cups (420g) powdered sugar, sifted
- 2 tsp vanilla extract
- 2 Tbsp whole milk or heavy whipping cream, room temperature
- 1/4 tsp salt, or to taste
Instructions
- With a hand mixer or paddle attachment on your stand mixer, cream the butter on medium-high until it’s creamy and light (almost white) in color. About 7 minutes.
- With the mixer on low, add the sifted powdered sugar one cup at a time, scraping down after each addition and making sure each cup is fully incorporated before adding the next one.
- Add vanilla, milk, and salt and mix on low for another minute until fully incorporated.
Notes
- Frost 12-15 cupcakes with a piping bag
- Fill and crumb coat a three-layer 6-inch cake or two-layer 8-inch cake. To have enough for frosting and decorating as well, double the recipe.


Hey I live in a area which is quite humid so is there anyway to prevent my buttercream melting without using shortening
Hi Rhea! Substituting butter with shortening is the only method I’ve tried for stabilizing the buttercream for hot/humid environments. If you’d rather go the all-butter route, you can always keep the cake in the fridge until about 30 minutes before you serve it. That keeps it nice and firm for presentation.
Hello! I am a home baker and for some reason my previous recipe (which uses shortening) has just been, well, falling short lately! So I plan on trying out yours this weekend!
Quick question regarding coloring – most of my cakes are not white and so how I do it now is incorporate the color into the cream/vanilla and then put it in the butter/sugar mix. Would you recommend doing this or what is your “go to” method for adding color!
I’m so excited to find your site, I love your tutorials! I am going to try out a fault line cake this weekend I think!
Hi Ashley! I’m so excited for you to try this vanilla buttercream recipe and make a fault line cake. For coloring, I usually make the batch of buttercream, then add food color gel to tint it. I find that it’s easier to control the color that way, but you do you!
Thanks for this wonderful recipe! Do you have YouTube channel? I am from Philippines
Hi Desiree! Thanks so much for your kind words. I do have a YouTube channel! It’s here: https://www.youtube.com/sugarandsparrow
I was wondering about how many cupcakes does this decorate? Wanted to use this for a cupcake cake and some extra cupcakes, 60 in total
Hi Hannah! This recipe will decorate about 20 cupcakes.
Thanks Whitney! I love your site!!
I’ve tried this recipe a couple times now and I love it!! Not overly sweet which is great. However, each time I’ve made it I get some serious air bubbles, which makes getting that nice, smooth layer of frosting on my cake difficult. Any tips??
Hi Bel! Glad you’re loving the vanilla buttercream recipe! So the only real way to eliminate air bubbles is to make sure you don’t overwhip the buttercream (more whipping time = more air being incorporated). If you do end up with air bubbles, try pressing the buttercream to the sides of your mixing bowl with a rubber spatula to release some of that air.
Sometimes when I’m frosting a cake and finding that there are air bubbles that can’t easily be smoothed out, I will get the first frosting layer as smooth as I can and then chill the cake for about 30 minutes, then fill in all the air bubble holes with more buttercream and smooth that over. It makes for a super smooth cake. Here’s a full tutorial with all my best tips on how to get the smoothest finish possible: https://sugarandsparrow.com/how-to-frost-a-cake/ Hope all that helps!
Hi Whitney,
what can you substitute vanilla extract with? I have Vanilla essence and vanilla paste but I’m not sure if I can use them to replace it? please will you let me know if I can substitute with these and in what measurements.
thanks
Hi Ashley! You can substitute vanilla extract with vanilla paste. Just use equal amounts of vanilla paste per amount of vanilla extract and you’ll be good!
Hi Whitney,
When you say you use this to frost your cakes, is that for the crumb coat also? And how much doubling will I have to do for a 10in rounds cake? I’m really excited to try this recipe since i’ve stayed away from traditional butter cream because of the sweetness.
Hi, Jackie! This recipe works for filling, crumb coating, and frosting the cake. For a 10 inch round cake, if you’re using it as filling as well as frosting, I would make 2.5x the recipe. If you’re just crumb coating and frosting the cake, I would make 1.5x the recipe. Hope you love it!! Let me know how it goes.
Thank you! I’m a basic cook, but I followed your buttercream (and chocolate dripping ganache) recipe, plus the tips. They were a great help & they both came out perfectly!
That’s so wonderful to hear, Lauren!! So happy you’re enjoying the recipes and tutorials!!
Will this amount of sugar taste very sweet?
Hi, Jessy! I don’t think this recipe is too sweet. I purposefully reduced the sugar (most other recipes call for 4+ cups of sugar) and added salt to make it sweet, but not overly so.
Hi Whitney! Do you use the thin consistency to cover the outer layer of the cake? Which consistency is best if I need to paint it in gold? Another question what happens if I want to reduce the sugar level does it affect the consistency of the buttercream?
Hi Natalie! I use thin-consistency to frost cakes (it’s the same measurements as the recipe above). If you add less sugar, the consistency will be even thinner, so I would reduce the amount of milk depending on how much you reduce the sugar (otherwise it might be too liquidy). You can eyeball that part. Thin consistency buttercream will also be perfect for painting a gold finish. You just need to refrigerate the cake after frosting it for about 30 minutes (until the buttercream is firm to the touch) before painting.
Hi Whitney, Could I make a strawberry buttercream using freeze-dried strawberries and this recipe? If so, do you have any recommendations on quantity of freeze-dried strawberry powder to butter/sugar/cream/milk? Strawberry frosting is the best, but I can’t use most recipes as they require extract and I’m allergic to red 40. Thanks!
Hi Jessica! You can totally make strawberry buttercream using freeze-dried strawberries – it’s so tasty! Just use this recipe but substitute the raspberries for strawberries: https://sugarandsparrow.com/raspberry-buttercream-recipe/
I’ve nevwr loved an ABC frosting more than this! & the smoothest I’ve ever been able to get on a cake. Thank you for the recipe!
I’m so happy to hear that, Jessica! Glad you love the recipe!
Do you have a similar recipe for chocolate buttercream frosting?
Hi, Kim! Yes, I do have a tasty chocolate buttercream recipe here: https://sugarandsparrow.com/chocolate-buttercream-recipe/
Thank you so much
All the way from Tanzania
No problem, Neelam! So happy you love the recipe 🙂 Love from Portland!
Ho There,
How long does the buttercream last? Do you think it is OK to make the buttercream in advance, store it in the fridge, and then bring it back to room temp before using? Thanks so much!
Heather
Hi Heather! I make this buttercream recipe ahead all the time. You can store it in an airtight container at room temperature for two days, then rewhip it with your stand mixer to bring it back to creamy consistency. If you’re wanting to store it for longer than two days, place it in an airtight container in the refrigerator for up to two weeks. When you’re ready to use it, bring it back to room temp and rewhip with your mixer before using. Hope that helps!
I made the buttercream and it is absolutely delicious!! I’m so excited about this recipe! One more question, once the cake is frosted what is the best way to store it? Do you cover it with plastic wrap or a cake platter with lid?
Yay, Heather! So happy to hear that! Once the cake is frosted, the buttercream acts as a barrier to hold moisture within the cake, so there’s no need to cover it with additional plastic wrap, etc. I just keep it in the refrigerator until a few hours before serving.