
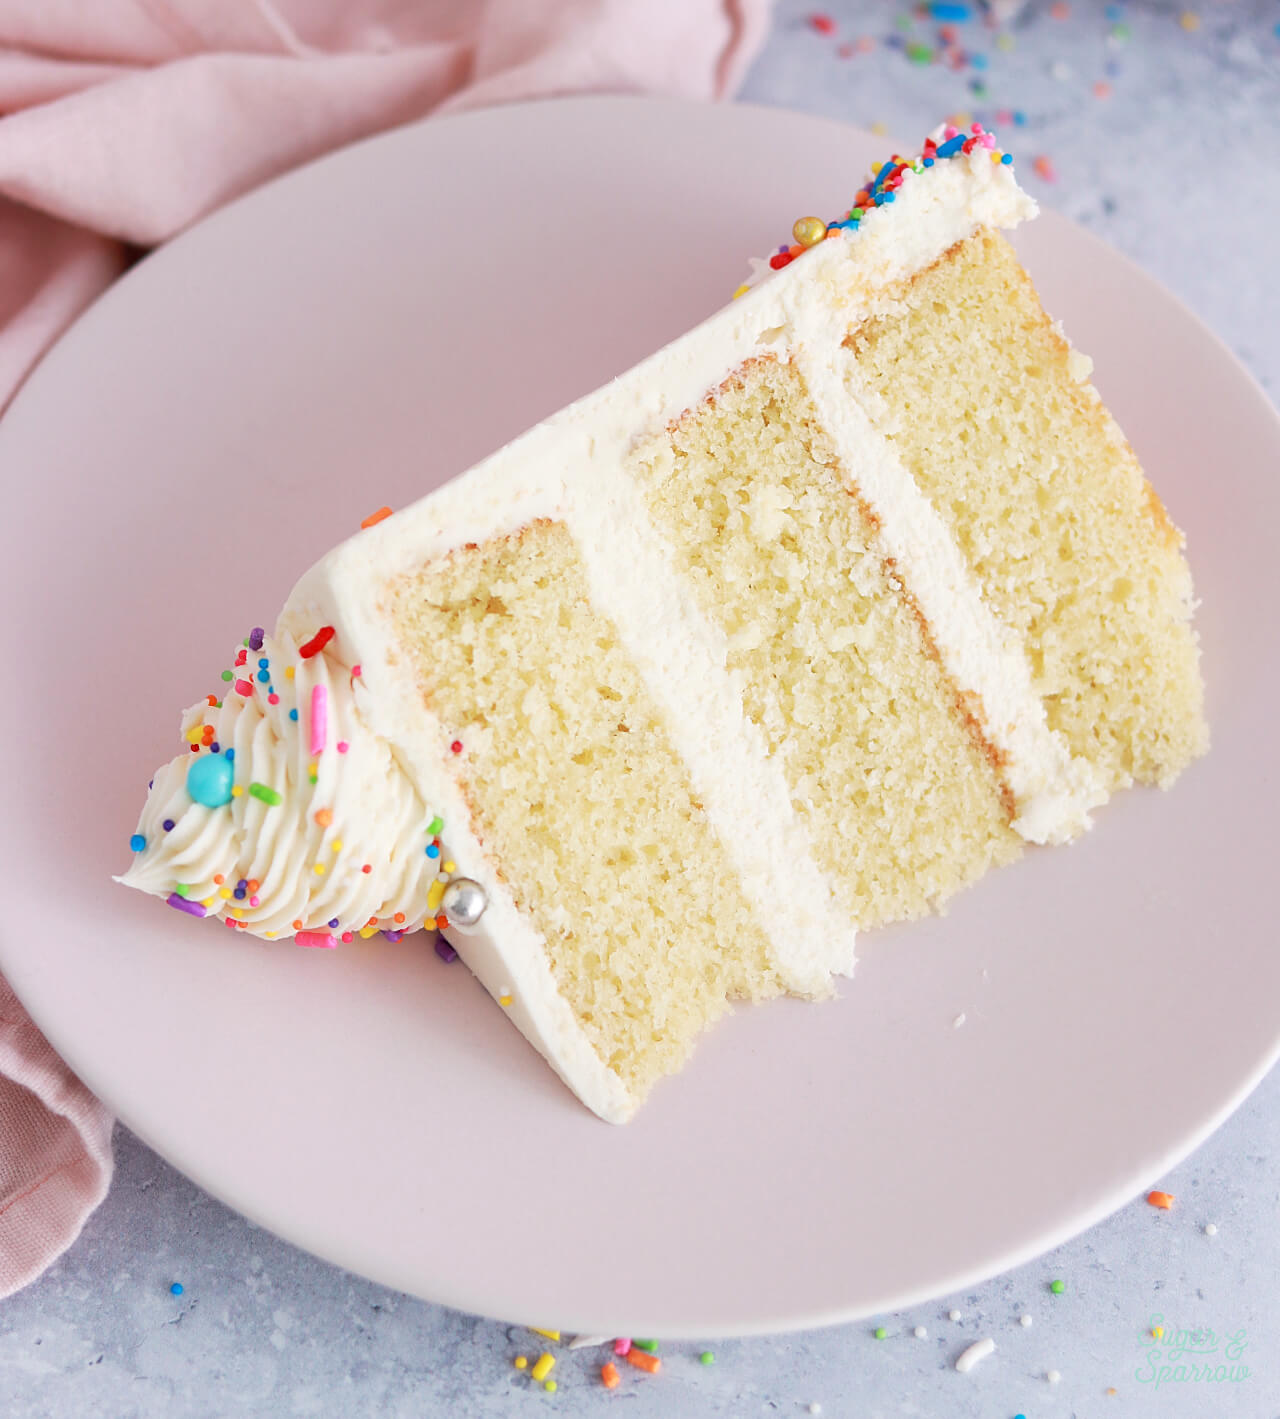
This is my favorite from-scratch vanilla cake recipe that was created after TONS of recipe testing in search of the perfect vanilla cake – one that has the light and fluffy texture of box cake mix, is packed with vanilla flavor, and super easy to make. This one checks all of those boxes and has become a go-to for me and for many of you, which makes me so happy! Pair it with vanilla buttercream and pretty sprinkles for the ultimate vanilla birthday cake, or pair it with any of my other frostings to mix it up. It goes well with everything!

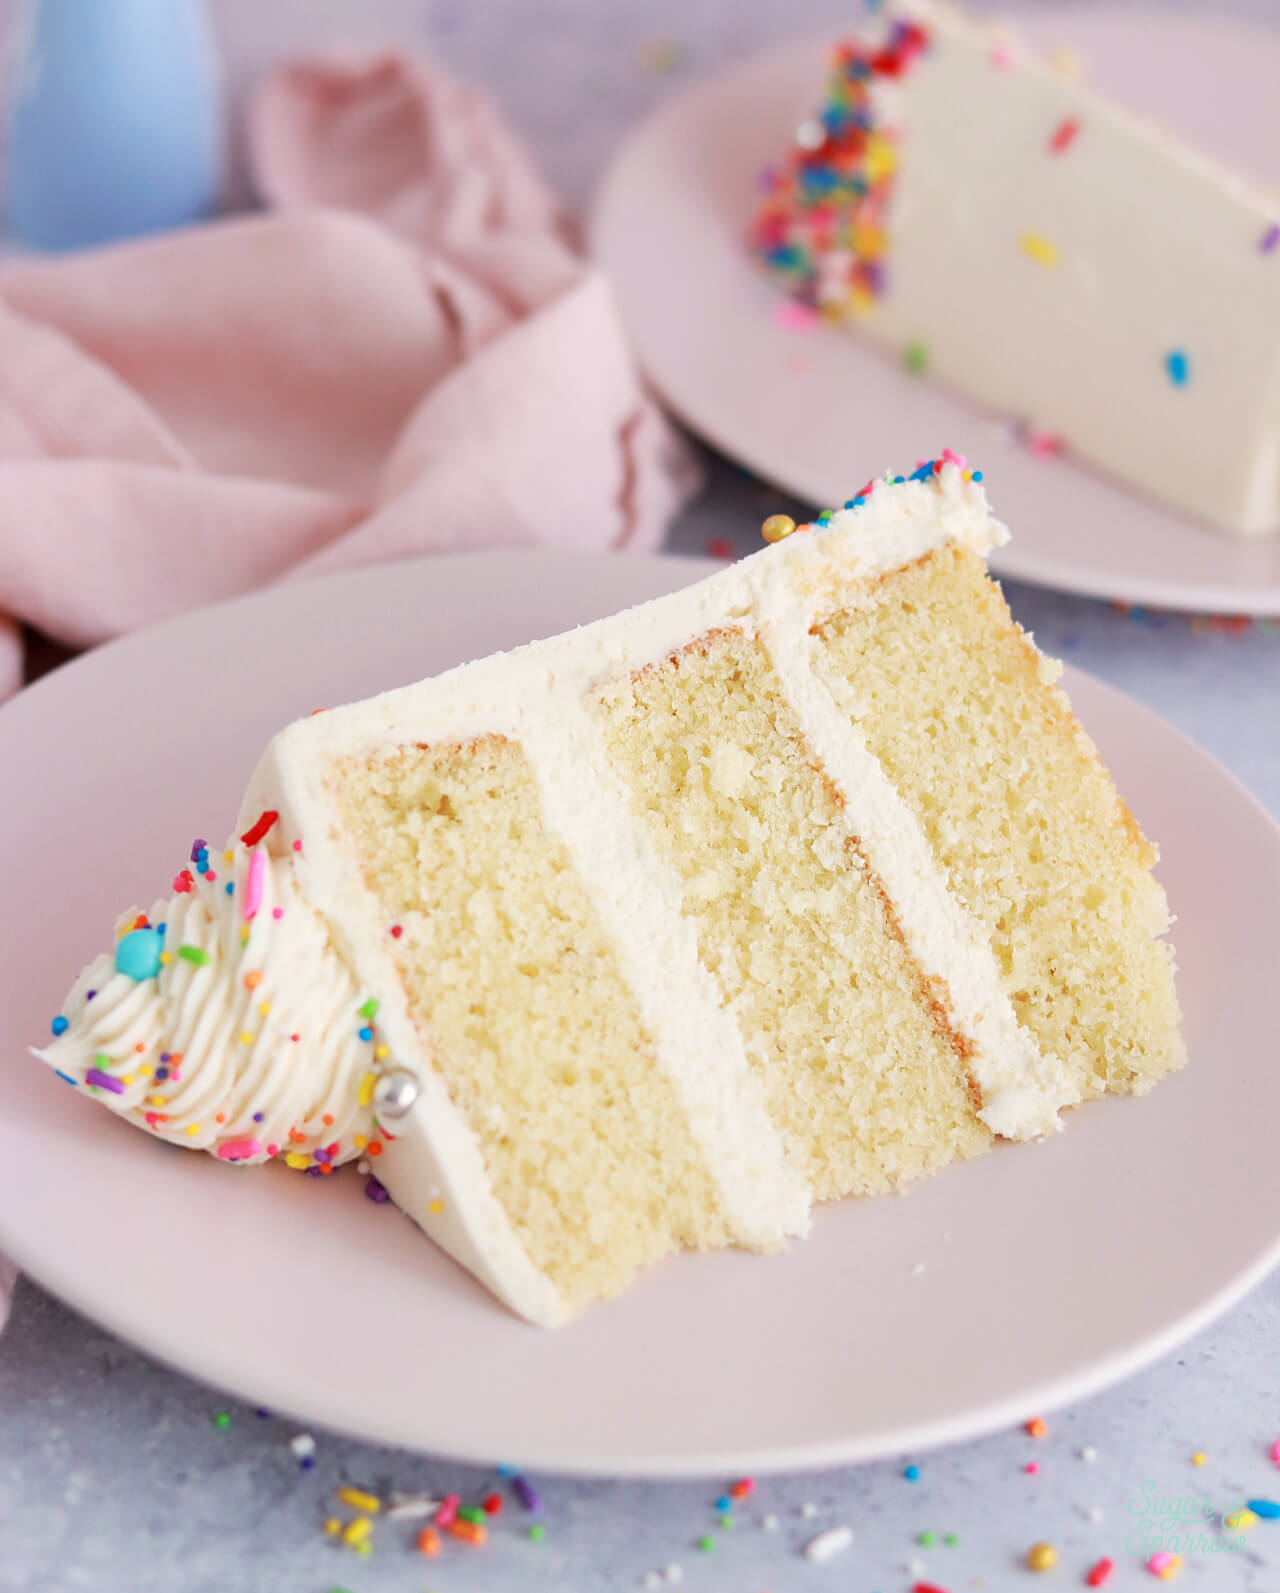
One reader, Haley, says: “1000% this is the best vanilla cake recipe I have ever made. I quite literally NEVER leave reviews on things that I try, but there is no way that I could go without telling you how DELICIOUS this cake is.” ★★★★★
From-Scratch Vanilla Cake that Rivals Box Mix
I have a little confession to make: when I first started making cakes, my secret go-to for far too long was the box vanilla cake mix by Betty Crocker.
Phew. Now you know.
Since I became accustomed to the light and fluffy texture of said box mix, every time I tried to make a vanilla cake from scratch, the result seemed off. Blame it on the lack of Propylene Glycol Mono (or the handful of other ingredients in box mixes that you’ve never heard of), but my from-scratch vanilla cakes always ended up too dense, tasted a little cornbread-ish, and just didn’t have that fluffy appeal. Finding a go-to vanilla cake recipe from scratch felt like a mountain I had to climb, but after (what felt like) five hundred tries and a whole lot of not giving up, I’ve found a recipe that is beyond my wildest cake dreams.
Perfect Vanilla Cake Ingredients & Substitutions
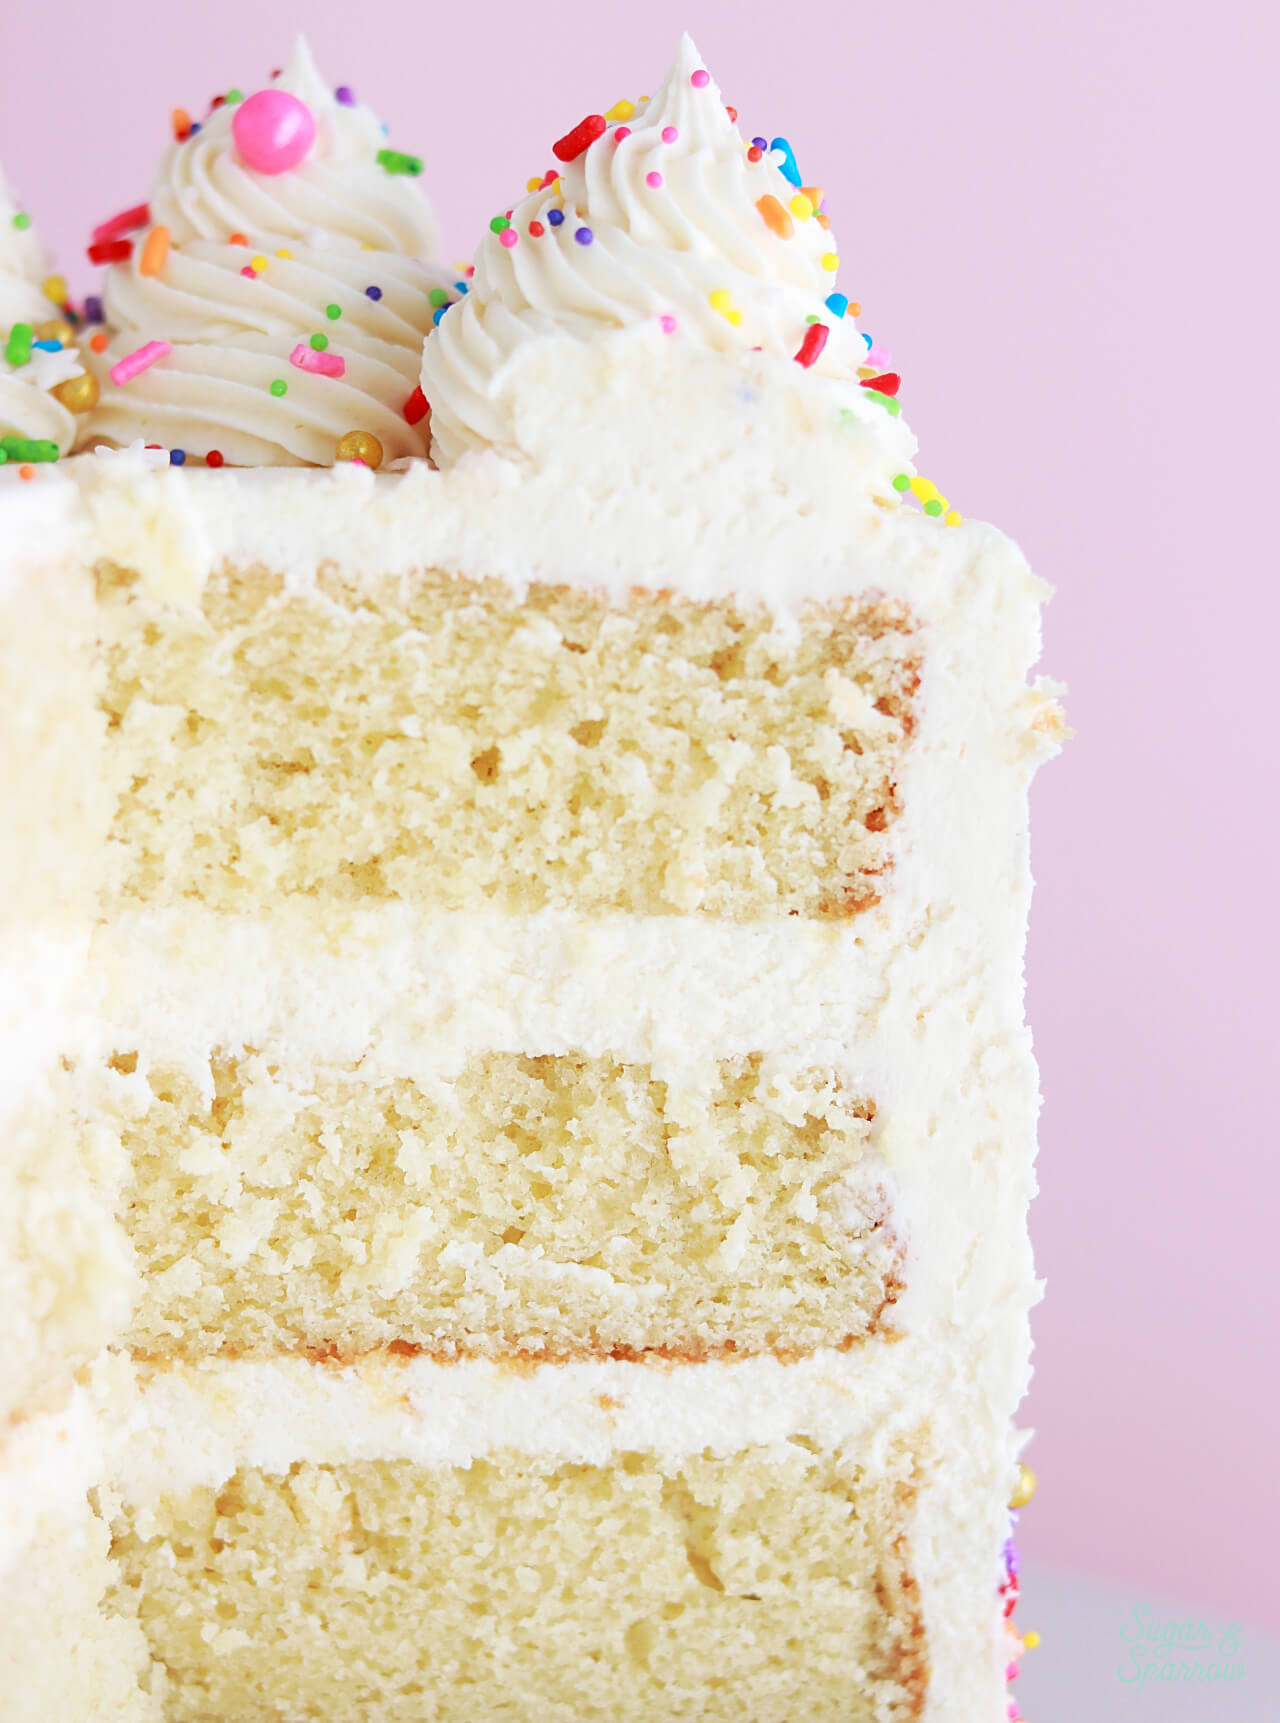
This vanilla cake is soft and moist, so easy to whip up, and tastes like a dream. There are some key ingredients that make it this way, and I’ve listed them below. I’ve also shared some substitutions that can be made just in case you’re in a pinch:
- Cake Flour. To achieve the super soft texture in this cake, I swear by cake flour. It produces a much fluffier cake than all-purpose (or plain) flour because of its lower protein content (the more protein in your flour the stiffer the dough and less ability to maintain moisture). You can find cake flour at most grocery stores, but if all you’ve got is all-purpose flour in your pantry, here are instructions for how to make your own cake flour. Keep in mind that if you do use the homemade version, the gram measurement will weigh more (325g instead of 290g) since all-purpose flour is heavier than cake flour.
- Baking Powder + Baking Soda. The leavening agents in this recipe. Using both makes it the perfect amount of fluffy.
- Unsalted Butter. The main fat in this recipe, which adds lots of moisture, great structure, and rich flavor. If you only have salted butter on hand, you can substitute that but be sure to omit the salt in the recipe if you do.
- Granulated Sugar. This not only sweetens the cake, it creates a tender crumb as well. You can substitute this with caster sugar if you wish and it will be even more soft.
- Whole Eggs + Egg Whites. I use two large eggs and two large egg whites in this recipe. The egg whites keep the cake lighter while adding the perfect amount of protein and binding power.
- Sour Cream. Sour cream adds the perfect amount of moisture to this cake. If you don’t have that locally you can substitute it for plain yogurt or Crème fraîche.
- Pure Vanilla Extract. I use an entire tablespoon of vanilla extract in this cake, which takes the flavor beyond! I recommend using a quality vanilla extract here (not imitation). You can substitute the extract for vanilla bean paste if you wish.
- Whole Milk. Since it has the highest fat percentage of any milk (aside from buttermilk), the whole milk creates a rich crumb while binding the ingredients together. You can technically substitute this for another kind of milk, but whole milk is going to yield the best results.
Vanilla Cake Baking Tips for Success
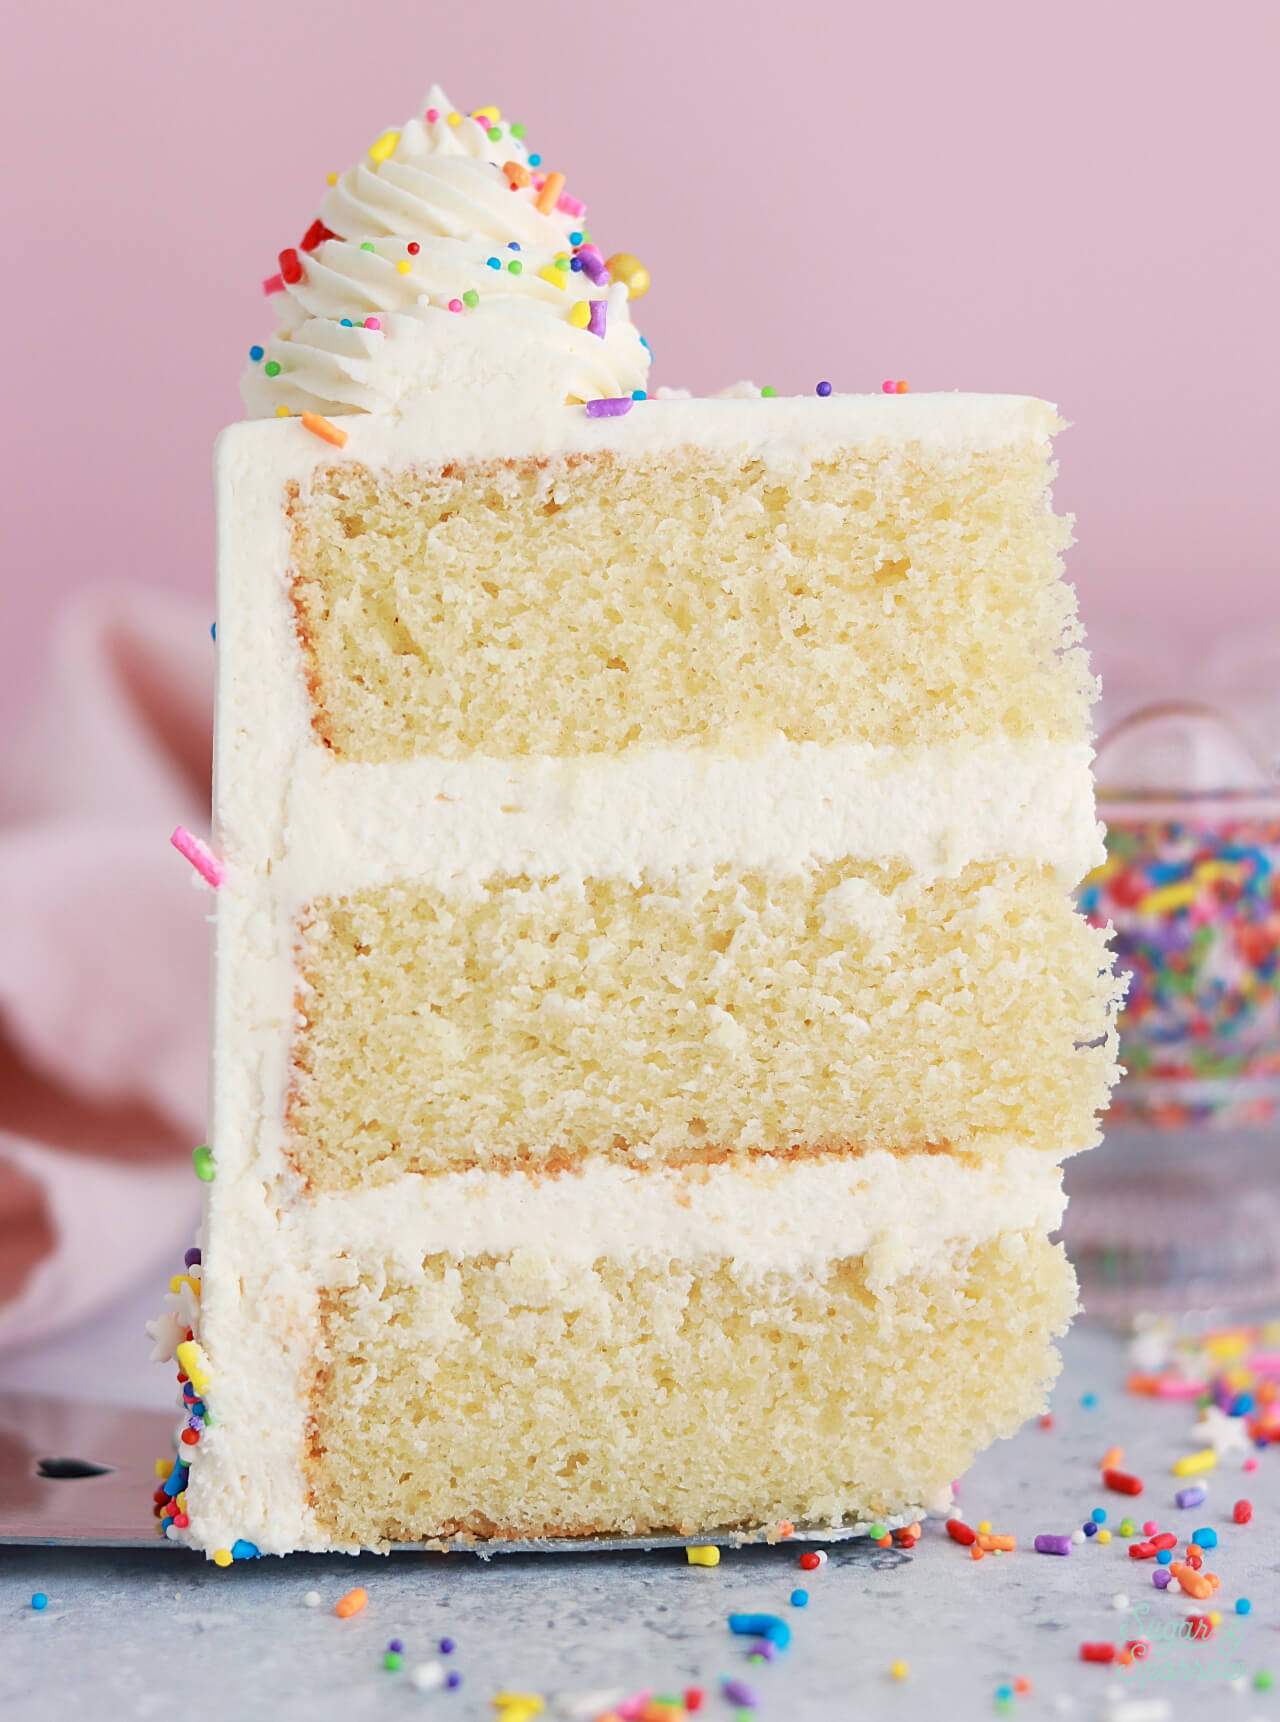
Even if you have all the right ingredients, it’s important to follow a few ground rules when it comes to baking this cake (or really any cake). Here are a few best practices that will really set you up for success:
- Start with room temperature ingredients. Cake baking is a science, and when ingredients like eggs, butter, and dairy are at room temperature, they form an emulsion which traps air in the batter. Once you place that batter in the oven, the trapped air expands and gives your cake a good rise and lovely, tender crumb. It’ll only happen when you use room temperature ingredients, so if you want your cake to live up to it’s true potential, don’t skip this step.
- Use fresh baking powder and baking soda. Each of these leavening agents are responsible for helping your cake to rise. Once their containers are open, they only have a six month shelf life! When they’re past their expiration date, the chemical reaction that causes your cake to rise won’t happen. If you want those cakes to rise beautifully, make sure your baking powder and baking soda are within that 6 month window.
- Use the paddle attachment on your stand mixer. Also known as the “flat beater” attachment, the paddle attachment helps incorporate just the right amount of air. Other attachments might add too much air to your cake batter, causing them to become over-mixed and potentially sink in the baking process. If you don’t have a stand mixer, an electric hand mixer works just fine.
- Be careful not to over or under mix. Under-mixing the batter will prevent important chemical reactions from happening in your cake batter, and over-mixing will lead to too much gluten development (aka a dense cake). In order to help you mix for the right amount of time, I’ve listed all of the mixing times in the recipe below. Follow those exactly for best results!
- Know your oven. I’ve written this recipe (and all of my recipes) for a conventional oven. If you have a convection or fan-assisted oven, you’ll want to reduce the baking temperature to 325ºF (163ºC) and check for doneness a few minutes earlier than specified.
Here’s a quick video to show you the process for making this vanilla cake:
If you love recipe videos like this one, be sure to check out my YouTube channel! I’ve got a growing collection of cake recipes, decorating tutorials, and Cake Basics over there. Hit the subscribe button on my page so you never miss a new video.
What Frosting to Pair with Vanilla Cake
This vanilla cake pairs well with so many buttercream flavors, but if you want to keep things on the vanilla spectrum, try pairing it with a double batch of my Vanilla Buttercream Recipe. It does not disappoint!
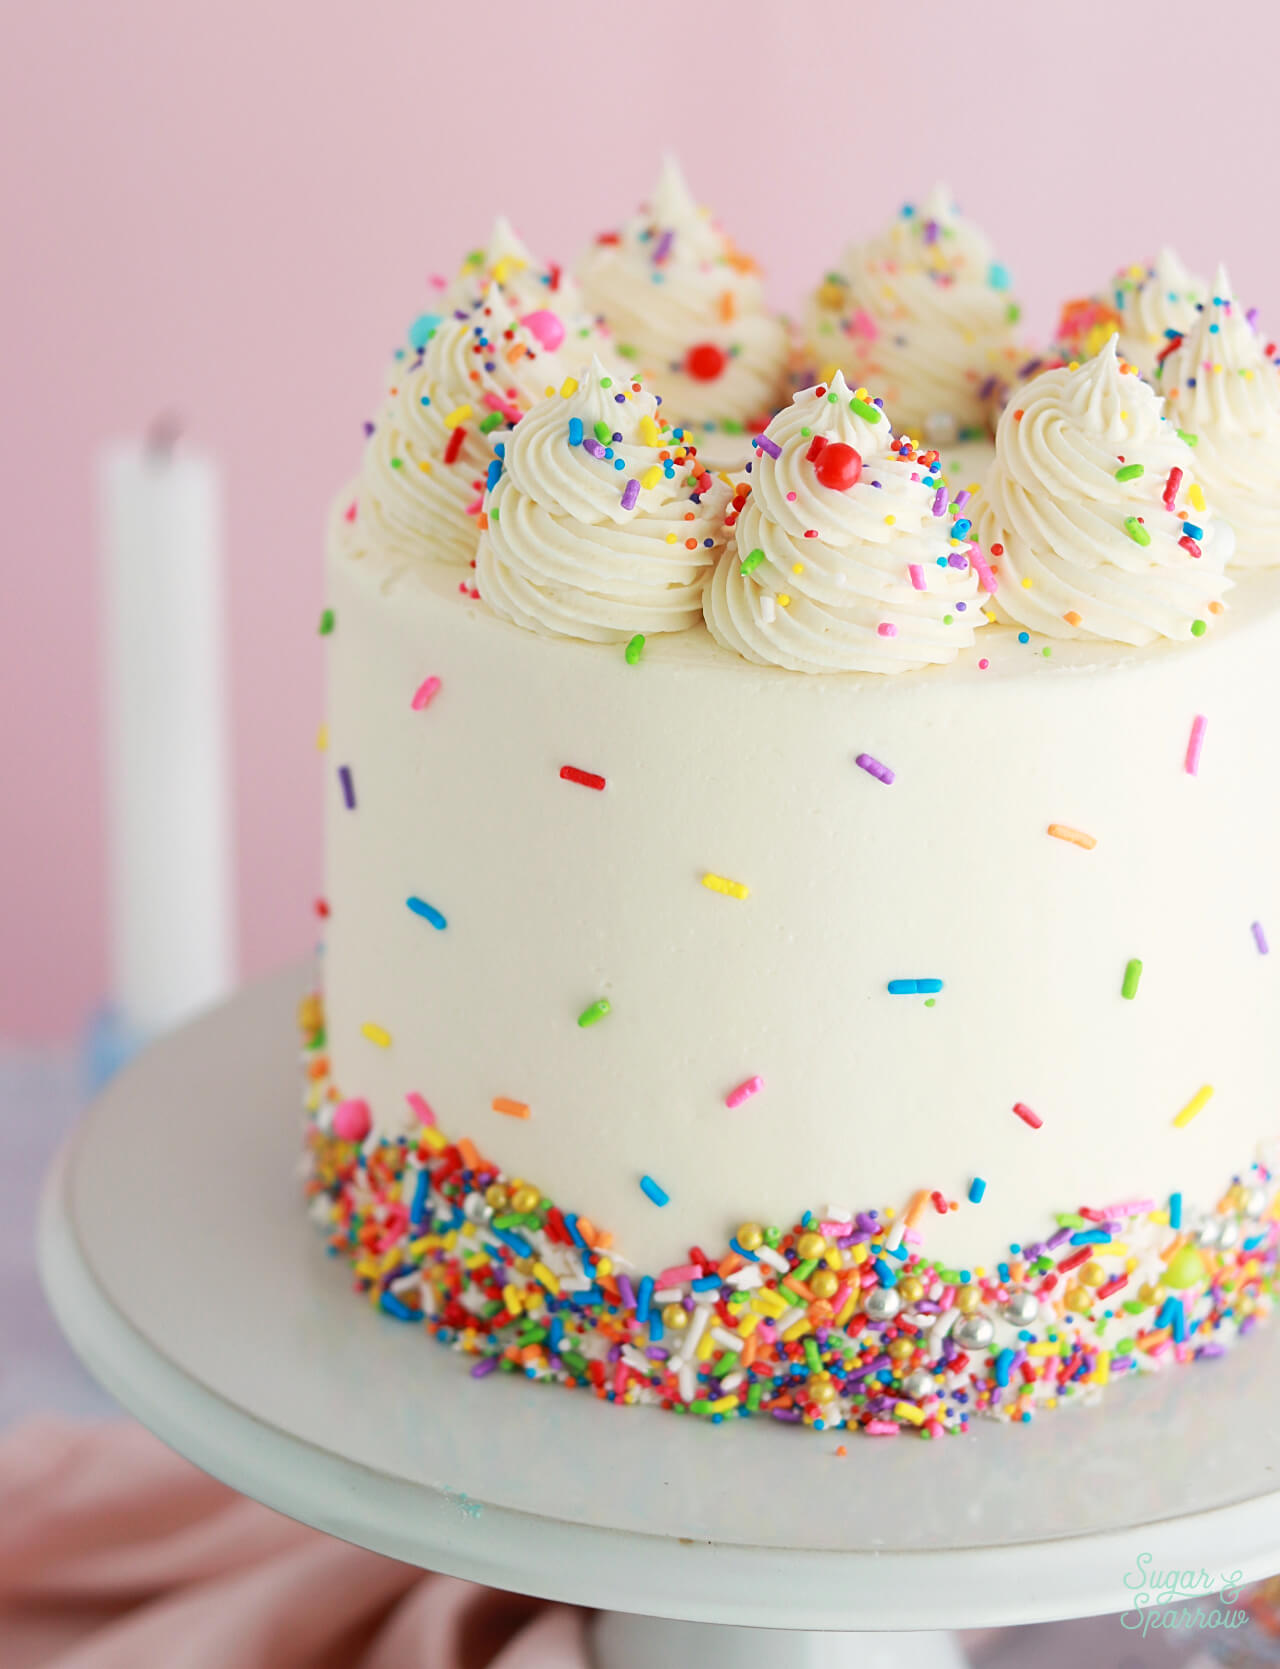
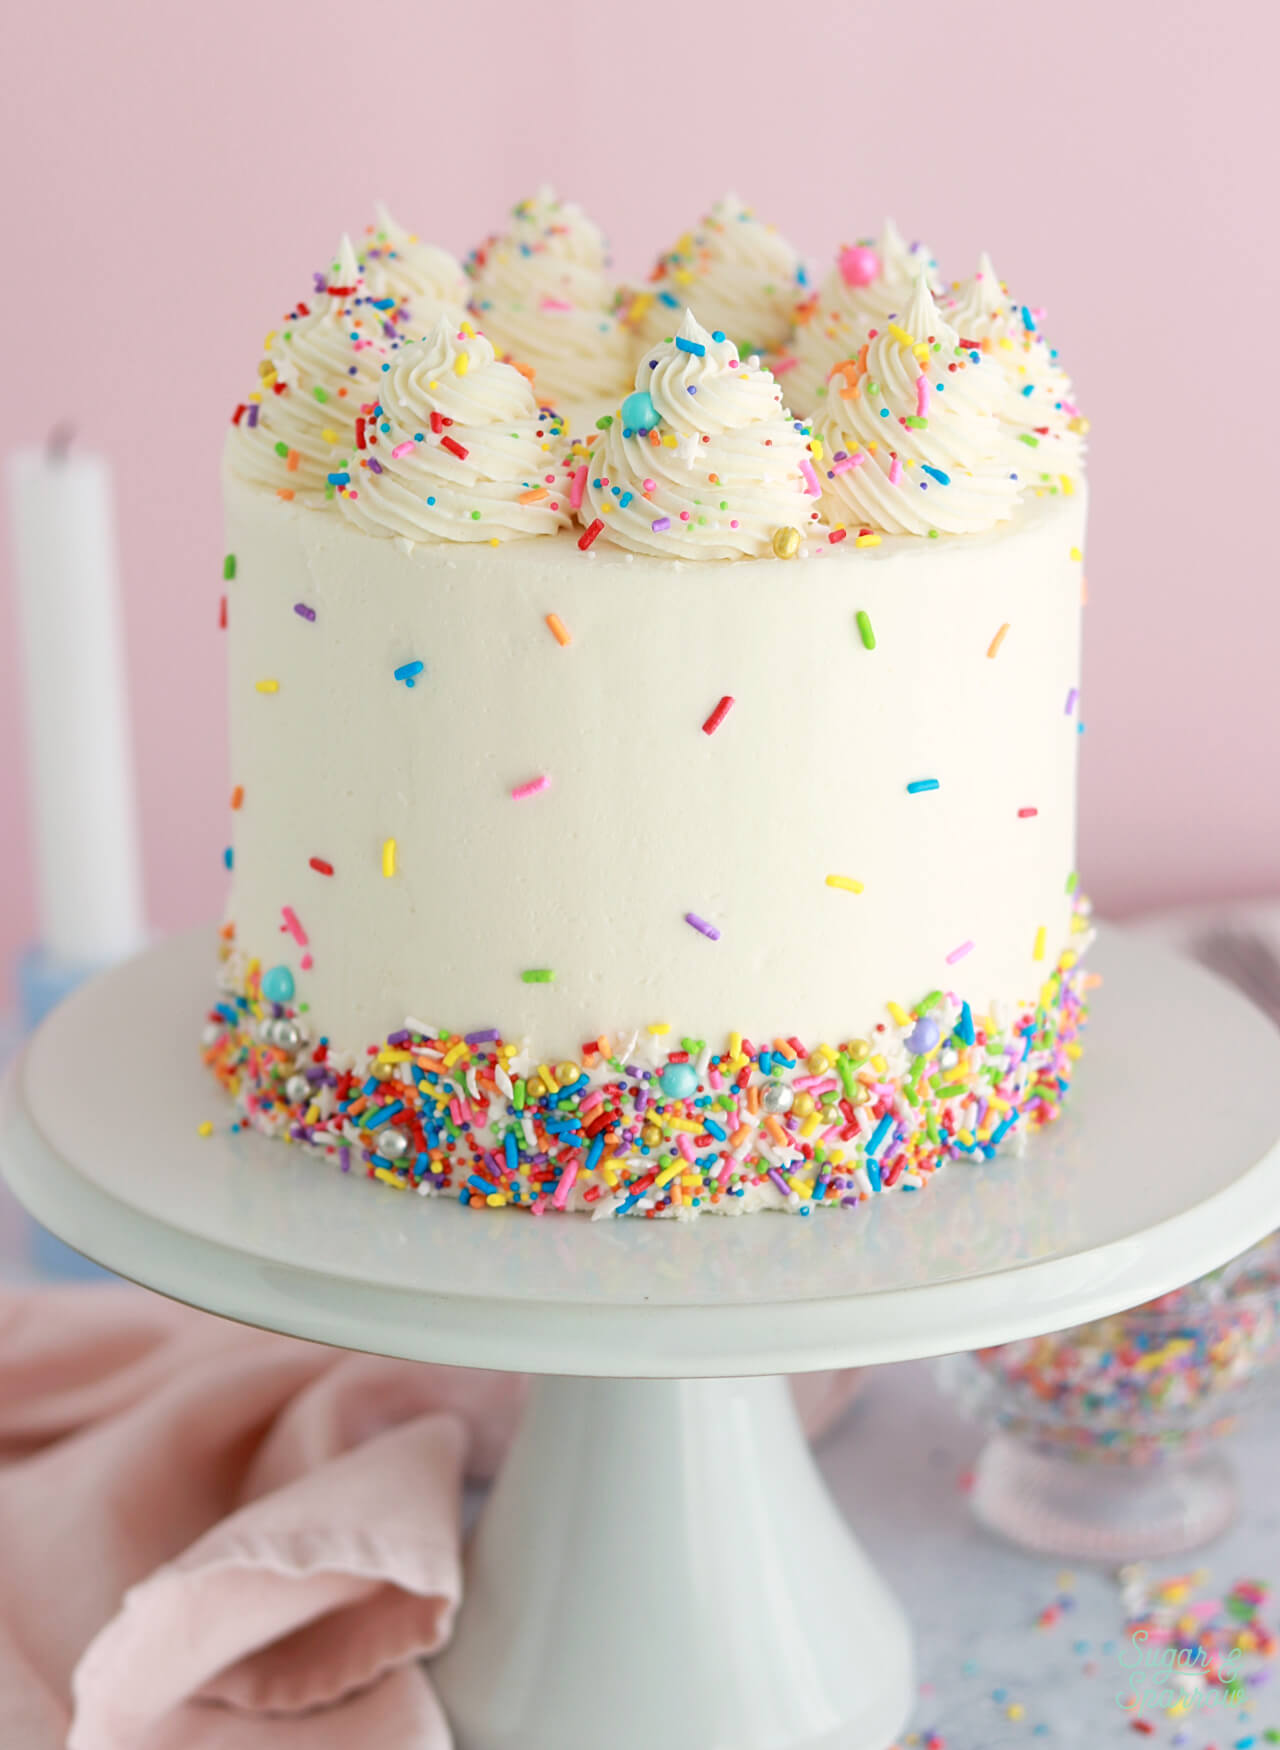
If you’d rather switch things up, a double batch of any of my frosting recipes will work great! I’ve got recipes for alternative cake fillings here as well.
Updates
In 2022: I slightly changed the measurements of these same ingredients to make this cake even more soft and light! The original recipe is in this youtube video if you’ve come to love that one.
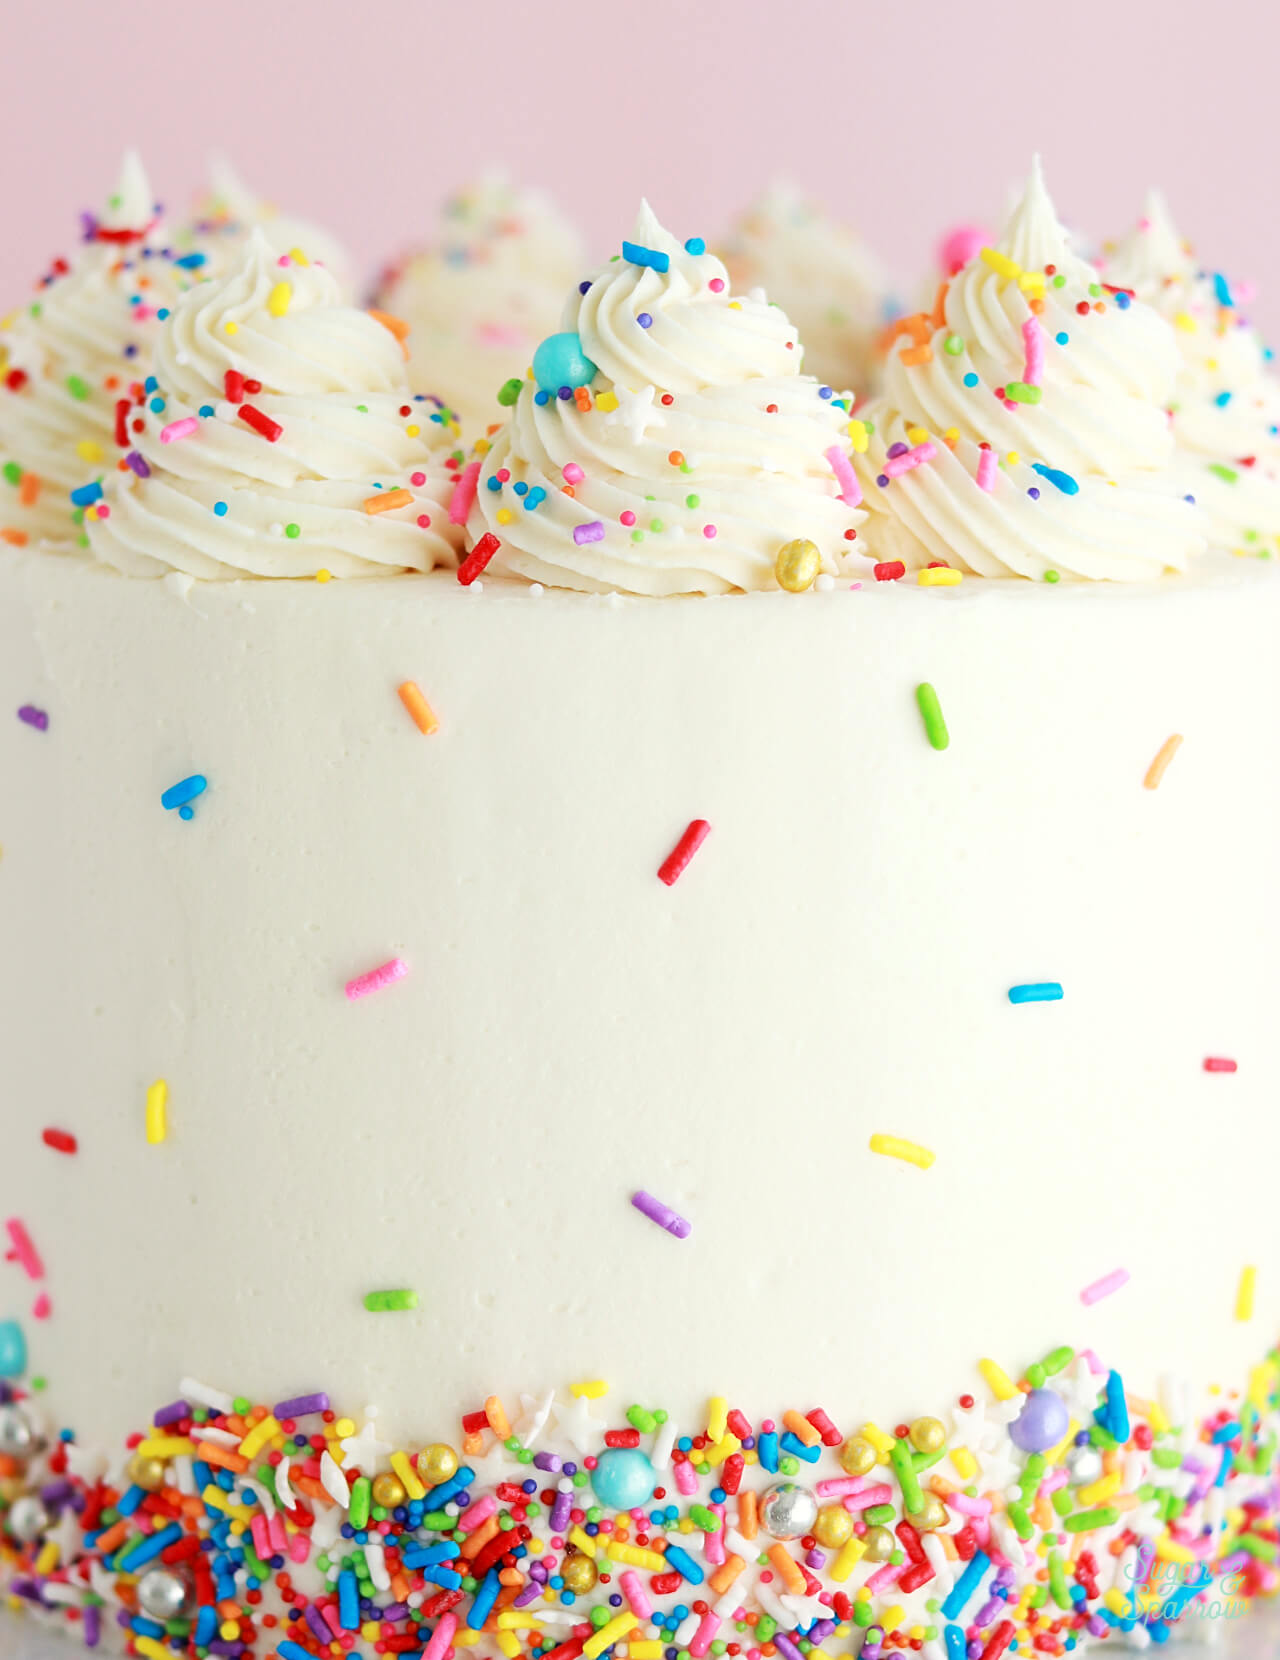
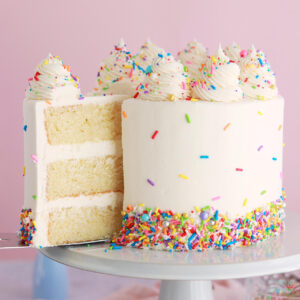
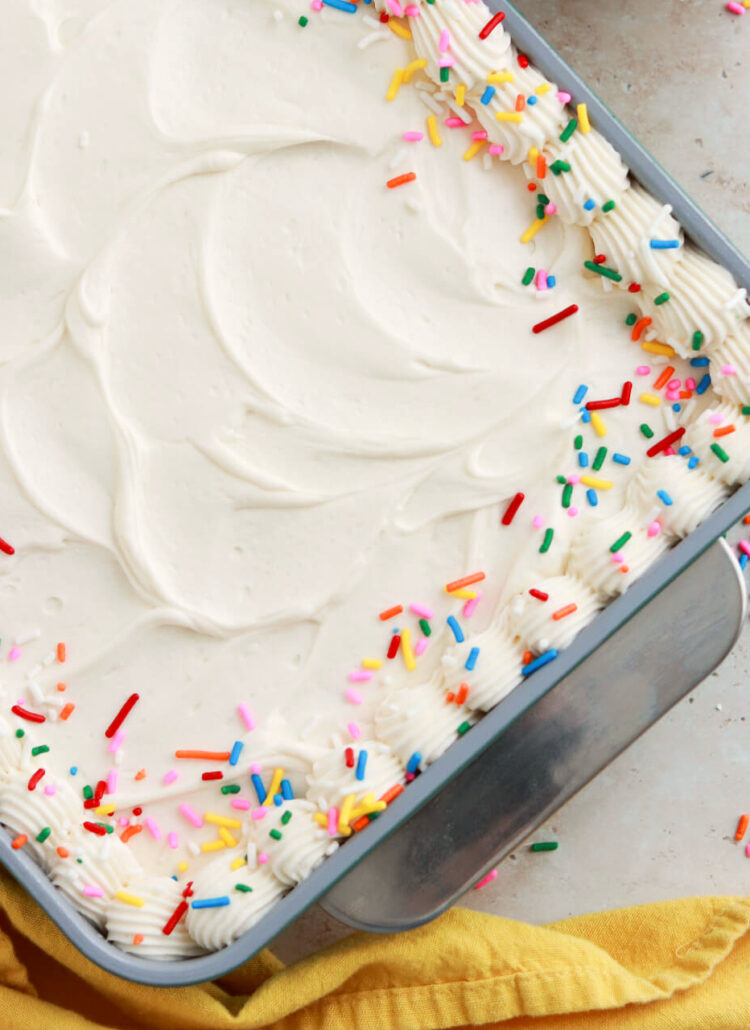
In 2025: I finally updated the photos to show more of the inside of the cake! The exterior decoration changed to reflect a simpler design as well. Basically a smooth buttercream finish, these pretty rainbow sprinkles, and swirls on top created with Wilton Tip 4B.
Perfect Vanilla Cake Recipe
Ingredients
Vanilla Cake
- 2 3/4 Cups (290g) sifted cake flour* DIY recipe in notes
- 2 tsp baking powder
- 1/2 tsp baking soda
- 1 tsp salt
- 3/4 Cup (170g) unsalted butter, room temperature
- 1 1/2 Cups (300g) granulated white sugar
- 2 large eggs + 2 egg whites, room temperature
- 1/2 cup (120g) sour cream, room temperature
- 1 Tbsp pure vanilla extract
- 1 Cup (240ml) whole milk, room temperature
Vanilla Frosting
- 2 batches vanilla buttercream
Instructions
- Preheat the oven to 350°F. Prepare three 6-inch cake pans or two 8-inch or 9-inch cake pans by spraying the sides with a cooking spray (Baker's Joy is my favorite) and fitting a parchment paper circle to the bottom of the pan.
- Sift the cake flour and then measure by spooning and leveling it in your measuring cup. Add the cake flour, baking powder, baking soda, and salt into a bowl and whisk to combine. Set aside.
- In the bowl of your stand mixer (a handheld mixer works fine too!), beat the butter on high for two minutes until it's light and creamy. Add in the sugar and continue to mix on medium-high for another two minutes. Turn the mixer to low and add the eggs and egg whites, one at a time, mixing until just combined and scraping down the bowl and paddle as needed. Add the vanilla and sour cream, turn the mixer to high, and beat for one full minute. It will look curdled at this point, but don’t worry – it will become smooth cake batter at the end.
- Add in the dry ingredients all at once and turn the mixer to low speed. Mix until just combined, then slowly pour in the milk. Continue to mix on low speed until just combined, about 30 seconds. Scrape down the sides and bottom of the bowl and give it a few stirs with a whisk to make sure there are no lumps. The batter will be slightly thick.
- Pour the batter evenly into the prepared cake pans and bake for 30-35 minutes. They're done when they spring back to the touch and a toothpick inserted into the middle comes out clean. Let the cakes cool in the pan for five minutes before turning them out onto a wire rack for an additional few hours of cooling. Make sure they're entirely room temperature before filling and frosting with a double batch of my vanilla buttercream (or any frosting!).



Hi Whitney, I was wondering how long I would bake this for cupcakes?
Hi Leila! To bake this recipe as cupcakes, be sure to fill the tins no more than 2/3 full and bake at 350ºF for 15-18 min, or until a toothpick inserted comes out clean. Enjoy!
Thank you for the baking time and temp. One thing I would also like to know is how many cupcakes will this recipe make?
It makes about 24 cupcakes!
Can you use egg whites instead?
Hi Maria! You could, although I’ve never tested it with just egg whites before so I’m not sure how removing the yolks will affect the recipe. The yolks help add more moisture to the cake, so it may end up a little less moist if you remove them.
Hi, if I was to add some cocoa powder to this how much would I add?
Hi Sanah! I’ve never tried adding cocoa powder to this recipe, so I can’t say for sure how much, but if you’re looking to make a chocolate cake, I would use this recipe instead: https://sugarandsparrow.com/chocolate-cake-recipe/
Can I use something else or take away the cream cheese? X
Hi Stacey! I am assuming you mean the sour cream in the recipe. The sour cream is important for adding moisture to this cake, so I recommend keeping it in, but if you want to substitute it you can use plain greek yogurt. Hope that helps!
I made this cake and it’s really perfect!! I just have a question on what adjustments I should make to make 3 9inch layers of this cake. I like my cakes tall and fat thank you so much!!
Yay, Tasha! I’m so happy you love this recipe as much as I do! To make 3 9-inch layers, double the recipe!
Hi Whitney!
This is the most wonderful vanilla cake. Made my very first cake with this recipe and it received rave reviews. My friends and family have ongoing requests for more vanilla, chocolate, lemon, and strawberry. I’m the best free bakery in town! Thank you for my new popularity! Lol
I’m so happy to hear that, Stephanie! Thanks so much for taking the time to let me know and I’m cheering you on as you spread joy with those cakes!!
What calculations would I do to make a 4 layer 6 inch cake instead of the 3 layers. I would like to make a tall cake
Hi Alexis! This funfetti cake recipe is the same as my vanilla cake, only it makes four 6-inch layers! Just omit the sprinkles and you’re good to go with these measurements: https://sugarandsparrow.com/funfetti-cake-recipe/
Hi Whitney , why do u use cake flour instead of self raising flour ?
Hi Shaylei! There is a big explanation about why I use cake flour above in this post, but in a nutshell, it makes this cake softer than any other type of flour. Self rising flour has leavening agent in it, so using it in this recipe would give too much rise and cause the cake to collapse. I do have a recipe for DIY cake flour (it uses all purpose four aka plain flour) if you aren’t able to find it locally: https://sugarandsparrow.com/homemade-cake-flour-recipe/ hope that helps!
Hi Whitney! I’ve been asked to make my sister’s wedding cake and I want to test this recipe out! Does it hold up well to stacking? Also I see the recipe is for 3 layers of 6 inch cake. I also need to make 3 layers of 8 inch cake and 3 layers of 10 inch cake. How many times would you do the recipe for each of those? Thanks!!
Hi Catie! This recipe works great for stacking cakes. If you’re making a triple layer 8 inch cake, I would recommend using this recipe but omit the sprinkles: https://sugarandsparrow.com/funfetti-cake-recipe it’s the same vanilla cake recipe, only it will yield three 8 inch cakes. For 3 layers of 10 inch cake, I’d recommend doubling this vanilla cake recipe. Hope that helps and happy testing!
Thank you for taking the time to reply Whitney!! I appreciate it!
Made this cake and I loved it!!
I’m going to 1.5 this recipe to make 3 8-inch cakes. How many eggs would I need to add if I’m going to 1 1/2 the recipe?
That’s amazing, Angel! So happy you love this recipe! To make 1.5x this amount, use my funfetti cake recipe and omit the sprinkles. It’s the same recipe but 1.5x the amount: https://sugarandsparrow.com/funfetti-cake-recipe/
Can I use 2 x 8 inch tins for this recipe. Thanks
Yes, Patricia! Just make sure you fill the pans no more than 2/3 of the way full. You may have a little extra batter.
Hi Whitney! You are absolutely a m a z i n g! It came out beautifully thank you so much, everyone loved it. I have been looking for perfect cake recipe for ages and I finally found it !! Thank you so so so much<3
Yay, Nina!! So happy to hear that you love this recipe!! Thanks for taking the time to let me know 🙂
Hi Whitney so as I live in the uk, I went hobbycraft and I think I bought 6 inch tin but I think it’s 4 inch deep will that do if I weigh it out evenly? Thnx
Hi Sanah, simply divide the batter equally between the pans and bake! The pan height should not make a difference since you’ll be baking the same amount of batter as you would with a shorter pan. Hope that helps!
Thank youuuu
Hi also I don’t have a paddle attachment whisk I only have the had electrical one? Could I still bake this?
By “electrical one” do you mean a handheld mixer? This recipe will work with a stand mixer or hand mixer. I prefer the paddle attachment on the stand mixer for this recipe though.
Hi Whitney, about the cake pans weren’t they bee deep I want the cake to look like yours like the sponges just as the picture and the mixer I gave is not a stand mixer it’s the one you plug in and then hold it by your hand and you can adjust speeds on it but you have to hold it by hand and theirs something missing from it too so there is like air coming from it when I use it will that make a difference? Out of interest I want to make this cake for my 17th birthday it’s on December 19 so I really need to get the pans etc now so I’m all prepared ☺️
A hand mixer will work just fine, but it sounds like yours might be broken in some way? I’m really not sure. I would recommend trying the recipe beforehand to see if your equipment will work. As for the cake pans, although I am using 2 inch deep pans, 3 inch deep ones will work just fine and bake to the same height since it will be an equivalent amount of batter going into the pans (you’ll be dividing the batter evenly between each pan). After baking the cakes, simply torte them to the desired height using this method: https://sugarandsparrow.com/level-and-torte-cake-layers/
Hi I think it will be fine it’s not broken it’s just something has come off my other cakes be fine and thbx soo much I’m finally relived about the pans thnx a lot and just to let you know I baked a cake today and my cakes sink in the middle but today they didn’t thnx to your advice because I watched your this cake recipe video in that you said about mixing the sugar etc for exactly 2 mins and that’s what I did and they didn’t sink so thnx for that too
Yay, Sanah!! I’m so happy to hear that the cake was a success!
hi! what will happen if u use sated butter?
Hi Amna! If you use salted butter, this cake will have a saltier taste. To cut back on the salt, you’ll need to omit the 1 1/4 tsp salt in this recipe.