
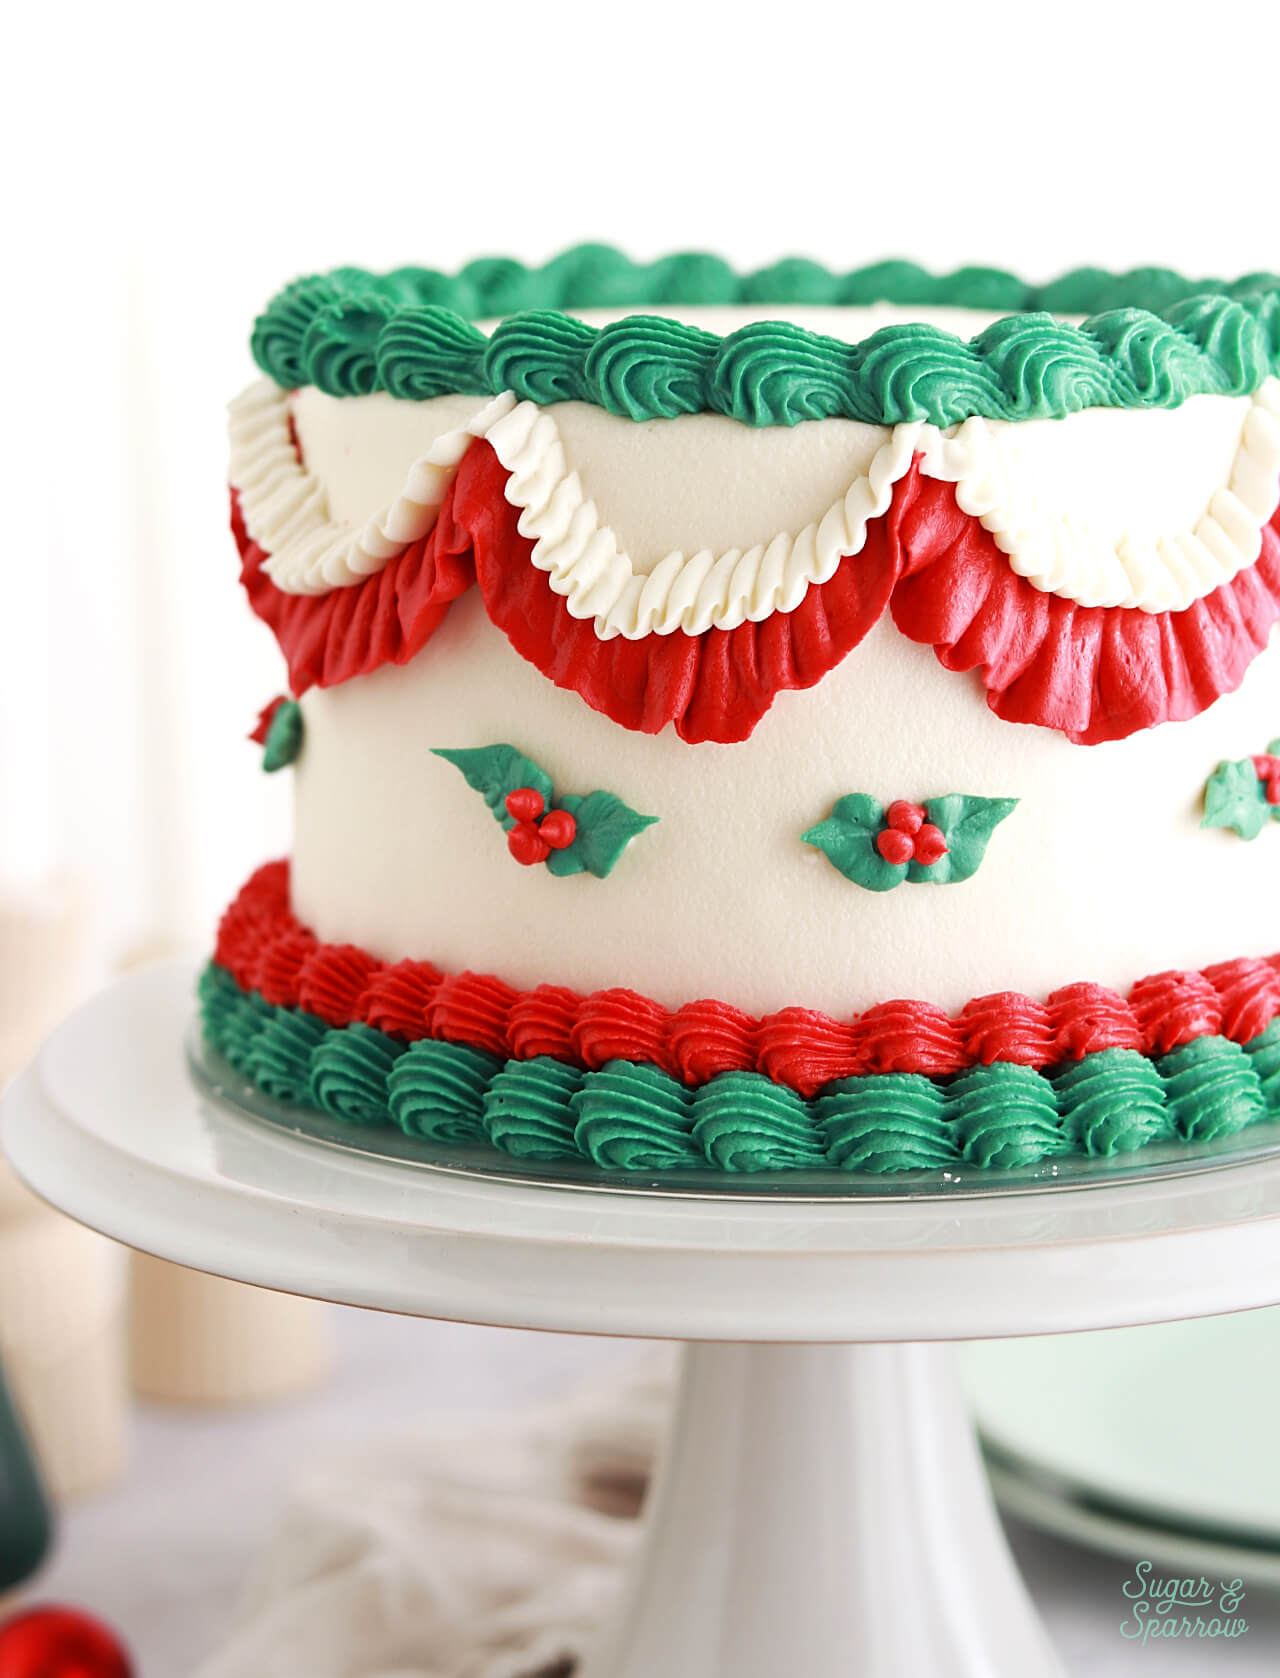
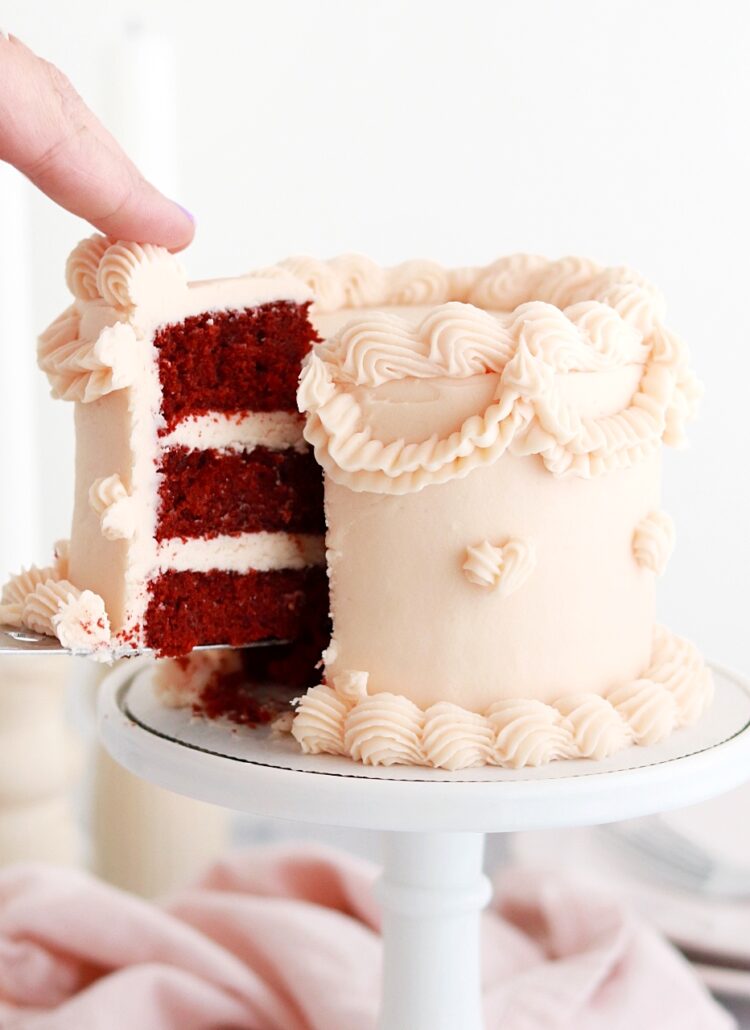
I love any excuse to make a red velvet cake, and the Holiday season is the perfect excuse. The crimson red layers fit with the Christmas color scheme so seamlessly, and the flavor is cozy and comforting. It doesn’t take much to make a red velvet cake festive, but I wanted to go all out with this Vintage Christmas cake design. Imagine what a showstopper this would be on your holiday dessert table!
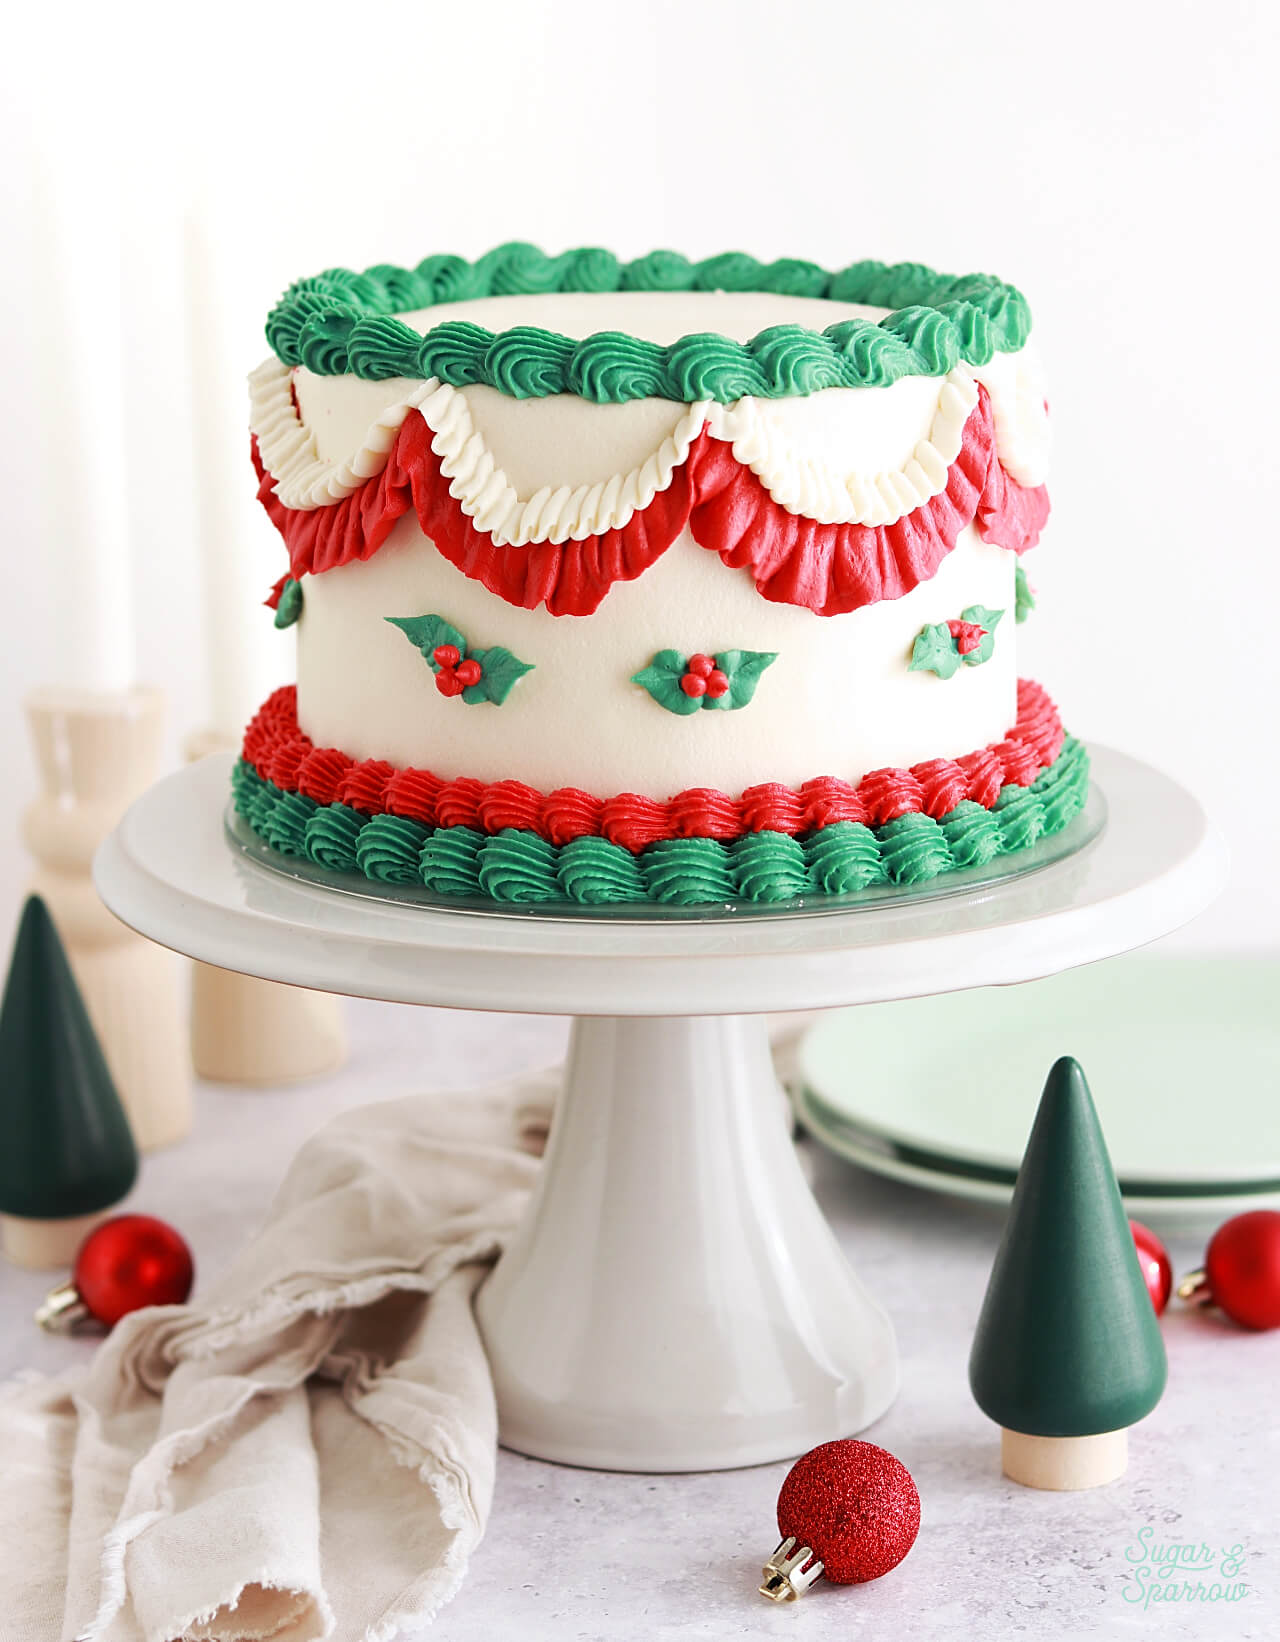
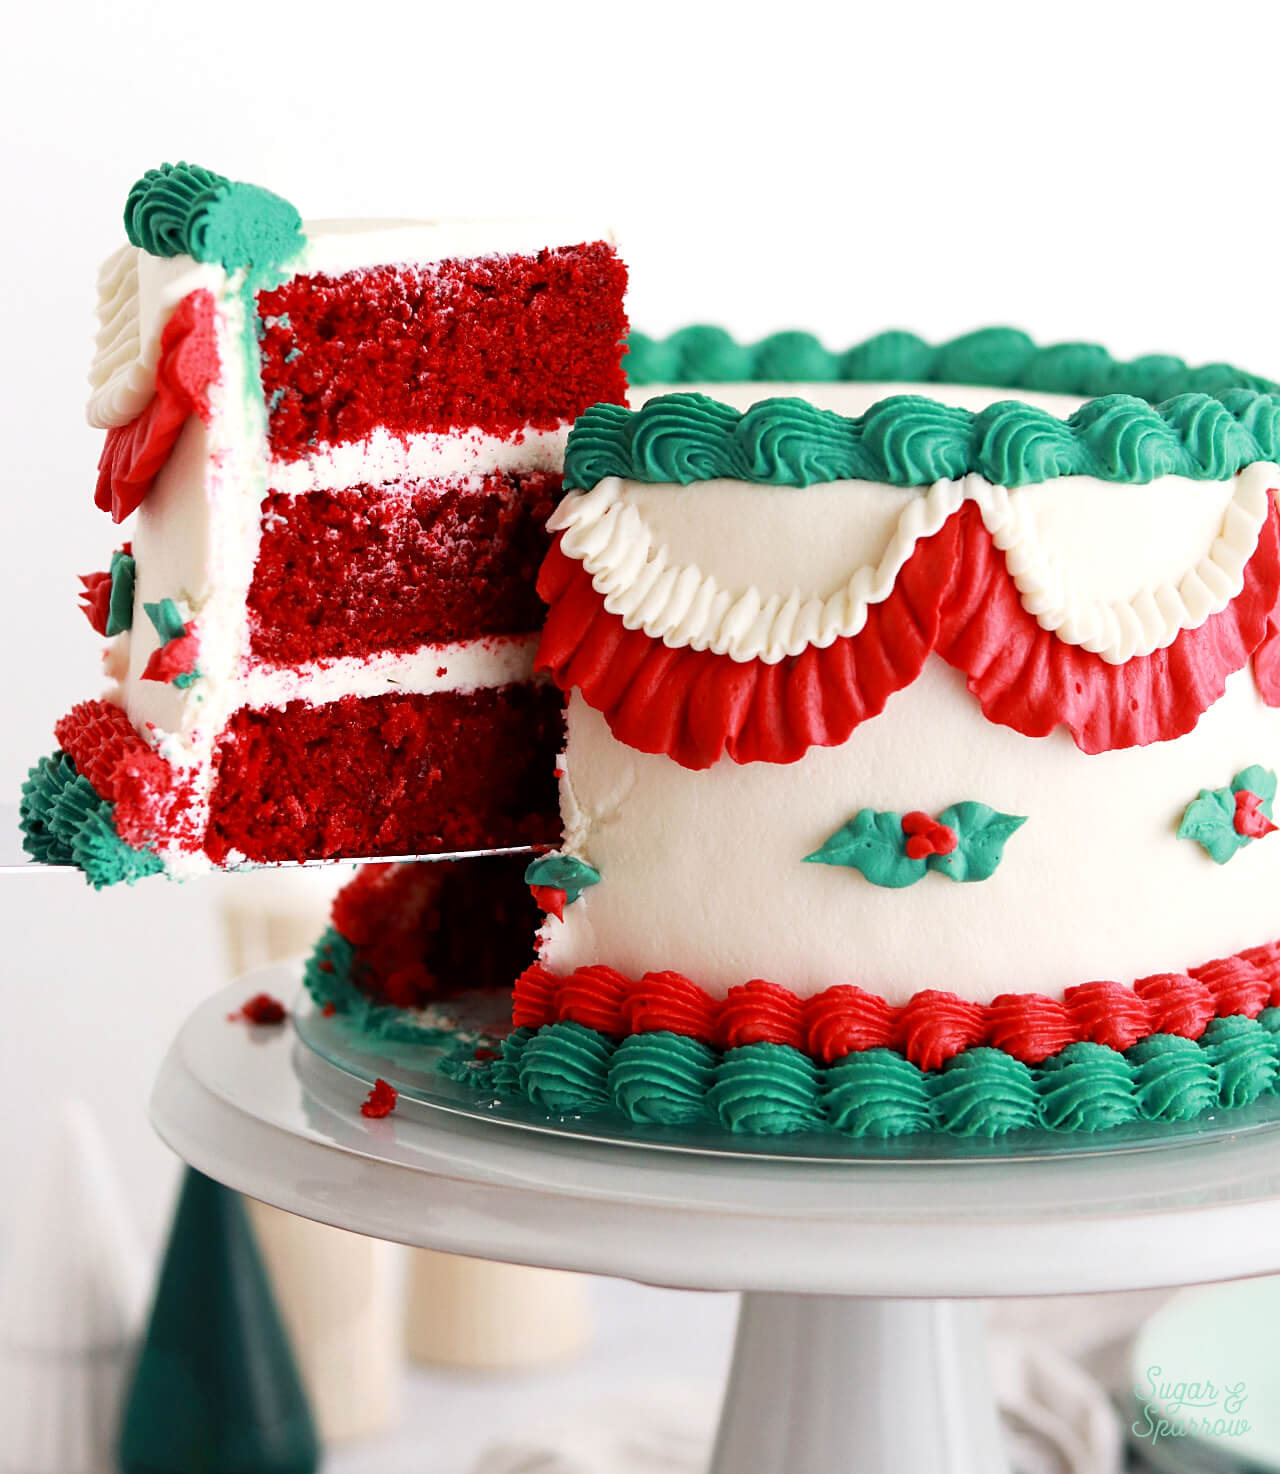
Cute, right? If you can believe it, this red velvet cake is decorated with cream cheese buttercream – a flavor pairing that’s meant to be but also, notoriously finicky. It’s a bit softer than your average American buttercream but I have some hacks that will make decorating with cream cheese buttercream easier than ever.
Soft & Moist Red Velvet Cake
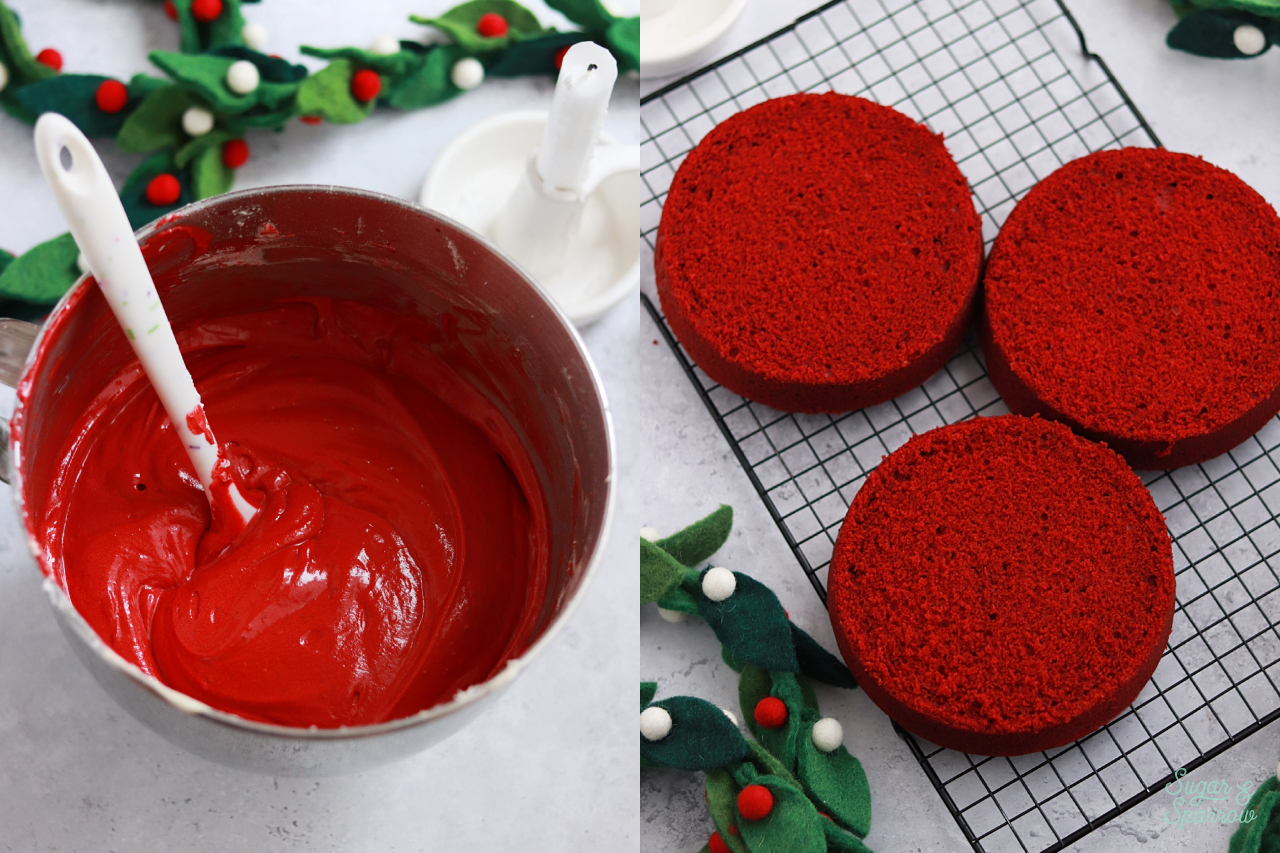
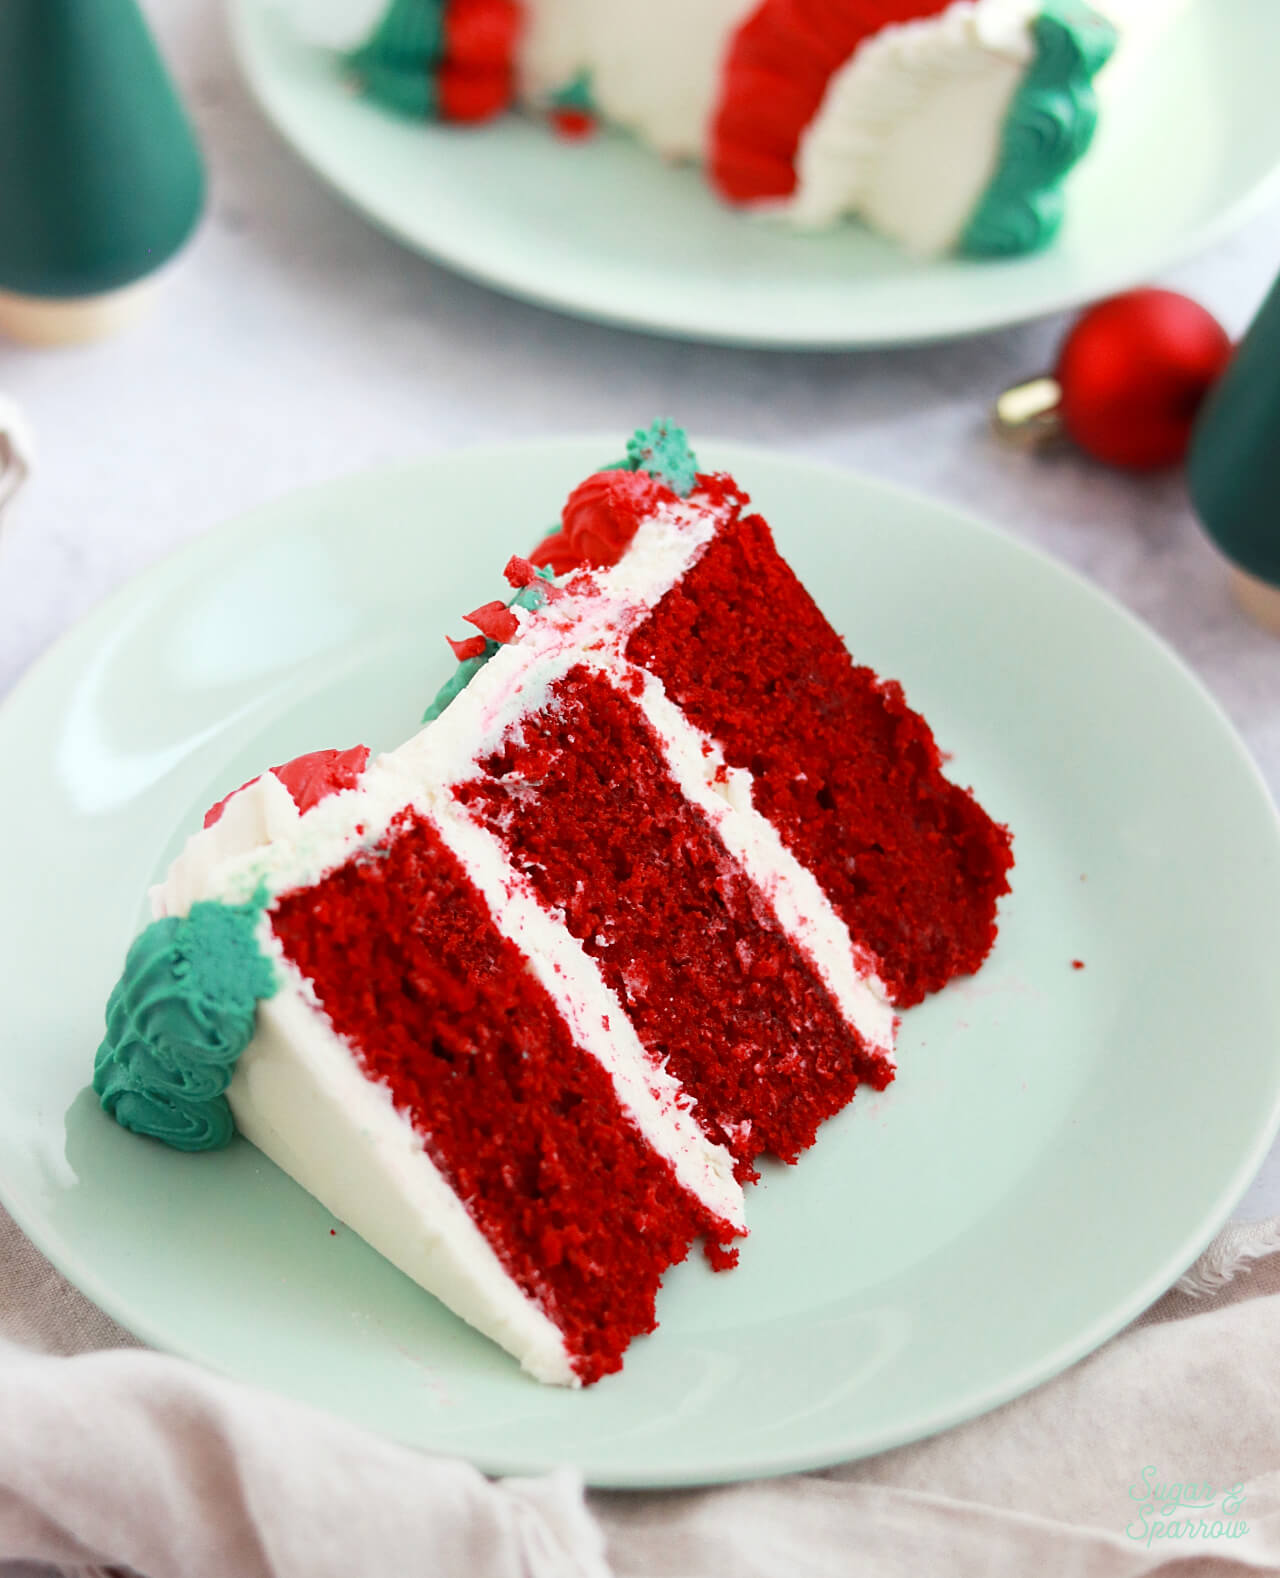
First, let’s talk about the inside of this beautiful cake. These red velvet cake layers are extra soft and moist, especially after my latest bout of recipe testing obsession. I made some slight tweaks to my favorite red velvet cake recipe because I felt it needed to be a little more moist and the results are just perfect. Beautiful subtle cocoa flavor, ideal stick-to-your-fork texture, and iconic red color.
Pipeable Cream Cheese Buttercream
For filling and frosting this cake, I used a double batch of my stabilized cream cheese buttercream recipe. Like I mentioned before, cream cheese frosting is known for being softer than typical American buttercream, making it a little more particular for decorating with. If you’ve had issues with cream cheese buttercream in the past, rest assured that this cream cheese buttercream recipe is made to be a little thicker and easier to fill, stack, and decorate cakes with.
Here are a couple ingredients and tools that make it special:
- Full-fat brick-style cream cheese. It’s critical that you don’t use low-fat or spreadable cream cheese, as these variations contain way more water than the full-fat brick kind. That means your frosting will be extra soft, liquidy, and impossible to decorate with. I always use the Philadelphia brand, but feel free to experiment with other brands as long as they meet the general requirements.
- Powdered Sugar. In addition to sweetening this frosting, powdered sugar also thickens it. I use the minimum amount of powdered sugar in this recipe to keep the sweetness down yet keep the stability.
- Cornstarch. In order to make this cream cheese frosting thick but not too sweet, I add a little cornstarch (aka corn flour) to stabilize it. You won’t be able to taste this in the frosting, but it works wonders for thickening.
- Refrigeration. If you find that your kitchen environment is humid or the frosting is still a bit soft, pop it in the refrigerator for 10-15 minutes, then re-mix it on low in your stand mixer. The butter in the recipe will solidify a little bit in the refrigerator, so the overall buttercream will feel a bit thicker afterwards.
Christmas Lambeth Cake Tutorial & Tips
Vintage piped cakes (aka Lambeth cakes) can seem intimidating if you’ve never made one before. Even though the style involves piping a lot of details, it ends up being a really forgiving design since you can’t go overboard. More is more here.
Before you get started with the Christmas Lambeth cake decorating tutorial (below the recipe card), are some of my best tips to set you up for success:
- Start with a chilled cake. Before you pipe any details, make sure that your smooth buttercream finish is nice and chilled (firm to the touch). This helps keep the buttercream finish intact while you pipe on top and will help any piping set quickly because of the cold surface.
- Place a larger cake circle underneath. Since you’ll be piping details onto the bottom border of the cake, it will save you a lot of stress to make sure the cake is sitting on a cake circle that’s larger than the cake and any piping. This way you can just lift the whole cake off of the turntable while keeping all the piping perfect. For example, since my cake layers are 6-inches in diameter, I decorated my cake on an 8-inch cake circle for easy transfer.
- Plan out your piping. It’s not enough to know what kinds of designs you want to pipe on a Lambeth cake. You have to know where to pipe them. This is where a template comes in handy, and I’ll show you how to make the most simple template ever in this tutorial below.
- Create the ideal buttercream consistency. Piping looks its best when you’re using buttercream that is the right consistency. Not so thick that there are crinkly edges, but not so thin that you can’t see detail and the designs are drooping. You want a stiff consistency buttercream, and this post will show you how to create it with my American buttercream recipe.
Step 1: Bake & Assemble the Red Velvet Cake
Before you can decorate, you’ll need to bake the red velvet cake layers and make the cream cheese buttercream (or any cake recipe you want to use with this tutorial). Both recipes can be found below. Assemble the cake layers according to the assembly instructions in the recipe card before moving on to the next step.
Jump to Recipe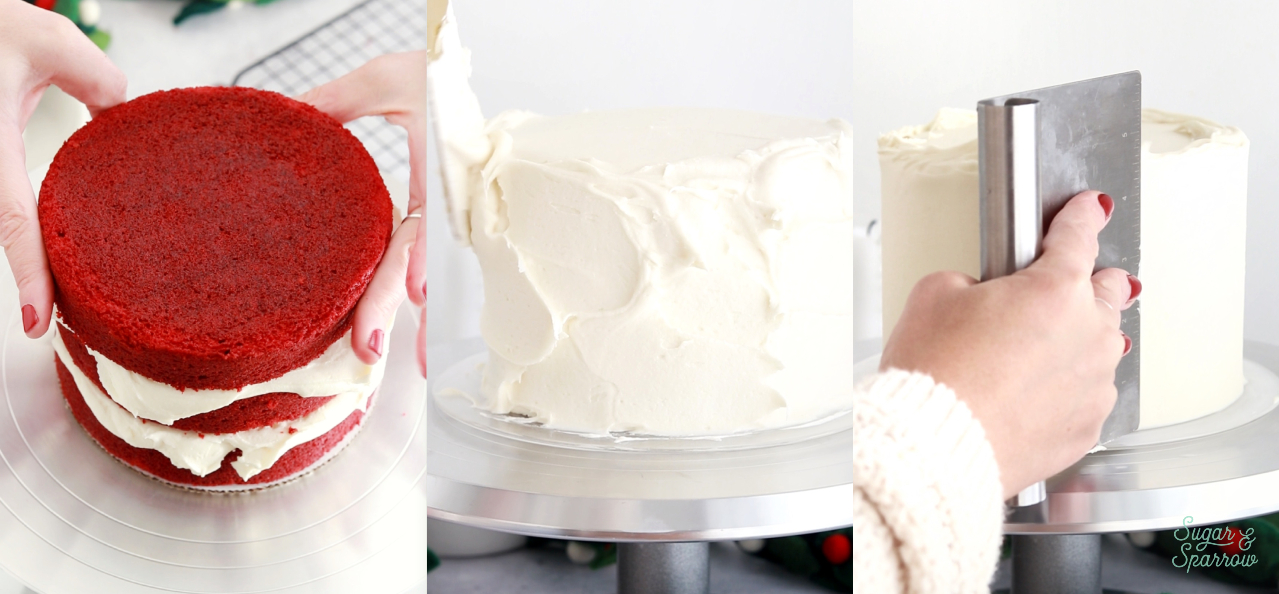
Step 2: Create a Lambeth Piping Template
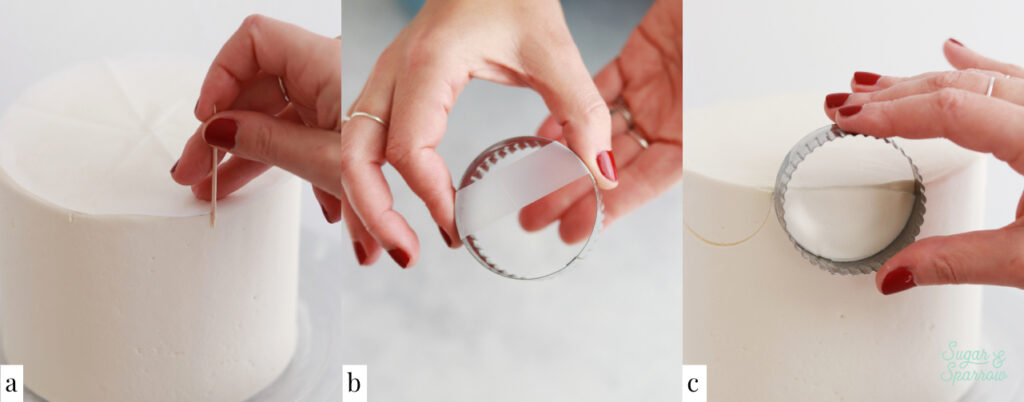
To create the perfect layout for your piping, here’s a simple technique for making a template: place a cake pan (same diameter as your cake) upside down on top of a piece of parchment paper. Trace and cut out the circle. Fold the circle in half three times to make 8 equal-sized sections.
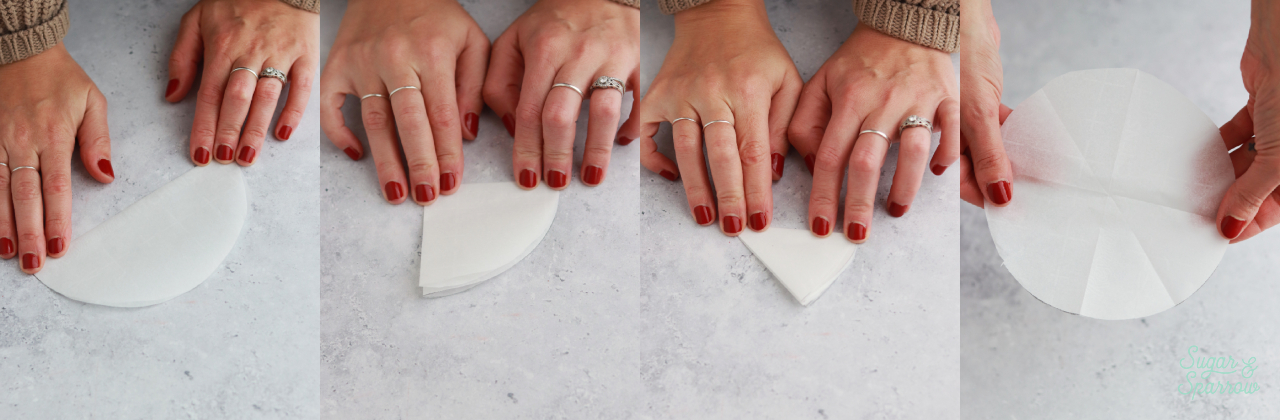
Place the template on top of the chilled cake and mark each crease with a toothpick (a). Find a round glass or cookie cutter that’s the same diameter as the sections in your template and place a piece of scotch tape across the middle to create a half circle (b). This will help you line it up with the top of your cake as you press it into the sides (c) to indicate where each garland will go.
Step 2: Prepare the Buttercream
When you’re ready to pipe, place all of the buttercream leftover from frosting your cake back into your stand mixer and add a little more powdered sugar (a few Tablespoons should do the trick) to thicken the consistency. This will help the buttercream hold its shape as you pipe those details.
Reserve about ⅓ Cup of white buttercream for piping the white ruffle details, then divide the rest between two different bowls. Tint one bowl with green food color gel and one bowl with red food color gel.
Place the white buttercream into a piping bag fitted with Wilton Tip 102. Divide the red buttercream between two separate piping bags, one fitted with Wilton Tip 32 and one fitted with Wilton Tip 104. Place the green buttercream into a piping bag fitted with Wilton Tip 4B.
Step 3: Pipe the Lambeth Details
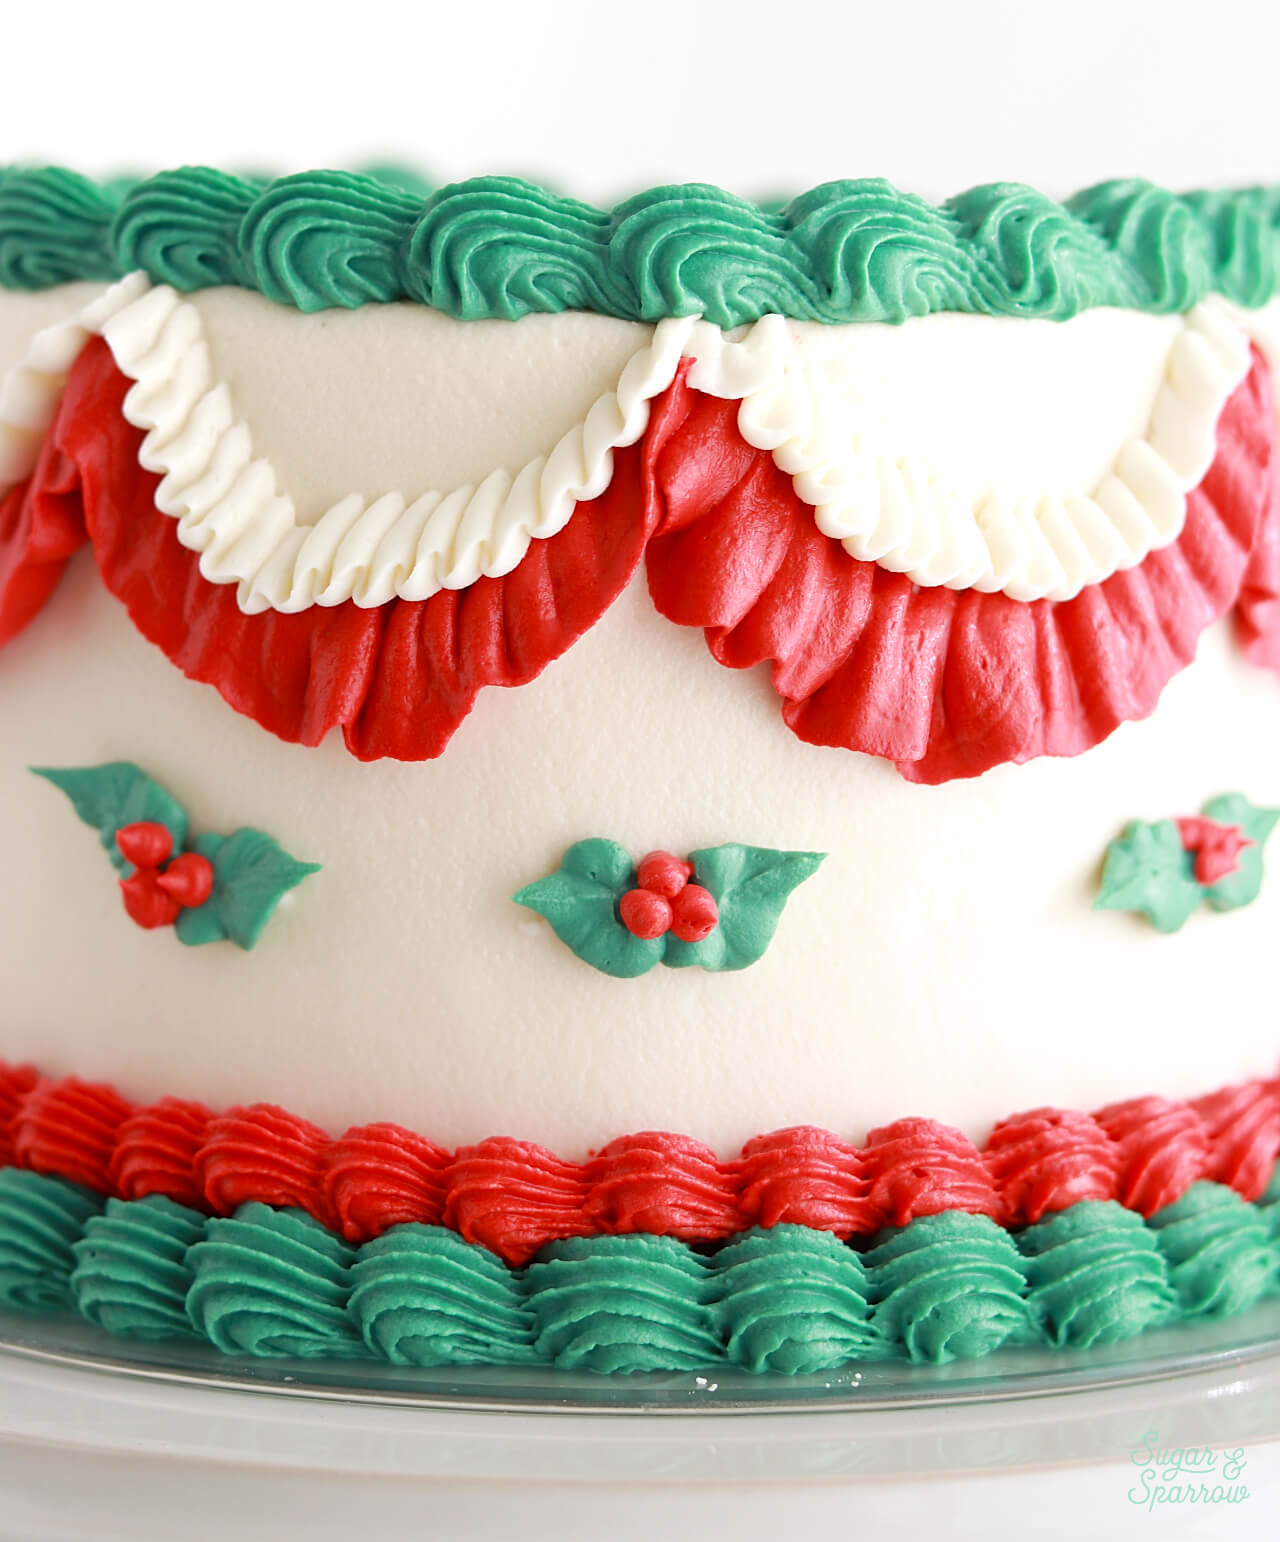
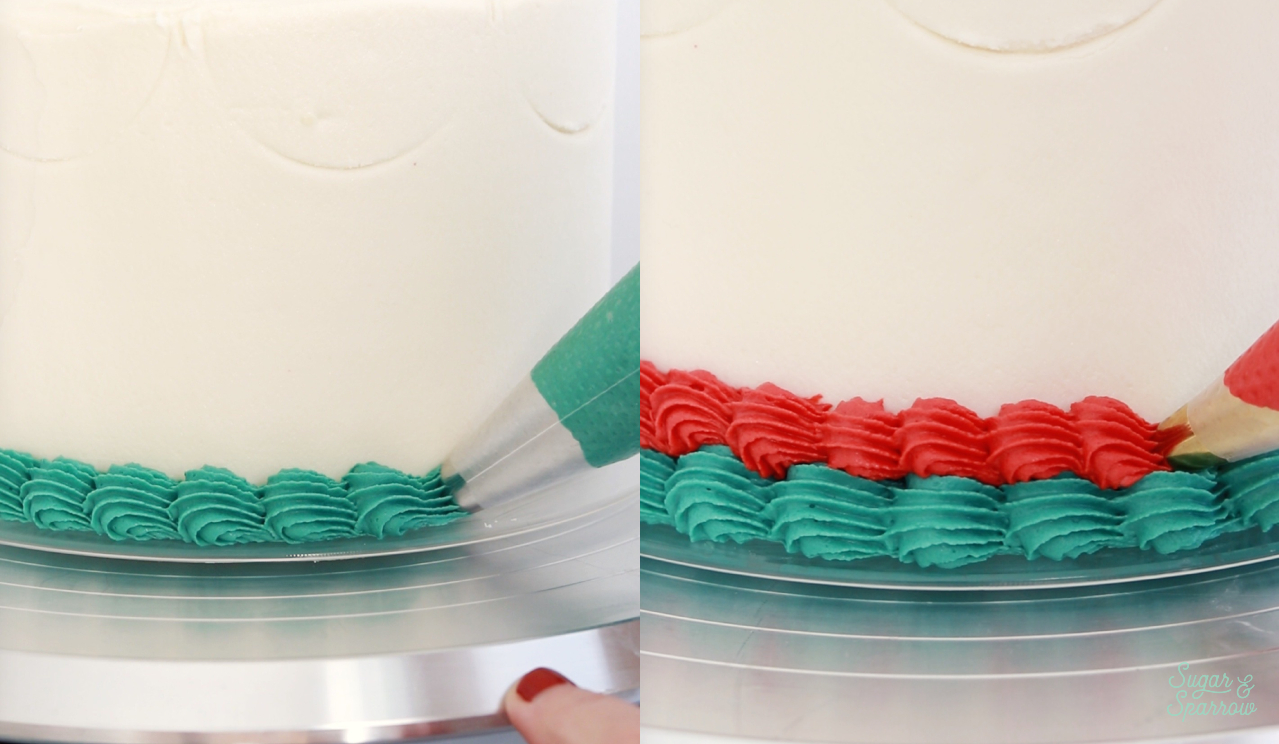
Starting at the bottom of the cake, pipe a shell border using the green buttercream and Wilton Tip 4B. On top of that, pipe a smaller shell border using the red buttercream and Wilton Tip 32.
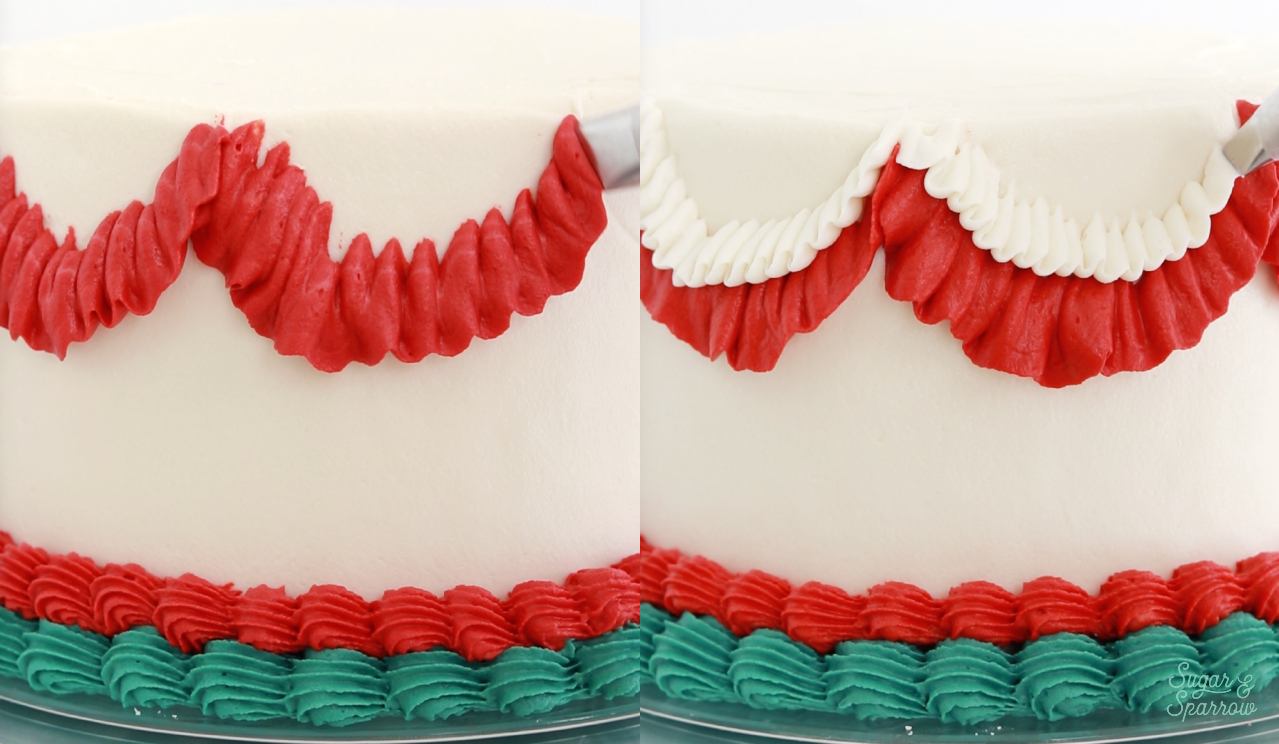
Following the cookie cutter markings, pipe a ruffle garland using the red buttercream with Wilton Tip 104. Pipe another smaller ruffle garland on top of each red ruffle garland using the white buttercream and Wilton Tip 102.
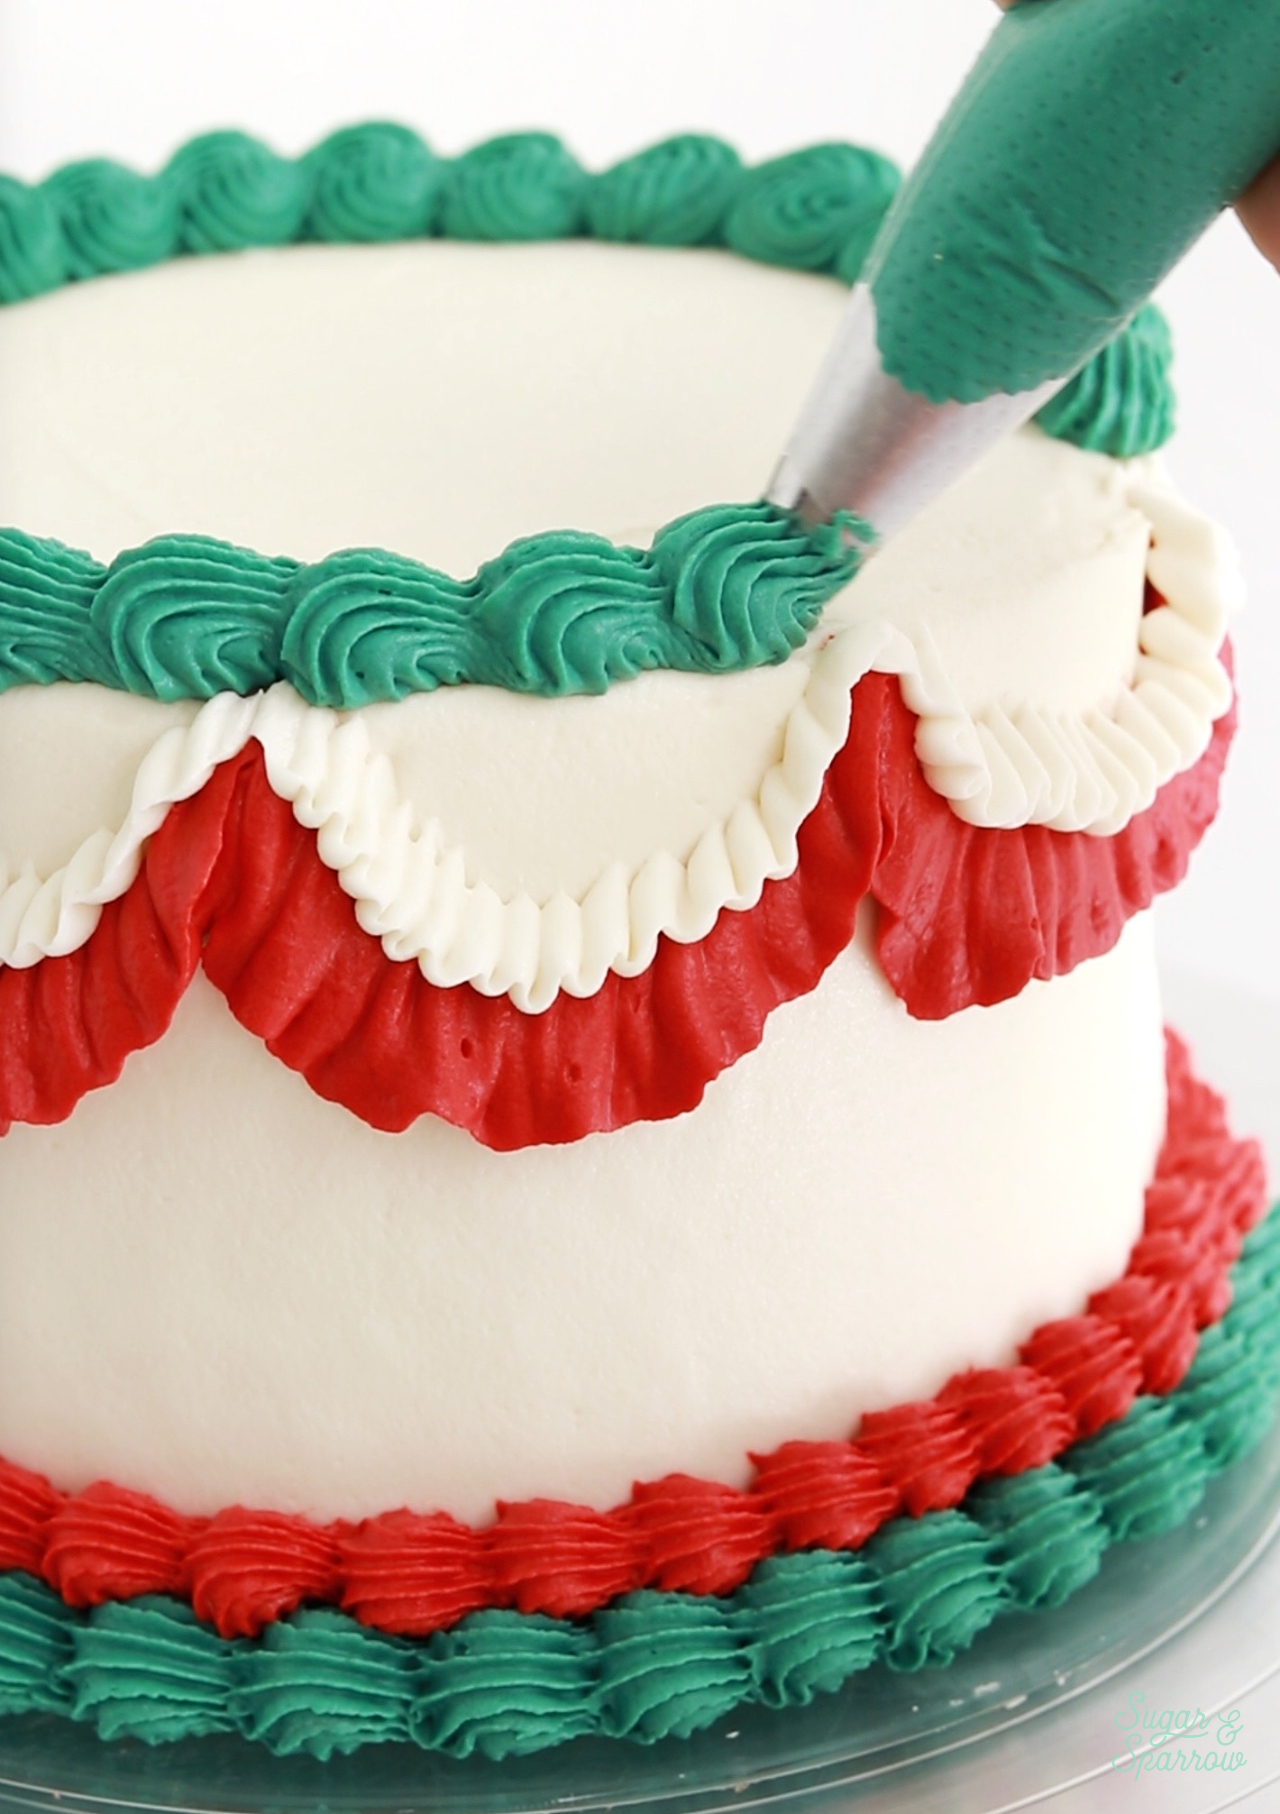
Around the top edge of the cake, pipe a shell border with the green buttercream and Wilton Tip 4B.
Step 4: Pipe the Holly Details
Transfer the remaining green buttercream into a piping bag fitted with Wilton Tip 352 and transfer the remaining red buttercream into a piping bag fitted with Wilton Tip 3. Underneath where each ruffle garland connects, pipe two leaves using the green buttercream, followed by three dots with the red buttercream.
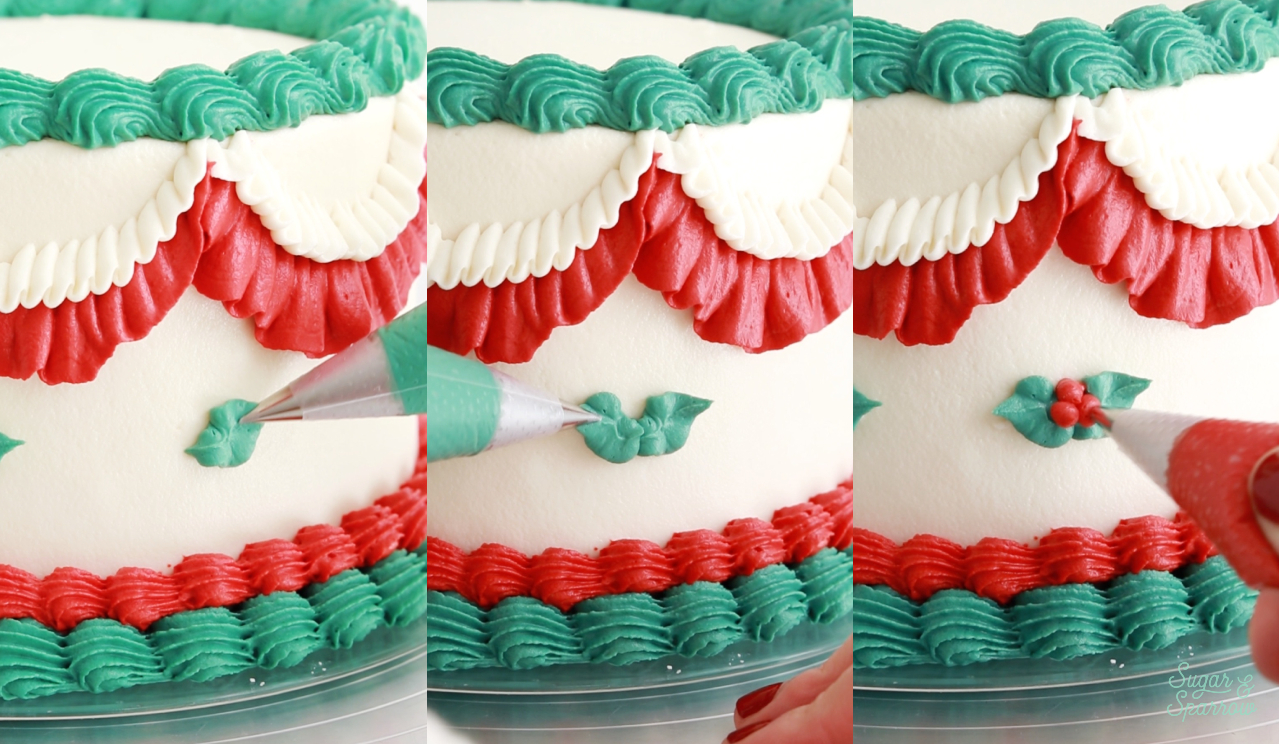
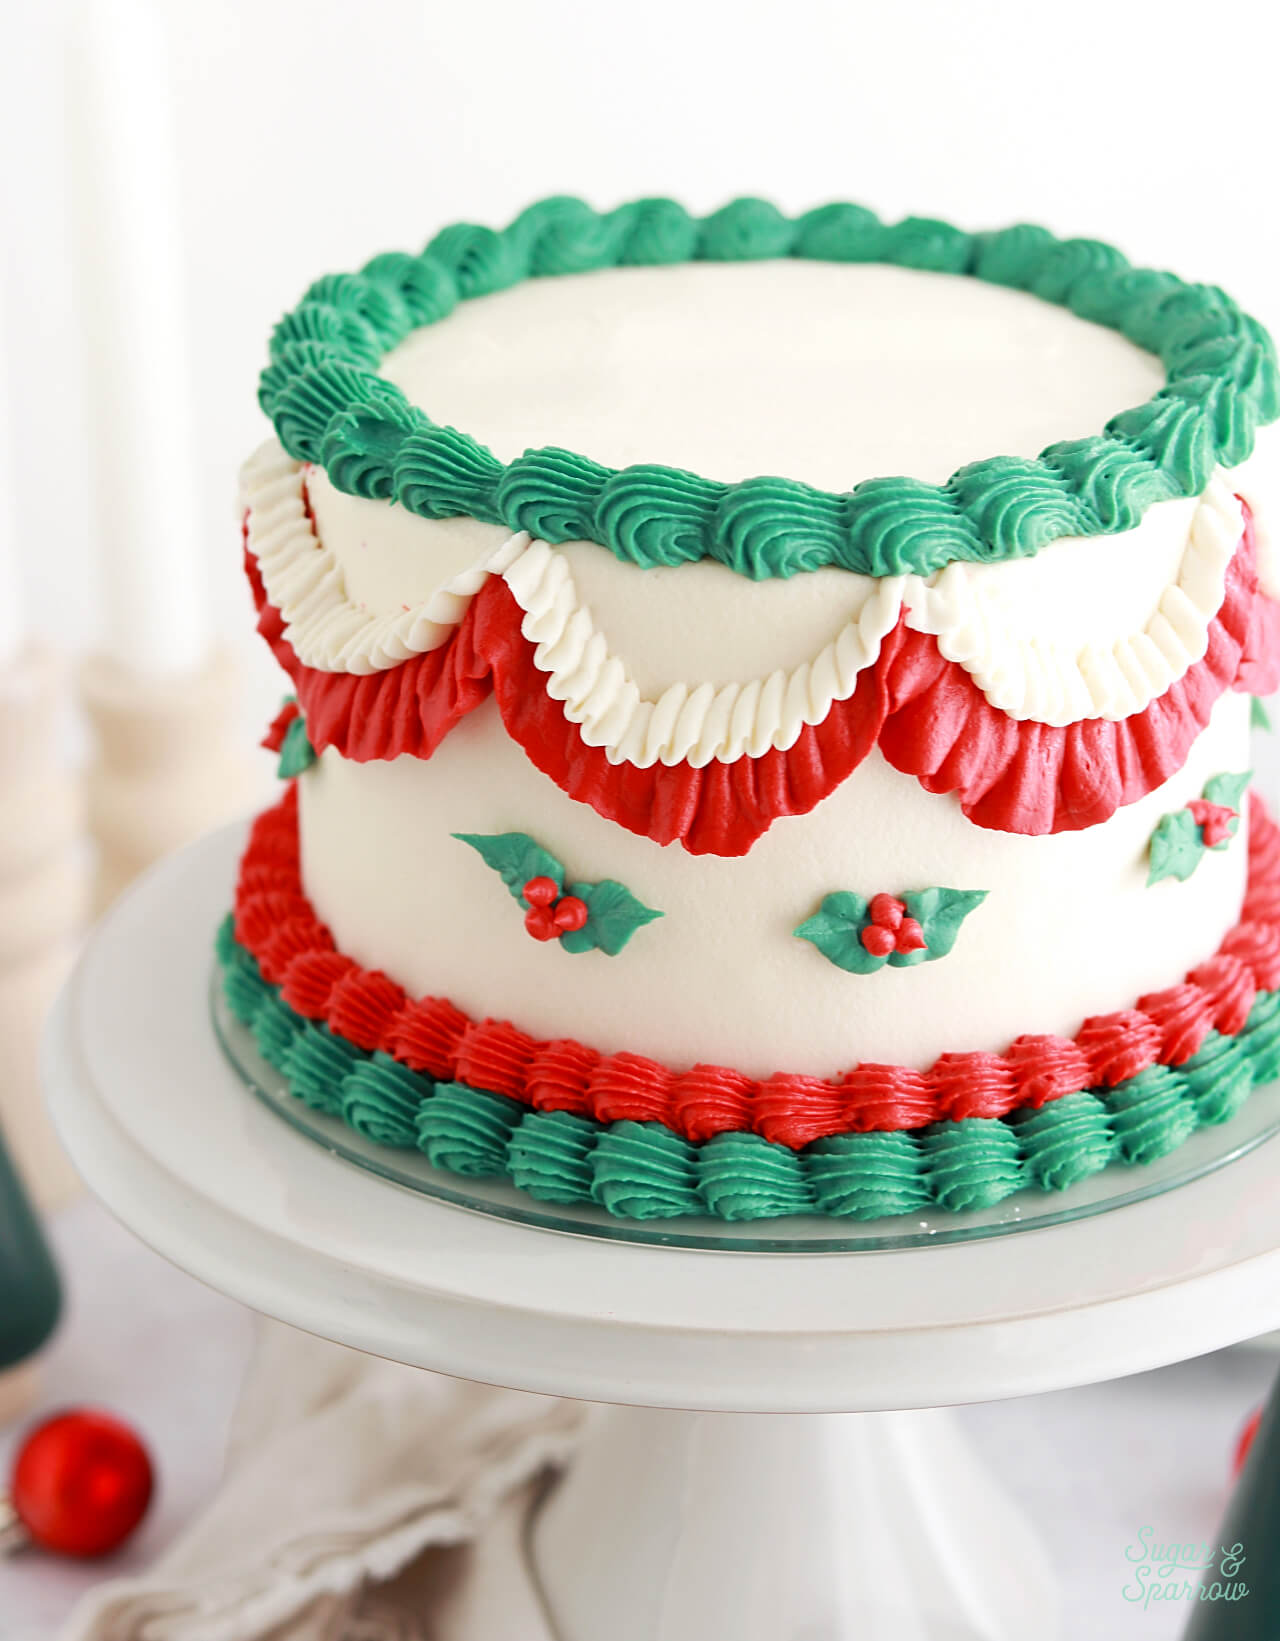
Feel free to get creative with your Christmas Lambeth cake design, or create something totally different. However you decorate, this red velvet cake with cream cheese buttercream is a Christmas party favorite and sure to impress at your next gathering. Enjoy!
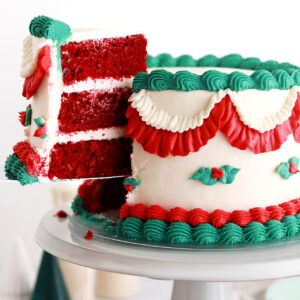
Vintage Christmas Red Velvet Cake
Ingredients
Red Velvet Cake
- 2 Cups (212g) sifted cake flour* DIY recipe in notes
- 3 Tbsp natural unsweetened cocoa powder
- 1 tsp baking soda
- 1/2 tsp salt
- 1/2 Cup (113g) unsalted butter, room temperature
- 1 1/2 Cups (300g) white granulated sugar
- 1/2 Cup (120ml) vegetable oil
- 2 large eggs, room temperature
- 2 tsp pure vanilla extract
- 2 tsp distilled white vinegar
- 2 tsp red food color gel*
- 1 Cup (240ml) buttermilk, room temperature* DIY recipe in notes
Cream Cheese Buttercream
- 1 Cup (226g) unsalted butter, room temperature
- 16 Oz cream cheese, room temperature brick-style, not the spreadable kind
- 8 Cups (960g) powdered sugar
- 1/4 Cup (32g) cornstarch* optional
- 1 Tbsp pure vanilla extract
- 1/2 tsp salt, or to taste
- 5-10 drops red food color gel (optional)
- 5-10 drops green food color gel (optional)
Instructions
Make the Red Velvet Cake
- Preheat the oven to 350ºF and prepare three 6-inch or two 8-inch cake pans by spraying the sides with cooking spray and placing a wax or parchment paper circle into the bottom of each one.
- Add the sifted cake flour into a medium sized bowl and add the cocoa powder, baking soda, and salt. Whisk together and set aside.
- Cream the butter on high for two minutes, then add the vegetable oil and sugar. Cream together on medium-high until light and fluffy, about 2 minutes. Scrape down the bowl and paddle. Turn the mixer to low and add the eggs one at a time. Once the eggs are incorporated, add the vanilla and white vinegar and mix on low for another 30 seconds. Scrape down the bowl and paddle once more.
- Mix the red food color gel into the buttermilk. With the mixer on low speed, alternate adding the flour mixture and buttermilk in three additions, beginning and ending with the flour mixture. Mix only until the ingredients start to come together, then whisk the batter by hand a few times to make sure there are no large lumps.
- Pour the batter into prepared cake pans (no more than 2/3 full) and bake for 30-35 minutes, until a toothpick inserted comes out with just a few moist crumbs. Let the cakes cool in the pan for five minutes before carefully removing them and placing the cakes on a wire rack or cookie sheet. Allow the cakes to cool completely before assembling and frosting.
Make the Cream Cheese Buttercream
- In a large bowl, whisk together the sifted powdered sugar and cornstarch, if using.
- In the bowl of a stand mixer fitted with the paddle attachment, cream the butter and cream cheese on high until light, fluffy, and uniform (no lumps), about five minutes.
- Turn the mixer to low and add the powdered sugar and cornstarch mixture a few cups at a time, mixing thoroughly after each addition. Add the vanilla and salt, mixing on low for another 30 seconds. Reserve the food color gel for the decorating tutorial below, if using.
Assembly
- Once the Red Velvet Cakes are cooled throughout, level and torte the layers to your desired height. Fill and stack the cake with Cream Cheese Buttercream. Crumb coat the cake and place it into the refrigerator for at least 30 minutes to let the crumb coat firm up before frosting with a final layer of Cream Cheese Buttercream.
Notes
- The cake layers can be made ahead and stored, wrapped in plastic wrap, at room temperature for up to two days. Alternatively, you can store the wrapped cake layers in the freezer for up to 2 months before thawing and frosting.
- The Cream Cheese Buttercream can be made ahead and stored in an airtight container in the refrigerator for up to two weeks. When you’re ready to use it, bring it back to room temperature and re-whip in your stand mixer to bring back to smooth buttercream consistency.
Did you make this recipe? Let me know what you think in the comments below, or tag @sugarandsparrowco on Instagram! I love to see your creations and hear your feedback.

when should you add the cornstarch??
Good catch, Manuela! Add it in with the powdered sugar. I’ll be sure to update that in the instructions.
Hi there! Going to make a vintage heart cake with this recipe tomorrow! Is 1x the buttercream enough? Should I be making more frosting for decorating? Thanks
Hi Katie! I’m so excited for you to make a vintage heart cake with this recipe! 1x the frosting on this blog post will be enough.
How much cornstarch should we add to the frosting? Your description mentions it, but I don’t see the amount in the actual recipe.
Thanks for catching that typo! It’s 1/4 Cup (32g) of cornstarch.
I’m 71 years old and when I was growing up, red velvet cake was frosted with ermine frosting. It’s made with flour and is definitely an old-fashioned frosting which I haven’t seen used in quite a while. Have you ever tried it? It has a different flavor and pairs beautifully with red velvet cake. Also our red velvet cakes were a tiny bit deeper darker red, or what real velvet (red) fabric looks like. This is not a criticism because this cake looks absolutely delicious, As does everything that you make. I don’t think I’ve found one thing that I haven’t liked on your site. Thank you for always giving us delicious recipes!
I had a recipe that used Ermine frosting and loved it. I lost the recipe and it took me years to figure out what kind of frosting it actually was. It is delicious!