
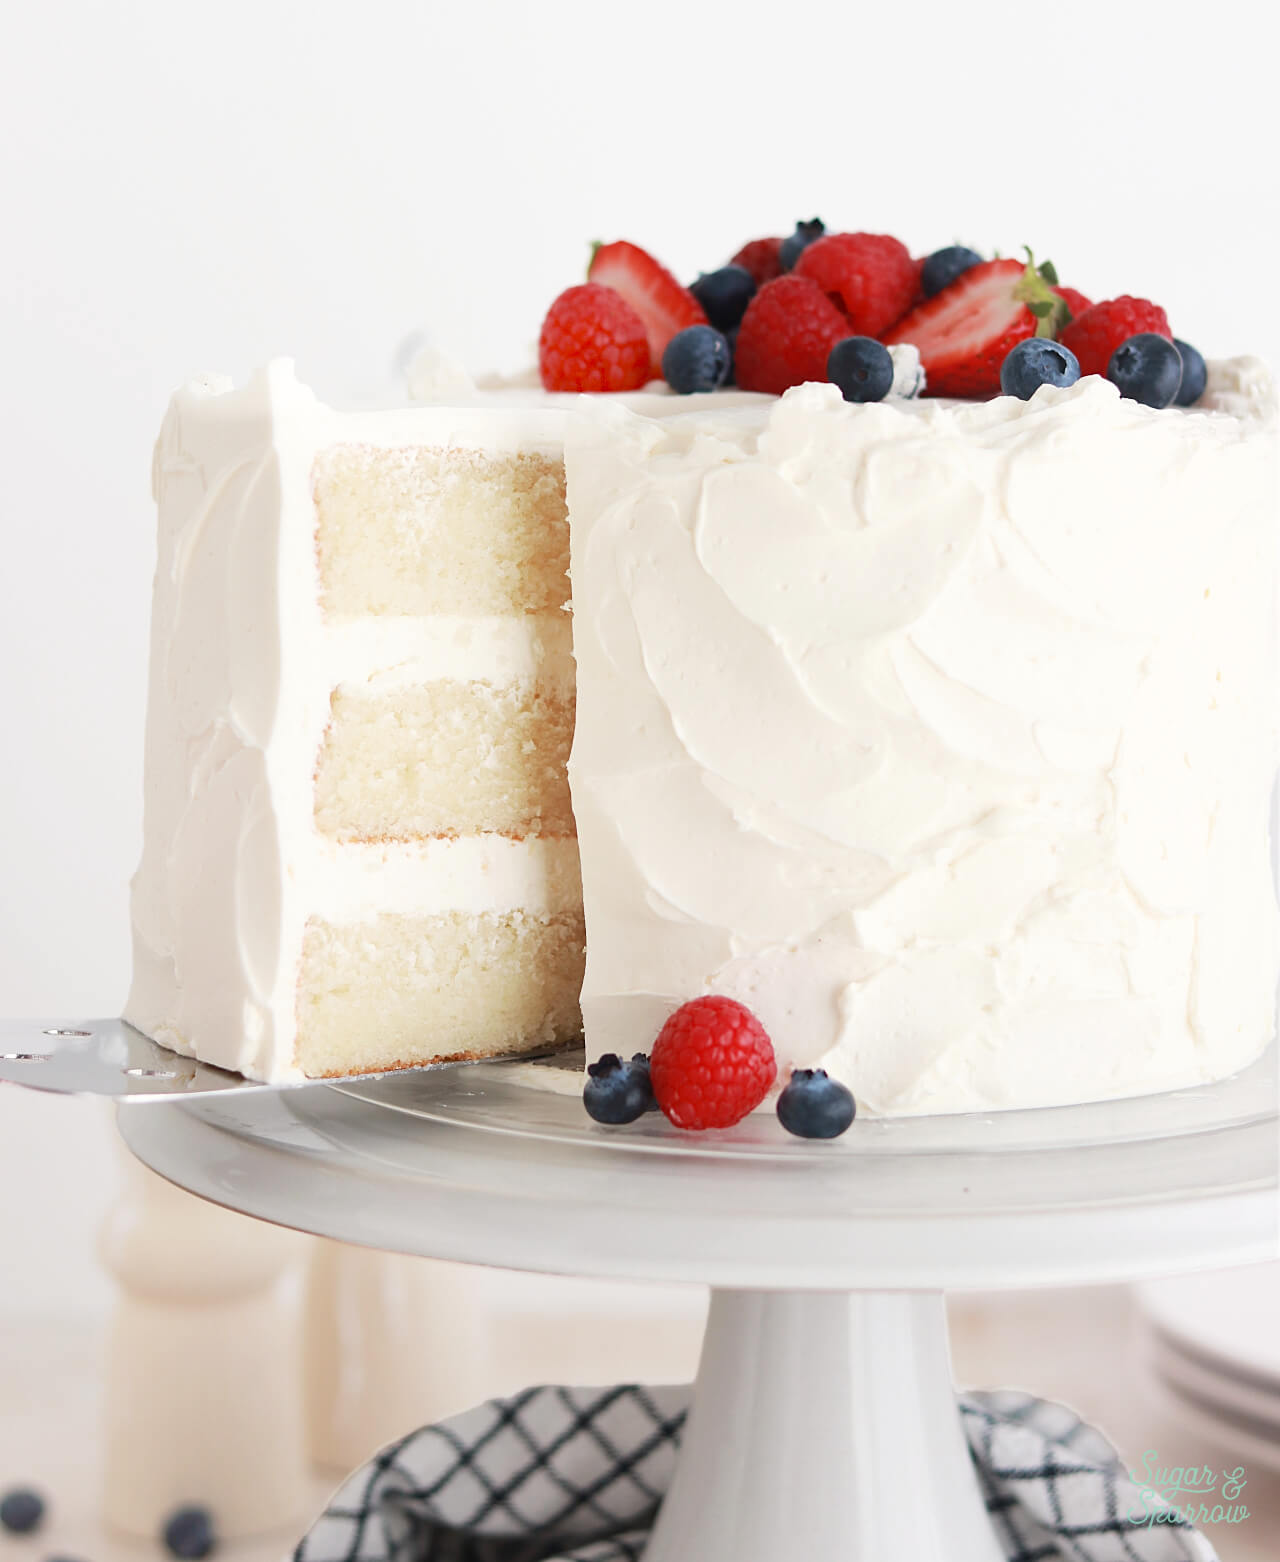
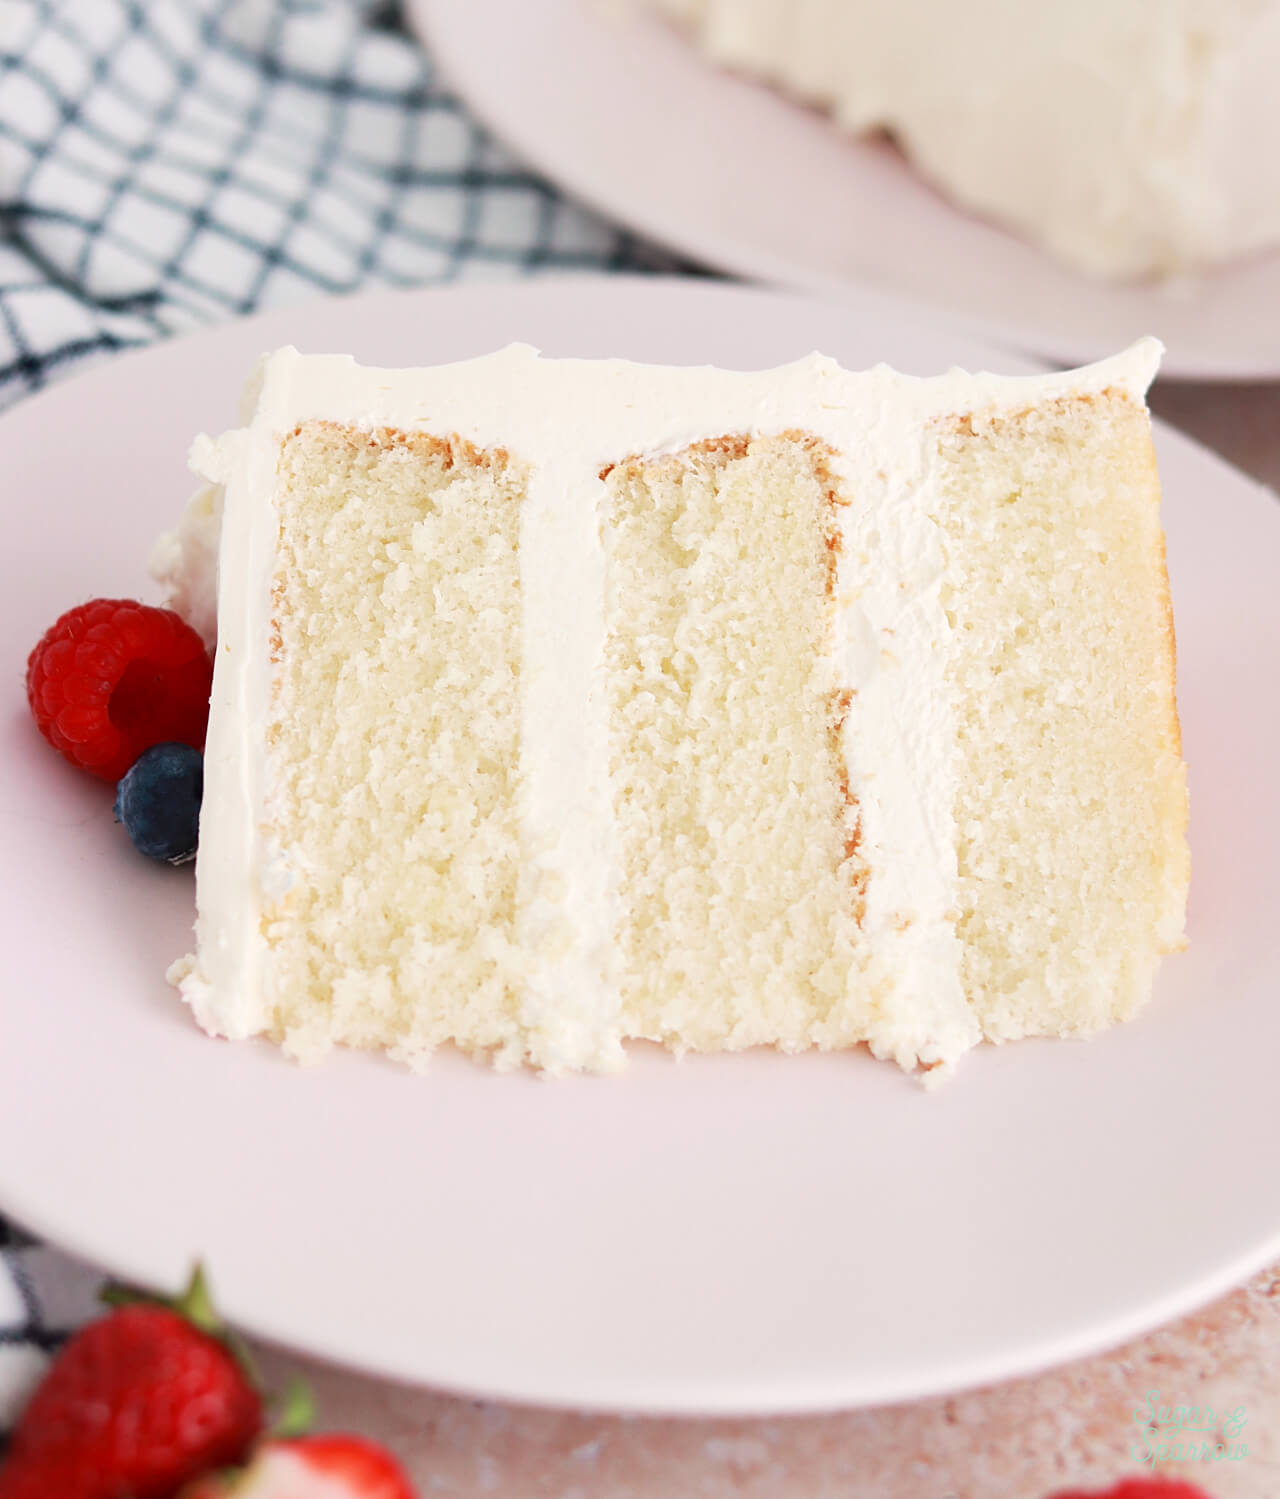
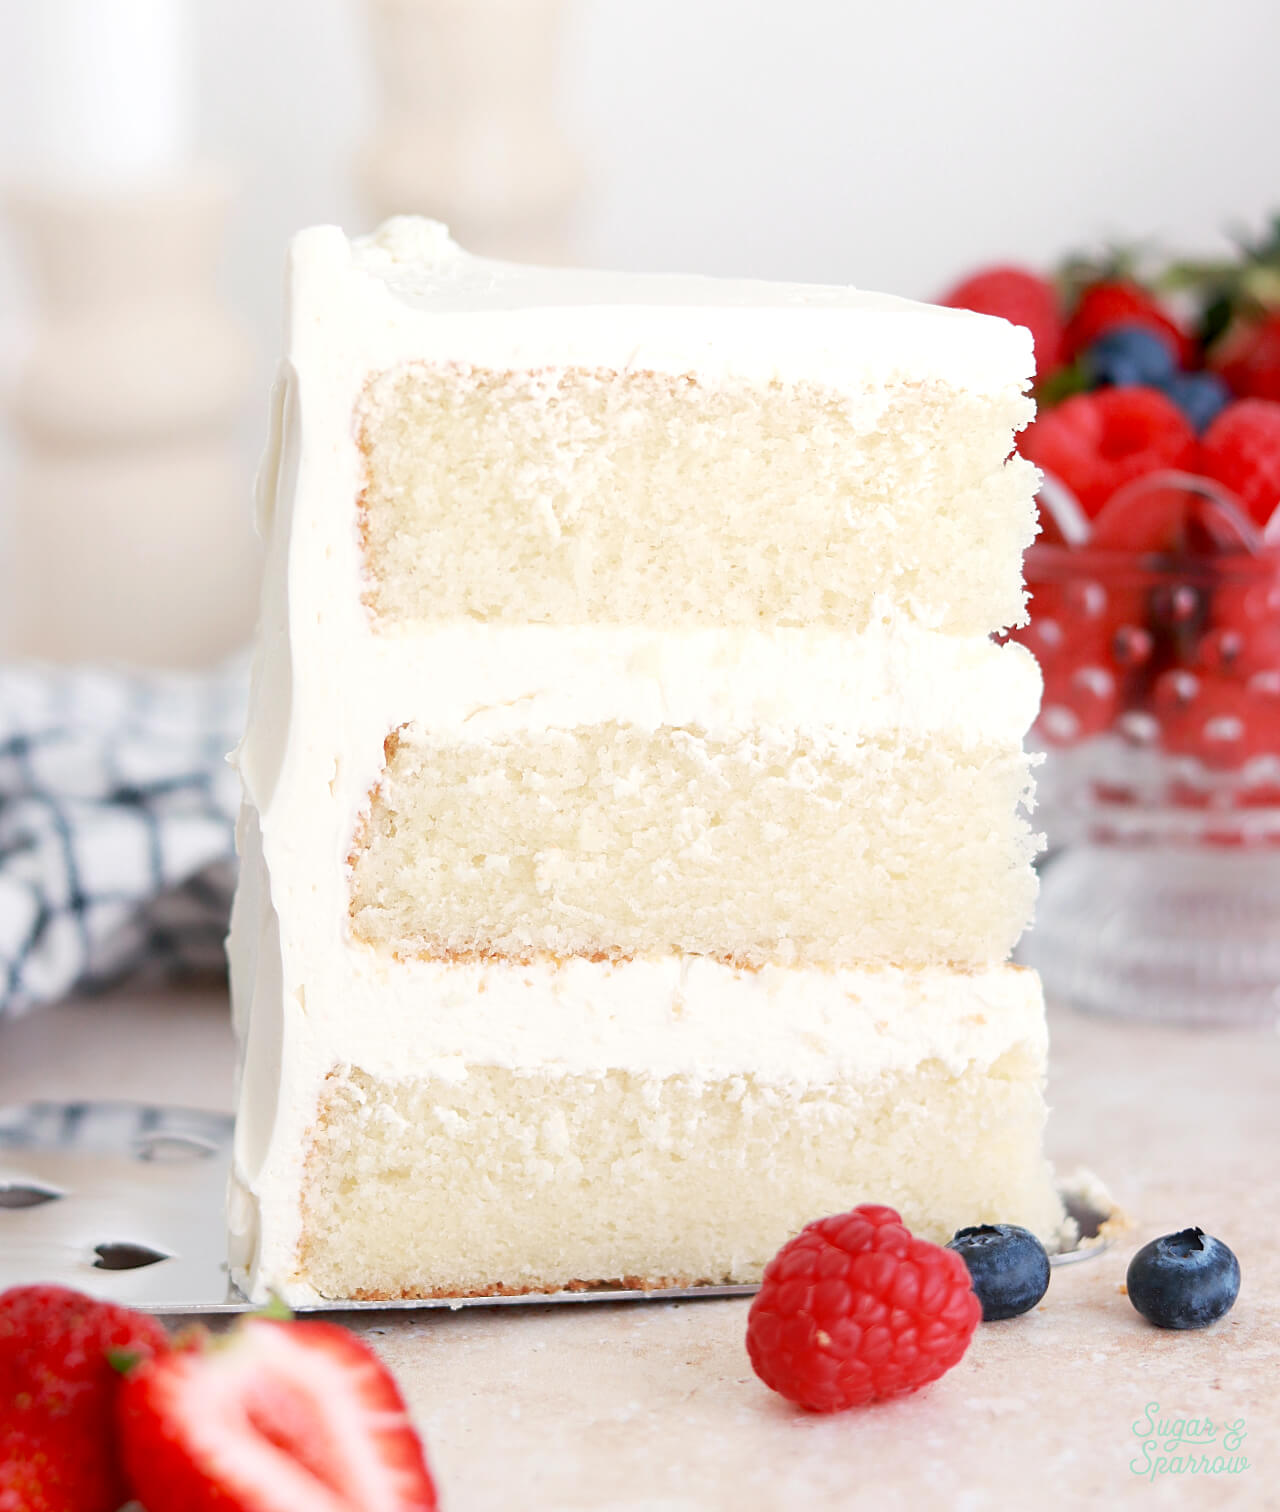
This is the softest, fluffiest white cake recipe that tastes like it came from your favorite bakery, but it’s 100% HOMEMADE! It’s super moist (and stays that way for days), packed with vanilla flavor, and made with egg whites to keep the color of the cake nearly white. You can pair it with any frosting flavor, but I paired this one with a vanilla swiss meringue buttercream that’s so light and just the right amount of sweet. It really enhances the rich vanilla flavor of the cake overall and it’s sure to impress any cake lover.
One reader, Alana, says: “I made this cake for a friend’s engagement party and it was a HIT to say the least!! This was my first time making a cake fully from scratch and the guests were asking if I was a professional baker ! I also made the Swiss meringue buttercream and it was PERFECT!” ★★★★★
White Cake Ingredients & Substitutions
To make this white cake perfectly soft and moist with a bakery-style texture, there are a few key ingredients you’ll need. You should be able to find these at your local grocery store, but if not I have provided some substitution ideas as well.
- Cake Flour. To achieve the super soft bakery-style texture in this cake, you’ll need to use cake flour. It produces a much fluffier cake than all-purpose (or plain) flour because of its lower protein content (the more protein in your flour the stiffer the dough and less ability to maintain moisture). You can find cake flour at most grocery stores, but if all you’ve got is all-purpose flour in your pantry, here are instructions for how to make your own cake flour. Keep in mind that if you do use the homemade version, the gram measurement will weigh more (295g instead of 265g) since all-purpose flour is heavier than cake flour.
- Baking Powder + Baking Soda. These are the leavening agents used in this cake to give it the perfect rise.
- Unsalted Butter. A little bit of unsalted butter helps create moisture, great structure, and rich flavor. If you only have salted butter on hand, you can substitute that but be sure to omit the salt in the recipe if you do.
- Granulated Sugar. This not only sweetens the cake, it creates a tender crumb as well. You can substitute this with caster sugar if you wish and it will be even more soft.
- Egg Whites. Egg whites not only help keep this cake light in color, they also keep it light and fluffy in structure while binding all of the ingredients together. This recipe calls for 4 large egg whites, and you can either use fresh egg whites or use 1/2 Cup of carton egg whites as a substitute.
- Vegetable Oil. This adds the perfect amount of moisture to the crumb. I like using plain vegetable oil but you can substitute for any kind of vegetable oil (canola, avocado, etc.). Just keep in mind that if the vegetable oil you choose has a strong flavor, it will end up flavoring the cake.
- Pure Vanilla Extract. To create that perfect vanilla flavor, use a good quality vanilla extract. If you want an even whiter colored cake, you can use clear vanilla extract or substitute part of the vanilla extract with a clear extract like almond.
- Buttermilk. The fattiest of all the milks, buttermilk creates a rich texture and locks in lots of moisture. If you can’t find buttermilk locally, you can make a DIY version using whole milk and vinegar or lemon juice. The instructions are in the notes of the recipe below.
White Cake vs. Vanilla Cake
After looking through the ingredients, you may be wondering what the difference is between white cake and vanilla cake. Both are flavored with vanilla extract, so they both have amazing vanilla flavor. The main difference is that this white cake recipe uses all egg whites while vanilla cake recipes typically include whole eggs. Without the yellow of the egg yolks, the white cake ends up very light in color, which is how it gets its name.
Frostings to Pair with White Cake
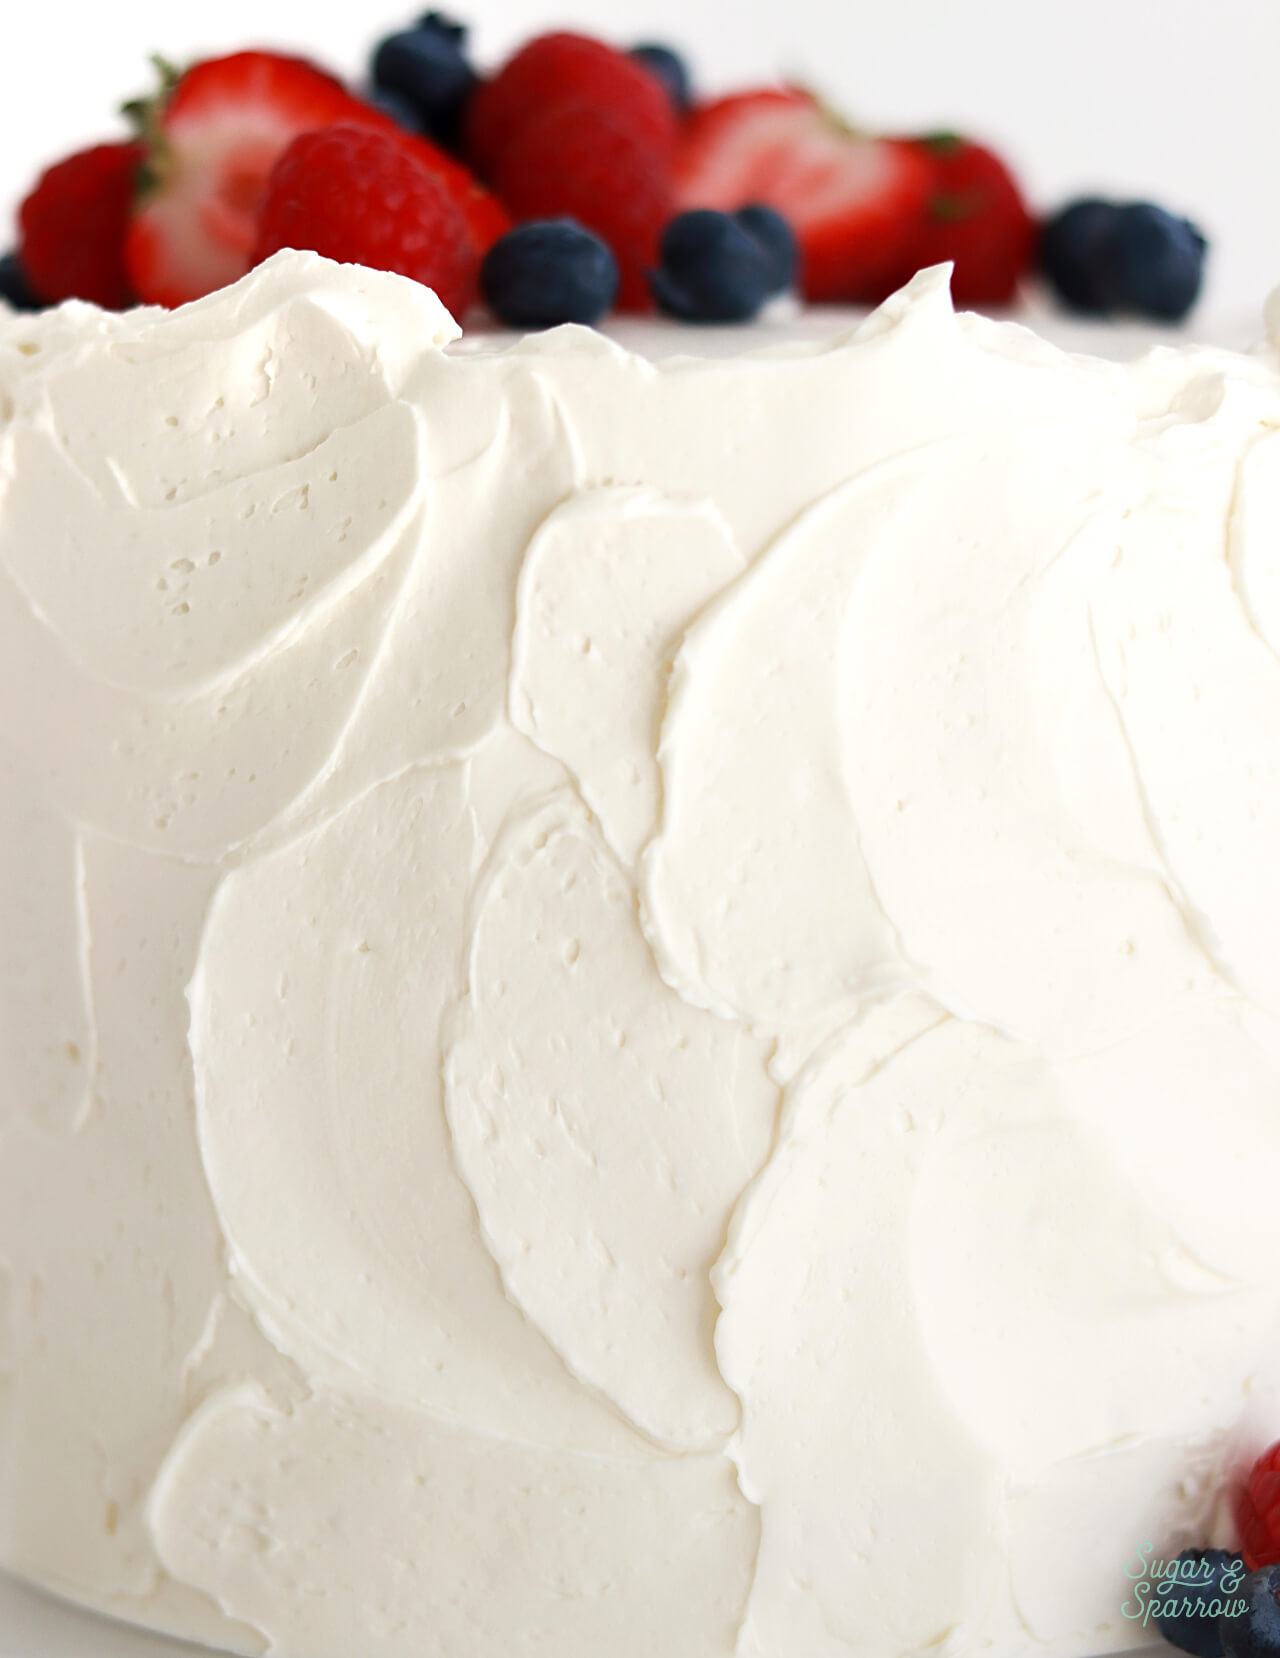
Since this white cake recipe has a vanilla flavor profile, you can pair it with a double batch of any of my frosting flavors and it will taste amazing. Since I wanted to go for a true bakery-style white cake flavor, I decided to whip up some vanilla swiss meringue buttercream for the filling and frosting. This silky smooth buttercream is the perfect match for this soft and moist white cake! It tastes so rich and buttery, not too sweet, and has that professional bakery quality that pairs so well with the cake.
Swiss meringue buttercream is a little more involved than American buttercream, so if you’d rather try an easier white frosting, here are my recommendations:
How to Decorate a White Cake
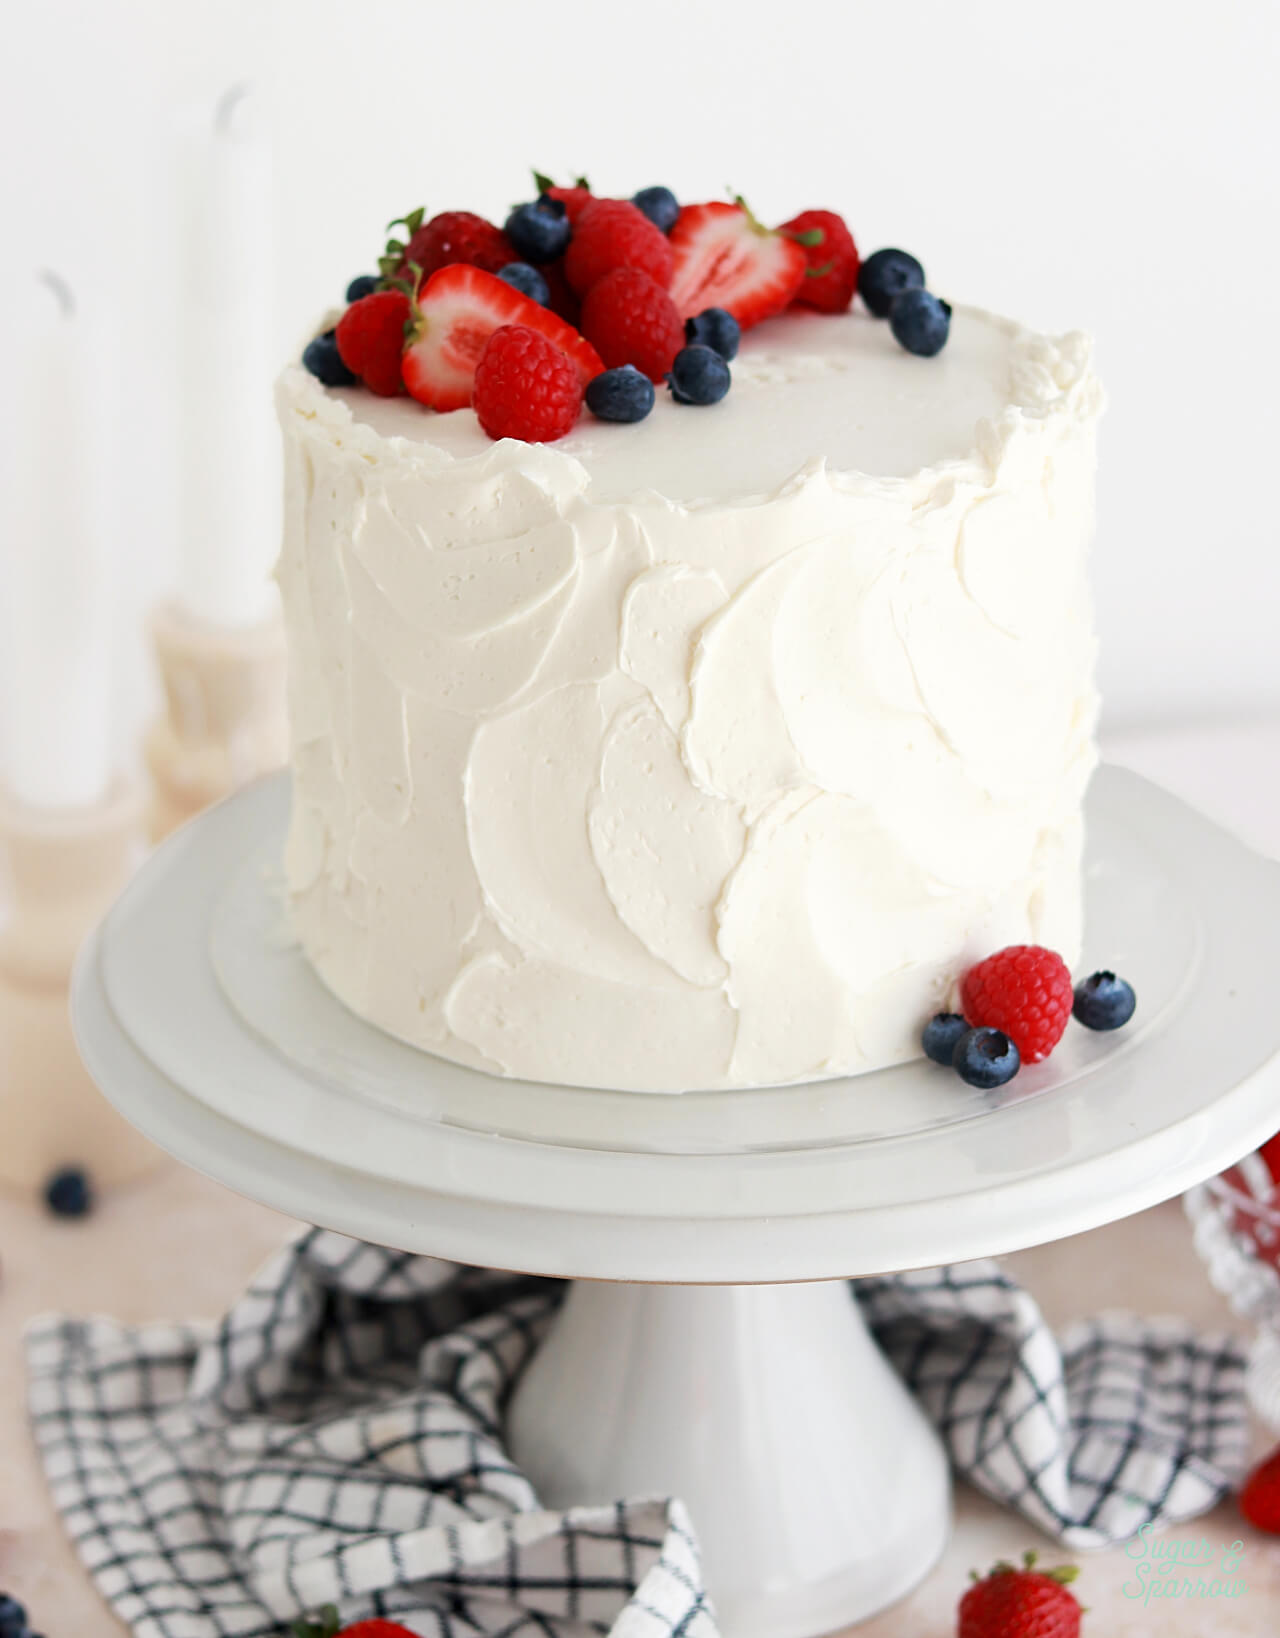
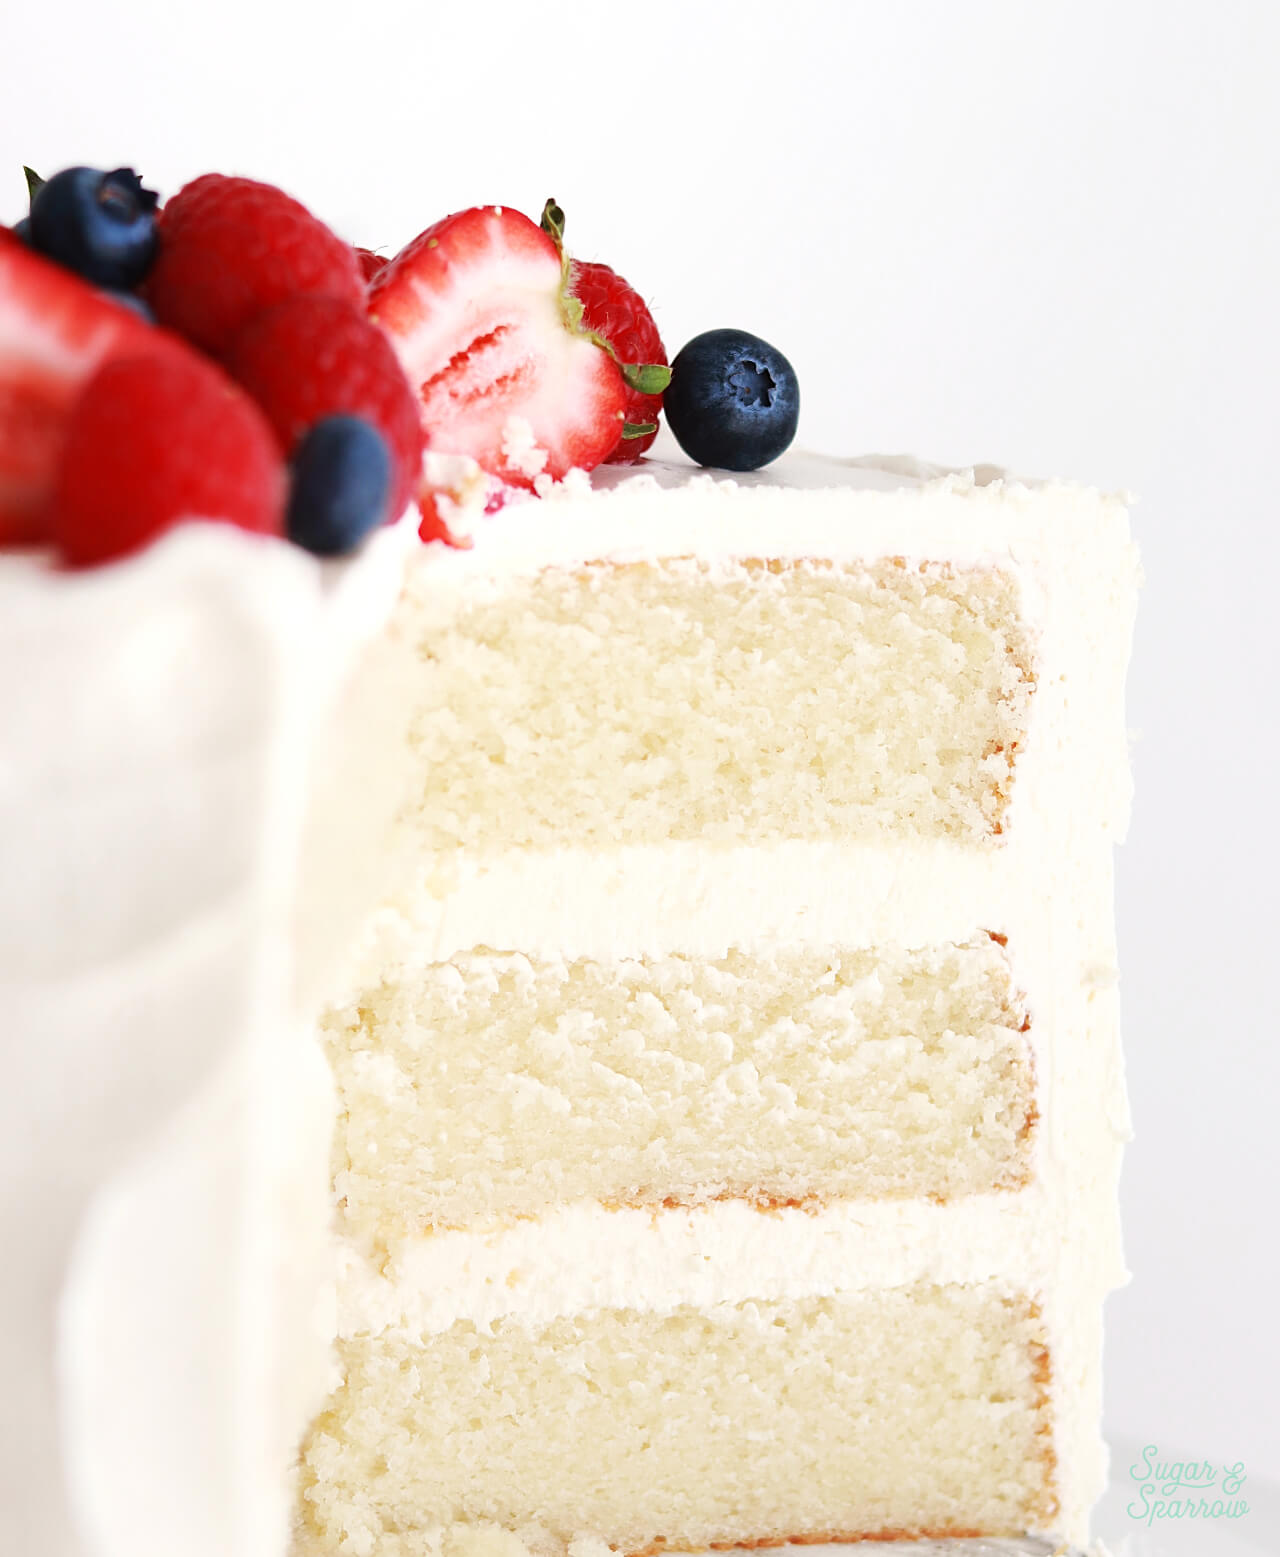
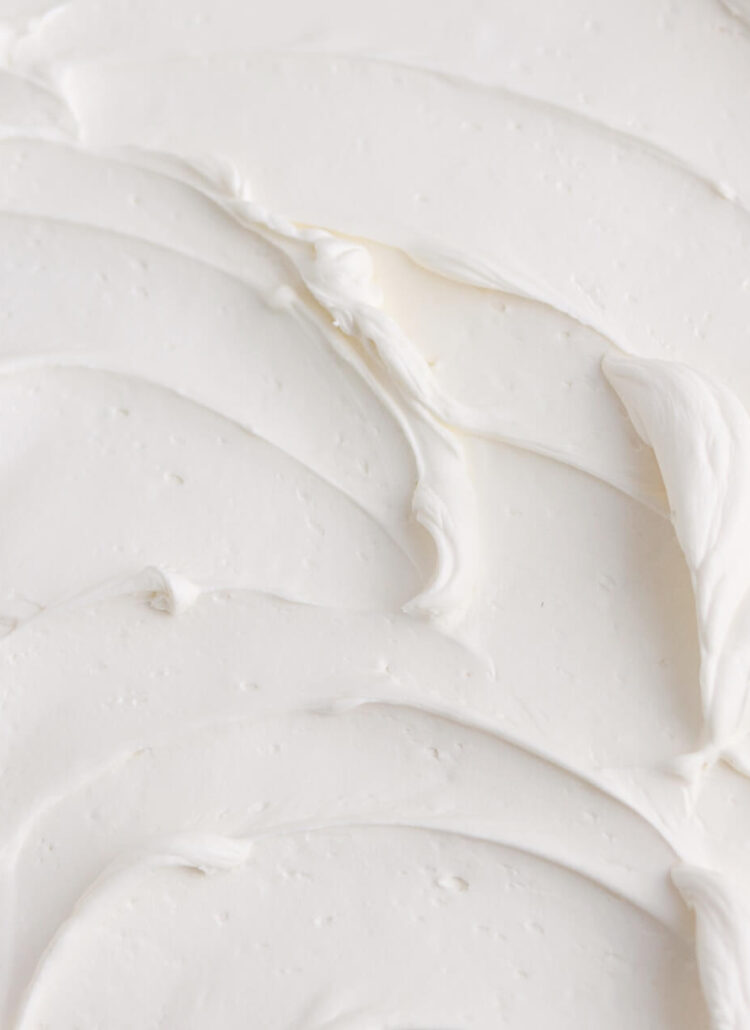
I wanted this cake to look like it belongs in a bakery showcase, so I used the swiss meringue buttercream to frost a rustic textured finish with a small icing spatula. This technique is so quick and easy that anyone can do it! I left the top edges of the cake raw (instead of creating sharp edges) to make it look even more rustic. Then, I topped it with fresh berries.

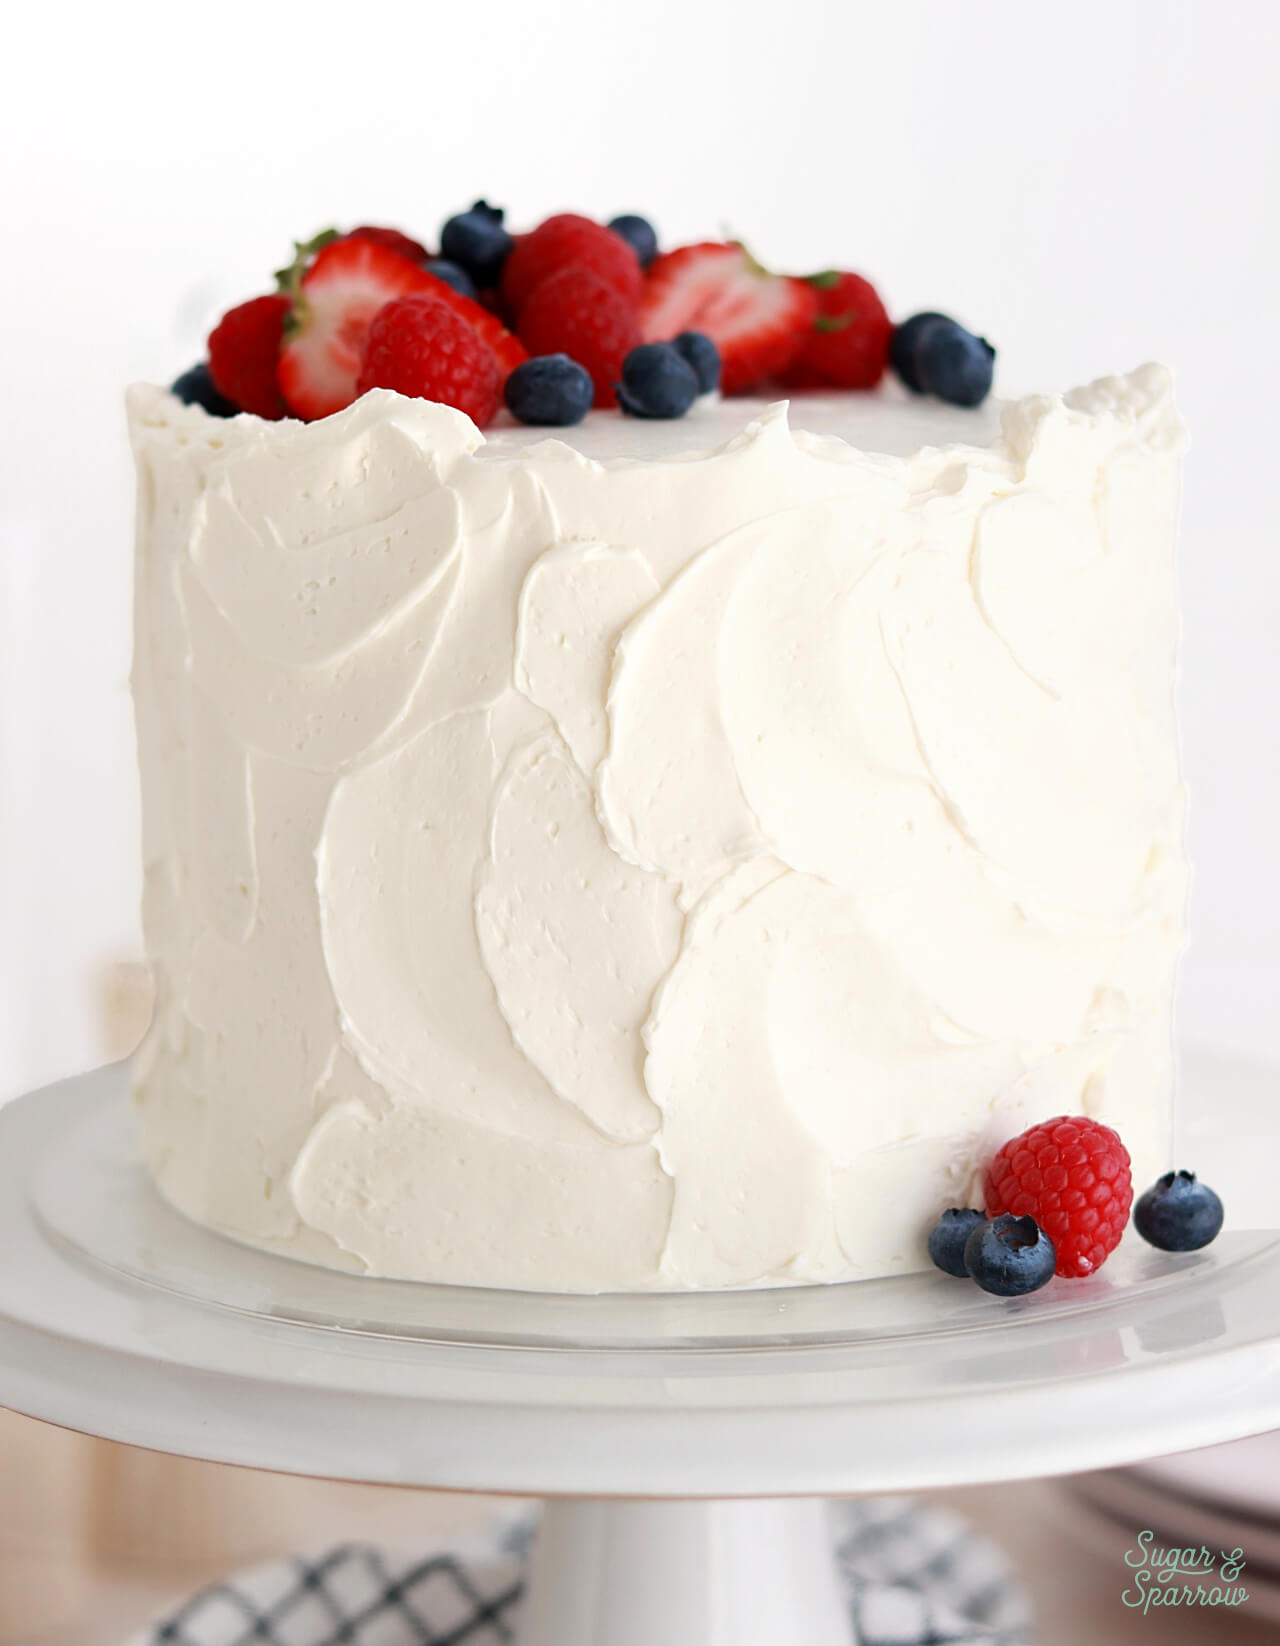
You can decorate this cake however you’d like and it will still have that bakery quality taste! I recommend adding sprinkles for a celebratory look or fresh flowers (make sure they’re cake safe!) for an elegant look. This recipe makes just enough swiss meringue buttercream frosting to fill and stack the cake, then create the rustic textured finish or a smooth buttercream finish.
Bakery-Style White Cake Recipe Video
Here’s a quick video to show you the process of making this cake.
If you love recipe videos like this one, be sure to check out my YouTube channel! I’ve got a growing collection of cake recipes, decorating tutorials, and Cake Basics over there. Hit the subscribe button on my page so you never miss a new video.
Bakery-Style White Cake
Ingredients
Bakery-Style White Cake
- 2 1/2 Cups (265g) sifted cake flour* DIY recipe in notes
- 2 tsp baking powder
- 1/2 tsp baking soda
- 1/2 tsp salt
- 1 1/2 Cups (300g) granulated sugar
- 1/2 Cup (113g) unsalted butter, room temperature
- 4 large egg whites, room temperature
- 1/2 Cup (120ml) vegetable oil
- 1 Tbsp pure vanilla extract
- 1 1/4 Cups (300ml) full-fat buttermilk**, room temperature DIY recipe in notes
Swiss Meringue Buttercream
- 6 large egg whites from fresh eggs, not the carton
- 2 Cups (400g) granulated sugar
- 1 1/2 Cups (340g) unsalted butter, room temperature, cut into Tablespoon-sized pieces
- 2 tsp pure vanilla extract
- pinch of salt, or to taste
Garnish (Optional)
- 1/4 Cup fresh berries
Instructions
Make the Bakery-Style White Cake
- Preheat the oven to 350°F/177°C and prepare three 6-inch or two 8-inch cake pans by spraying the sides with baking spray and fitting a parchment paper circle to the bottom of each pan.
- In a medium bowl, add the flour, baking powder, baking soda and salt. Whisk together and set aside.
- In the bowl of a stand mixer fitted with the paddle attachment, beat the butter at high speed until creamy, about 2 minutes. Add the sugar and cream it together with the butter at medium-high speed until light and fluffy, about 2 minutes, scraping the bowl and paddle at the halfway point. Turn the mixer to low and add the egg whites one at a time, mixing until they are just combined and scraping down the bowl and paddle as needed. Add the vegetable oil and vanilla, increase the mixer speed to high and beat for 1 minute.
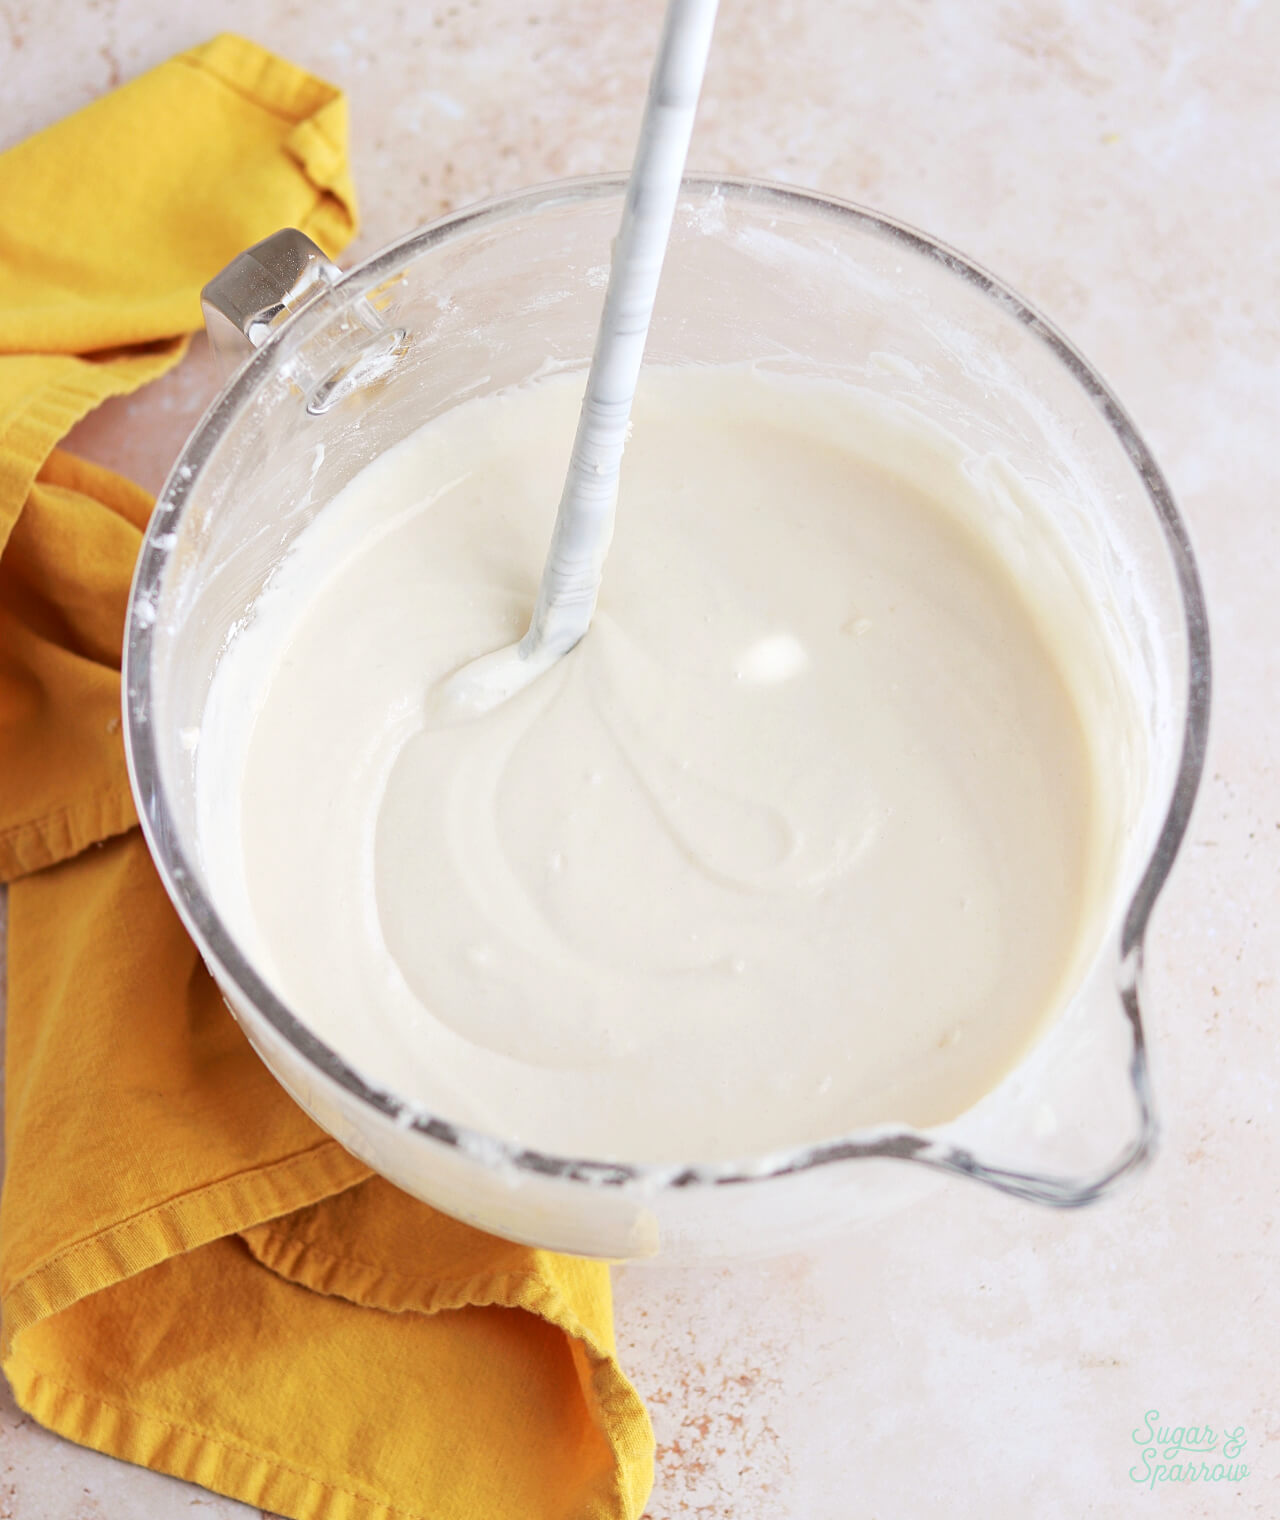
- Turn the mixer off and add the flour mixture all at once. Mix the ingredients on low speed until just combined, then slowly pour in the buttermilk. Continue mixing at low speed for about 30 seconds, until the batter is uniform and combined. The batter will be slightly thin.
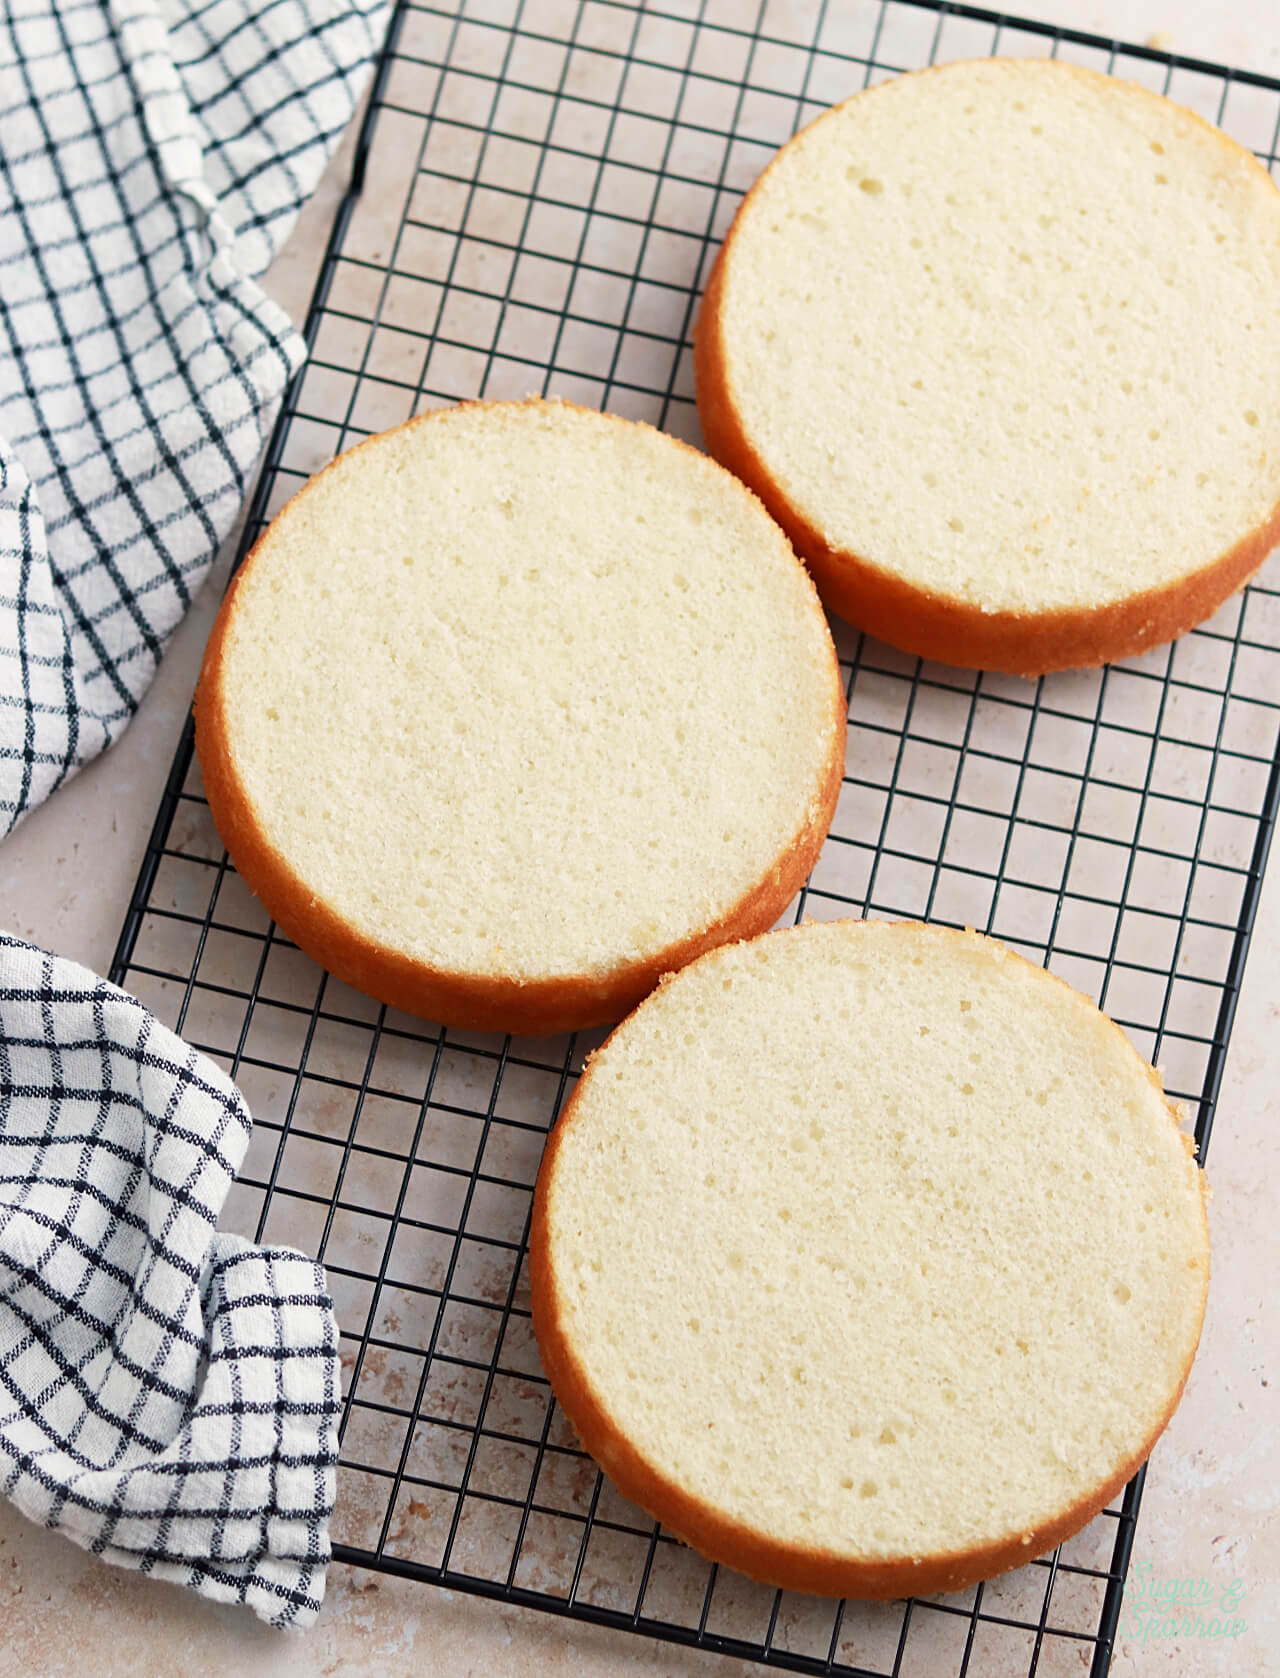
- Divide the batter evenly between the prepared cake pans and bake for 28 to 32 minutes. They’re done when they spring back to the touch and a toothpick inserted into the centers comes out clean or with just a few moist crumbs on it. Let the cakes cool in their pans for 5 minutes, then remove them from the pans and allow them to cool completely on a wire rack.
Make the Swiss Meringue Buttercream
- Prepare the double-boiler: Fill a saucepan with a few inches of water and set over medium heat. Make sure that the mixing bowl you’ll be using for the next step fits on top of it without the bottom of the bowl touching the water, then remove the mixing bowl and bring the water in the saucepan to a simmer.
- Separate the eggs: it’s really important not to get even a drop of egg yolk in your egg whites, so I recommend separating one egg white at a time into a small bowl, then adding each egg white into your heat proof mixing bowl (glass or metal).
- Add the sugar into your egg whites and whisk together to combine, then set the bowl over the saucepan of simmering water. Whisk constantly until the mixture has thinned out and the sugar is fully dissolved, 4-5 minutes. To test that it’s ready, carefully dip your finger into the mixture and rub your thumb over it. If you don’t feel any sugar granules, it’s ready. You can also use an instant read thermometer to check that the temperature has reached 160°F (71°C).
- While the mixture is still warm, transfer it to the bowl of your stand mixer fitted with the whisk attachment (or attach the bowl to your stand mixer if you used that for the mixture). Turn the mixer to medium-high speed and beat until stiff peaks form, 10-15 minutes. If stiff peaks have not formed at this point, try placing your bowl into the refrigerator for 10 minutes, then continue to beat until stiff peaks form.
- At this point feel the bowl of your stand mixer. If it feels warm to the touch, place it into the refrigerator for 10-15 minutes to cool it down. The meringue should be about 90ºF (32ºC) or less before moving on to the next step.
- Once the meringue has cooled, switch the stand mixer to the paddle attachment. Turn the mixer to medium-high and add the butter 1 Tablespoon at a time. After all the butter has been added, turn the mixer down to medium speed and beat in the vanilla and salt, about 30 seconds. At this point, the Swiss meringue buttercream should be thick, creamy, and silky smooth.
- Troubleshooting Too Thin/Curdled: If the buttercream is thin and curdled-looking, it usually means the meringue was too warm before adding the butter. Place the entire bowl in the refrigerator for about 20 minutes before returning it to the stand mixer and beating on medium speed until thickened. If it’s still soupy, place it back into the refrigerator for longer before re-whipping again.
- Troubleshooting Too Thick: If your buttercream looks too thick and air bubbly, scoop out about ½ Cup of the buttercream and place it in a microwave-safe bowl. Microwave for 10 seconds, until the buttercream has melted. Add it back to the big bowl of buttercream and turn the mixer to low speed until it’s all mixed in. This should bring the buttercream to a smooth consistency. Repeat if necessary until smooth.
Assembly
- Once the white cake layers are completely cooled, level them to your desired height. Add a swipe of Swiss meringue buttercream onto a cardboard cake circle and place the first cake layer on top. Fill and stack the cake with Swiss meringue buttercream, then crumb coat the cake. Refrigerate the cake for 15-20 minutes to let the crumb coat firm up before frosting the cake with the rest of the Swiss meringue buttercream.
- To create the design pictured, use a small spatula to create a rustic textured finish on the sides of the cake and keep the top edge raw. Garnish with a crescent formation of fresh berries.
Notes
- The white cake layers can be made ahead and stored at room temperature, covered tightly in plastic wrap, for up to two days. Alternatively, you can cover with plastic wrap and store in the freezer for up to two months before thawing to room temperature.
- The Swiss meringue buttercream can be made ahead and stored in an airtight container at room temperature for up to 2 days. You can also refrigerate the buttercream for up to 5 days or freeze for up to 3 months. When you’re ready to use it, bring back to room temperature before mixing on medium speed until creamy and smooth.
I created an account on here solely so I could favorite this recipe and write this comment. This is the best cake I have EVER made, seriously. This is the best recipe out there. I created my own mascarpone and ricotta frosting and put it in between cake layers along with some mini chocolate chips to create a cannoli cake. Everybody loved it! I will definitely be making this recipe again in the future. I had no idea I was capable of baking so well until this recipe!
Yay, Shay! I’m so happy to hear that this recipe was such a hit and your cannoli cake sounds AMAZING! I need to try that now. So thrilled you felt encouraged as a baker after this recipe, that means so much to me.
Hi, I love this recipe! I was wondering if I’m tripling the recipe to make 3 10 inch cakes, how long do i need to leave it in the oven and at what temp? Thank you
Hi Jala! To make three 10-inch layers, you should only need to make 2.5x the recipe to have enough batter. Be sure to fill the tins no more than 2/3 full. Check for doneness around the 30-35 minute mark and add time from there if you need more. Enjoy!
Hi what temperature should I put it at? Also one of your other comments said x 3 this one said 2.5 so im not really sure which one to do:) thanks so much.
It should still be 350F for the temperature. As far as scaling the recipe, I do think 3x will be better for this recipe if you want the layers to be 2 inches tall.
My adult granddaughter requested a white cake for her birthday. Since your recipes are always a success, I am going to make this cake for her.
Can I follow the recipe and use (2) 9″ cake pans instead of 8″ pans?
Yay, Marion! I’m excited for you to make this for your granddaughter. You can absolutely make this in two 9-inch pans but check for doneness around the 25 minute mark. It should take a little less baking time since the batter won’t fill the pans as full as the 8-inch pans.
Hi any recipes without egg please
Hi Al! Yes, I have an eggless chocolate cake: https://sugarandsparrow.com/eggless-chocolate-cake-recipe/ an eggless vanilla cake: https://sugarandsparrow.com/eggless-vanilla-cake-recipe/ and a small collection of vegan cake recipes: https://sugarandsparrow.com/category/recipes/vegan/
I make so many cakes it’s crazy multiple cakes a week sometimes. This one is going in my recipe book because it’s such a HUGE HIT! I have had the hardest time finding a great white/vanilla cake recipe. Thank you!
*I don’t use cake flour just all purpose*
I’m so happy you love this recipe, Grace!
The batter was beautiful but as soon as I took the layers out of the oven, they deflated. I don’t know what went wrong. I weighed my ingredients and followed the recipe exactly.
Hi Nikki! Sounds like something went wrong and I’d love to help you troubleshoot. First, are you using a conventional oven or convection (fan assisted oven)? Second, what kind of cake pans are you using (light or dark metal)? And lastly, have you checked to make sure your baking powder and baking soda are fresh? Those ingredients expire after 6 months and lose their ability to make baked goods rise.
I have made SO MANY vanilla cakes, searching for the perfect one. this is IT, you have to make this. I heated the buttermilk and even the eggwhites over a double broiler to really make sure it was all room temp. its just gorgeous. i added almond extract and added 1tsp of oil extra because i am fat
I’m so happy you love this recipe, Jasmine!
Delicious!!! I added rainbow sprinkles to make it a funfetti cake. I also used vanilla frosting recipe……
I cut the cake into cake slices wrapped in saran wrap and into a ziploc bag and froze the slices over night and defrosted 2 slices today and I preferred the frozen defrosted cake slices to the freshly baked ones yesterday. Christina Tosi Milkbar …she has you freeze the cake 24/48 hours before cutting a cake slice. Her method….
Its what I do with cookie dough…I make dough, freeze dough overnight and then bake cookies.
Hi!
I’m at my extended family’s and they don’t have too many pans… would you make this cake in a Bundt cake pan? Or will it not cook through? Just curious if I could switch it up or if I should start asking neighbors for pans!
Hi Maria! Most of my cake recipes bake great in a bundt pan but I haven’t tested this one. I’m assuming it would work if you bake at 350F and check for doneness around the 30 minute mark. Hope that helps!
I think this is a wonderful and delicious recipe! I am having a difficult time keeping the cake from sinking, though. I tested my baking soda and baking powder, and both are active. I also believe I creamed the butter and sugar well. So I am somewhat at a loss! I tried it three times, and I can’t seem to get the same dome that you do in the video. The cakes turn out fluffy, but flat, and then they sink a bit after cooling. My only thing is that maybe I am not using enough egg whites because I am using fresh rather than carton eggs, or it is an oven issue, and I am not getting enough steam. Please let me know your thoughts!
Hi Maren! I’m so happy you love this recipe and want to help you solve that issue of the cake sinking. A few questions: 1) What kind of oven are you using (convection or conventional)? My recipes are written for conventional ovens and convection (or fan-assisted) ovens do need to be altered slightly temp-wise to get the best bake. 2) Do you live at high altitude? and 3) What kind of pans are you using (light or dark)?
Just made this today, I used homemade cake flour and homemade buttermilk and it turned out amazing!
It’s really soft and tastes good. I made this into cupcakes and filled them with homemade fig jam. They are not going to last the night!
I halved the recipe and got 13 cupcake and bake for 17 minutes.
I’m so happy you loved this recipe, Carmela! Homemade fig jam filling sounds incredible!
Olá querida! Tudo bem? Fiz essa receita mas o bolo ficou muito oleoso. Como se o óleo não tivesse se misturado a massa. Após assado o óleo escorre nas mãos ou no guardanapo, como se fosse uma fritura. O que pode ter acontecido? Segui todas as medidas por peso ☹️ Será que devo diminuir a gordura a receita? Gratidão
Hi Cassia! That definitely sounds like something went wrong. What kind of oil did you use? And did you use any ingredient substitutes? Also, what kind of oven do you have (conventional oven or convection/fan-assisted)?
Olá querida! Tudo bem? Fiz essa receita mas o bolo ficou muito oleoso. Como se o óleo não tivesse se misturado a massa. Após assado o óleo escorre nas mãos ou no guardanapo, como se fosse uma fritura. O que pode ter acontecido? Segui todas as medidas por peso ☹️ Será que devo diminuir a gordura a receita? Gratidão
Oi querida! Usei óleo de girassol na medida da receita. Não substitui nenhum ingrediente. A massa crua ficou como se estivesse talhada. Queria saber onde errei porque esse bolo parece delicioso
Hi Cassia. Sunflower oil should work fine. If the batter looked curdled it sounds like something went wrong in the mixing process, that usually happens when your ingredients aren’t room temperature (either too cold or too warm). All of the dairy and liquid ingredients need to be room temperature. Does it seem like ingredient temperature could have played a role? When mixed properly, this batter has a really smooth, thin consistency. I hope you get a chance to try it again with better results!
Love recipe! Very fluffy cake layers!!!
Question…to turn this into an almond cake what would you suggest? Almond extract? Almond flour?
I buy from bakery and almond cake …thrcake layers are almond yet fluffy white cake with vanilla buttercream and raspberry jam. 3 layers, vanilla buttercream with raspberry jam on top. Frosted with vanilla buttercream. Im obsessed and want to bake at home. Any ideas? I want fluffy cake layers….
So happy you love this recipe, Wendy! To make it almond flavored, substitute half of the vanilla extract with almond extract. That flavor combination sounds amazing!!
I made this cake for a friend’s engagement party and it was a HIT to say the least!! This was my first time making a cake fully from scratch and the guests were asking if I was a professional baker ! I also made the Swiss meringue buttercream and it was PERFECT! Both the cake and icing weren’t overly sweet. I really appreciated the video tutorials embedded in the post because that was super helpful. And a huge thank you for including what type of stand mixer attachment you used in the recipient!! I’ve found a new go to recipe and can’t wait to try more from this site!
I’m so happy to hear that this cake was such a hit, Alana! And that you consider this one a new go-to. Thanks for letting me know, it makes my day!
I am going to try this recipe and wondered how much I would need for 3 6-inch pans?
Hi Lynda! This recipe is written for three 6-inch cake pans, so you can just make it as-is. Enjoy!
I was going to make a 2 tier cake.
The bottom tier 3 8-inch pans and the top tier 2 6-inch pans
Do you think that will work or is it better for 2 8-inch with 3 6-inch on top?
You do such beautiful work and this is my first attempt at a tiered cake. Any advice is welcome!
Hi Lynda! I would definitely go with three 8-inch layers on the bottom and two 6-inch layers on the top. I’m so excited for you to make your first tiered cake! I don’t yet have a tutorial on how to make tiered cakes (it’s on my list!) but in the meantime this video shows the method I use: https://www.youtube.com/watch?v=lyVXfDDVTmg hope that helps!
I have a small cake business and I’ve been using preppy kitchen vanilla cake for the last couple years and it has been coming out of dense and dry and once I saw your video on TikTok, I decided to try your recipe. Oh my God it’s the best cake I ever had it’s moist, air, and spongy. I didn’t need to add simple syrup to make it moist. Your cake recipe I’m going to be using forever. My mom loved it also.
Yay, Jacqueline! I am so happy you love this recipe and will be able to use it for your cake business! I’m cheering you on 🙂
Hi Whitney. Can you please tell me how much frosting you use for 6 inch cake? Also, for an 8 inch cake?Also, is the Swiss meringue recipe enough for the 6 inch cake? Thank you so much! Elisa
Hi Elisa! The swiss meringue frosting recipe here makes enough to fill and frost a triple layer 6-inch cake or double layer 8-inch cake. Hope that helps!
Hello, I don’t know where my comment went but I had a question. I’m trying to do 3- 9 inch layer cake and I wanted to know if I needed the double or triple the recipe. and I want the cake to be slightly tall, not too thin of layers.
Hi Jaqueline! I would double the recipe for three taller 9-inch layers. You’ll have a little more than enough batter, so be sure to fill the pans no more than 2/3 full and check for doneness around the 30 minute mark. Hope that helps!
Can I substitute vegetable oil for coconut oil.
Hi Jaqueline! Yes, coconut oil will work fine as a substitute for the vegetable oil. Enjoy!