
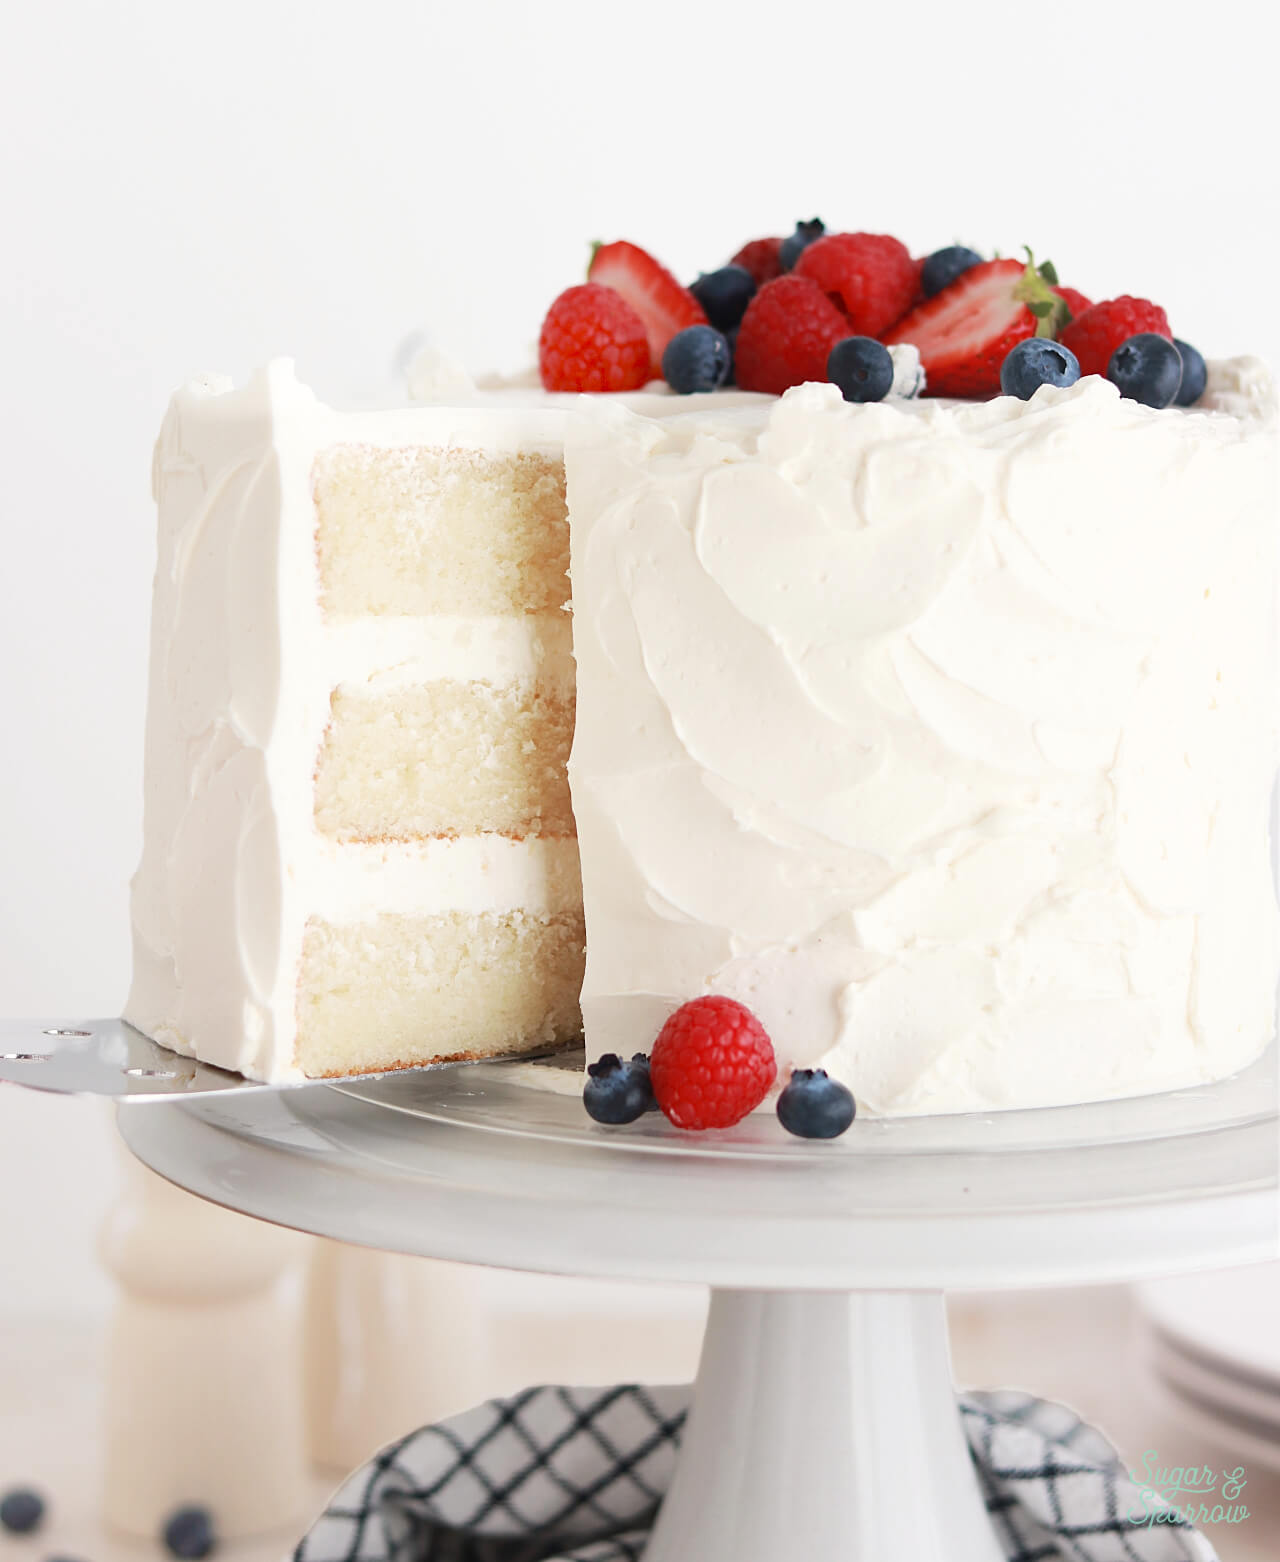
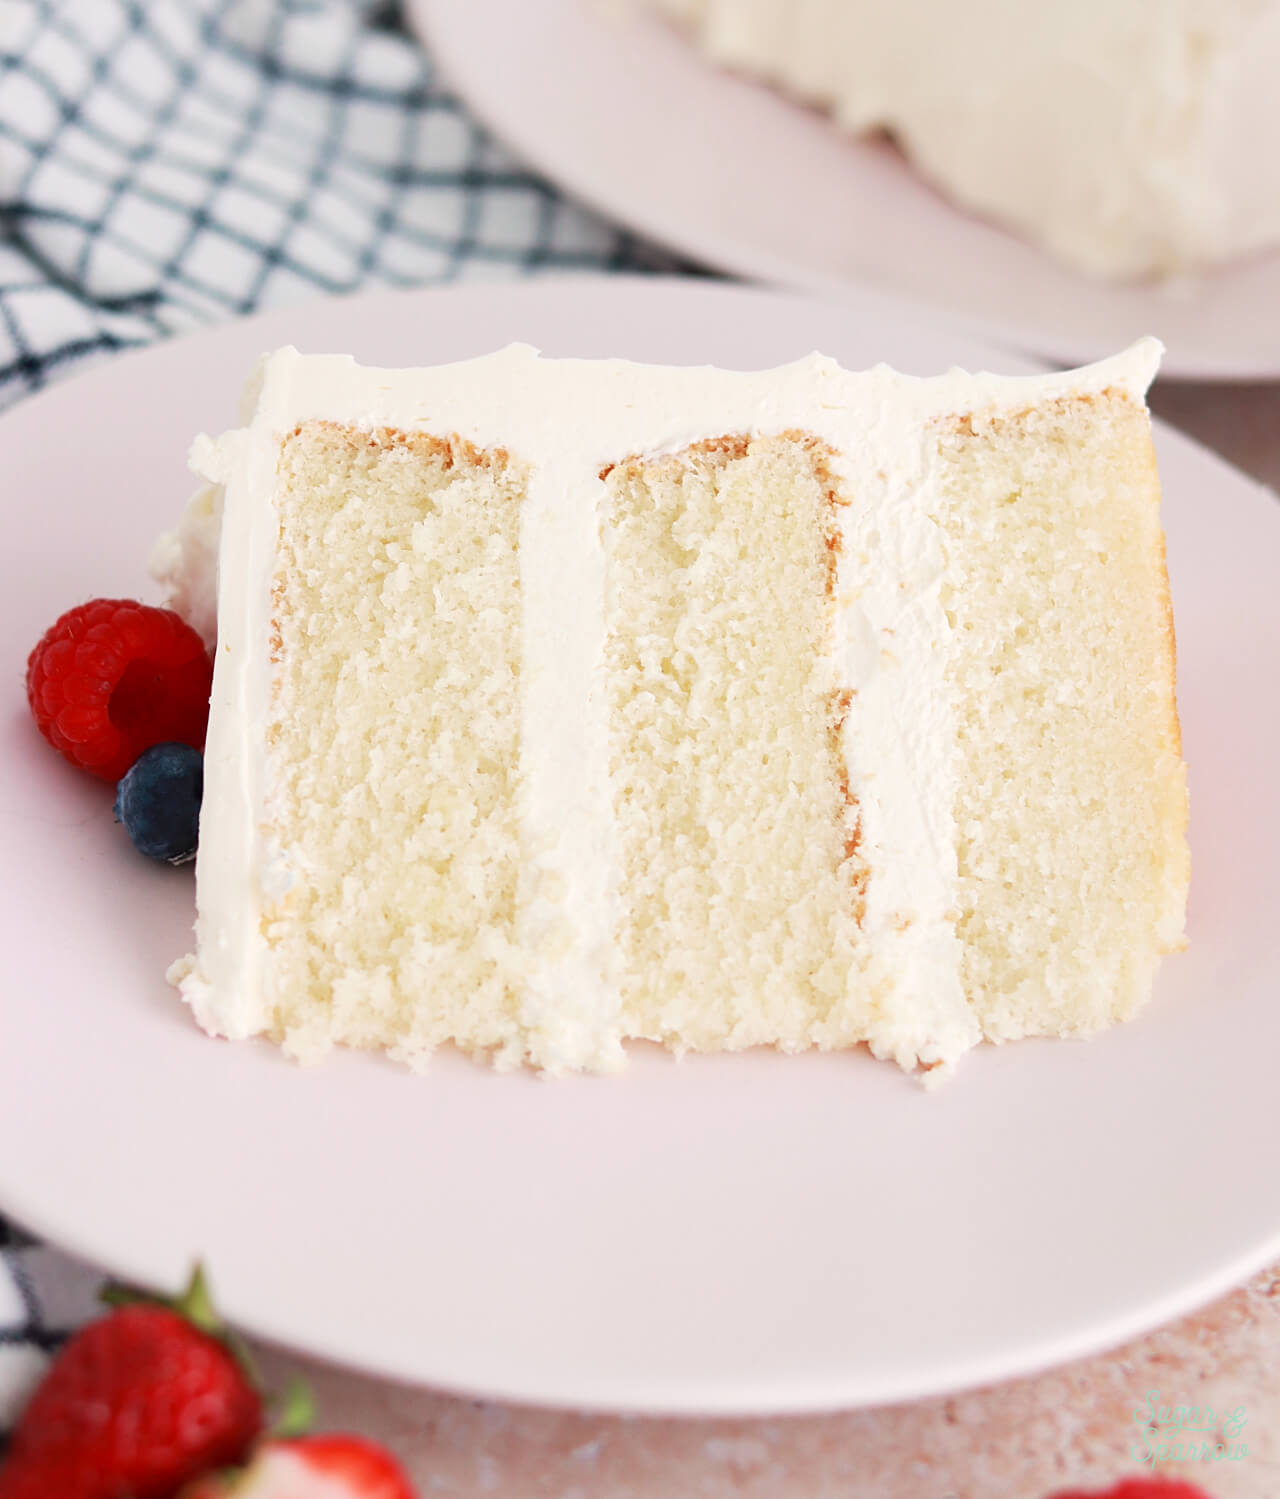
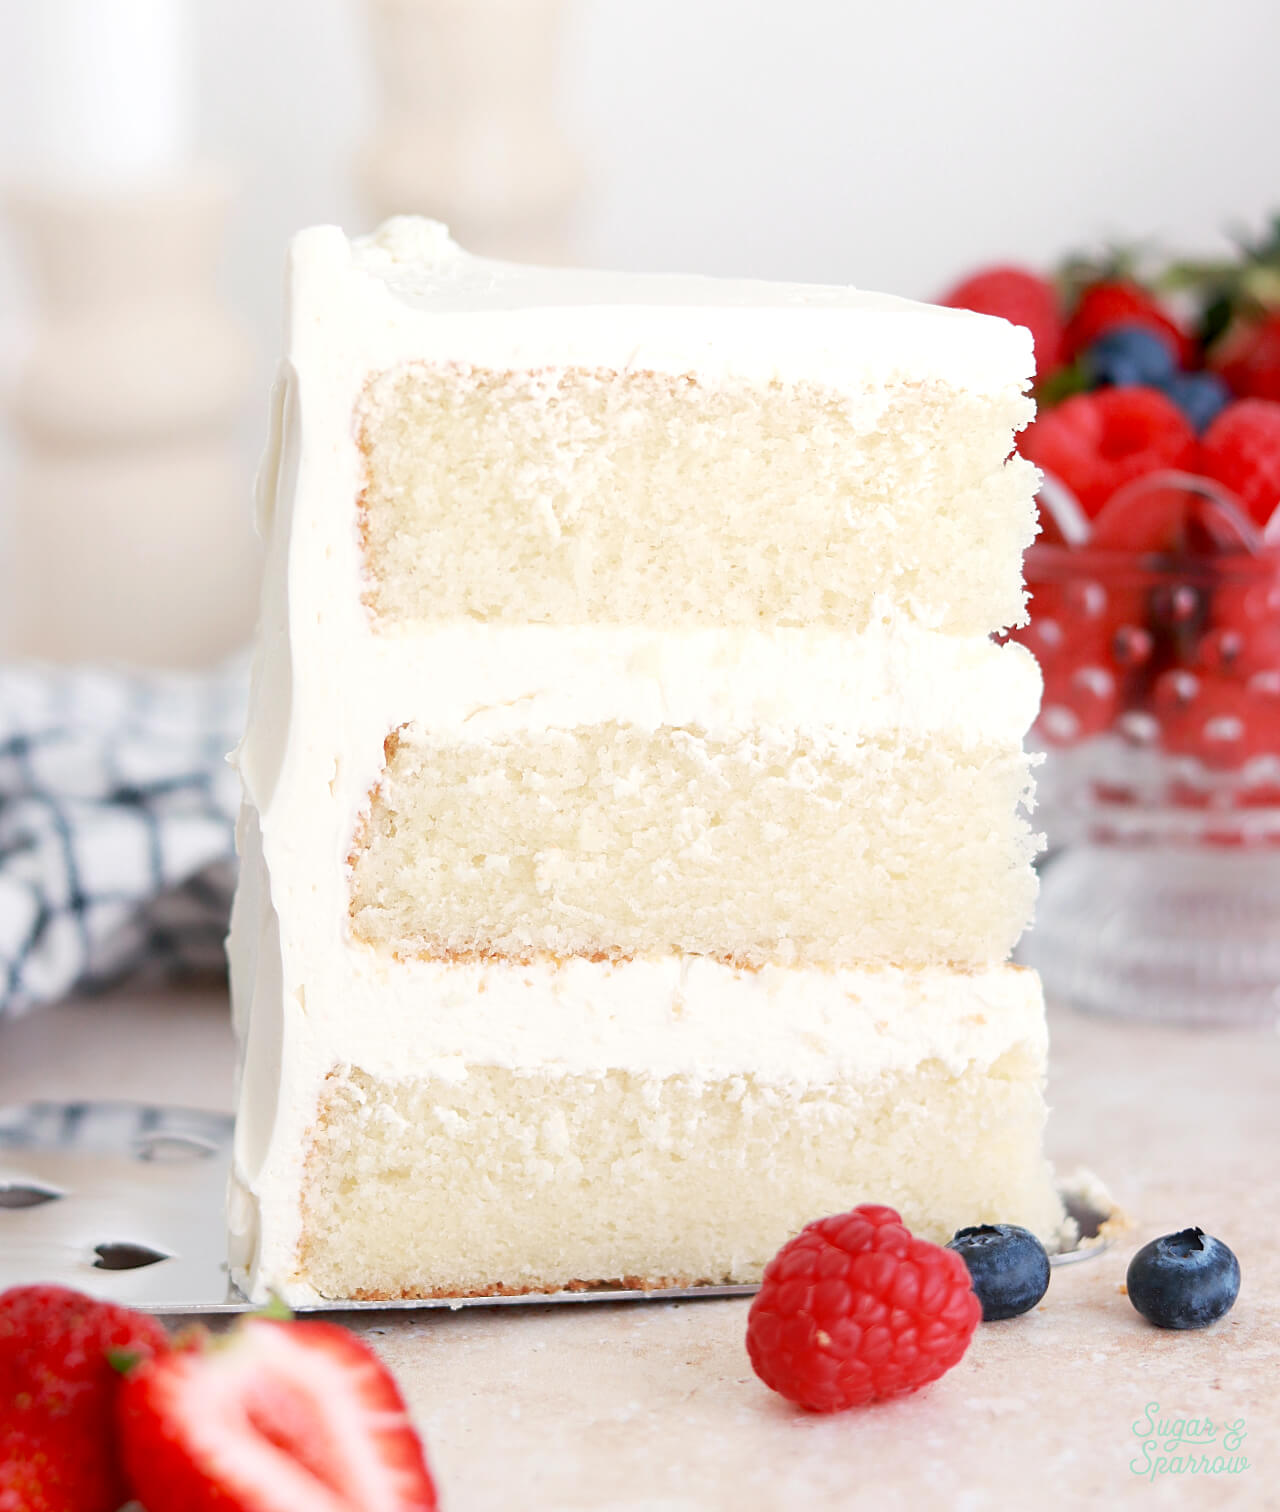
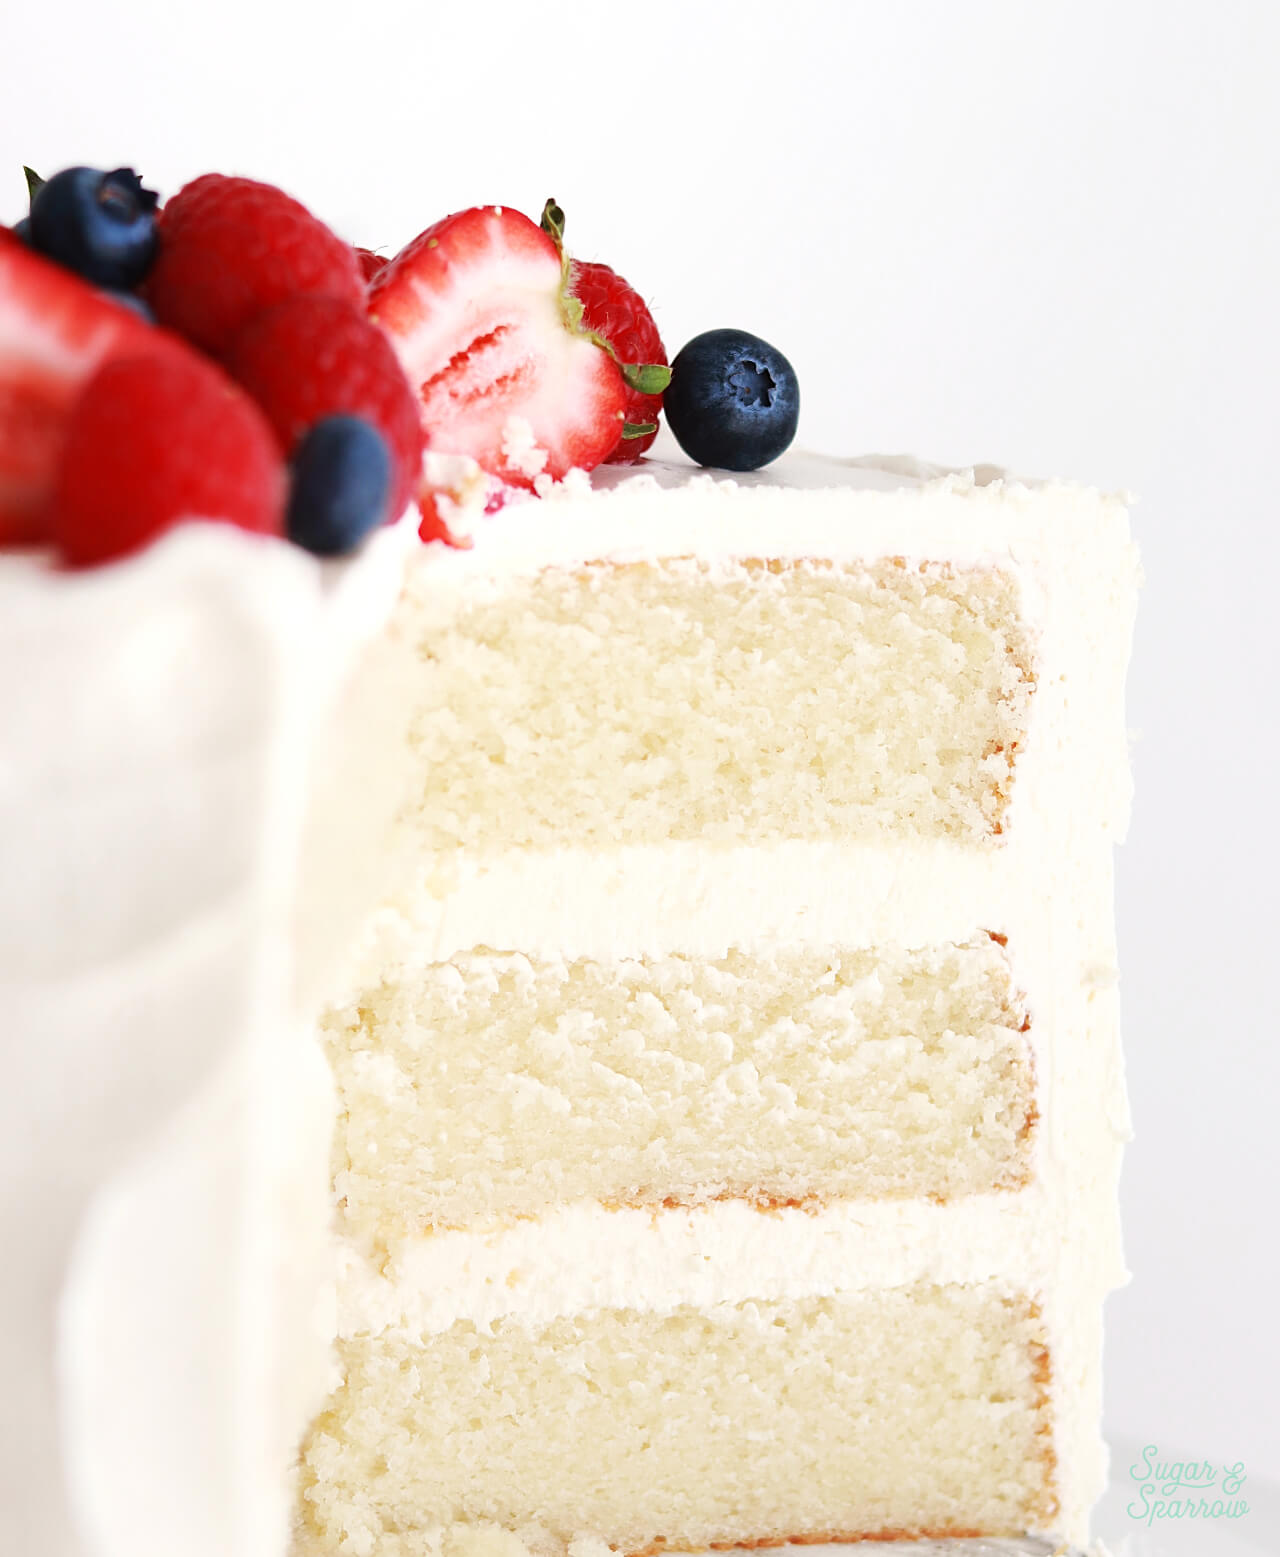
This is the softest, fluffiest white cake recipe that tastes like it came from your favorite bakery, but it’s 100% HOMEMADE! It’s super moist (and stays that way for days), packed with vanilla flavor, and made with egg whites to keep the color of the cake nearly white. You can pair it with any frosting flavor, but I paired this one with a vanilla swiss meringue buttercream that’s so light and just the right amount of sweet. It really enhances the rich vanilla flavor of the cake overall and it’s sure to impress any cake lover.
One reader, Alana, says: “I made this cake for a friend’s engagement party and it was a HIT to say the least!! This was my first time making a cake fully from scratch and the guests were asking if I was a professional baker ! I also made the Swiss meringue buttercream and it was PERFECT!” ★★★★★
White Cake Ingredients & Substitutions
To make this white cake perfectly soft and moist with a bakery-style texture, there are a few key ingredients you’ll need. You should be able to find these at your local grocery store, but if not I have provided some substitution ideas as well.
- Cake Flour. To achieve the super soft bakery-style texture in this cake, you’ll need to use cake flour. It produces a much fluffier cake than all-purpose (or plain) flour because of its lower protein content (the more protein in your flour the stiffer the dough and less ability to maintain moisture). You can find cake flour at most grocery stores, but if all you’ve got is all-purpose flour in your pantry, here are instructions for how to make your own cake flour. Keep in mind that if you do use the homemade version, the gram measurement will weigh more (295g instead of 265g) since all-purpose flour is heavier than cake flour.
- Baking Powder + Baking Soda. These are the leavening agents used in this cake to give it the perfect rise.
- Unsalted Butter. A little bit of unsalted butter helps create moisture, great structure, and rich flavor. If you only have salted butter on hand, you can substitute that but be sure to omit the salt in the recipe if you do.
- Granulated Sugar. This not only sweetens the cake, it creates a tender crumb as well. You can substitute this with caster sugar if you wish and it will be even more soft.
- Egg Whites. Egg whites not only help keep this cake light in color, they also keep it light and fluffy in structure while binding all of the ingredients together. This recipe calls for 4 large egg whites, and you can either use fresh egg whites or use 1/2 Cup of carton egg whites as a substitute.
- Vegetable Oil. This adds the perfect amount of moisture to the crumb. I like using plain vegetable oil but you can substitute for any kind of vegetable oil (canola, avocado, etc.). Just keep in mind that if the vegetable oil you choose has a strong flavor, it will end up flavoring the cake.
- Pure Vanilla Extract. To create that perfect vanilla flavor, use a good quality vanilla extract. If you want an even whiter colored cake, you can use clear vanilla extract or substitute part of the vanilla extract with a clear extract like almond.
- Buttermilk. The fattiest of all the milks, buttermilk creates a rich texture and locks in lots of moisture. If you can’t find buttermilk locally, you can make a DIY version using whole milk and vinegar or lemon juice. The instructions are in the notes of the recipe below.
White Cake vs. Vanilla Cake
After looking through the ingredients, you may be wondering what the difference is between white cake and vanilla cake. Both are flavored with vanilla extract, so they both have amazing vanilla flavor. The main difference is that this white cake recipe uses all egg whites while vanilla cake recipes typically include whole eggs. Without the yellow of the egg yolks, the white cake ends up very light in color, which is how it gets its name.
Frostings to Pair with White Cake
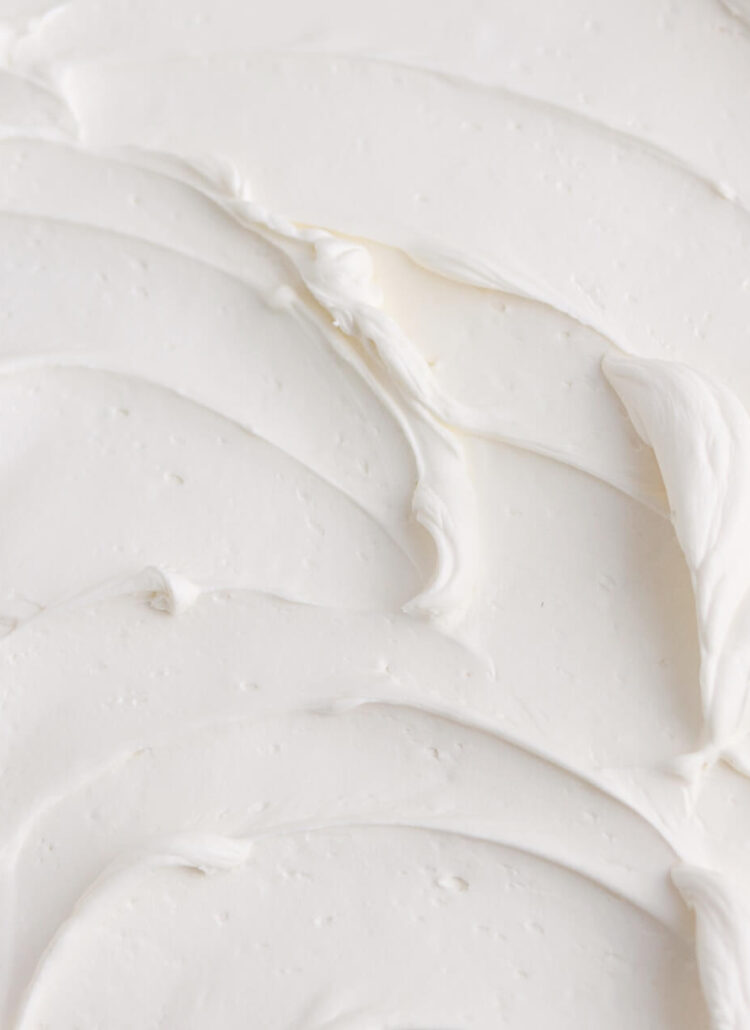
Since this white cake recipe has a vanilla flavor profile, you can pair it with a double batch of any of my frosting flavors and it will taste amazing. Since I wanted to go for a true bakery-style white cake flavor, I decided to whip up some vanilla swiss meringue buttercream for the filling and frosting. This silky smooth buttercream is the perfect match for this soft and moist white cake! It tastes so rich and buttery, not too sweet, and has that professional bakery quality that pairs so well with the cake.
Swiss meringue buttercream is a little more involved than American buttercream, so if you’d rather try an easier white frosting, here are my recommendations:
How to Decorate a White Cake
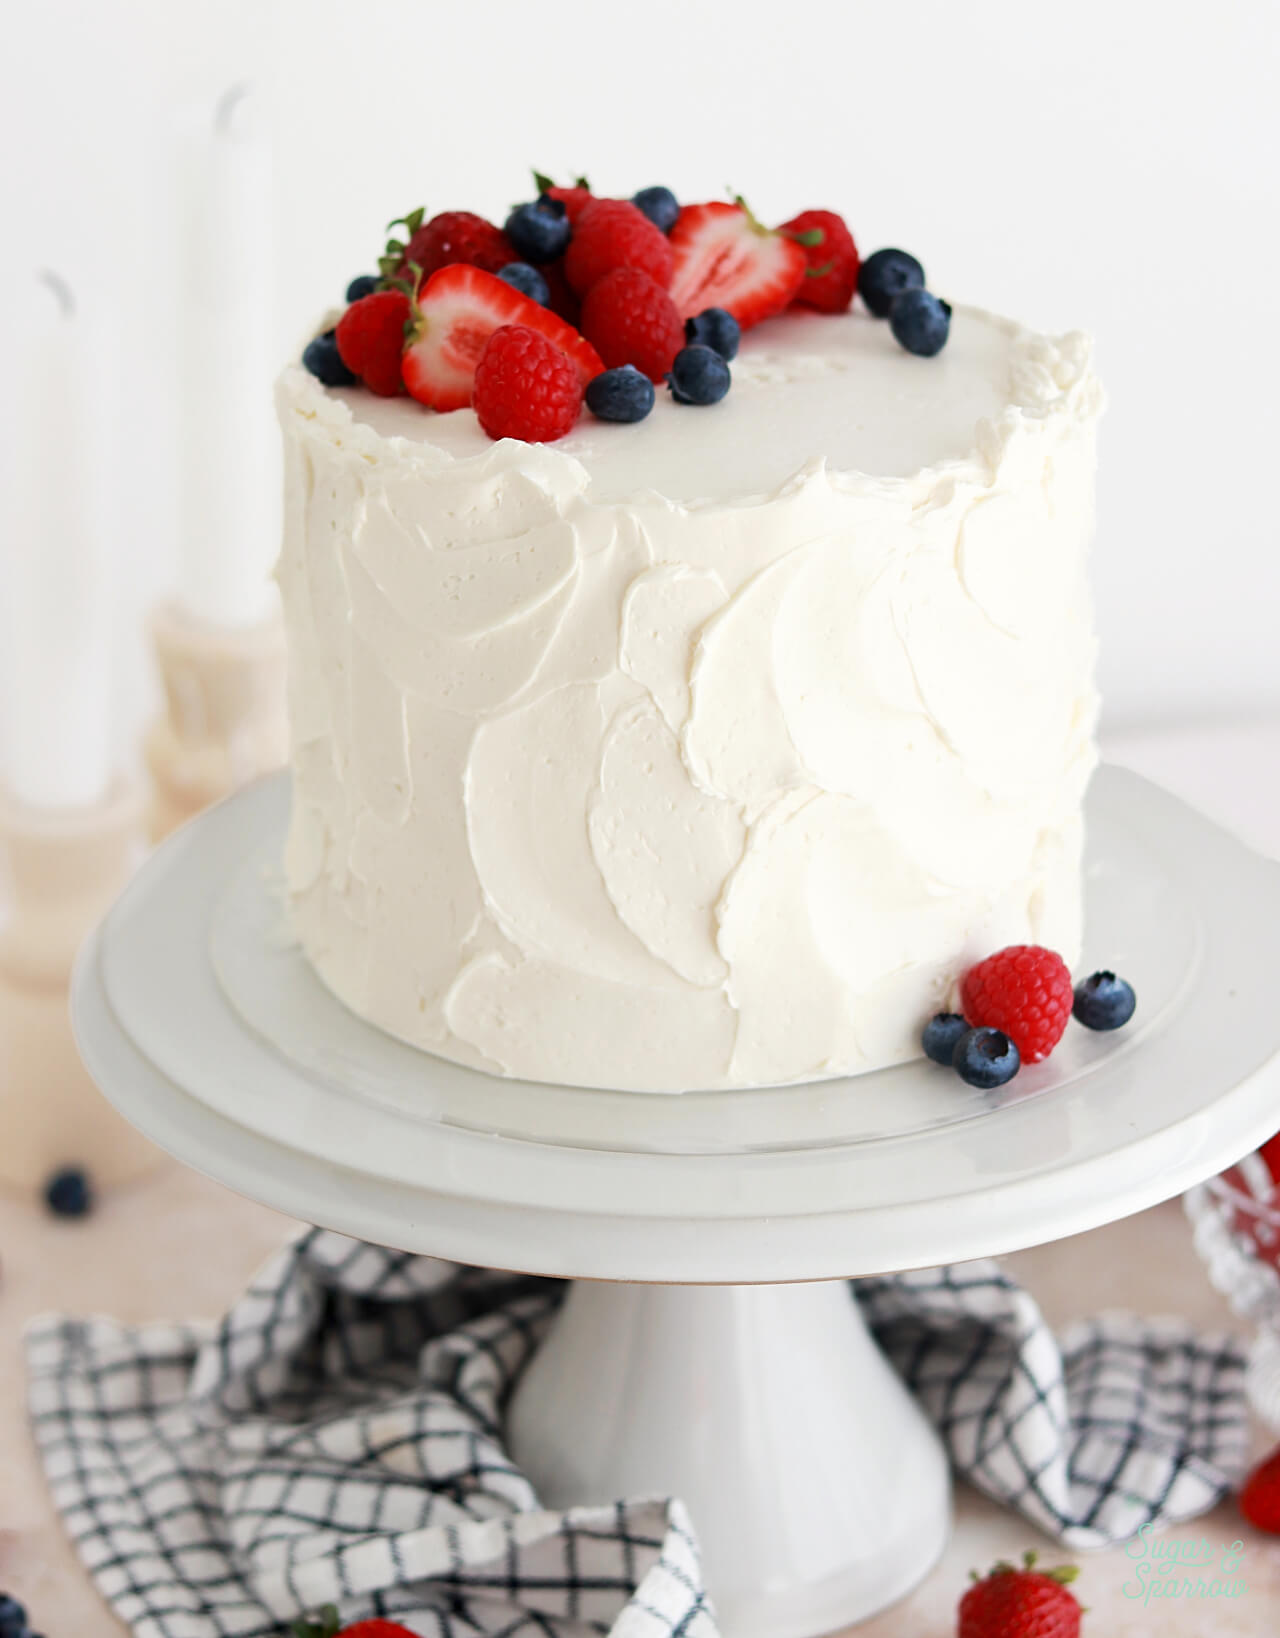
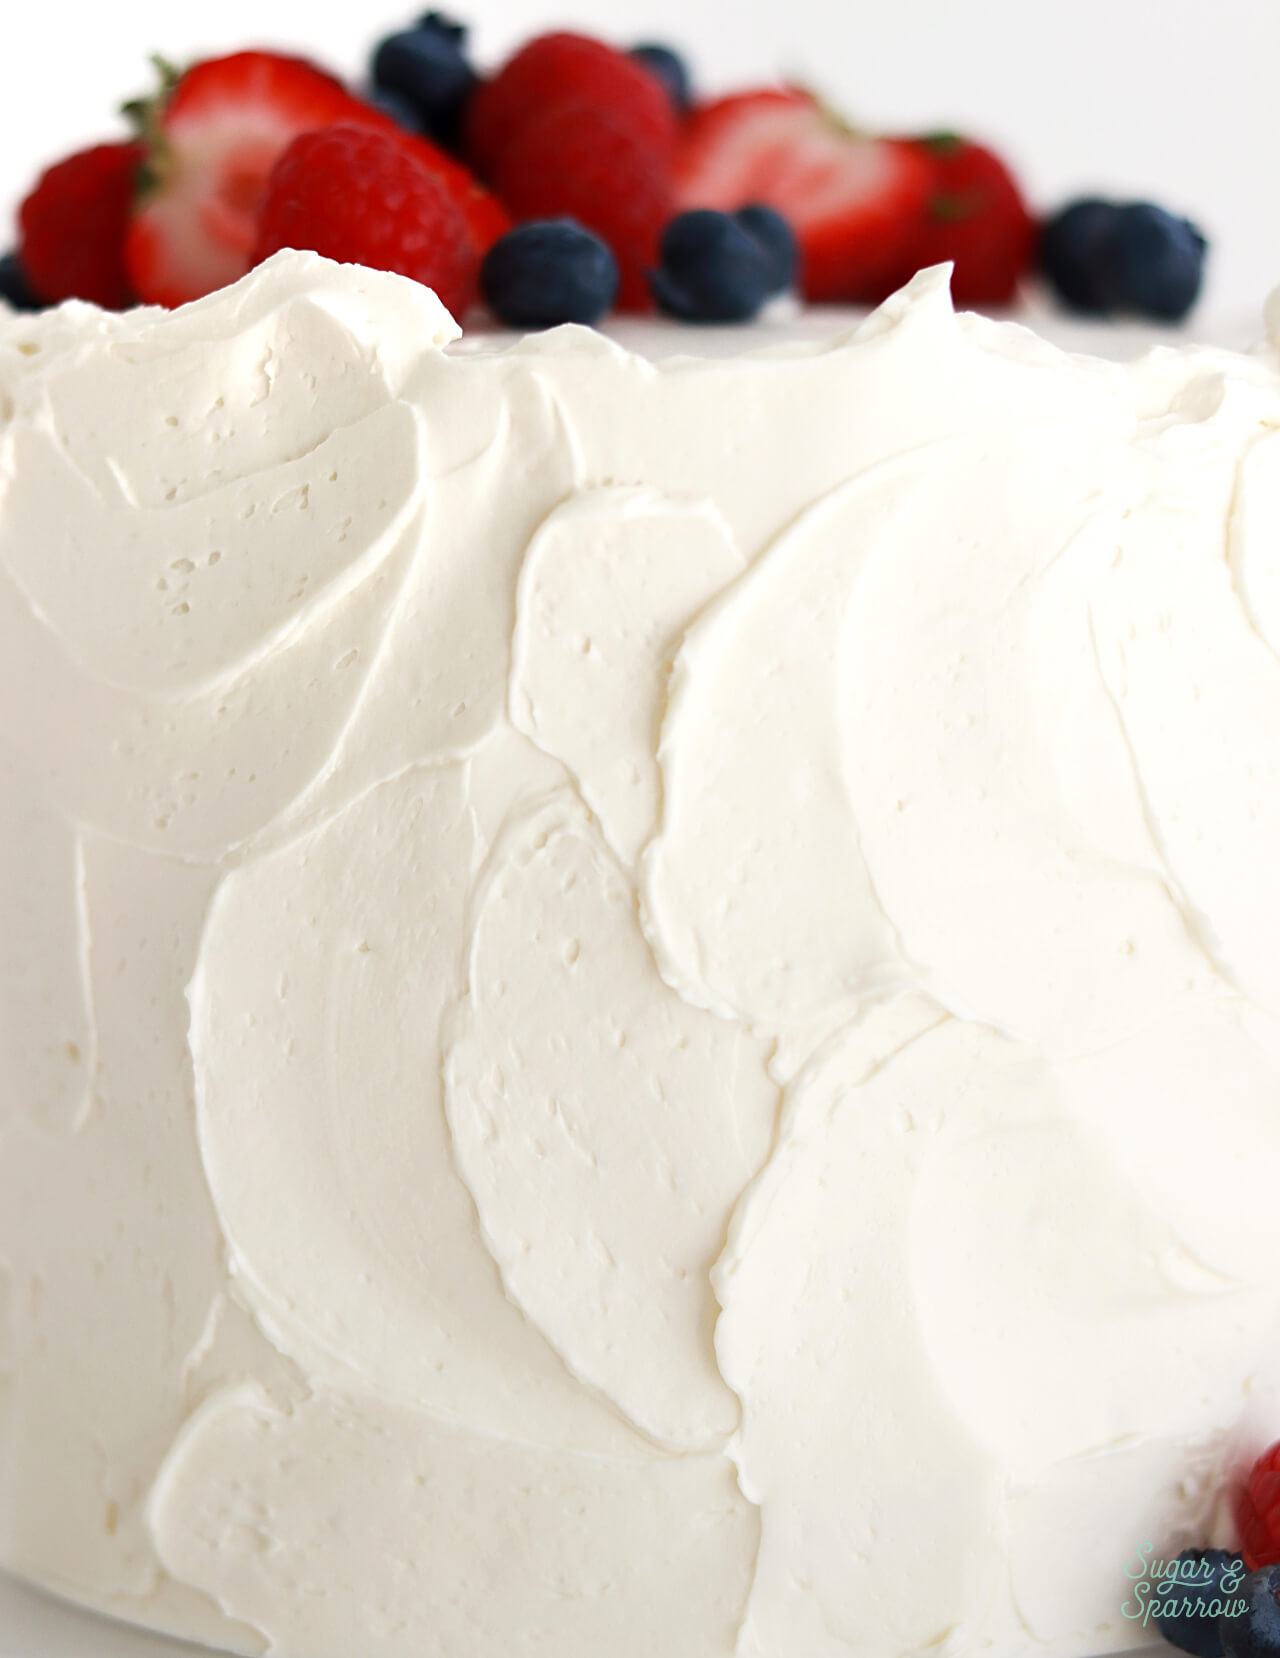
I wanted this cake to look like it belongs in a bakery showcase, so I used the swiss meringue buttercream to frost a rustic textured finish with a small icing spatula. This technique is so quick and easy that anyone can do it! I left the top edges of the cake raw (instead of creating sharp edges) to make it look even more rustic. Then, I topped it with fresh berries.

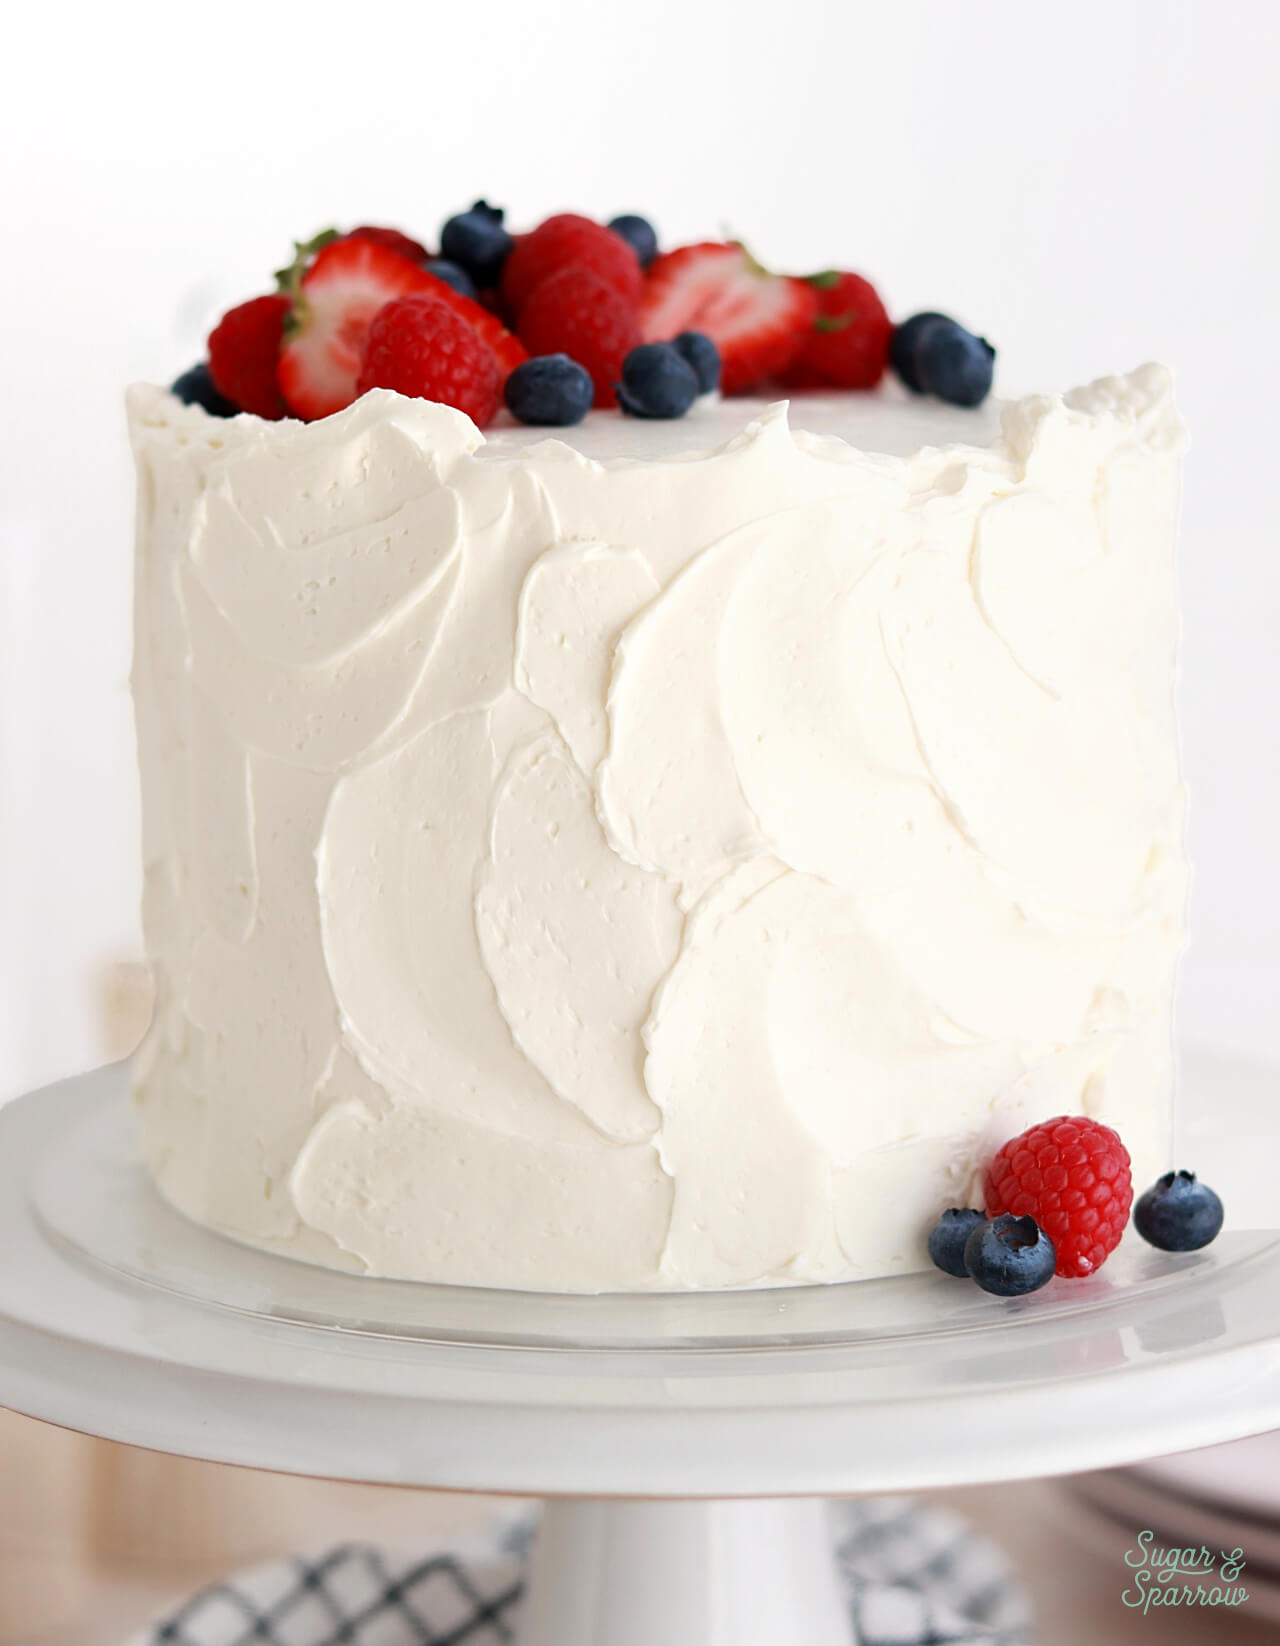
You can decorate this cake however you’d like and it will still have that bakery quality taste! I recommend adding sprinkles for a celebratory look or fresh flowers (make sure they’re cake safe!) for an elegant look. This recipe makes just enough swiss meringue buttercream frosting to fill and stack the cake, then create the rustic textured finish or a smooth buttercream finish.
Bakery-Style White Cake Recipe Video
Here’s a quick video to show you the process of making this cake.
If you love recipe videos like this one, be sure to check out my YouTube channel! I’ve got a growing collection of cake recipes, decorating tutorials, and Cake Basics over there. Hit the subscribe button on my page so you never miss a new video.
Bakery-Style White Cake
Ingredients
Bakery-Style White Cake
- 2 1/2 Cups (265g) sifted cake flour* DIY recipe in notes
- 2 tsp baking powder
- 1/2 tsp baking soda
- 1/2 tsp salt
- 1 1/2 Cups (300g) granulated sugar
- 1/2 Cup (113g) unsalted butter, room temperature
- 4 large egg whites, room temperature
- 1/2 Cup (120ml) vegetable oil
- 1 Tbsp pure vanilla extract
- 1 1/4 Cups (300ml) full-fat buttermilk**, room temperature DIY recipe in notes
Swiss Meringue Buttercream
- 6 large egg whites from fresh eggs, not the carton
- 2 Cups (400g) granulated sugar
- 1 1/2 Cups (340g) unsalted butter, room temperature, cut into Tablespoon-sized pieces
- 2 tsp pure vanilla extract
- pinch of salt, or to taste
Garnish (Optional)
- 1/4 Cup fresh berries
Instructions
Make the Bakery-Style White Cake
- Preheat the oven to 350°F/177°C and prepare three 6-inch or two 8-inch cake pans by spraying the sides with baking spray and fitting a parchment paper circle to the bottom of each pan.
- In a medium bowl, add the flour, baking powder, baking soda and salt. Whisk together and set aside.
- In the bowl of a stand mixer fitted with the paddle attachment, beat the butter at high speed until creamy, about 2 minutes. Add the sugar and cream it together with the butter at medium-high speed until light and fluffy, about 2 minutes, scraping the bowl and paddle at the halfway point. Turn the mixer to low and add the egg whites one at a time, mixing until they are just combined and scraping down the bowl and paddle as needed. Add the vegetable oil and vanilla, increase the mixer speed to high and beat for 1 minute.
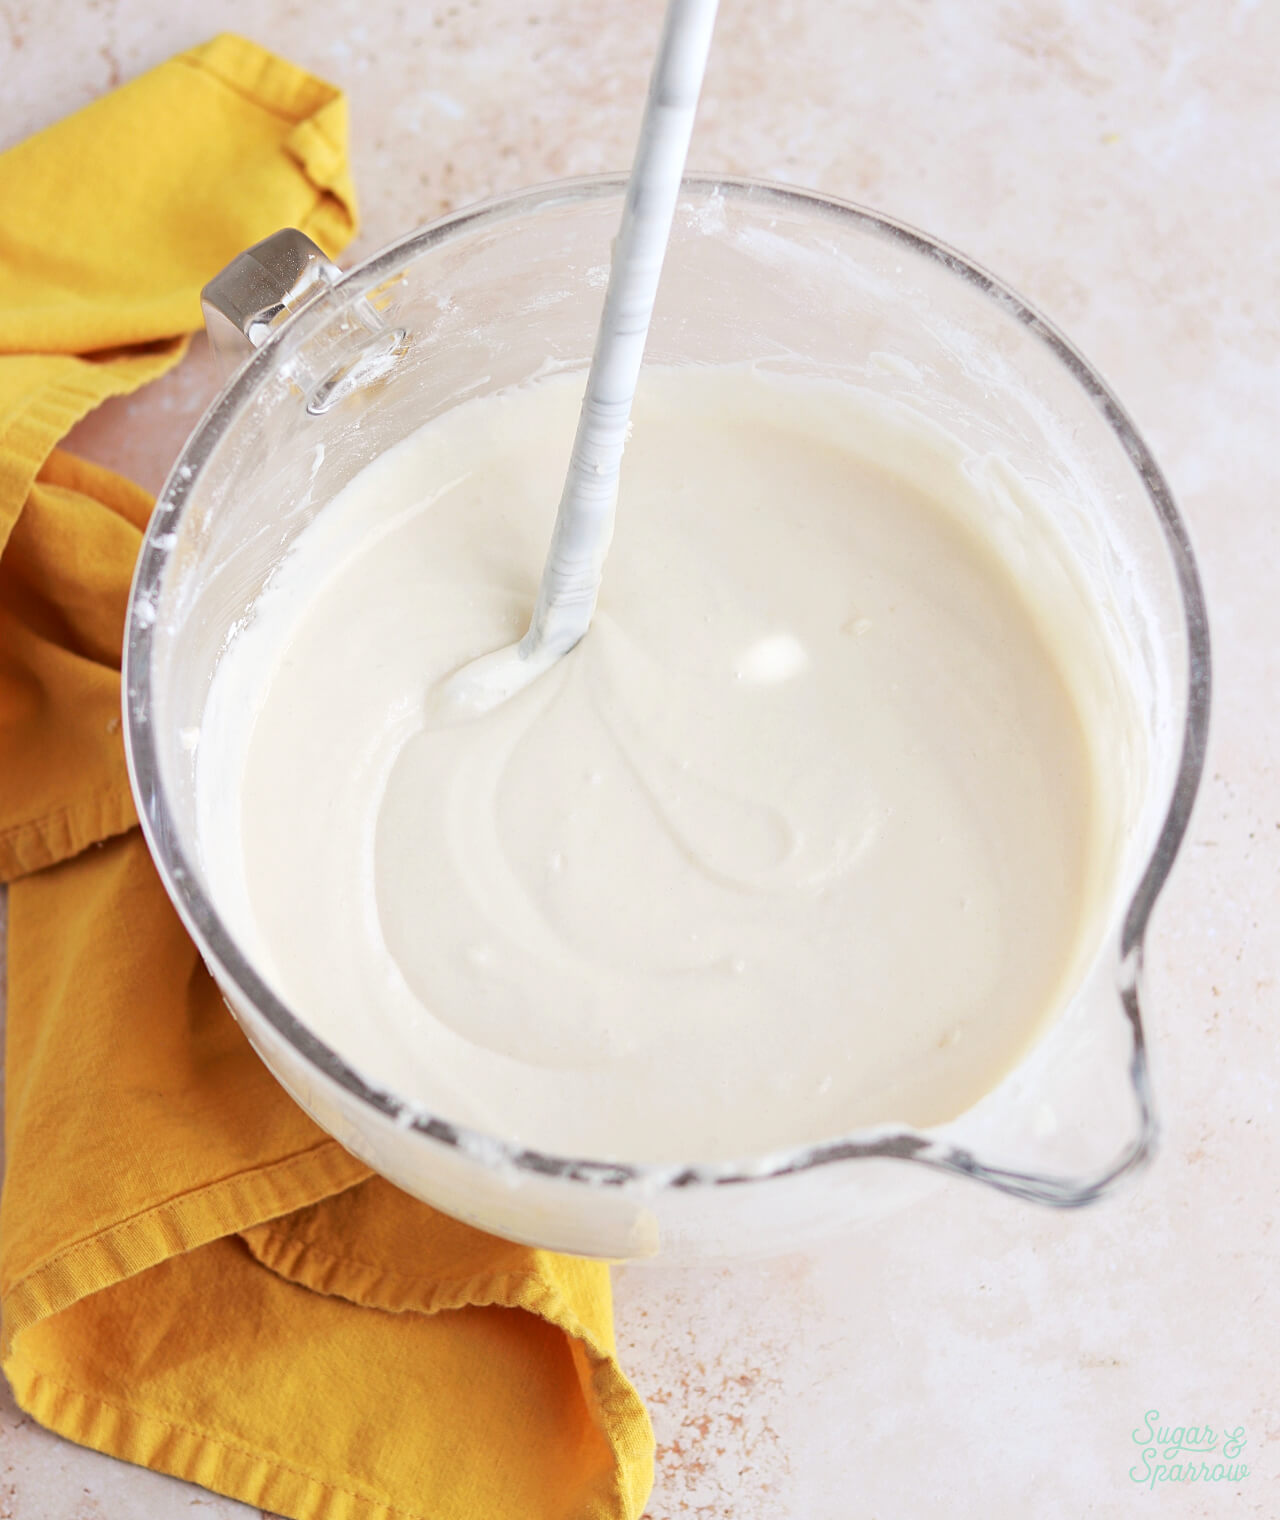
- Turn the mixer off and add the flour mixture all at once. Mix the ingredients on low speed until just combined, then slowly pour in the buttermilk. Continue mixing at low speed for about 30 seconds, until the batter is uniform and combined. The batter will be slightly thin.
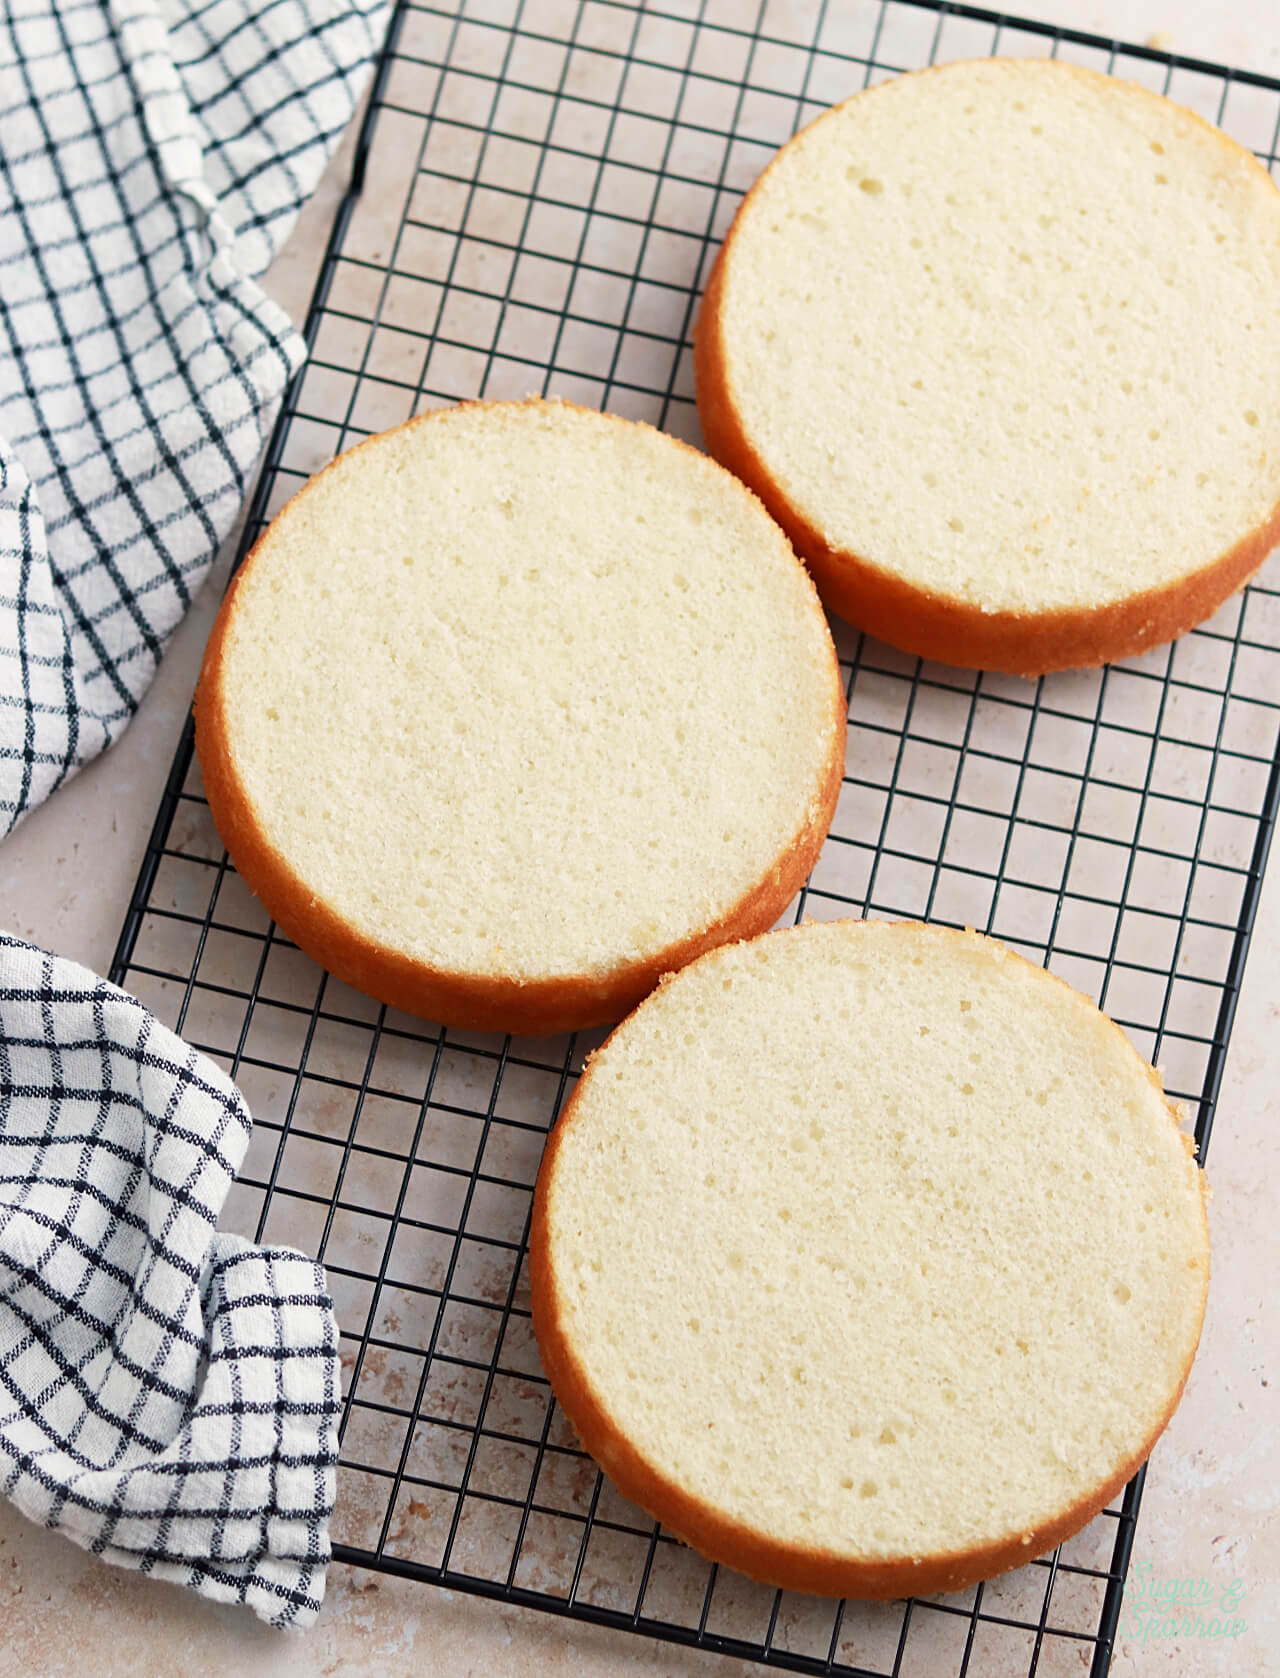
- Divide the batter evenly between the prepared cake pans and bake for 28 to 32 minutes. They’re done when they spring back to the touch and a toothpick inserted into the centers comes out clean or with just a few moist crumbs on it. Let the cakes cool in their pans for 5 minutes, then remove them from the pans and allow them to cool completely on a wire rack.
Make the Swiss Meringue Buttercream
- Prepare the double-boiler: Fill a saucepan with a few inches of water and set over medium heat. Make sure that the mixing bowl you’ll be using for the next step fits on top of it without the bottom of the bowl touching the water, then remove the mixing bowl and bring the water in the saucepan to a simmer.
- Separate the eggs: it’s really important not to get even a drop of egg yolk in your egg whites, so I recommend separating one egg white at a time into a small bowl, then adding each egg white into your heat proof mixing bowl (glass or metal).
- Add the sugar into your egg whites and whisk together to combine, then set the bowl over the saucepan of simmering water. Whisk constantly until the mixture has thinned out and the sugar is fully dissolved, 4-5 minutes. To test that it’s ready, carefully dip your finger into the mixture and rub your thumb over it. If you don’t feel any sugar granules, it’s ready. You can also use an instant read thermometer to check that the temperature has reached 160°F (71°C).
- While the mixture is still warm, transfer it to the bowl of your stand mixer fitted with the whisk attachment (or attach the bowl to your stand mixer if you used that for the mixture). Turn the mixer to medium-high speed and beat until stiff peaks form, 10-15 minutes. If stiff peaks have not formed at this point, try placing your bowl into the refrigerator for 10 minutes, then continue to beat until stiff peaks form.
- At this point feel the bowl of your stand mixer. If it feels warm to the touch, place it into the refrigerator for 10-15 minutes to cool it down. The meringue should be about 90ºF (32ºC) or less before moving on to the next step.
- Once the meringue has cooled, switch the stand mixer to the paddle attachment. Turn the mixer to medium-high and add the butter 1 Tablespoon at a time. After all the butter has been added, turn the mixer down to medium speed and beat in the vanilla and salt, about 30 seconds. At this point, the Swiss meringue buttercream should be thick, creamy, and silky smooth.
- Troubleshooting Too Thin/Curdled: If the buttercream is thin and curdled-looking, it usually means the meringue was too warm before adding the butter. Place the entire bowl in the refrigerator for about 20 minutes before returning it to the stand mixer and beating on medium speed until thickened. If it’s still soupy, place it back into the refrigerator for longer before re-whipping again.
- Troubleshooting Too Thick: If your buttercream looks too thick and air bubbly, scoop out about ½ Cup of the buttercream and place it in a microwave-safe bowl. Microwave for 10 seconds, until the buttercream has melted. Add it back to the big bowl of buttercream and turn the mixer to low speed until it’s all mixed in. This should bring the buttercream to a smooth consistency. Repeat if necessary until smooth.
Assembly
- Once the white cake layers are completely cooled, level them to your desired height. Add a swipe of Swiss meringue buttercream onto a cardboard cake circle and place the first cake layer on top. Fill and stack the cake with Swiss meringue buttercream, then crumb coat the cake. Refrigerate the cake for 15-20 minutes to let the crumb coat firm up before frosting the cake with the rest of the Swiss meringue buttercream.
- To create the design pictured, use a small spatula to create a rustic textured finish on the sides of the cake and keep the top edge raw. Garnish with a crescent formation of fresh berries.
Notes
- The white cake layers can be made ahead and stored at room temperature, covered tightly in plastic wrap, for up to two days. Alternatively, you can cover with plastic wrap and store in the freezer for up to two months before thawing to room temperature.
- The Swiss meringue buttercream can be made ahead and stored in an airtight container at room temperature for up to 2 days. You can also refrigerate the buttercream for up to 5 days or freeze for up to 3 months. When you’re ready to use it, bring back to room temperature before mixing on medium speed until creamy and smooth.
BEST CAKE RECIPE EVER!!! I have tried many before this one, and I am so glad I kept trying new ones to find this recipe! I will never use any other recipe again! Thank you for sharing!
Yay, Madi! I’m so happy this one is a winner!
oh, I forgot to ask do you have recommendations for small batch testing? I like to test what cake taste like without making a whole cake I’m one person and I love to bake, but I don’t have the money to do full ingredients just to try it with no one to eat it with me so small batch trials like two or three cupcake batch to just to try it I’m not sure how to do that. I mean, I can do the math but I don’t know sometimes if if it’ll mix up differently somehow being smaller and I’m trying to find the best champagne cake, recipe, champagne, or pink champagne. I was looking and I didn’t see one but if you have one, let me know. but this white cake make a good base for that and would you have to change anything when you add the champagne?
Hi Nell! For small batch testing a recipe like this one, it’s easiest to just half the recipe and bake one 8-inch or 9-inch cake layer, or one 6-inch and a few extra cupcakes. To have exactly enough batter for one 6-inch cake layer I will make 1/3 of the recipe but the math can get kindof tricky sometimes.
I don’t currently have a champagne recipe and have never baked with alcohol before, so I am not a great resource for that but the same rules of scaling down the recipe will usually apply depending on how much batter the recipe you find yields. Hope that helps!
What kind of butter do you use that is whitest? Is there a whiter oil or are they all the same?
Hi Nell! I use generic store brand butter or Tillamook brand most often, and these are what I’ve found to be the most white. The more organic and grass fed the butter brand is, the yellower it will be. Hope that helps!
Hello Whitney. How do I adjust this recipe to yield two 10″ cakes?
Hi Michael! To make enough for two 10-inch cakes, make 1.5x the recipe and divide the batter evenly between the pans. Hope that helps!
I am wanting to use this recipe for a full sheet single layer cake for a retirement party but not sure if 3x would be the correct amount of batter? Could you help with this? I am going to pair it with a chocolate frosting. Just deciding between whipped chocolate gananche or a chocolate whipped frosting.
Hi Alisha! How deep is the pan? I haven’t baked this recipe in a sheet pan before, but after some research if it’s a standard full sheet (18×26 inches with 1 inch sides) then you’ll need 14-16 cups of batter. This recipe makes about 6 Cups of batter, so tripling the recipe will give you more than enough. I’d recommend making 2.5x the recipe if you can.
As far as the chocolate frosting goes, I have a whipped chocolate ganache here: https://sugarandsparrow.com/whipped-chocolate-ganache/ and a chocolate buttercream recipe here: https://sugarandsparrow.com/chocolate-buttercream-recipe/ hope that helps!
Hi! I need to serve 12-14 men with this cake this afternoon, so I was thinking of using 9 inch pans and 2 layers? Would that be right? If so, could you tell me how to adjust the recipe to make a bigger cake?
He is requesting lemon filling and whipped cream icing, have any recipes?
Hi Esther! Technically you can bake this recipe as-is in two 9-inch pans, the layers will just be slightly shorter and the baking time will be closer to 25 minutes since the batter will be more shallow. If you want two taller 9-inch layers, you can make 1.5x the recipe and be sure to fill the pans no more than 2/3 full. You’ll have a little more than enough batter. As for the filling and frosting, I don’t have a lemon curd recipe but that was the first thing I thought of and there are tons of recipes out there (or you can get storebought lemon curd if you’re in a pinch). For the whipped cream icing I recommend the one I use for my black forest cake: https://sugarandsparrow.com/black-forest-cake-recipe/ hope that helps!
I haven’t made this one yet , but I will. It sounds delicious. When I do I will comment. I have a question about the buttercream frosting you recommend. To make a stable one , can you use gelatin ?
Hi Lesia! I haven’t tried adding gelatin to this recipe. If you’re looking to make a heat stable buttercream, this is the one I recommend: https://sugarandsparrow.com/buttercream-recipe-for-hot-weather/
Hi! Would you double the recipe to make three 10” cakes? This cake looks amazing. Thank you
Hi Carlena! For three 10 inch cakes, you’ll want to tripe this recipe 🙂
Probably the best cake I’ve ever made thanks to you! You’re such a blessing
I’m so happy to hear that, Debbie!
This cake was wonderful. I made 1.5 times the recipe to make a 3 layer, 8 inch cake. I substituted most of the vanilla for almond extract to make a white almond cake. I also opted for American buttercream icing. The cake received rave reviews! This will be my go to white cake recipe. Thanks for the amazing recipe!
I haven’t made this yet but I would like to make it for my sister’s gender reveal this weekend. Can I color my layers pink and blue with gel food coloring? Will that make a difference in the outcome?
Hi Tiffany! How fun! Yes, you can absolutely color these cake layers. If you need to do both colors, divide the batter up after step 4 and whisk in the food color gel before adding it to your cake pans. If you just need one color (pink or blue), whisk the color gel into the buttermilk in the recipe before adding it to the batter in step 4 of the cake instructions. Hope that helps!
Hi! i made this cake today but unfortunately it sunk in the middle the whole time it was baking – not sure what i’ve done wrong, could i please get some help? It also felt very fragile ( but i think that’s just because it’s so soft!) thank you
Oh no, Eve! There are a few reasons why cakes sink in the middle, so it’s hard to pinpoint what exactly went wrong. The most common reasons are expired baking powder/baking soda (those expire after 6 months and won’t do their job to make the cake rise), opening the oven door before the cake is done, and using butter that’s too soft or other dairy ingredients that are too cold/warm. Here’s an article I wrote on all the reasons why cakes sink in case something stands out: https://sugarandsparrow.com/why-cakes-sink/
Bakery-Style White Cake is the ultimate classic! Light, fluffy, and perfectly sweet, it’s just like the ones you’d find in a professional bakery. The fine crumb texture and pure vanilla flavor make it ideal for birthdays, weddings, or any special celebration. Truly a timeless favorite that never disappoints!
I loveee this!! (beginner here) So far out of all the vanilla recipes i’ve tried this one has the best texture and moisture level wow. Only thing is, when i bake it into cupcakes it bakes pretty flat and even dips in the center. My baking soda and powder is fine what else can it be? I’ve even baked it for 20min at 350. What should I do
Hi Sabrina! So happy you love this recipe! This recipe doesn’t really dome when baked as a cupcake and I haven’t tested a cupcake version enough to know the best way to alter the recipe. I have heard that baking the cupcakes for the first 5 minutes at a high temp (like 400F) and then decreasing the temp to 350F for the remaining 10 or so minutes can help achieve more of a dome, but I haven’t tried it myself. So, it would be an experiment but if you’re looking for a tried and true vanilla cupcake recipe, this is the one I love: https://sugarandsparrow.com/vanilla-cupcake-recipe/
This is THE best white cake recipe! I had been using the same white cake recipe in my small baking business for years and decided to compare the two. This one beat out my old recipe! I’ve noticed adding oil to cake recipes makes a big difference and not having to separately whip the egg whites is a real time saver. This is my new go to white cake recipe! Thank you for sharing!