
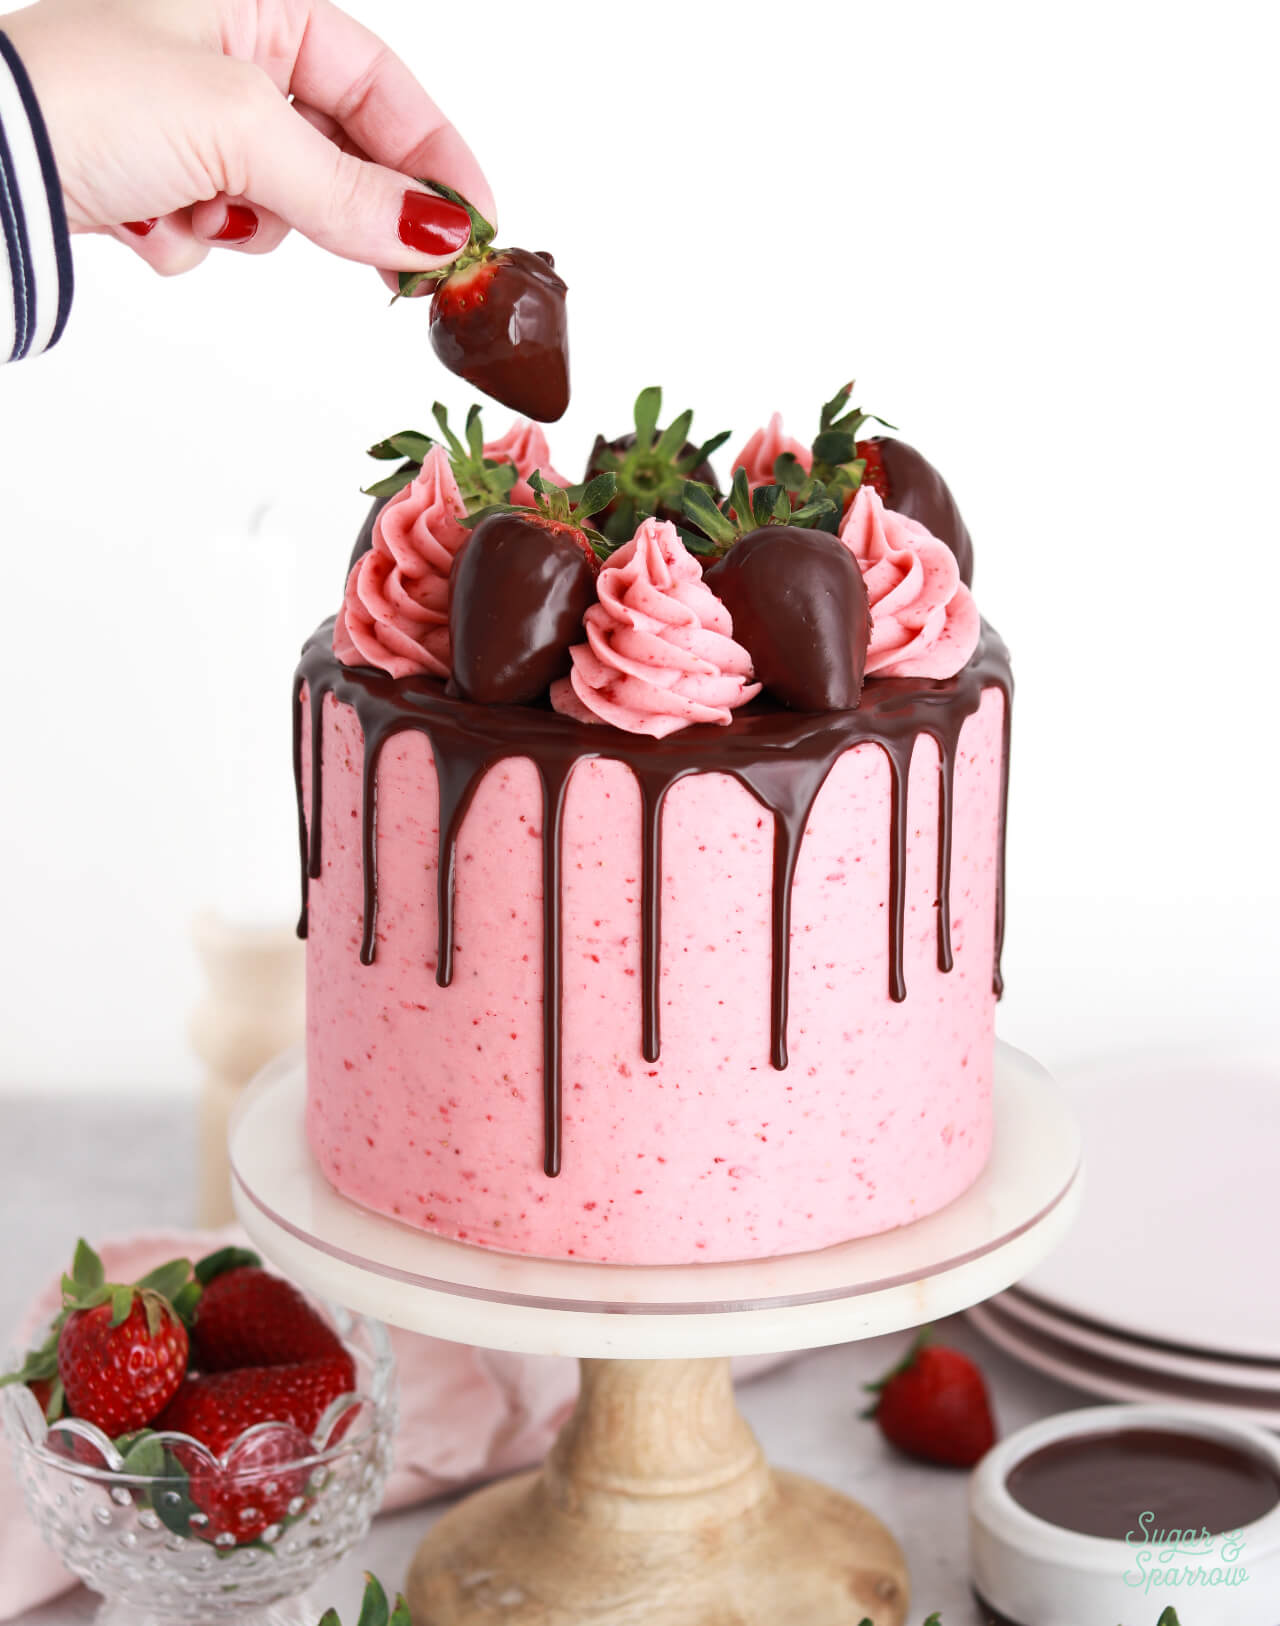
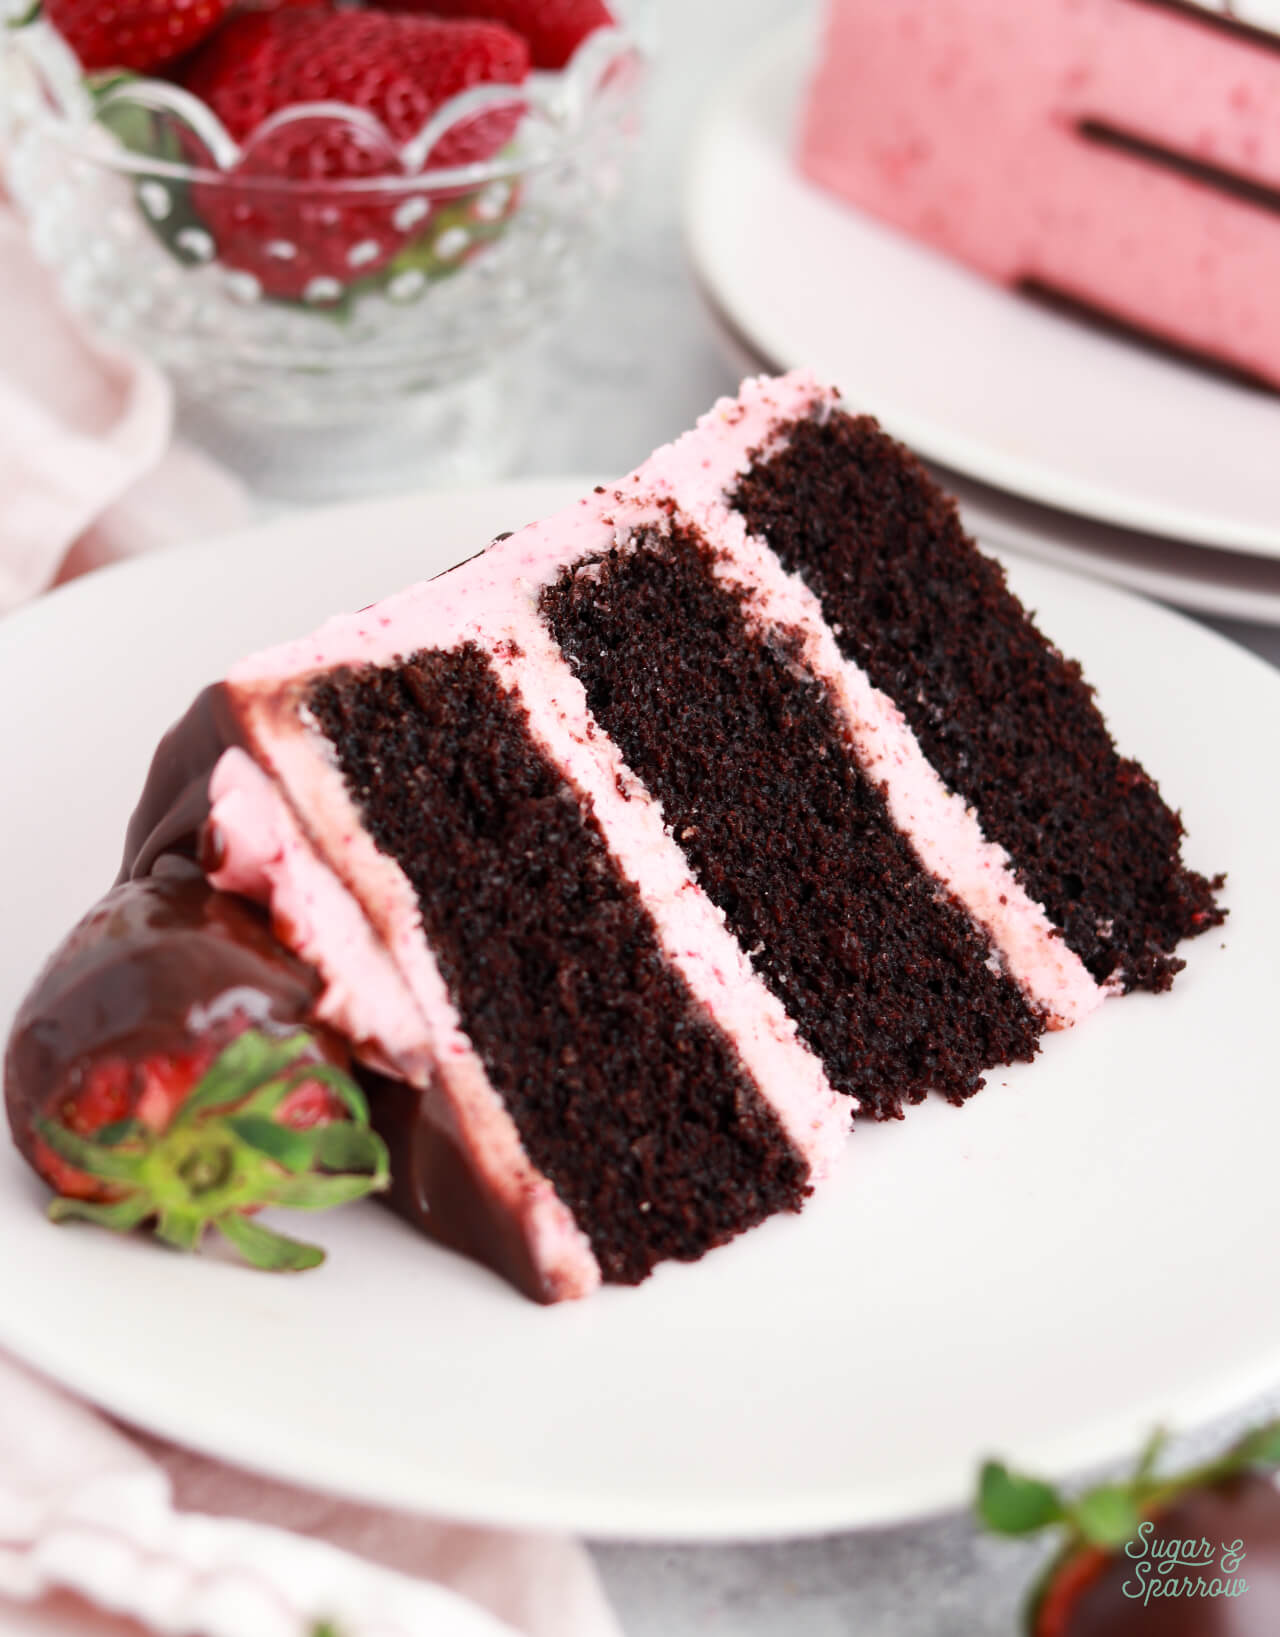
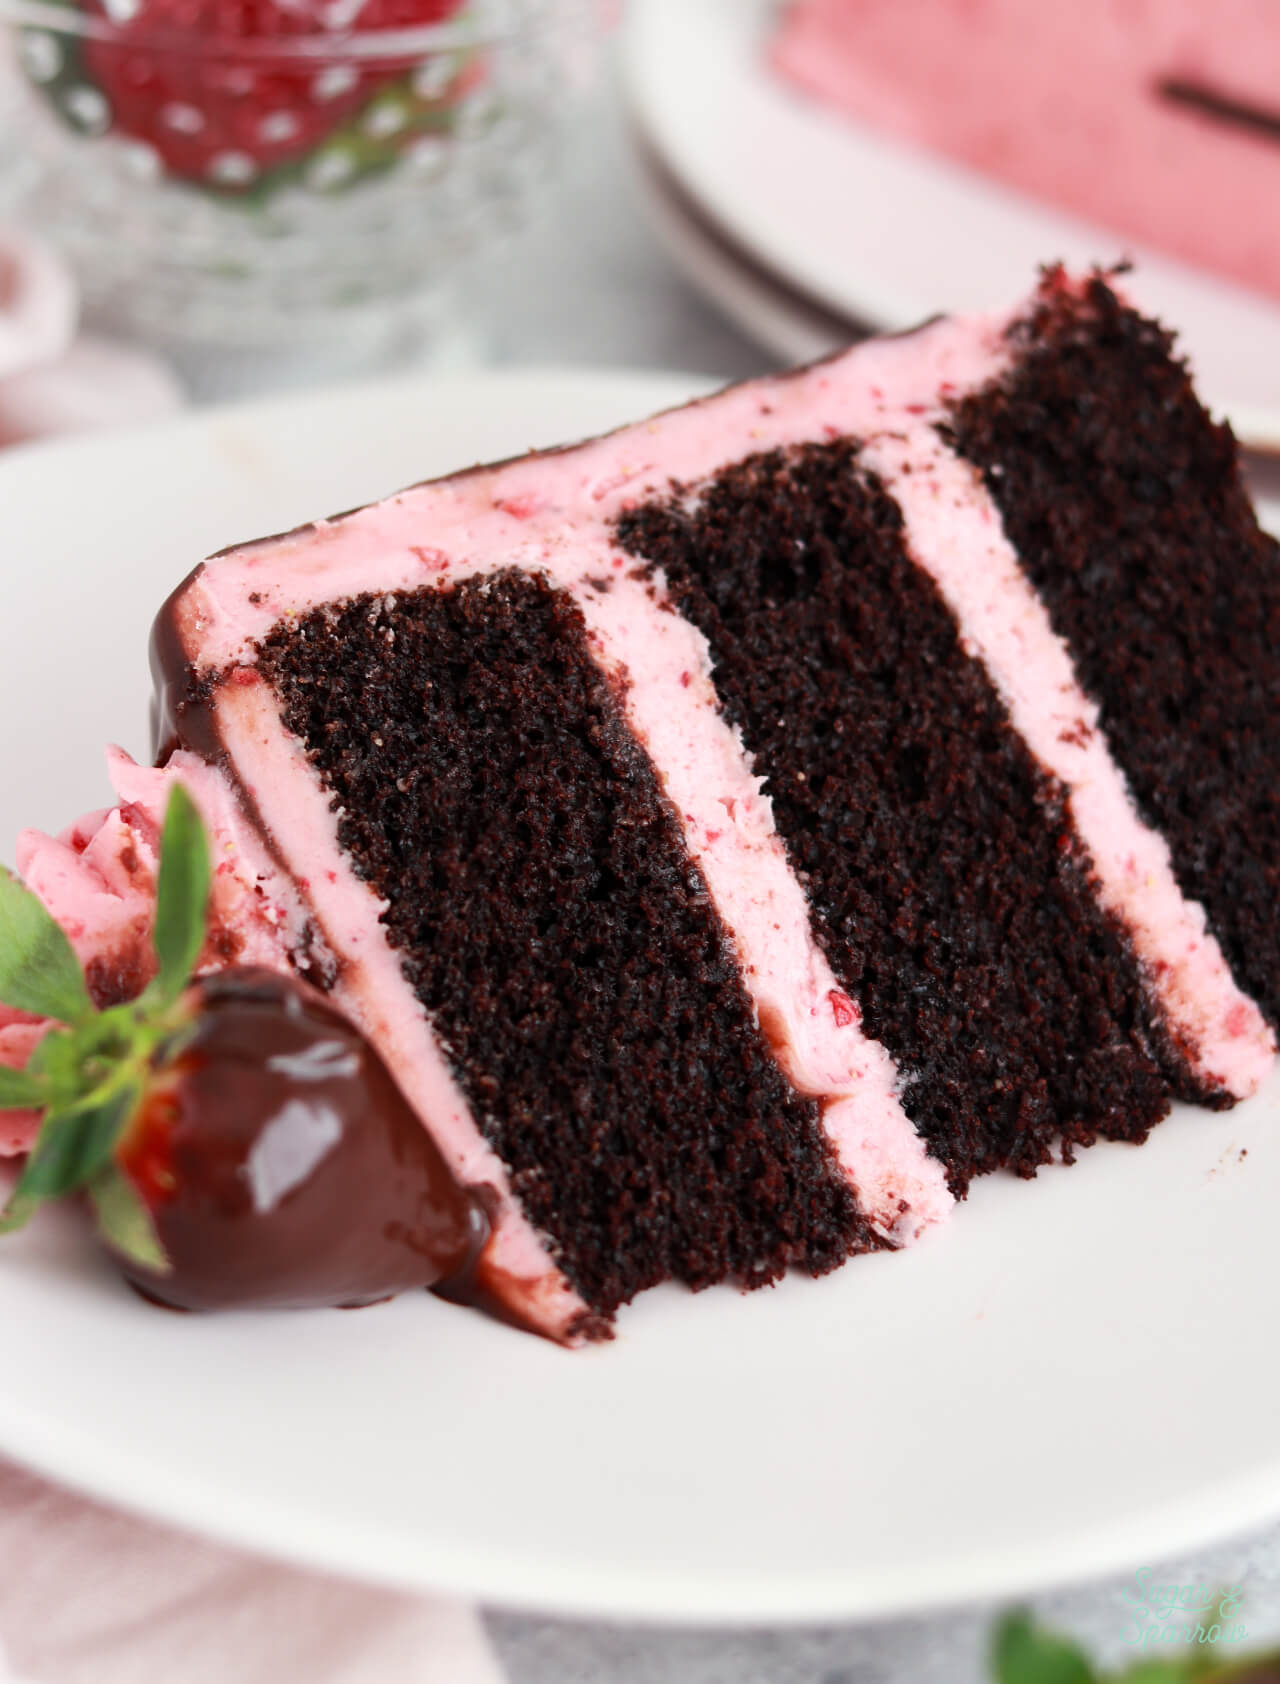
Chocolate covered strawberries are one of those desserts that feel instantly romantic and the flavors are so good together, I just had to make a cake inspired by them! Originally published in my book, Anyone Can Cake, this chocolate covered strawberry cake features layers of moist chocolate cake, delicious strawberry buttercream, decadent chocolate ganache, and of course, chocolate dipped strawberries on top. The only difference between the book version and this blog version is there’s ganache in between the cake layers to make it extra rich!
Why You’ll Love this Chocolate Covered Strawberry Cake
- It has the perfect flavor profile. Between the rich, decadent chocolate elements and the amazing strawberry flavor coming through in the buttercream, it tastes just like a chocolate covered strawberry in cake form!
- It’s a fun recipe. My favorite part is dipping the strawberries in the ganache for the cake toppers BUT the whole recipe is a good time. It involves my favorite one bowl chocolate cake recipe which is very easy to whip up, adding ground up freeze-dried strawberries to the buttercream for the perfect strawberry flavor, and dripping the cake with chocolate ganache.
- It uses all-natural flavors and colors. No strawberry extract or food coloring is involved in this cake whatsoever. All of the flavors and colors come from natural ingredients!
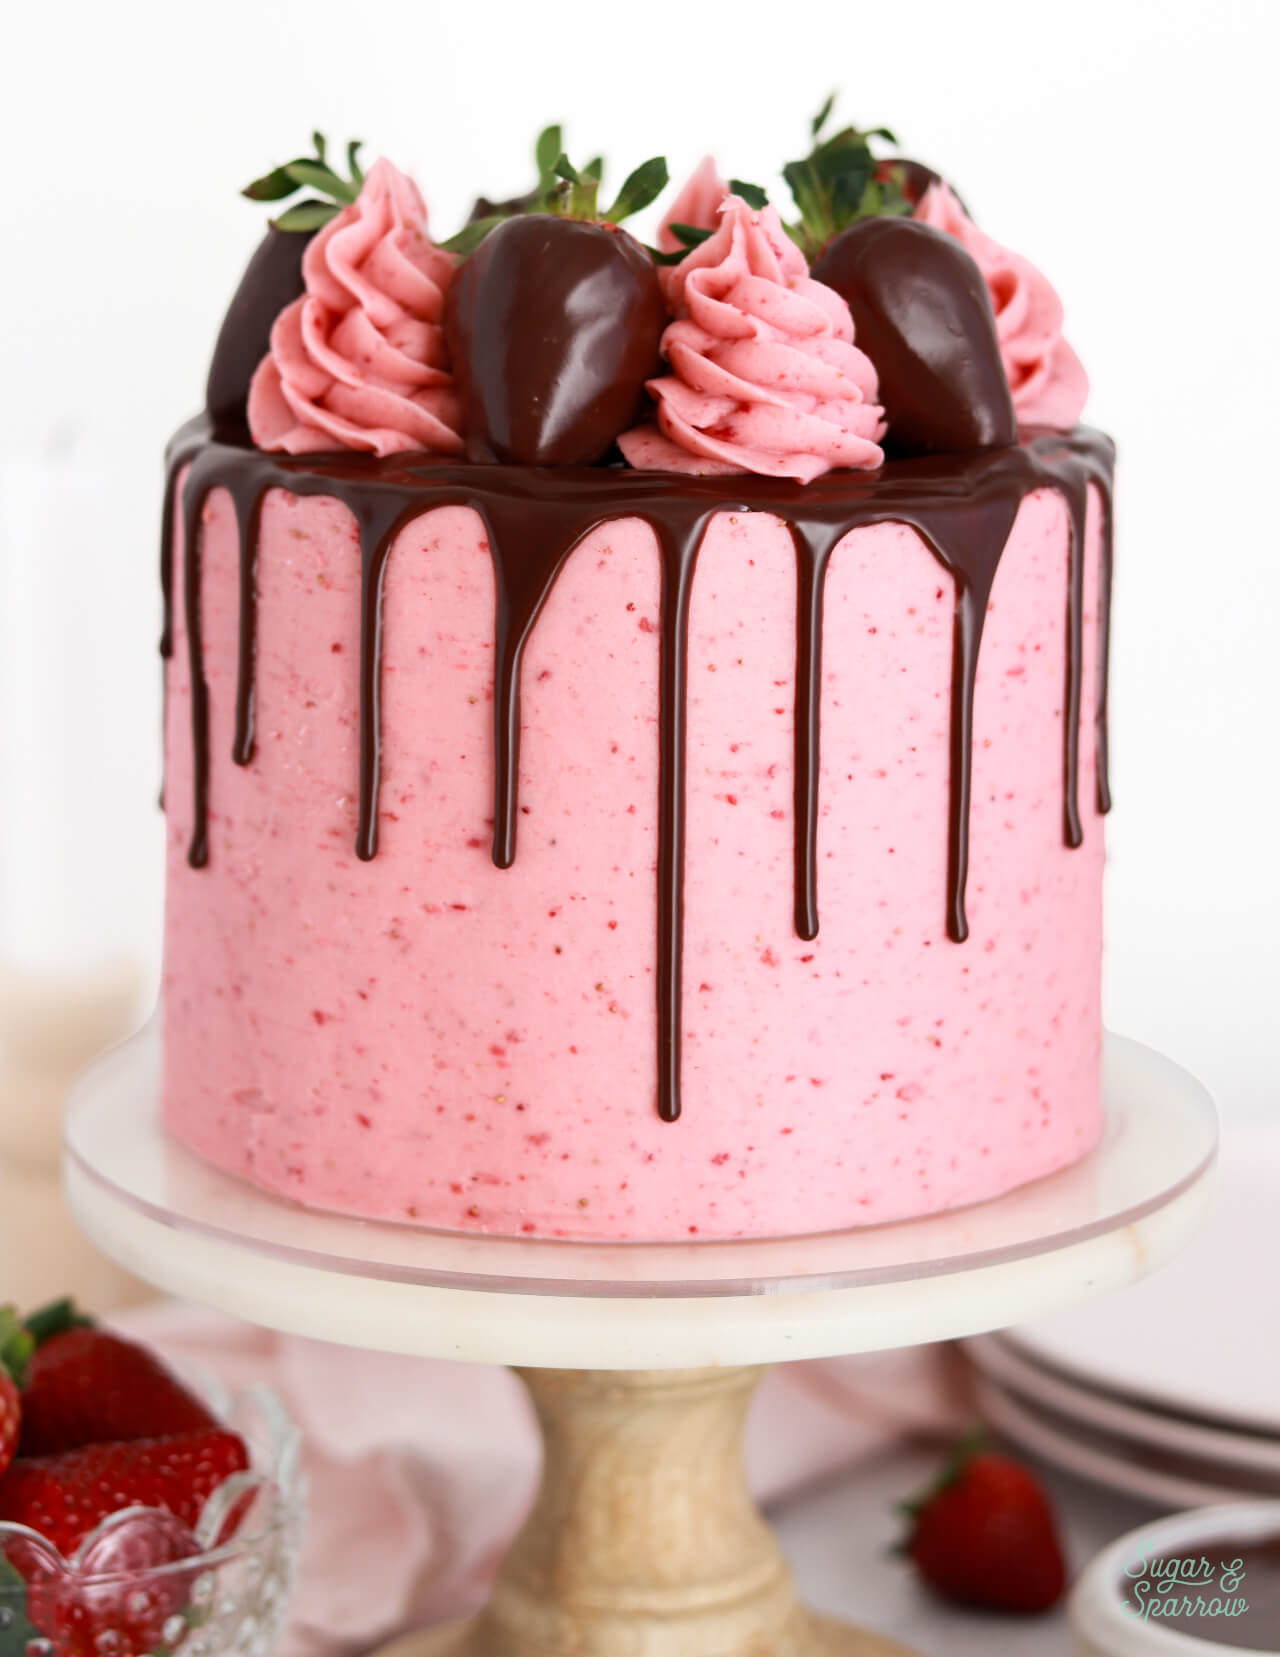
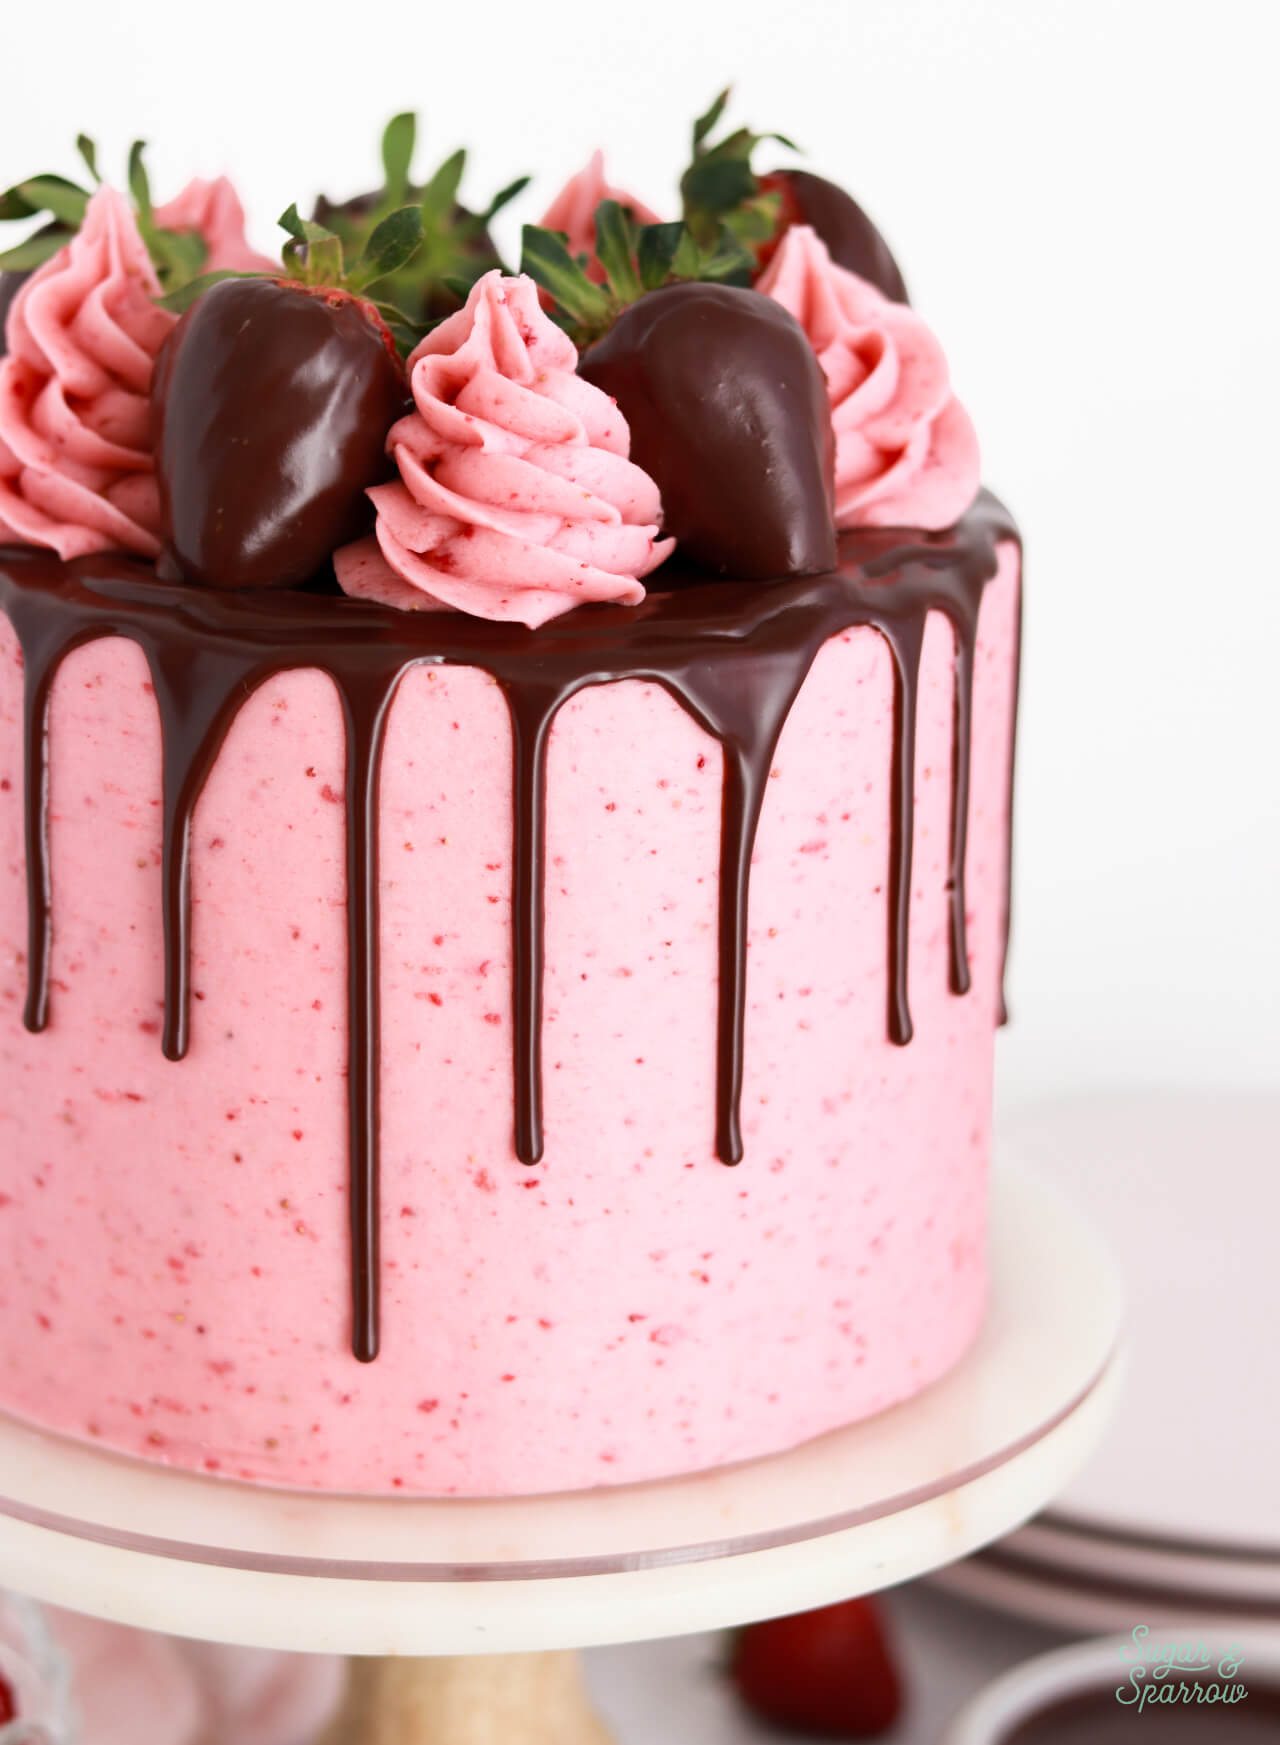
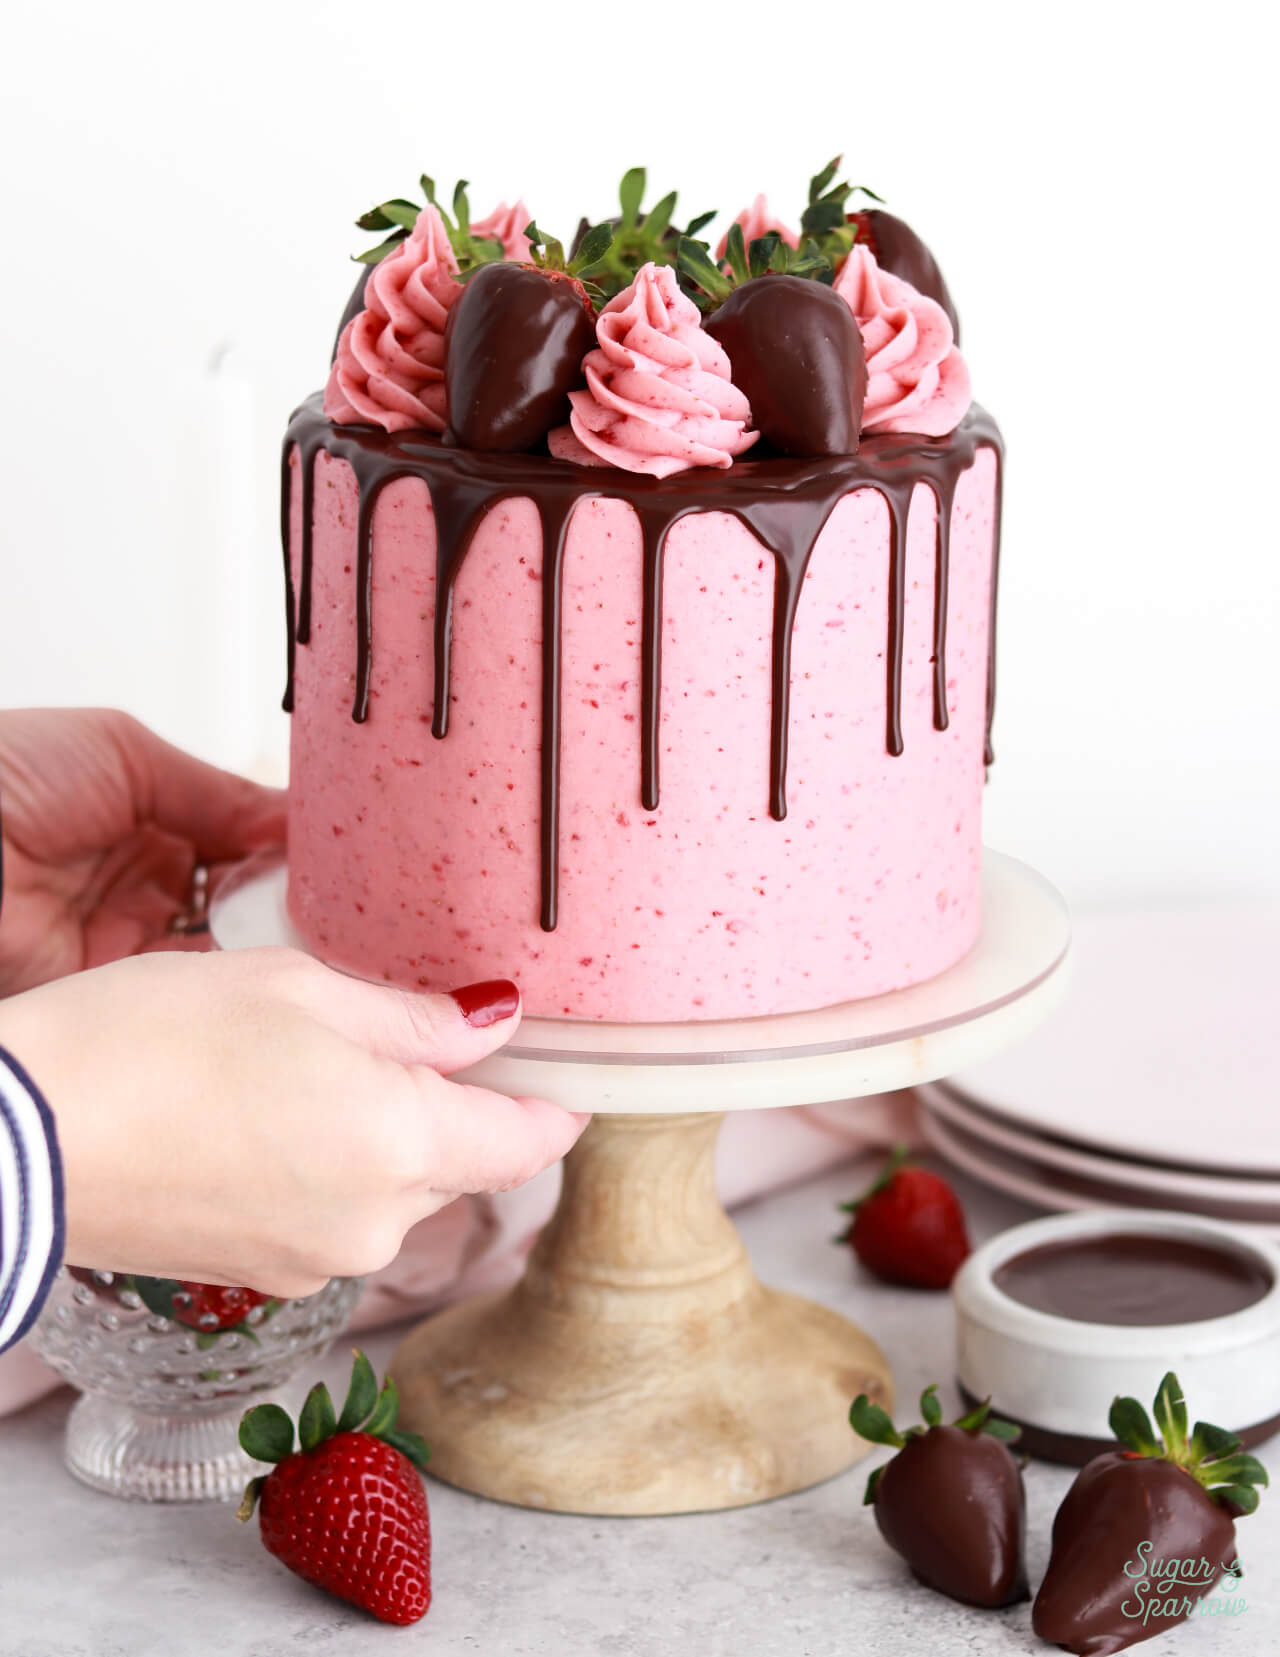
- It’s a showstopper. The buttercream alone is so pretty with those little flecks of strawberries, but with the contrast of that shiny chocolate ganache and the chocolate covered strawberries it’s truly stunning.
Moist & Decadent Chocolate Cake
This recipe begins with baking my favorite one-bowl chocolate cake recipe, which is so easy to make with simple techniques and ingredients you probably already have on hand. The texture is super soft and moist, and the chocolate flavor is just perfect. You can use Dutch-processed cocoa powder or natural unsweetened cocoa powder interchangeably in this recipe and you have the option of using hot coffee or hot water as the final liquid addition. I highly recommend the coffee because it does a great job of enhancing the overall chocolate flavor and you can’t taste the coffee in the final baked cake.
My Favorite Strawberry Buttercream
If you’ve been following me for a while, you know how much I love using freeze-dried fruit to flavor my buttercream! This strawberry buttercream is no exception – I use freeze-dried strawberries to create the perfect strawberry flavor here. Freeze-dried strawberries are essentially fresh strawberries that have been dried in such a way that all of the liquid has been removed and only the flavor remains. This makes it easy to grind the berries into a powder and add them into the buttercream for the perfect strawberry flavor without adding any extra liquid and ruining the buttercream consistency.
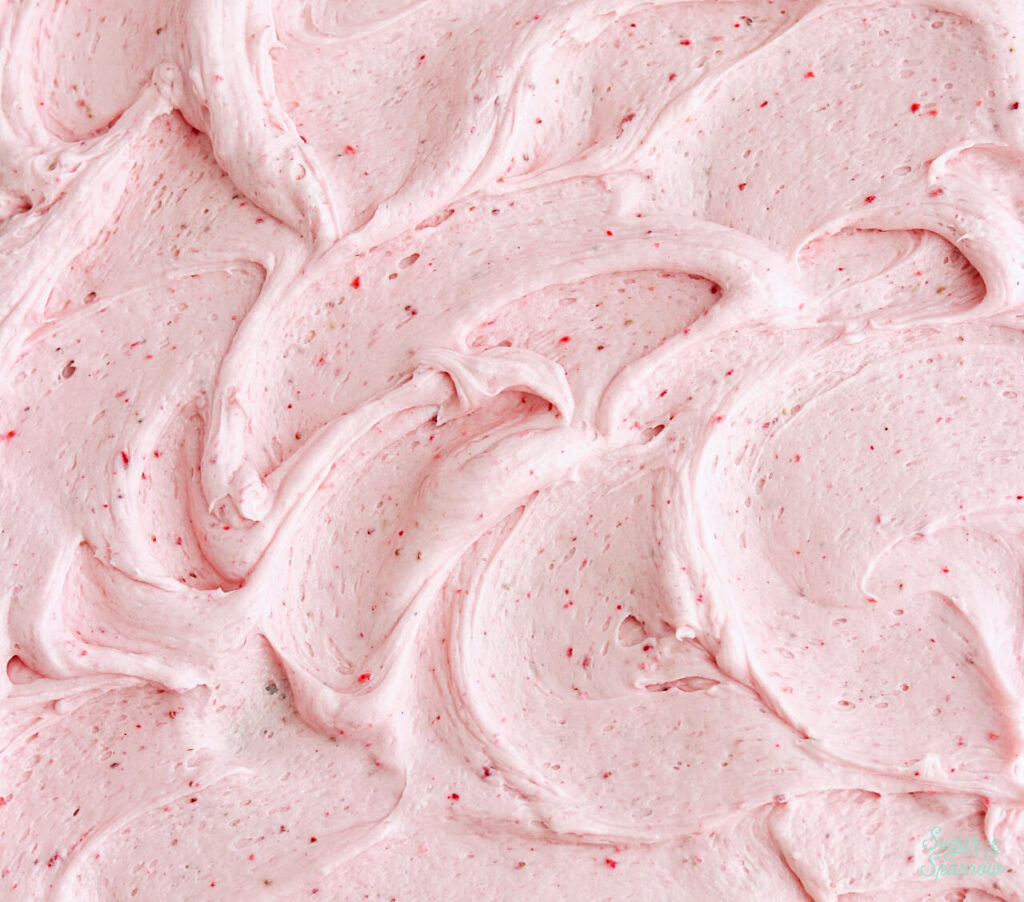
You can usually find freeze-dried strawberries in the snack section of your local grocery store (I’ve had success at Kroger, Target, Trader Joe’s, and natural food stores like Whole Foods and New Seasons). If you can’t find them locally, you can find them on Amazon or opt for using fresh strawberries instead. I also have a recipe for strawberry buttercream with fresh strawberries! Just be sure to double the recipe so you’ll have enough for filling and frosting this cake.
Rich Chocolate Ganache
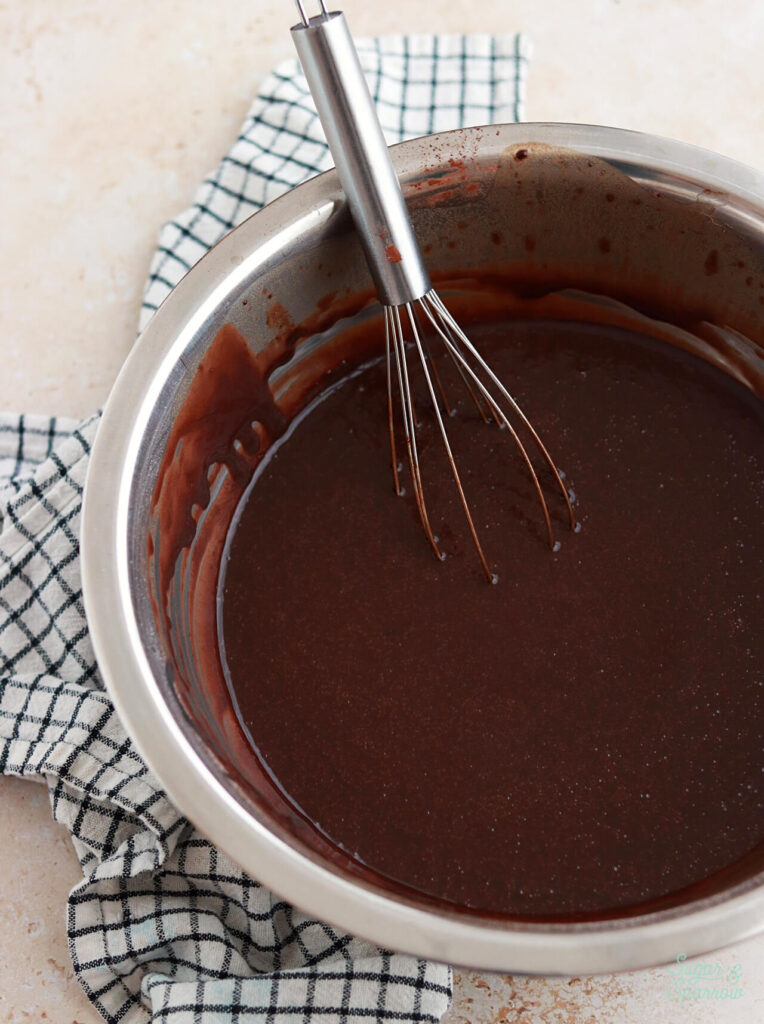
The chocolate ganache is made with just two ingredients: semi-sweet chocolate and heavy whipping cream. You’ll essentially simmer the heavy whipping cream, pour it over chocolate chips (or a chopped chocolate bar), and whisk everything together into a uniform ganache. Then, you’ll let the ganache cool until it’s slightly above room temperature. At that point you’ll drip it over your cake and use it to dip the strawberries for the cake toppers!
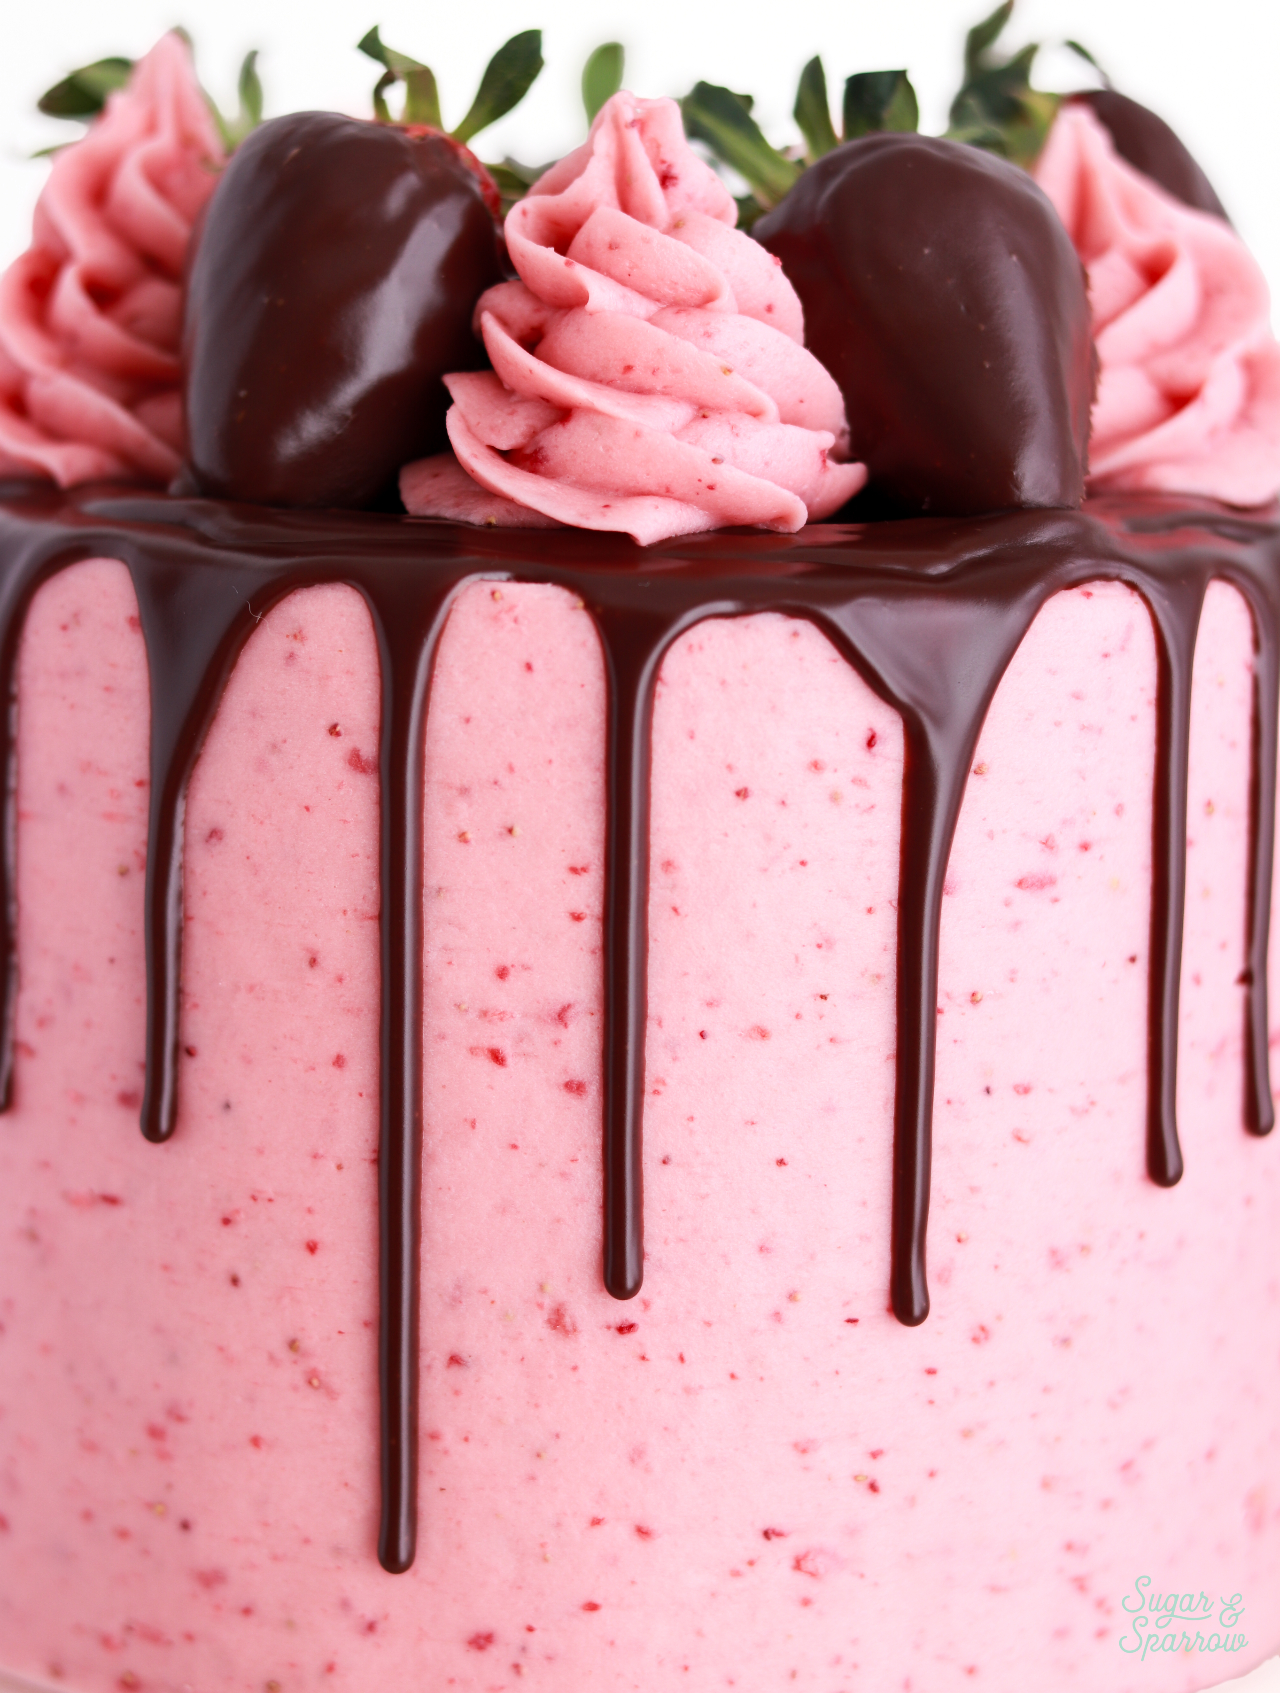
If you’ve never made a drip cake before, this blog post shares everything you need to know to create the perfect ganache drip cake. I recommend reading through that post if you’re not super confident in your ability to create a drip cake (it will hopefully make you feel more confident!).
How to Assemble a Chocolate Covered Strawberry Cake
Once you have all of the elements for this chocolate covered strawberry cake ready to go with your cake layers leveled, here’s how you’ll assemble:
Step 1: Fill and stack the cake. With your first cake layer on the turntable, add a layer of strawberry buttercream as filling, then drizzle with (room temperature) chocolate ganache. Place the next cake layer on top and repeat this process with any additional cake layers.
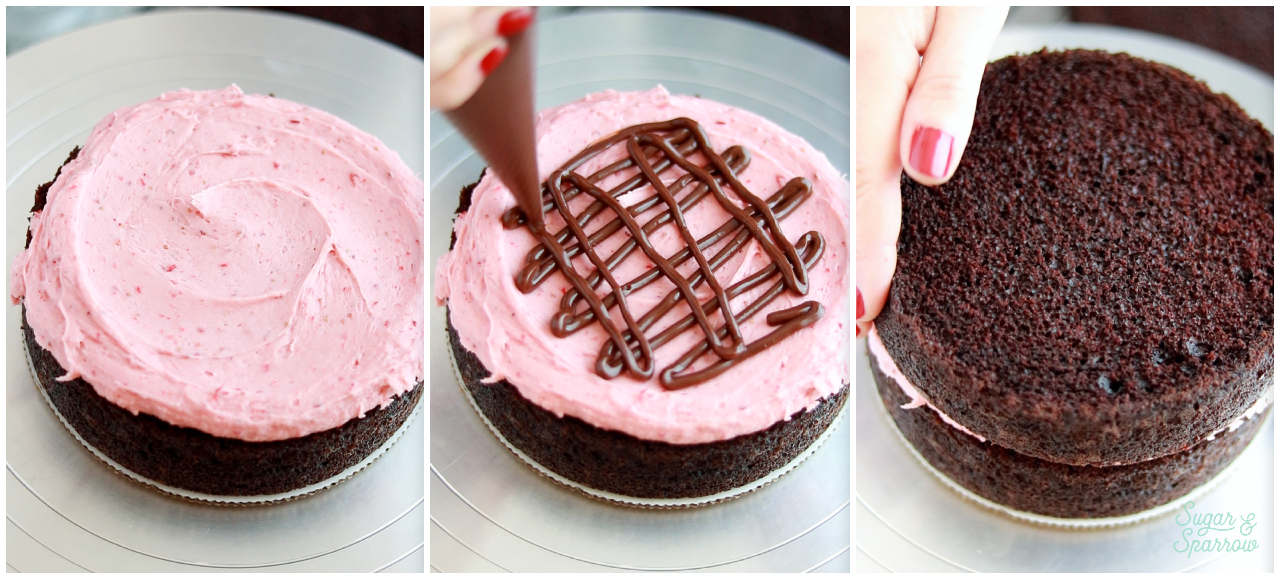
Place the final cake layer upside down so that the bottom of the layer becomes the top. At this point, crumb coat the cake with strawberry buttercream and place it in the refrigerator to firm up for about 20 minutes.
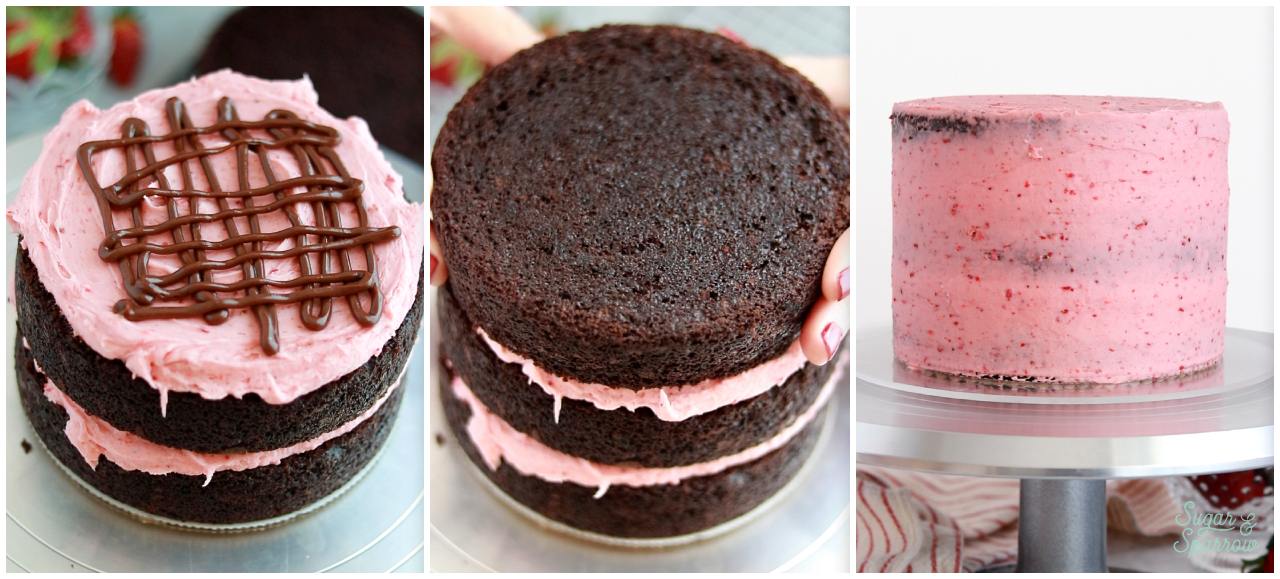
Step 2: Frost the cake. Use the strawberry buttercream to frost a smooth finish, then place the cake back in the refrigerator while you prepare the chocolate ganache for the drip.
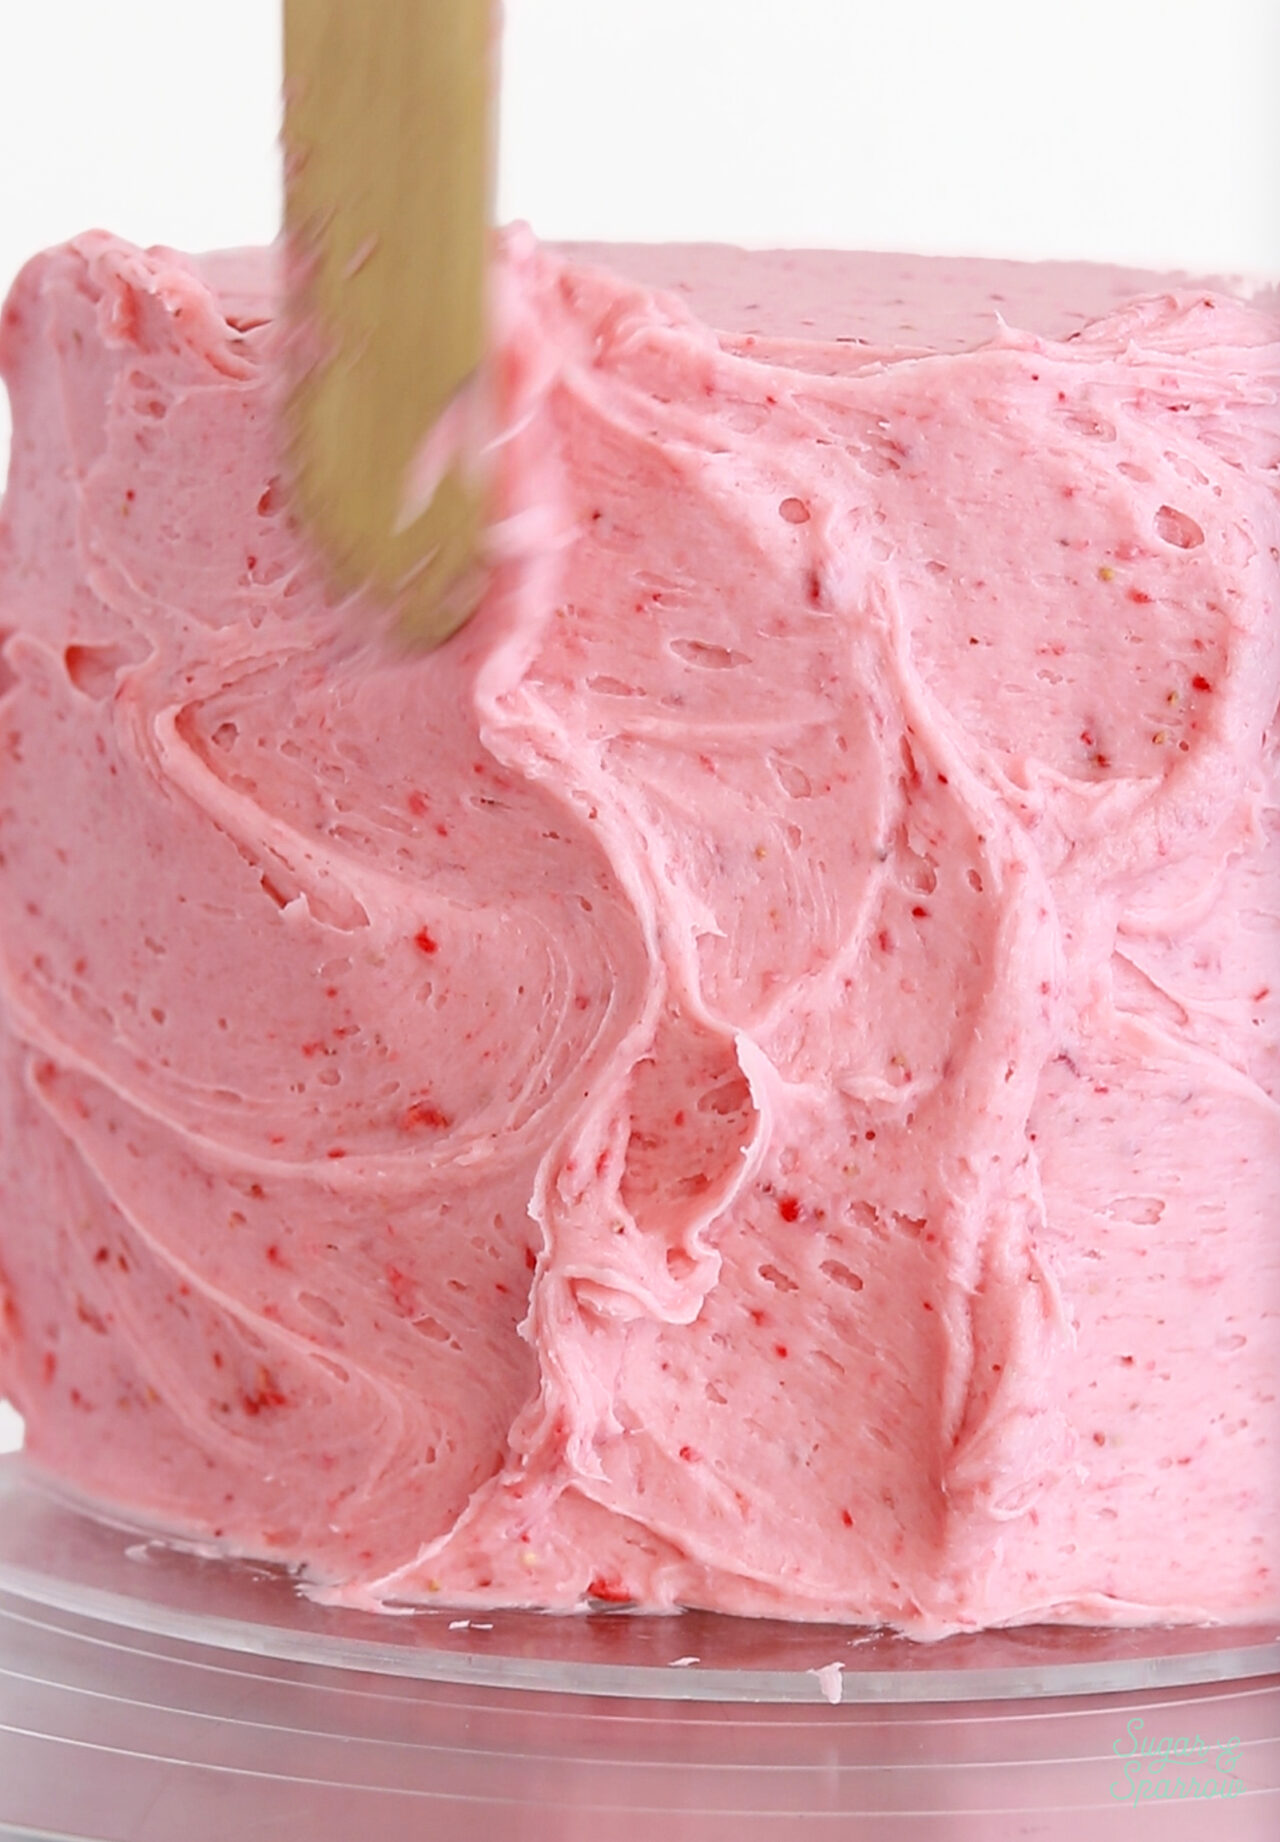
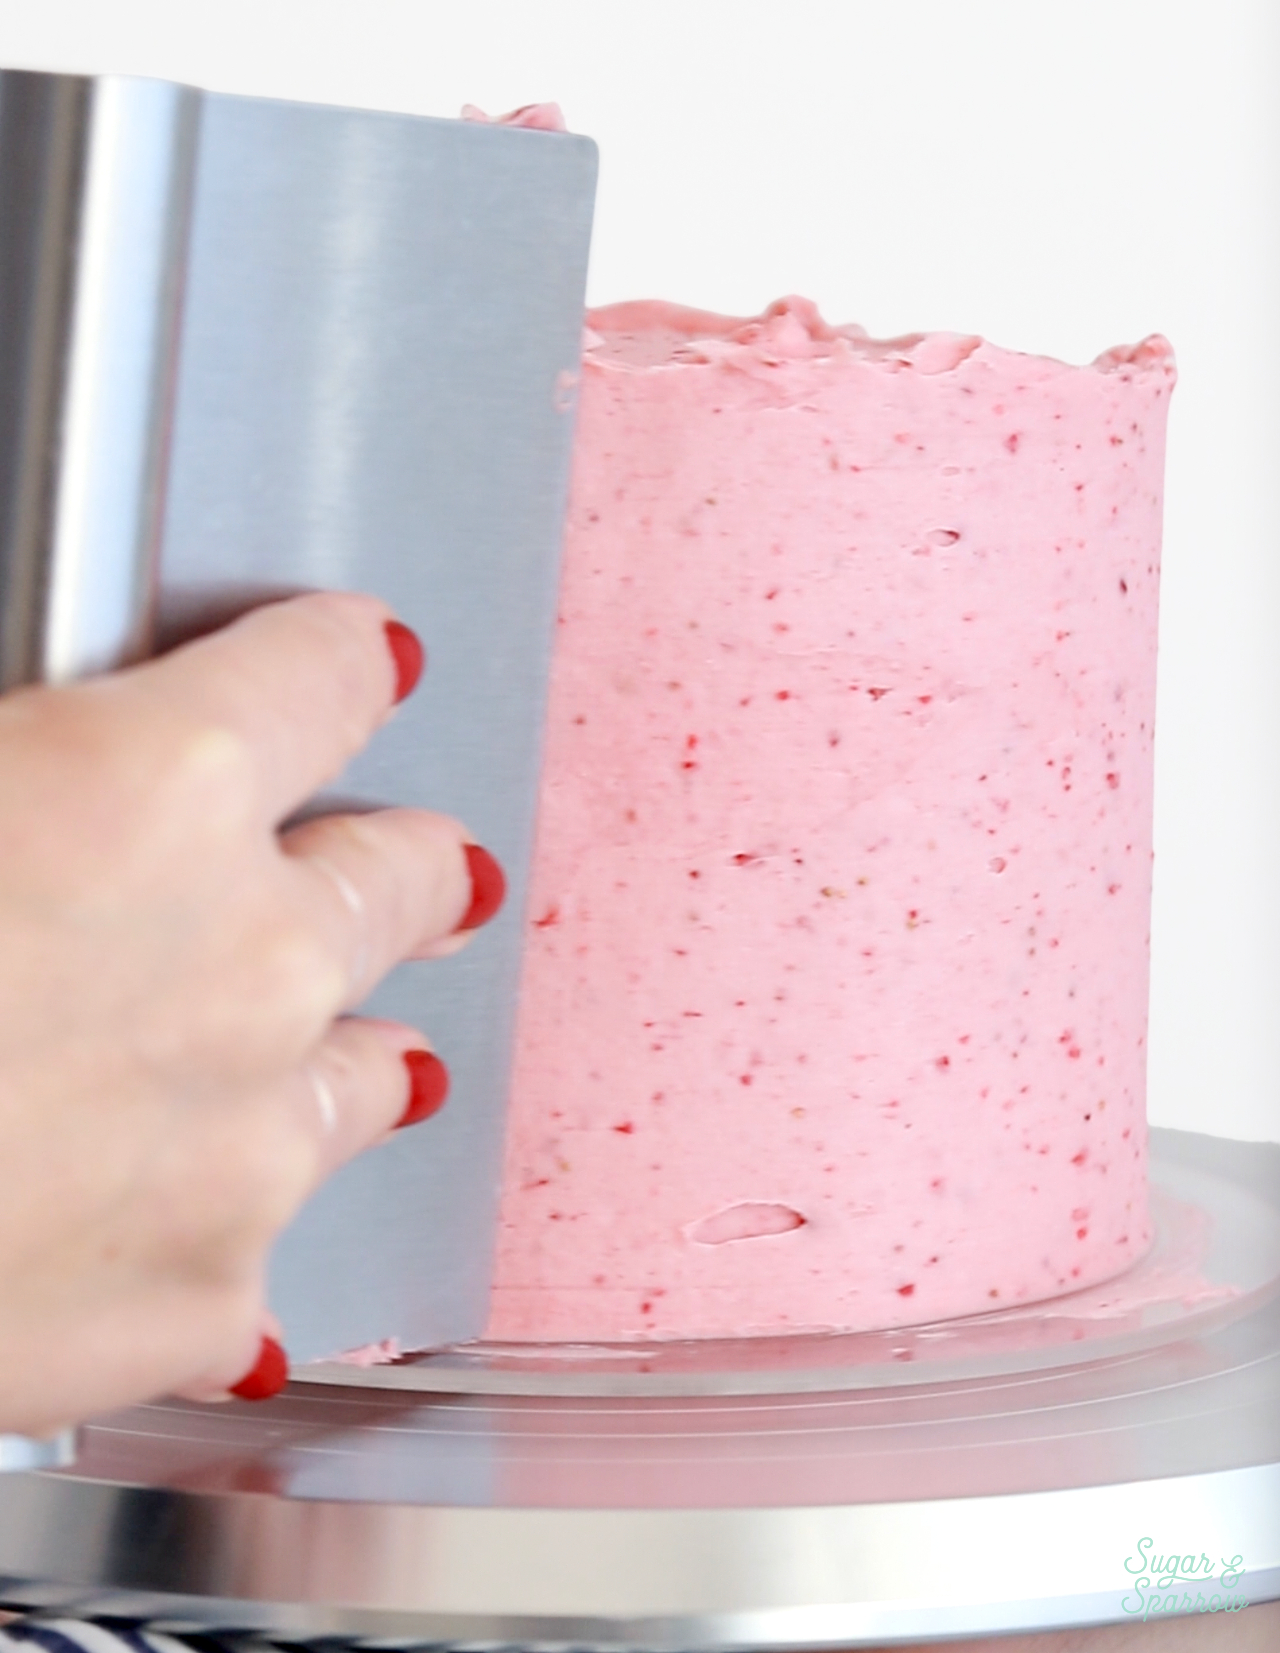
Step 3: Drip the cake. Make sure the chocolate ganache is the right consistency for dripping the cake. It should be just slightly above room temperature. If it’s too cold, microwave it in 5 second increments until it’s just above room temperature, and if it’s too warm, wait until it cools down to the perfect consistency. Then, drip the sides of the cake before filling in the top. Here’s a more detailed drip cake tutorial if you need it.
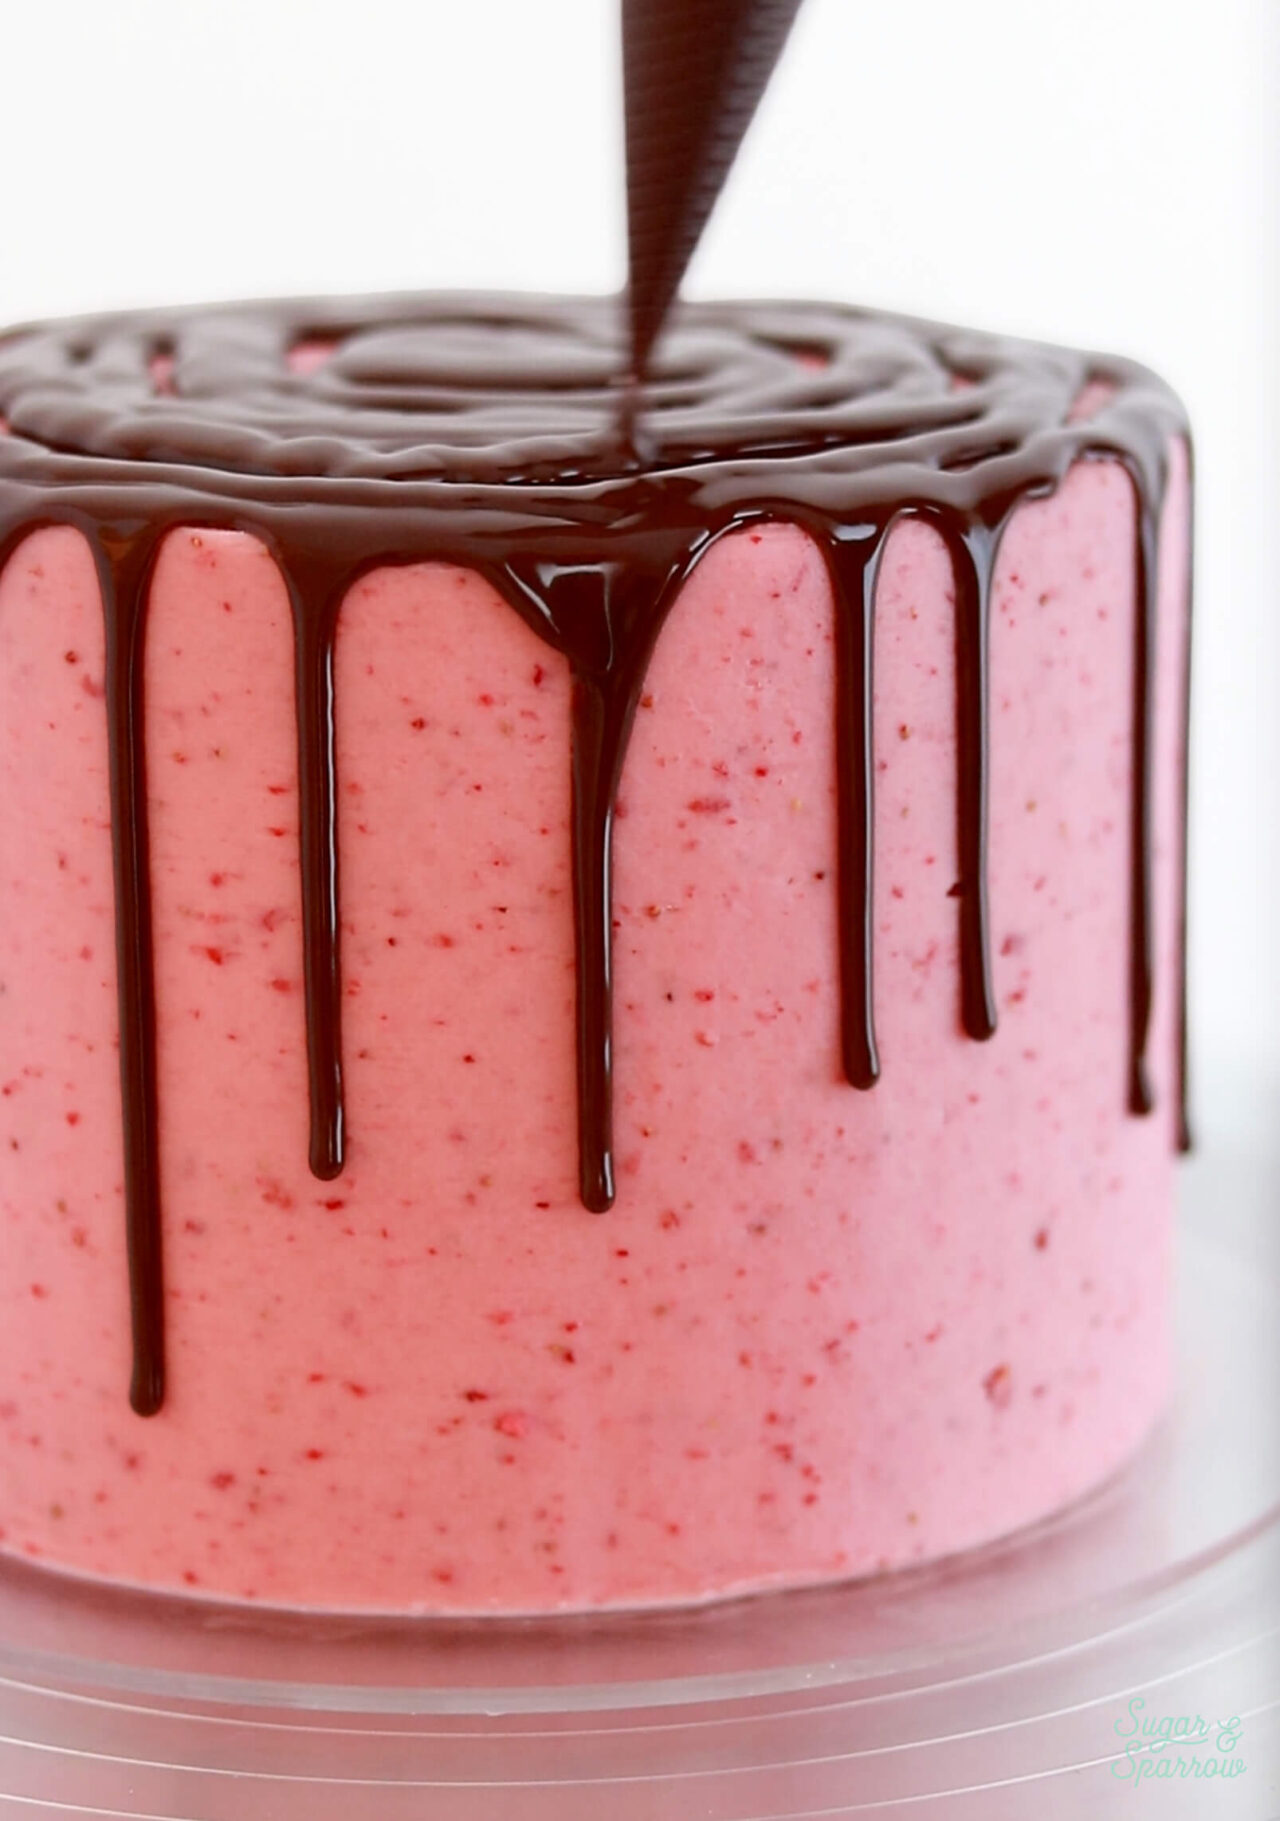
Step 4: Dip the strawberries. Add the rest of the ganache into a small bowl and dip the strawberries in it to coat them. Place the chocolate dipped strawberries onto a plate and put them in the refrigerator for a few minutes to let the ganache set.
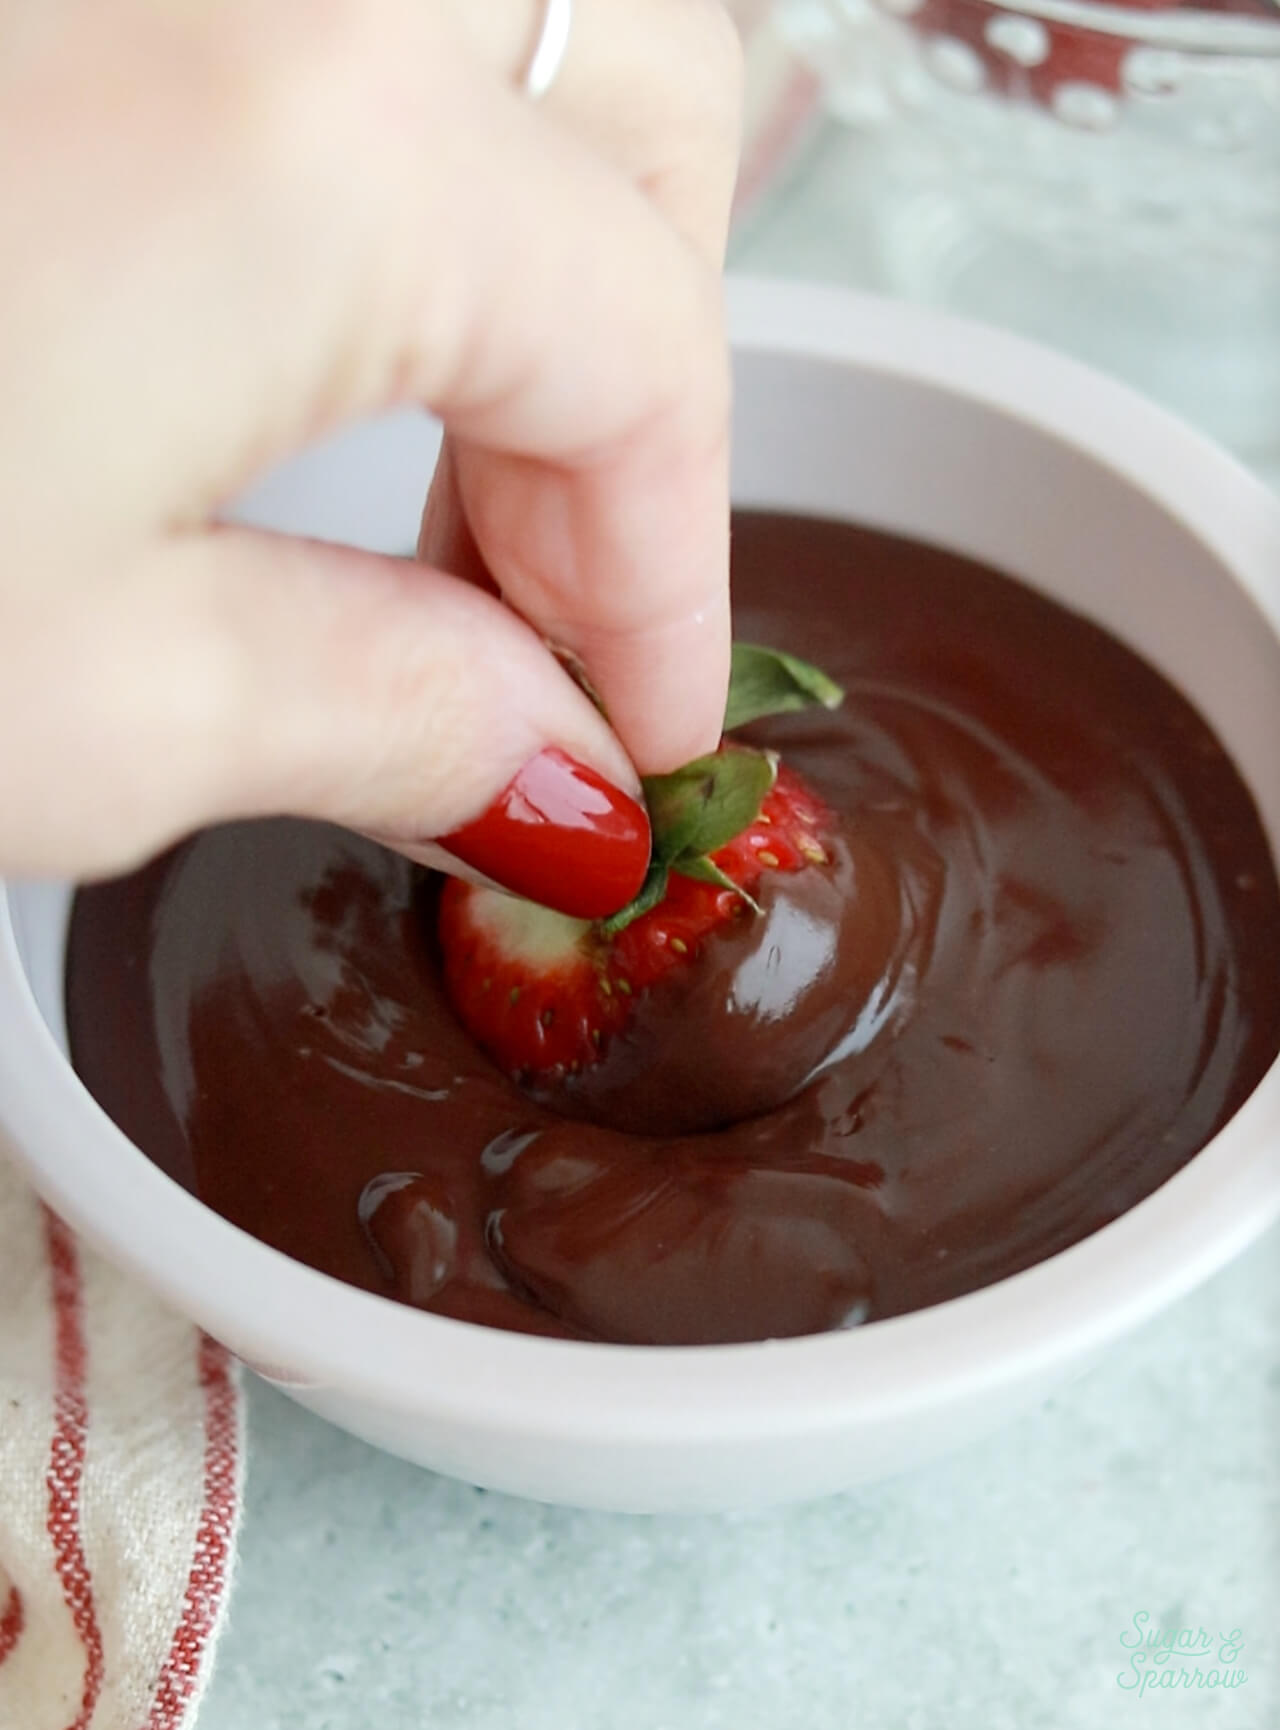
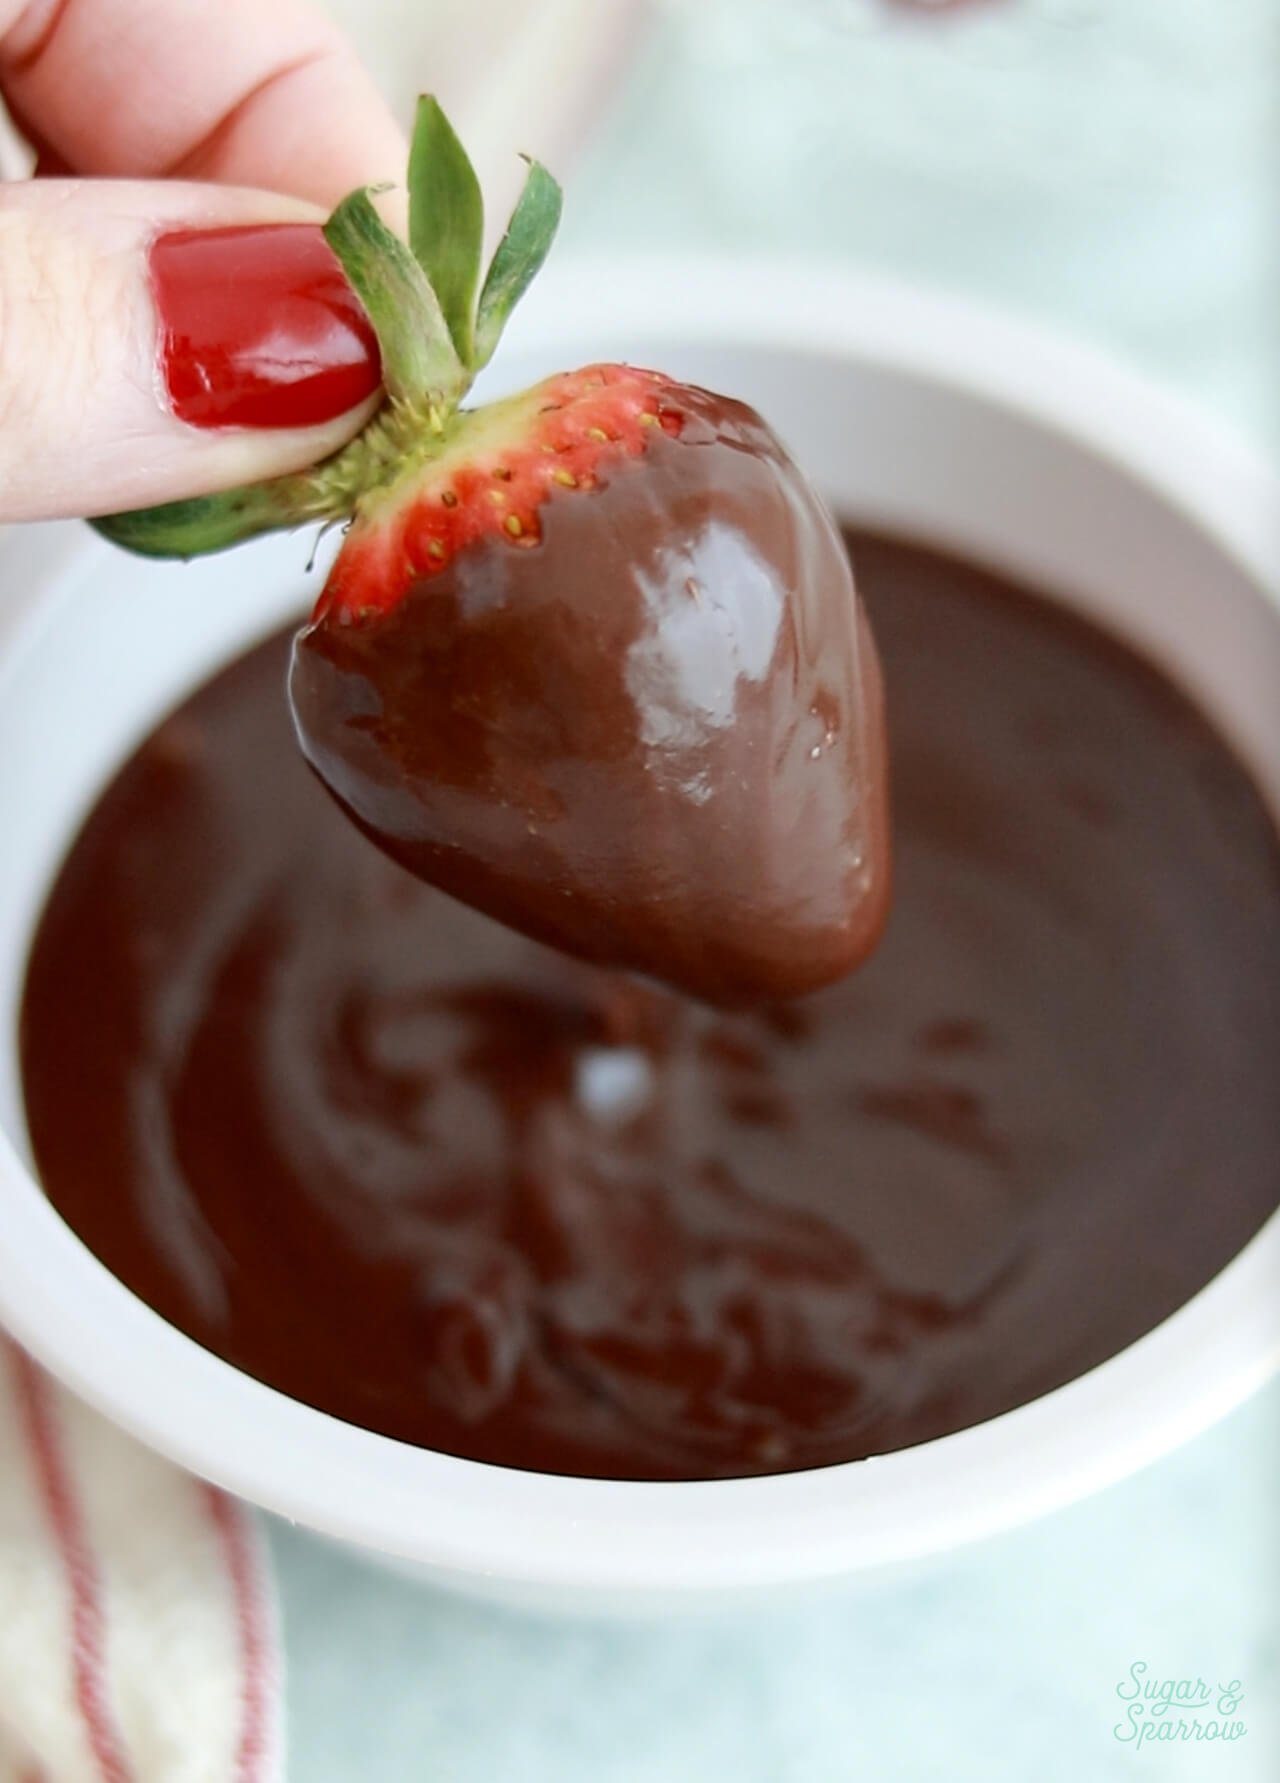
Step 5: Add the finishing touches. Place the rest of the strawberry buttercream into a piping bag fitted with Wilton Tip 1M and pipe swirls on top of the cake, spaced about an inch apart. Then, place a chocolate covered strawberry in between each swirl.
Similar Recipes You’ll Love
If you love this chocolate covered strawberry cake, here are some other recipes from my blog to add to your baking list:
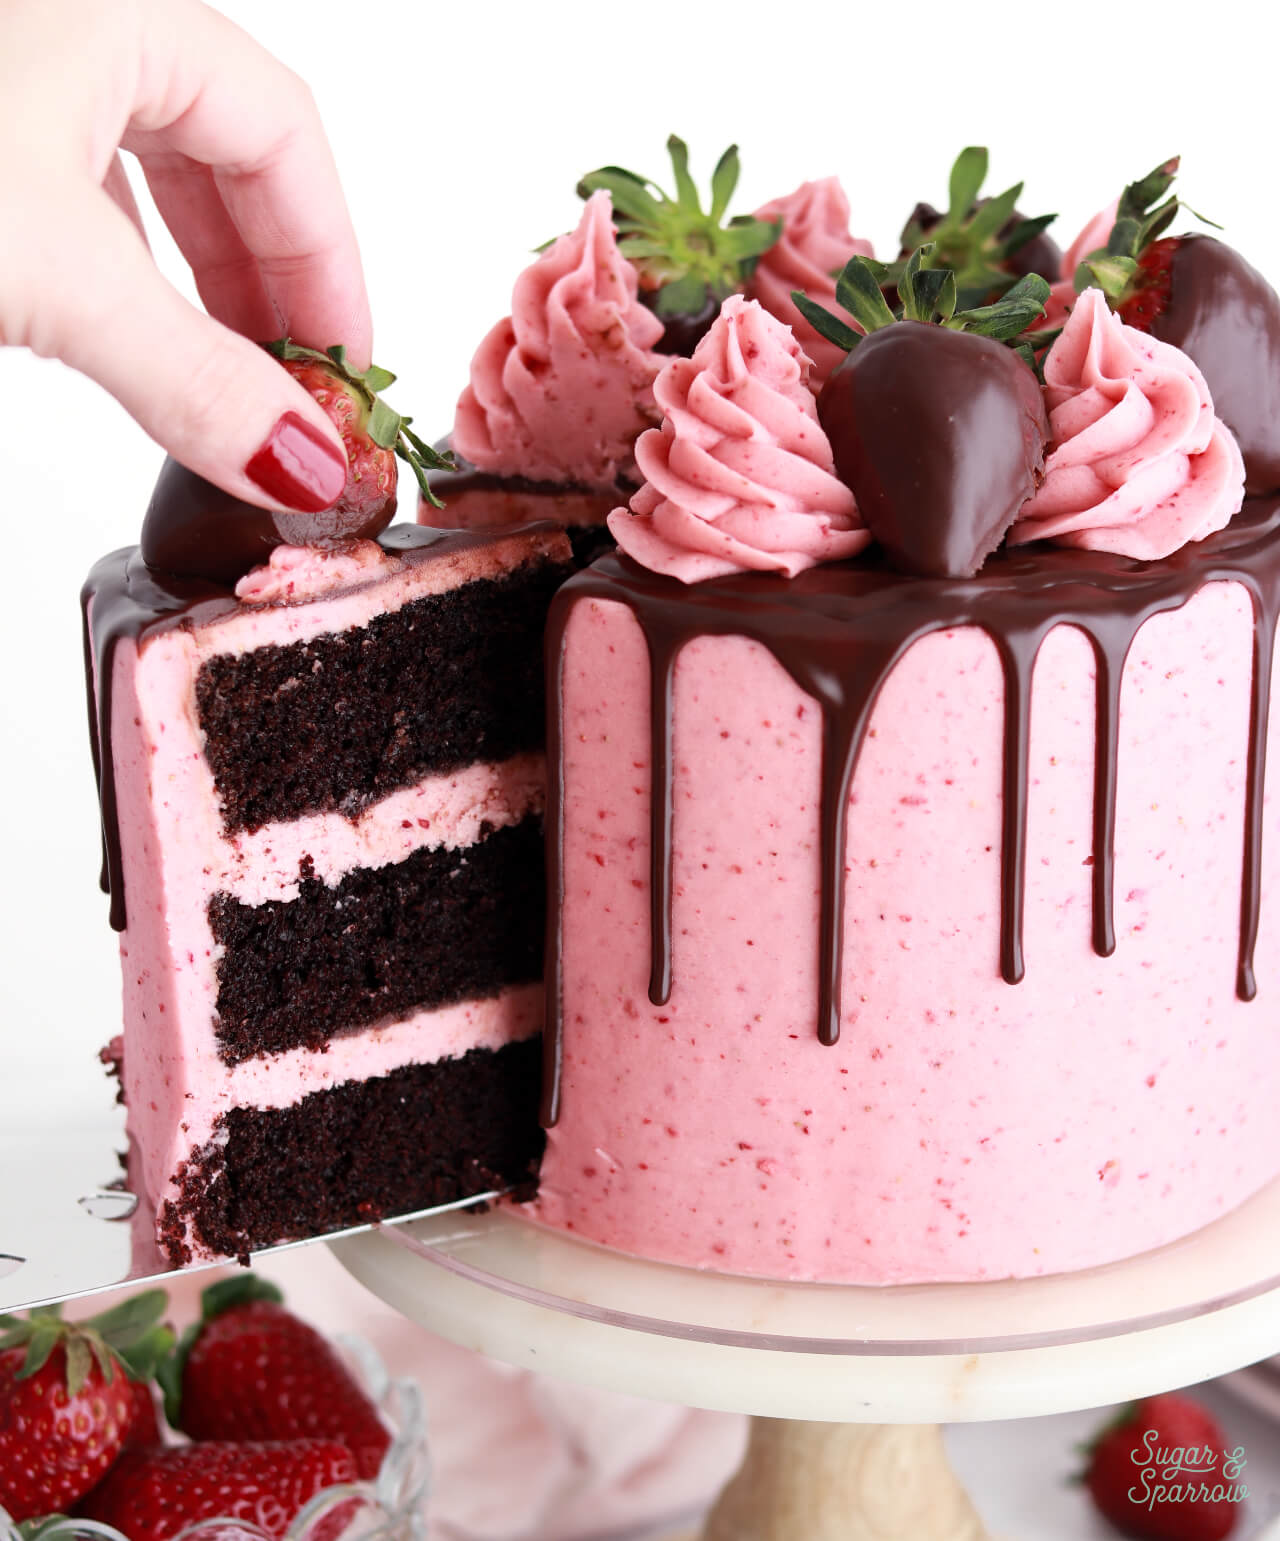
I hope you love this chocolate covered strawberry cake as much as I do! Let me know if you make it in the comments below (be sure to leave a star rating!) and feel free to tag @sugarandsparrowco on Instagram to show me if you post a photo. I love to see what you create with my recipes!
Chocolate Covered Strawberry Cake
Ingredients
Chocolate Cake
- 2 Cups (265g) all purpose flour
- 1 2/3 Cups (340g) granulated sugar
- 2/3 Cup (60g) unsweetened natural cocoa powder
- 2 tsp baking soda
- 1 tsp baking powder
- 1/2 tsp kosher salt
- 1/2 Cup (120ml) vegetable oil
- 2 large eggs, room temperature
- 1 1/2 tsp pure vanilla extract
- 1 Cup (240ml) buttermilk*, room temperature DIY recipe in the notes
- 1 Cup (240ml) hot coffee or hot water
Chocolate Ganache
- 1 Cup (185g) semi-sweet chocolate high quality chocolate chips or bar
- 1 Cup (240ml) heavy whipping cream
Strawberry Buttercream*
- 1 1/2 Cups (34g) freeze-dried strawberries
- 2 Cups (452g) unsalted butter, room temperature
- 2 tsp pure vanilla extract
- 6 Tbsp (90ml) whole milk, room temperature
- 6 Cups (720g) powdered sugar
- 1/4 tsp salt
Cake Toppers
- 6-8 fresh strawberries
Instructions
Make the Chocolate Cake
- Preheat the oven to 350ºF and prepare three 6-inch or two 8-inch cake pans by spraying the sides with baking spray and fitting the bottoms with a parchment cake circle.
- Place all of the dry ingredients into the bowl of a stand mixer and stir on low for 30 seconds to fully combine them. Add the vegetable oil, eggs, vanilla, and buttermilk and mix on low until just combined. With the mixer still on low, add the hot coffee (or hot water) in a slow stream, then turn the mixer to medium and beat until smooth, about 2 minutes. The batter will be very thin.
- Pour into prepared cake pans and bake for 32-36 minutes, until a toothpick inserted comes out clean. Let the cakes cool in the pan for about 5 minutes before removing from the pans and cooling completely on a cooling rack.
Make the Chocolate Ganache
- Place chocolate chips into a heat resistant bowl (glass or metal). If you’re starting with a chocolate bar, chop it into small pieces until they’re about the size of chocolate chips.
- In a saucepan over medium-high heat, warm the heavy whipping cream while whisking occasionally until it just starts to simmer. I always look for small bubbles forming around the edge and a soft simmer starting in the middle. When it's reached this point, pour the cream into your bowl of chocolate and let sit for about 30 seconds.
- Whisk it together until it’s uniform in consistency and there are no bits of chocolate left on your whisk. Cool ganache at room temperature for 10-20 minutes, or until the ganache itself is room temperature.
Make the Strawberry Buttercream
- With a food processor, grind the freeze-dried strawberries into a fine powder and set aside.
- Whip the butter using a stand mixer with a paddle attachment on medium speed until it’s creamy and light in color, about 5 minutes. Add the strawberry powder, vanilla, and milk. Continue to mix on medium speed for 1 minute, scraping down the bowl and paddle afterwards.
- Add the powdered sugar a few cups at a time and mix on low speed until fully incorporated, scraping down the bowl and paddle after each addition. Add the salt and continue mixing on low speed until the buttercream is fully combined and silky smooth.
Assembly
- Once the chocolate cake layers are completely cooled, level them to get rid of any domed tops and create even layers. Add a swipe of strawberry buttercream onto a cardboard cake circle and place the first cake layer on top. Add a layer of strawberry buttercream and use an offset spatula to create a slight dip in the center. Drizzle (room temperature) chocolate ganache into the dip in the buttercream filling, then place the next cake layer on top. Continue the process of filling and stacking the cake layers with the strawberry buttercream and ganache before placing the final cake layer on top, upside down so that the bottom of the cake becomes the top. Then, crumb coat the cake with strawberry buttercream. Refrigerate the cake for 15-20 minutes to let the crumb coat firm up.
- Use more of the strawberry buttercream to frost a smooth buttercream finish on the cake, then place it back into the refrigerator for another 10-15 minutes while you prepare the chocolate ganache for the drip.
- Create the Ganache Drip: at this point, the chocolate ganache has probably thickened too much at room temperature. To create the perfect consistency for a drip cake, add the remaining chocolate ganache into a microwave safe bowl and microwave in 5-second increments, stirring after each one, until the ganache is just slightly above room temperature. Feel free to do a practice drip on your cake to make sure it stops before reaching the bottom of the cake (which would indicate it's too thin and needs to cool more). When the consistency feels right, drip the sides of the cake before filling in the top. You can use a spoon to do this or add the ganache into a piping bag to create the drips. Here's a more detailed tutorial on how to drip a cake if you need it! When you're finished with your drip, place the cake back into the refrigerator to let the ganache set while you dip the strawberries.
- Dip the Strawberries: line a plate or small baking sheet with parchment or wax paper. Add the remaining ganache into a small bowl and dip the strawberries into it, one by one, to coat them. Place the coated strawberries onto your prepared plate or baking sheet and place them into the refrigerator to let the ganache set.
- Place the remaining strawberry buttercream into a piping bag fitted with Wilton Tip 1M. Pipe swirls on top of the cake spaced about 1 inch apart, then place a chocolate covered strawberry in between each swirl.
Notes
- The chocolate cake layers can be made ahead and stored at room temperature, covered tightly in plastic wrap, for up to two days. Alternatively, you can cover with plastic wrap and store in the freezer for up to two months before thawing to room temperature.
- The strawberry buttercream can be made ahead and stored in an airtight container in the refrigerator for up to two weeks. When you’re ready to use it, bring it back to room temperature and re-mix in your stand mixer on low speed to bring back to smooth buttercream consistency.
- The chocolate ganache can be made ahead and stored in the refrigerator in an airtight container for up to two weeks. When you’re ready to use it as a drip, microwave it in 10 second increments, stirring after every interval until your ganache is room temperature and uniform in consistency.


What cake cover do you use to cover tall cakes like this? We made your recipe today… Haven’t sliced the final product yet but the components all tasted great! However, the cake won’t fit under my standard 6-in cakedel and so I’m looking online. I can’t find any tall dome for less than $100!
Hi Susanna! So happy you love this recipe so far! For tall cakes I usually transport them in a box without the lid or you can find tall cake boxes on Amazon like this one: https://amzn.to/4udj8wu
Hi I am making this cake and going to be traveling about an hr with it what’s the best way to travel with this ? Also I would like to add some strawberry jam to it would that work with this cake ?
Hi Arianna! Yes on the strawberry jam. That would be a delicious addition between the layers. Here are all my best tips for transporting cakes: https://sugarandsparrow.com/how-to-transport-cakes/
This recipe is amazing! I got so many compliments even from the toughest of critics. ❤️❤️❤️
Yay, Madison! That makes me so happy!
Do we need to store the fully assembled cake in the fridge?
Hi Paige! With the chocolate ganache having so much cream I would store the fully assembled cake in the refrigerator and then take it out a few hours before your event so it’s room temperature for serving. Hope that helps!
Love this recipe. I want to try this egg free (as my son is allergic to egg).
Do you have any suggestion as to what to replace for eggs ?
Hi Atulya! Yes, I have an egg-free chocolate cake recipe here: https://sugarandsparrow.com/eggless-chocolate-cake-recipe/ and you can combine it with the fillings and frostings portion of this recipe. Enjoy!
Do you have a recipe for this that I can use to make this in three 8in rounds instead of 6in?
Hi Daran! To make three 8-inch layers you can make 1.5x the recipe (multiply each ingredient by 1.5) to have the perfect amount of batter.
Thank you so much! Wow, that was a fast response! I can’t wait to try it. I have a charity event that I am wanting to make it for next week.
Your cakes are stunning! I have made cakes over the years, but never consistently. I get so frustrated with trying to achieve the smooth finish on the round cakes. I can never accomplish it and just give up. I put a lot of American Buttercream on to start and then when i smooth it too much comes off. Then repeat. Then after a few tries, I’m just done. I’ve watched some videos and still the same. All of yours are so beautiful and smooth no matter if you have one color, three colors, fruit, watercolor (which is amazing by the way! I l’m in love with the orange creamsicle cake). You are truly talented!
Thanks so much, Daran! Have you tried this hack for getting smooth buttercream? This is my best suggestion: https://youtu.be/8HogEImUsI0?si=1tggPuMy32lRb4Mu
All of your cakes are beautiful, but this one seems especially stunning to me. I wish I had one made right now, that I could give to my closest friend to cheer her up as she cares full time for her elderly Father.
I will make it happen soon.
Thank you.