
One of the very first recipes I put on this blog was this Raspberry Buttercream recipe. It’s one of my favorite buttercream recipes ever – ultra flavorful, not too sweet, and the natural color is just so beautiful! I’ve paired it with so many cake flavors (it truly goes with anything), but this Raspberry Chocolate Cake recipe is one classic flavor pairing I had yet to officially turn into a recipe until now. So with Valentine’s Day approaching, I thought it would be the perfect time to share this recipe with you to bake up for your loved ones!
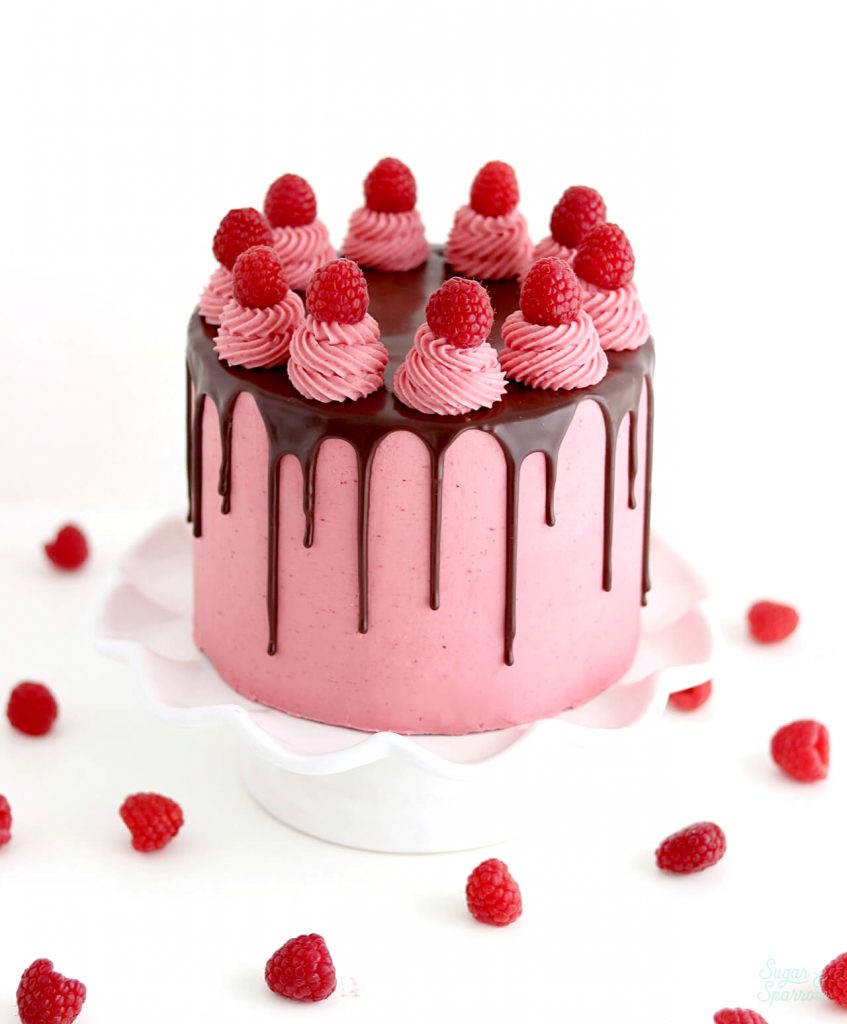
This cake is so simple to whip up and the flavor combination is just divine. I’d even go as far as to say it’s a pretty sensual cake (cue the sax solo). The raspberry buttercream makes it extra aromatic and paired with the chocolate cake, the flavor is decadent but not too heavy. The perfect cake for any raspberry chocolate lover and anyone who doesn’t yet realize they’re a fan of these flavors (aka just about everyone!).
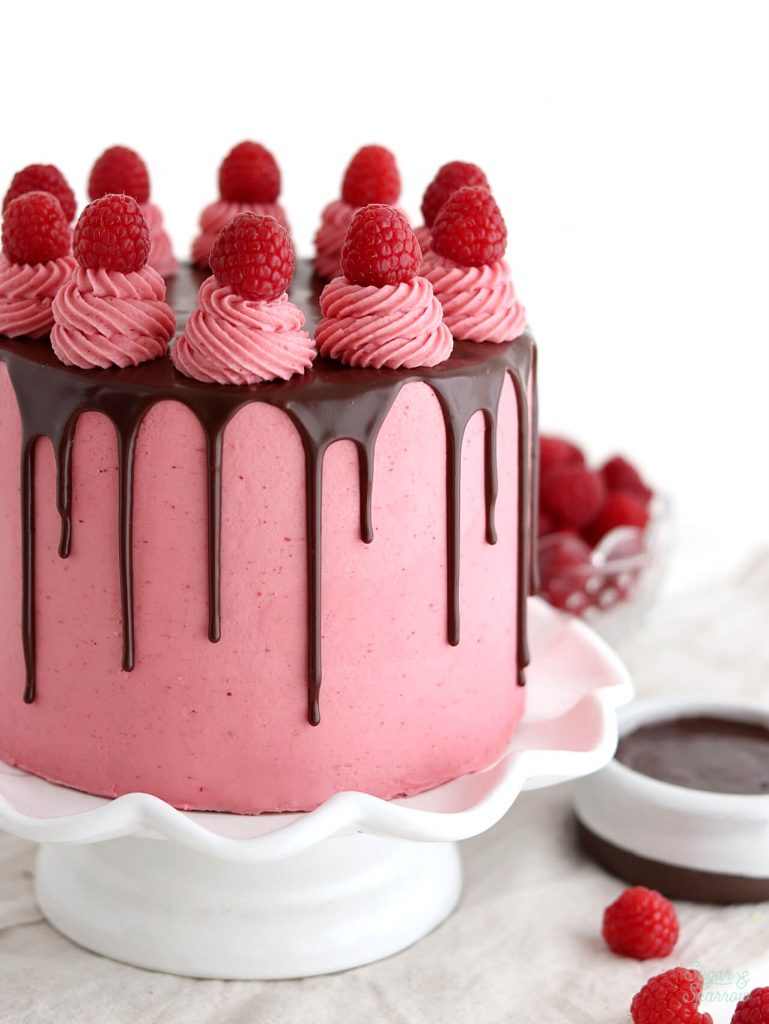
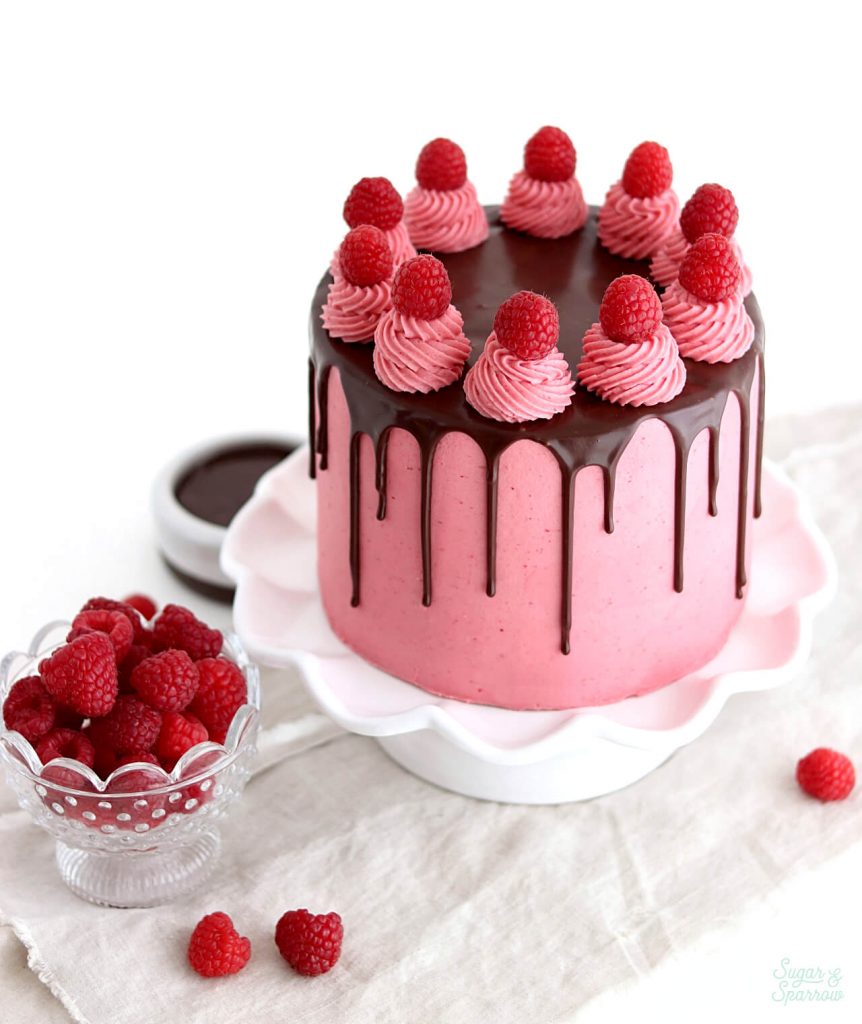
It all starts with my favorite One-Bowl Chocolate Cake Recipe, which is just as easy as it sounds. Basically put everything into one bowl (in the right order, of course) and mix it up! Just in case you want to watch the process before you make this recipe, I do have a YouTube video that I whipped up to walk you through it. It’s basically everything you need and want in a chocolate cake: moist crumb, rich chocolate flavor, and simple ingredients.
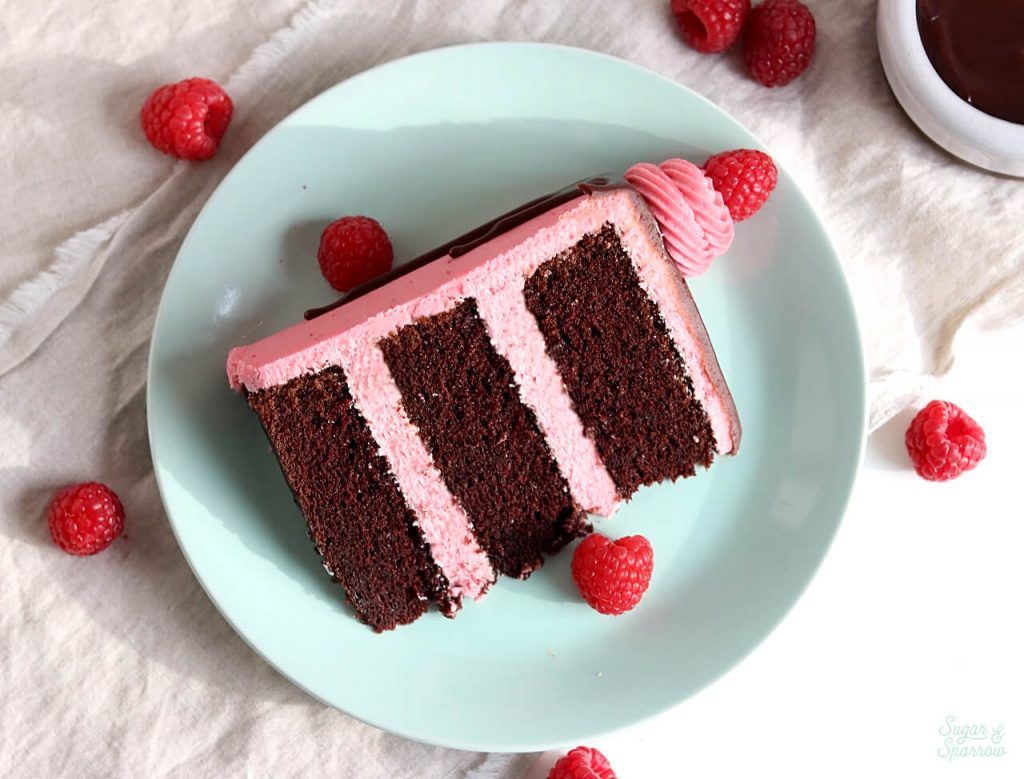
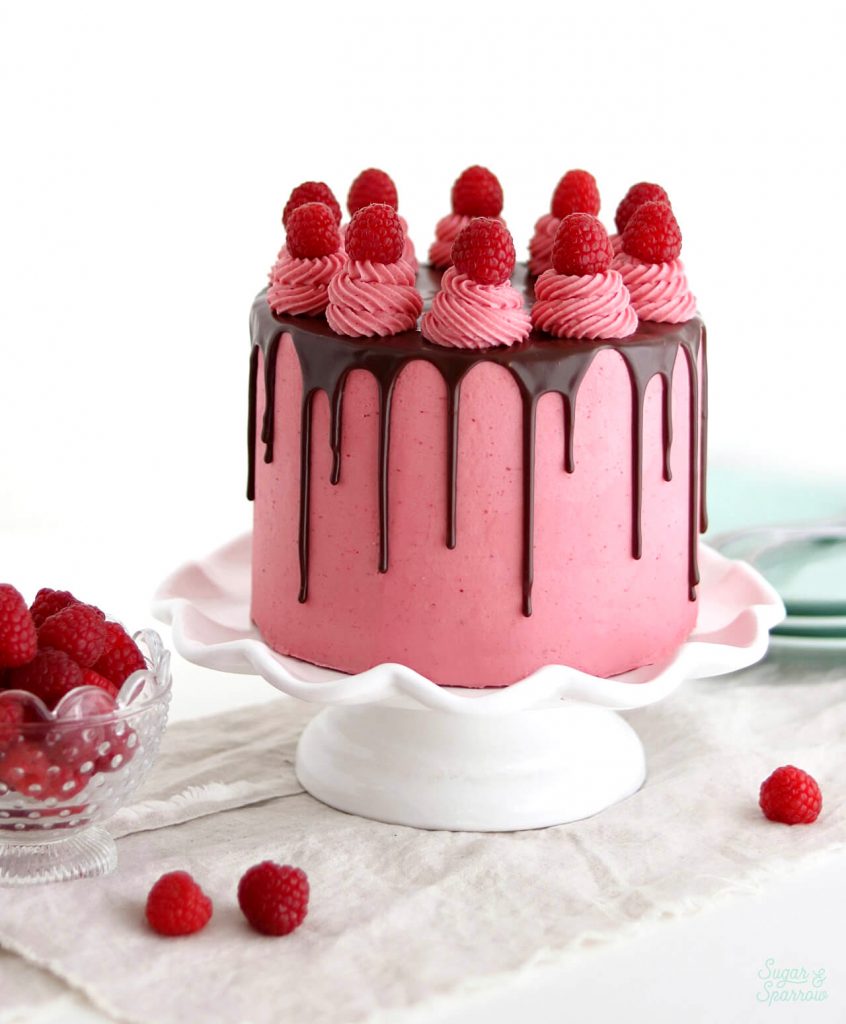
The Raspberry Buttercream is the filling and the frosting on this one, because it’s just so good that way. The secret to the beautiful flavor and consistency of this buttercream is freeze-dried raspberries. The process of freeze-drying removes the liquid from the berry and keeps ALL the flavor intact, so adding them to buttercream gives you the most flavorful buttercream with just the right consistency. And just look at that naturally gorgeous color! No added food color gels on this one, folks. This is the brand I use in the recipe, but you can find freeze-dried raspberries at most grocery stores, Trader Joe’s, and even Target if you’d rather shop local.
If you can’t find freeze-dried raspberries, I do have this raspberry buttercream recipe that uses fresh berries. It works beautifully as a substitute!
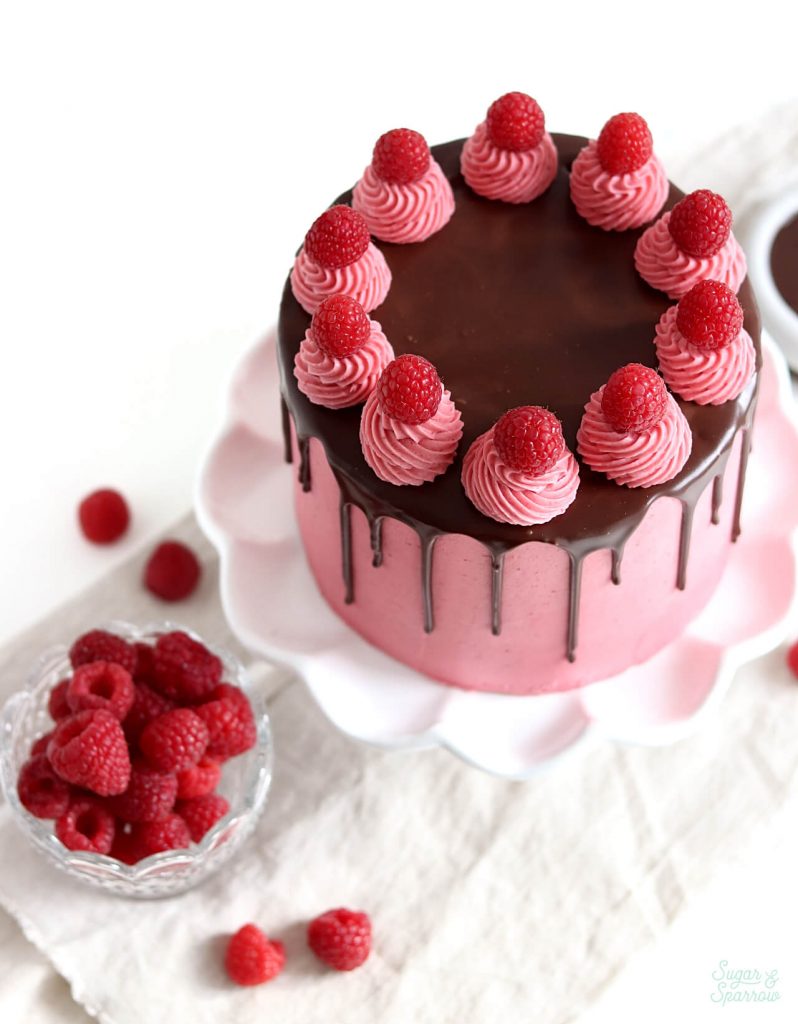
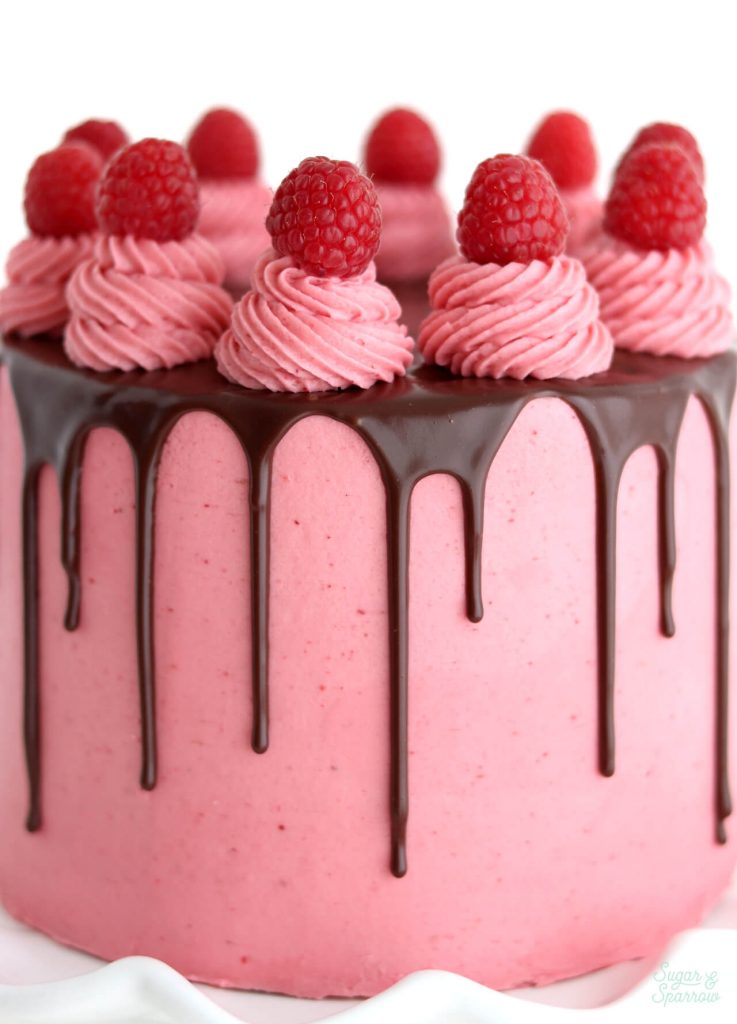
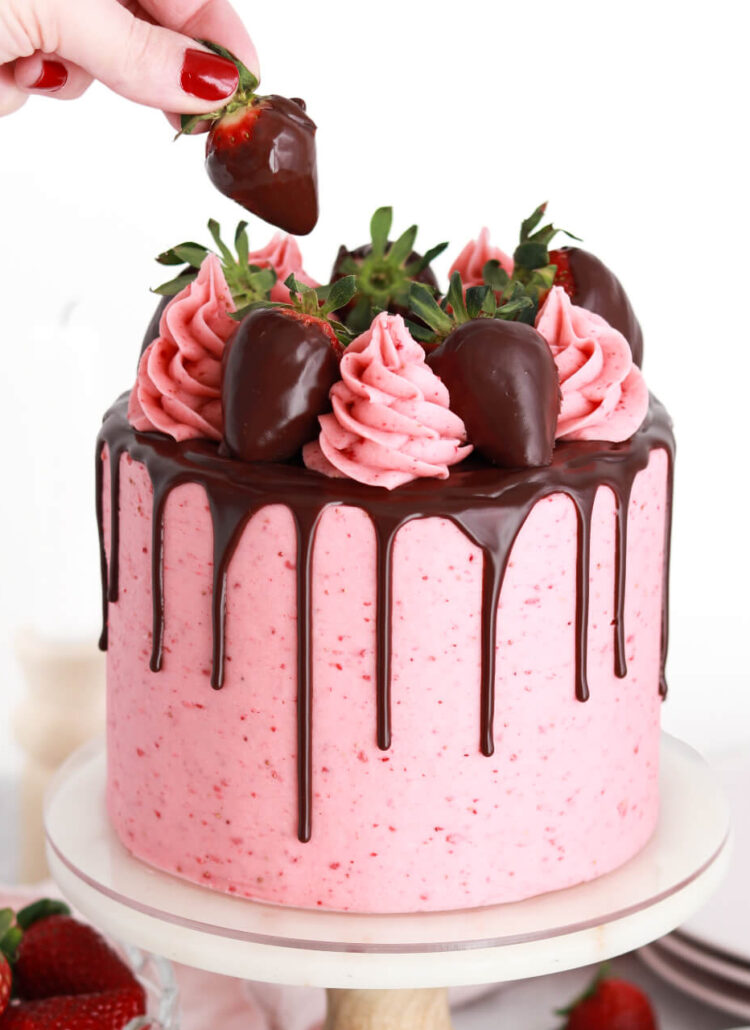
To decorate this beauty, I added a chocolate ganache drip and used Wilton Tip 4B to pipe swirls all around the top before adding a fresh raspberry to each. This recipe yields a triple layer 6-inch cake, but if you’d rather make a little 4-inch version instead you can half the entire recipe (cake and buttercream) to make a better sharing size for 2-4 people. And if this is your first time making and assembling a layer cake, or you want to learn my techniques for doing so, be sure to check out my Cake Basics series that shows you how to build a layer cake from start to finish!
Raspberry Chocolate Cake Recipe
Ingredients
Chocolate Cake
- 2 Cups (265g) all purpose flour
- 1 2/3 Cups (340g) granulated white sugar
- 2/3 Cup (60g) unsweetened natural cocoa powder not Dutch Process
- 2 tsp baking soda
- 1 tsp baking powder
- 1/2 tsp salt
- 1/2 Cup (120ml) vegetable oil
- 2 whole eggs, room temperature
- 1 1/2 tsp pure vanilla extract
- 1 Cup (240ml) full-fat buttermilk, room temperature* DIY recipe in notes
- 1 Cup (240ml) hot water
Raspberry Buttercream
- 1 1/2 Cups (339g) unsalted butter, room temperature
- 1 Cup (34g) freeze dried raspberries**
- 4 1/2 Tbsp (68ml) whole milk, room temperature
- 1 1/2 tsp vanilla extract
- 6 Cups (720g) powdered sugar
- 1/4 tsp salt
Chocolate Ganache
- 1/2 Cup semi-sweet chocolate chips
- 1/2 Cup heavy whipping cream
Additional Garnishes
- fresh raspberries, optional
Instructions
Make the Chocolate Cake
- Preheat the oven to 350ºF and prepare three 6-inch or two 8-inch cake pans by spraying the sides with cooking spray and fitting the bottoms with a wax paper or parchment cake circle.
- Place all of the dry ingredients into the bowl of a stand mixer and stir on low for 30 seconds to fully combine them. Add the vegetable oil, eggs, vanilla, and buttermilk and mix on low until just combined. With the mixer still on low, add the hot water in a slow stream, then turn the mixer to medium and beat until smooth, about 2 minutes. The batter will be very thin.
- Pour into prepared cake pans no more than 2/3 full and bake for 30-35 minutes, until a wooden toothpick inserted comes out clean. Cool completely before filling and frosting.
Make the Raspberry Buttercream
- With a food processor, grind the raspberries into a fine powder. Sift out the seeds (if a few seeds end up in the powder that is totally ok) and set the powder aside.
- Whip the butter using a stand mixer with a paddle attachment on medium speed until it’s creamy and light in color (5-10 minutes). Add vanilla, milk, and raspberry powder and continue to mix on medium for about two minutes.
- Add powdered sugar a few cups at a time, scraping down the bowl and paddle after each addition. Add the salt and mix on low for another 30 seconds.
Make the Chocolate Ganache
- Place chocolate chips into a heat resistant bowl (glass or metal). If you’re starting with a chocolate bar, chop it into small pieces until they’re about the size of chocolate chips.
- In a saucepan over medium-high heat, warm heavy whipping cream until it just starts to simmer. I always look for small bubbles forming around the edge and a soft simmer starting in the middle. When it's reached this point, pour the cream into your bowl of chocolate and let sit for about 30 seconds.
- Whisk it together until it’s uniform in consistency and there are no bits of chocolate left on your whisk. Cool ganache at room temperature for 10-20 minutes, or until the ganache itself is room temperature or slightly above.
Assembly
- Once the Chocolate Cakes are cooled completely, level and torte the layers to make them even before filling and frosting with the Raspberry Buttercream. After the final layer of frosting is applied, chill the cake for 20-30 minutes before dripping with the Chocolate Ganache. To recreate the look pictured, add swirls of Raspberry Buttercream around the top of the cake with Wilton Tip 4B and add a fresh raspberry to the top of each swirl.
Notes
- The Chocolate Cake can be made ahead and stored at room temperature, covered tightly in plastic wrap, for up to two days. Alternatively, you can cover with plastic wrap and store in the freezer for up to two months before thawing to room temperature.
- The Raspberry Buttercream can be made ahead and stored in an airtight container in the refrigerator for up to two weeks. When you’re ready to use it, bring it back to room temperature and mix it together on low for about 30 seconds to bring it back to frosting consistency.
- The Chocolate Ganache can be made ahead and stored in the refrigerator in an airtight container for up to two weeks. When you’re ready to use it as a drip, microwave it in 10 second increments, stirring after every interval until your ganache is room temperature and uniform in consistency.
Did you make this recipe? I want to know what you think! Let me know in the comments below or tag me on Instagram. I love to see what you’re caking!


I am excited to try this cake! Could you tell me how many cups of buttercream this recipe makes?
Hi Rachel! I’m excited for you to try this cake! The buttercream portion of the recipe makes about 4.5 cups of buttercream.
Heya! Can’t wait to make this!
What would you reccommend increasing the recipe by for a 2 layer 12inch square cake? (I am sculpting it into a bum for a commission.) thanks!
Hi Layla! I would recommend making 2.5x the cake part of this recipe to have enough for two 12 inch square pans. Hope that helps!
All I used was the frosting and it was Amazing
Yay, Danielle! I’m so happy you love this raspberry buttercream as much as I do!
This cake is simply beautiful and delicious! Thank you for sharing your talent!
Yay, Vicki! I’m so happy you loved this recipe and thanks for the kind words 🙂
I love love love Sugar and Sparrow. Great work! Question – I’m going to make this frosting for a 3 tier 9 inch cake. Would this frosting recipe be enough?
Thanks so much, Shannon! This frosting makes about 6 Cups of buttercream, which should be enough to fill and frost a 3-layer 9 inch cake. You might need to make a little more (about 1 Cup) for the swirls on top though. If you’re planning on adding the swirls on top, I would make half of this recipe (which will yield 1.5 Cups when halved): https://sugarandsparrow.com/raspberry-buttercream-recipe/ hope that helps!
I’ve made this cake a couple of times and am impressed with how well it turns out at high altitude. I live in the Denver area and usually have to modify cake recipes, but this one has turned out great both times without needing any adjustments. I’m wondering if it has to do with the smaller pan or the extra liquid, but whatever the reason it’s a great recipe! Thanks for sharing!
That’s amazing, Barb! I’m so happy that this cake has been a hit and you haven’t had to alter it for high altitude. Thanks so much for letting me know!
Hi, I made your vanilla cake and it was so yum. I wanna try this next and was wondering if I could substitute oil with melted butter?
Yay, Nat! So happy to hear you love my vanilla cake recipe! I’ve never tried this recipe with melted butter before. I have a hunch that it would work, but I’m not entirely sure so it would be an experiment. Let me know if you try it!
Hi Whitney!
I found this cake and it is perfect for what I am looking to make for the baptism of my newly born niece :)!
I have two questions for you,
If I use 3 layers of 8 inch cakes – would I increase the batter by 50%? If so, how much more time do you think I should add to the cooking time?
My second question is whether you think I can use lemon instead of white vinegar to make the buttermilk?
Can’t wait to try this!:)
Hi Thea! To make enough batter for three 8 inch layers I would definitely make 1.5x this recipe. I would check the cakes at 40 min and see if you need more time from there. I’ve never subbed in lemon for the buttermilk but I think that should work. If you try it let me know how it goes. Enjoy!
Hi Whitney
I would like to make a 2 layer 8 inch chocolate cake, fill it with rasberry buttercream and crumb coat and frost it with vanilla buttercream (I’m making your galaxy cake) could you tell me much rasberry buttercream I would need for the filling only please?
Thank you
Hi Petra! For the filling only, you can make half of this recipe to have just the right amount: https://sugarandsparrow.com/raspberry-buttercream-recipe/ enjoy!
Hi Whitney! For this recipe, you said that we could either use two 8″ pans or three 6″ pans, but I was wondering what pans you used?
Thanks in advance!! (:
Hi Hailey! I used three 6-inch pans for this recipe (and all of my recipes)!
Hi Whitney! Do you have a recipe for a raspberry cake filling that you love?
Hi Gwyneth! The closest thing to a raspberry filling recipe I have is the raspberry buttercream recipe that I used on this cake. I’ll add it to my list of future recipes to concoct though!
Hi, Whitney!!
I am so excited to try this recipe for Valentine’s Day! I’m trying to decide between baking the 4-inch or 6-inch cake. With the 4-inch version, would the halved batter amount be split between two or three 4-inch pans? I just want to be totally sure, haha! Thanks so much!
Hi Sarah! Half of the batter should be enough for three or four 4-inch layers. Enjoy!
Hi Whitney! I am excited to try making this cake! It looks beautiful and delicious. If I wanted to kick it up a notch and add something in between the cake layers (in addition to the buttercream) what would you suggest? Do you think fresh raspberries and additional chocolate ganache would work? Or do you think that would be too much.
Hi Margaret! I think fresh raspberries and chocolate ganache would be perfect for adding extra elements in between the layers! If you do this be sure to add a buttercream dam when filling the cake so that the ganache and juice from the berries don’t leak out. You’ll find info for how to do that on this post: https://sugarandsparrow.com/fill-and-stack-cake-layers/
Hi Whitney. Wondering if you have a favorite cake cutting chart that you follow?
Hi Paula! I don’t follow a cake cutting chart, but I do use this method: https://www.youtube.com/watch?v=V-TqeSvUbFs
Perfect!
Hi Whitney! I am going to make this cake soon, and I was looking at the raspberry buttercream recipe. It says to use 26g of freeze dried raspberries. I did buy the same one’s you used from Trader Joe’s, and their bag is 34g. So just to make sure, I would be using almost the entire bag for the buttercream recipe, yes? I just weighed 26g on my scale, but that comes out to 1 cup in my glass measuring cup, and your recipe says 1 1/2 cups. Just a little confused…Thank you for your clarification. Can’t wait to try!
Hi Paula! That is correct – you’ll use almost the entire bag of raspberries. You could even use the whole bag and be just fine since the seeds account for a lot of that extra weight and will be sifted out. As far as the cup measurement goes, I’ll have to remeasure and see if that might have been a typo on my part. I usually go by gram measurement for the berries. Hope that helps in the meantime!
Thank you Whitney! I made this frosting, and it’s gorgeous!!!!! I have yet to put my cake together, but I really appreciate your reply. I’ll tag you when I have it complete. 🙂
Yay, Paula! So happy you love this recipe and I’m so excited to see!
Hi Whitney ! Instead of fresh raspberries for the frosting , can I also use raspberry puree ?
Hi Annalynna! I have only ever tried this recipe with freeze dried raspberries but you could absolutely try pureeing some raspberries and cooking them down until there’s the least amount of liquid left, bringing the reduced puree to room temp and then adding it in. I think that would work much better than pureed raspberries because those might add too much liquid and curdle the buttercream. Hope that helps!