
I never got the chance to be a Girl Scout, but I have been loving their cookies for a lifetime and don’t plan on stopping any time soon. They’ve got an array of amazing flavors, but my favorite are Samoas and Thin Mints. Hands down. So when I was working on a peppermint hot chocolate cake this past Christmas and it came out of the oven tasting just like a Thin Mint, I knew just what I had to do with it. I never made that peppermint hot chocolate cake (maybe this year!), but I am oh so happy with this Thin Mint inspired cake in the meantime!
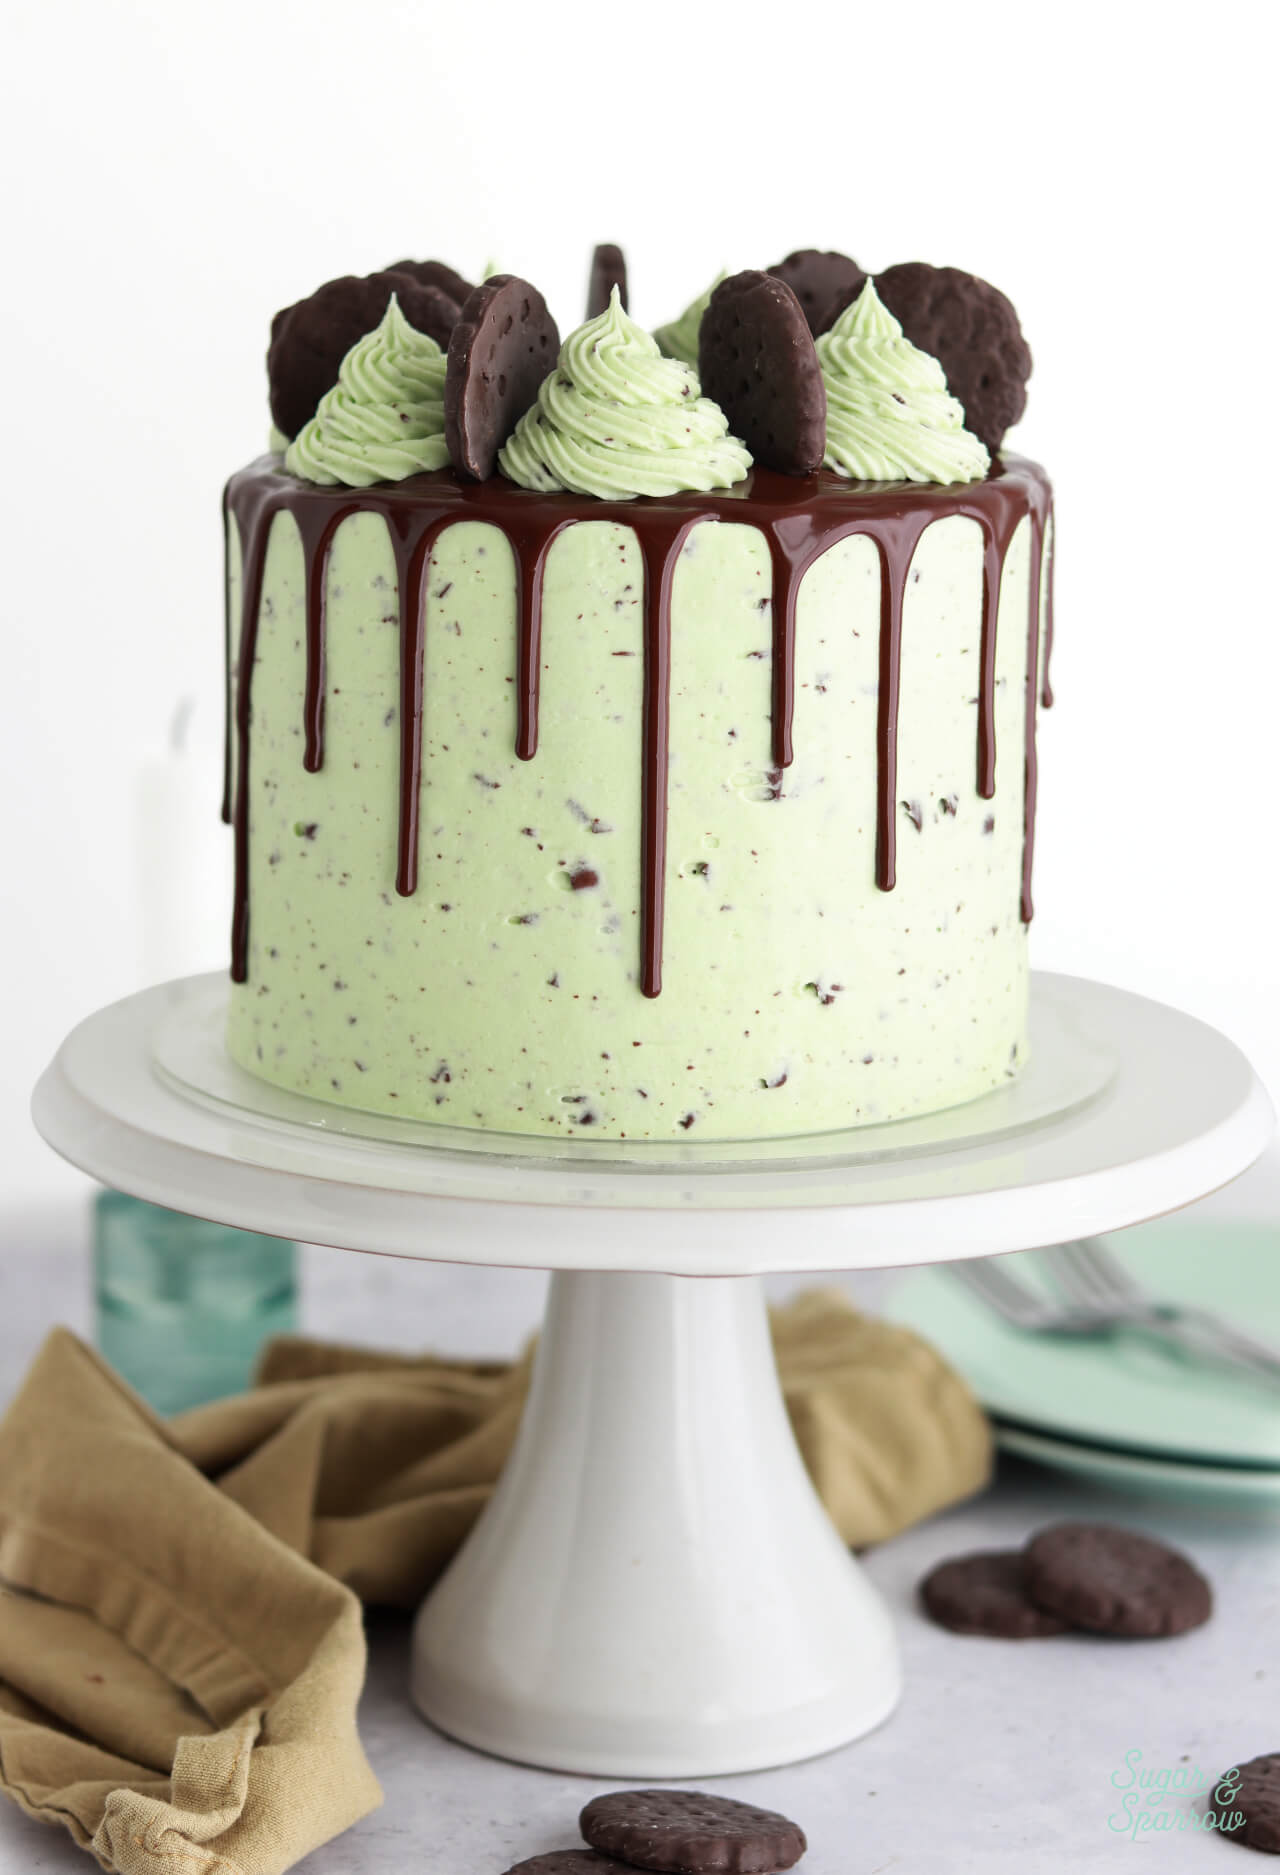
It all starts with a moist, decadent Mint Chocolate cake. This is essentially my favorite chocolate cake recipe, but with mint extract (I used McCormick Pure Peppermint Extract for this) added to give it the perfect flavor. It’s really easy to go overboard with mint extract, which is why there isn’t a whole lot of it in this cake recipe, but the little bit that’s in there gives such a precise balance of mint and chocolate flavors – the same you’d find in a Thin Mint cookie. It’s a one-bowl cake recipe (yay!), which means you can whip it up in about five minutes and it’s easy for cakers of all skill levels. You really can’t go wrong with this one!
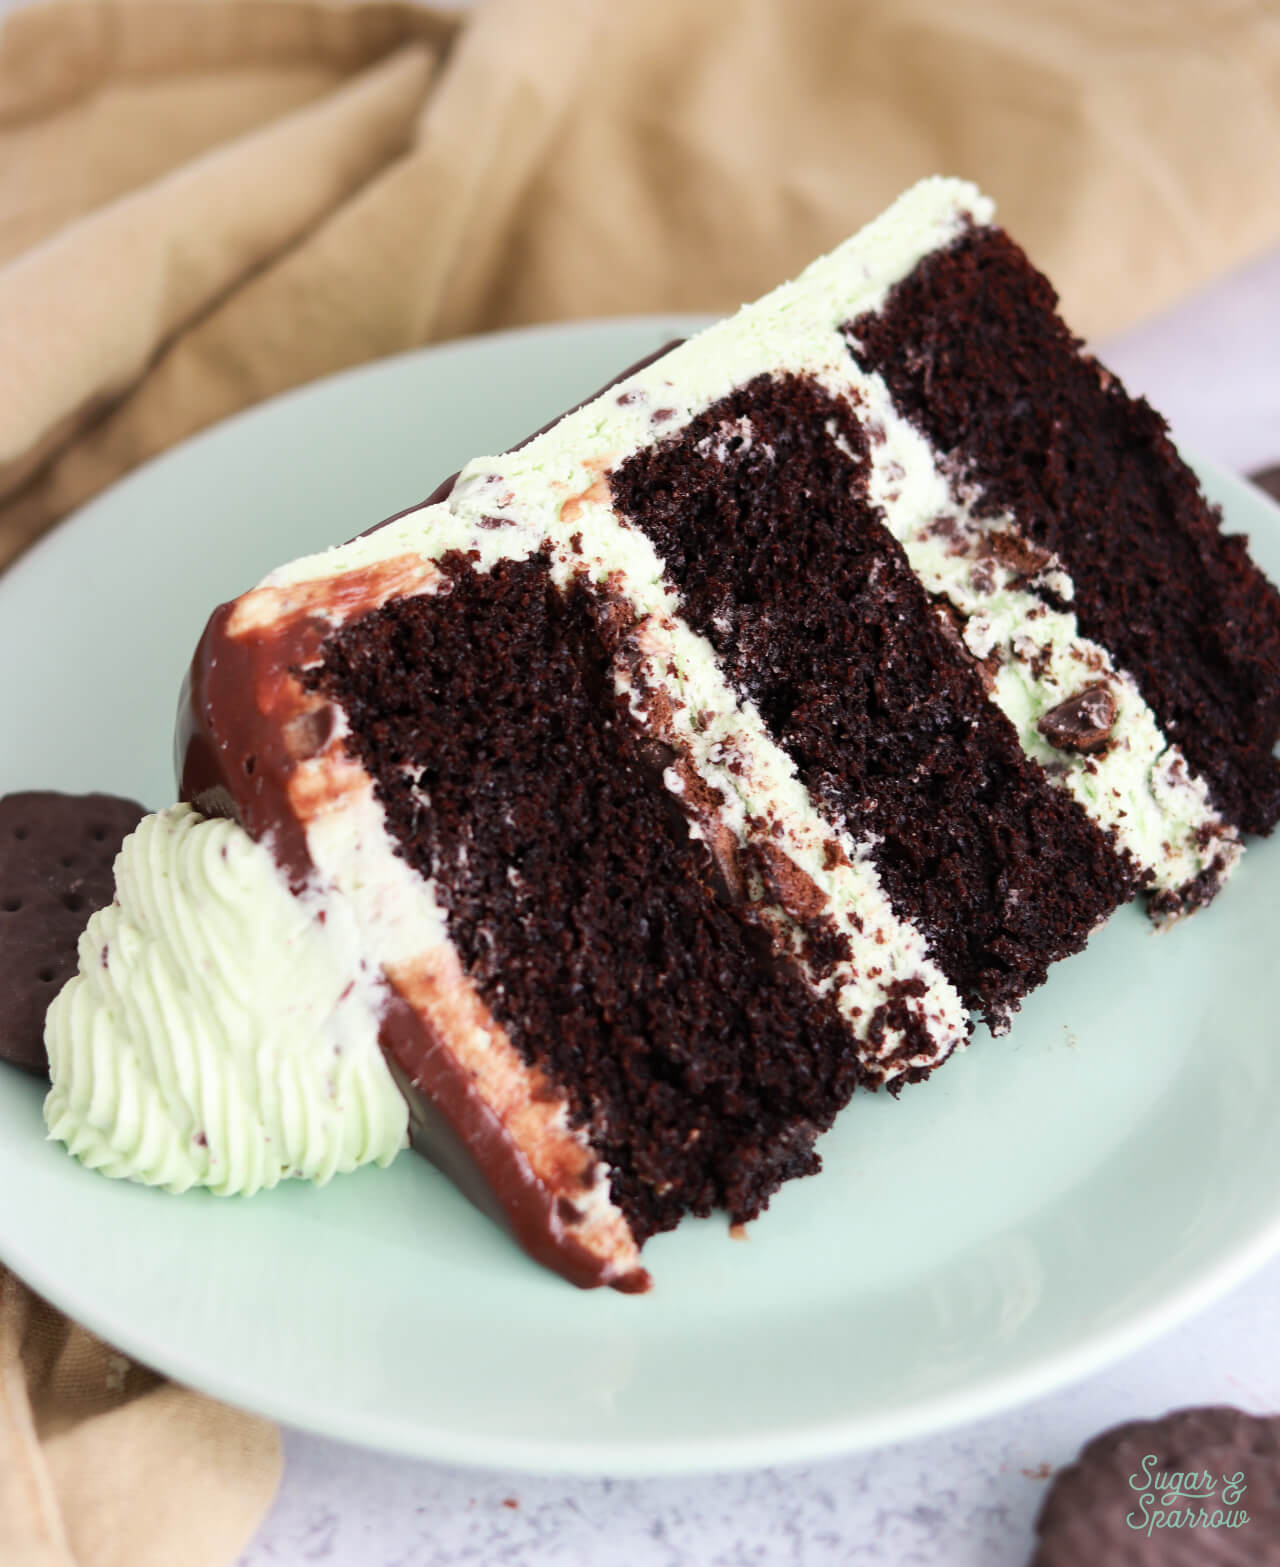
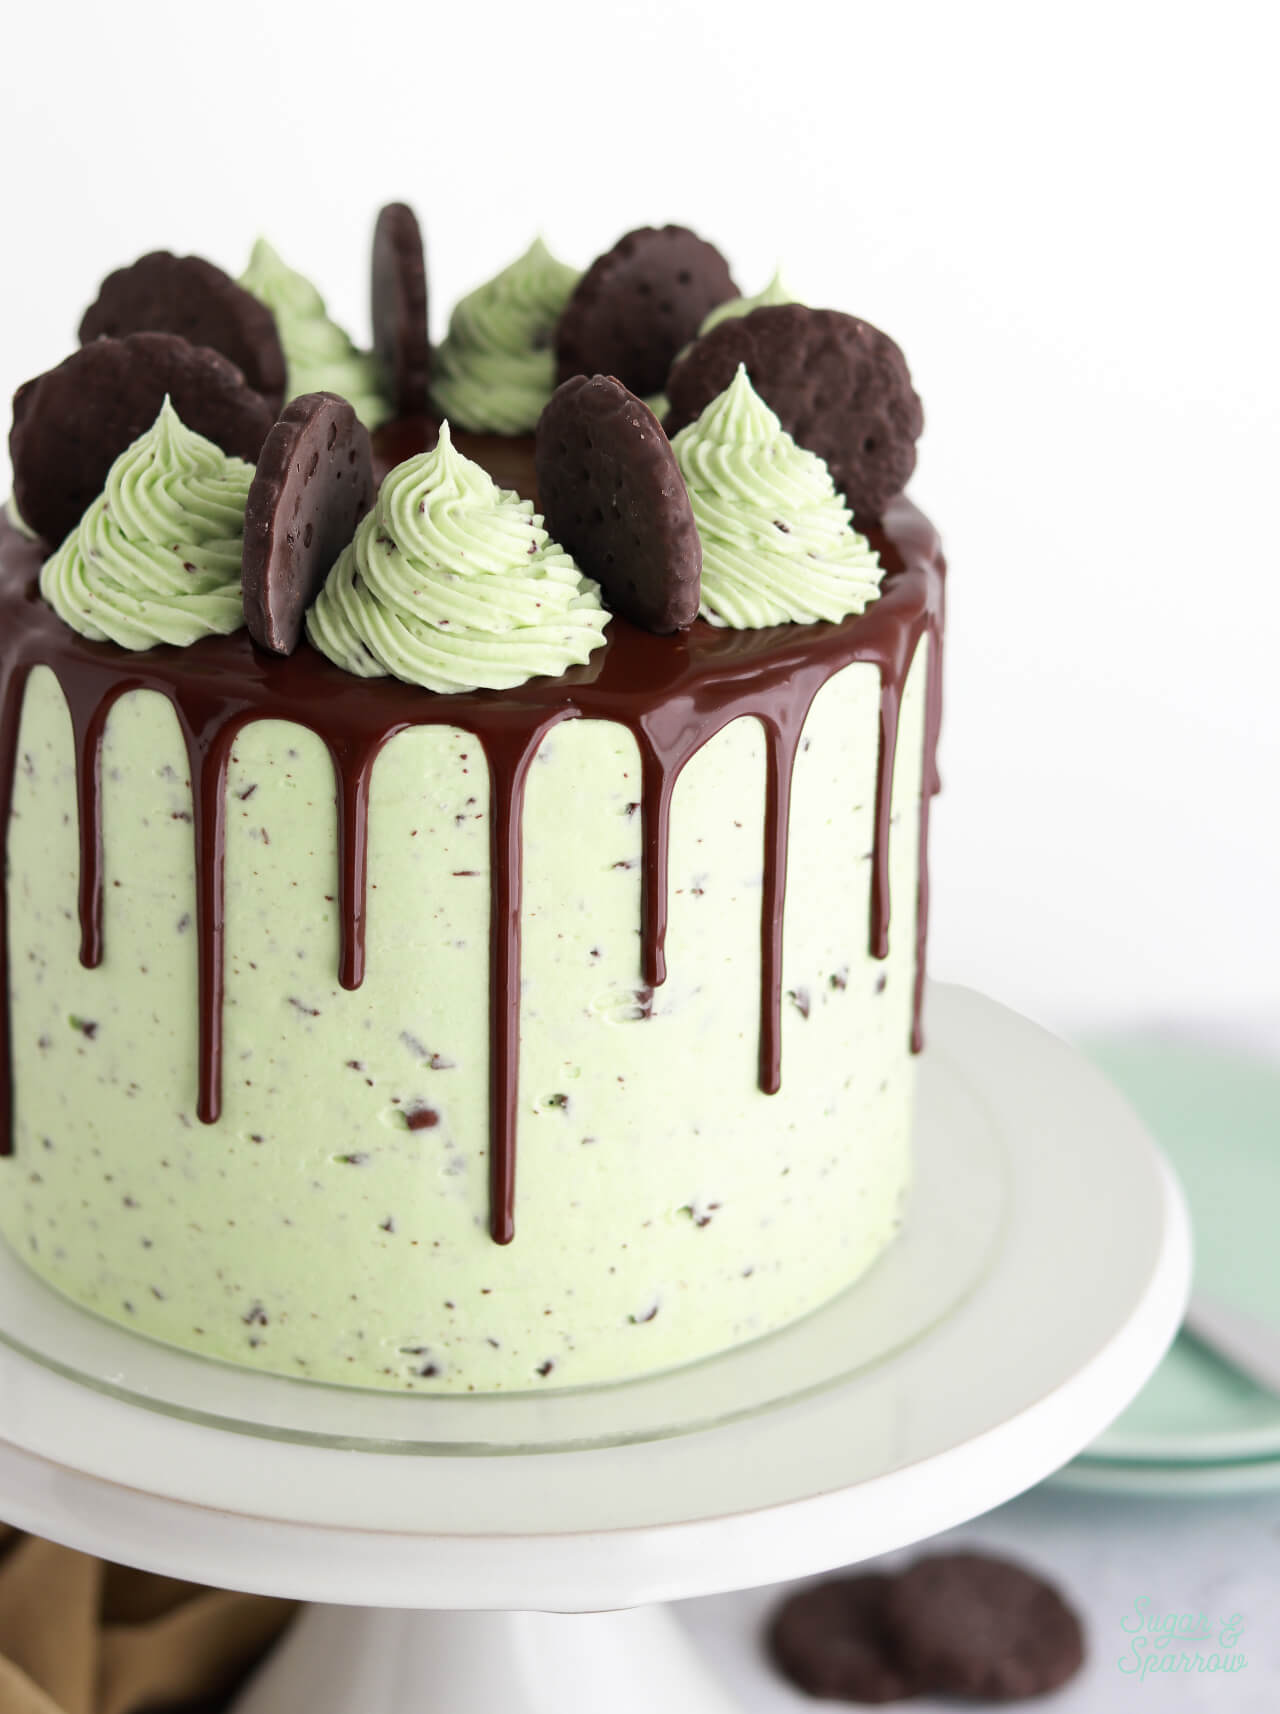
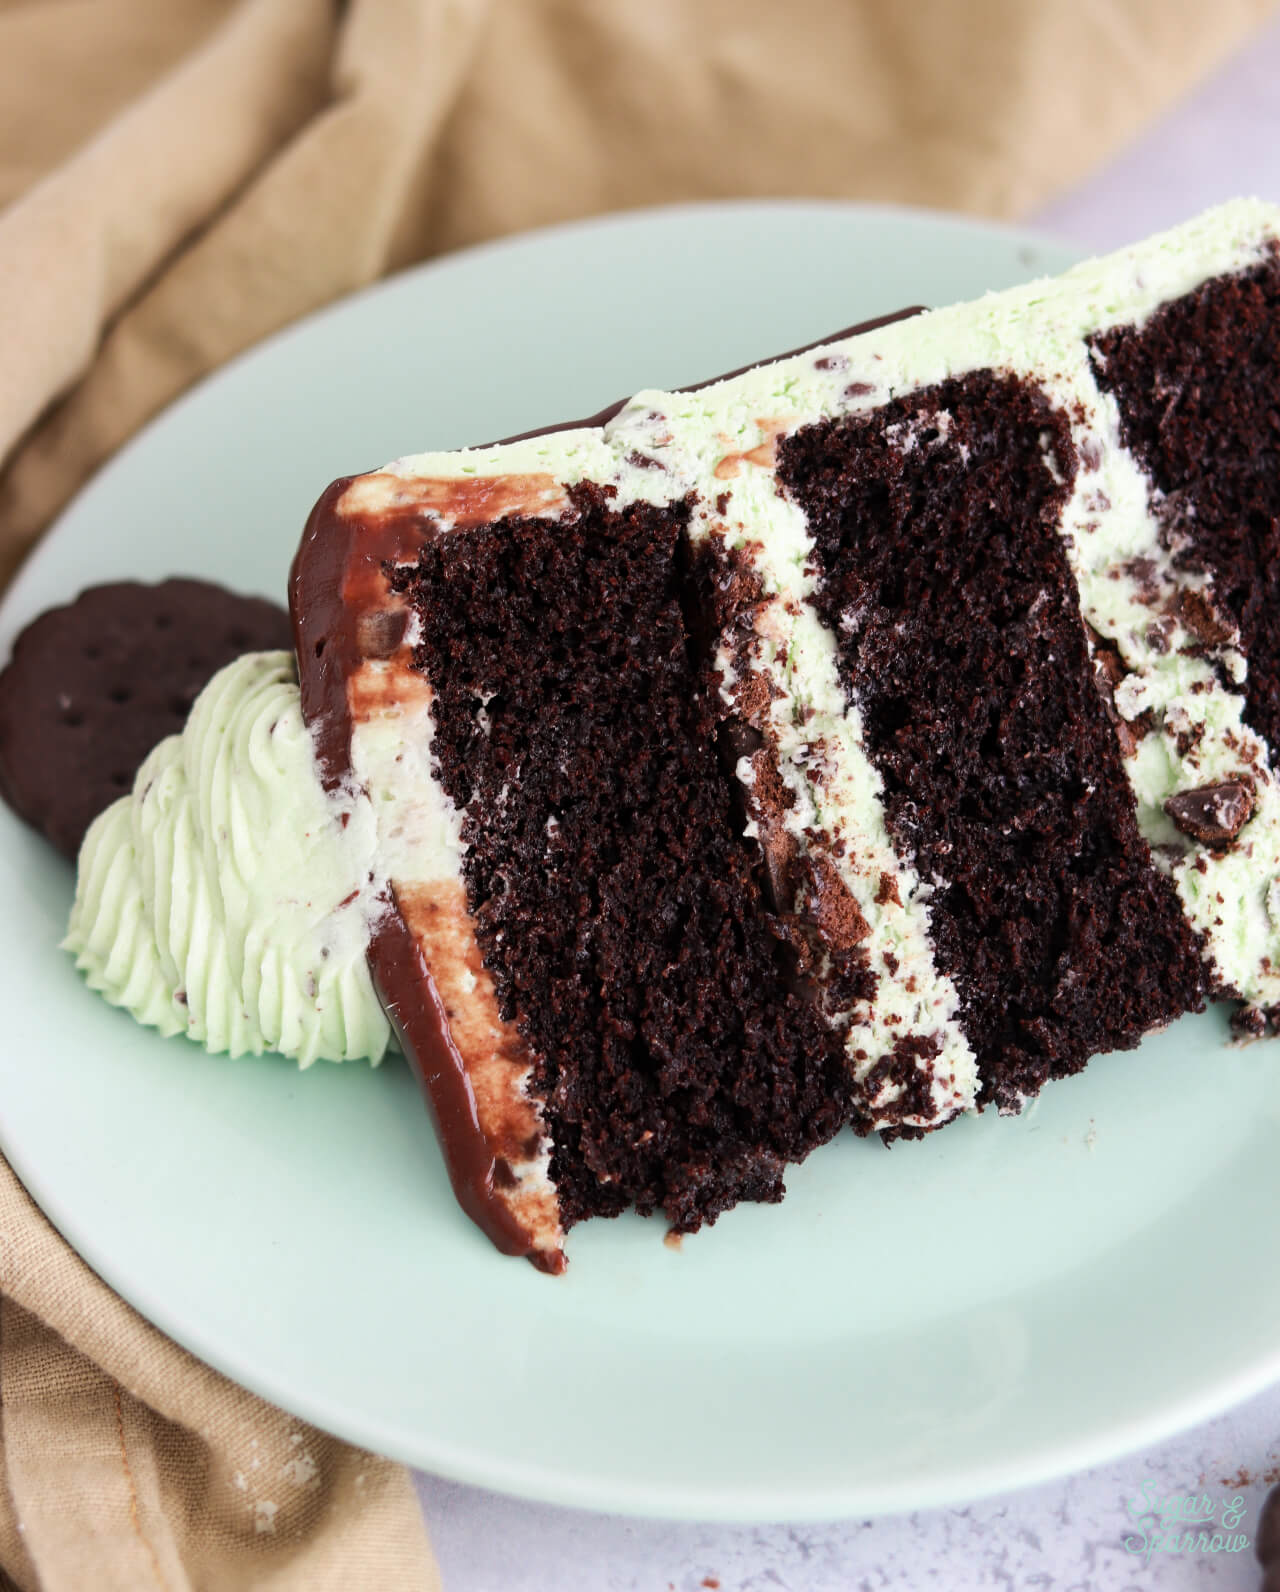
To take this cake recipe beyond, I paired the Mint Chocolate Cake with Mint Chocolate Chip Buttercream and layers of crumbled Thin Mints in between. Holy yum. I originally planned on crushing the Thin Mints and adding them straight to the buttercream, but I found that they muddled the color into a weird brownish green hue. So instead, I flavored the buttercream with a touch of mint, added a few drops of Americolor Mint Green, and added chopped semi-sweet chocolate chips. The added crunch of the crushed Thin Mints along with this Mint Chocolate Chip Buttercream is to die for.
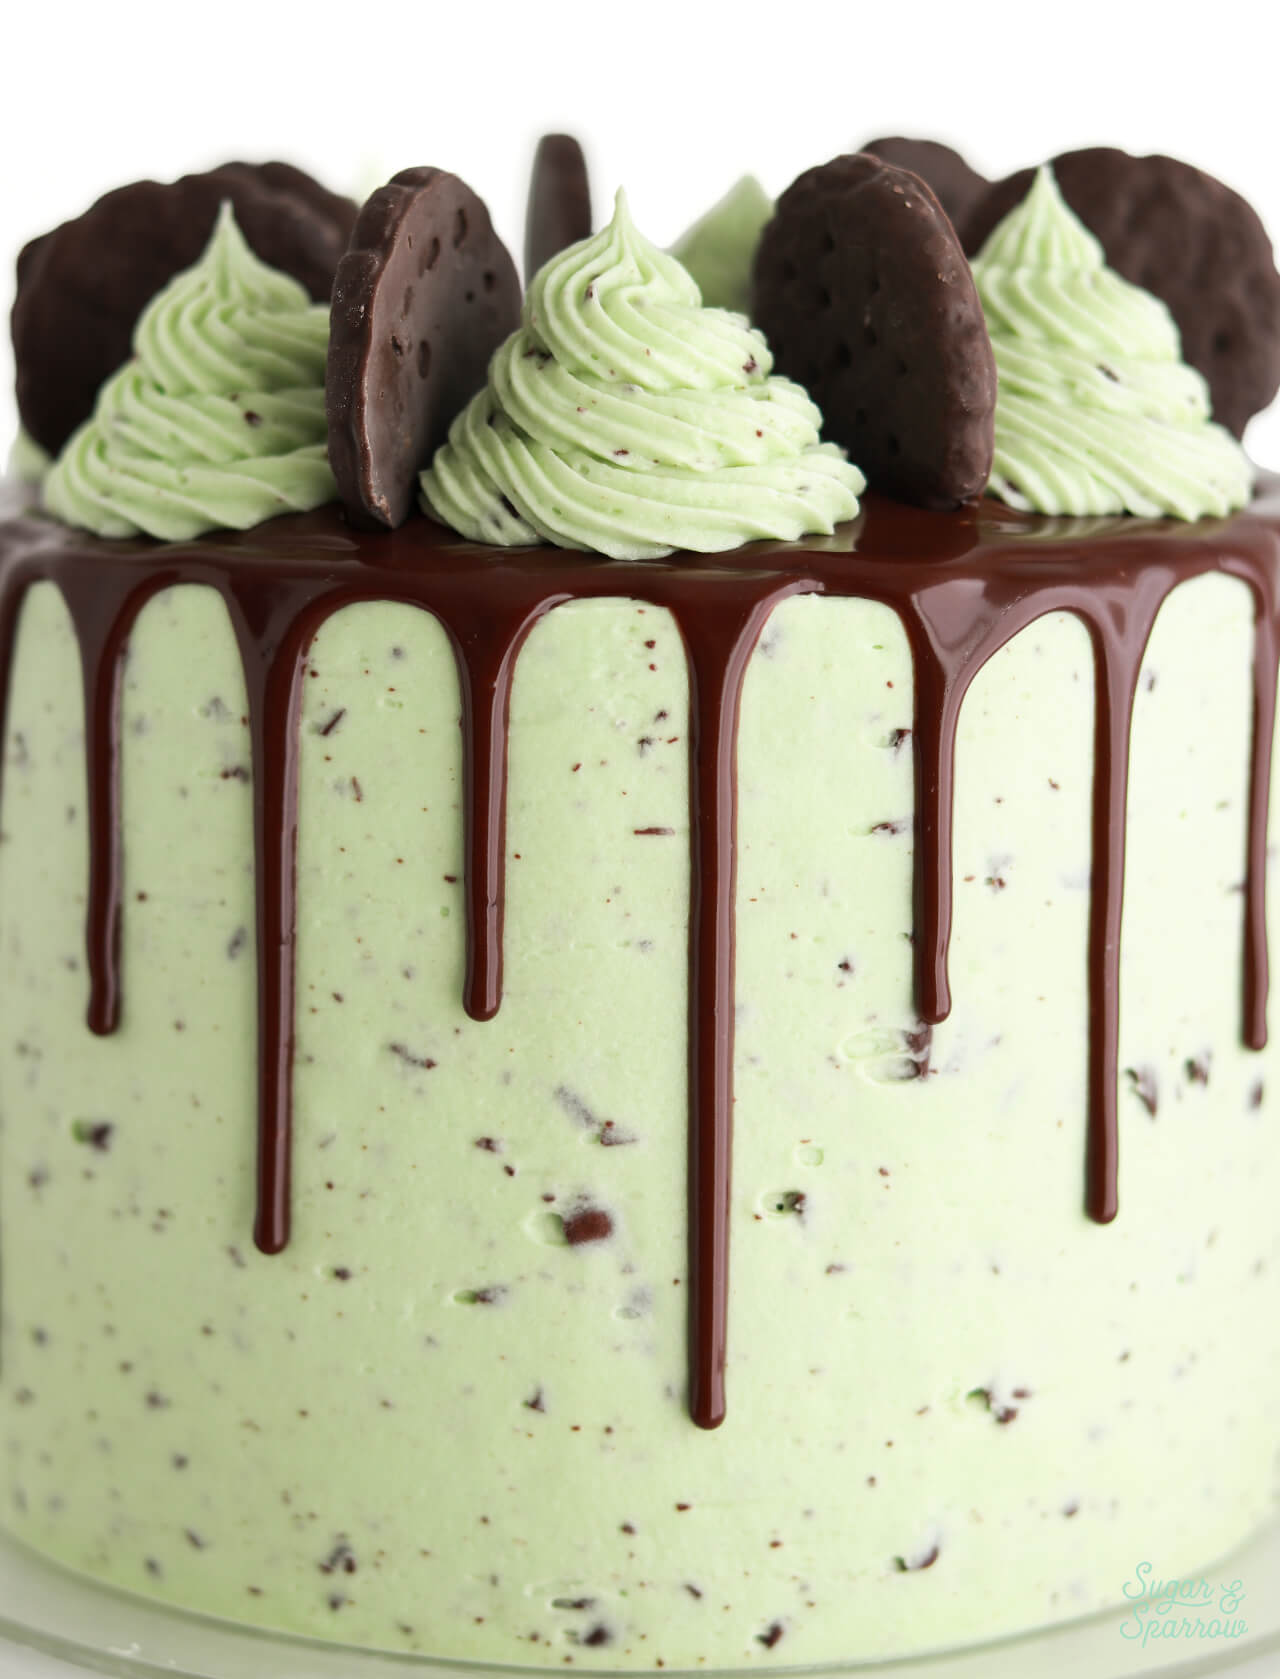
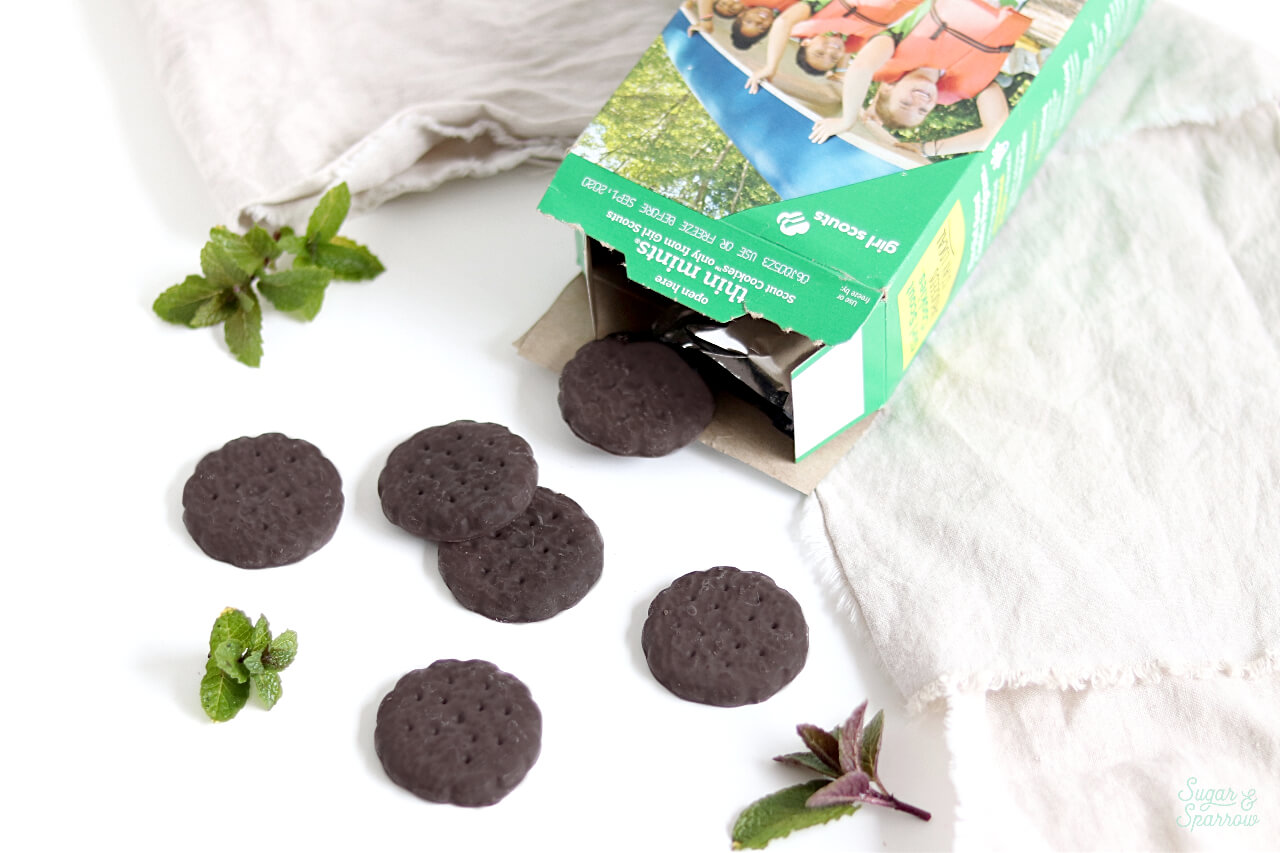
To get your hands on a box of Thin Mints, you’ve got a few different options. You can use the Girl Scout website to find a booth near you, order directly from a Girl Scout if you know one, or get them on Amazon. I do recommend buying them in person, because you can guarantee you are giving to a great cause (funding the Girl Scout program, which empowers young women and teaches them leadership skills) and they’re a little bit cheaper that way too.
If you don’t have access to Thin Mints at all, you can feel free to try this recipe with a different mint chocolate cookie of your preference, or omit the cookies altogether. The cake and buttercream on their own taste like mint chocolate cake heaven, and it’s guaranteed to satisfy any lover of this flavor combo. Enjoy!
I’m so thrilled with how this Thin Mint Chocolate Cake recipe turned out and hope you love it as much as I do! Let me know what you think in the comments and feel free to tag @sugarandsparrowco to show me your take on this cake. I love to see what you create with my recipes!
Thin Mint Chocolate Cake
Ingredients
Mint Chocolate Cake
- 2 Cups (265g) all purpose flour
- 1 2/3 Cups (340g) white granulated sugar
- 2/3 Cup (60g) unsweetened cocoa powder natural or Dutch-process
- 2 tsp baking soda
- 1 tsp baking powder
- 1/2 tsp kosher salt
- 1/2 Cup (120ml) vegetable oil
- 2 large eggs, room temperature
- 1 tsp pure vanilla extract
- 1/2 tsp pure peppermint extract
- 1 Cup (240ml) buttermilk, room temperature DIY recipe in notes below
- 1 Cup (240ml) hot coffee or hot water
Mint Chocolate Chip Buttercream
- 2 Cups (452g) unsalted butter, room temperature
- 7 Cups (840g) powdered sugar
- 6 Tbsp (89ml) heavy whipping cream
- 1 tsp pure peppermint extract
- 2 tsp pure vanilla extract
- 1/4 tsp salt
- A few drops of green food color gel
- 1/2 Cup (92g) semi-sweet chocolate chips, finely chopped
Chocolate Ganache Drip
- 1/2 Cup (92g) semi-sweet chocolate chips
- 1/2 Cup (120ml) heavy whipping cream
Additional Fillings and Garnishes
- 8 Thin Mint cookies, chopped
- 8 Thin Mint Cookies, whole (for garnish)
Instructions
Make the Mint Chocolate Cake
- Preheat the oven to 350ºF (177ºC) and prepare three 6-inch cake pans or two 8-inch cake pans by spraying the sides with baking spray and fitting the bottoms with a parchment cake circle.
- Place all of the dry ingredients into the bowl of a stand mixer and stir on low for 30 seconds to fully combine them. Add the vegetable oil, eggs, vanilla extract, peppermint extract, and buttermilk and mix on low until just combined. With the mixer still on low, add the hot coffee (or hot water) in a slow stream, then turn the mixer to medium and beat until smooth, about 2 minutes. The batter will be very thin.
- Pour into prepared cake pans no more than 2/3 full and bake for 30-35 minutes, until a wooden toothpick inserted comes out clean. Cool completely.
Make the Mint Chocolate Chip Buttercream
- With a hand mixer or paddle attachment on your stand mixer, cream the butter on medium-high until it’s creamy and light (almost white) in color. About 7 minutes.
- Add the powdered sugar a few cups at a time, mixing on low and scraping down after each addition to make sure each is fully incorporated before adding the next one. Add the heavy whipping cream, vanilla extract, peppermint extract, and salt and mix on medium-low for another two minutes until fully incorporated.
- Add a few drops of green food color gel until the desired shade of mint green is reached. Then, gently fold in the chopped chocolate.
Make the Chocolate Ganache
- Place chocolate chips into a heat resistant bowl (glass or metal).
- In a saucepan over medium-high heat, warm heavy whipping cream until it just starts to boil. I always look for small bubbles forming around the edge and a soft boil starting in the middle. When you see that it’s just starting to boil, pour it into your bowl of chocolate and let sit for one minute.
- Whisk it together until it’s uniform in consistency and there are no bits of chocolate left on your whisk. Cool ganache at room temperature for about 30 minutes, or until the ganache itself is room temperature.
Assembly
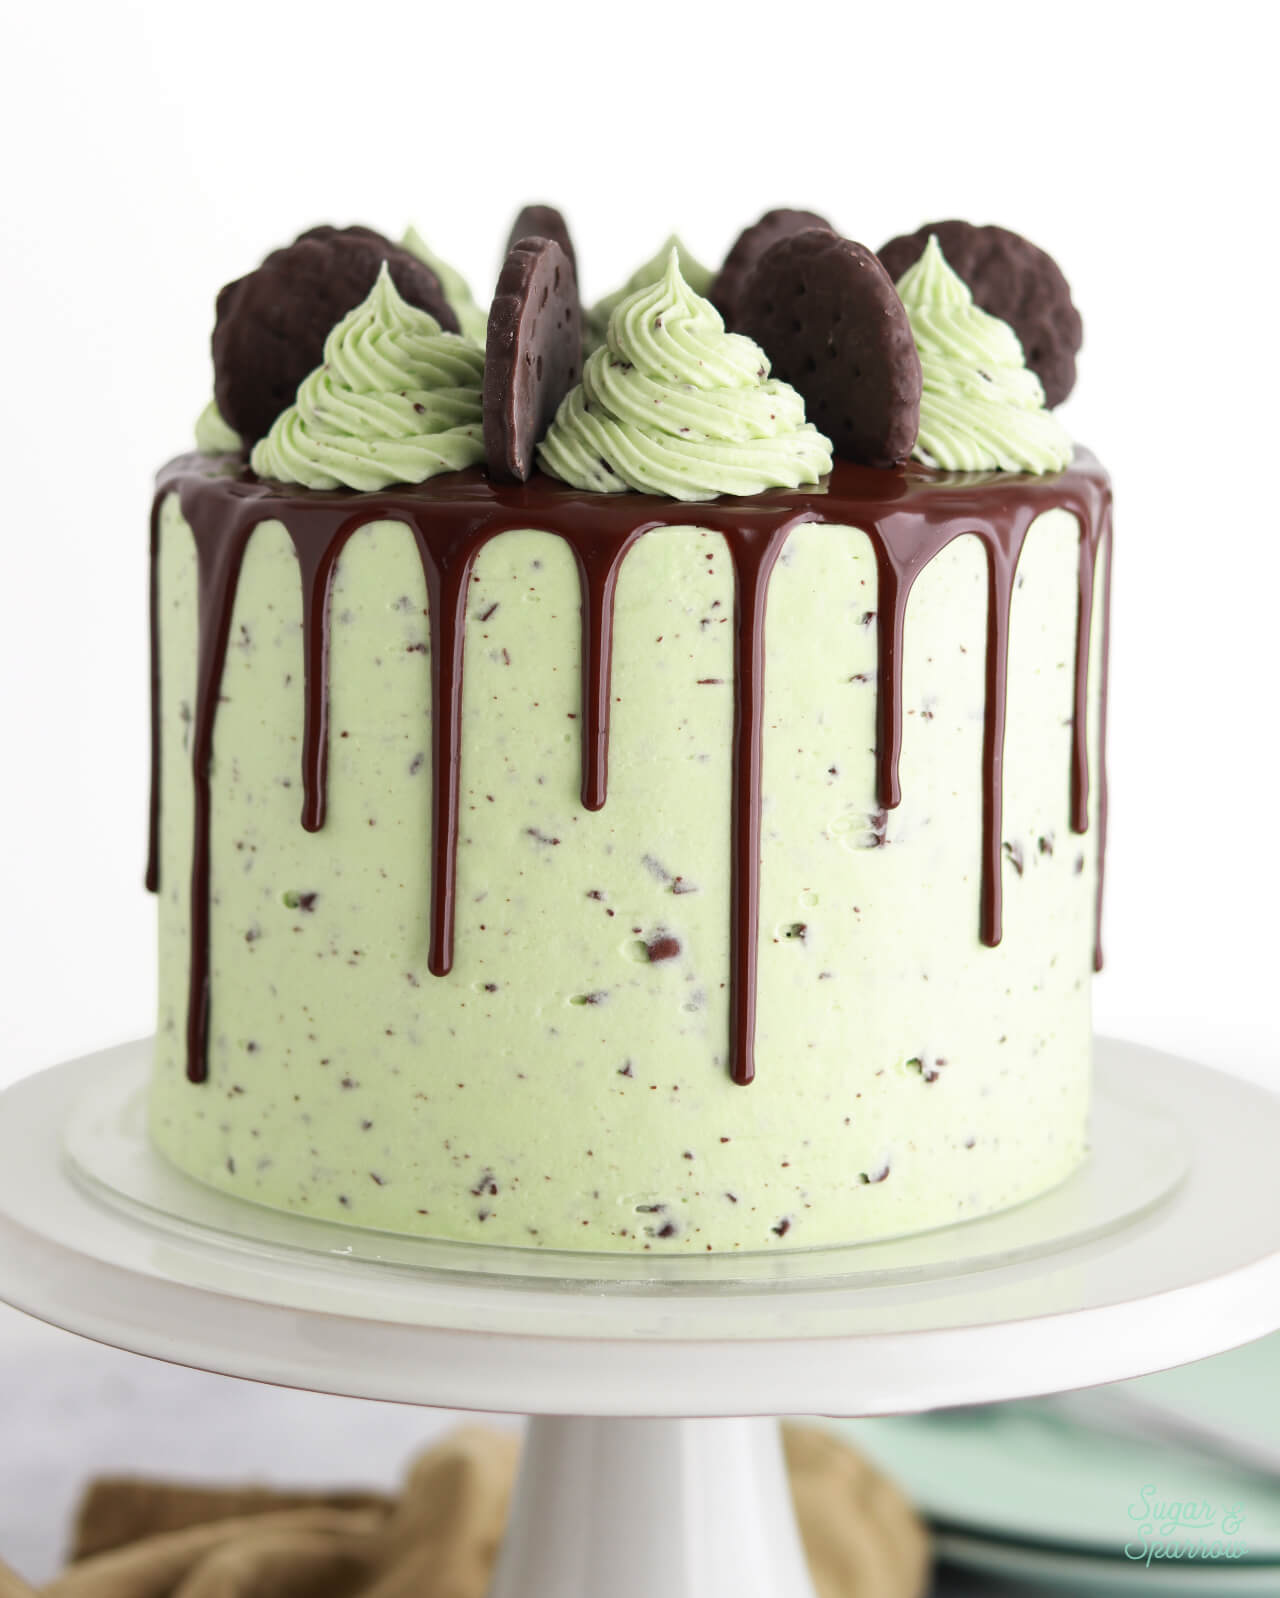
- Once the mint chocolate cake layers are cooled, level them to your desired height and place the first one on top of a cardboard cake circle, ensuring it stays put with a swipe of buttercream between the cake and cardboard. Add a layer of mint chocolate chip buttercream as filling, followed by a layer of crushed Thin Mint cookies. Place the next cake layer on top and repeat the filling and stacking process before placing the final cake layer, upside down, on top. Crumb coat the cake with mint chocolate chip buttercream and place it into the refrigerator for at least 20 minutes to let the frosting firm up.
- To create the design pictured, frost a smooth finish on the cake with mint chocolate chip buttercream and place it into the refrigerator for at least 20 minutes to let the frosting firm up before adding the chocolate ganache. Once the chocolate ganache has reached room temperature and the cake finish is chilled, drip the cake with it (here is a great tutorial on how to drip cakes). Place back into the refrigerator for at least five minutes before finishing the cake with swirls of mint chocolate chip buttercream and more Thin Mint cookies.
Notes
- The Mint Chocolate Cake can be made ahead and stored at room temperature, covered tightly in plastic wrap, for up to two days. Alternatively, you can cover with plastic wrap and store in the freezer for up to two months before thawing to room temperature.
- The Mint Chocolate Chip Buttercream can be made ahead and stored in an airtight container at room temperature for up to one day. Alternatively, you can store it in an airtight container in the refrigerator for up to two weeks. When you’re ready to use it, bring it back to room temperature and re-whip with your stand mixer on medium for one minute to bring it back to frosting consistency.


Good morning Whitney,
Just double checking 2 recipes. I’ve read through both your Oreo Cupcakes & this Thin Mint cake and neither call for eggs? Am I correct? Can I make either the cupcakes & cake & refrigerate them today & frost both on Friday (3 days from now)? Thanks I plan on making both for this coming weekend.
Janice
Hi Janice! Both of those recipes have eggs listed in the ingredients. This Thin Mint Chocolate Cake lists 2 large eggs at room temperature, and my Oreo cupcakes list 1 large egg at room temperature. You can make the cake and/or cupcakes ahead. As far as making things ahead, your timeline sounds good! I usually store my cake layers at room temperature wrapped in plastic wrap or cupcakes stored in the pan covered in plastic wrap at room temperature for up to 2 days. The refrigerator can sometimes dry out unfrosted cakes/cupcakes which is why I recommend storing at room temperature. Hope that helps!
Oh my! I see them listed now, I don’t know how I missed seeing them. I guess I’m just super nervous about baking for this weekend. Thank you for you patience & advice.
Janice
I’m cheering you on, Janice!!
Hello, I would like to make a cupcake version of this. Could I use the measurements like your Oreo cupcakes & only use half the amount of buttercream? Or could you direct me to how to make this Thin Mint cake into into a cupcake recipe? Thanks!
Hi Janice! This cake recipe will make about 30 cupcakes. You’ll want to fill the cupcake liners no more than 2/3 full and bake for 14-18 minutes. For the buttercream, half of the recipe for the buttercream here will frost about 20 cupcakes, so depending on how many cupcakes you need you can adjust from there. Hope that helps!
Do you need to refrigerate the cake once made? How long can you keep it?
Hi Christine! With the amount of cream in the ganache I would recommend refrigerating the cake once it’s made and decorated. You can keep it in the refrigerator for up to 5 days. On the day you’ll be serving it, take it out of the refrigerator an hour or two ahead of time to let the cake and buttercream come back to room temperature (the flavor and texture are better at room temp). Hope that helps!
Is that one pound of butter for the frosting?! That seems like a lot for a 6 or 8 inch cake. I want to make this for my granddaughter‘s 10th birthday as her favorite ice cream flavor is mint chip, but wondering if I could perhaps cut the recipe in half and still be able to frost the cake.
Hi Aly! I’ve never looked at it that way but yes, this recipe calls for a pound of butter for the frosting! It makes enough to fill and frost a triple layer cake as pictured and add the swirls on top. You could probably cut the frosting portion in half and do a thinner layer of frosting without the swirls on top if you want.
Would this work as a mini cake? I have four 4” cake pans and I don’t want a huge cake for just two of us.
Yes it will! For my small batch cakes I usually divide the cake portion of the recipe by 3. You could halve this recipe to make the math easier and just be sure to fill the cake pans no more than 2/3 full or use this small batch chocolate cake recipe and add 1/8 tsp of mint extract to it: https://sugarandsparrow.com/small-batch-chocolate-cake/
You can halve the frosting and ganache portions of the recipe. Enjoy!
Hi! i’m just wondering if the actual cake tastes like a thin mint cookie or if it’s just inspired by a cookie.
Hi Ella! The flavor of the cake is just like a thin mint cookie 🙂
This is the most amazing mint chocolate chip cake recipe! You are so talented – I LOVE your site! Thank you so much for all the recipes/tutorials/tips 🙂
Yay, Jillian! I’m so happy you’ve been loving my site and that this mint chocolate chip cake was a hit!
Just made this cake for Father’s Day and it was the bomb. Definitely a husband favorite as he loves his Girl Scout thin mint cookies! I would recommend a larger piping tip as my first one got clogged with chocolate chip pieces. Otherwise a perfect cake!
Yay, Anna! I’m so happy this recipe was a hit! And yes – piping with the mint chocolate chip buttercream can be a challenge. It helps to keep a toothpick handy to unclog the piping tip if you need to or use a larger tip as you suggested.
Whitney,
AGAIN another cake that was soooooooo delicious! I made this cake for my birthday because I knew it would be better than any cake anyone could make or buy. Rave reviews from all who partook . Your cakes are so scrumptious and beautiful!
Thank you!
Yay, Lori!! That makes my day! Happy birthday and I’m so glad this recipe was a hit for your party!
If I wanted to make an 8″ cake would you recommend doubling the recipe? I made this as the recipe is and it was a huge hit!
Hi Kelsey! For a two layer 8 inch cake, keep the recipe as-is. For a triple layer 8 inch cake, make 1.5x the recipe. Enjoy!
Whitney, my family has had to transition to vegan based cakes due to a dairy and egg allergy, could you give me a few ideas on how to transition this to a vegan more like your vegan cookies and cream cake? BTW, we loved that one!
Of course, Lauren! So happy you love the vegan cookies and cream recipe. To create a vegan version of this recipe, use this vegan chocolate cake recipe: http://sugarandsparrow.com/vegan-chocolate-cake-recipe and instead of adding 2 tsp vanilla, add 1 tsp vanilla + 1/2 tsp peppermint extract. For the buttercream, double this vegan vanilla buttercream recipe as a base: https://sugarandsparrow.com/vegan-vanilla-buttercream-recipe/ and instead of adding 4 tsp vanilla, add 1 tsp pure peppermint extract, 2 tsp pure vanilla extract, a few drops of green food color gel, and then fold in 1/2 Cup (92g) semi-sweet chocolate chips, finely chopped. Hope that helps! Now I need to make a vegan version of this cake!