
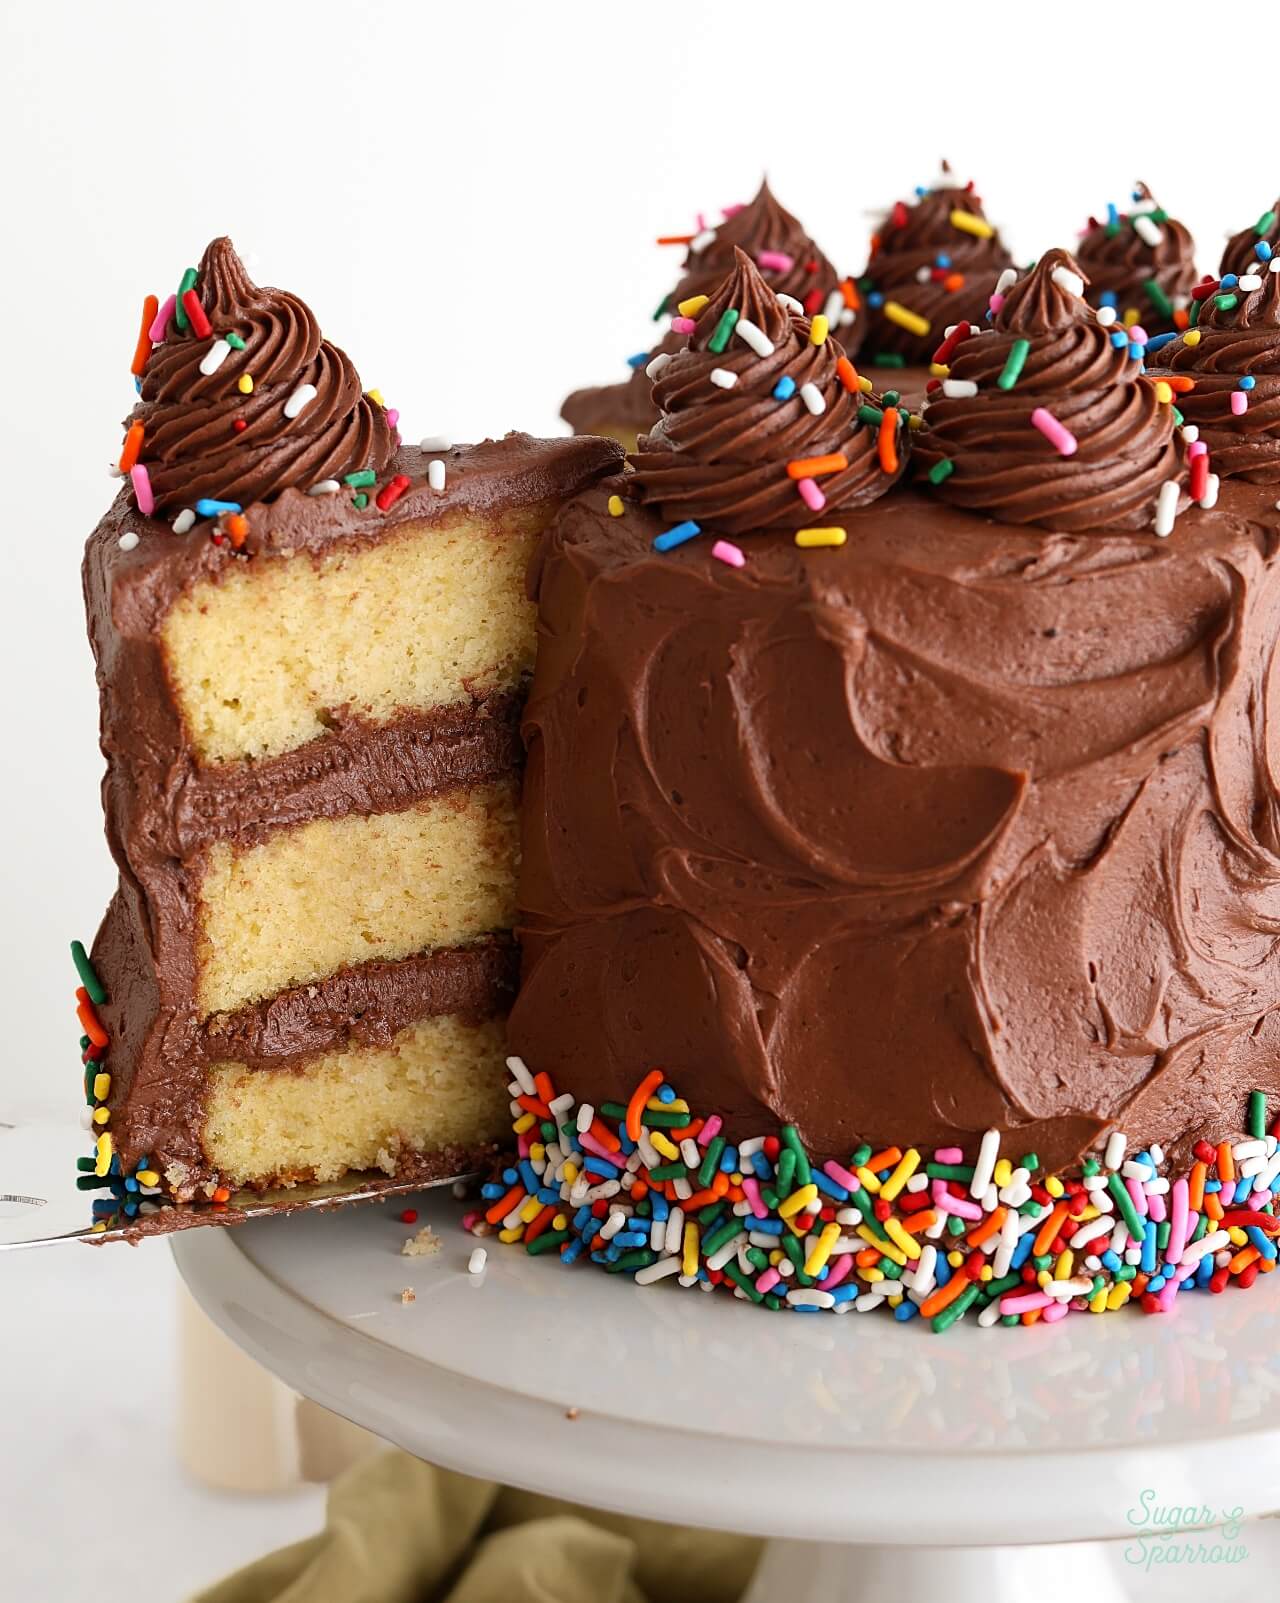
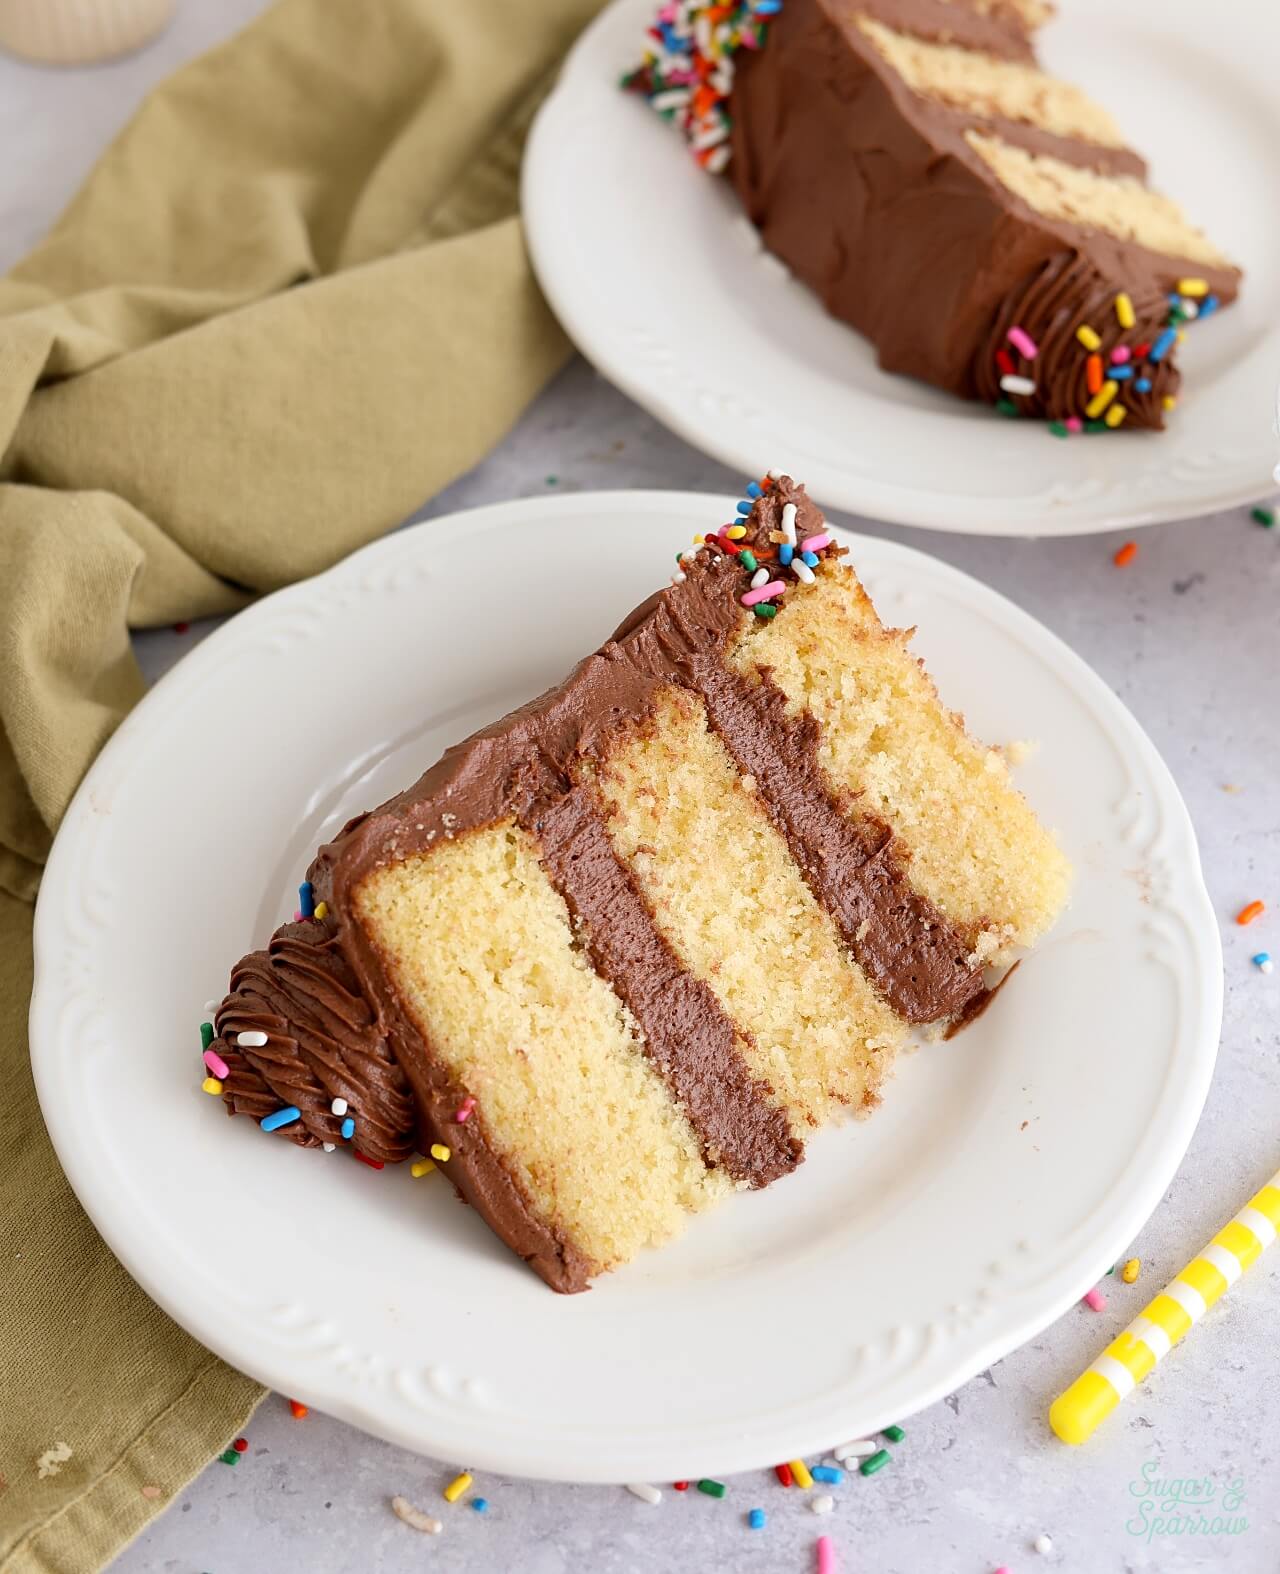
When you think of the most classic birthday cake ever, what comes to mind? For me, it’s always been what my mom made for my birthdays growing up – yellow cake with chocolate frosting. This from-scratch yellow cake recipe has been ultra tested to create the perfect moist and fluffy texture that is reminiscent of the box mix yellow cake I loved as a kid. It’s naturally yellow with extra egg yolks and tastes incredible with my favorite fudgy chocolate frosting.
UPDATE 2025: I recently re-tested this recipe and made a few changes from the original, which was posted in 2020. Same ingredients and methods for making the batter, just new measurements to ensure the best texture and perfect amount of batter.
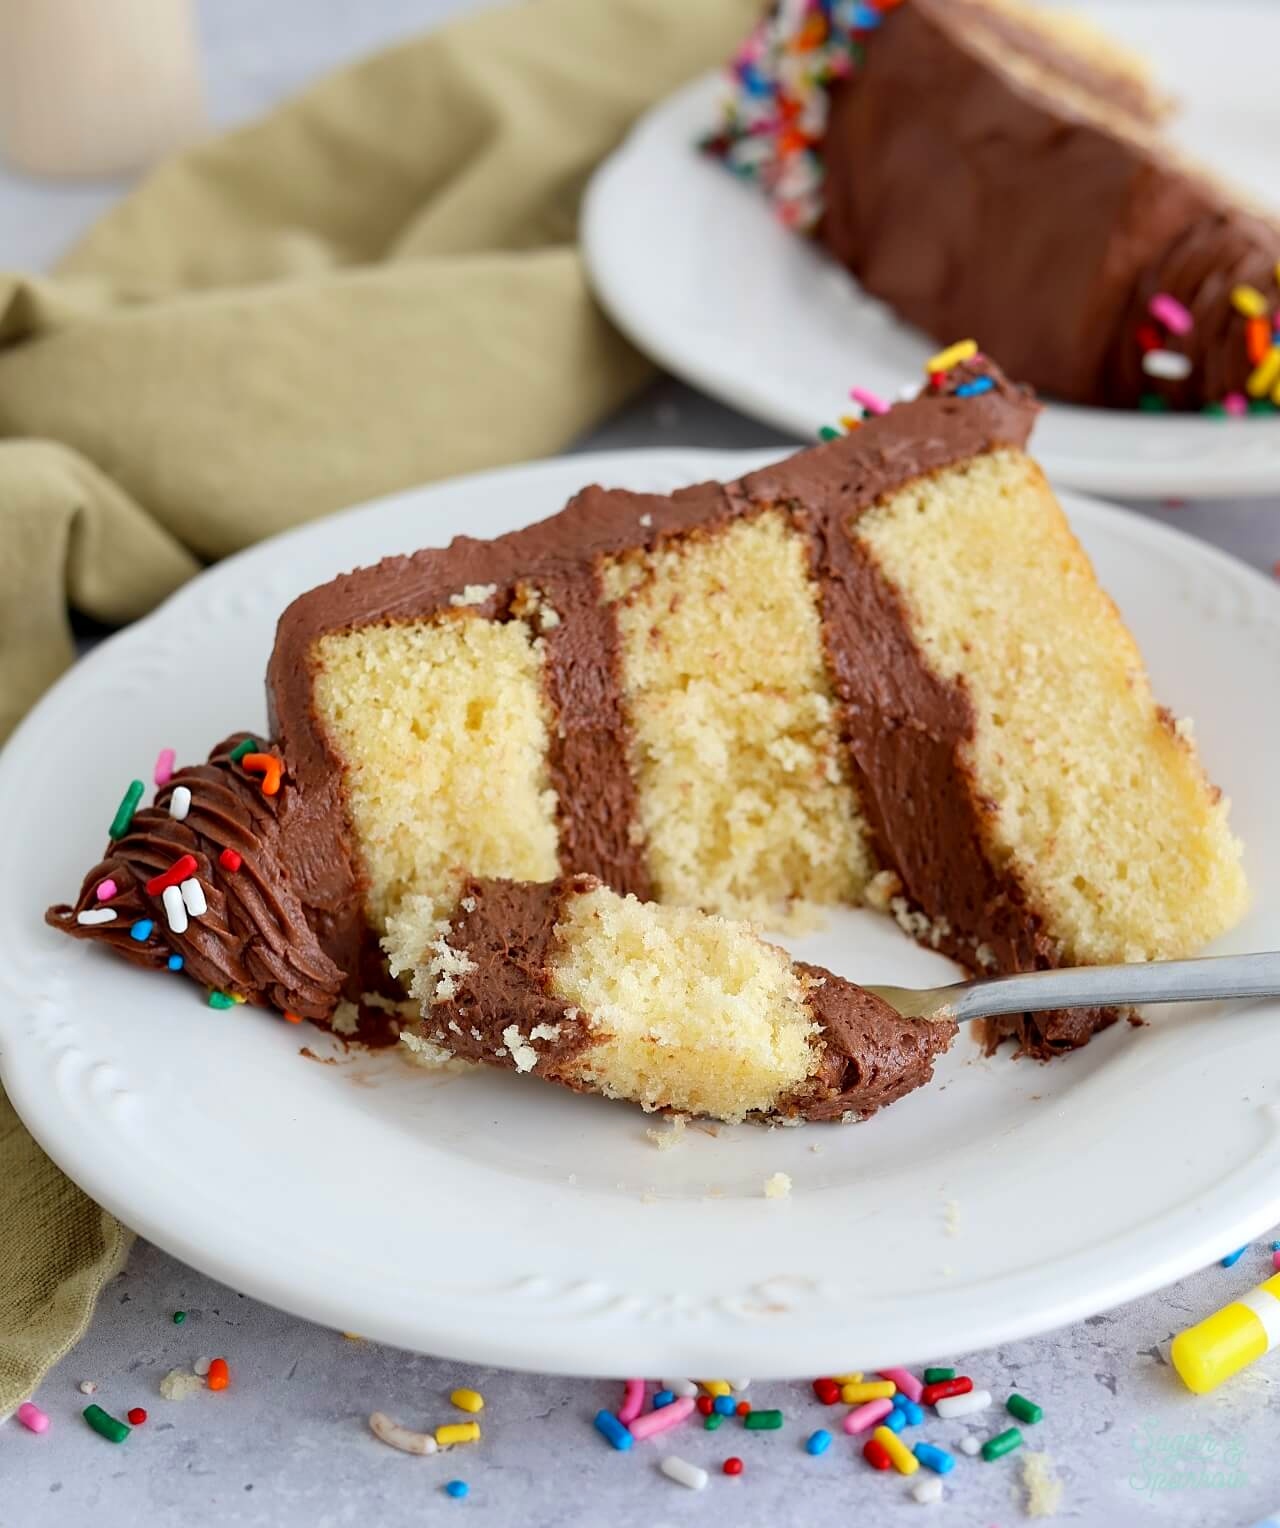
One Reader, Ciara, says: “Absolutely love this recipe! It was not overly sweet and the cake was super moist and just perfect! I’m sure I’ll have to make it every year now for my husband‘s birthday.” ★★★★★
Moist & Fluffy Yellow Cake
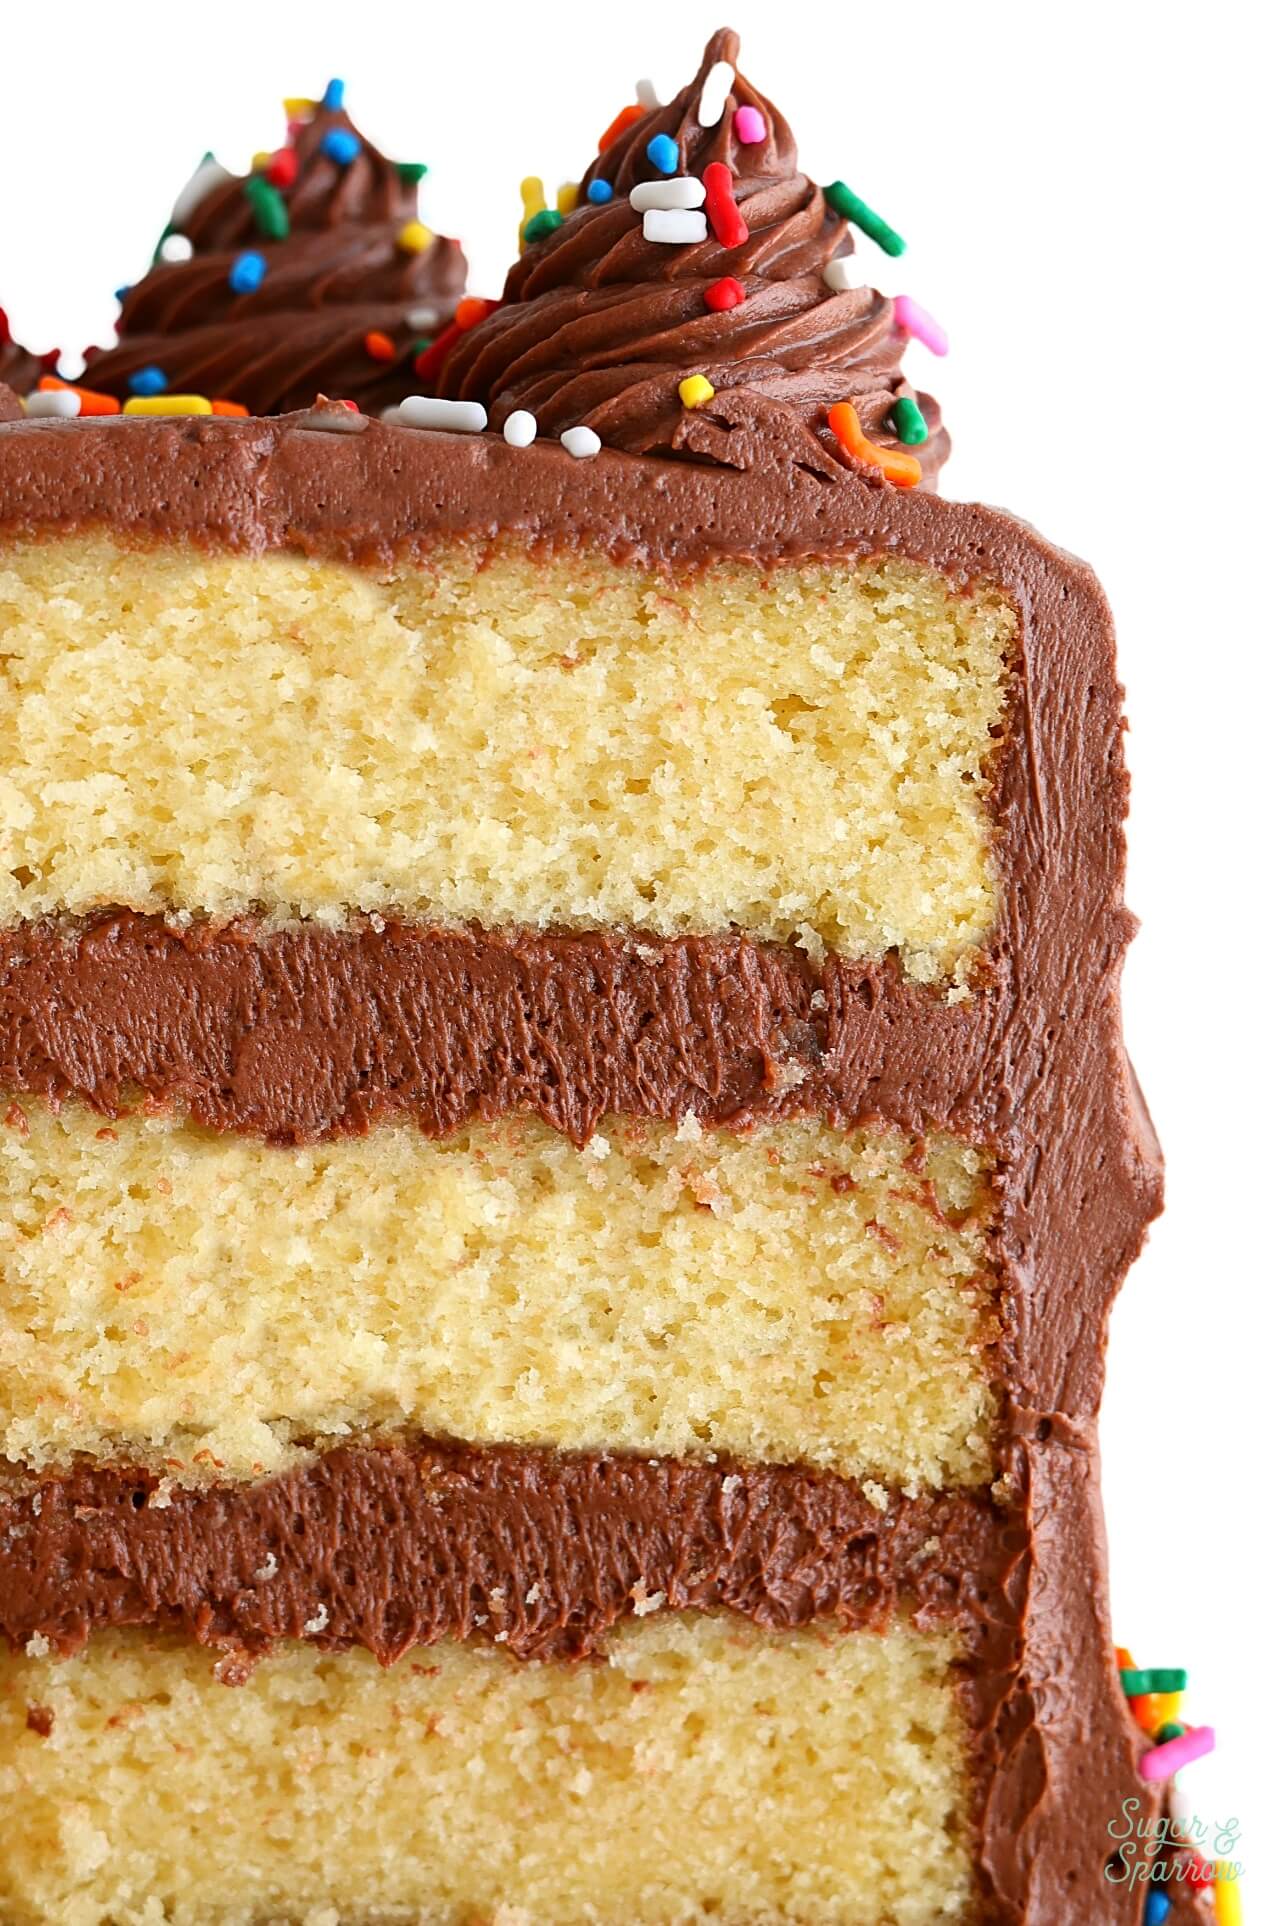
This yellow cake is the definition of light and fluffy – It is SO incredibly soft! I kept poking it over and over in disbelief because I swear it’s as close to box mix (but from scratch) as you’re gonna get. This recipe pulls all the stops to get the perfect texture and flavor:
- A combination of butter and vegetable oil keeps it fluffy and flexible even when refrigerated.
- Two large eggs + two extra egg yolks gives it that signature yellow color and also adds richness to the crumb.
- Using cake flour keeps the crumb supremely soft. If you don’t have access to store bought cake flour I have instructions on how to make an easy homemade version in the notes of the recipe below.
- Adding sour cream gives it amazing moisture and also creates a rich tangy flavor that is unparalleled.
- Pure vanilla extract lends the ideal flavor.
- Whole milk adds the right amount of protein and fat to bring the batter together and maintains the perfect texture.
Why is it Called a Yellow Cake?
Yellow cakes get their name from the signature yellow color. It’s technically a vanilla cake, but made with whole eggs and often additional egg yolks to make the layers appear more yellow. In contrast, a white cake recipe is a vanilla cake made with only egg whites to keep the color pure white. The egg yolk is where the yellow cake gets its yellow color in a from-scratch recipe, and if you want it to be the most saturated you’ll want to use organic eggs. Look at the color difference between the organic eggs (on the left) and the non-organic eggs (on the right)!
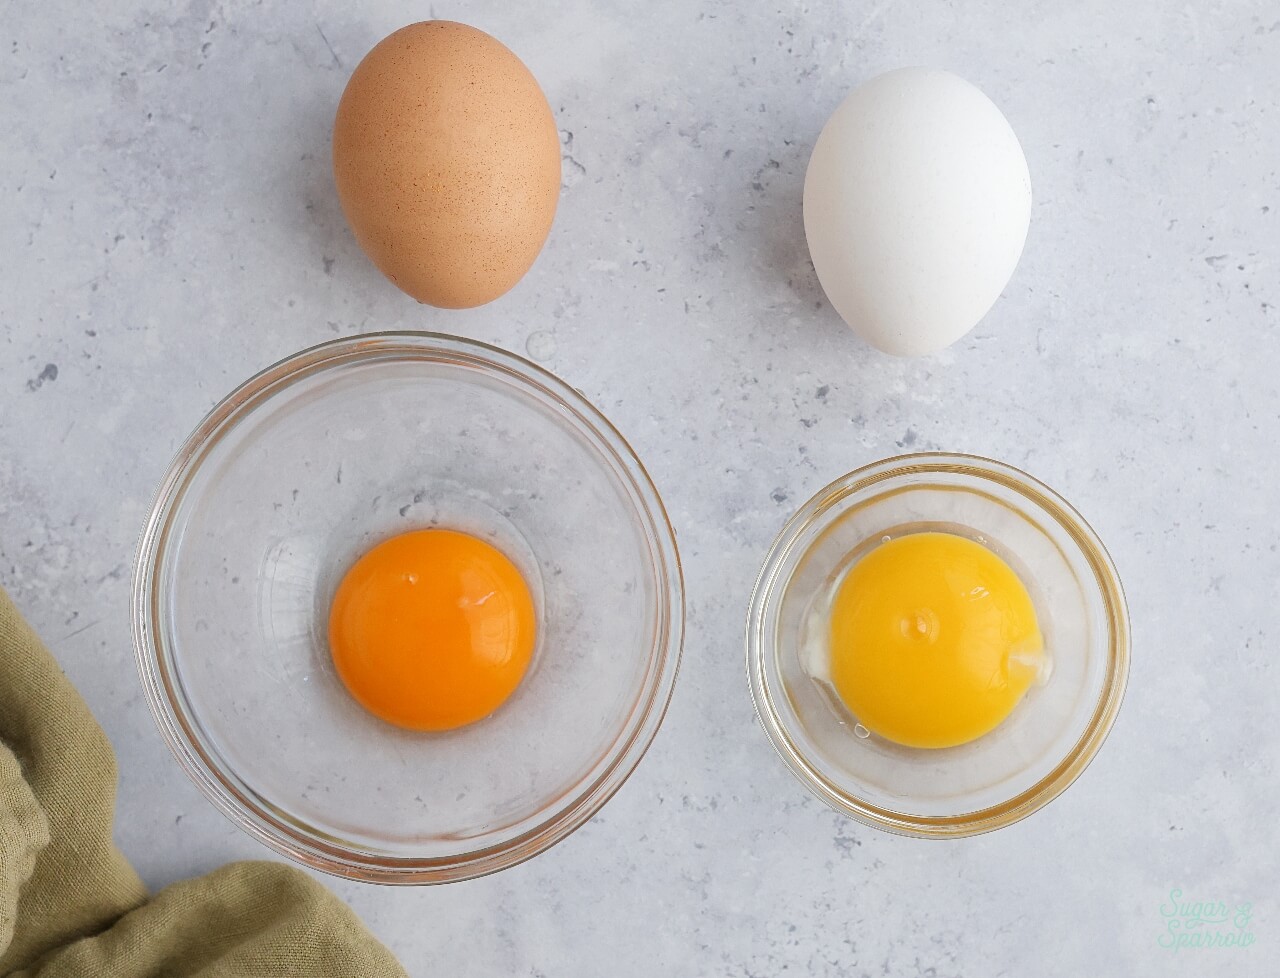
Just keep in mind that regardless of the kind of eggs you use, the from-scratch cake layers will never be as saturated as a box mix unless you add yellow food coloring (an ingredient actually listed on the box mix).
How to Make a Yellow Cake
If you’ve made any of my other vanilla cake recipes before, the process for this one is quite similar. Here’s how the process goes:
Step 1. Preheat the oven to 350ºF (177ºC), then grease and line your cake pans.
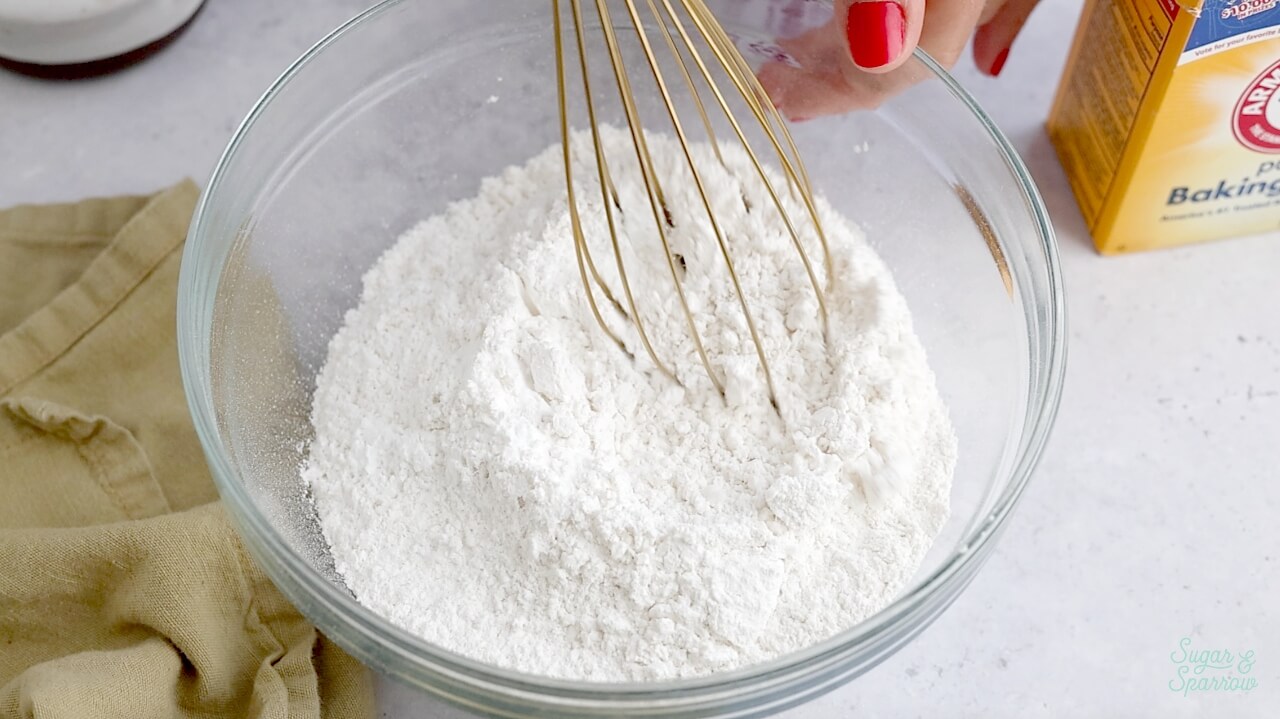
Step 2. Whisk together the flour, baking powder, baking soda, and salt. Set aside.
Step 3. Cream the butter, then beat it together with the sugar and vegetable oil until it’s pale and fluffy.
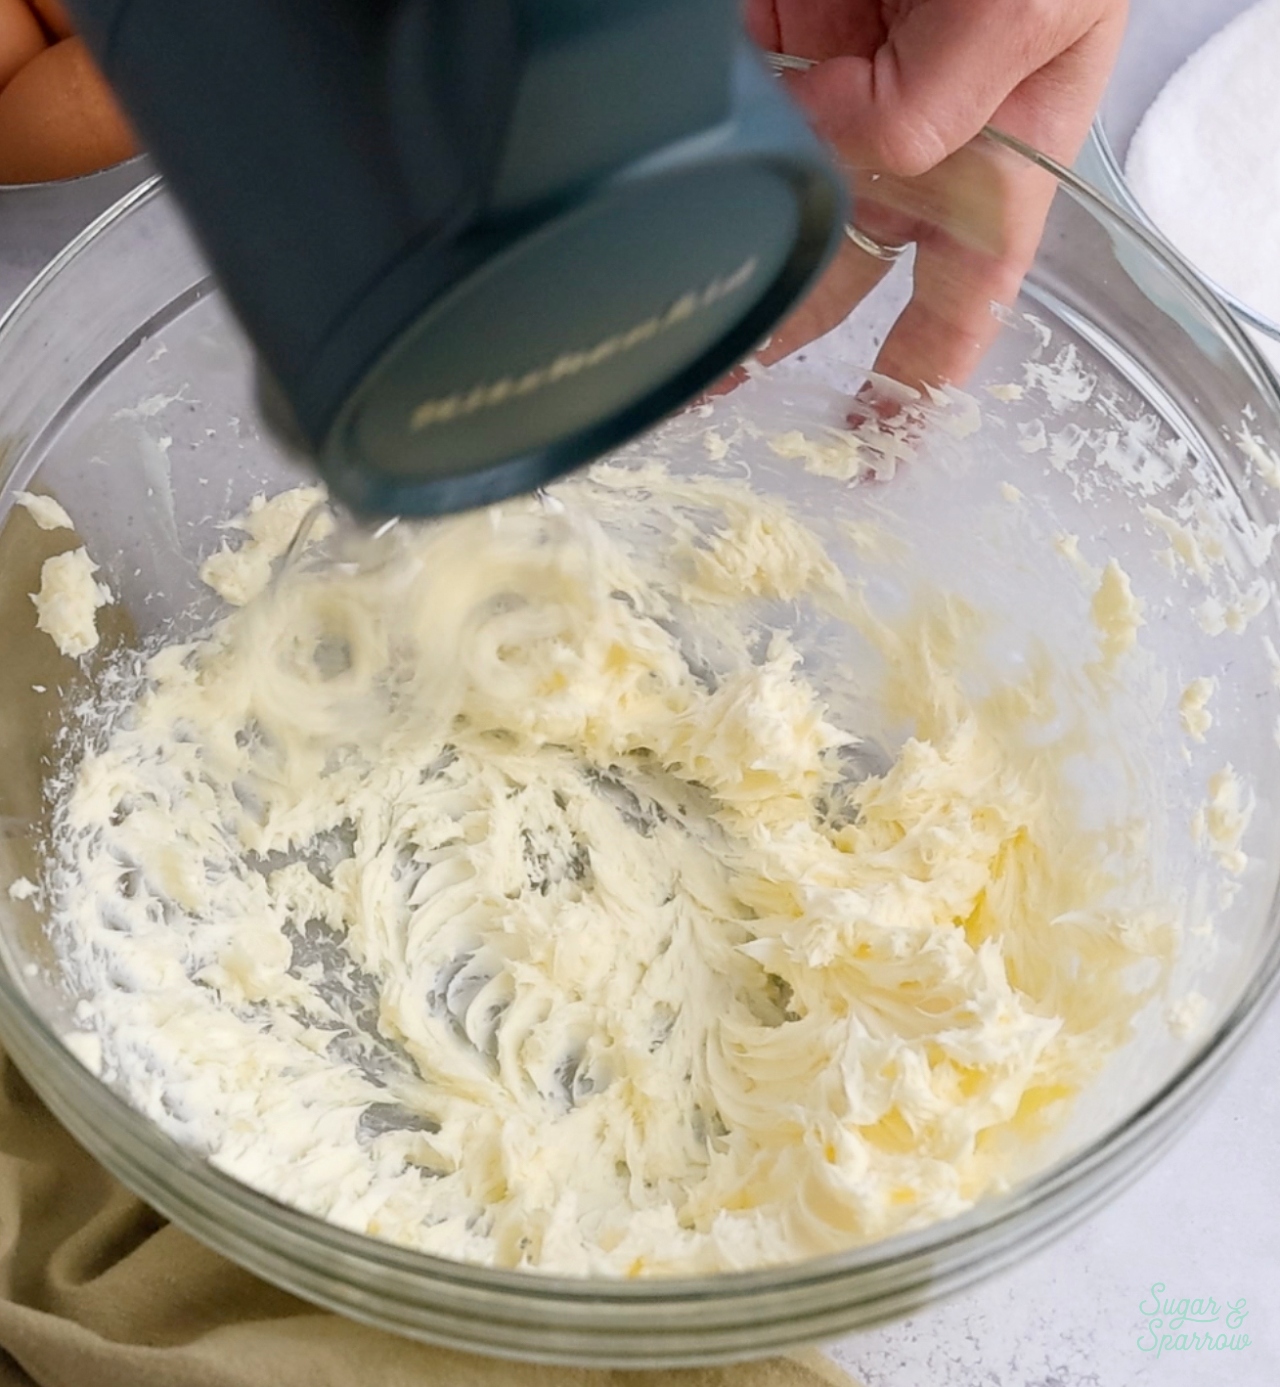
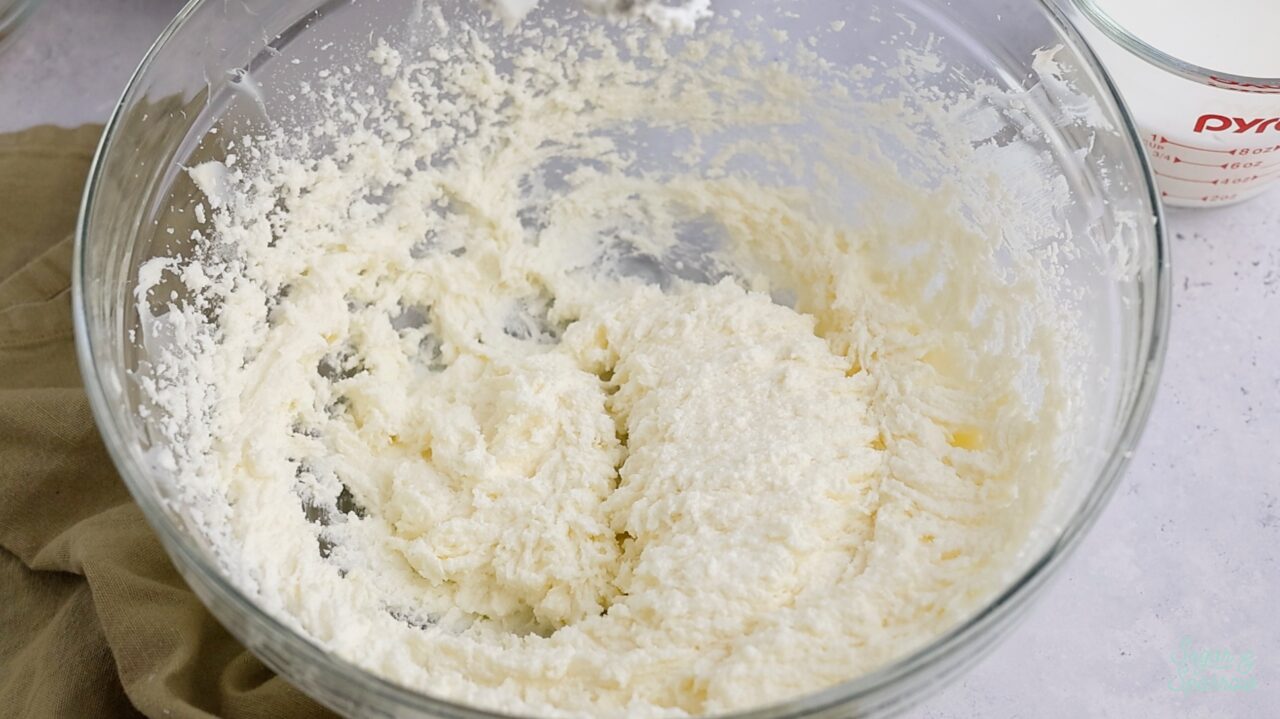
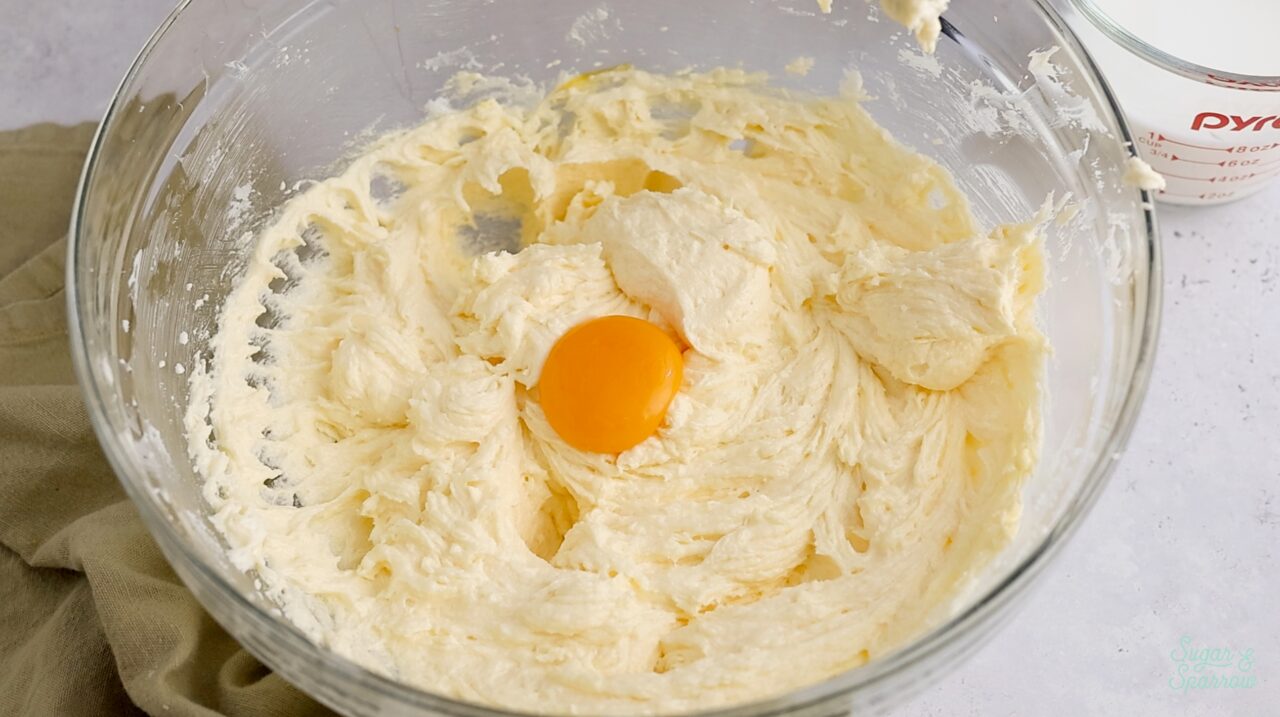
Step 4. Mix in the eggs and egg yolks one at a time, then add the sour cream and vanilla before whipping everything together on high speed for one minute.
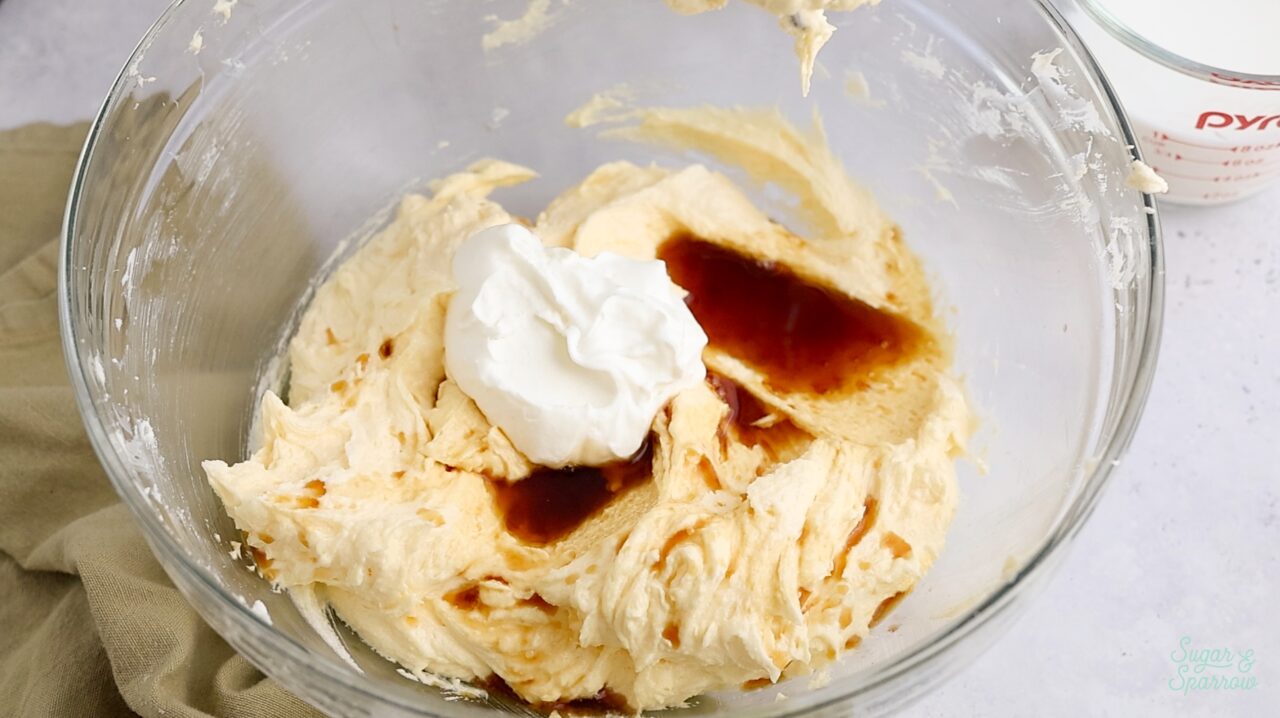
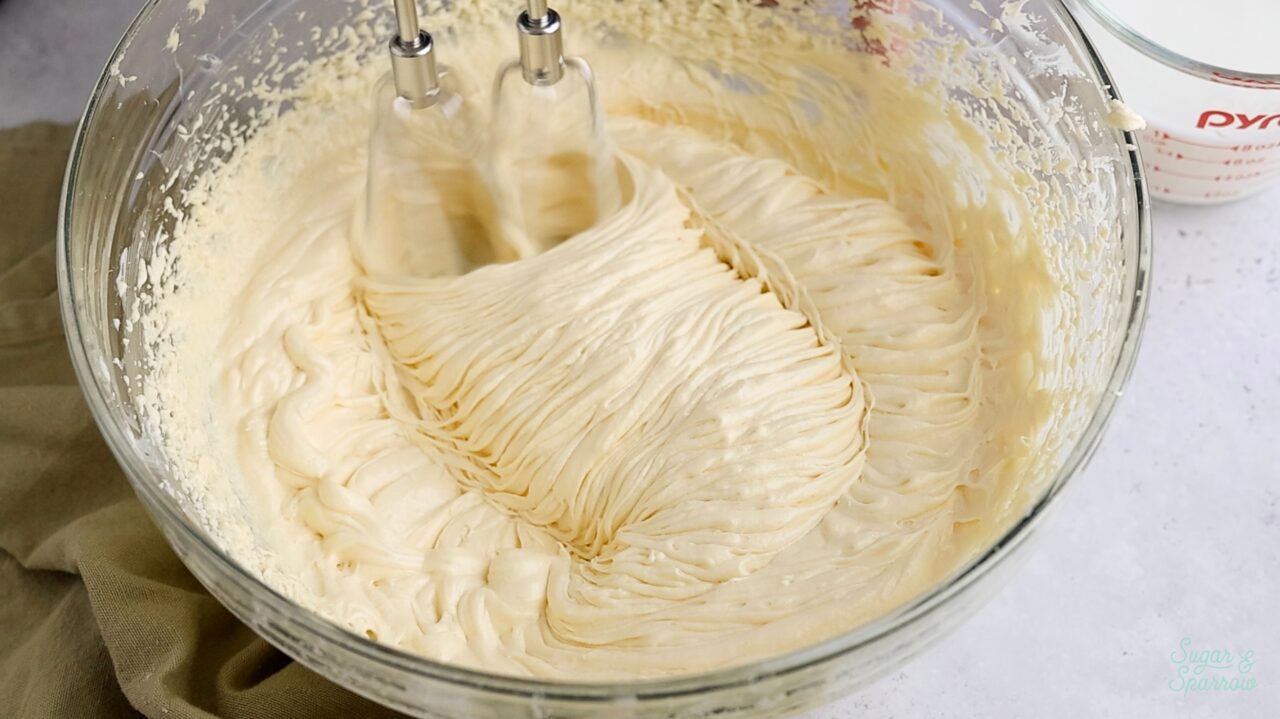
Step 5. Add the dry ingredients all at once, mix on low speed until they begin to incorporate, then add in the whole milk in a steady stream while continuing to mix on low speed. Mix until the ingredients are well incorporated, about 15-30 seconds.
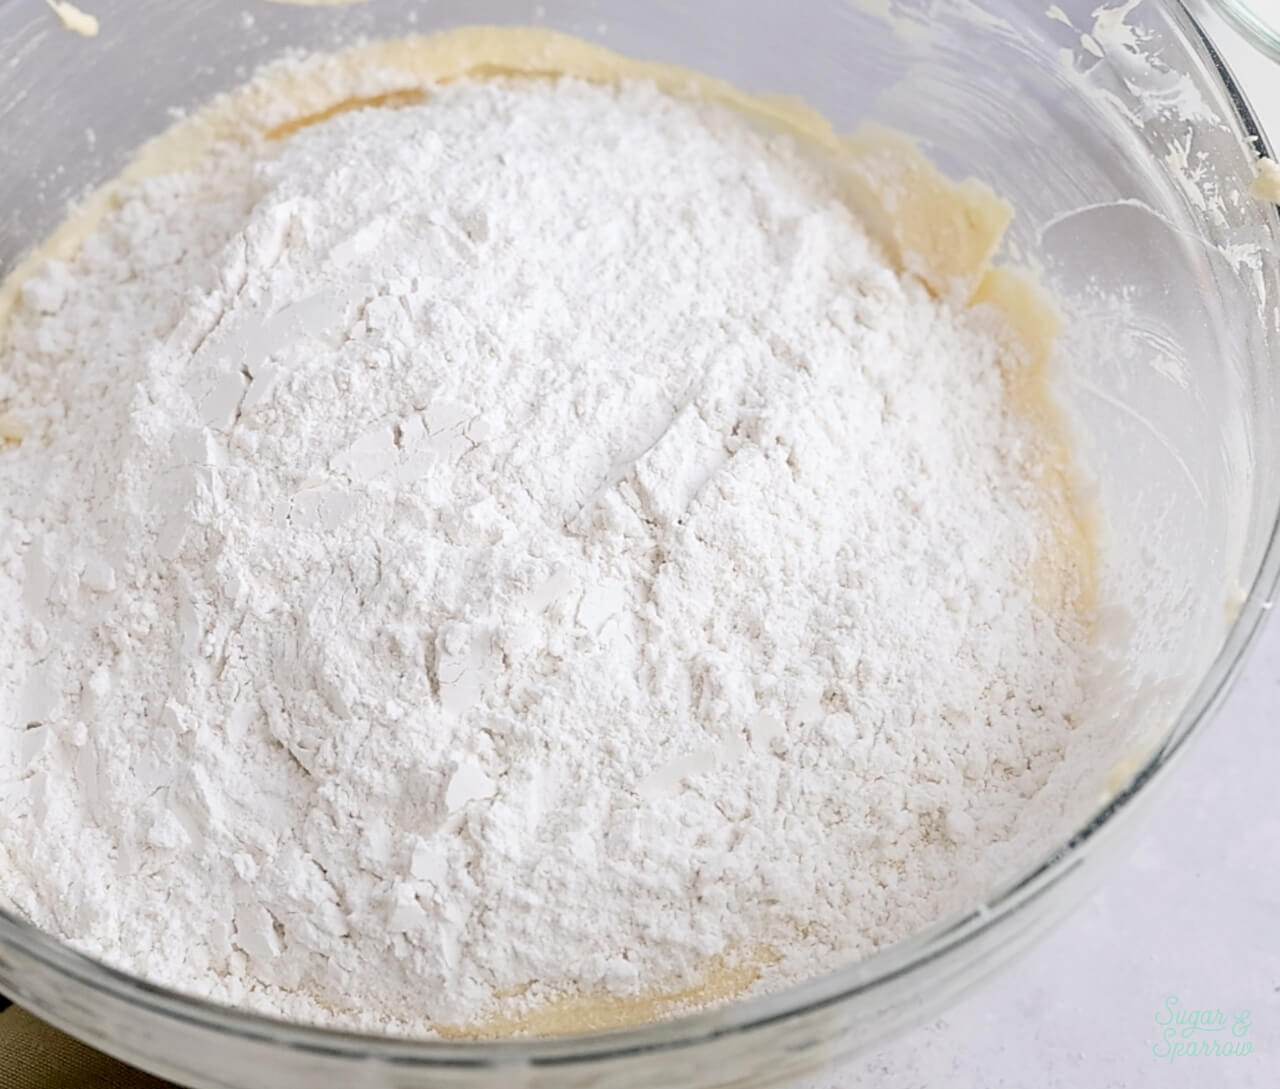
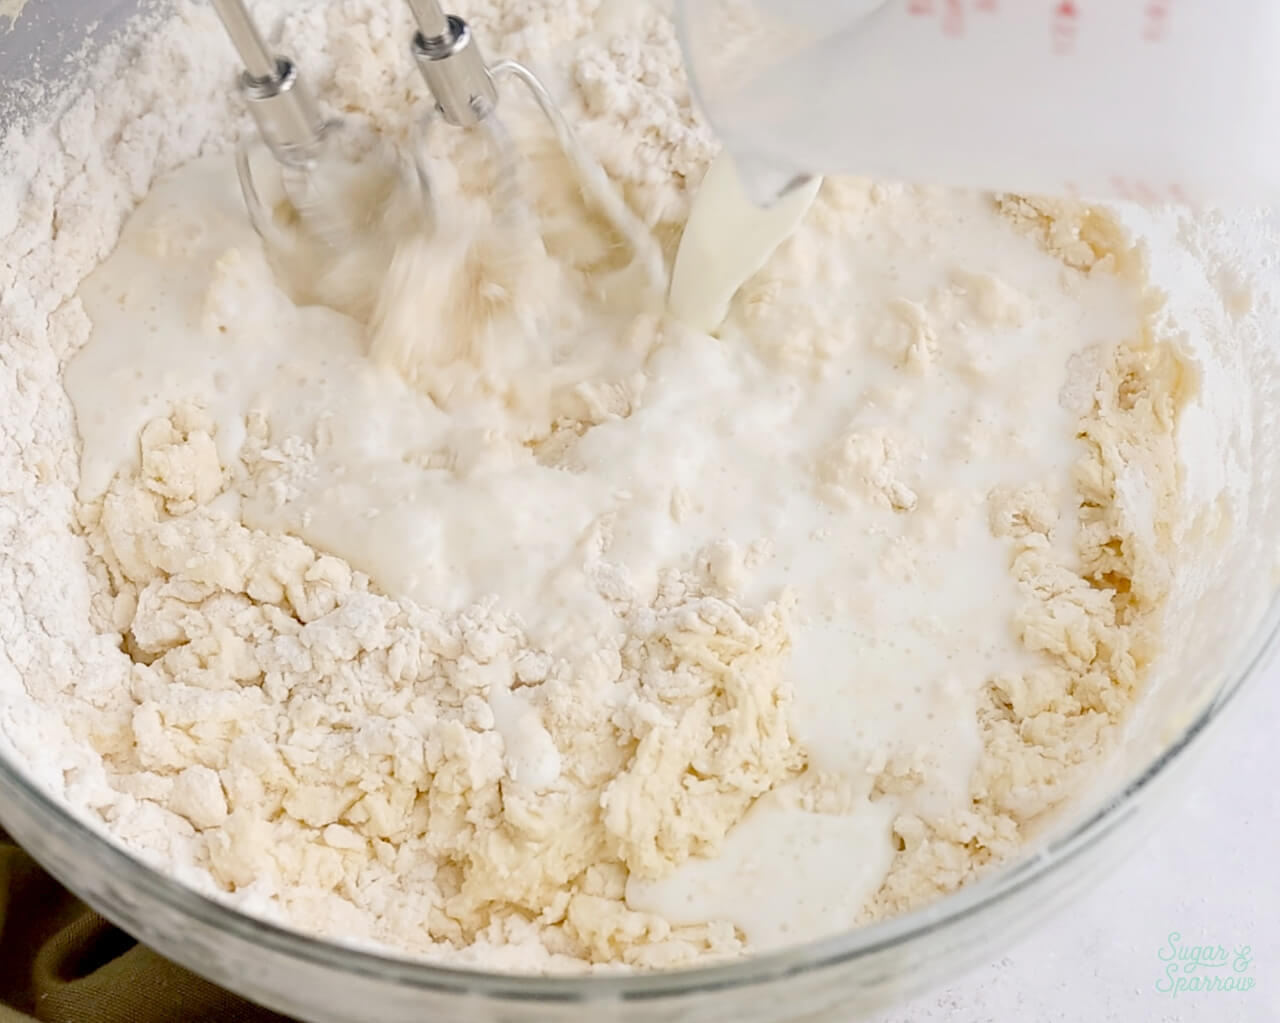
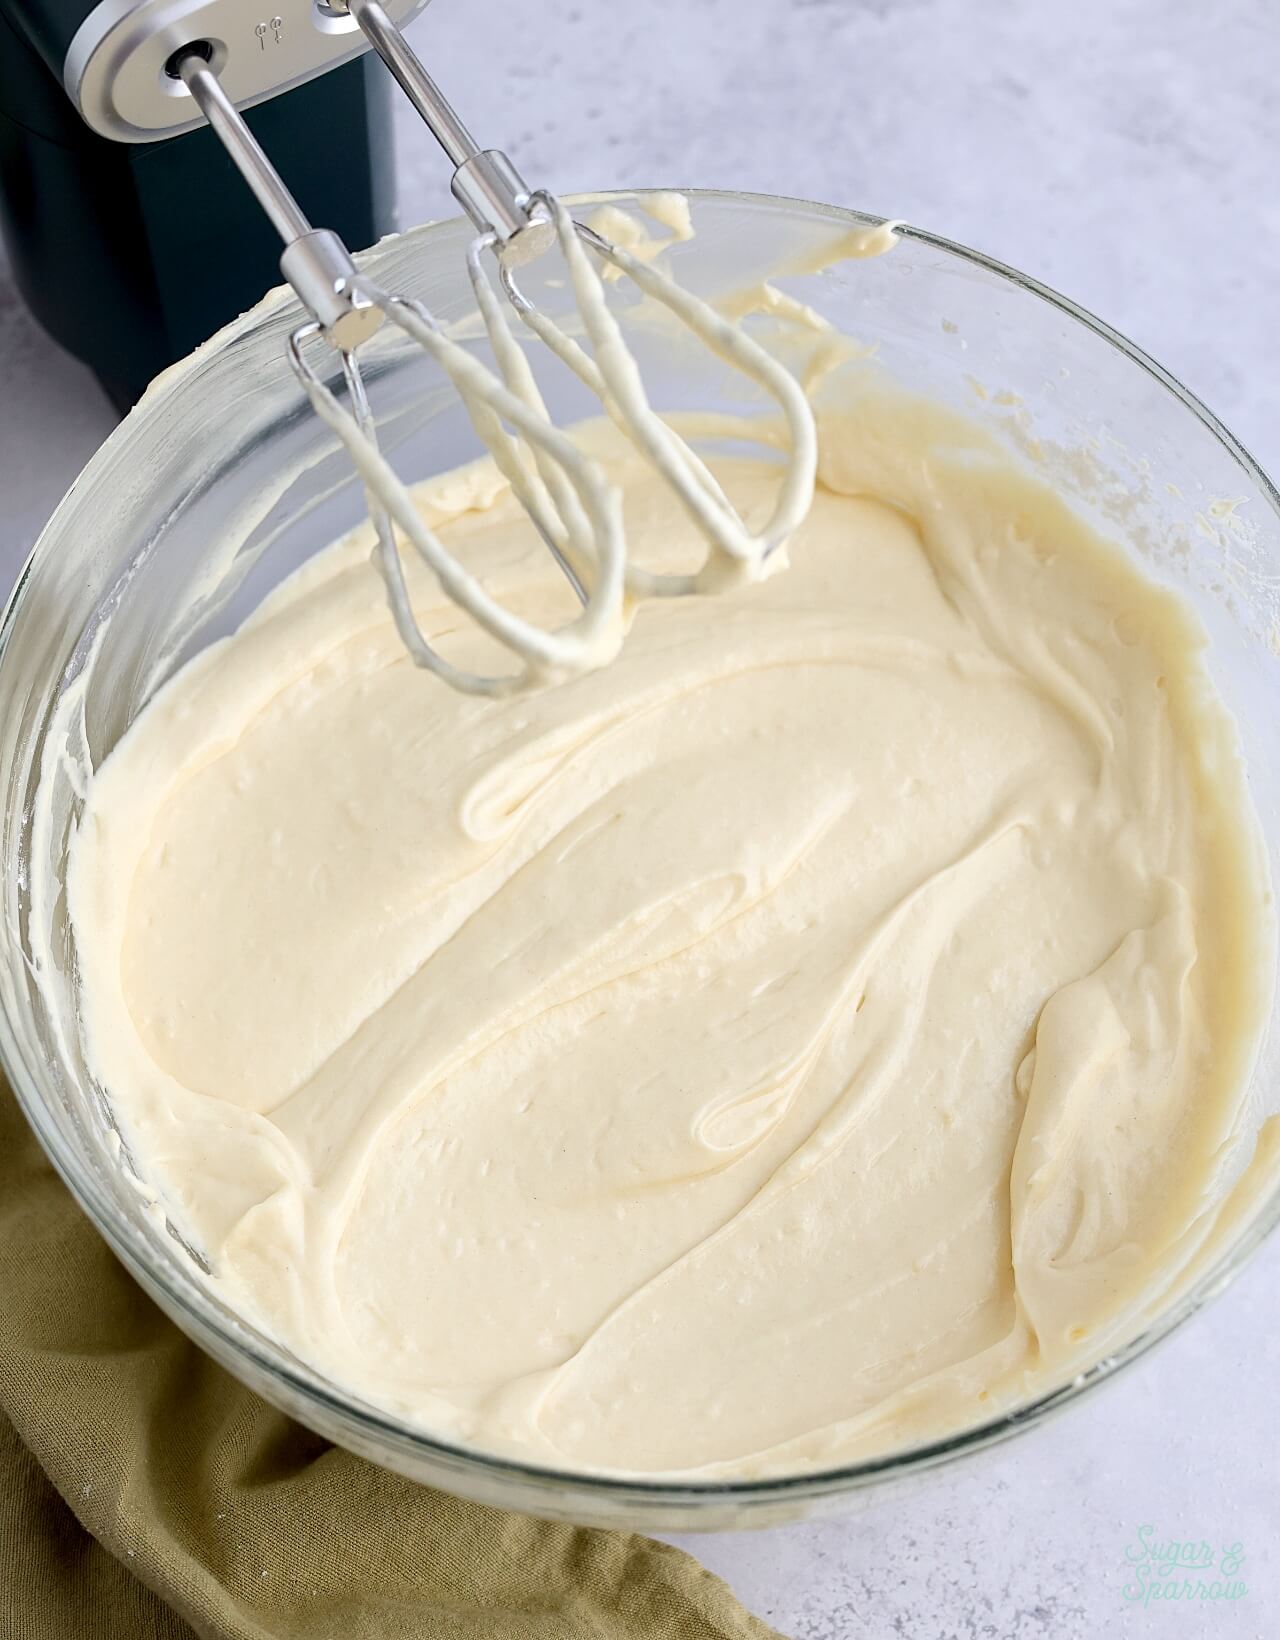
Step 6. Pour the batter into your prepared cake pans and bake for 28-32 minutes.
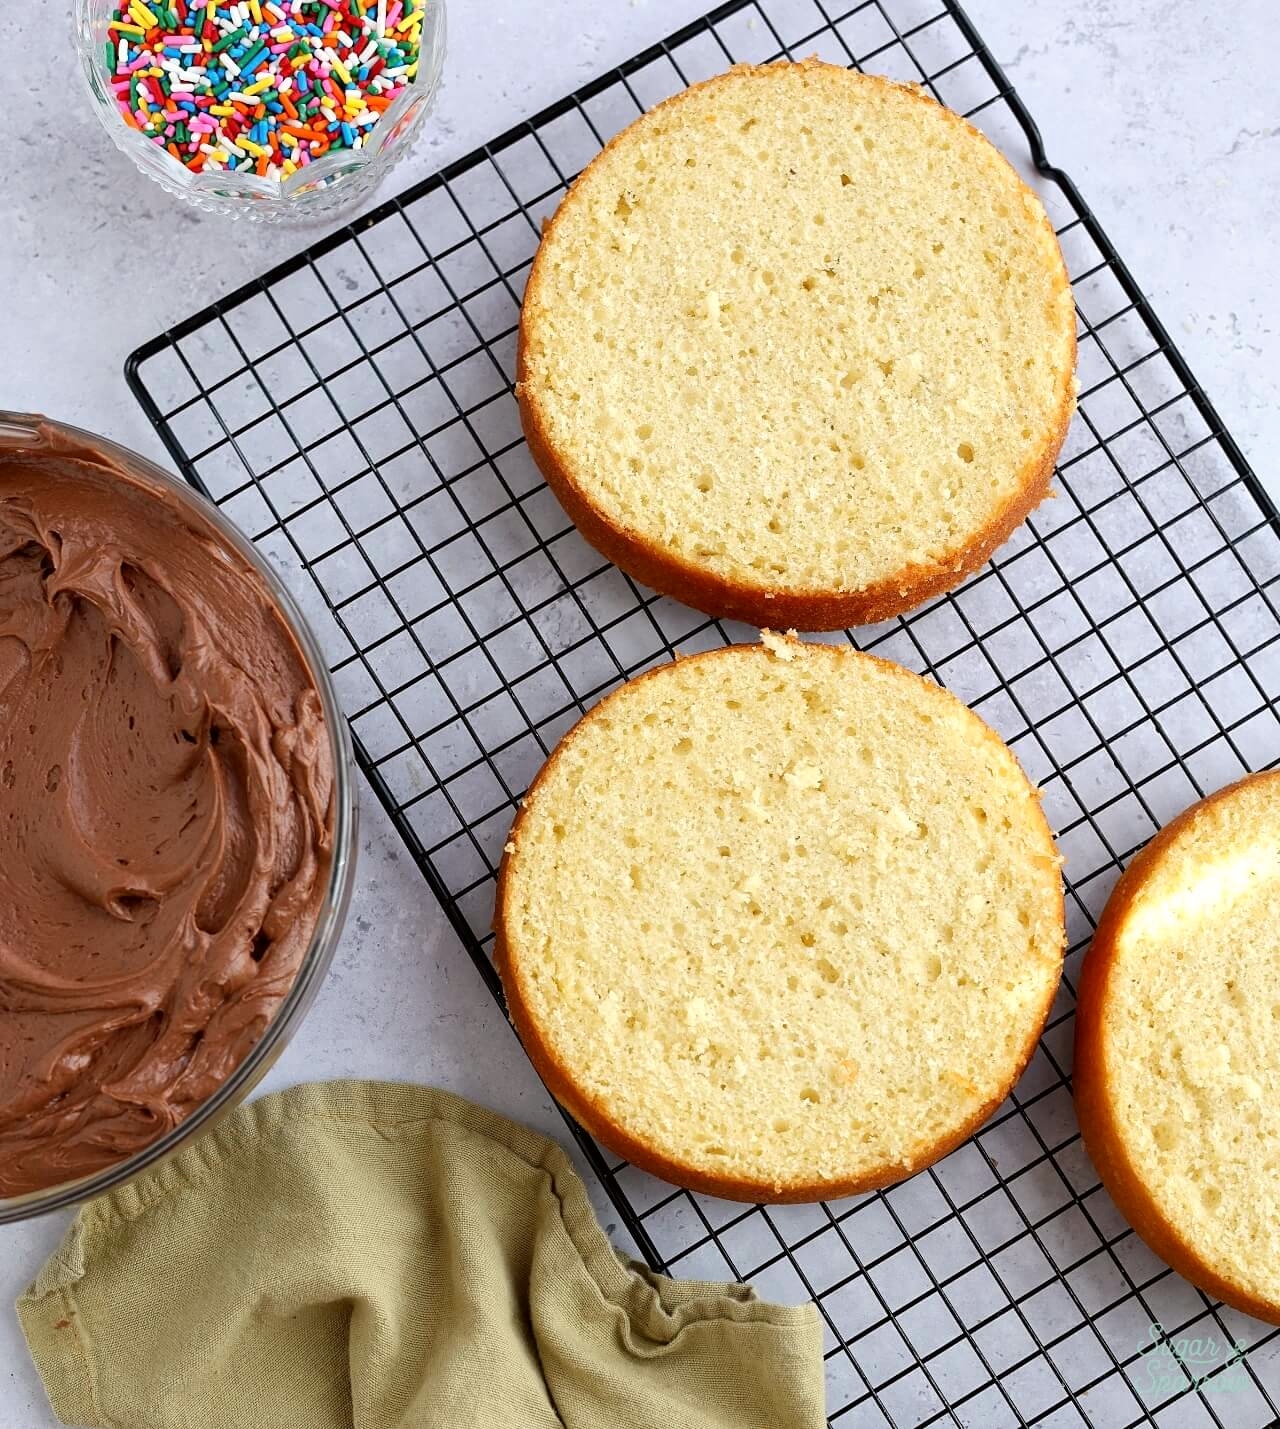
Step 7. Let the cake layers cool completely to room temperature before assembling and decorating with chocolate buttercream.
How to Decorate a Classic Birthday Cake
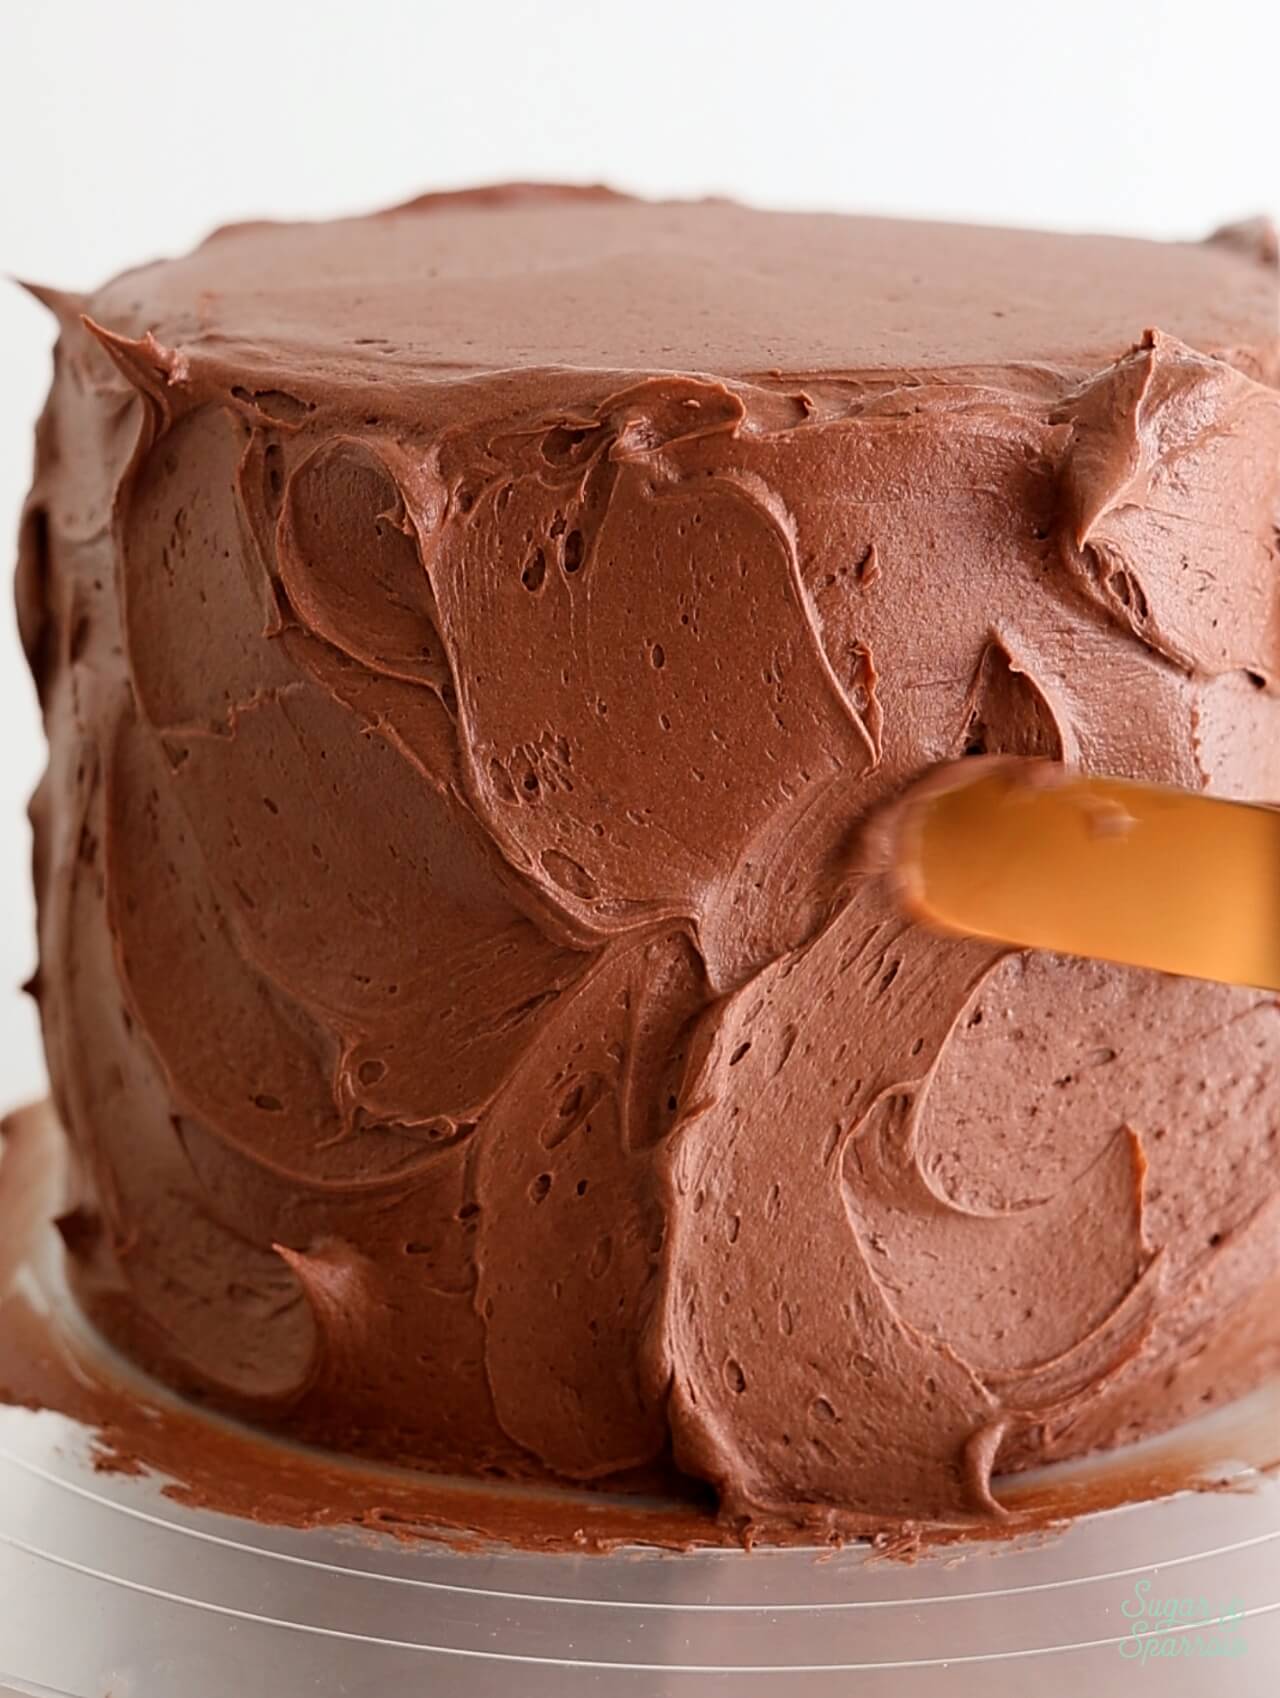
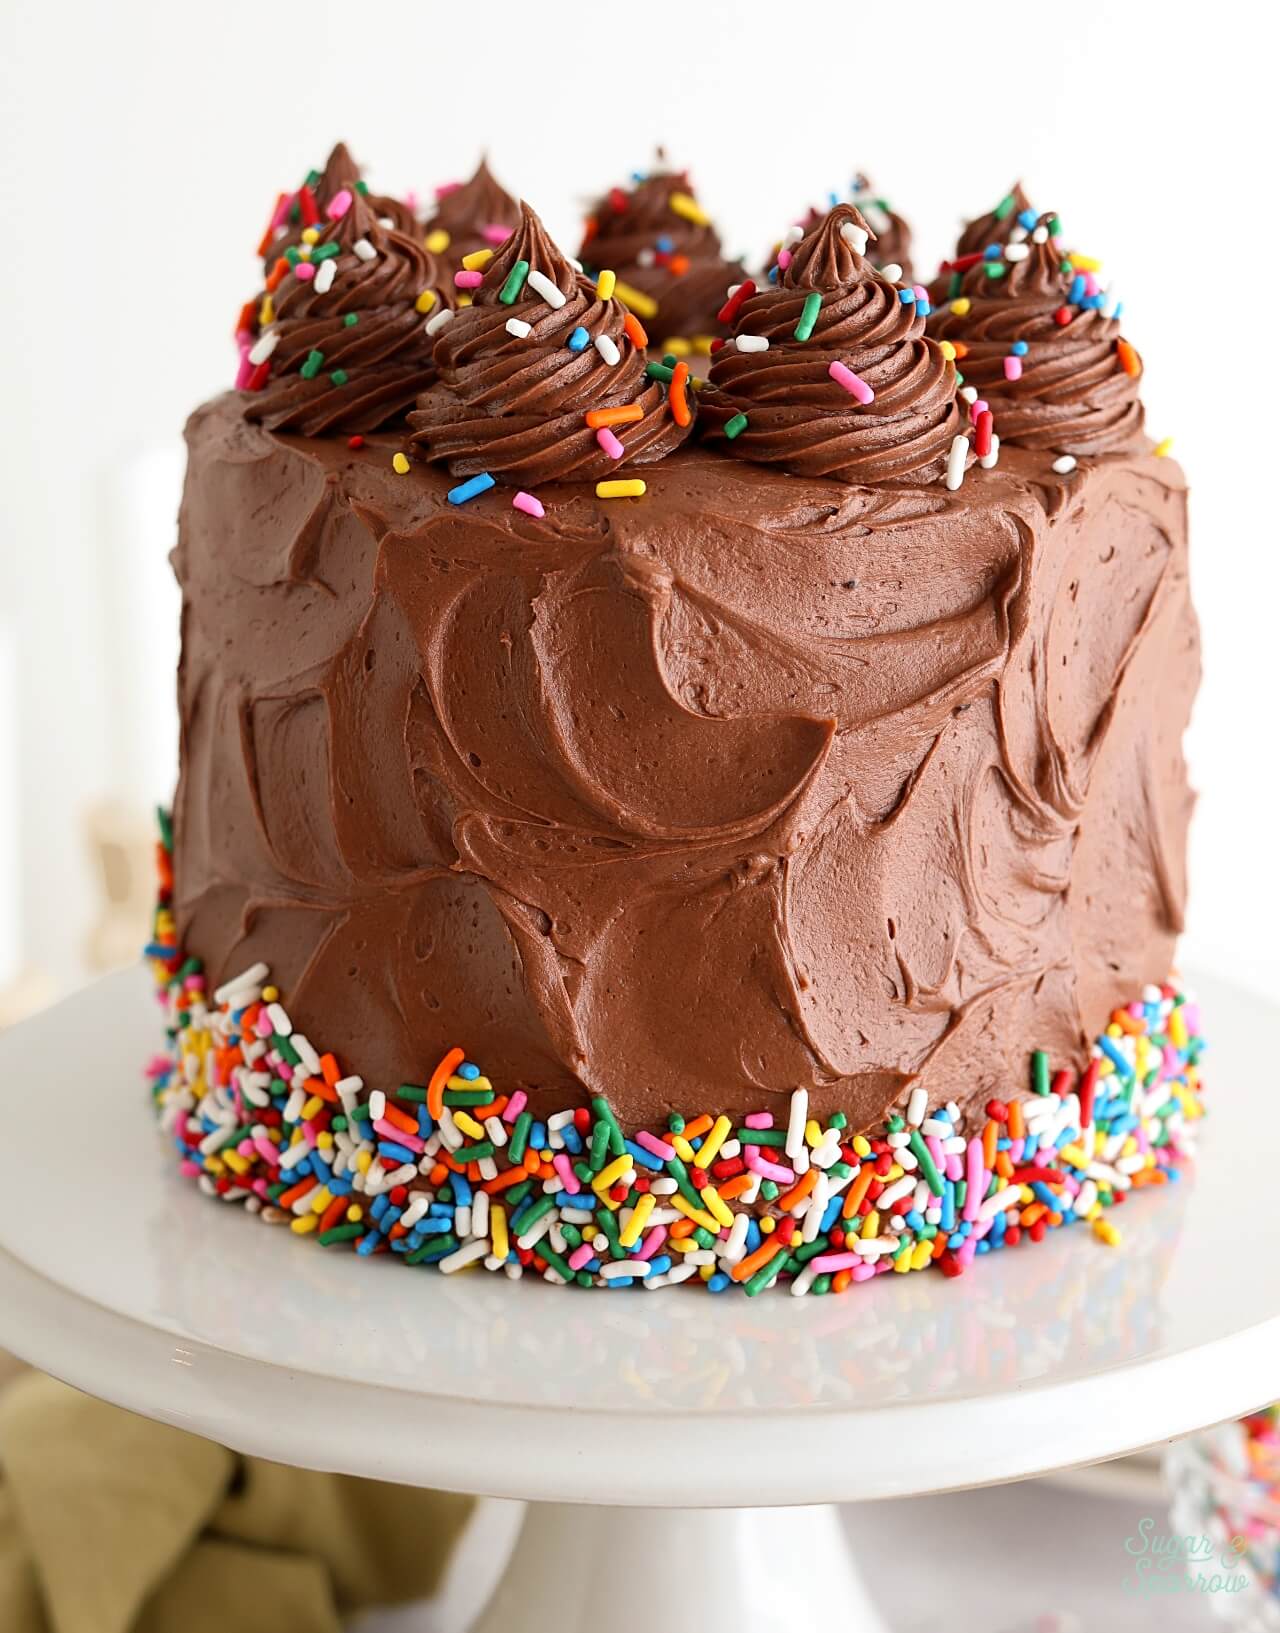
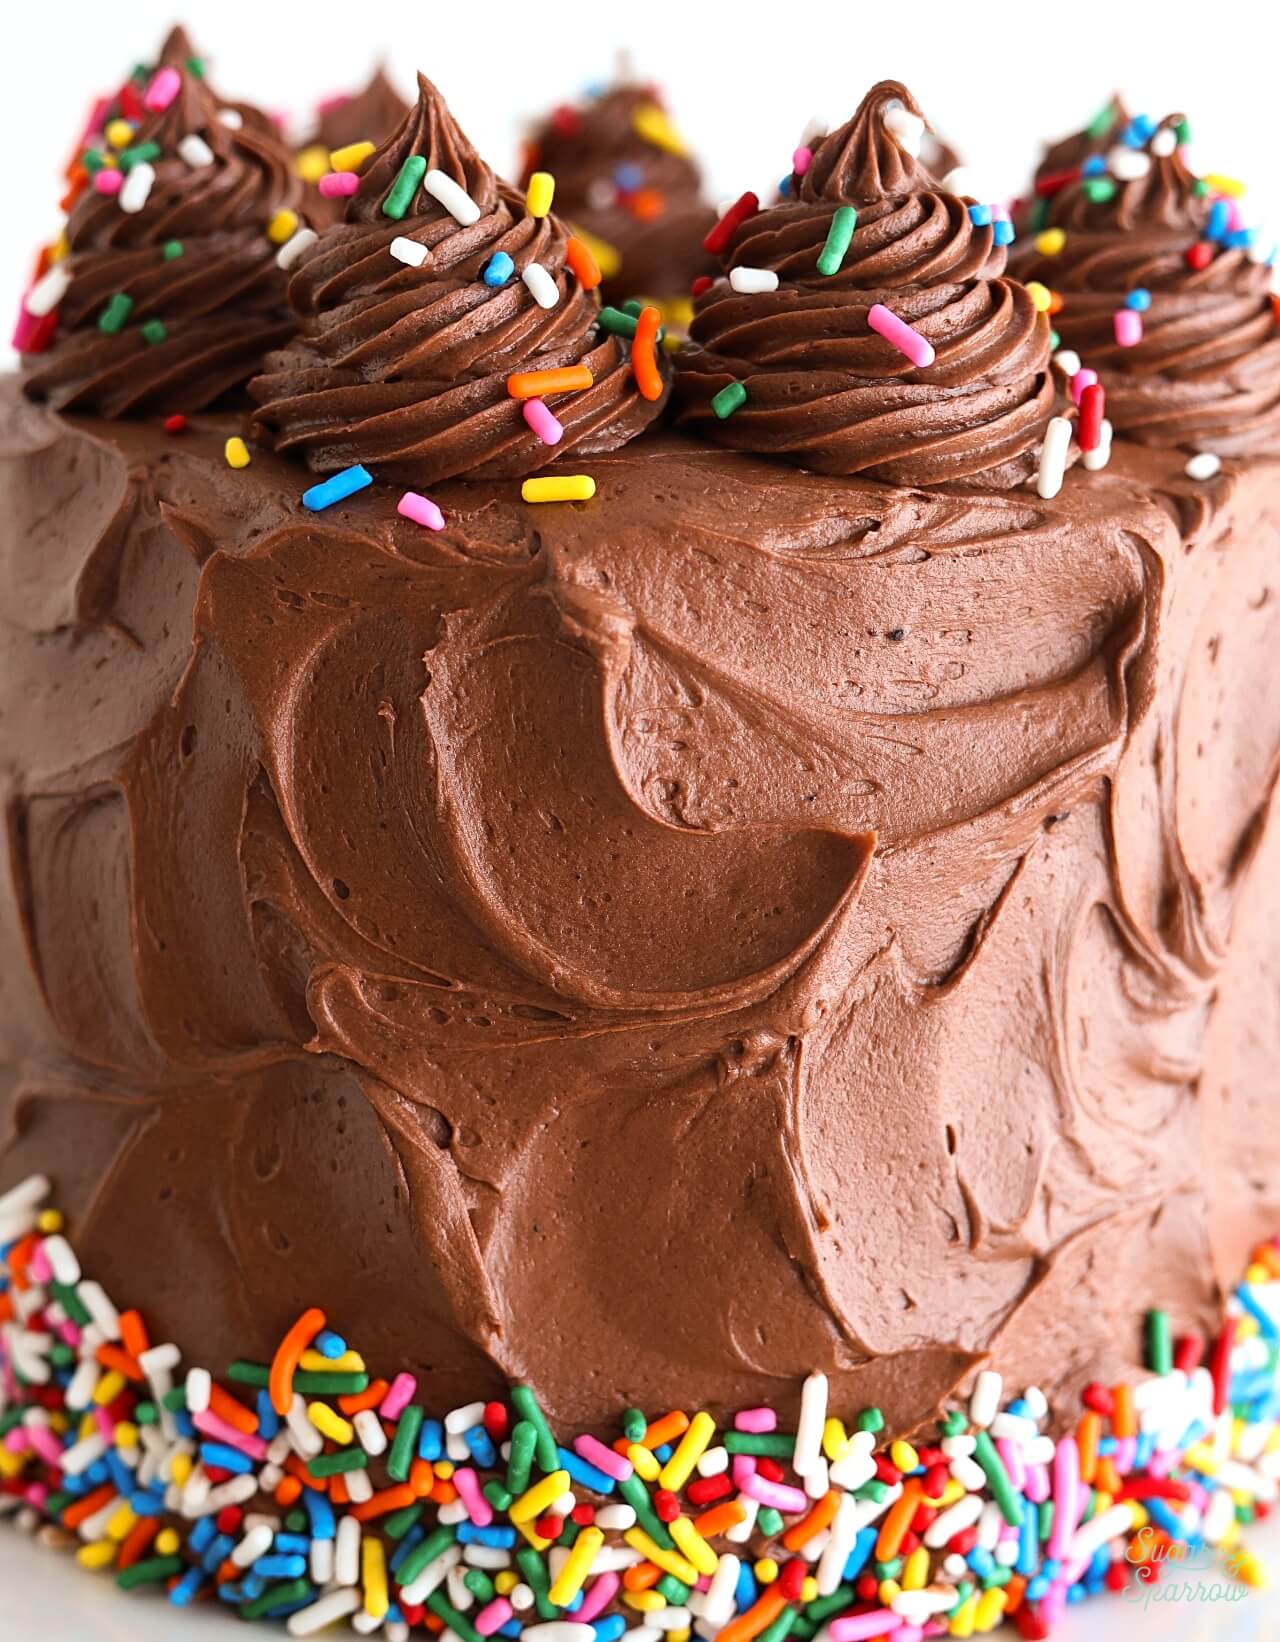
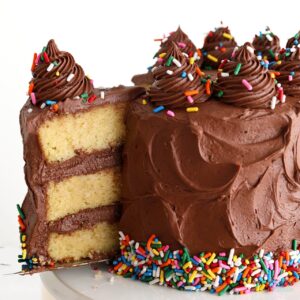
This yellow cake pairs so beautifully with chocolate buttercream, and it’s truly a classic flavor combination. I filled and frosted the cake layers with chocolate buttercream and used a small icing spatula to create rustic texture in the frosting finish. To make it extra celebratory, I added some rainbow sprinkles around the bottom edge of the cake.
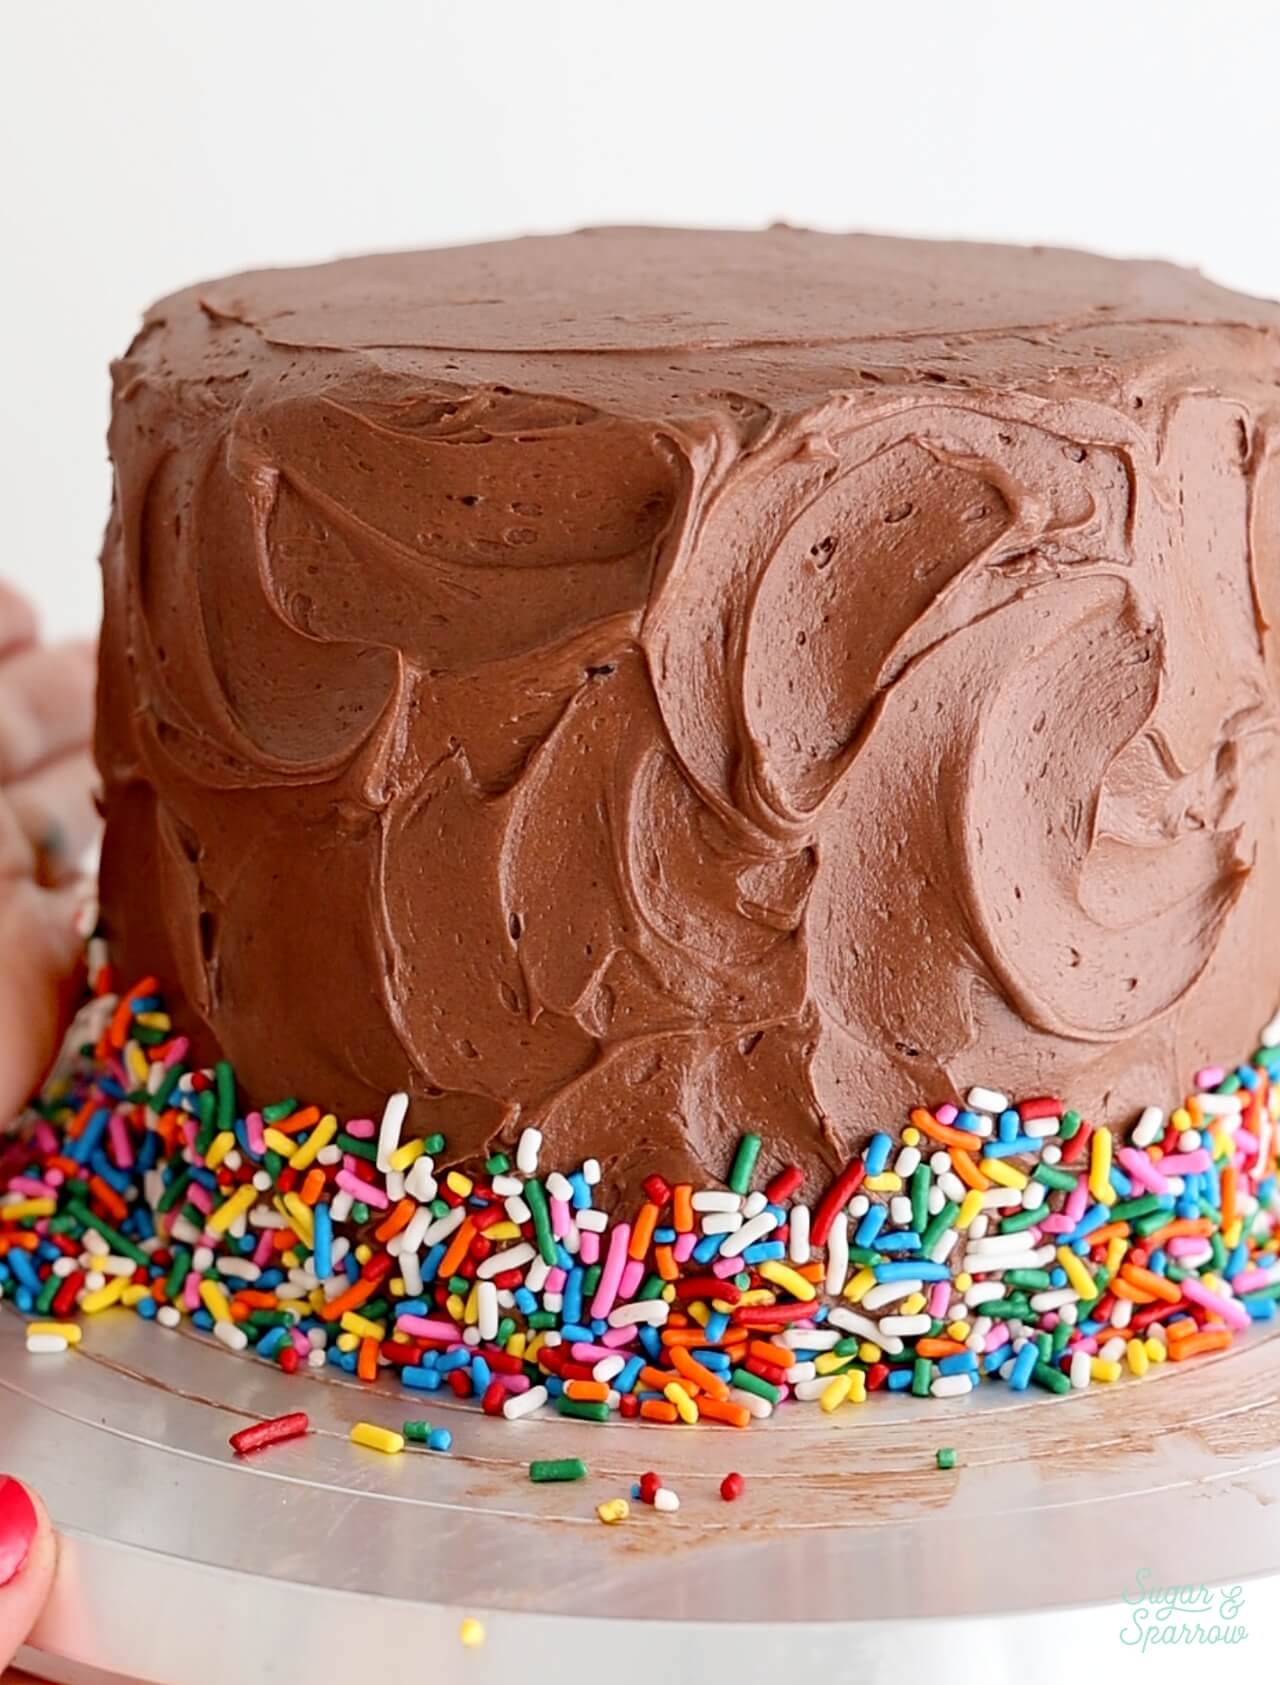
I topped the cake with swirls of chocolate buttercream using Wilton Tip 4B, then added more rainbow sprinkles on top.
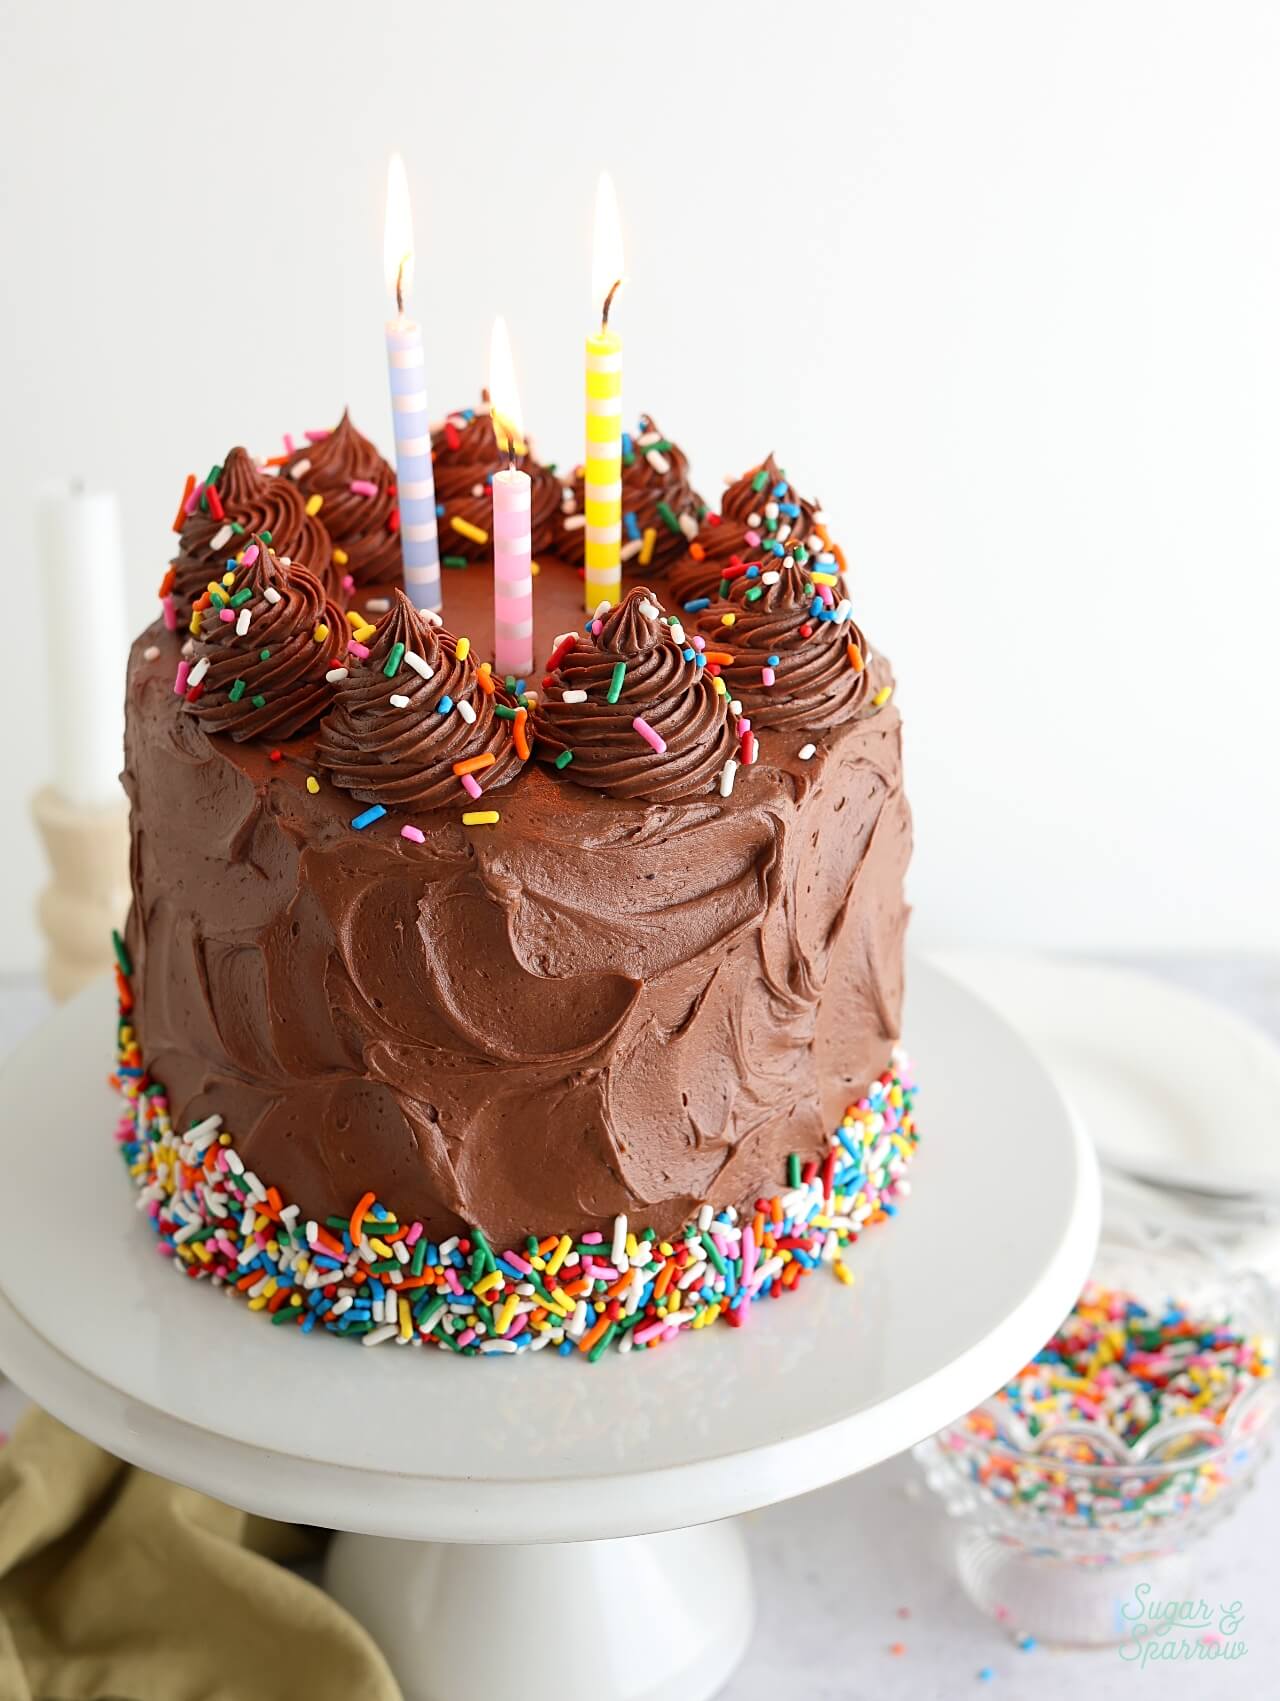
A birthday cake isn’t complete without some candles, so I finished the look with these cute striped candles from Meri Meri Party. They make my favorite cake candles ever (more styles here).
You can decorate this yellow cake any way you want, so feel free to go simple, over-the-top, or anywhere in between! It also bakes great in a 9×13 baking dish if you’d rather make a sheet cake. Just see the notes of the recipe below for the baking time and oven temp.
Yellow Cake Recipe Video
Here’s a quick video to show you the process of making this yellow cake recipe before you read all about it below:
If you love recipe videos like this one, be sure to check out my YouTube channel! I’ve got a growing collection of cake recipes, decorating tutorials, and Cake Basics over there. Hit the subscribe button on my page so you never miss a new video.
Yellow Cake with Chocolate Frosting
Ingredients
Yellow Cake
- 2 Cups (210g) sifted cake flour* DIY recipe in notes
- 1 1/2 tsp baking powder
- 1/2 tsp baking soda
- 1/2 tsp salt
- 1/2 Cup (113g) unsalted butter, room temperature
- 3 Tbsp (45ml) vegetable oil
- 1 1/3 Cups (267g) granulated sugar
- 2 large eggs, room temperature
- 2 large egg yolks, room temperature
- 1/3 Cup (80g) sour cream, room temperature
- 2 tsp pure vanilla extract
- 3/4 Cup (180ml) whole milk, room temperature
Chocolate Buttercream
- 2 Cups (452g) unsalted butter, room temperature
- 6 Cups (720g) powdered sugar
- 1 Cup (90g) unsweetened cocoa powder natural or Dutch-processed
- 6 Tbsp (90ml) whole milk, room temperature
- 4 tsp pure vanilla extract
- 1/4 tsp salt, or to taste
Garnish (Optional)
- 1/2 Cup rainbow sprinkles
Instructions
Make the Yellow Cake
- Preheat the oven to 350°F (177°C) and prepare three 6-inch or two 8-inch cake pans by spraying the sides with baking spray and fitting a parchment paper circle to the bottom of each pan.
- In a medium bowl, add the sifted cake flour, baking powder, baking soda and salt. Whisk together and set aside.
- In the bowl of your stand mixer fitted with the paddle attachment (or with a handheld mixer and large bowl), beat the butter on high speed until it's creamy, about 2 minutes. Add the vegetable oil and sugar, then continue to mix on medium-high until pale and fluffy, about 2 minutes. Add the eggs and egg yolks one at a time, mixing on low speed for 10-15 seconds after each addition. Scrape down the bowl and paddle, then add the vanilla and sour cream and turn the mixer to high speed for one minute. The batter may look curdled at this point but don't worry – it will come together in the next step!
- Turn the mixer off and add the dry ingredients all at once. Mix on low speed until the ingredients just start to combine, then add the milk in a steady stream and continue mixing until incorporated, about 30 seconds. Scrape down the sides and bottom of the bowl and give it a few stirs to make sure there are no lumps (without over-mixing). The batter will be slightly thick, but pourable.
- Pour the batter evenly into the prepared cake pans and bake for 28-32 minutes, until a toothpick inserted comes out clean or with just a few moist crumbs. Let the cakes cool in the pan for five minutes before turning them out onto a wire rack for an additional few hours of cooling. Make sure they're entirely room temperature before applying any frosting.
Make the Chocolate Buttercream
- In a stand mixer fitted with a paddle attachment, whip butter on high speed until creamy and light in color, about 5 minutes. Scrape down the bowl and paddle and add half of the powdered sugar, half of the cocoa powder, and half of the milk. Mix on low speed until combined, then add the rest of the powdered sugar, the rest of the cocoa powder, the rest of the milk, the vanilla extract, and the salt. Continue mixing on low speed until combined and smooth, 1-2 minutes, scraping down the bowl and paddle as needed.
Assembly
- Once the yellow cake layers are completely cooled, level them to your desired height. Add a swipe of chocolate buttercream onto a cardboard cake circle and place the first cake layer on top. Fill and stack the cake with chocolate buttercream, then crumb coat the cake. Refrigerate the cake for 15-20 minutes to let the crumb coat firm up before frosting the cake with the rest of the chocolate buttercream.
- To create the design pictured, use a small spatula to create a rustic textured finish on the sides of the cake, then added rainbow sprinkles around the bottom edge. I piped swirls of chocolate buttercream with Wilton Tip 4B, then added more rainbow sprinkles on top.
Notes
- The yellow cake layers can be baked, cooled, wrapped in plastic wrap, and left out at room temperature up to two days ahead of decorating. Unfrosted cake layers can be wrapped tightly in plastic wrap and stored in the freezer for up to two months before thawing and frosting.
- The chocolate buttercream can be made ahead and stored in an airtight container at room temperature for up to 1 day. Alternatively, you can store it in an airtight container in the refrigerator for up to two weeks. When you’re ready to use it, bring it back to room temperature and rewhip with your stand mixer to bring back to frosting consistency.
Let me know if you make this yellow cake recipe in the comments below! And feel free to tag @sugarandsparrowco on Instagram to show me a photo. I love to see what you create with my recipes!

Any chance I could substitute cream in place of the milk?
Hi Nikki! It will definitely work as a substitute in the buttercream, but I haven’t tried that in the cake. My hunch is that it would work, but the texture might be more rich and moist with the extra fat content. If you try it let me know how it goes!
Hi, just out of curiosity, can you substitute Greek yogurt in place of the sour cream? I want to use that because I don’t really busy sour cream anymore but will use it if necessary for the cake to turn out right. Thanks so much!
Hi Shavona! Yes, plain yogurt is the best substitute for sour cream in this recipe. Enjoy!
If I wanted to make this of a small batch, how would that change the ingredients and cooking time?
Hi Rebecca! I haven’t tested this recipe as a small batch cake but if I were to write one I’d divide all the ingredients by 3. Since the math with the eggs is tricky I would try 1 large egg and 1 large egg yolk. That should give you the perfect amount of batter for three 4-inch cake pans or one 6-inch cake pan. Bake at 350F and if using 4-inch cake pans, bake for 18-22 minutes. For one 6-inch cake pan, bake for 24-28 minutes. Hope that helps!
Phil: Sorry Whitney I completely MISSED the STARS.. previous comment August 2, 2026 at 3:22 am
Hi Whitney, I’ve always only used fruit cake for wedding and anniversary cakes. until now. A friend of ours 30 anniversary yesterday and they wanted a sponge cake. Fortunately I found your online and did a test sample bake 2 weeks ago and it was awesome; silky smooth, extremely super moist; just pure luxurious indulgence. Our friends and all the guest commented about your cake. thank you so much for sharing this.
Hi Whitney, I made your cake recipe this morning it was moist,fluffy and delicious. By the afternoon there was only one slice left.I only had a.p. flour so I followed your instructions on the cake flour. I read some reviews about it sinking in the middle tg I didn’t have that problem.I will be making it again tomorrow morning. Thank you for this wonderful recipe.
Hiya to all those with sinking centers. That was me too. And everything you’re saying I said too: I measured, it’s all room temp, I’m not a novice, yada yada. It was discouraging for me to pull out my cakes at 10:30 at night (a night before work the next day) to find deeply sunken and raw centers. I walked away and took a break and read all the info here about why cakes sink, even tho I thought I did everything right. I returned to my kitchen (which was all cleaned and ready to close for the night) and measured out all of my wet ingredients and left them on counter. Sour cream, milk, eggs, butter. All of it. Instead of leaving whole containers, I measured it all and placed in bowls and set on counter. And then I waited an hour. I measured the flour by weight this time. I whisked the baking powder and soda in the sifted flour until I felt it was well combined instead of previously just sifting it in. I didn’t let my mixer go to high, just medium high where called for, and then I made sure not to casually let the mixer rip a bit long. I watched the butter and sugar. I leveled all ingredients carefully. This time, now at midnight, my batter looked different. It looked curdled when she said it would after adding the sour cream (it didn’t before). When it all came together at the end it was actually thick, but still pourable. My batter before was thinner. Ultimately, short story long, we are the problem, not the recipe. I think I overmixed. I didn’t carefully combine the soda and powder. I could have been more intentional with the whole room temperature thing (even though I felt I achieved it before). These haven’t come out of the oven yet so I could still dork this up, but so far it’s looking much better. And I am not going to open the oven to peek. I am just going to clean my kitchen for the second time and cross my fingers and pray.
Hi Shayneh! I am SO PROUD of you for going the extra mile!! Please let me know how the layers turn out with your changes, I am on the edge of my seat!
Hello! Would there be any problem adding food coloring to this batter? Thanks!
Hi Megan! You can add food coloring to this batter, but note that with yellow as the base color it could affect your final color (for example, adding blue food coloring to a yellow cake batter can make it more of a greenish blue color, etc). Hope that helps!
Absolutely love this recipe! My three-year-old and I made it for my husband’s birthday and it came out amazing! We made two 8in rounds and then the buttercream I did it in halved it since I didn’t want too much of it and it was perfect! It was not overly sweet and the cake was super moist and just perfect! Thank you so much for this recipe. I’m sure I’ll have to make it every year now for my husband‘s birthday.
That makes me so happy, Ciara! I hope it becomes tradition!
Hi! I’m excited to make this cake, however I’m a little confused on the eggs (new baker). Is it two egg yolks and two egg whites? So two eggs total?
Hi Charlotte! It’s two large eggs (whole) and then just the yolks of two large eggs. So, two whole eggs and then separate the yolks from an additional two large eggs and either discard the egg whites or use them in another recipe. Hope that helps!
Hi Whitney
I would like to try this sheet cake recipe, but only want to make in an 8″ round cake pan, if I halved the recipe would the batter be enough for the 8″?, also I live in australia, and our 1 tsp is 5ml and 1/2 tsp 2.5ml, would it work to use these spoon measures?, also I only have a fan assisted oven, please could you advise me at what temp and for how long to bake if i use the 8″ round pan.
Thanks
Hi Debbie! If you half this recipe it will make enough for one 8×2 inch cake layer. If you’re using a fan-assisted oven, here’s some guidance on how to adjust the recipe: https://www.taste.com.au/quick-easy/articles/how-to-bake-and-tips-for-conventional-and-fan-forced-ovens/naugmfmb the australian measurements shouldn’t make enough of a difference in this recipe. I hope you love it!