
One of the number one questions I get from blog readers and social media followers is what kind of buttercream I use for my cakes. Regardless of the flavors I’m working with, the base of every frosting recipe I write is American buttercream. Specifically, one that I’ve tweaked to be less sweet than standard, customizable to suit any flavor profile, a breeze to make, and a total dream to work with. This post will focus on how to alter any of my buttercream recipes (or really, any American buttercream recipe) to be the perfect consistency for different kinds of cake decorating scenarios. I’ll even take it a step beyond and show you how to fix common buttercream problems should they ever occur. This way, you’ll always know just what to do when it comes to making the perfect batch of buttercream!
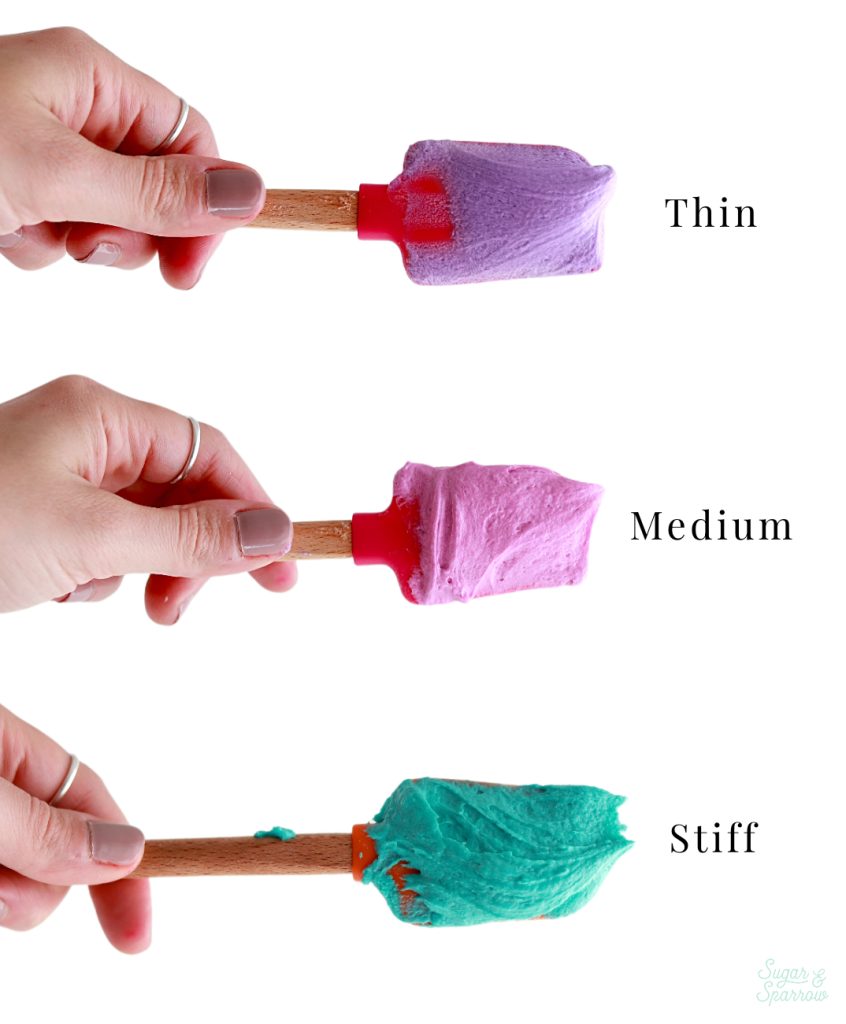
Here’s a quick video that explains the differences between each buttercream consistency and shows you how to make it before we get into the details below:
If you want to see more videos like this one, check out my YouTube Channel. I’ve got a growing collection of recipe videos, cake decorating tutorials, and my Cake Basics series in video format. Click subscribe while you’re there so you never miss a new video!
3 Types of Buttercream Consistency
There are three different consistencies of buttercream that each play a different role in cake decorating. All of the info you’ll find on this post can be paired with any of my buttercream recipes, since they’re all American buttercream recipes. If you’re wanting to work with a different type of buttercream (such as Swiss Meringue, Whipped Cream, etc.), you’ll want to search for info that’s specific to your buttercream type. Here’s everything you need to know about when to use each consistency and how to make it:
Medium Consistency
I’m starting with medium consistency because it’s the consistency you’ll end up with when you make my vanilla buttercream recipe as-is. It’s also the most versatile of all the consistencies – perfect for filling and stacking a cake, crumb coating, frosting a smooth buttercream finish, and even decorating cupcakes with piping tips.
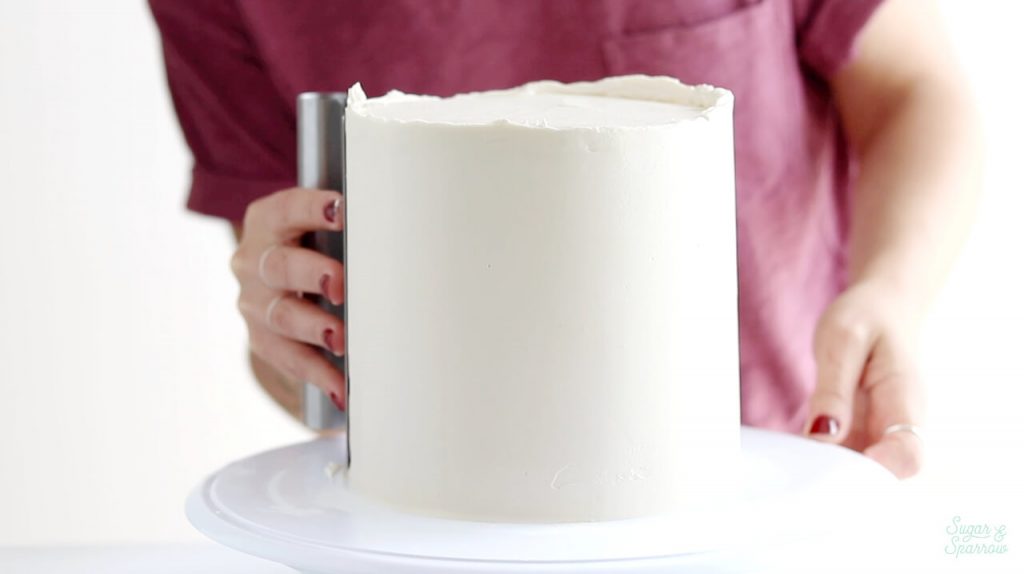

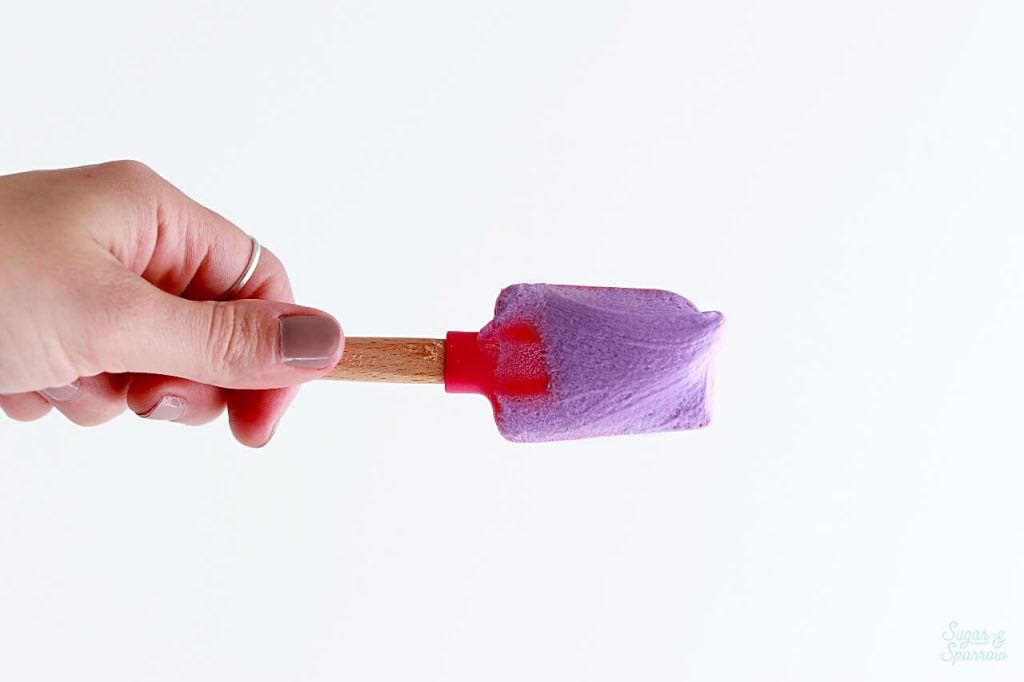
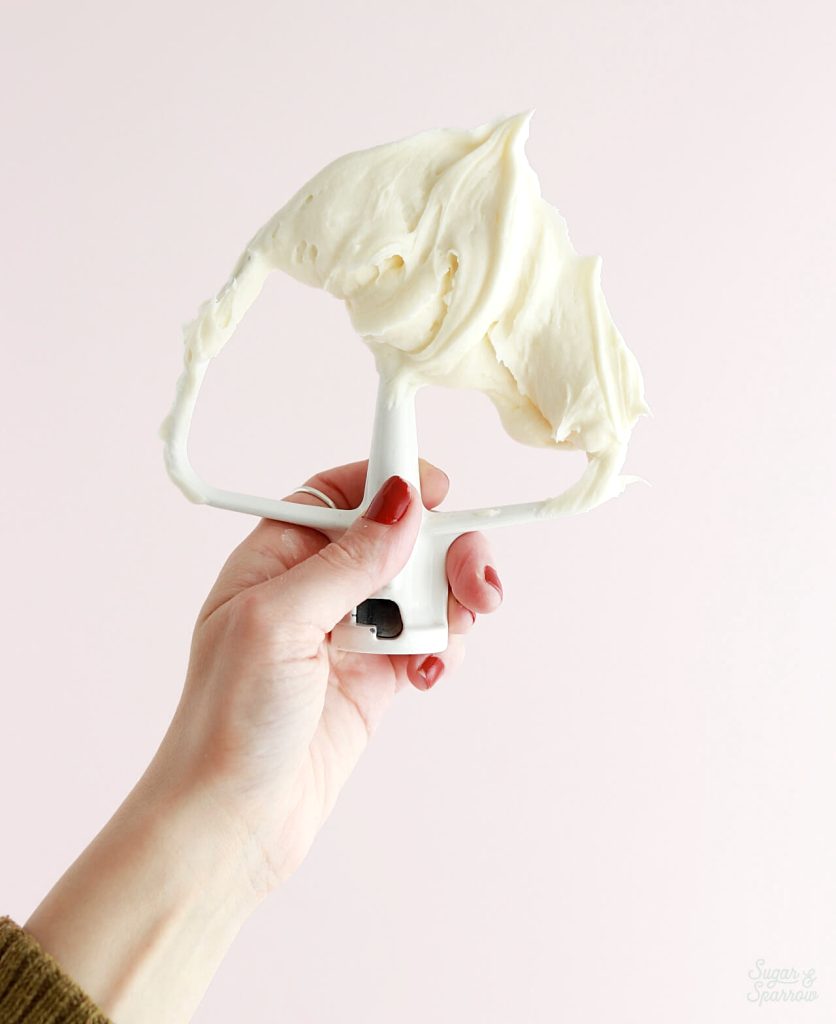
If you’re working with an American buttercream recipe that isn’t one of mine, you can check to see if your buttercream is medium consistency by dipping your spatula into it and observing the shape of the peak. It should be a soft peak that holds its shape for at least a few seconds when you turn it right side up.
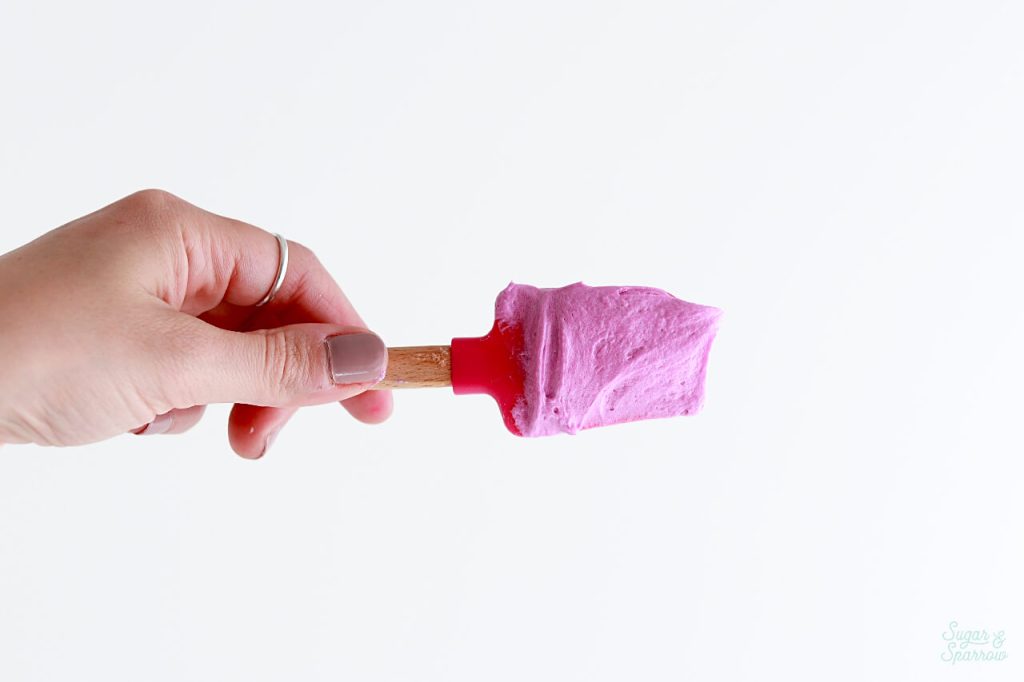
Thin Consistency
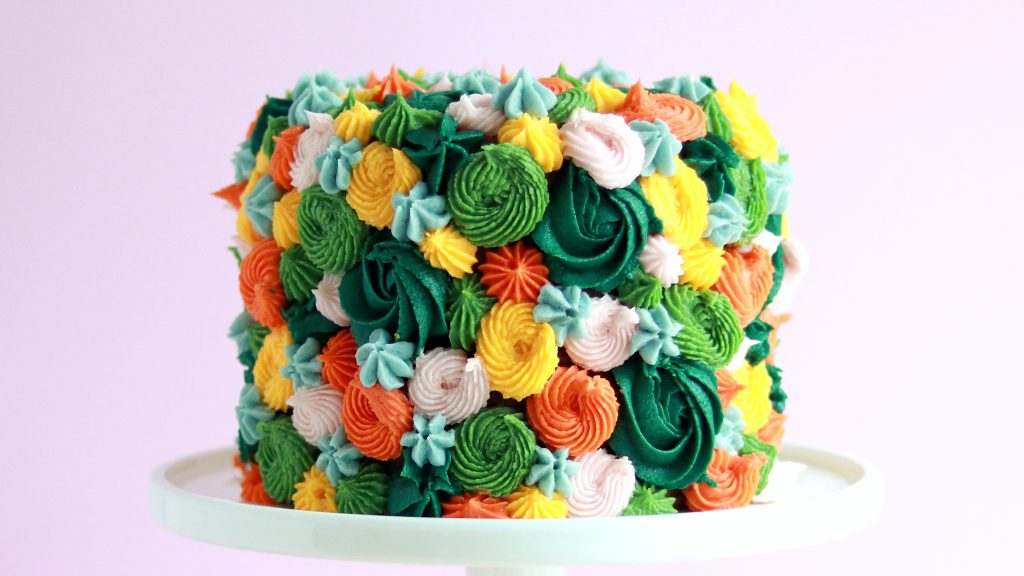
Thin consistency is perfect for a few things: painting with buttercream (this floral buttercream cake is a good example), writing out a message, or for frosting a super thin final layer of buttercream onto your cake. The second reason is more of a cake hack, which I shared in this YouTube video on how to get an extra smooth buttercream finish.
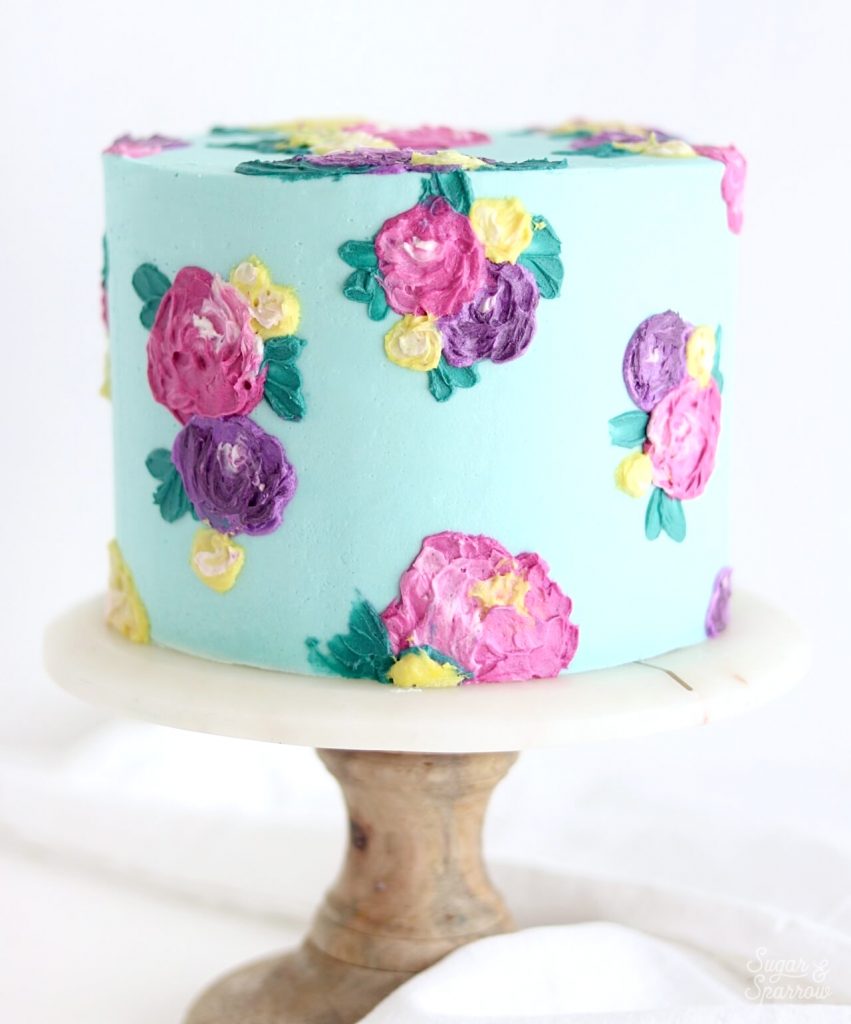
To make your buttercream thin consistency, add it back into the bowl of your stand mixer (if it’s not already there) and mix it on low speed while you add room temperature milk, 1-2 teaspoons at a time, until the desired consistency has been reached. To test it, you should be able to dip your rubber spatula into the buttercream and it will come out with super soft peaks that don’t really hold their shape, but also aren’t melty (see the troubleshooting tips below if it is). This consistency should spread very easily, which makes it perfect for more painterly textures.
Stiff Consistency
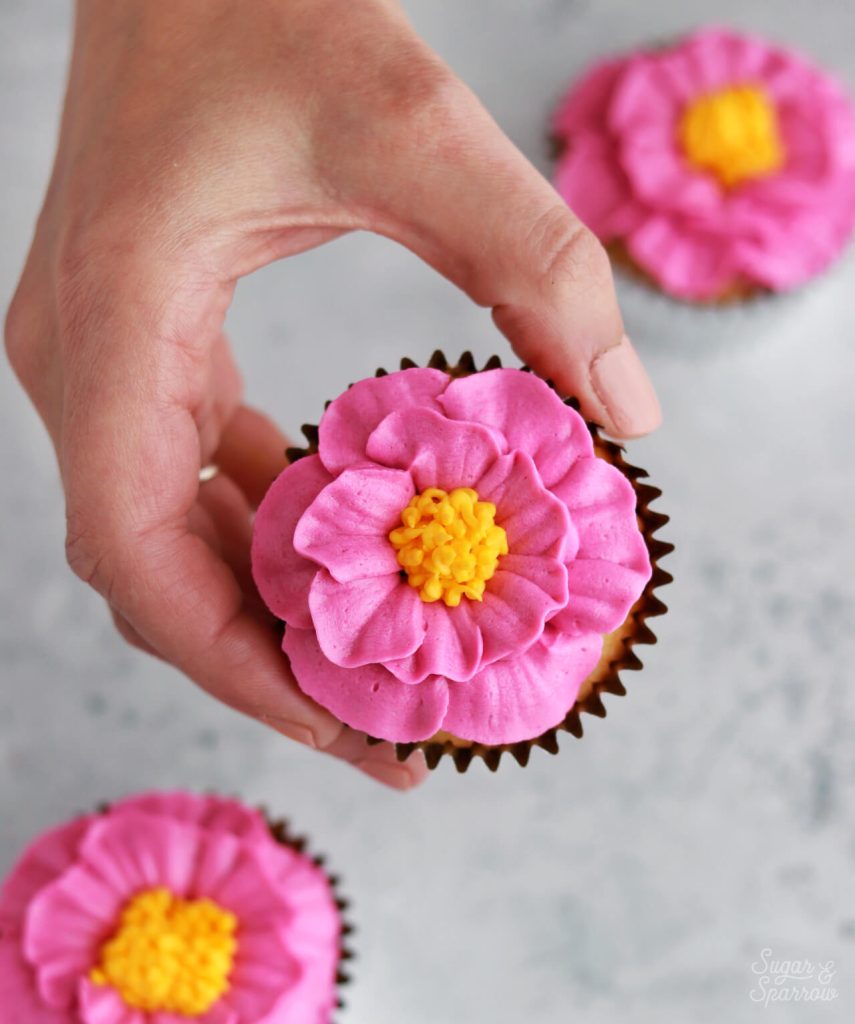
If you’re piping buttercream flowers, especially ones with petals that need to stand upright, or piping intricate designs like a lambeth cake, you’ll need a stiff consistency buttercream. Thickening your buttercream when necessary will help it to hold its shape and prevent your piping from looking droopy.

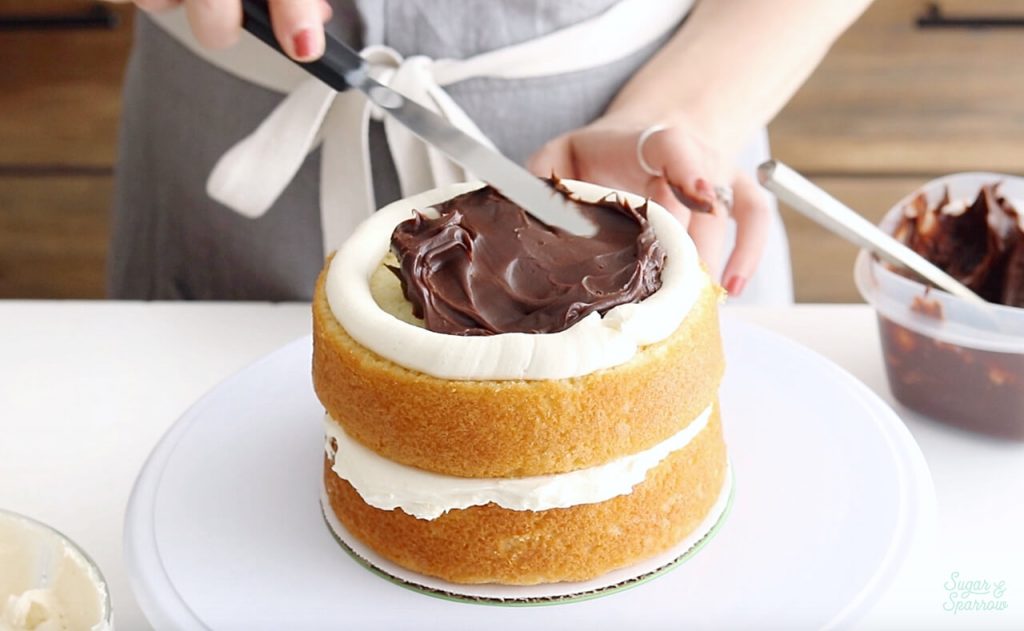
Another time that stiff consistency comes in handy is in the filling and stacking process, when you’re working with a soft filling that needs a piped buttercream dam around it to uphold the weight of the cake layers above. By slightly thickening your buttercream for the dam, it will be extra effective against the weight of gravity. This way, your filling won’t bulge out between the layers.
To create a stiff consistency buttercream, add powdered sugar to your batch of buttercream, 2-3 Tablespoons at a time, until the desired consistency is reached. You can add as much powdered sugar as you’d like depending on how thick you want the buttercream. If you are concerned about making it too sweet, you can use cornstarch as an alternative. It won’t add any flavor to your buttercream.
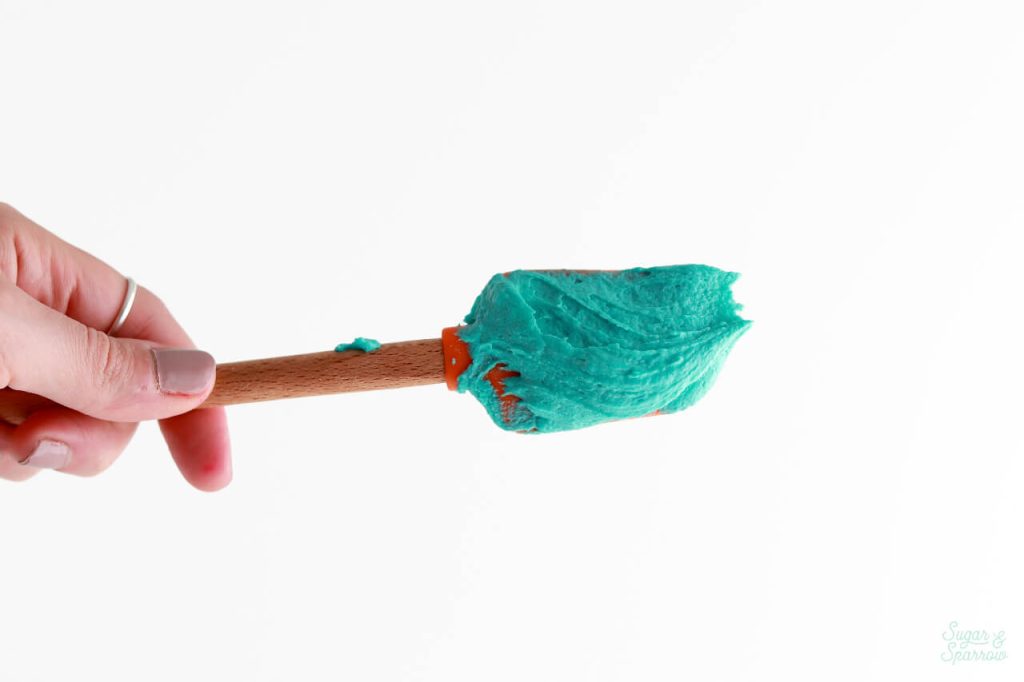
To test the consistency, you should be able to dip your rubber spatula into the buttercream and it will come out with stiff peaks that hold their shape. It should pipe easily without having to put a lot of pressure on the bag and the piped details should not look frayed. If they do, you’ll want to thin out the buttercream slightly (see details on that in the next section).
How to Fix Buttercream
When you’re altering buttercream consistency, it’s entirely possible to overdo it. The good news is that whether you make your buttercream too thick or too thin, it’s easy to fix. I’ve thrown in some additional common problems just in case you need troubleshooting tips for those too:
If it’s Too Thick
You’ll know your buttercream is too thick if it’s ripping the cake layers while you’re trying to frost with it or the details look frayed when you pipe with it (like in the picture below). To fix it, simply add room temperature milk, 1 tsp at a time, until the consistency is just right.
If it’s Too Thin or Runny
There are a few ways you’ll know your buttercream is too thin: it looks soupy, bulges out from between your cake layers when used as a filling, or the details droop when you try to pipe with it. Buttercream might end up too thin if you add too much liquid or if you’re working in a warm kitchen. Butter starts to break down above 75 degrees, so any environment above that will have an effect on your buttercream consistency.
To thicken your buttercream when you’ve added too much liquid, simply add more powdered sugar, 2-3 Tablespoons at a time, until the desired consistency is reached. If it’s more of a matter of the kitchen temperature being too warm, pop your buttercream into the refrigerator for about 10-15 minutes. Then, remix it in your stand mixer on low speed for a minute or two to bring it back together. The refrigeration should help the butter in the recipe firm up and stabilize the whole batch.
If it’s Filled with Air Bubbles
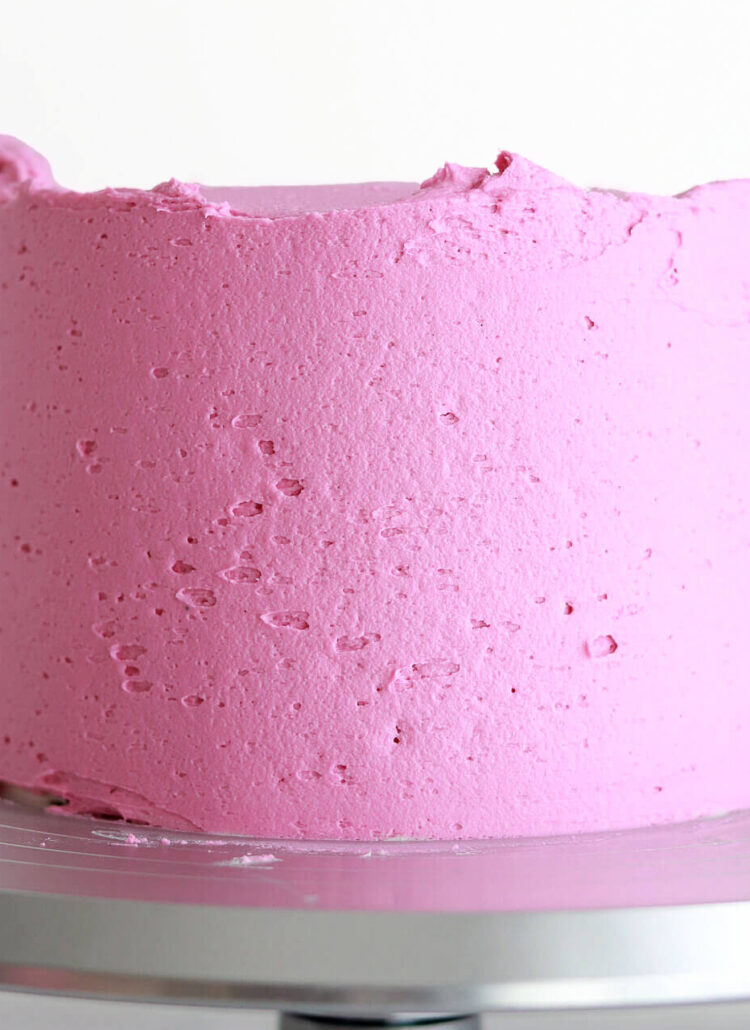
Sometimes when you’re making a batch of buttercream, extra air can get trapped inside, resulting in visible air bubbles throughout the mixture. This mostly happens when the buttercream is whipped on too high of a speed after adding the powdered sugar. To fix it, place the buttercream into an airtight container, let it rest at room temperature for about 20 minutes, then add it back into the bowl of your stand mixer and let it mix on low speed for about a minute. I don’t know why this works exactly, but the whole process somehow forces out all the extra air like magic.

If you didn’t realize your buttercream had air bubbles in it until you started frosting the cake, fear not. Frost a super thin layer of buttercream, air bubbles and all, and place the cake into the refrigerator while you fix the rest of the buttercream using the process described in the paragraph above. By the time you’ve got a smooth buttercream to work with, your frosted cake should be chilled to the point where you can frost an additional layer of buttercream over the top and fill in all of the air pockets in the buttercream layer beneath.
To prevent air bubbles in the future, always mix on low speed from the time you add the powdered sugar until the end of the recipe. Low and slow is the ticket.
If it Looks Curdled
Typically, the buttercream becomes curdled if you start with butter that’s too soft or add milk that’s too cold. Both of these ingredients must be at room temperature for the buttercream to have a cohesive, smooth consistency. To fix it, place the entire batch of buttercream into the refrigerator for about 20 minutes, then re-mix it with your stand mixer for 2-3 minutes. It should look well-blended and smooth at this point.
If it Feels Grainy or Gritty
Buttercream looks and tastes gritty if you haven’t given the powdered sugar enough time to dissolve. The powdered sugar will dissolve easiest if you sift out any large lumps prior to adding it. To fix the grainy consistency, add 1-2 additional teaspoons of room temperature milk and mix the buttercream on low speed for an additional 1-2 minutes. This should help the powdered sugar dissolve completely.
Hopefully this post solves every buttercream consistency question you could ever have! But, if you’ve got more questions, feel free to post them in the comments below. I’m happy to help!



Hi Whitney!
Thank you for your tutorials – they are the most helpful that I’ve found. would one batch of the buttercream be enough to fill, crumb and decorate a 3 tier 6 inch cake? Thank you, Katie
Hi Katie! So happy these tutorials have been helpful! You’ll want to double the recipe to have enough for filling, crumb coating, and decorating a 3-layer 6-inch cake.
Hi,
When I made the buttercream , it was white and fluffy, however when I took it out from refrigerator, it became yellowish and no longer smooth. Any idea what’s the reason!
Hi Runa! I’m not sure why it would turn yellow in the refrigerator but it does tend to look more air bubbly after refrigeration. It’s an easy fix! Once you bring it back to room temperature, remix it with your stand mixer on low speed to bring it back to a smooth consistency. If you need it to be really white in color, I’d recommend adding a little icing whitener like this: https://amzn.to/3FgcqBe
If my buttercream is both soupy and grainy after adding a lot of food dye, do I fix the soupy or the grainy first?
Hi Tish! That sounds like a lot of food dye if it’s changing the consistency that much. What color are you trying to make? And what buttercream recipe are you using? Answering those questions will help me determine how to fix the buttercream.
Hi Whitney!! Thank you so much for your wonderful tutorials and your beautiful cakes that inspire me. I was wondering how long I could leave a fully frosted cake in the fridge? I have a tight schedule, so I was wondering if I were to decorate it 2 days ahead it would still be good by the time I need it. Thank you! Love your recipes soooooooo much.
Hi Addie! You can definitely decorate a cake 2 days ahead and store it in the refrigerator. Here’s a more detailed post on making cakes ahead of time: https://sugarandsparrow.com/making-cakes-ahead/
Thank you for all the helpful tips and information.