
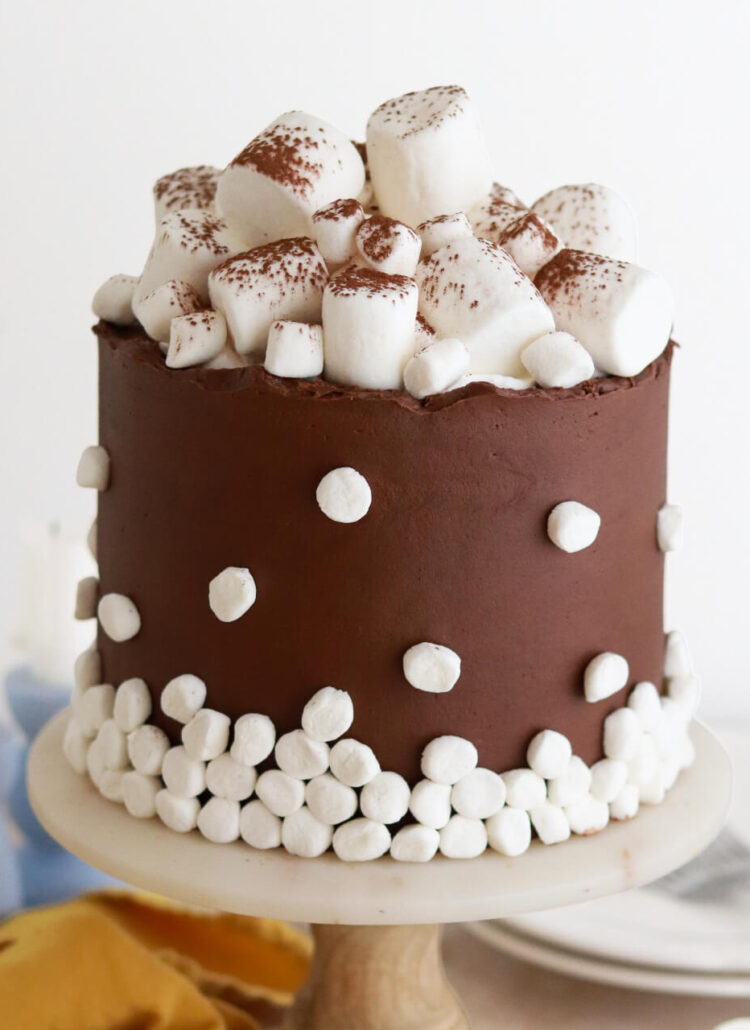
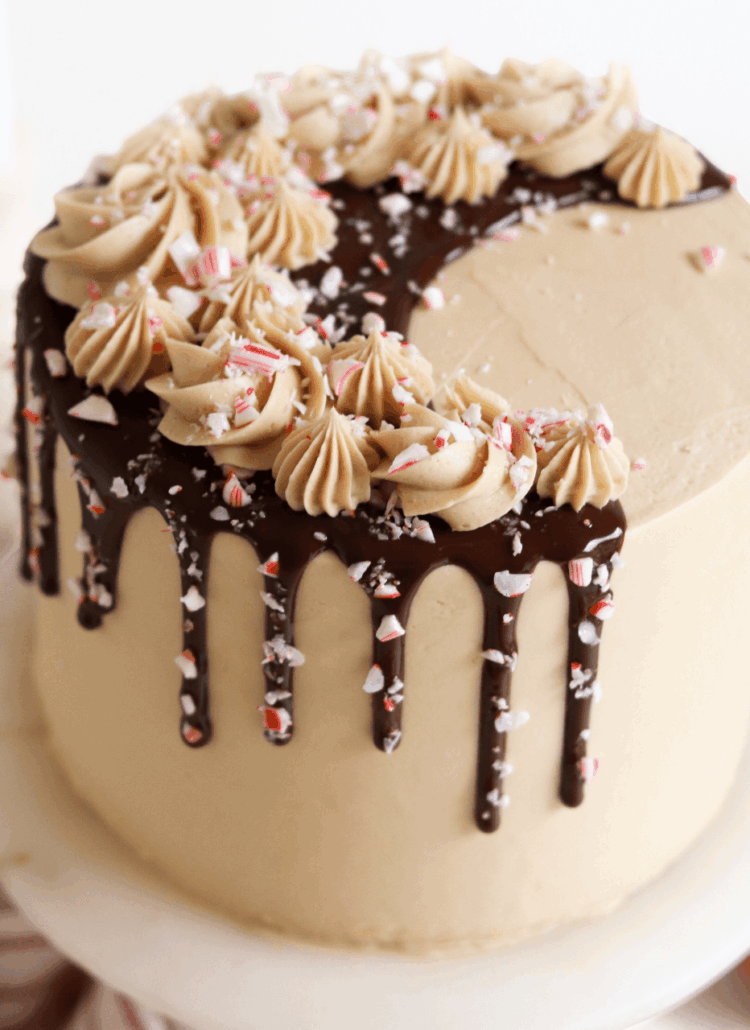
It’s that time of year when all the coffee shops start selling lattes with festive flavors. Anytime I see a Holiday drink menu roll out I can’t help but get inspired to translate those flavors into cake form (see also: my Peppermint Mocha Cake and Hot Cocoa Cake recipes). I thought it was about time for a delicious Gingerbread Latte Cake and to my complete satisfaction (and after lots of recipe testing), this one checks all the boxes!
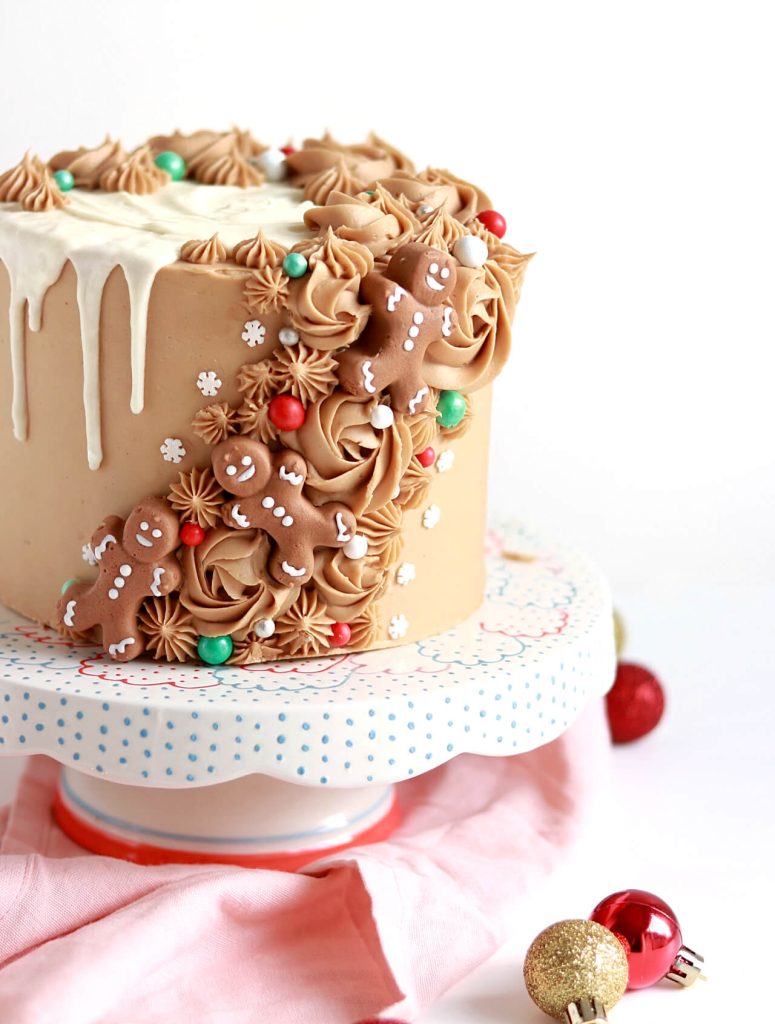
The recipe starts with a moist, heavenly Gingerbread Cake that will have your kitchen smelling like Holiday cheer. Between the spices, the brown sugar, and the sticky sweet molasses, this Gingerbread Cake tastes like the real deal. It’s got a decadent crumb and is packed with delightful gingerbread flavor. I love using cake flour in most of my recipes to make my cakes as light as possible, but in the recipe testing sessions for this one, I did learn that all purpose flour makes the best structure. The texture turned out perfect in the end!
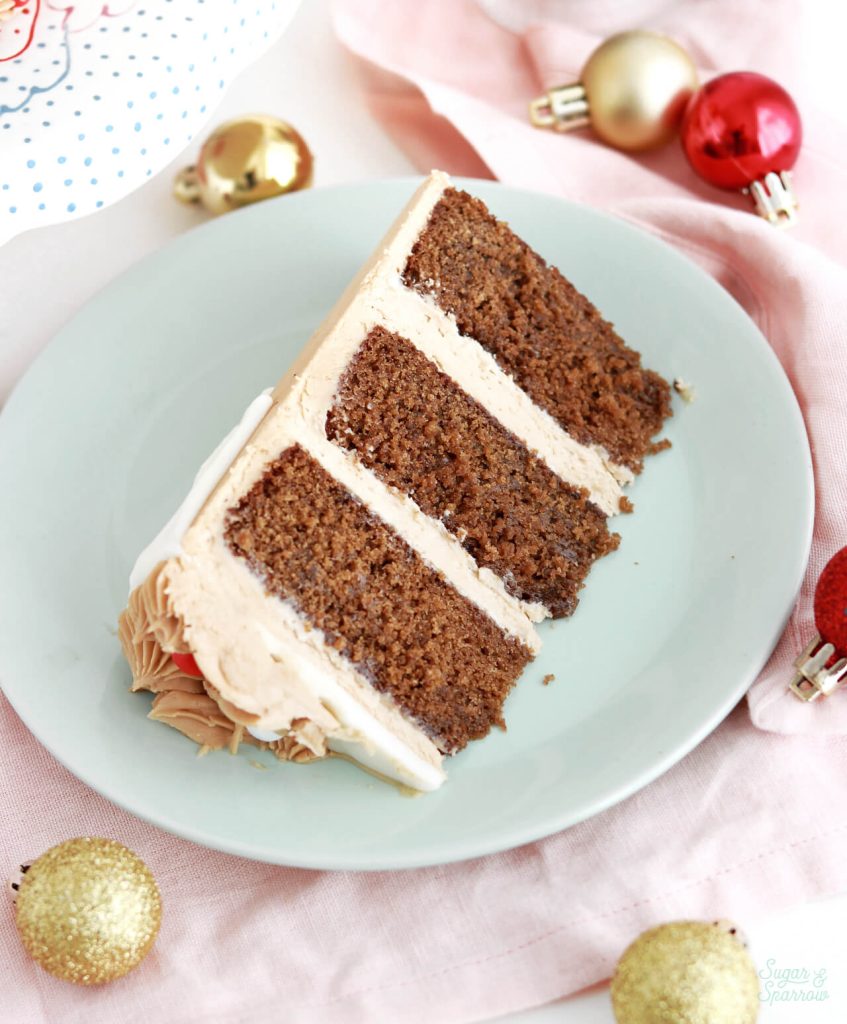
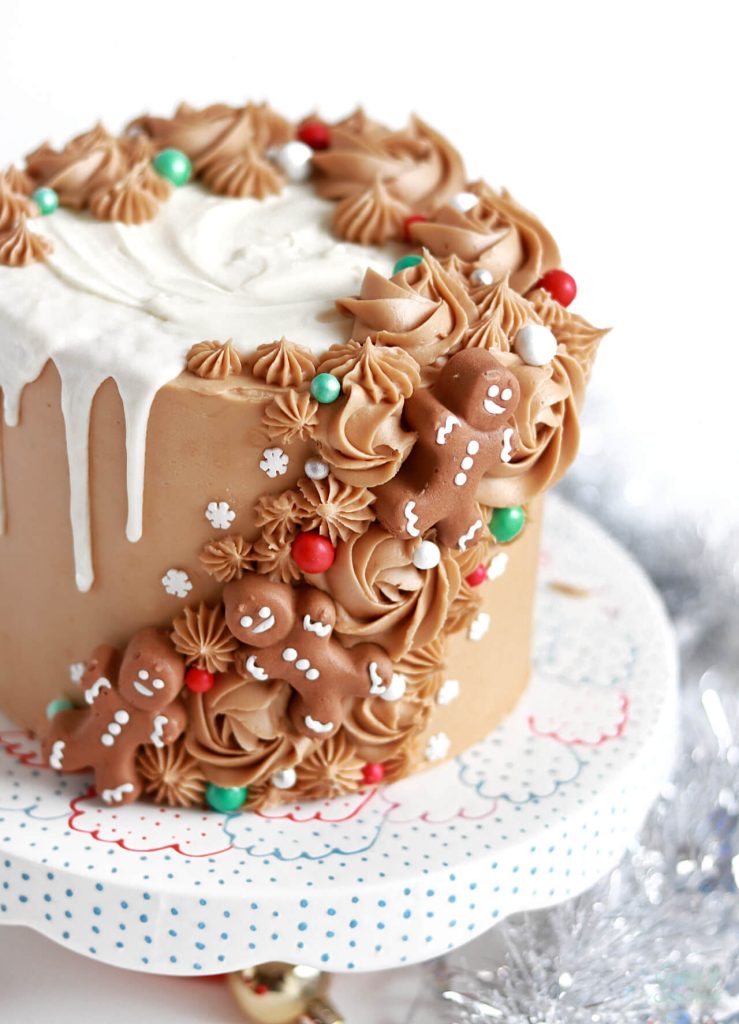
The spiced gingerbread flavor in this cake pairs so perfectly with the richness of the Coffee Buttercream and tastes so reminiscent of a gingerbread latte. I was in Holiday cake heaven eating all the scraps as I decorated. The buttercream is so easy to whip up and uses instant coffee (espresso powder works too!) mixed with milk to add flavor. It’s so silky smooth and perfect for filling, frosting, and piping.
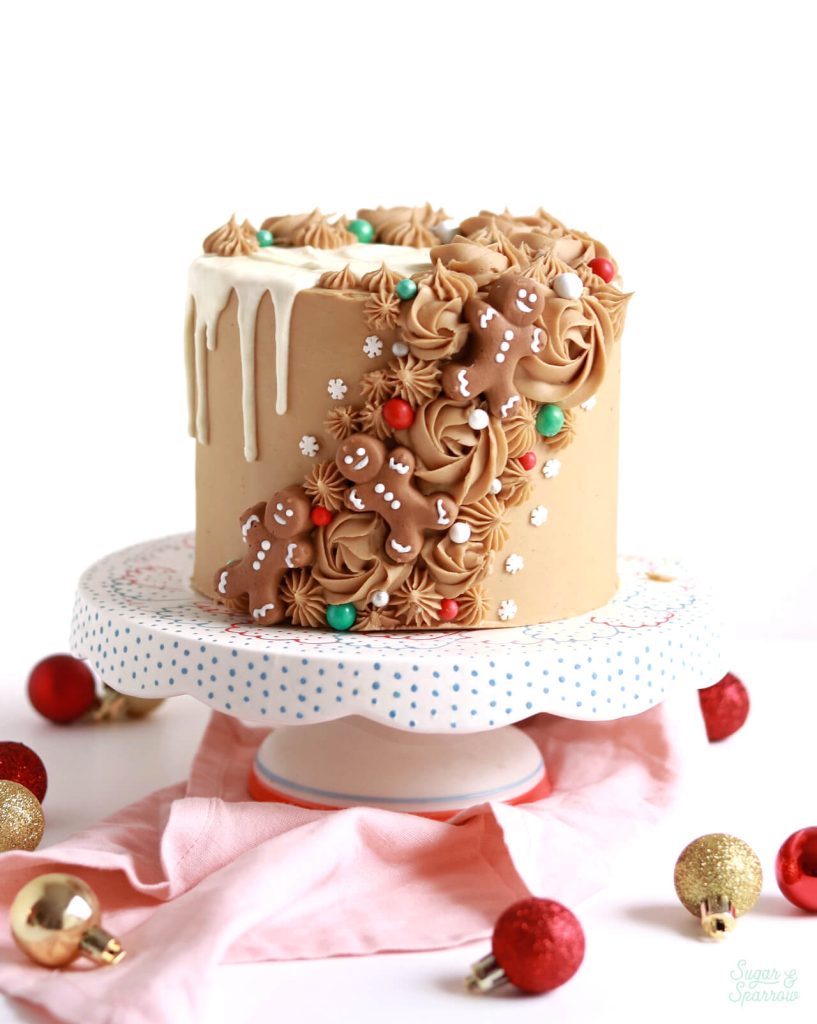
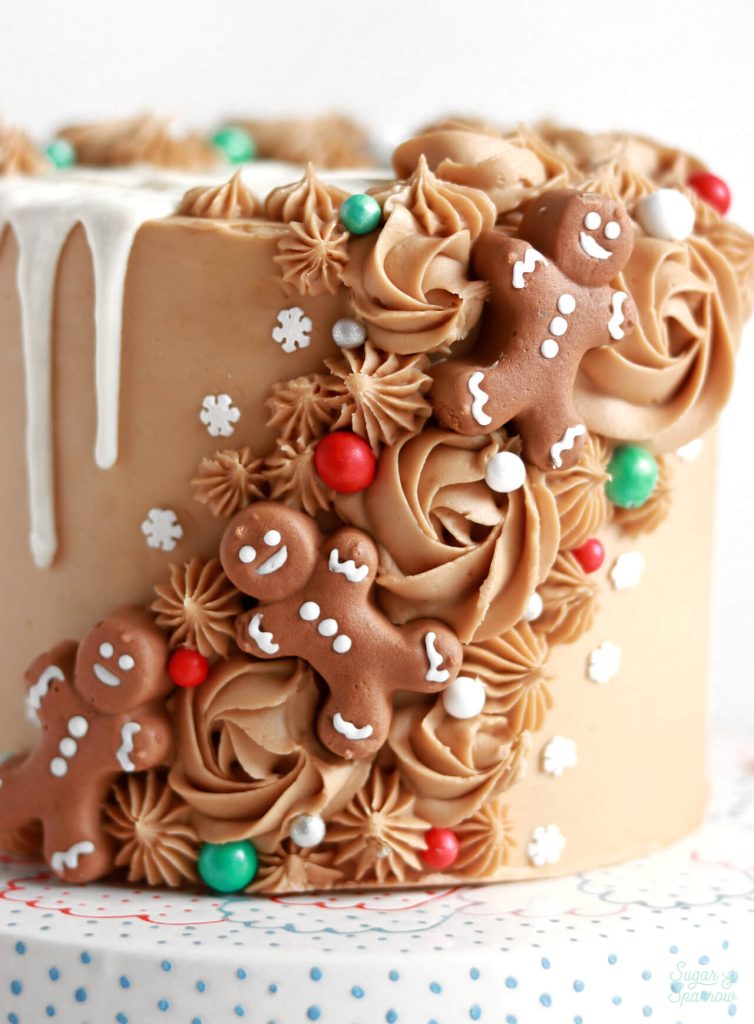
I’ve really been in the Christmas spirit this year, so I decided to go super festive with the cake decorating on this one. The design may look a little complex, but I promise it’s super easy with the right tools. I started by frosting the cake smooth and adding a White Chocolate Ganache Drip on half of the cake. I piped coffee buttercream rosettes with Wilton Tip 1M in a cascading pattern up the side of the cake and around the top (really similar to this technique). Then, I added some gingerbread man marshmallows that I found at my local Fred Meyer (here are similar ones), piped coffee buttercream stars with Wilton Tips 4B and 32, and finished off the look with some pretty Holiday sprinkles.
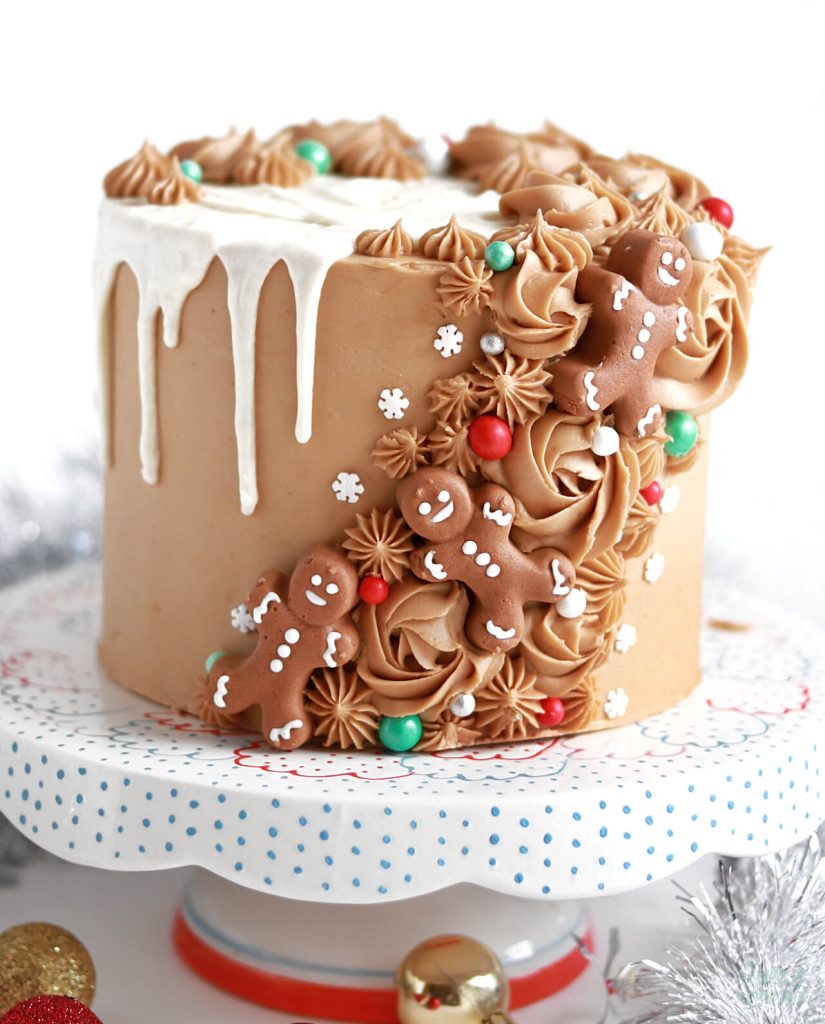
No matter how you choose to decorate, this cake is so delicious whether you’re a gingerbread latte fan already or simply love all Holiday flavors. Here’s a quick video of the cake decorating process I used in case you’re inspired:
If you’re into cake decorating videos like this one, be sure to check out my YouTube channel! You’ll find tons of decorating tutorials, recipe videos, and my Cake Basics series in video format. I’m always adding new videos there, so be sure to hit the subscribe button and be in the know when I post a new one.
Gingerbread Latte Cake Recipe
Ingredients
Gingerbread Cake
- 2 3/4 Cups (360g) all purpose flour
- 1 1/2 tsp baking powder
- 1/2 tsp baking soda
- 1/2 tsp salt
- 2 tsp ground ginger
- 1 1/2 tsp ground cinnamon
- 1/2 tsp ground nutmeg
- 1/2 tsp ground cloves
- 1 Cup (226g) unsalted butter, room temperature
- 3/4 Cup (150g) white granulated sugar
- 1/2 Cup (95g) packed brown sugar
- 3 large eggs, room temperature
- 2 tsp pure vanilla extract
- 3/4 Cup (180ml) molasses
- 1 Cup (240ml) full fat buttermilk* DIY recipe in notes
Coffee Buttercream
- 1 Tbsp instant coffee powder or espresso powder
- 3 Tbsp whole milk, room temperature
- 2 Cups (452g) unsalted butter, room temperature
- 7 Cups (840g) powdered sugar
- 4 tsp pure vanilla extract
- 1/4 tsp salt, or to taste
Decorations
- gingerbread man marshmallows link to similar ones below
- white chocolate ganache drip link to recipe below
- holiday sprinkles link below
Instructions
Make the Gingerbread Cake
- Preheat the oven to 350°F. Prepare three 6-inch or two 8-inch cake pans by spraying the sides with a cooking spray (Baker's Joy is my favorite) and a parchment or wax paper circle fitted to the bottom of the pan. Alternatively, you can grease and lightly flour the pans.
- Add the flour, baking powder, baking soda, salt, ginger, cinnamon, nutmeg, and cloves into a bowl. Whisk to combine and set aside.
- In the bowl of your stand mixer (a handheld mixer works fine too!), cream the butter on medium-high for two minutes. Add in the white and brown sugars and cream on medium-high for another two minutes until light and fluffy, scraping down the bowl and paddle as needed. Turn the mixer to low and add the eggs one at a time. Add the vanilla and molasses, turn the mixer to high, and beat for one full minute.
- With the mixer on low speed, alternate adding the flour mixture and the buttermilk, beginning and ending with the flour mixture. Mix until just incorporated. Scrape down the sides and bottom of the bowl and give it a few stirs to make sure there are no lumps. Batter will be thick, but pourable.
- Pour the batter into prepared cake pans (no more than 2/3 of the way full) and bake for 30-35 minutes. They’re done when they spring back to the touch and a toothpick inserted into the middle comes out clean. Let the cakes cool in the pan for five minutes before turning them out onto a wire rack for an additional few hours of cooling. Make sure they’re entirely room temperature before applying any frosting.
Make the Coffee Buttercream
- Combine the instant coffee powder (or espresso powder) with the whole milk and set aside. In the bowl of a stand mixer, cream the butter on med-high until light and fluffy (about 5 minutes), scraping down the bowl and paddle a few times in between.
- Add powdered sugar a few cups at a time, scraping down the bowl and paddle between intervals. Then add the vanilla, the coffee/espresso milk mixture, and salt. Mix on low until fully incorporated, about one minute.
Assembly
- Once the Gingerbread Cakes have cooled completely, level and torte each layer to your desired height. Fill and crumb coat the cake layers with Coffee Buttercream. Place the crumb coated cake into the refrigerator for at least 20 minutes to firm up before moving on.
- To create the cake design pictured, frost a smooth layer of Coffee Buttercream around the cake and place it back into the refrigerator for at least 30 minutes, then create drips on half of the cake with White Chocolate Ganache.
- Fit one piping bag with Wilton tip 1M, a second piping bag with Wilton tip 4B, and a third with Wilton tip 32. Divide the remaining Coffee Buttercream amongst the three bags. Pipe rosettes with Wilton tip 1M in a diagonal direction up the side of the cake, continuing halfway around the top rim. Place gingerbread men marshmallows decoratively between the rosettes. Pipe stars with Wilton tips 4B and 32 around the rosettes and marshmallows, continuing up the side of the cake and halfway around the top edge. Here is a similar technique for the piping. Finish the look with Holiday sprinkles.
Notes
- The Gingerbread Cake can be made ahead and stored at room temperature, covered tightly in plastic wrap, for up to two days. Alternatively, you can cover with plastic wrap and store in the freezer for up to two months before thawing to room temperature.
- The Coffee Buttercream can be made ahead and stored in an airtight container in the refrigerator for up to two weeks. When you’re ready to use it, bring it back to room temperature and re-whip in your stand mixer to bring back to smooth buttercream consistency.
Did you make this Gingerbread Latte Cake recipe? I want to know how it went! Let me know in the comments below and feel free to tag @sugarandsparrowco on Instagram and show me! I love to see what you create.

Hi! This recipe sounds amazing! Can I add walnuts to the cake? I think it would add good texture. If so, would it change the bake time?
Hi Christina! I’ve never tried adding walnuts to this cake but I’m sure you could fold them in at the end. It shouldn’t change the bake time.
Can I make this into cupcakes? How long to bake them?
Hi Michelle! Yes, you can make this recipe into cupcakes. Fill the tins no more than 2/3 full and bake at 350F for 15-18 min. Enjoy!
The flavour of this cake was delicious! My only issue was that the cake fell in the centre. I also had to bake it much longer than stated. Not sure what happened as I’m not new to baking. Might try it again without the cake strips and see how it goes. Still delicious!
Hi Lucy! I’m so happy the flavor was spot on but sorry to hear that your cake fell. Here are a few common reasons why cakes sink to help troubleshoot for next time: https://sugarandsparrow.com/why-cakes-sink/
Good Morning Whitney!
As a baker, I always weigh ingredients. I made this cake yesterday. It didn’t bake properly, overflowed the pan, sank in the middle. But the cake texture and flavor were good…it was so odd. So today I am making it again and am being meticulous in weighing/measuring. As I did the brown sugar, weighing 170 grams as in the recipe, I realized this was a lot more than 1/2 cup packed. So I weighed 1/2 cup brown sugar packed, it is 95 grams. Could you let me know which is correct? 170 grams, or 95 grams? I am going with 95 and will let you know how it turns out!
Hi Sarah! I am so sorry about that typo! The brown sugar should weigh 95g. Thank you for catching that. Were you able to test it again?
Hi I’m a beginner baker and I only have two 8 inch cake pans. But would love to make it a three layer cake as well. Do I double the recipe n for the frosting too?? If so, can you help me out with doubling the recipe too?
Hi Geovania! You can make 1.5x this recipe to have exactly enough for three 8-inch pans. I always use a recipe scale calculator like this one to help calculate the measurements: https://www.inchcalculator.com/recipe-scale-conversion-calculator/ you can just copy/paste the ingredients list and select the “one and one half” option. Hope that helps!
This looks awesome and I really want to try it, but I only have a hand mixer, will that work? I posted this question about a week or two ago and it’s not here. So I’m trying again:)
Hi Bonnie! Yes, a hand mixer will work 🙂 just follow the same timing and speeds listed in the recipe and use a large bowl
Hi Bonnie! Yes, it will absolutely work with a hand mixer. Just follow the mixing speeds and times listed in the recipe!
I ordered the Peeps off Amazon and they were fake Peeps and looked horrible. It’s worth buying at Fred Meyer to make sure you have what you want. https://www.instagram.com/sugarandsparrowco/
This is a gorgeous cake! I made a batch using cake pan strips for the first time but didn’t wring the strips out properly so the cake layers fell. I set them aside and made the recipe again with properly prepared cake strips and they turned out beautifully. I decorated a gorgeous cake, then took the original layers and turned them into cake pops. My husband brought them to work and they were devoured quickly. The layer cake went to a fire station. Thank you for the beautiful recipe!
Yay, Melissa! I’m so happy to hear that this cake was a hit and that you got to salvage those original cake layers!
This looks awesome and I cannot wait to try it! The cakes are in the oven and the frosting is made-both taste delicious. How far ahead can i assemble the cake? Thank you!!
Yay, Andrea! I recommend assembling the cake no more than 2 days ahead of serving it, the closer to the day you’re serving the better. Enjoy!
It turned out delicious and beautiful!!! I assembled it the day before and bringing it to its destination was the hardest part
Yay! And oh my gosh, transporting cakes is always so stressful!
This cake is so adorable. I am putting this in (2) 12 inch pans. Is it okay to double this recipe? Thanks in advance!
Thanks so much, Terri! You can absolutely double the recipe and should have enough for 2 12-inch pans. I’m not sure what the baking time will be on pans of that size, so I would check the cakes at 45 min and see if they need more time from there.
I can’t wait to try this!! My husband and I have a Christmas party every year with our best friends. I feel like this needs to be made for the event! Can you tell me please if I need to keep the finished cake refrigerated? I assume so due to having milk in the icing. Any idea how long it can stay out on display? Thank you in advance! Seriously excited to make this!
Yay, Val! This cake will be perfect for a Christmas party! You don’t technically need to keep the cake refrigerated, but I always refrigerate my cakes until 1-2 hours before serving just to keep the decorations nice and set. It can be on display for as long as you’d like! The sugar in the icing preserves the little amount of dairy that’s in it, so you can safely keep it out of the refrigerator for up to 5 days. Hope that helps!
I tested this recipe in cupcake form and it was perfect! Also the buttercream is SERIOUSLY the best coffee buttercream I’ve ever had–since I didn’t need as much for cupcakes I cut the amount of butter and powdered sugar in half, but still used the same amount of liquid. I also make my buttercreams with almond milk since I’m lactose intolerant. Will 100% be using this coffee buttercream as part of my Christmas Cake this year for the fam. Cannot wait to try another one of your recipes as cupcakes!!
Yay, Caitlin! I’m so happy to hear that these recipes were a success!!
I made this gingerbread cake recipe for our family Christmas party this year. Instead of the latte icing, I used regular vanilla buttercream, but decorated it with a rosemary wreath on top. The flavors complimented one another beautifully! Thank you for sharing. It was a big hit
Yay, Sophia! I’m so happy to hear that this recipe was a hit and those flavors + decorations sound amazing!
Such a delicious flavor combo. The ginger flavor in the cake was perfect. I loved it!
Yay, Toni! I’m so happy to hear that you enjoyed this recipe! Thanks for letting me know 🙂
I am going to make the gingerbread cake today!
I LOVE coffee, but most of my family does not. I’m thinking of creating a maple buttercream frosting. By chance, do you have a recipe for it on your blog?
That sounds like an amazing flavor combination, Melissa! I don’t have a recipe for maple buttercream on my blog but now I think I need one!