
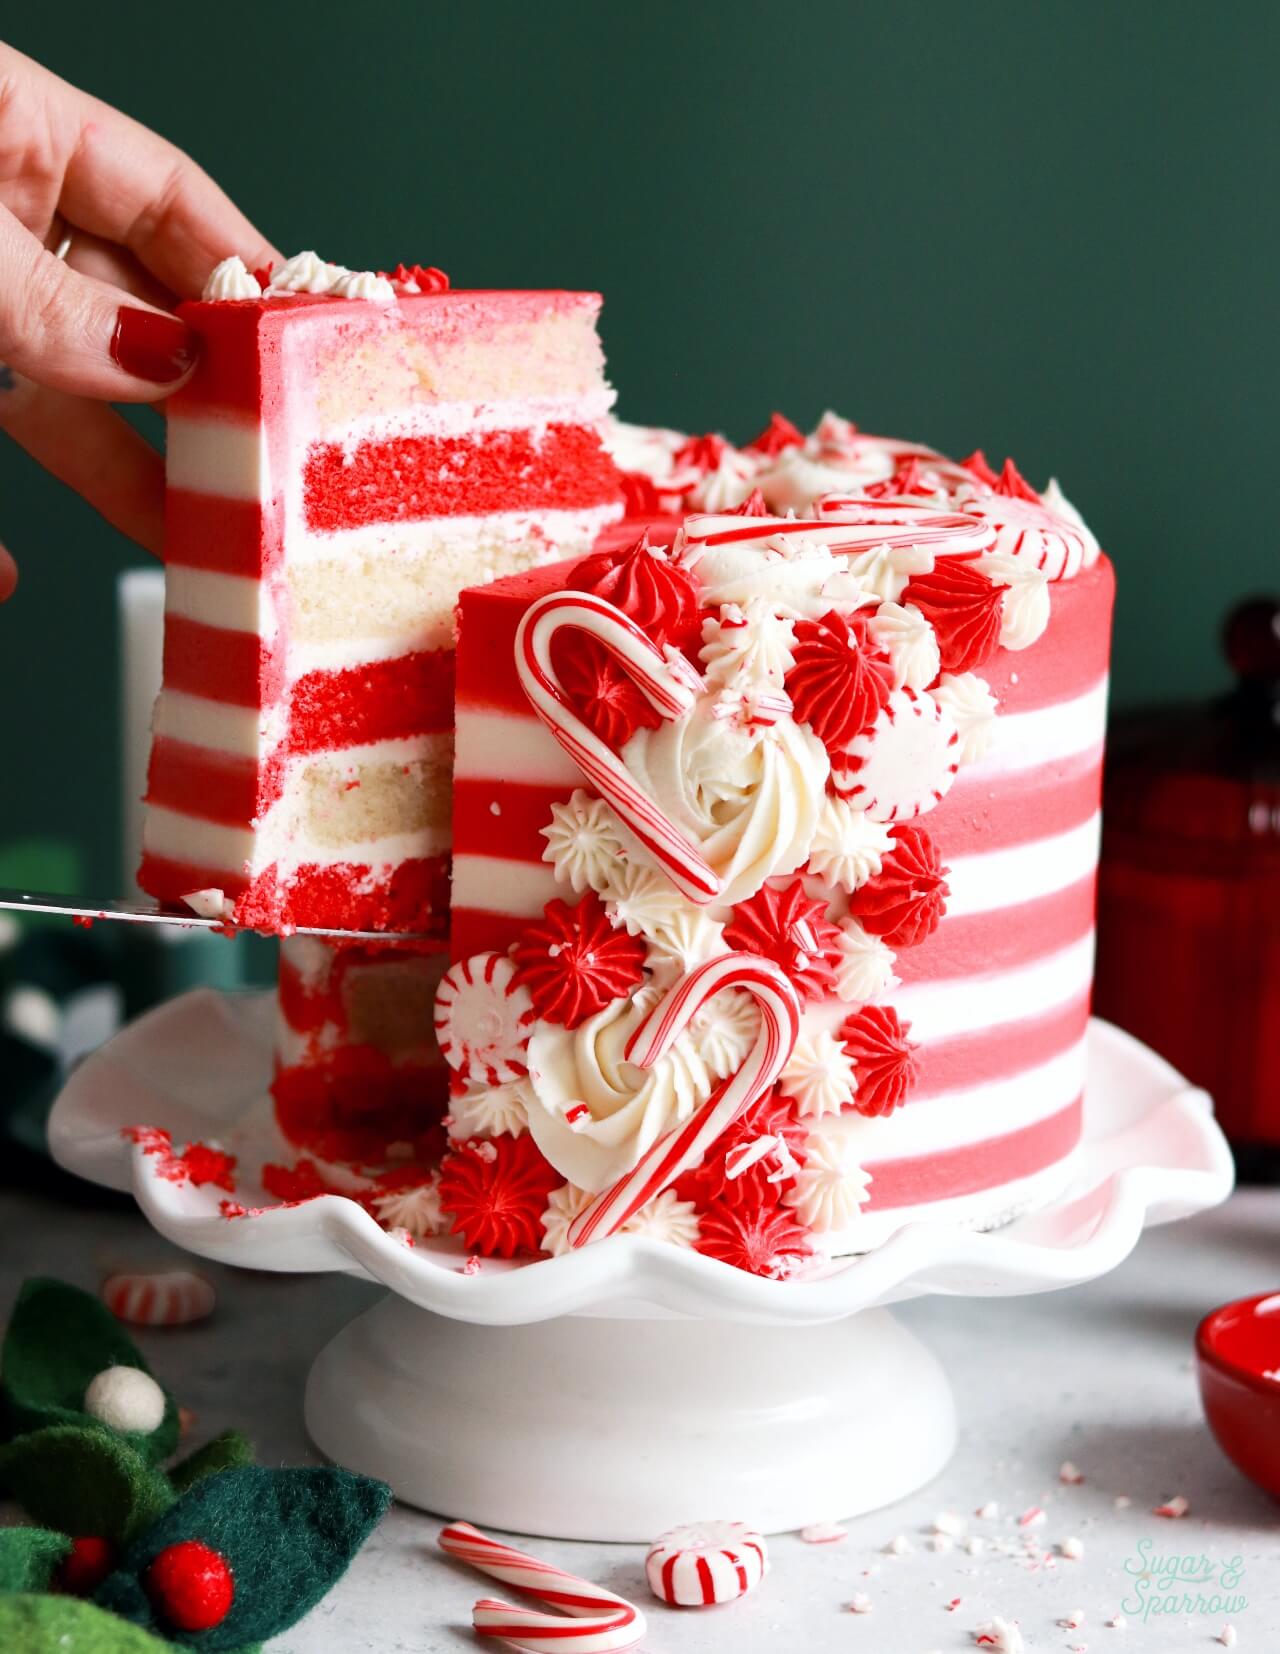
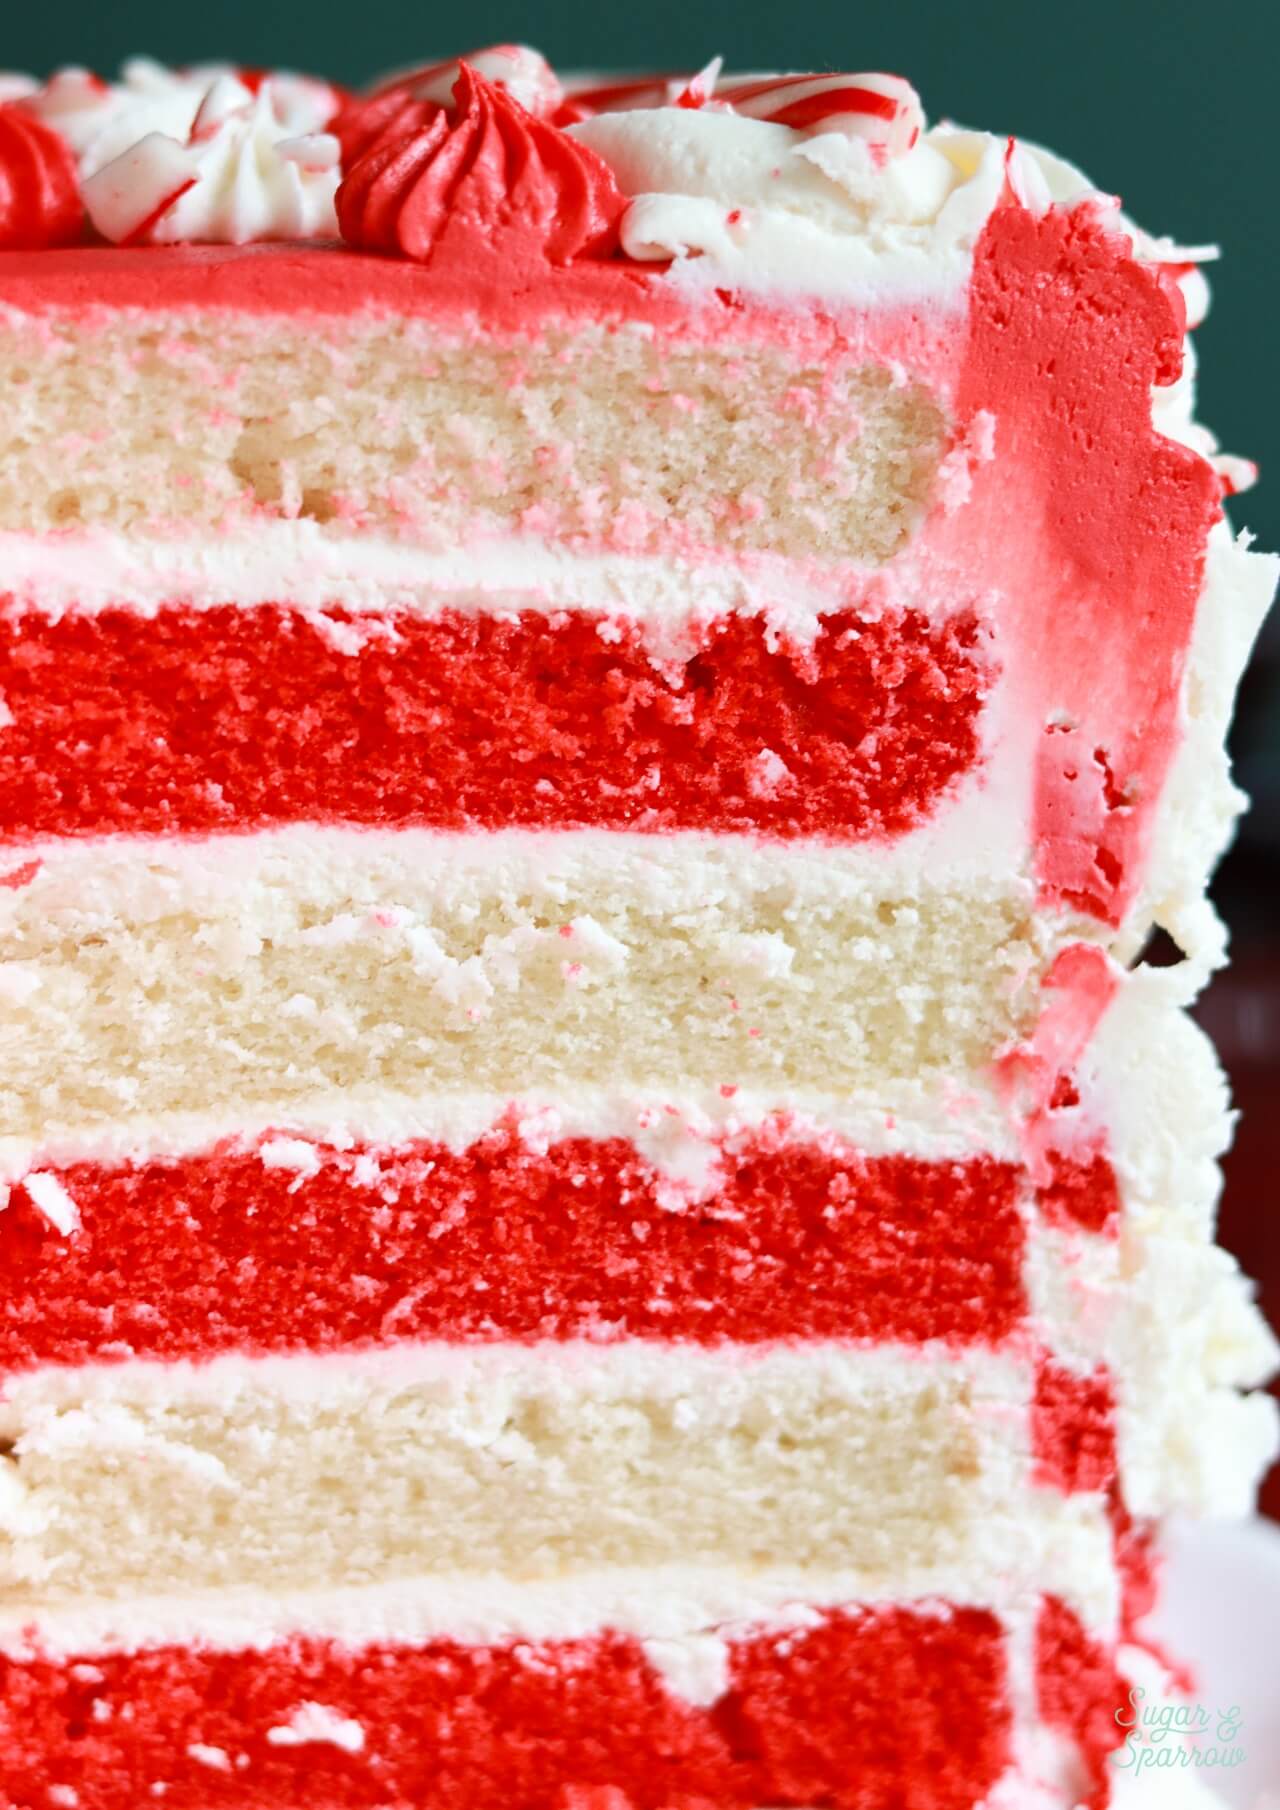
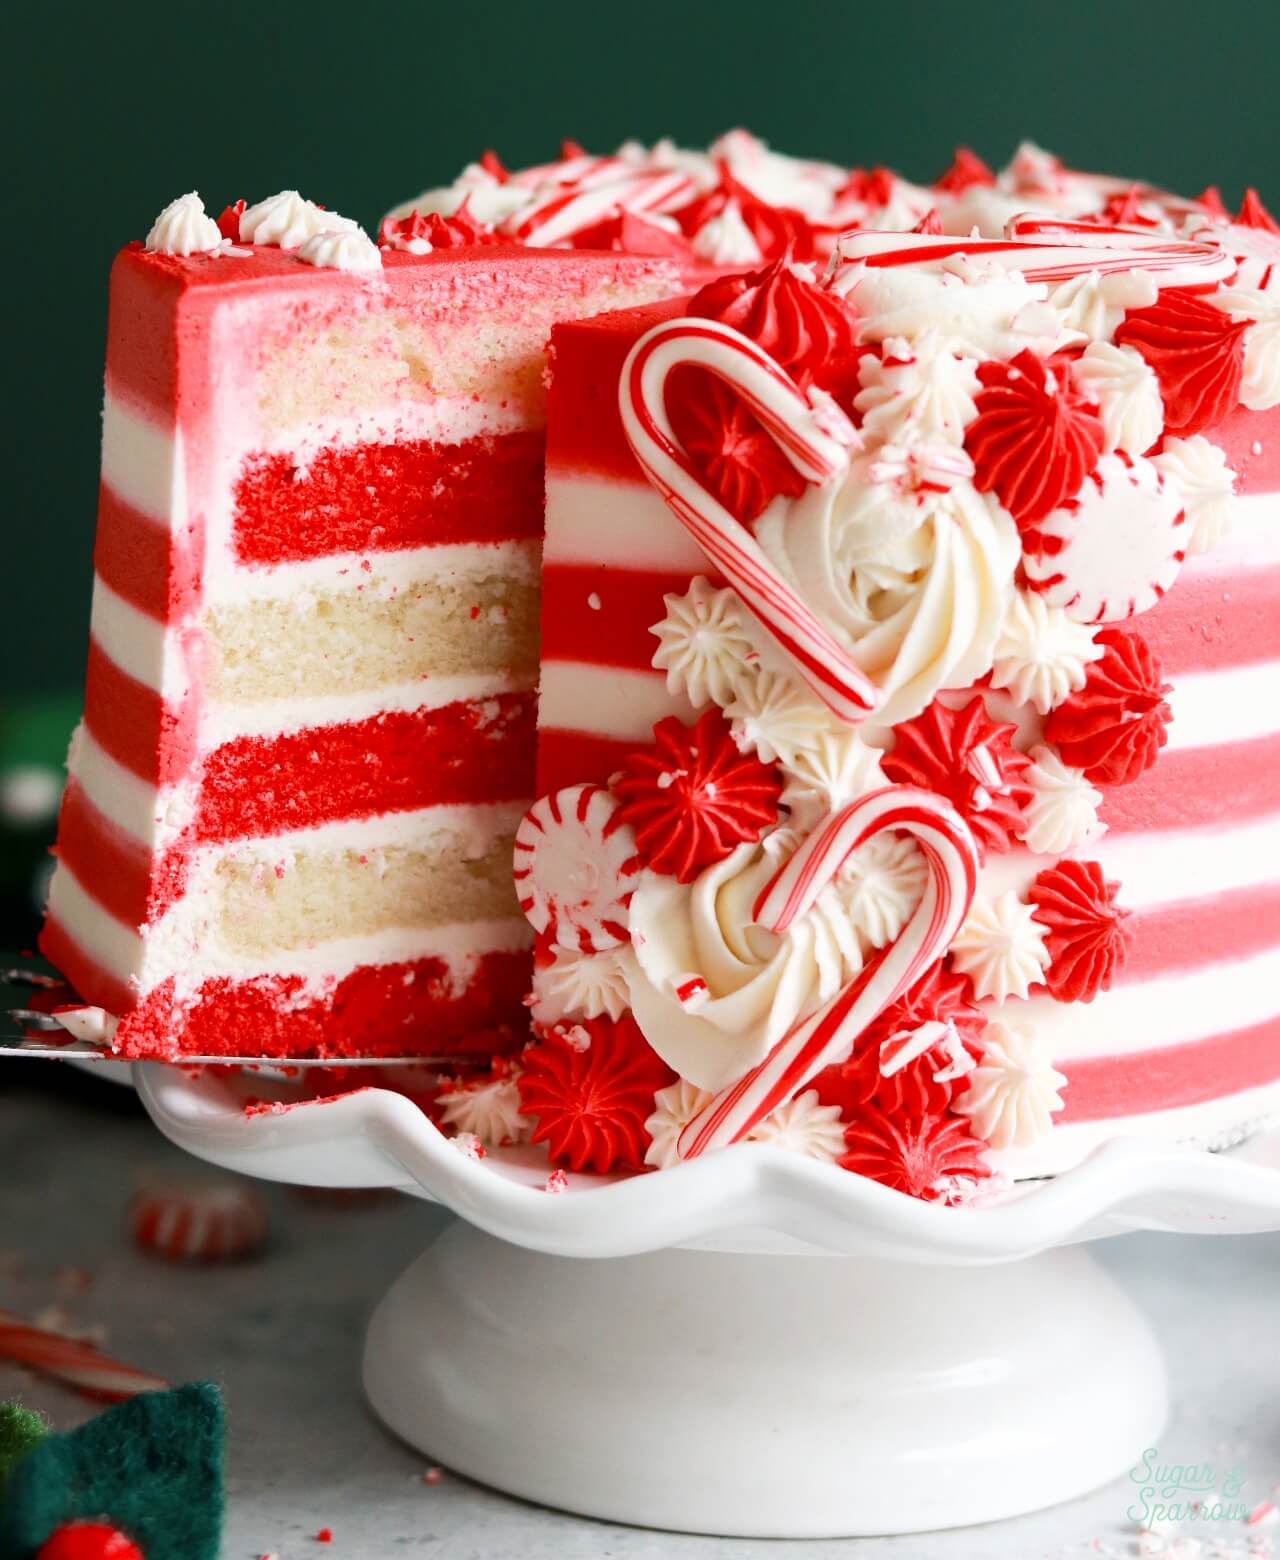
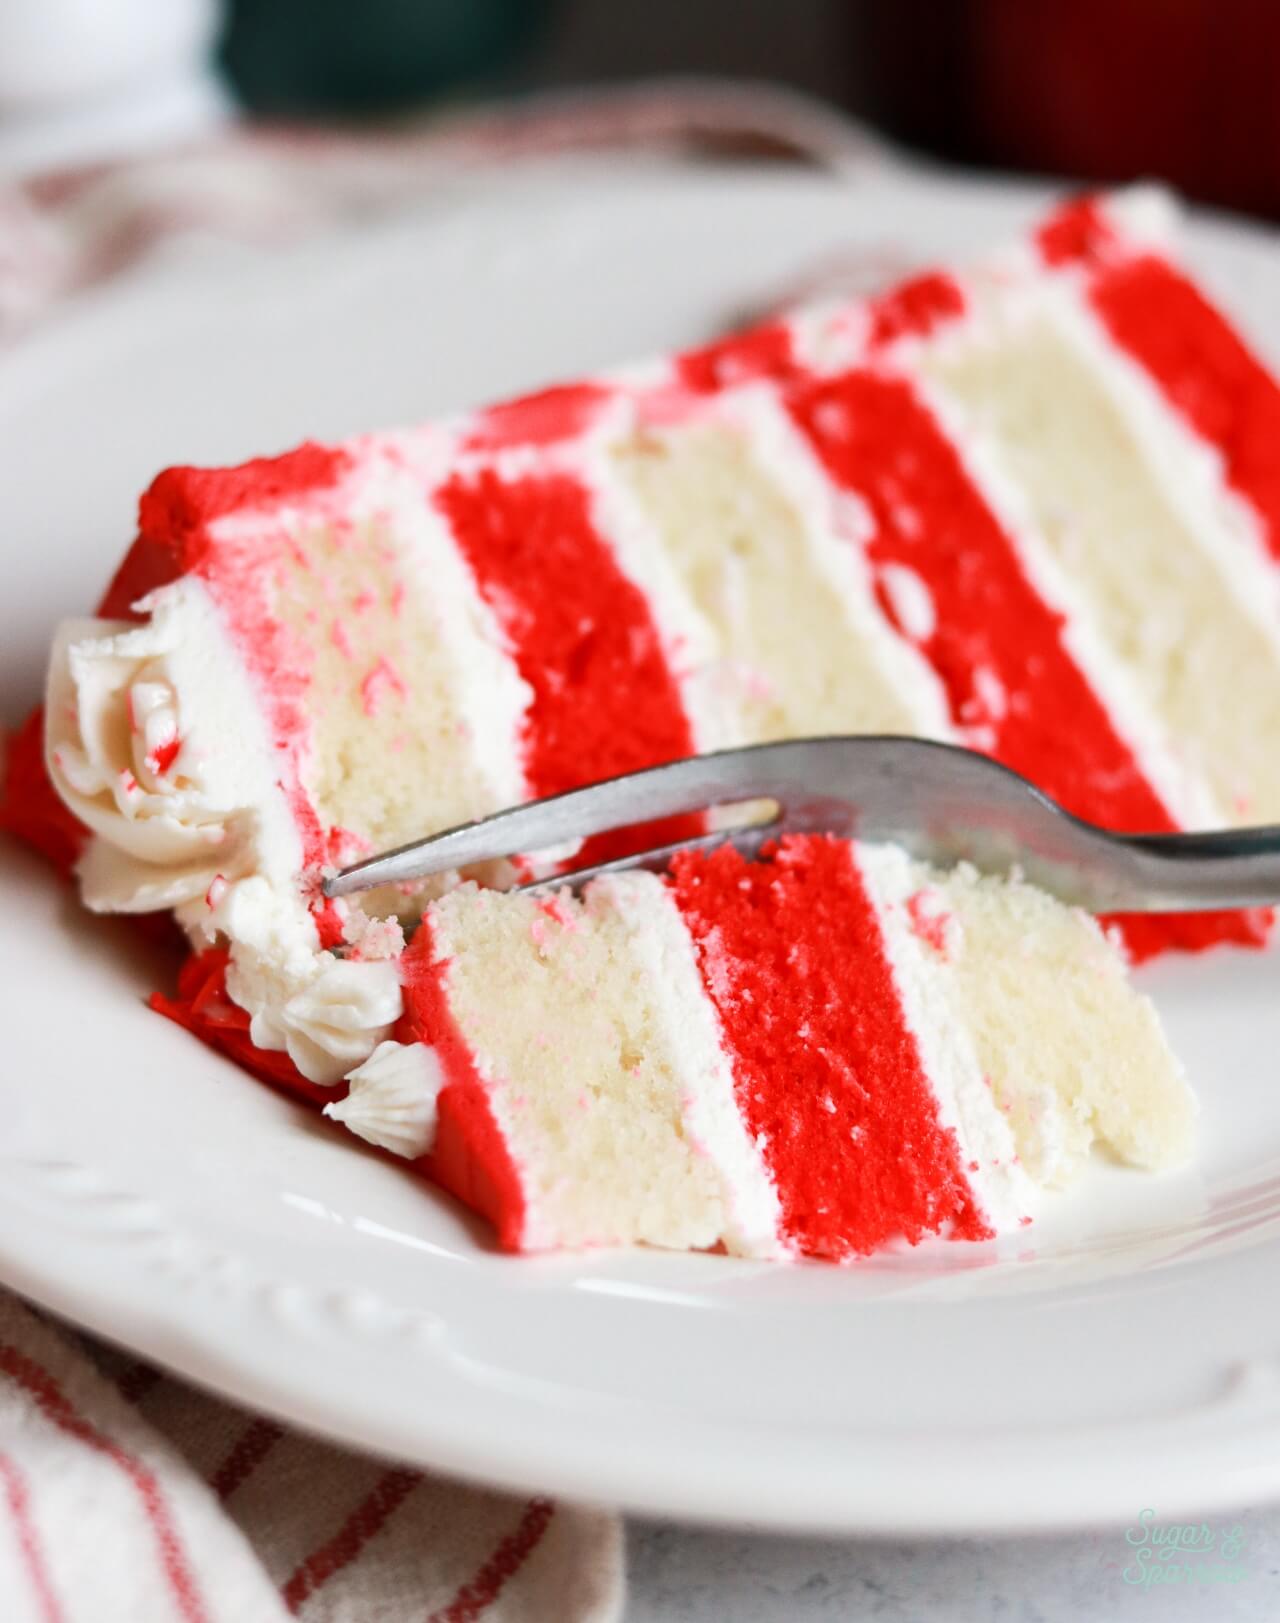
A red-and-white striped cake inside and out, this candy cane cake looks and tastes like the real deal in cake form! Using my bakery-style white cake recipe as a base, the six red and white cake layers are extra soft and fluffy, perfectly moist, and beautifully stacked with peppermint buttercream. It has the perfect amount of peppermint flavor without going overboard and is so fun to decorate with striped buttercream, pretty piping, and mini candy canes.
Perfect Peppermint Candy Cane Cake Flavor
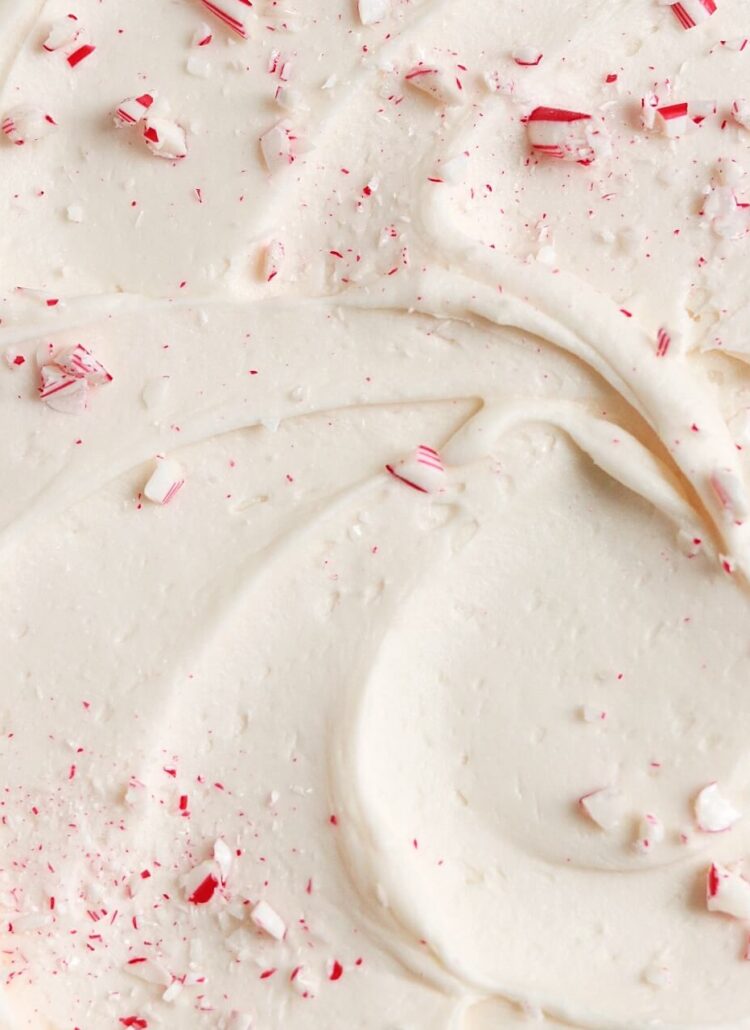
I really wanted this cake to not only look like a candy cane, but taste like a candy cane in the best way. I originally thought to add peppermint extract to both the cake batter and the buttercream, but after recipe testing, this cake tastes amazing with a little peppermint extract added to just the buttercream. It’s essentially a vanilla cake with peppermint buttercream, but trust me on this one. Everything together tastes like a candy cane in cake form! It’s just the right amount of peppermint flavor without going overboard.
Candy Cane Cake Layers
Making the red and white striped cake layers is so much fun! The recipe starts with making my bakery-style white cake, then dividing the batter in half. It’s really helpful to have a kitchen scale for this, so the layers end up really precise. After dividing the batter in half, you’ll add a few drops of red food coloring* into one of the bowls of batter and leave the other bowl uncolored.
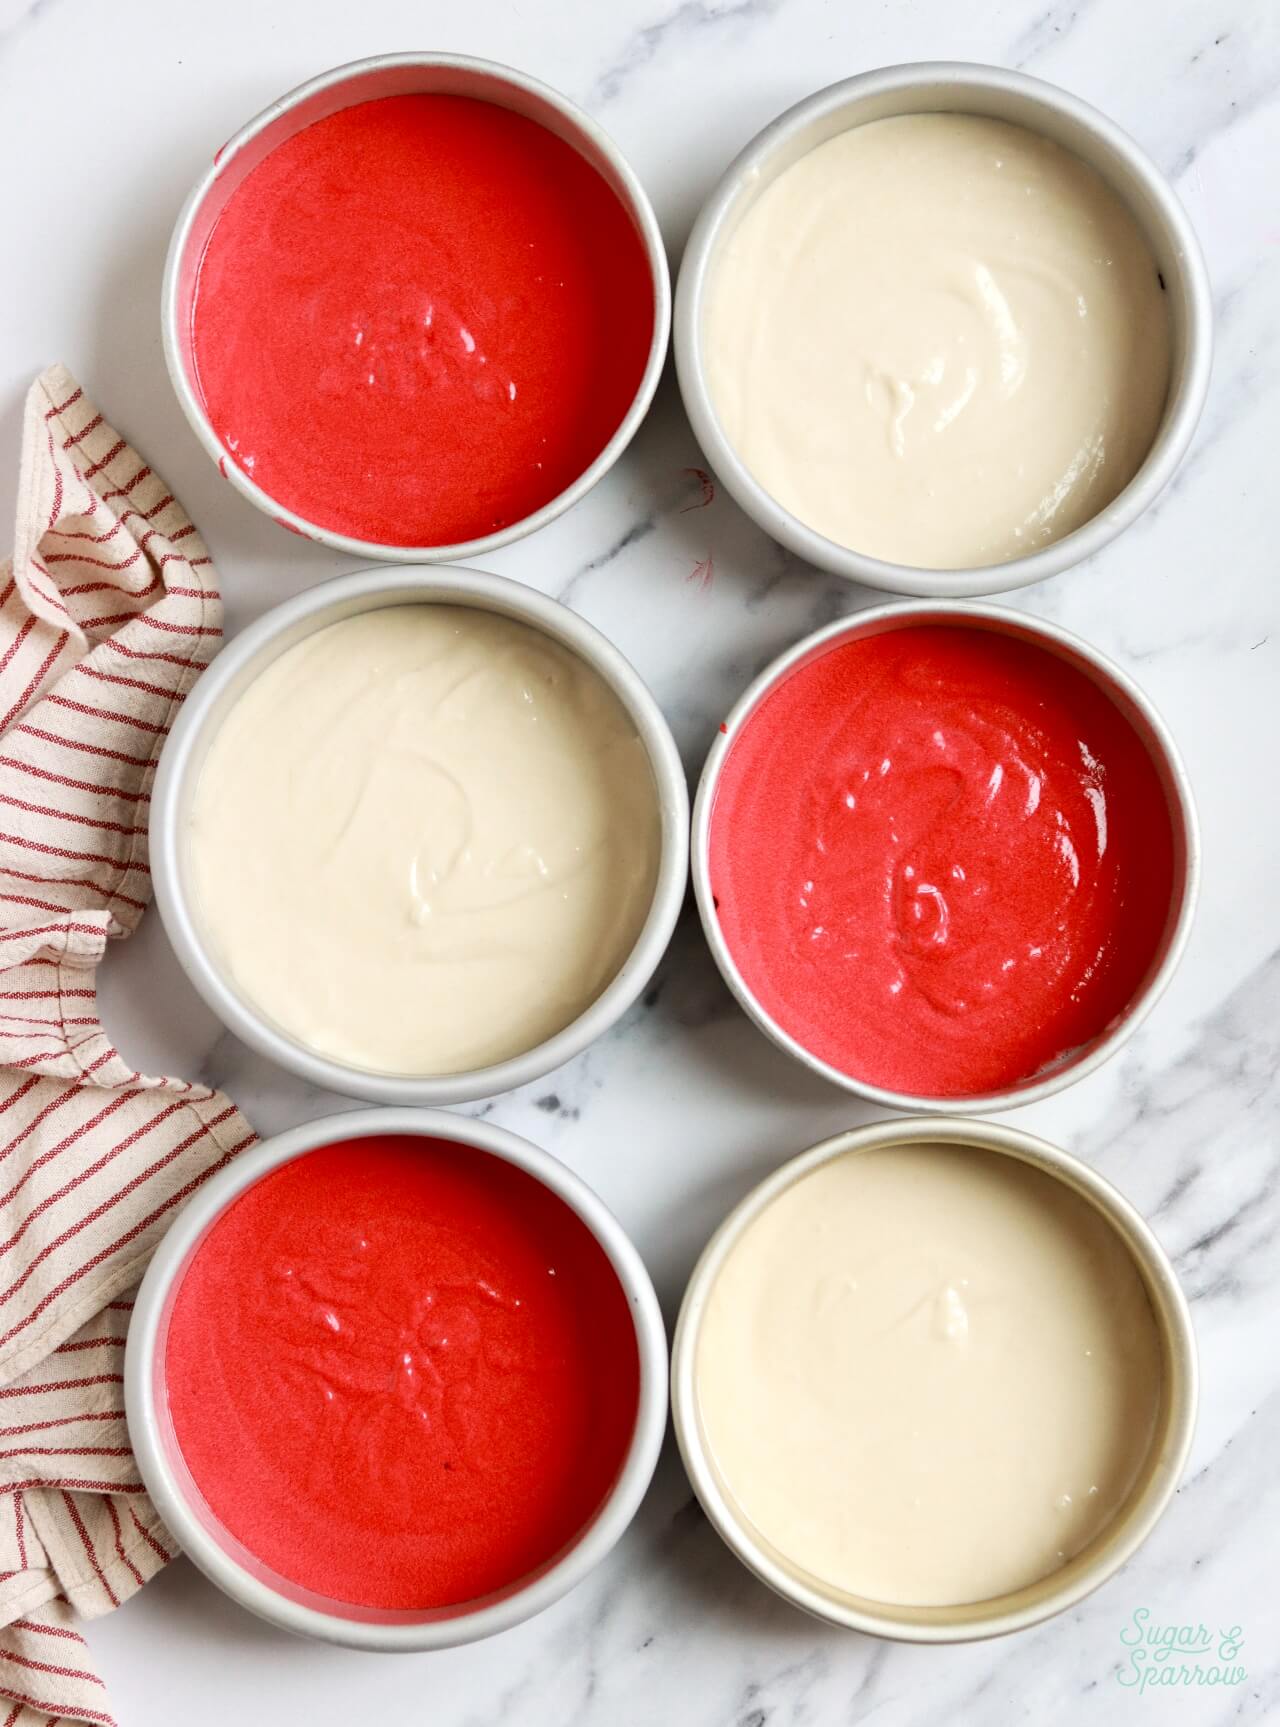
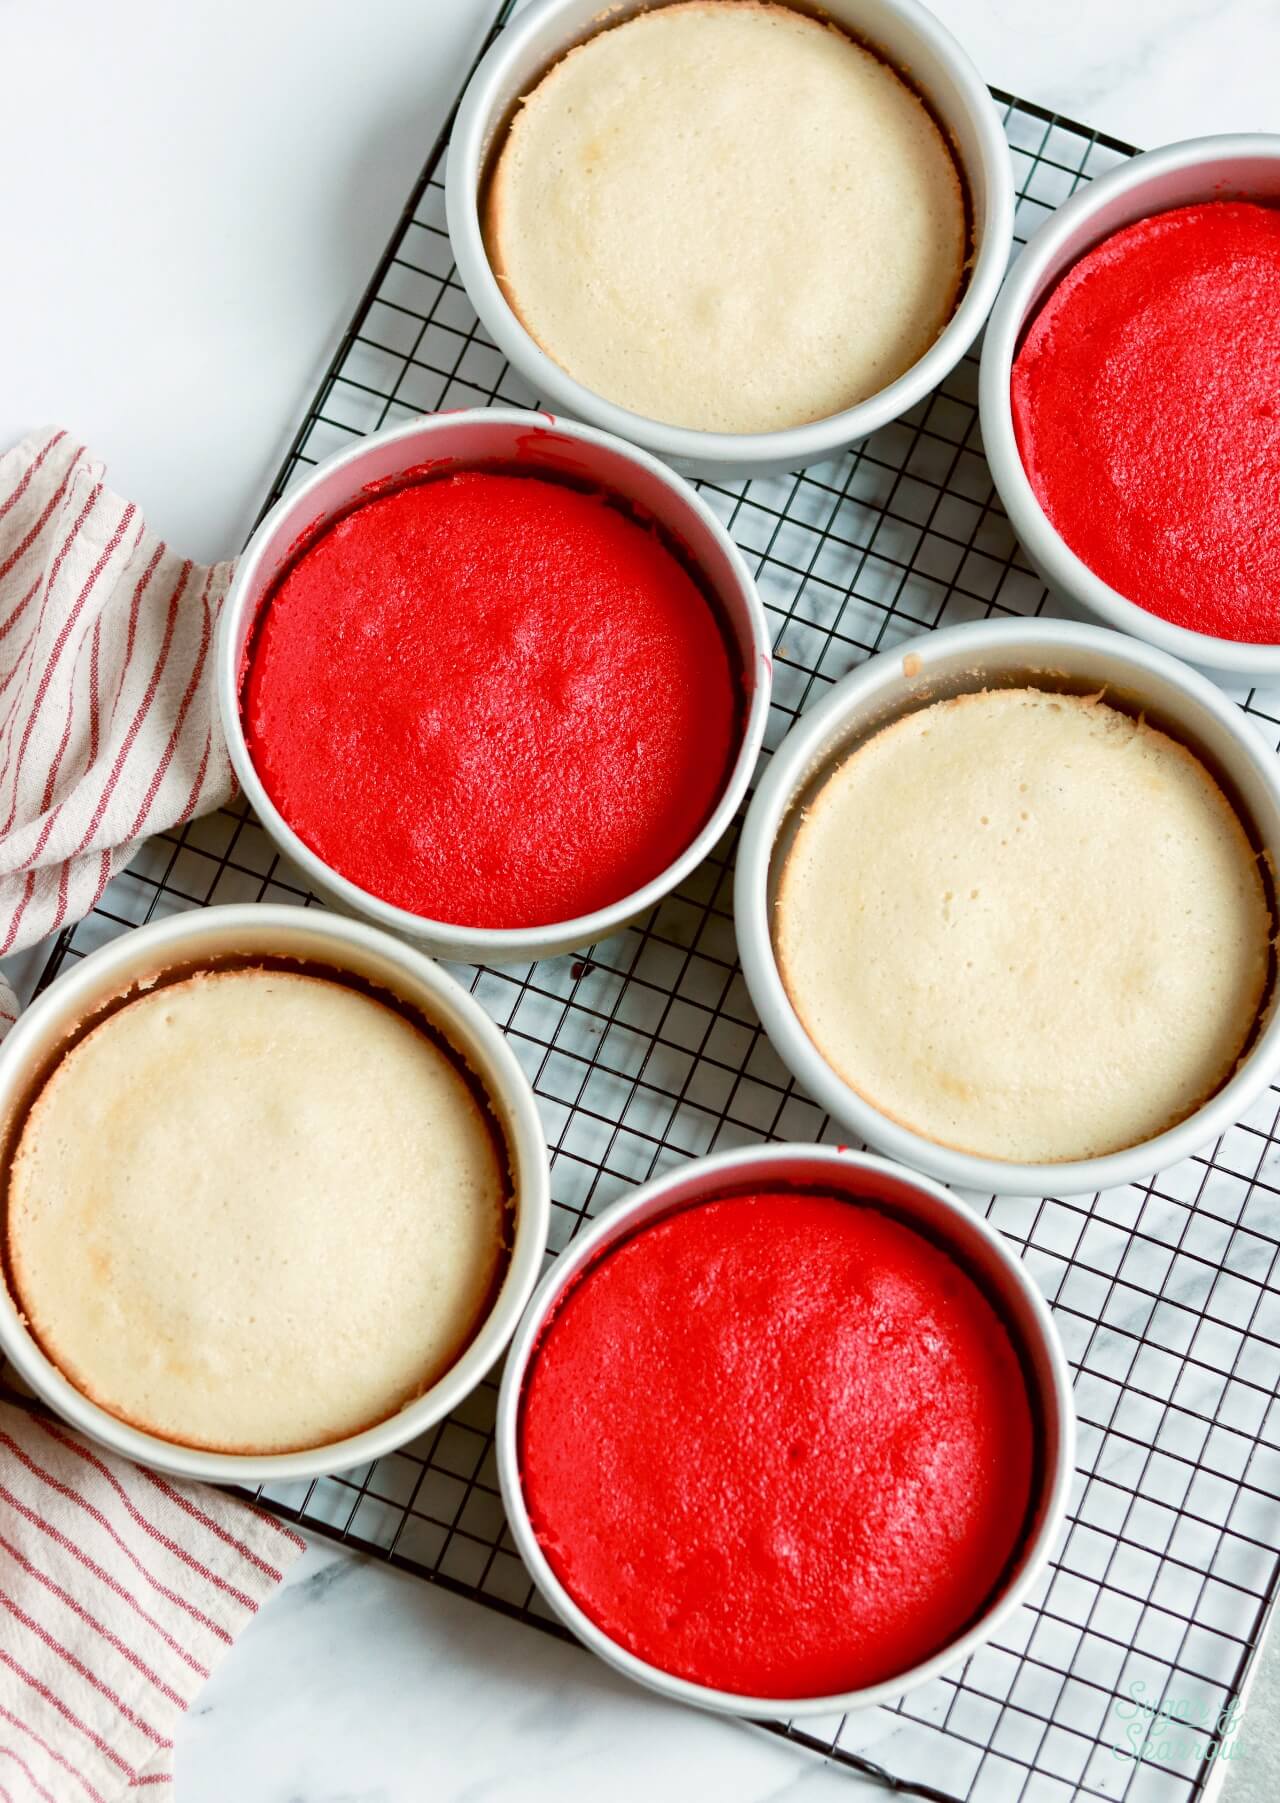
To create the cake layers as pictured, you’ll need six 6-inch cake pans and will divide all of the batter evenly between the pans to create three red cake layers and three white cake layers. You can alternatively use two 8-inch cake pans and torte the cake layers in half to create two red cake layers and two white cake layers (for four layers total). Either way, you’ll end up with a pretty red and white striped cake inside!
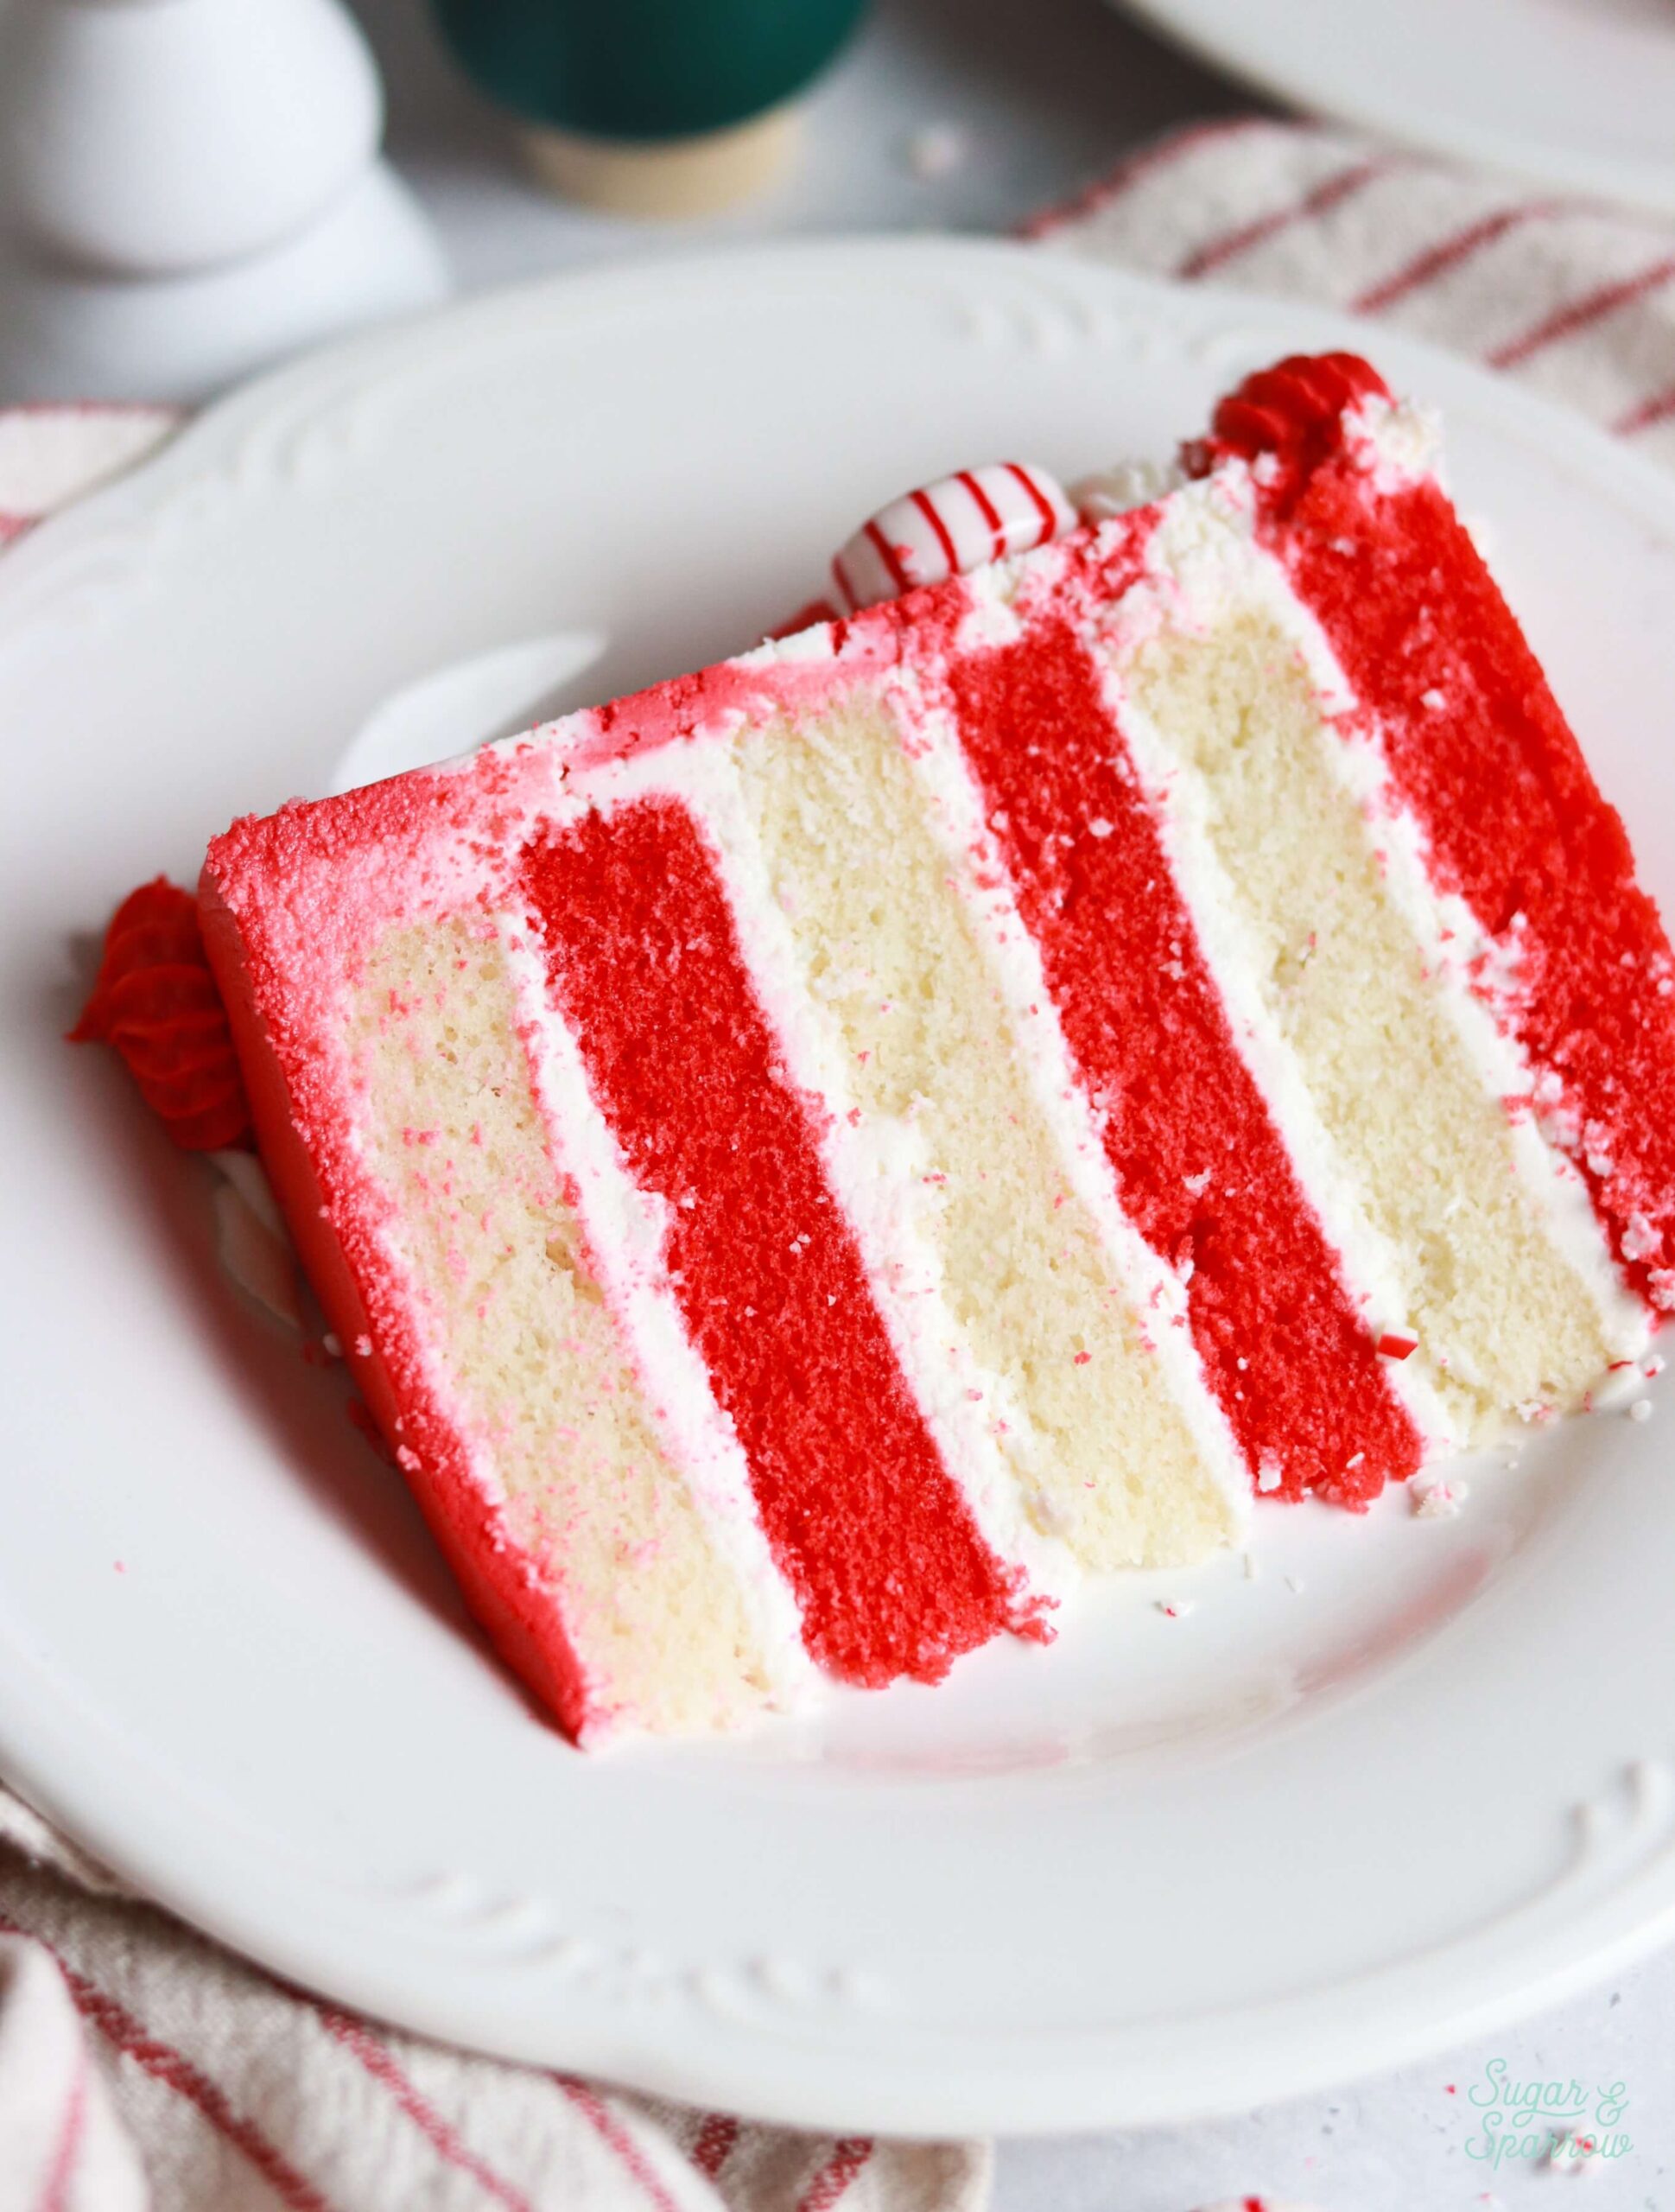
*If you’re looking for a natural red food coloring that doesn’t contain Red 40 or Red 3, I love this one by Enco Naturals.
How to Decorate a Candy Cane Cake
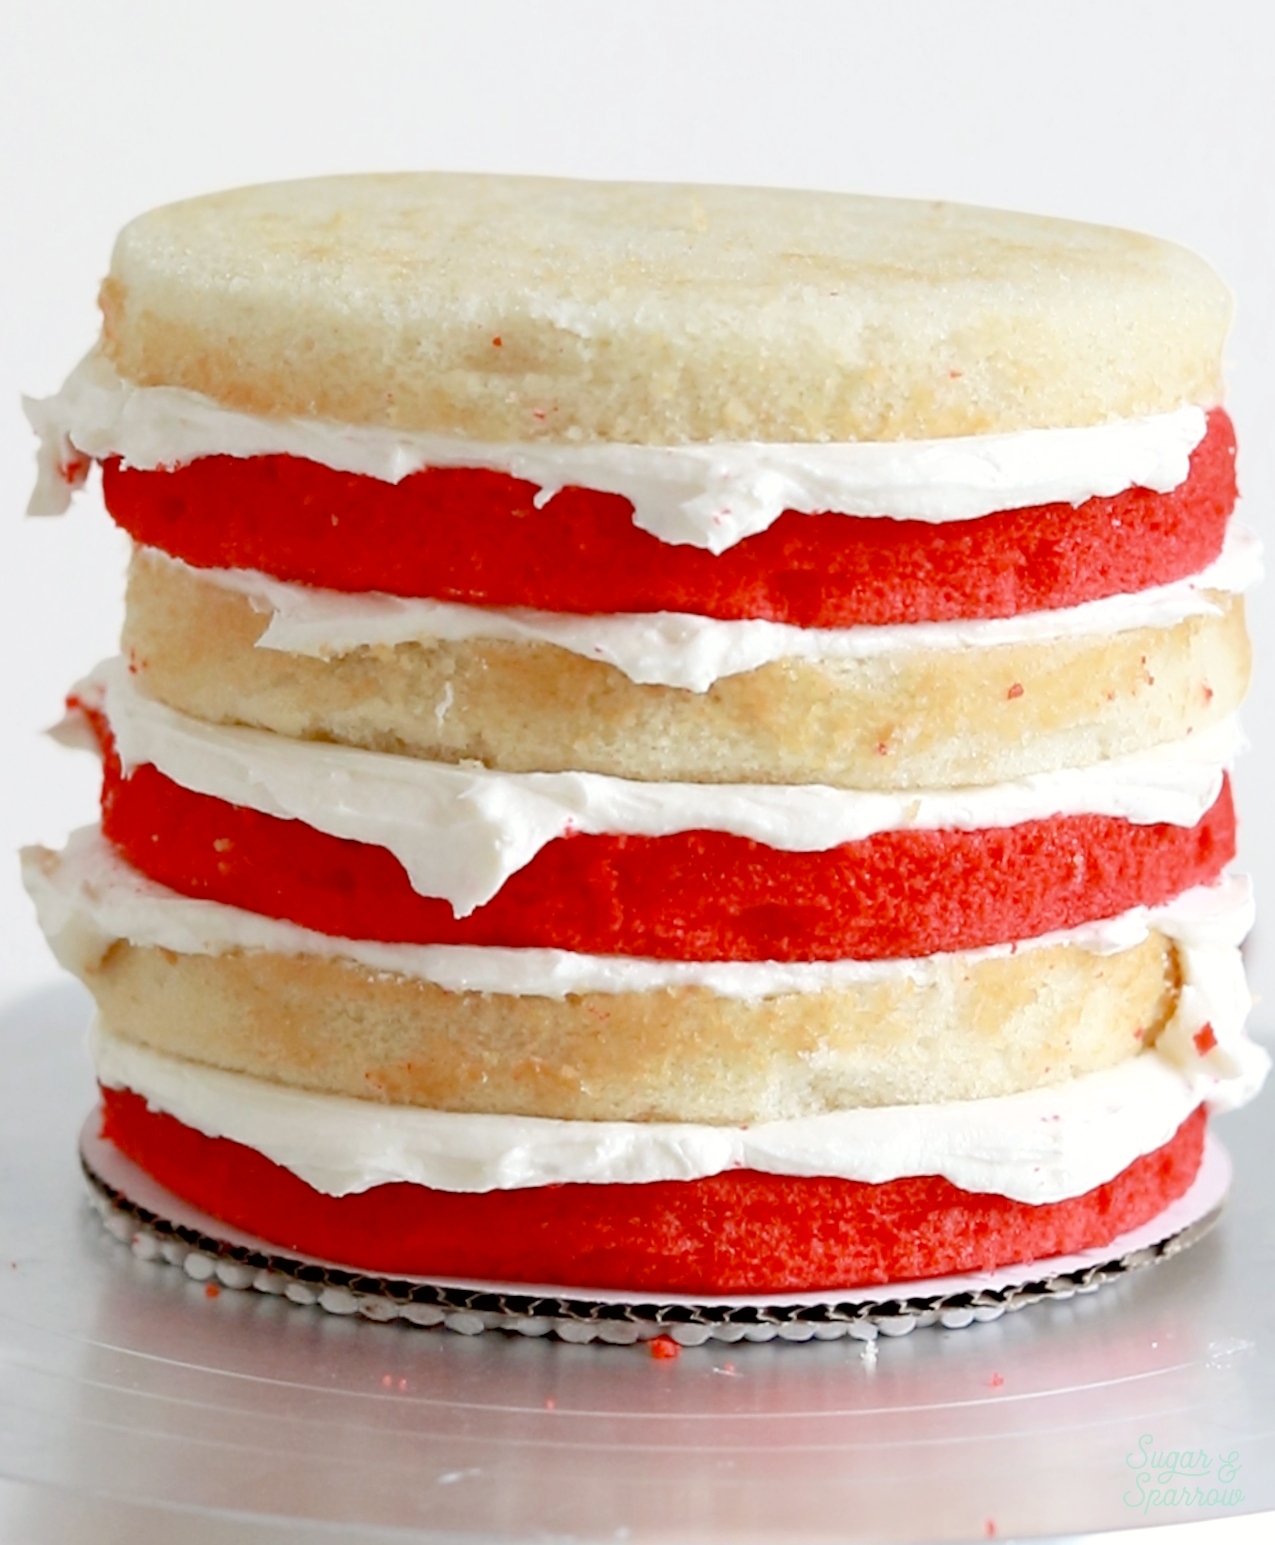
Step 1: Build the layer cake. After leveling any rounded tops from the cake layers (so they look totally even when stacked), fill and stack them with peppermint buttercream. You’ll alternate red and white layers to create the striped effect inside the cake. Then, crumb coat the cake and let it chill in the refrigerator for about 20 minutes while you prepare the rest of the buttercream for decorating.
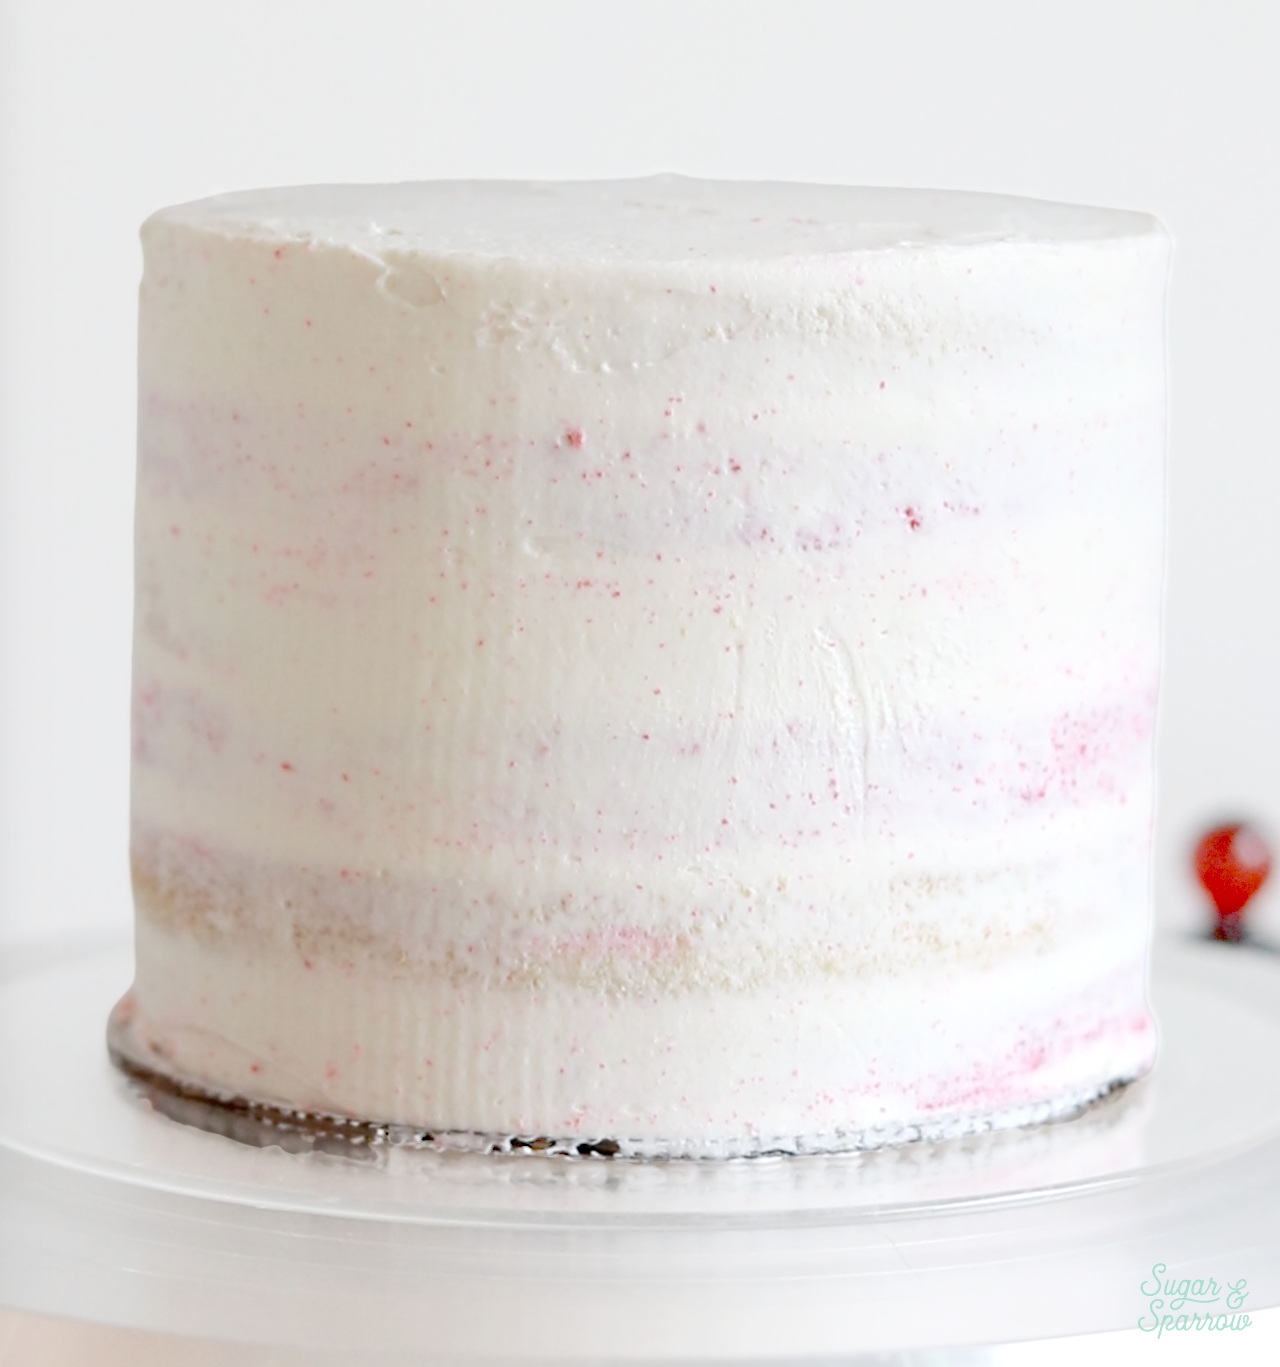
Step 2: Create the buttercream stripes. Divide the rest of the peppermint buttercream in half and add a few drops of red food coloring to one half. Leave the other half uncolored or add some icing whitener to brighten it up. Grab two piping bags and cut off ½ inch opening on each one before adding the red buttercream into one piping bag and the white buttercream into the other. Starting at the bottom of the cake, pipe alternating stripes of red and white buttercream onto the cake, keeping your hand as straight as possible to create straight lines.
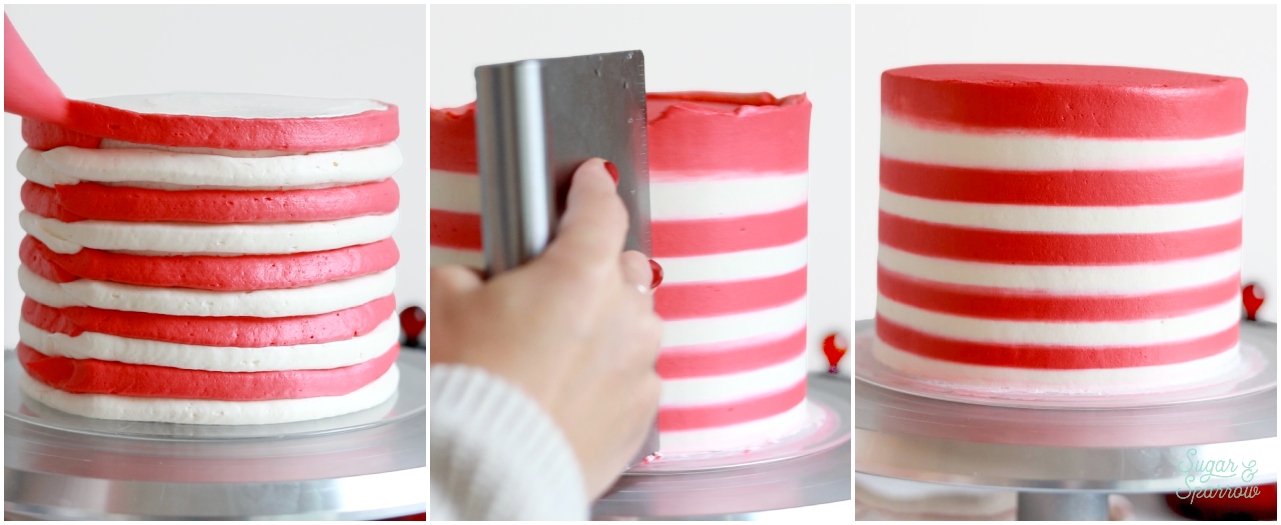
Then, use an icing smoother to smooth the stripes down until you create a smooth striped buttercream finish. When it looks perfect to you, place the cake back into the refrigerator to let the buttercream firm up for the next step. You can alternatively create the stripes with a cake comb using this tutorial if you’d rather be more precise.
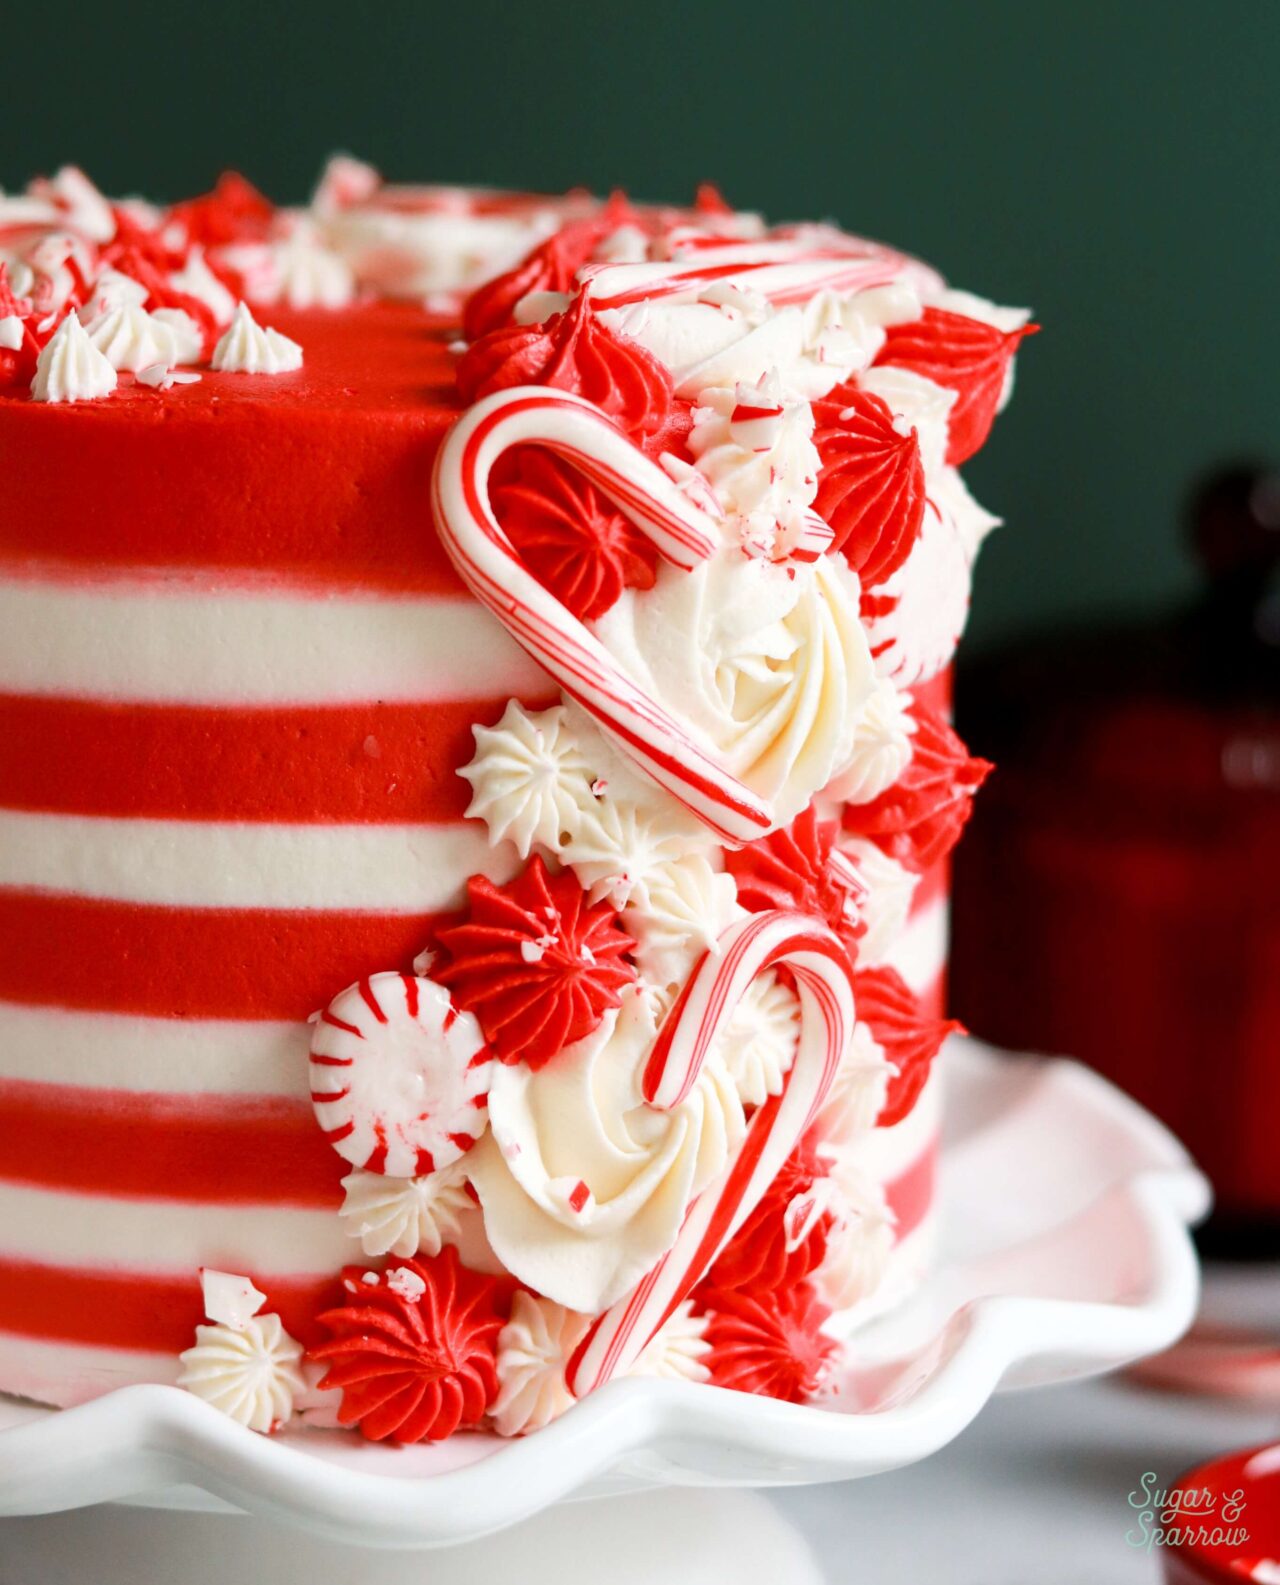
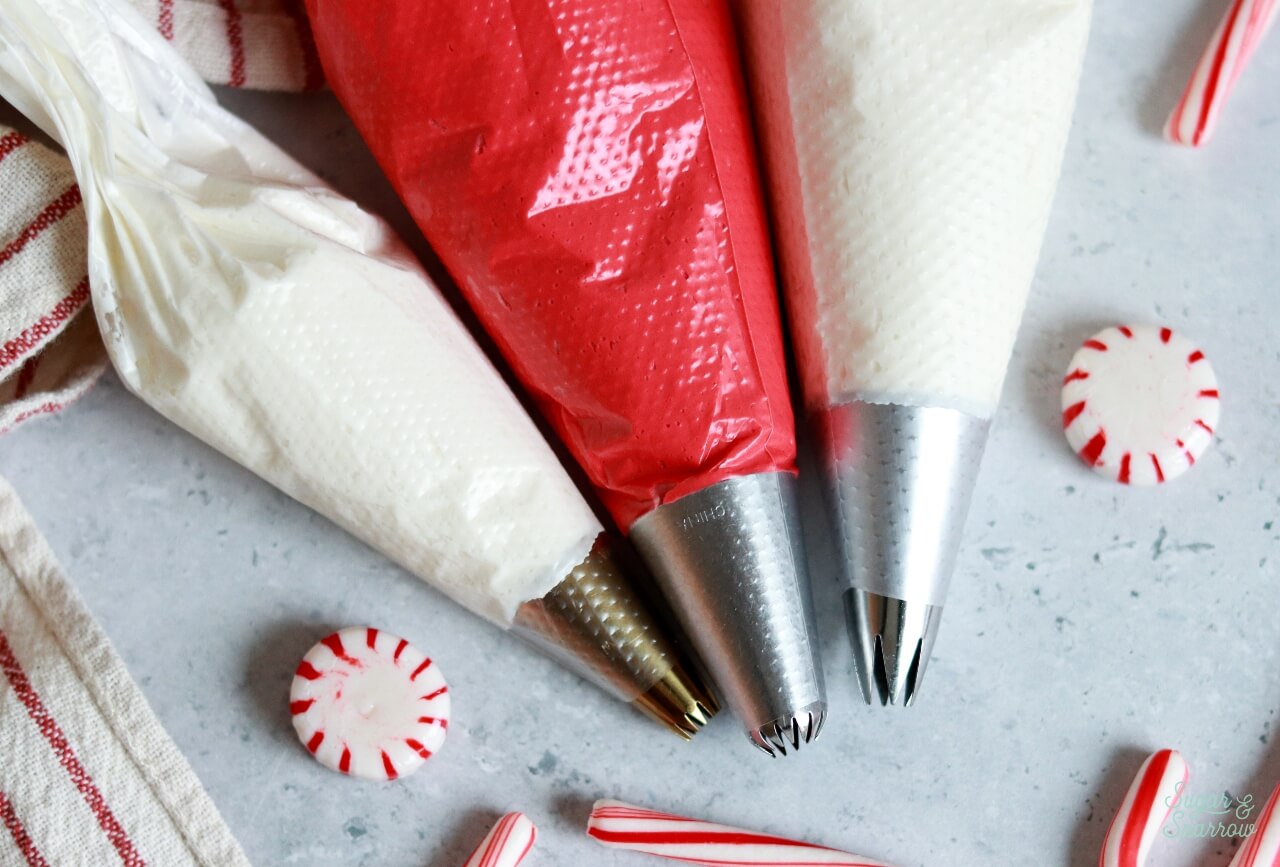
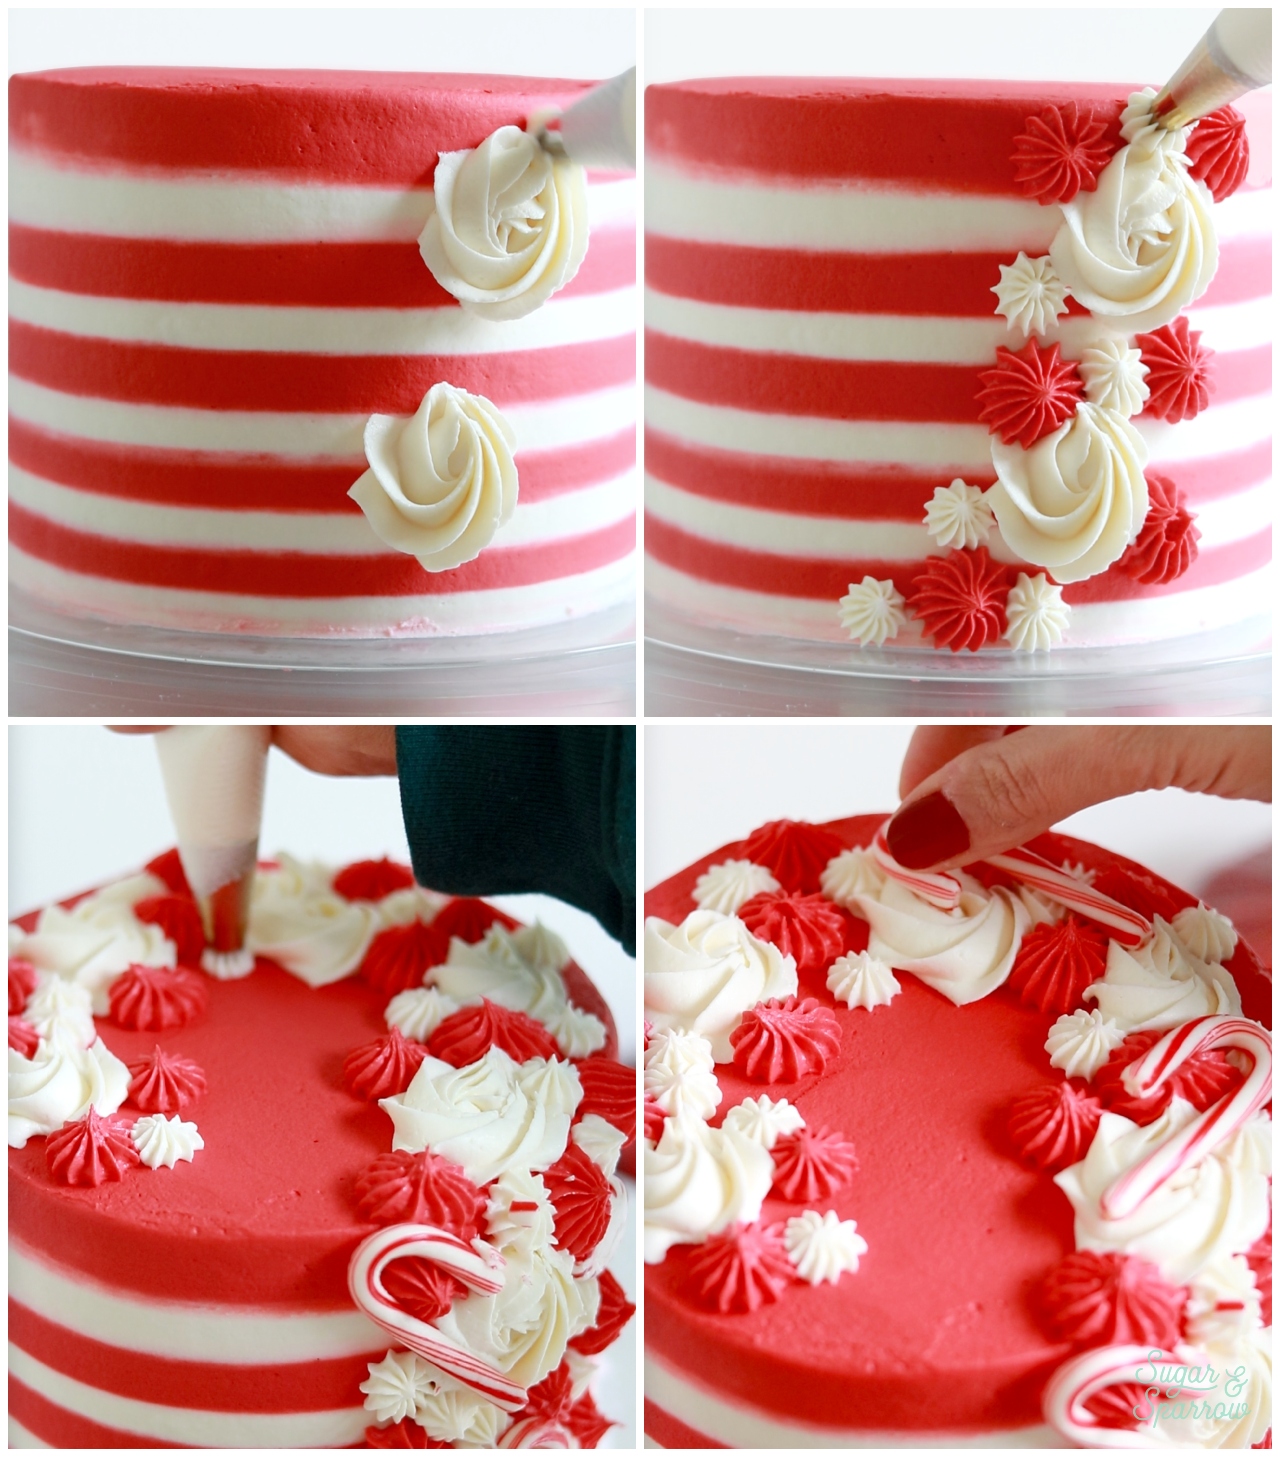
Step 3: Add the piping and candy canes. Divide the rest of the buttercream amongst additional piping bags fitted with your favorite piping tips. I used Tip 1M with half of the white buttercream for rosettes, Tip 4B with the red buttercream, and Tip 32 with the rest of the white buttercream.
To create the cascading piping, I started by adding white rosettes with Tip 1M in a diagonal formation on the side of the cake. Then, I filled in the spaces with red and white stars using tips 4B and 32. I continued this piping on top of the cake in a crescent formation and added the candy canes and peppermint candy.
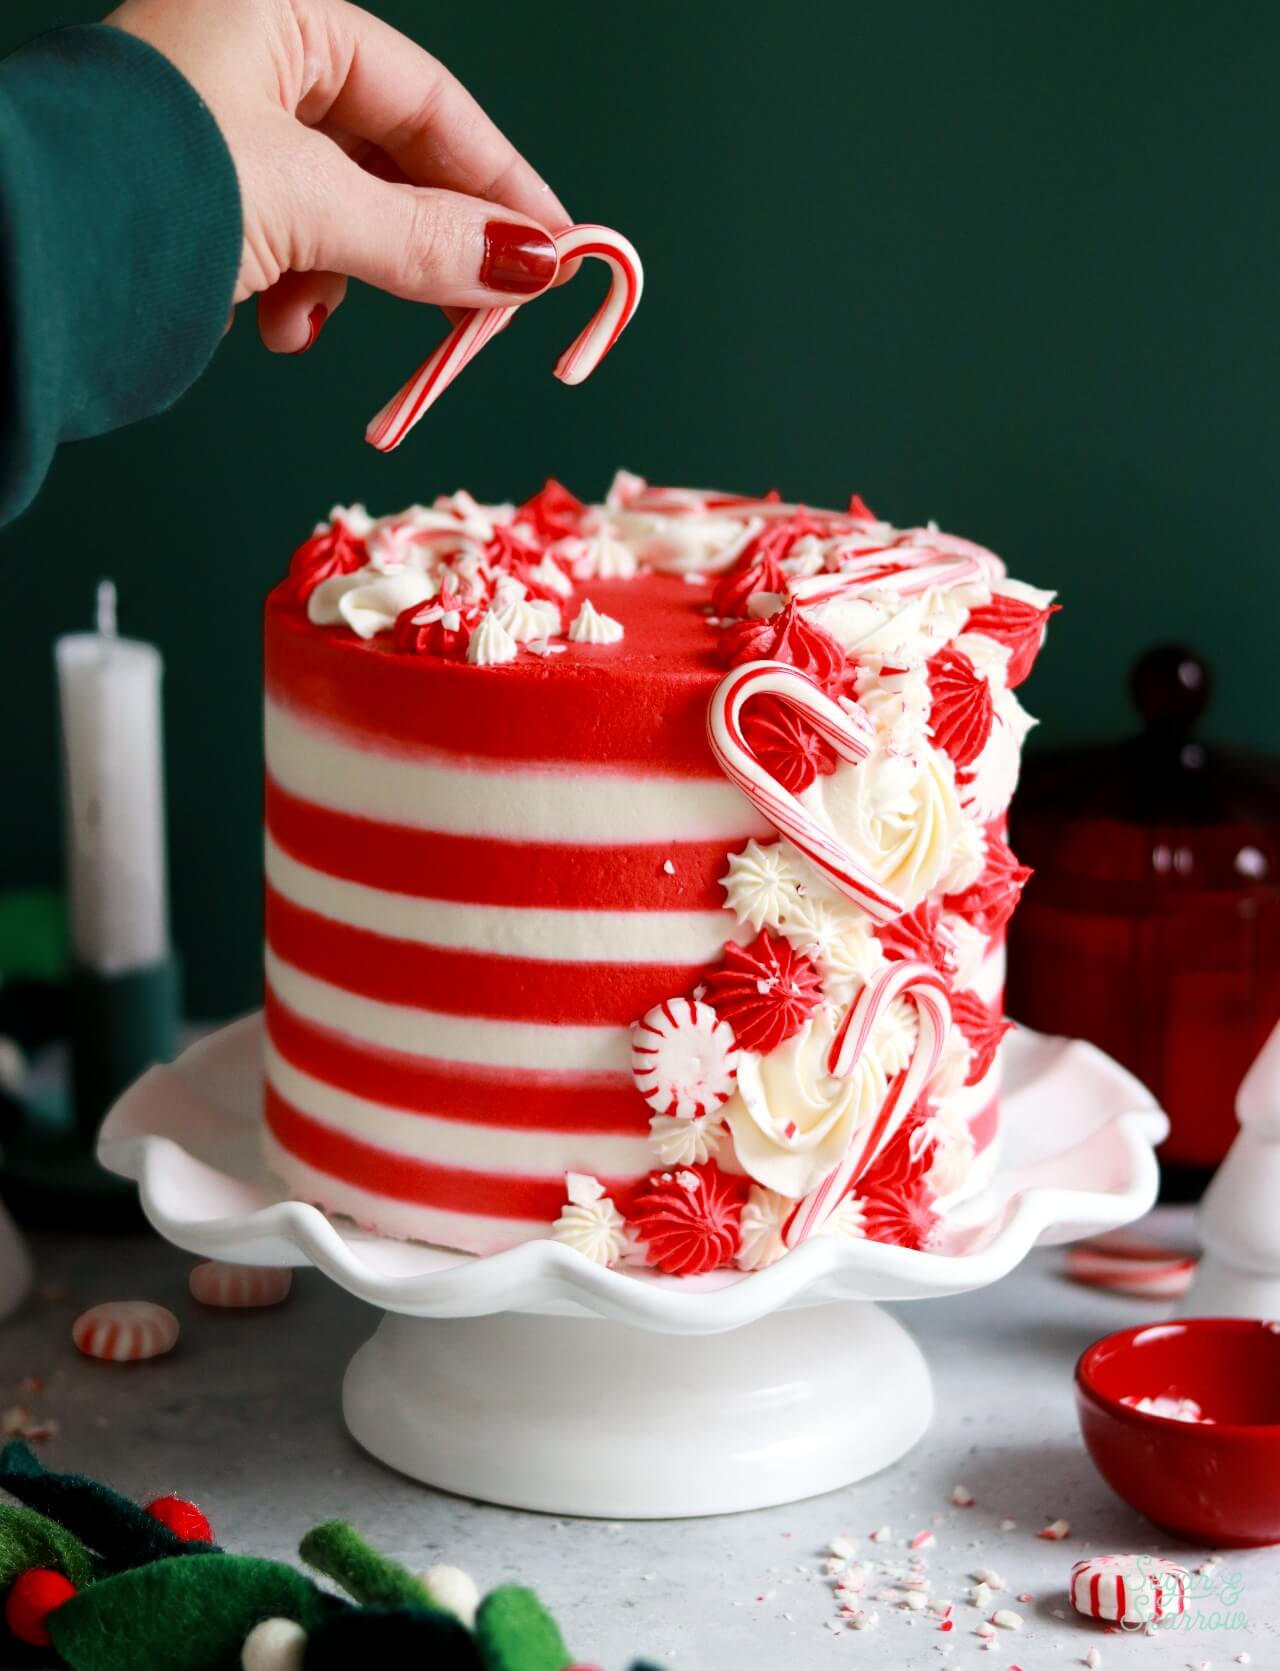
A little disclaimer: adding the candy is best saved for the day you display/serve the cake, as candy canes tend to get glossy and melty-looking when they experience temperature changes or come in contact with condensation. If you do store it in the refrigerator overnight with the candy pieces on the cake, they may look a little glossy the next day when you take the cake out of the refrigerator.
More Holiday Cakes You’ll Love
If you’re looking for more holiday showstopper cake inspiration, these are some more of my favorites:
- Vintage Christmas Red Velvet Cake
- White Christmas Cake
- Christmas Funfetti Cake
- Gingerbread Latte Cake
- Yule Log Cake
I hope you love this candy cane cake as much as I do! Let me know if you make it in the comments below and feel free to tag @sugarandsparrowco on Instagram to show me if you post a photo. I love to see what you create with my recipes!
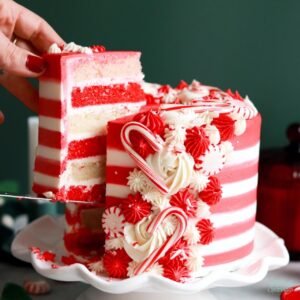
Striped Candy Cane Cake
Equipment
- Six 6-inch cake pans
Ingredients
Candy Cane Cake
- 2 1/2 Cups (265g) sifted cake flour* DIY recipe in notes
- 2 tsp baking powder
- 1/2 tsp baking soda
- 1/2 tsp salt
- 1 1/2 Cups (300g) granulated sugar
- 1/2 Cup (113g) unsalted butter, room temperature
- 4 large egg whites, room temperature
- 1/2 Cup (120ml) vegetable oil
- 1 Tbsp pure vanilla extract
- 1 1/4 Cups (300ml) full-fat buttermilk*, room temperature DIY recipe in notes
- 2 drops red food coloring see notes for natural options
Peppermint Buttercream
- 2 Cups (452g) unsalted butter, room temperature
- 7 Cups (840g) powdered sugar
- 2 tsp pure vanilla extract
- 1 tsp peppemint extract
- 1/4 Cup whole milk, room temperature
- pinch of salt, or to taste
- 3-5 drops red food coloring
Garnish (Optional)
- 6 mini candy canes 4 whole, 2 crushed
- 4 peppermints
Instructions
Make the Candy Cane Cake
- Preheat the oven to 350°F (177°C) and prepare six 6-inch or two 8-inch cake pans by spraying the sides with baking spray and fitting a parchment paper circle to the bottom of each pan.
- In a medium bowl, add the flour, baking powder, baking soda and salt. Whisk together and set aside.
- In the bowl of a stand mixer fitted with the paddle attachment, beat the butter at high speed until creamy, about 2 minutes. Add the sugar and cream it together with the butter at medium-high speed until light and fluffy, about 2 minutes, scraping the bowl and paddle at the halfway point. Turn the mixer to low and add the egg whites one at a time, mixing until they are just combined and scraping down the bowl and paddle as needed. Add the vegetable oil and vanilla, increase the mixer speed to high and beat for 1 minute.
- Turn the mixer off and add the flour mixture all at once. Mix the ingredients on low speed until just combined, then slowly pour in the buttermilk. Continue mixing at low speed for about 30 seconds, until the batter is uniform and combined. The batter will be slightly thin.
- Divide the batter evenly in half between two bowls. You should have about 620g of batter per bowl. Keep one half of the batter uncolored (for the white cake layers) and whisk in a few drops of red food coloring to the other half (for the red cake layers).
- Divide the batter evenly between the prepared cake pans and bake. If you're using six 6-inch cake pans, you'll have about 200g per pan to create three white cake layers and three red cake layers. Bake them for 18-22 minutes, or until they spring back to the touch and a toothpick inserted comes out clean. If you're using two 8-inch cake pans, you'll add all of the white batter to one pan and all of the red batter to the other. Bake them for 30-35 minutes or until they spring back to the touch and a toothpick inserted comes out clean. Let the cakes cool in their pans for 5 minutes, then remove them from the pans and allow them to cool completely on a wire rack.
Make the Peppermint Buttercream
- With a hand mixer or paddle attachment on your stand mixer, cream the butter on medium-high until it’s creamy and light (almost white) in color. About 7 minutes.
- With the mixer on low, add the powdered sugar one cup at a time, scraping down after each addition and making sure each cup is fully incorporated before adding the next one. Add the vanilla, peppermint, milk, and salt and mix on low for another minute until fully incorporated.
Assembly
- Once the cake layers are completely cooled, level them to get rid of any domed tops and create even layers. If you baked two 8-inch layers, torte them in half to create four 8-inch layers. Add a swipe of peppermint buttercream onto a cardboard cake circle and place the first cake layer on top. Fill and stack the cake layers, alternating red and white colors with about 1/4 inch of peppermint buttercream filling in between each cake layer. When you get to the final cake layer, place it upside down on top of the stack, then crumb coat the cake with peppermint buttercream. Refrigerate the cake for 15-20 minutes to let the crumb coat firm up while you prepare the rest of the buttercream.
- To create the striped design pictured: divide the remaining buttercream between two separate bowls. Leave the first bowl uncolored or add a few drops of icing whitener to brighten the white. To the second bowl, mix in a few drops of red food coloring until you achieve a rich red color. Add the white buttercream into one piping bag and the red buttercream into another, then cut off about 1/2 inch opening from each bag. Starting at the bottom of the cake, pipe alternating stripes of red and white buttercream onto the cake, keeping your hand as straight as possible to create straight lines. Then, smooth the buttercream with an icing smoother to create a smooth finish.
- Divide the rest of the buttercream amongst additional piping bags fitted with your favorite piping tips. I used Tip 1M with half of the white buttercream for rosettes, Tip 4B with the red buttercream, and Tip 32 with the rest of the white buttercream. Pipe the buttercream in a cascading formation, then press mini candy canes and peppermints into the buttercream (if making ahead, save adding the candy for the day you're serving the cake to keep it looking fresh).
Notes
- The cake layers can be made ahead and stored at room temperature, covered tightly in plastic wrap, for up to two days. Alternatively, you can cover with plastic wrap and store in the freezer for up to two months before thawing to room temperature.
- The peppermint buttercream can be made ahead and stored in an airtight container in the refrigerator for up to two weeks. When you’re ready to use it, bring it back to room temperature and re-whip in your stand mixer to bring back to smooth buttercream consistency.



I’ve been so excited for this and I can’t wait to try it. Thank you, Whitney! Do you think you could make swiss meringue buttercream instead and flavor it with peppermint extract?
Hi Christina! Yes, you could totally do a swiss meringue buttercream recipe with this cake and flavor it with peppermint extract. That sounds lovely!